How to Schedule a Demo with Stonly?
|
 stonly
|
stonly
|
Jun 25, 2024
|
6 Steps
This document explains how to schedule a demo with Stonly, a platform for interactive guides and customer support solutions. It provides a step-by-step process, from accessing the demo request page to selecting a suitable date and time. You’ll learn how to fill out the required information and receive confirmation details. Whether you're exploring Stonly for onboarding, support, or product tutorials, this guide ensures a seamless demo scheduling experience tailored to your business needs.
How to Schedule a Demo with Stonly?
|
stonly
|
6 Steps

2
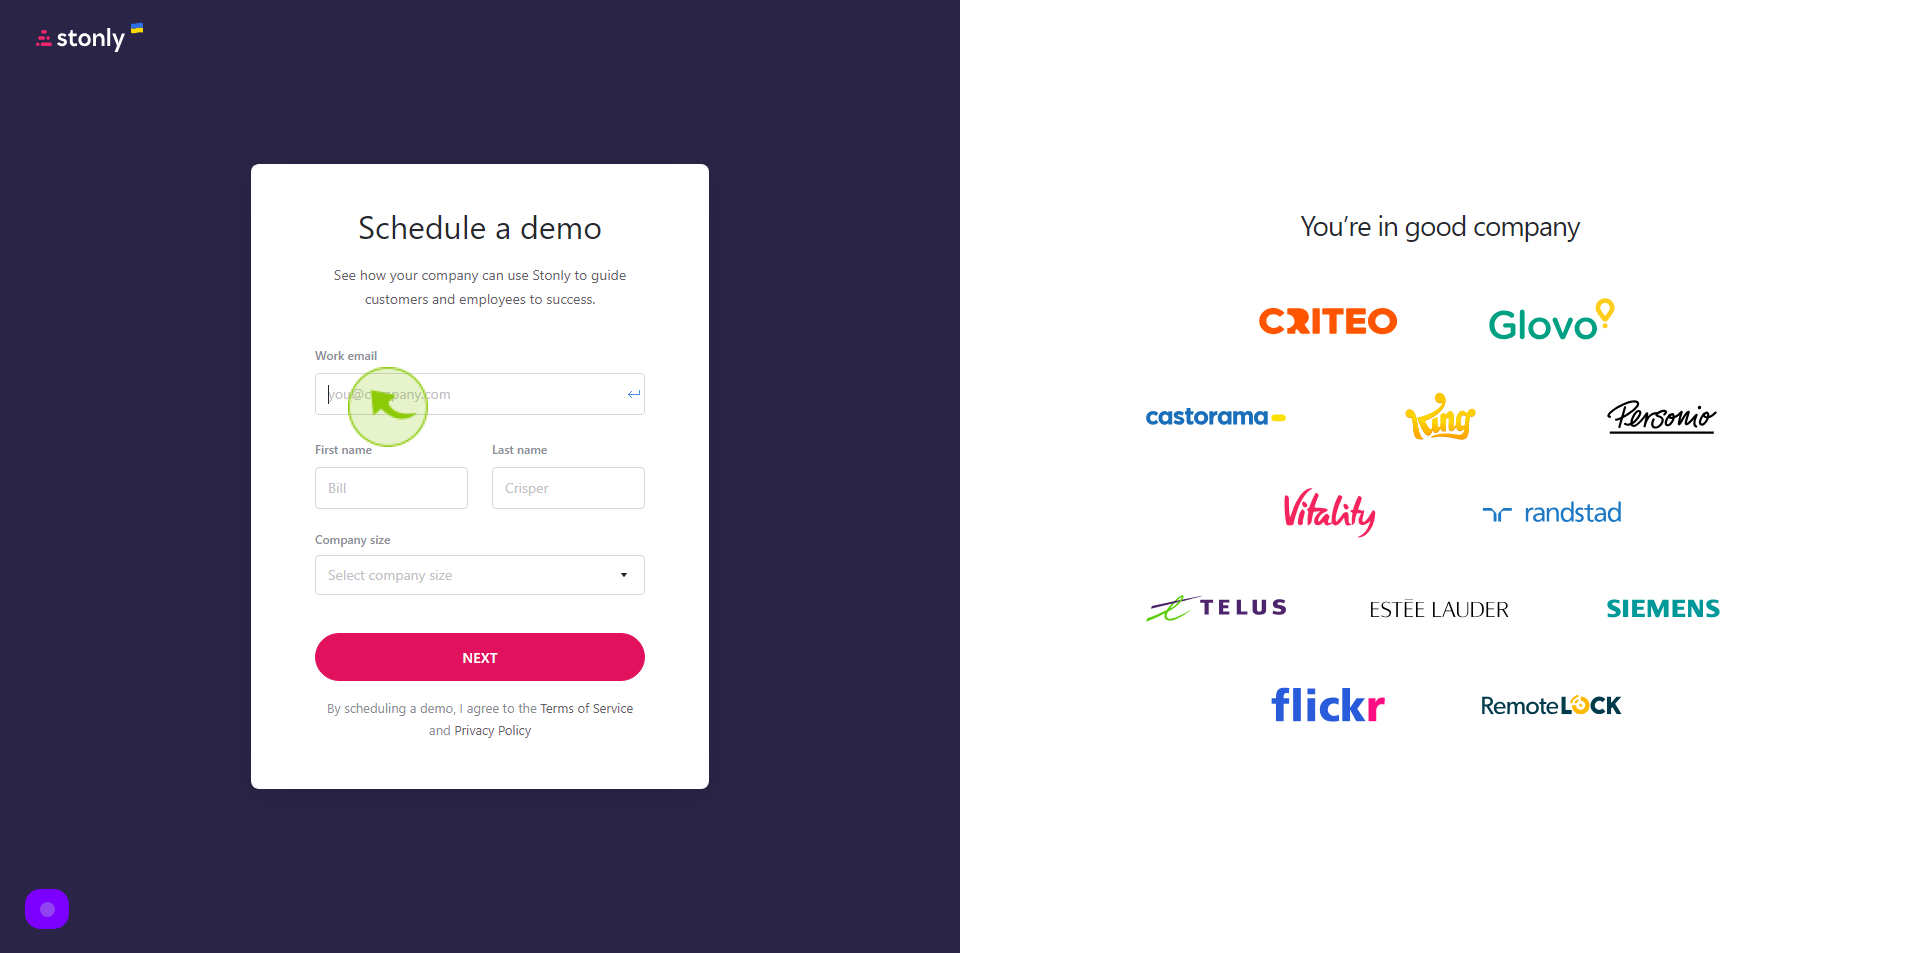
Click the "Work Email" field.
Enter your Work Email
3
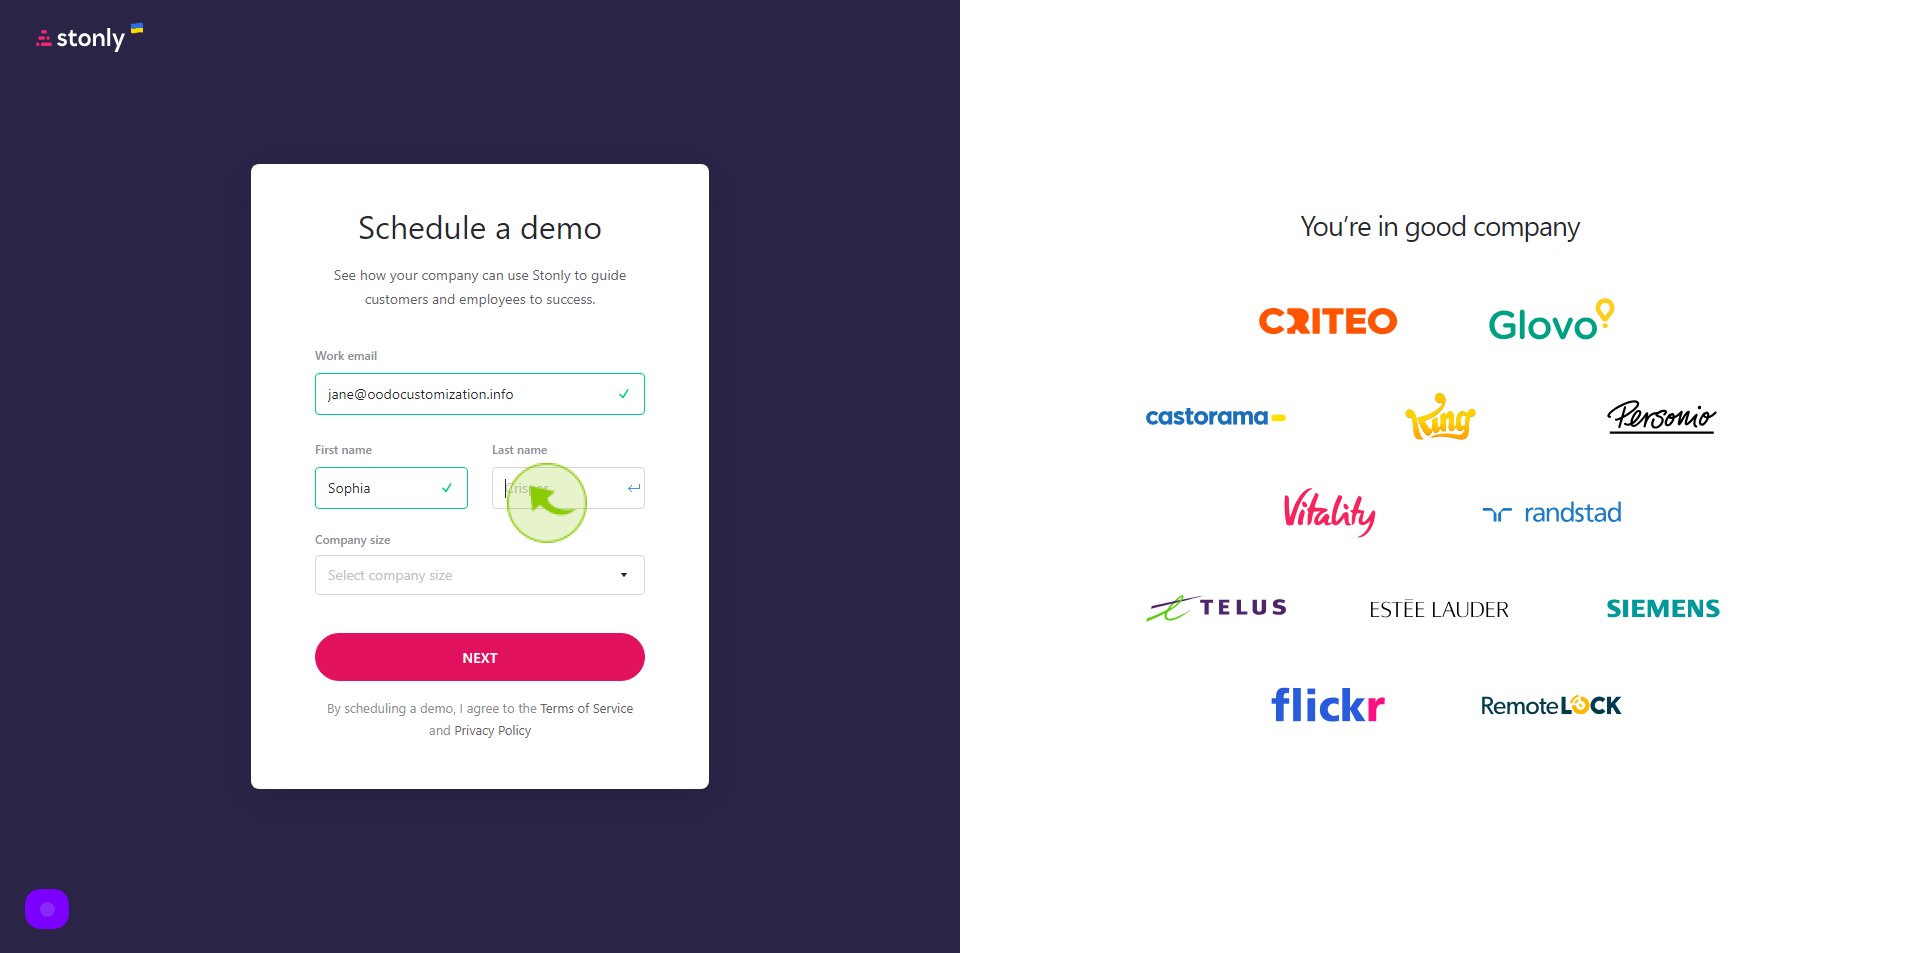
Click the "First Name" field.
Enter your First Name

4
Click the "Last Name" field.
Enter your Last Name
5
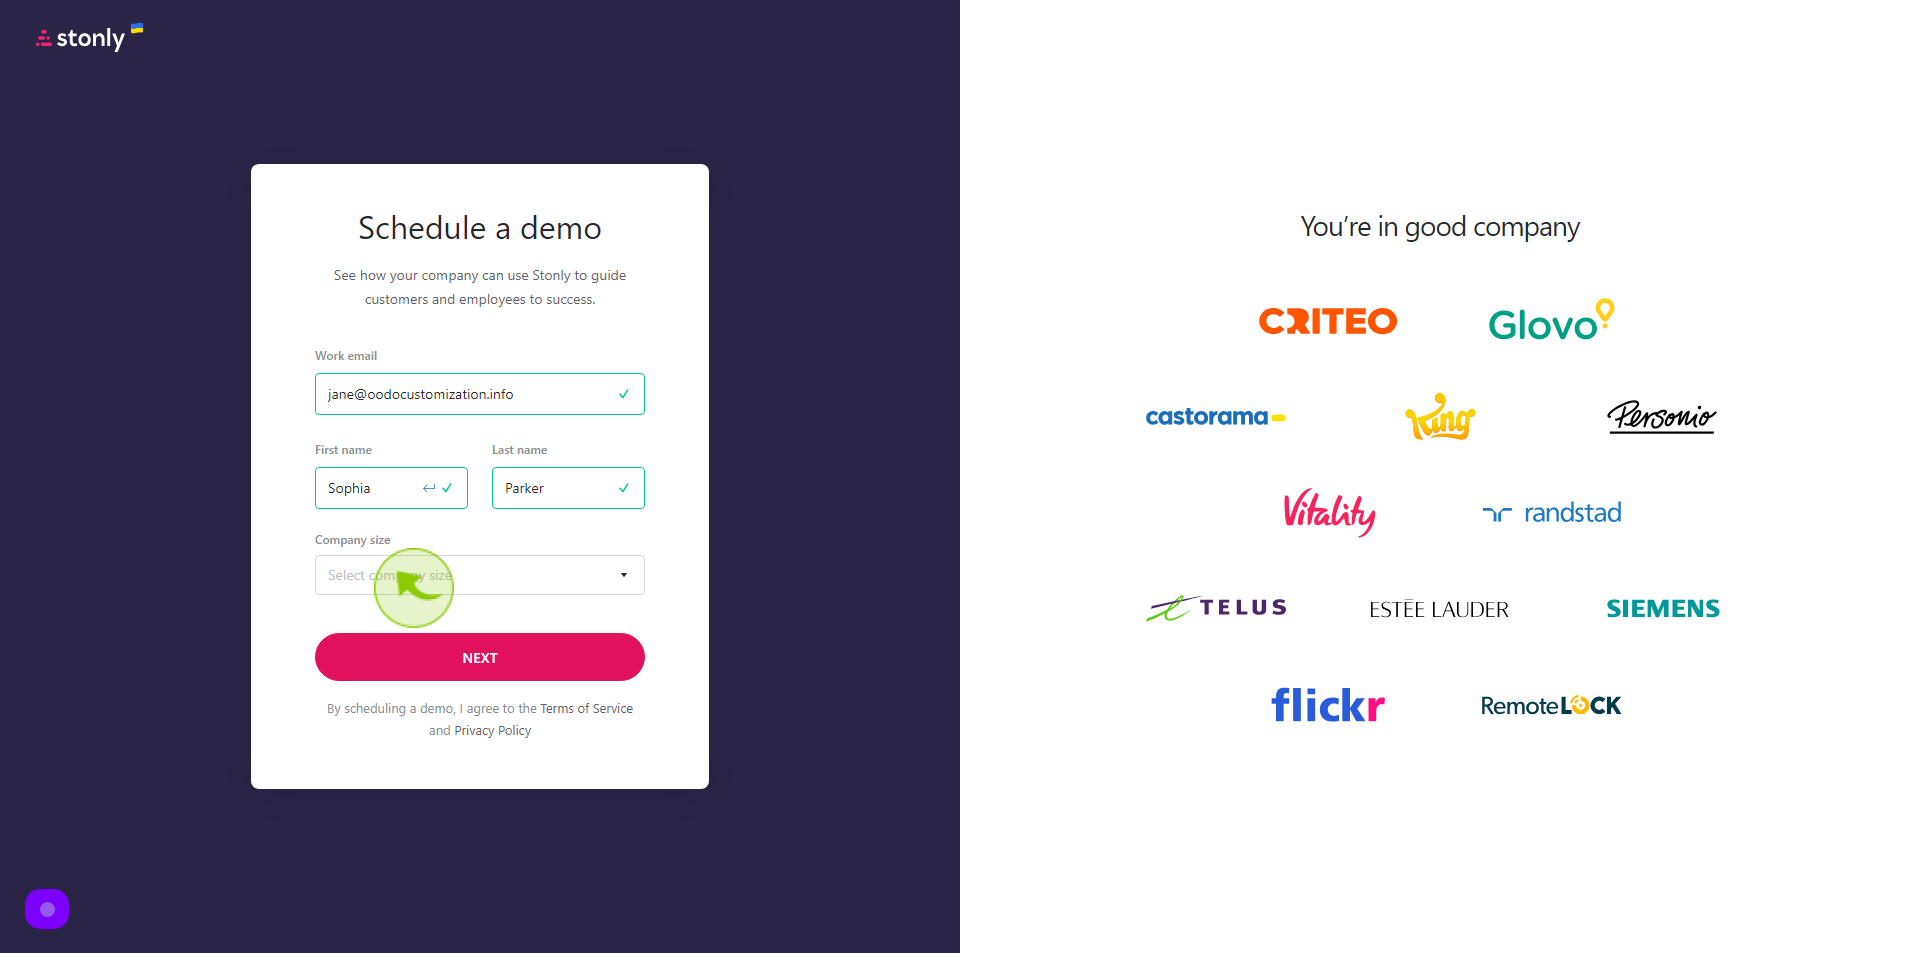
Click "Company Size" field
Enter the Number of Employee
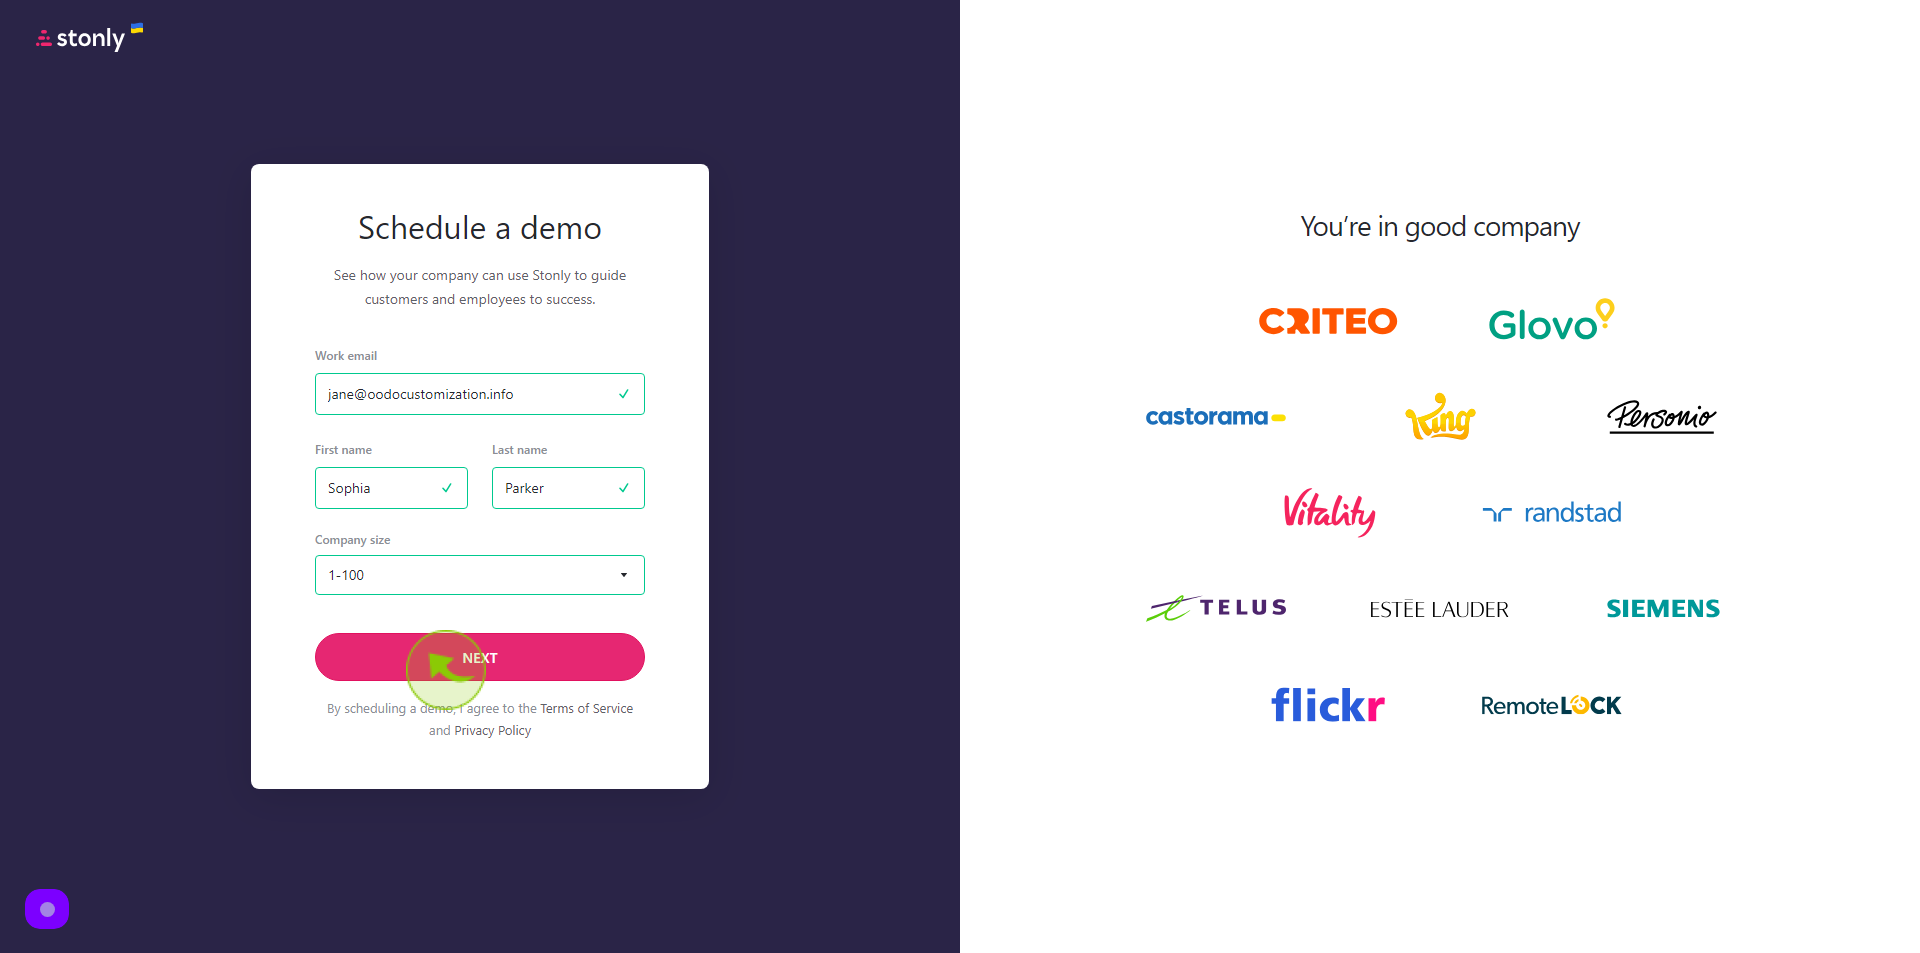
6
Click "Next"
By clicking on Next, your demo request will be created.