How to add a mask to a design in Canva ?
|
 canva
|
5 months ago
|
9 Steps
This guide will show you how to add a mask to your designs in Canva. Learn how to creatively reveal or conceal parts of your images, shapes, and text using Canva's intuitive masking tools. Explore different masking techniques, such as clipping masks and shape masks, to add depth, dimension, and visual interest to your designs.
How to add a mask to a design in Canva ?
|
 canva
|
9 Steps
1
Navigate to https://www.canva.com/
2
Select a "Canva Design"
Select the canva design in which you want to use for your mask.

3
Click on "Elements"

4
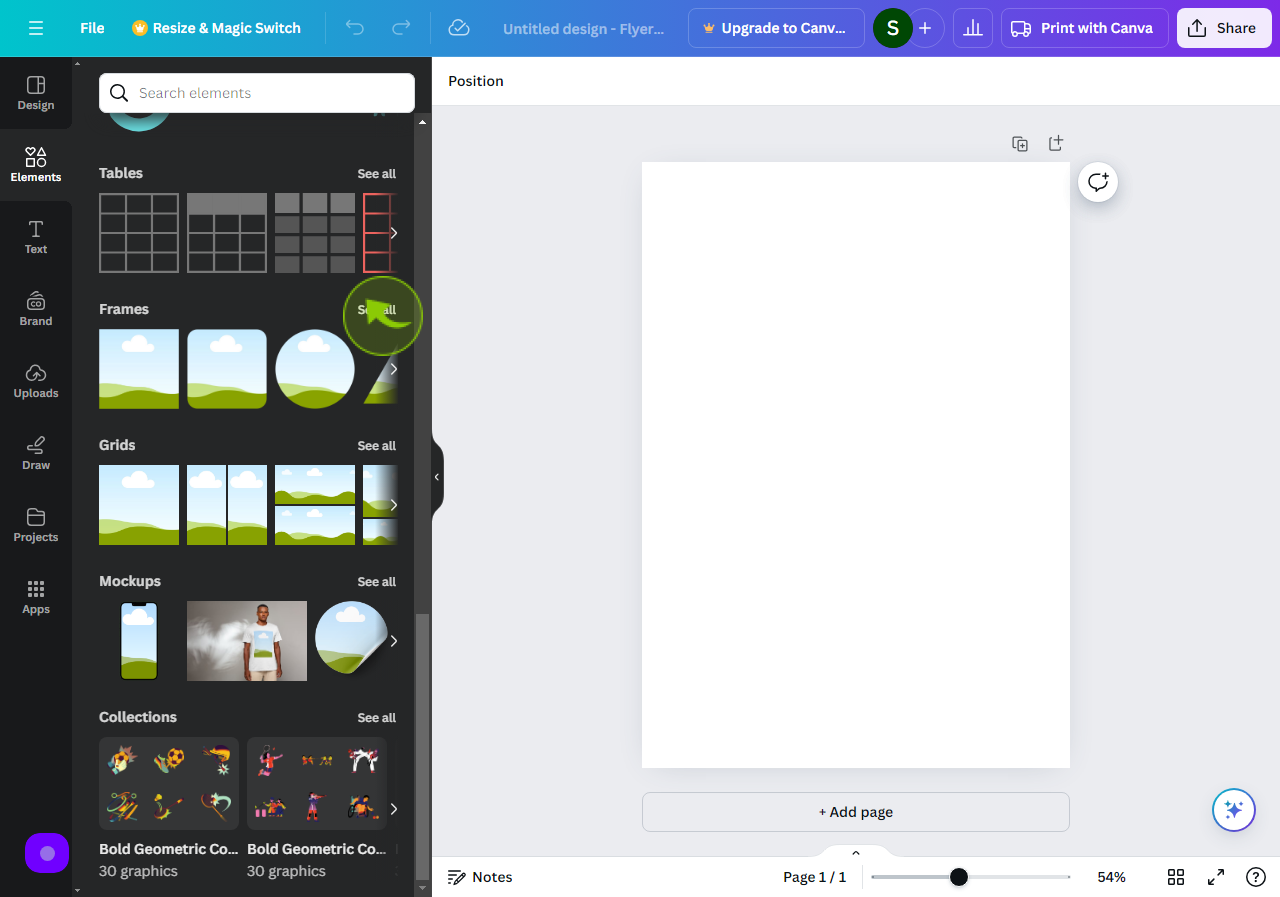
Scroll down to "Frames" and then Click on "See all".
5
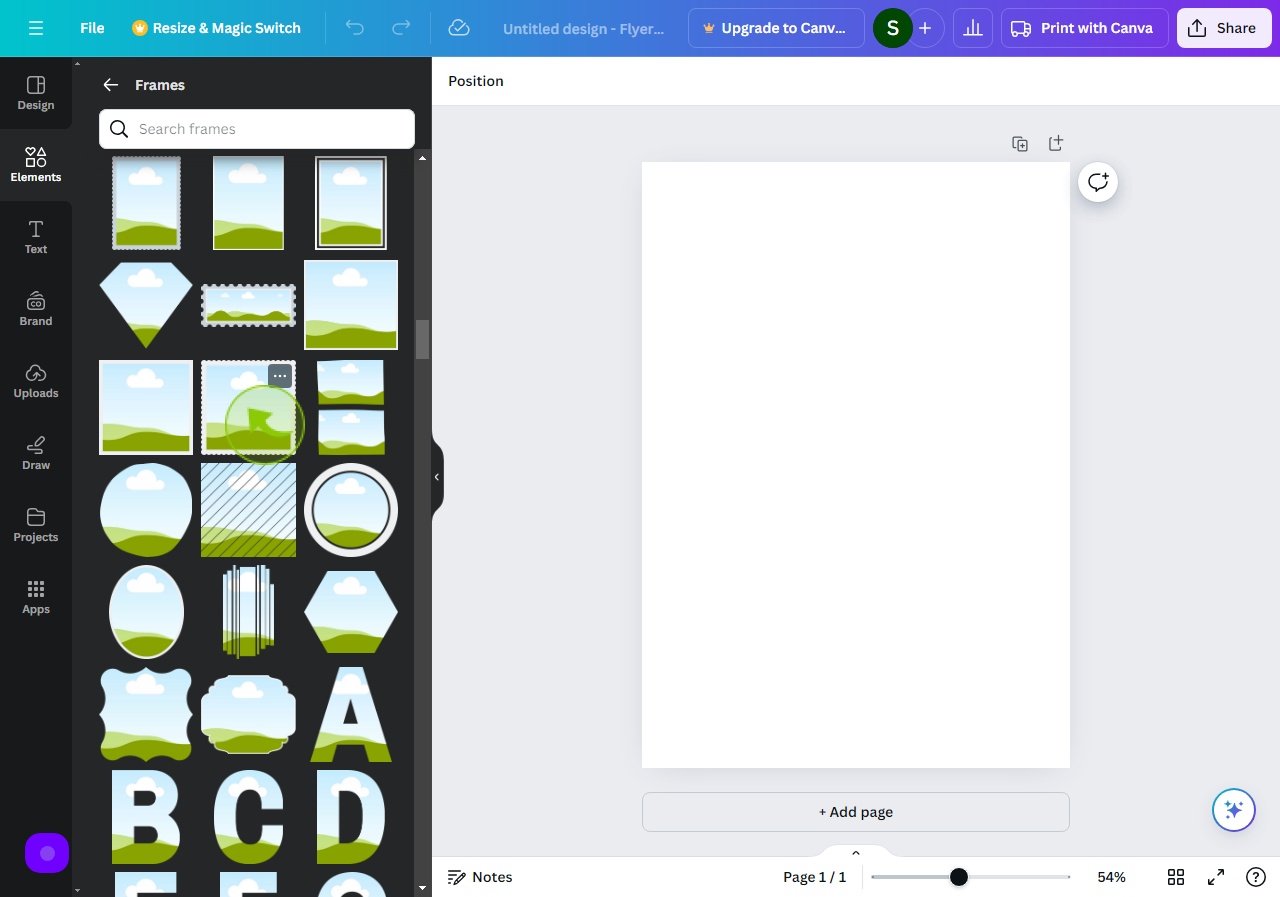
Select the "Frames"
Pick out the frames as per your prefrences.
6
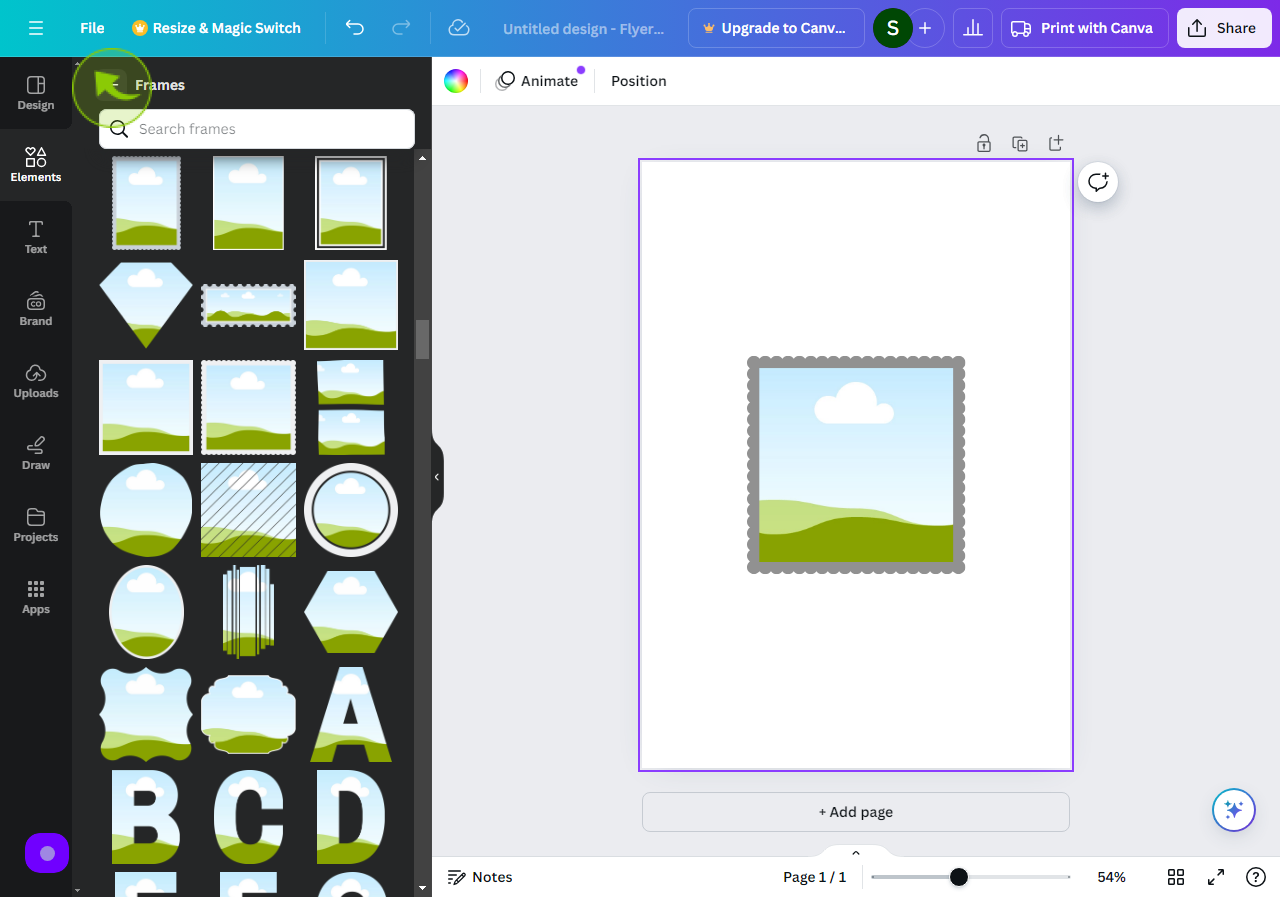
Press the Back Arrow to Go Back to the Canva "Elements" page.
7
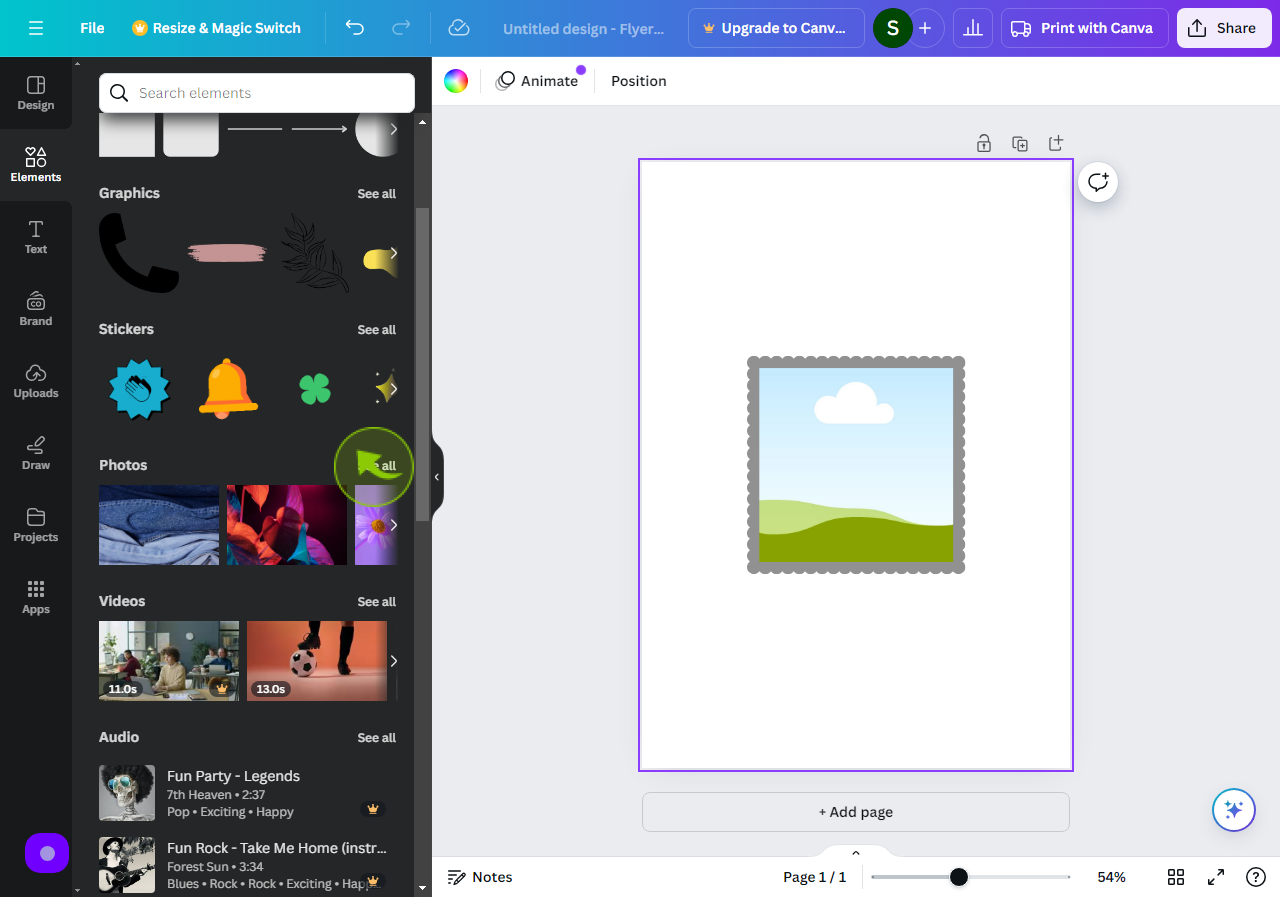
Scroll Up to "Photos" and then Click on "See all"
8
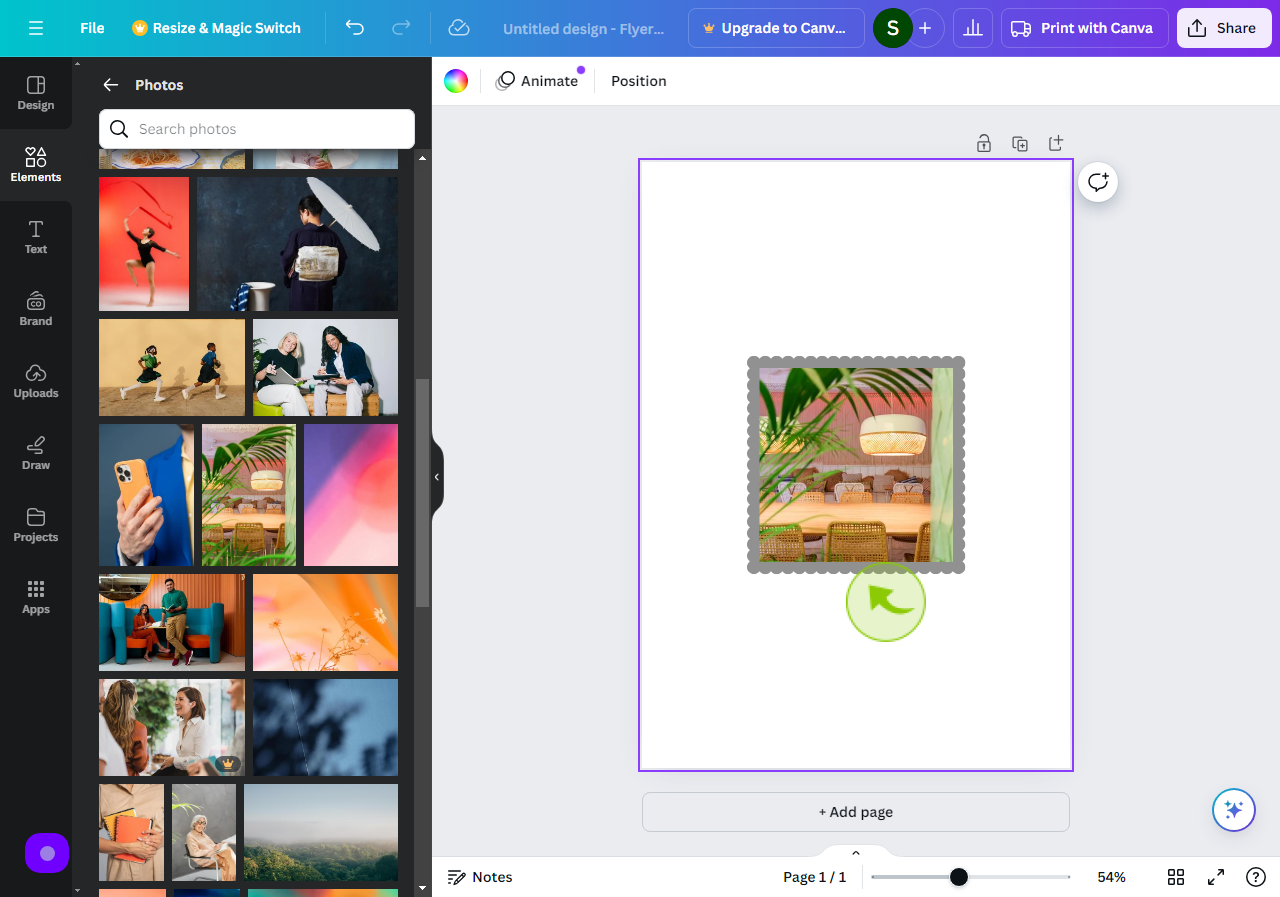
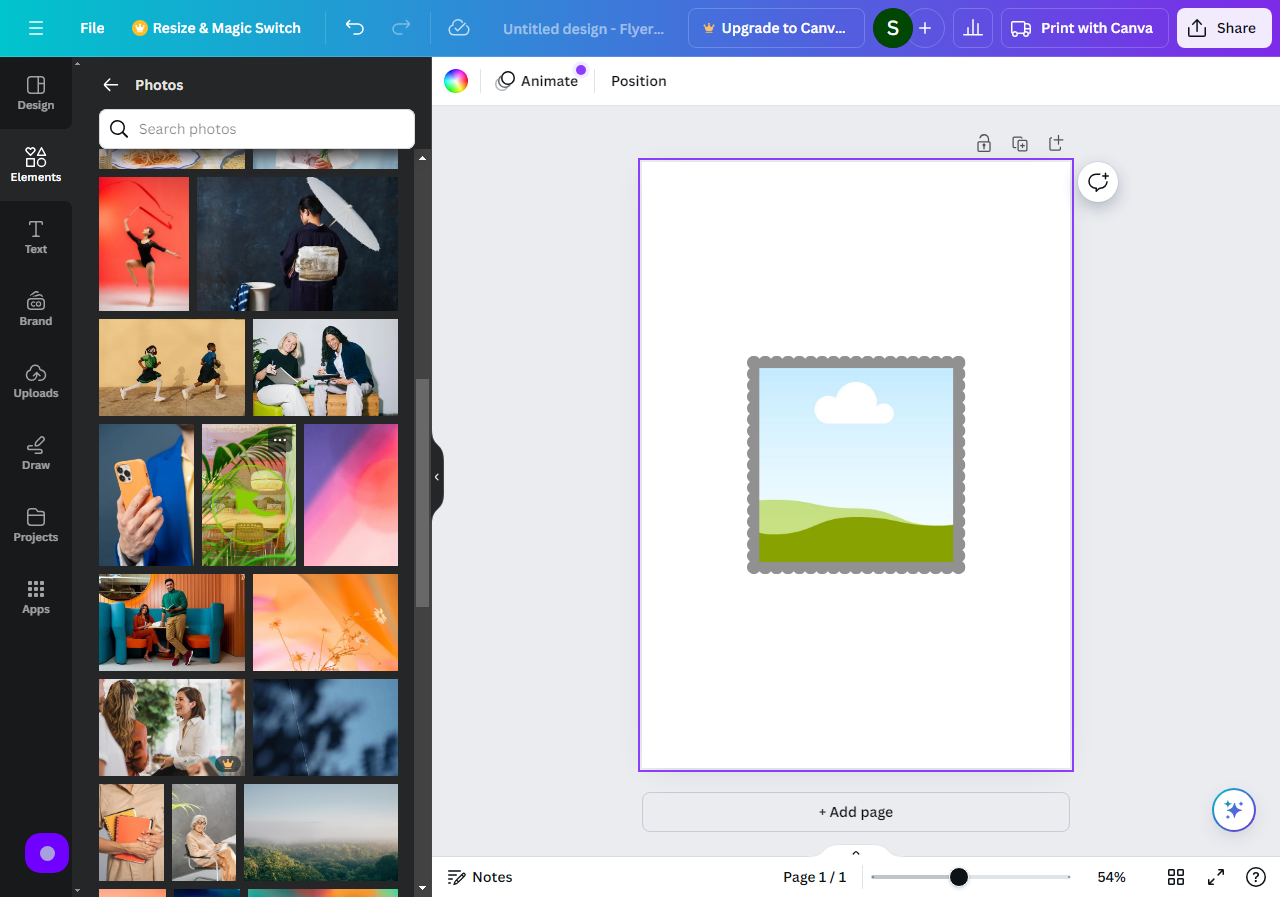
Select a "Photos"
Select a photo from the gallery or upload your own by selecting Uploads from the Canva side panel.
9
Drag your selected "Photo" onto the Frame.
Here is your photo, ready.
