How to move Rows in Excel ?
|
 Excel
|
Excel
|
6 months ago
|
7 Steps
This document will teach you how to move rows in Excel. You can do this by dragging and dropping the row, cutting and pasting the row, or using the Move or Copy Sheet dialog box. This is a great skill to know if you need to rearrange your data or create a new sheet from existing data.
How to move Rows in Excel ?
|
Excel
|
7 Steps

1
Launch Excel and open the workbook containing the rows you want to move.
Make sure you are on the correct worksheet.
2
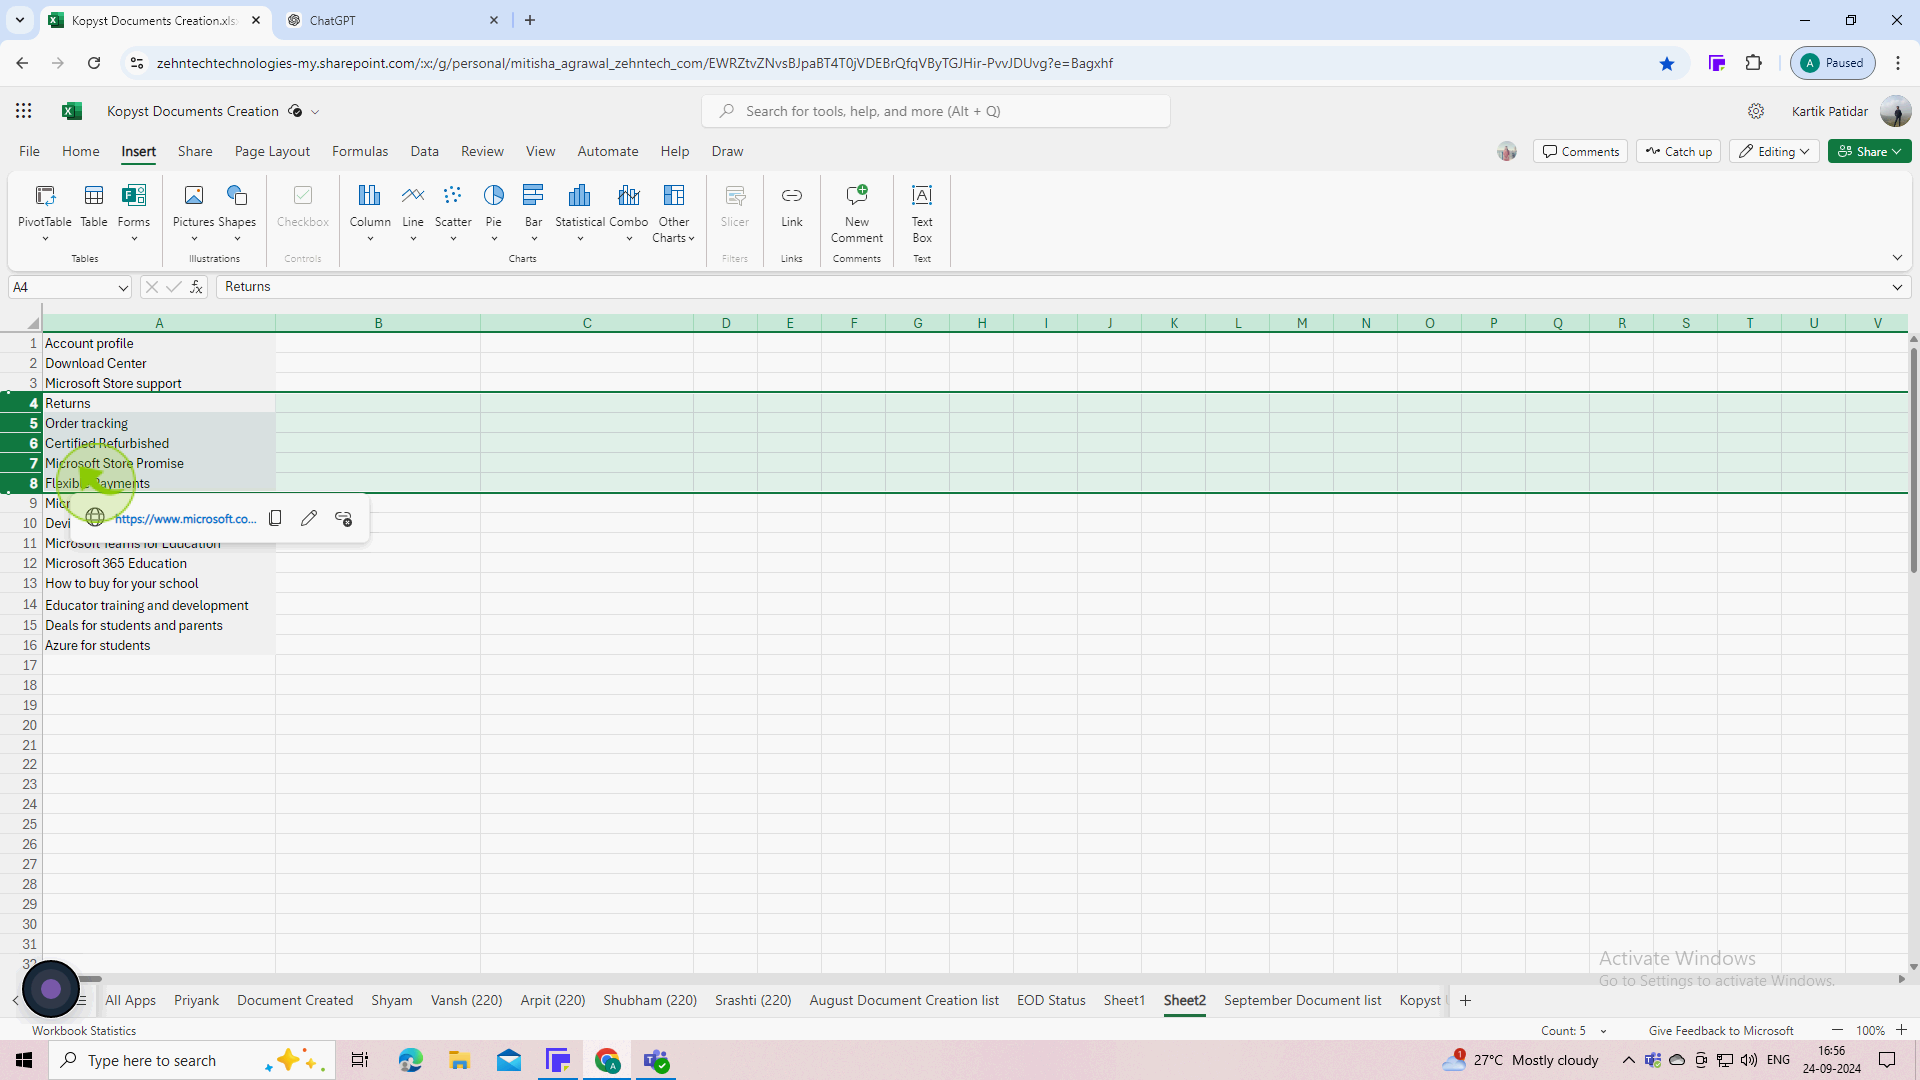
Click on the "Row" number on the left side of the worksheet to select the entire row. You can also click and drag to select "Multiple Rows".
Selecting the row highlights it, indicating that it’s ready to be moved.
3
Right click on the selected rows and choose either "Cut" (to move) or "Copy" (to duplicate).
Cutting will remove the row from its original location, while copying will leave the original intact.

4
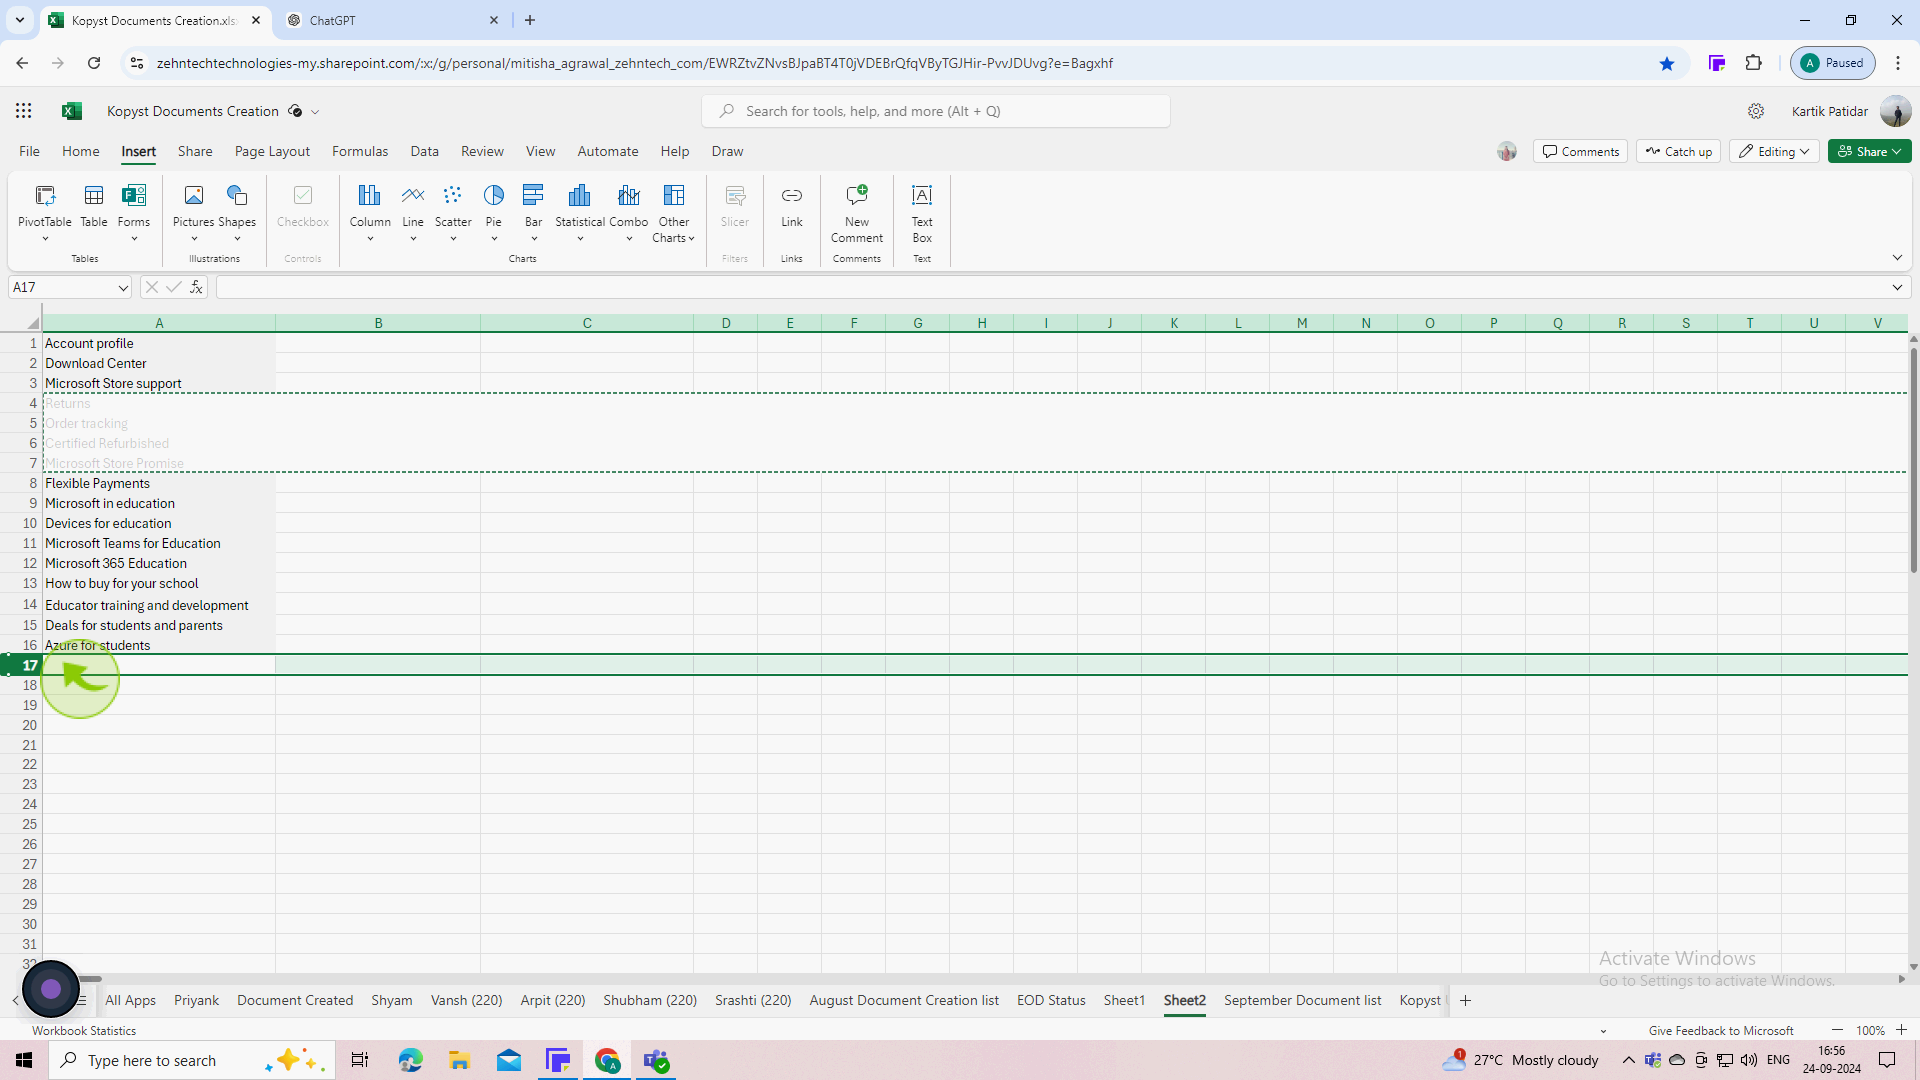
Click on the "Row" number where you want to move the selected rows. This can be above or below the destination row.
The selected row indicates where your rows will be moved to. If you cut, the original row will disappear after pasting.
5
Right click on the "Destination" row number and select "Insert Cut Cells" (if you cut) or simply "Paste" (if you copied).
Inserting cut cells moves the original row(s) to the new location. Pasting duplicates the rows at the new location.

6
If needed, adjust any formatting or formulas that might be affected by the move.
Ensure that your worksheet looks as intended after the move.

7
Click on the "Save" icon or go to "File" > "Save" to save your changes.
Saving ensures that your modifications are not lost. By following these steps, you can easily move rows in Excel.