How to add and track mentoring connection related Tasks using Google Calendar ?
|
 Google Calendar
|
Google Calendar
|
3 months ago
|
11 Steps
Learn how to efficiently manage and keep track of your mentoring tasks using Google Calendar. This document will walk you through the process of adding and organizing tasks related to mentoring connections, such as scheduling meetings, reviewing progress, and providing feedback. By leveraging Google Calendar's powerful features, you can streamline your mentoring workflow and ensure that you stay on top of your commitments.
How to add and track mentoring connection related Tasks using Google Calendar ?
|
Google Calendar
|
11 Steps

1
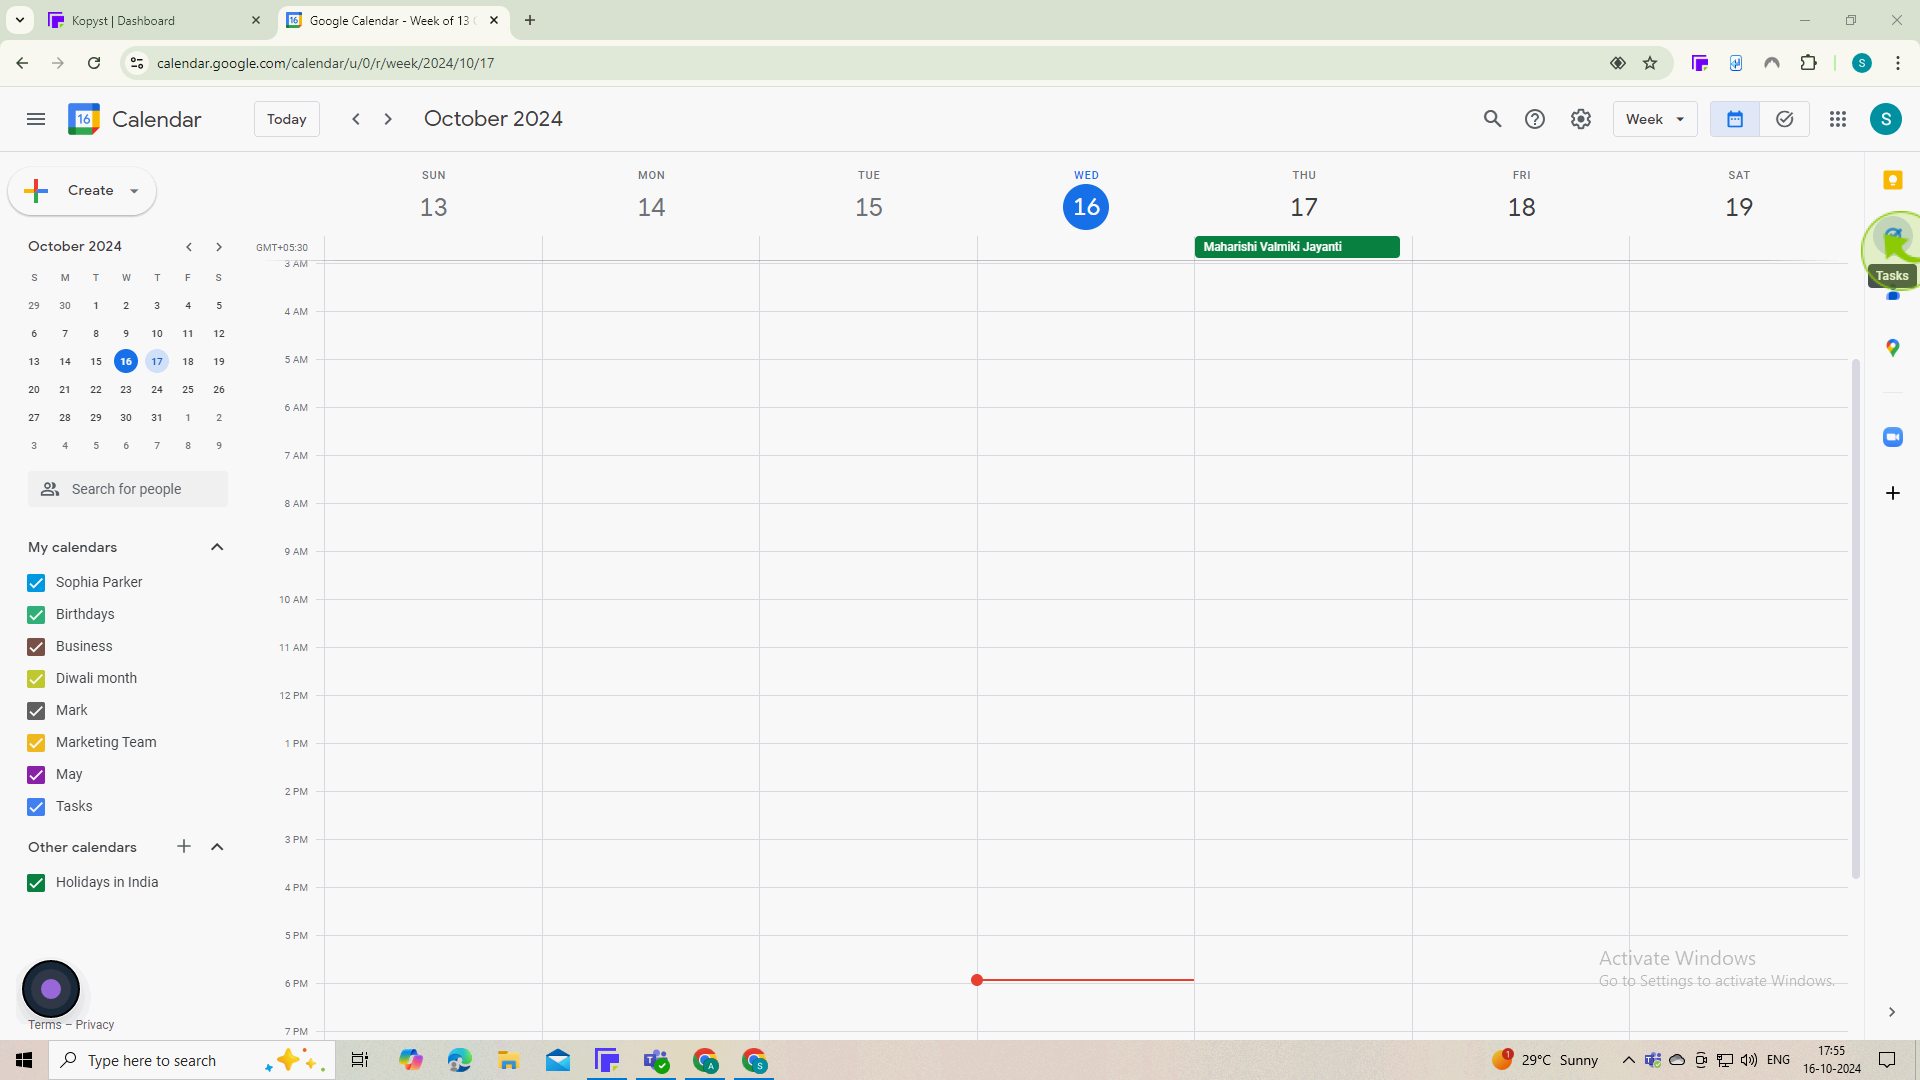
Open "Google Calendar" on your web browser or the app on your mobile device.
Make sure you’re logged in to your Google account.
2
On the left sidebar, locate and click on the "Tasks" icon (a checkmark).
This allows you to create and manage tasks separately from events.
3
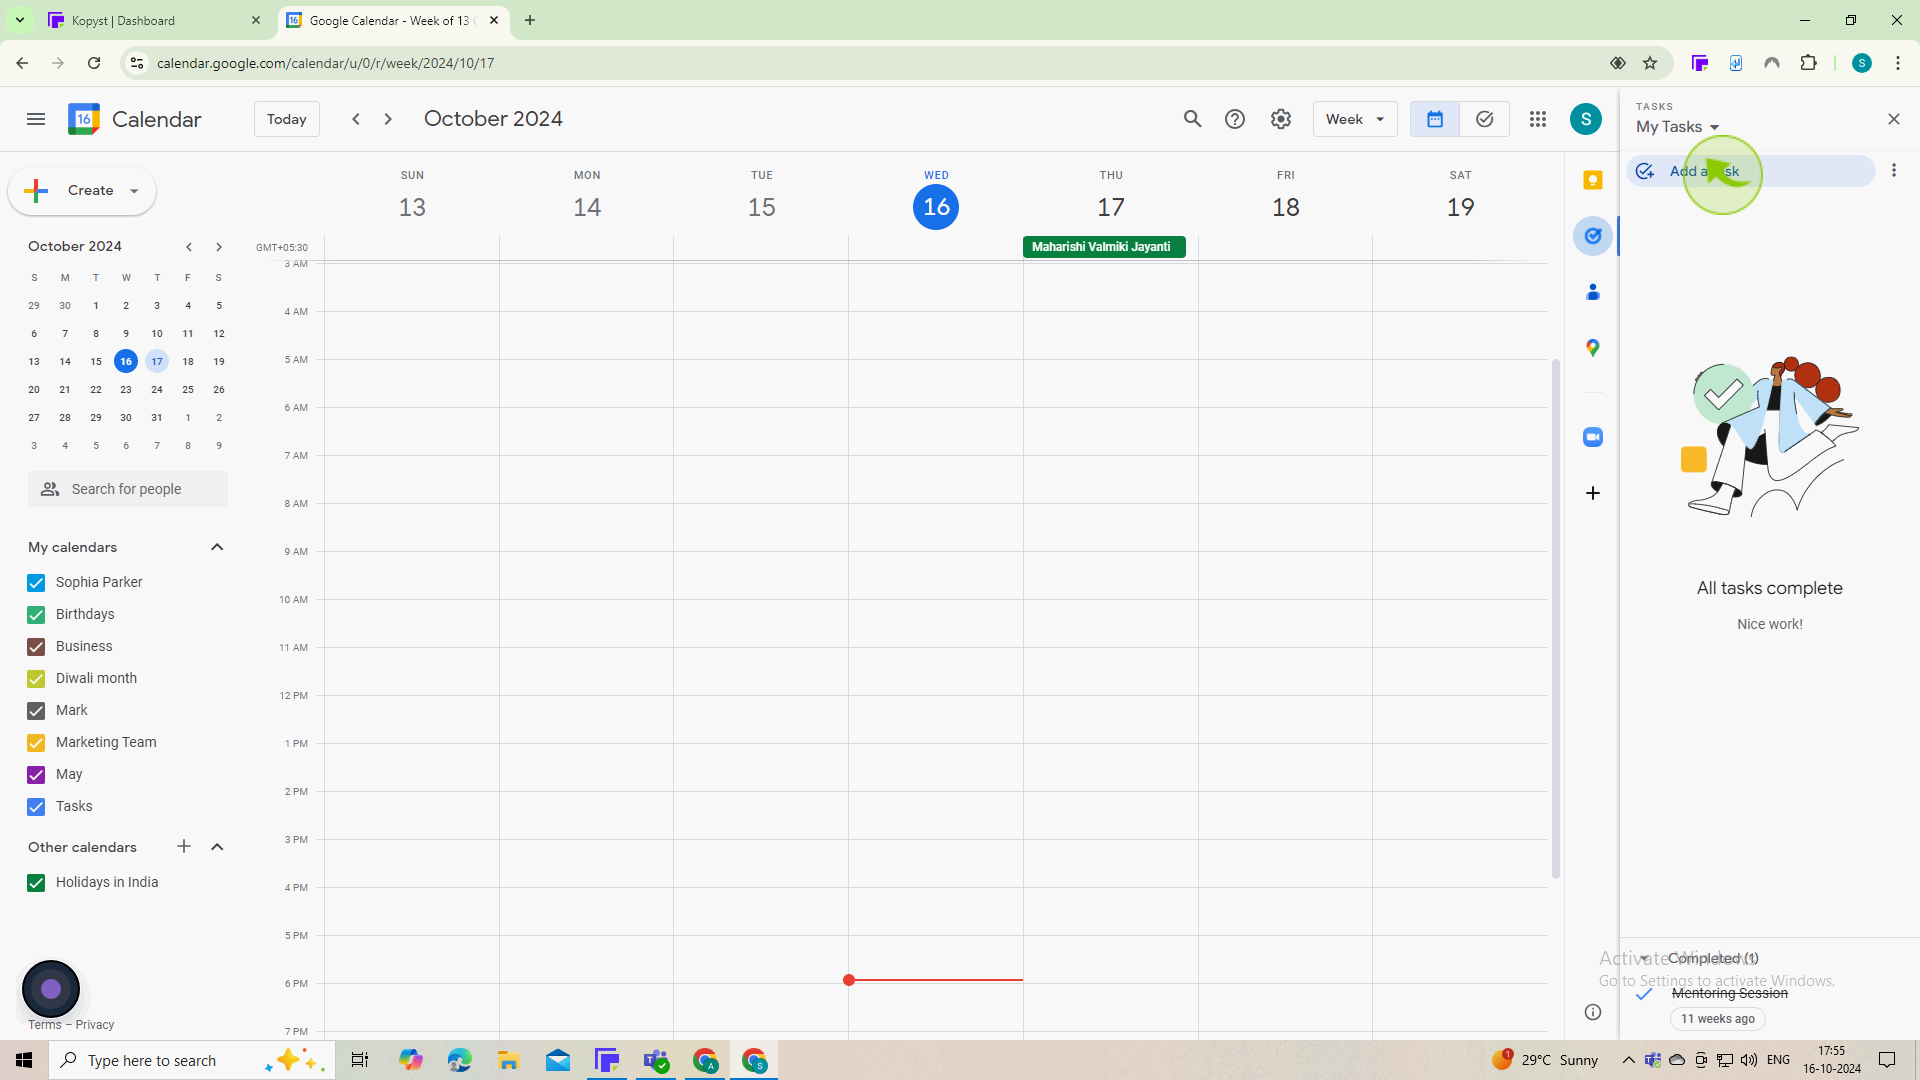
Click on "Add a task" or the "+" button within the Tasks panel.
This opens a field where you can enter the task details.
4
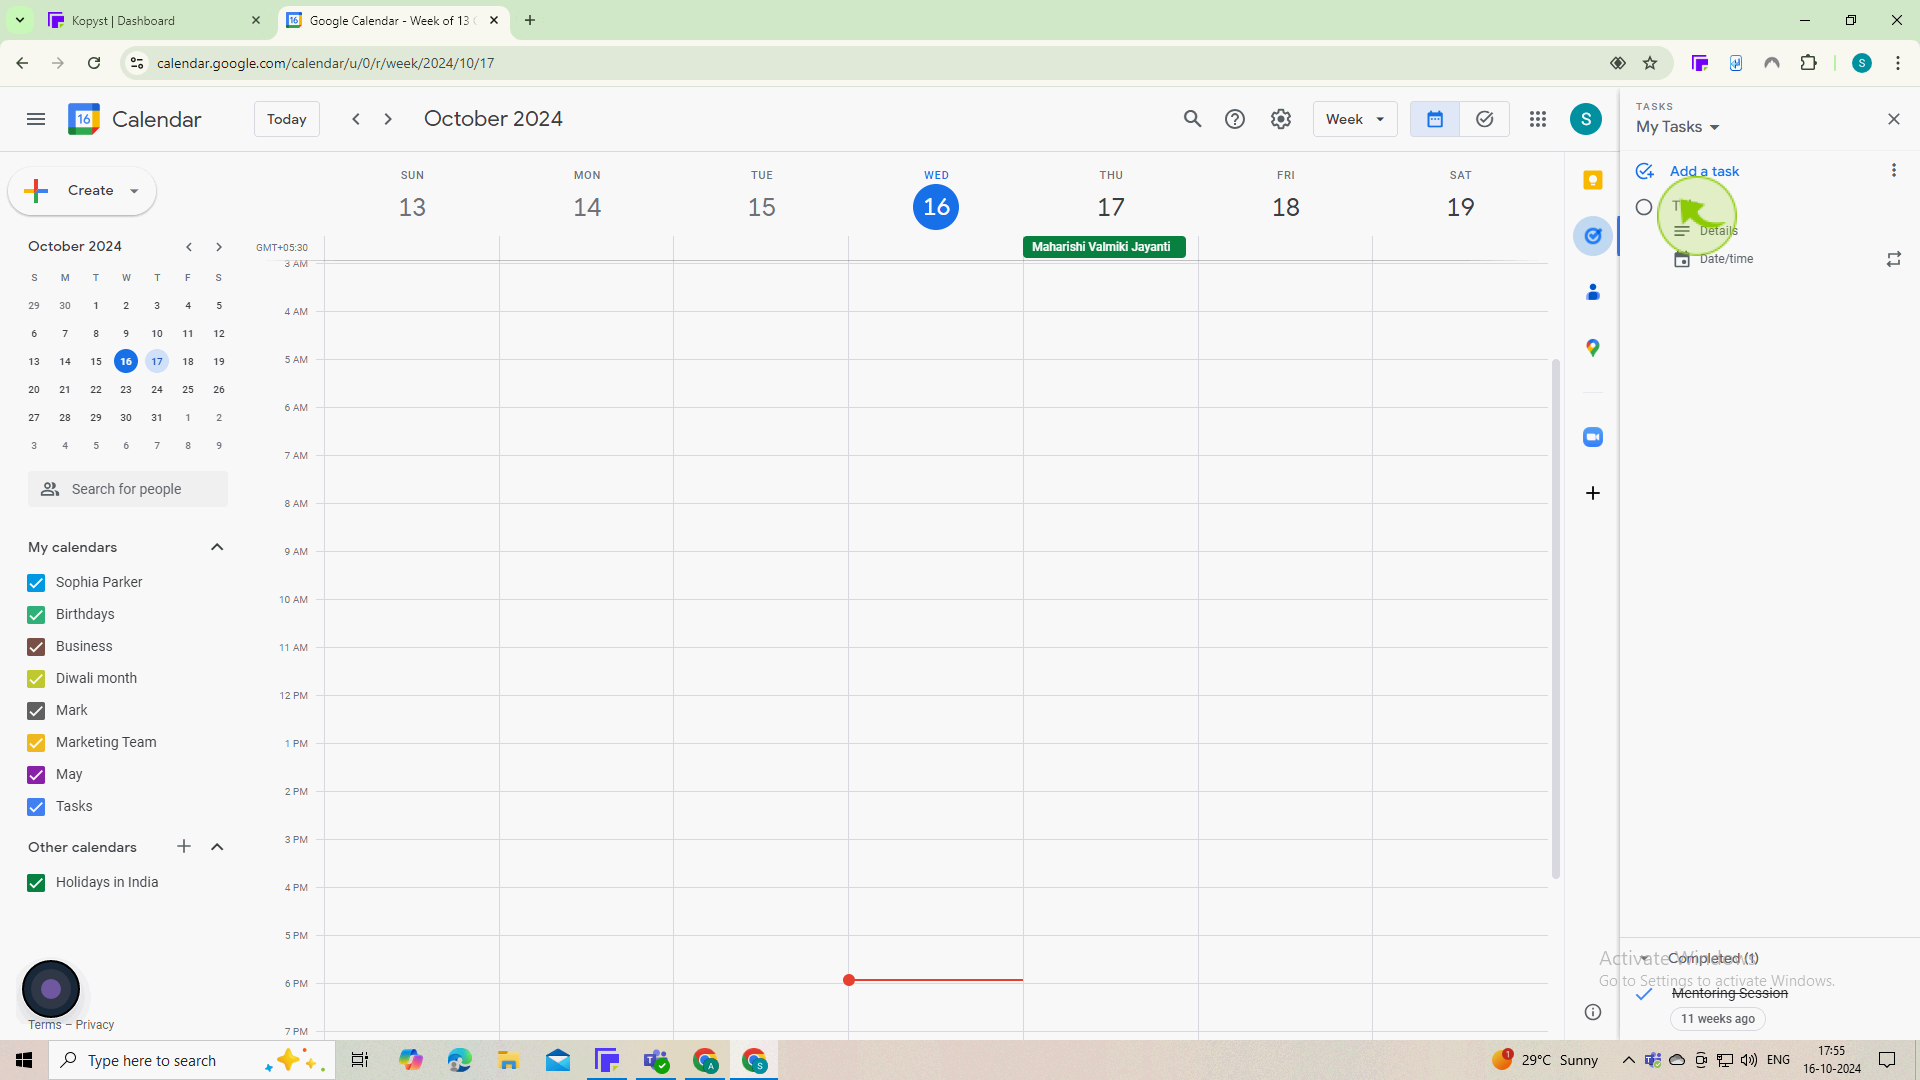
Type a clear and descriptive "Title" for your mentoring task
A specific title helps you quickly identify the task.
5
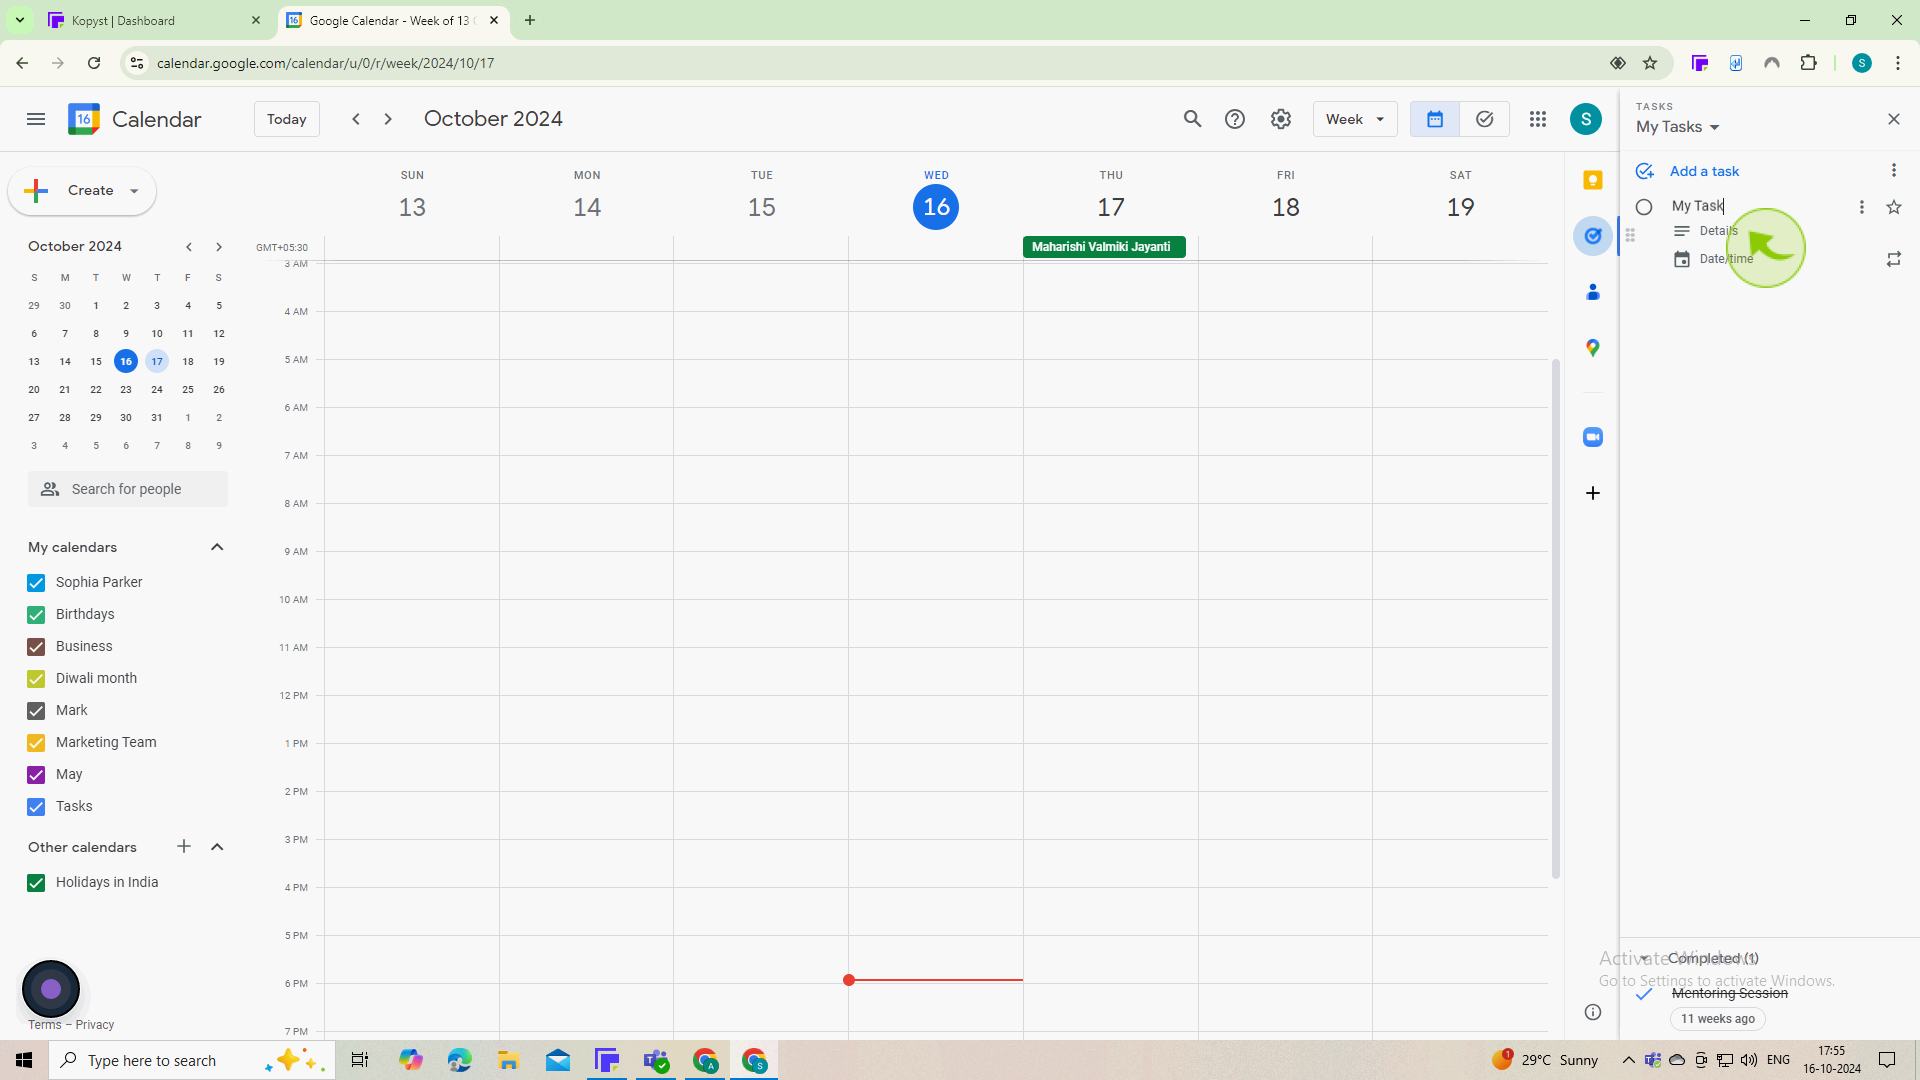
Click on the task to expand it and enter additional "Details", such as notes, deadlines, or links.
This provides context and resources related to the task, making it easier to complete.
6
Click on the "Calendar" icon
Setting a due date helps you prioritize and manage your time effectively.
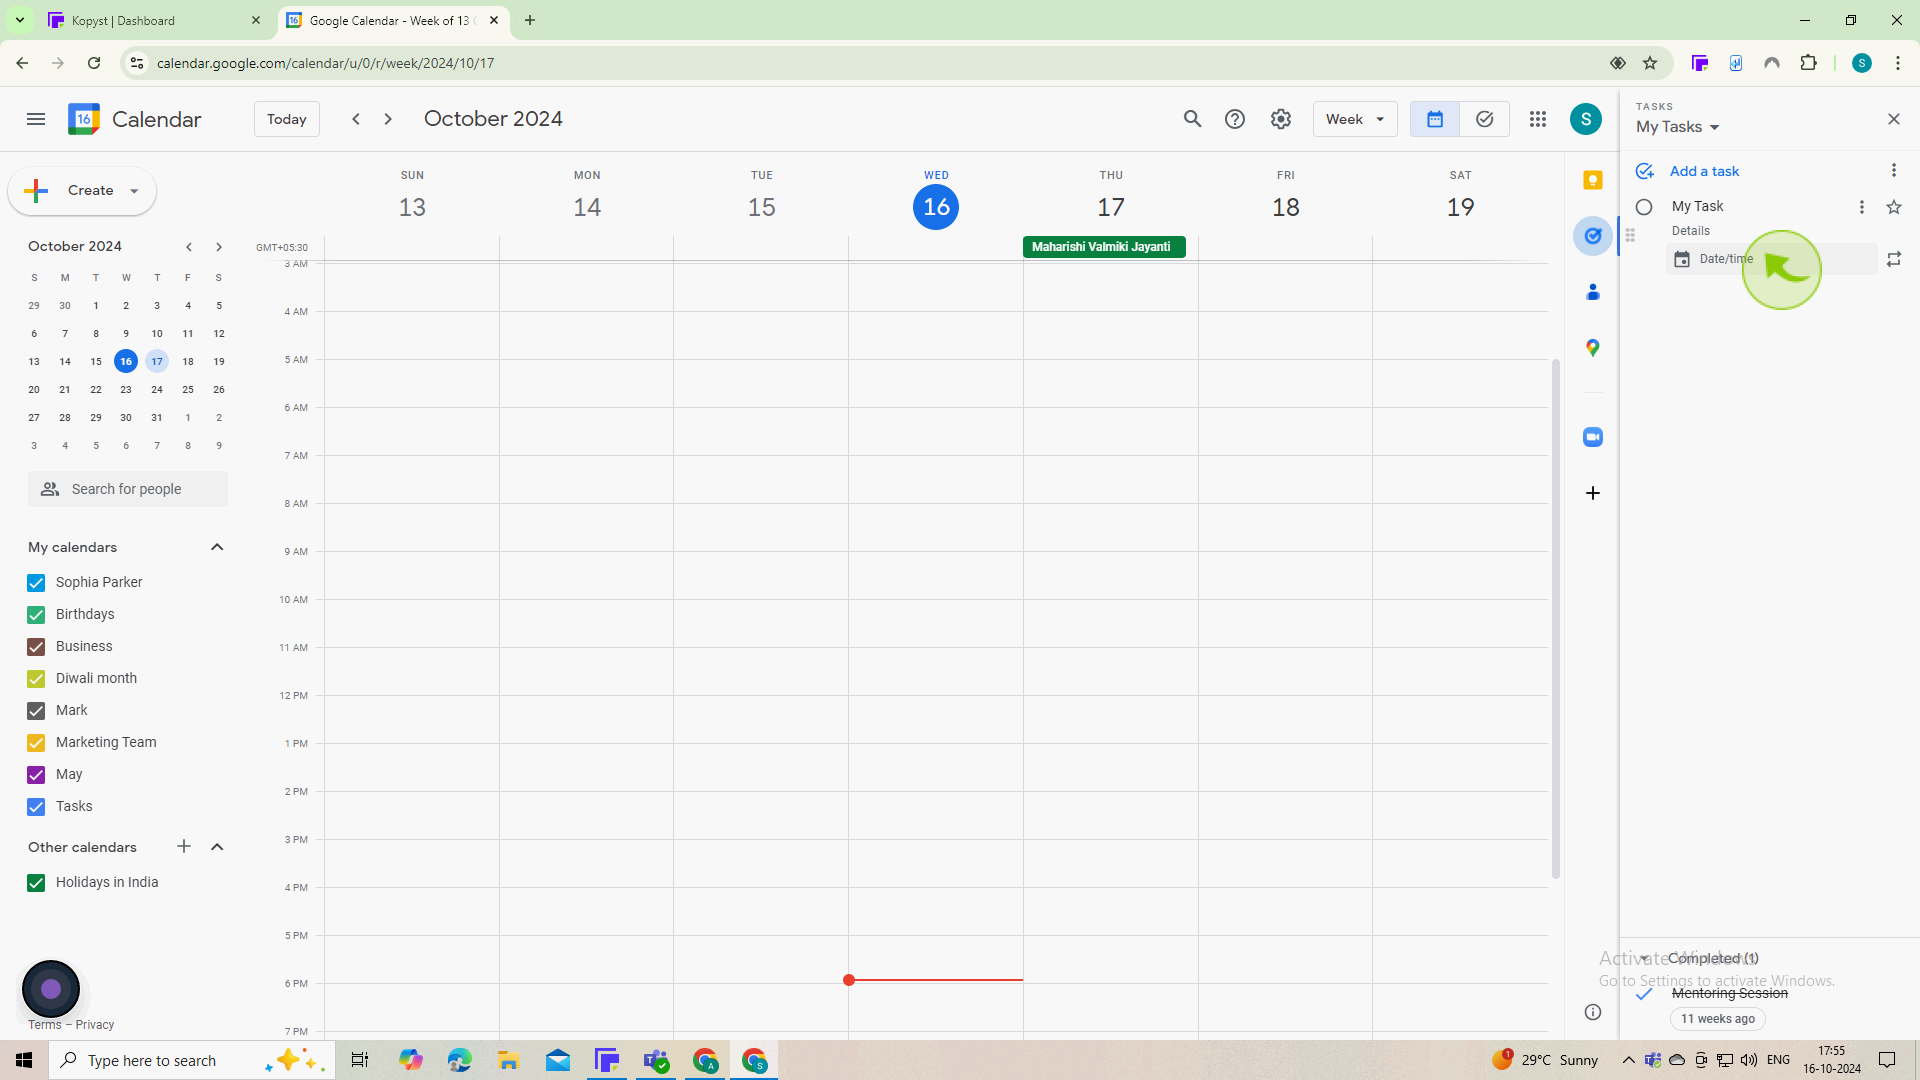
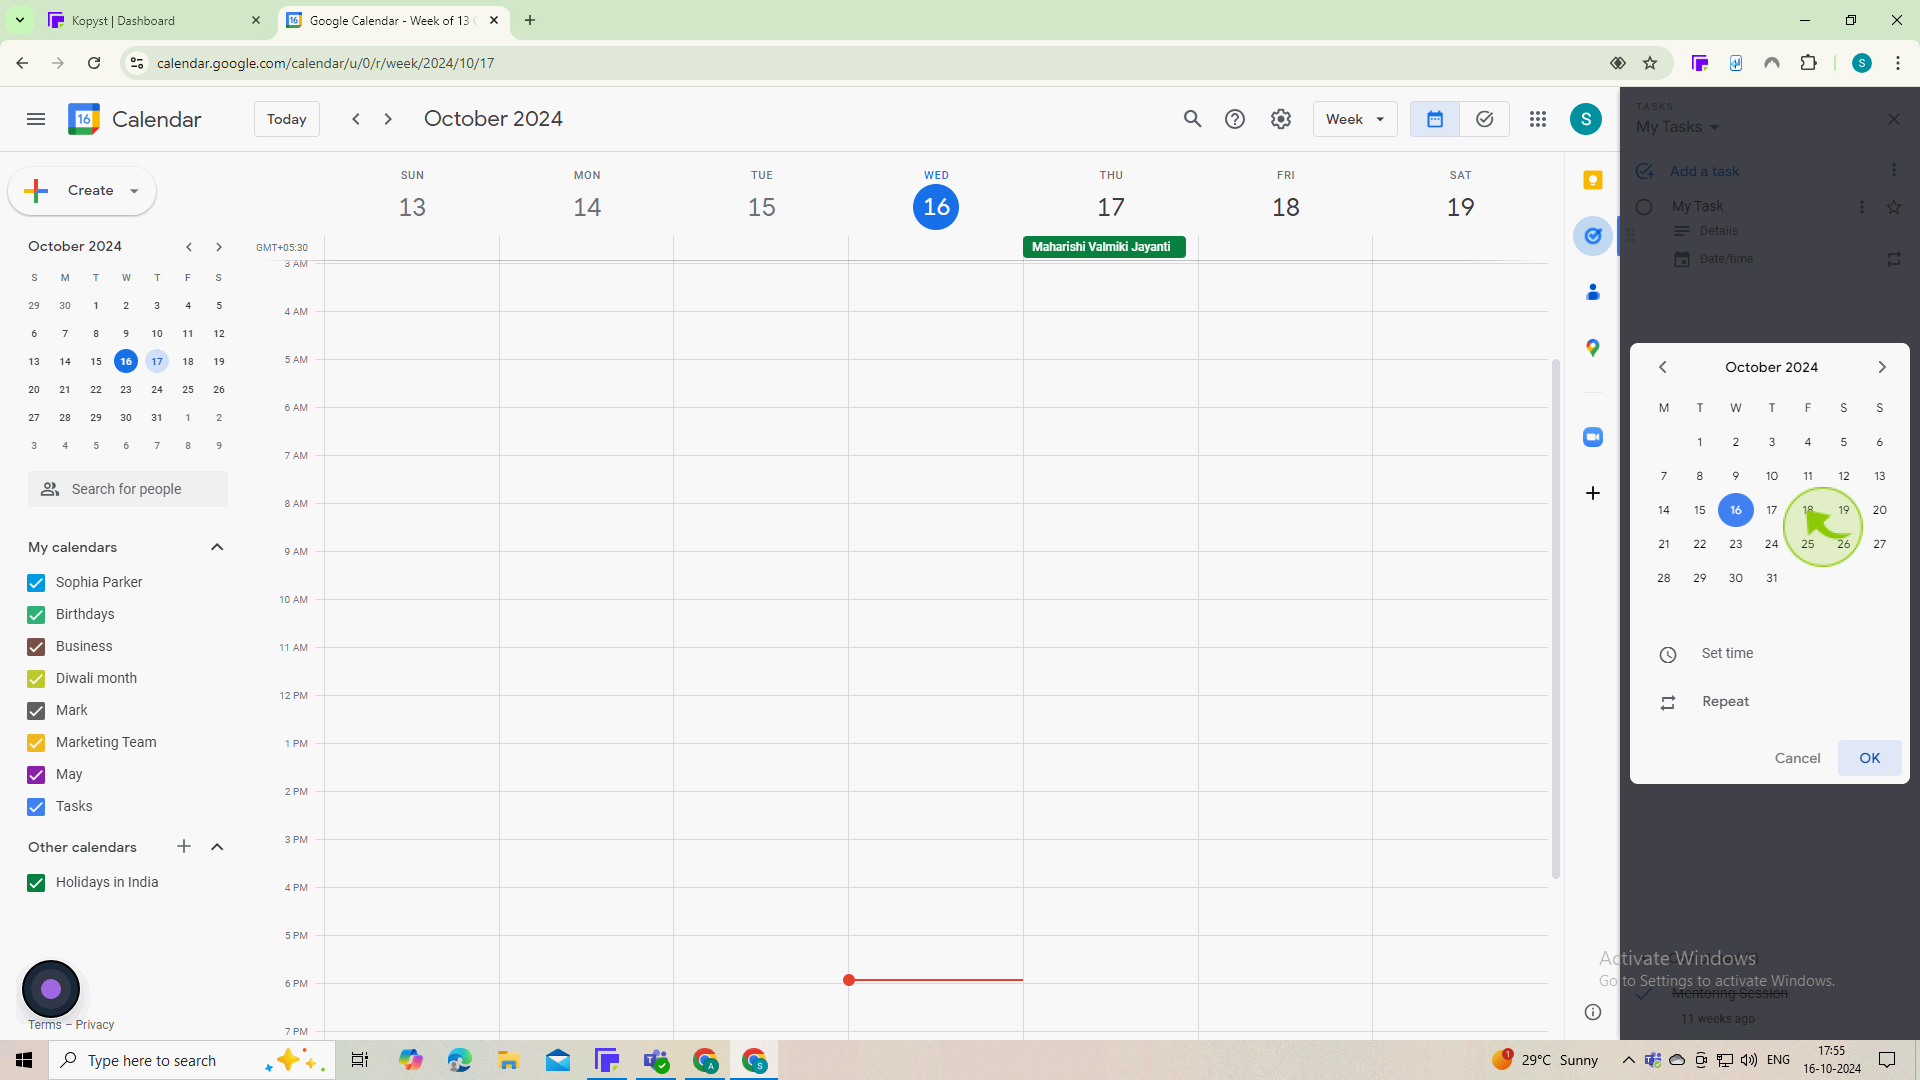
7
Select a due "Date" for the task.
Setting a due date helps you prioritize and manage your time effectively.
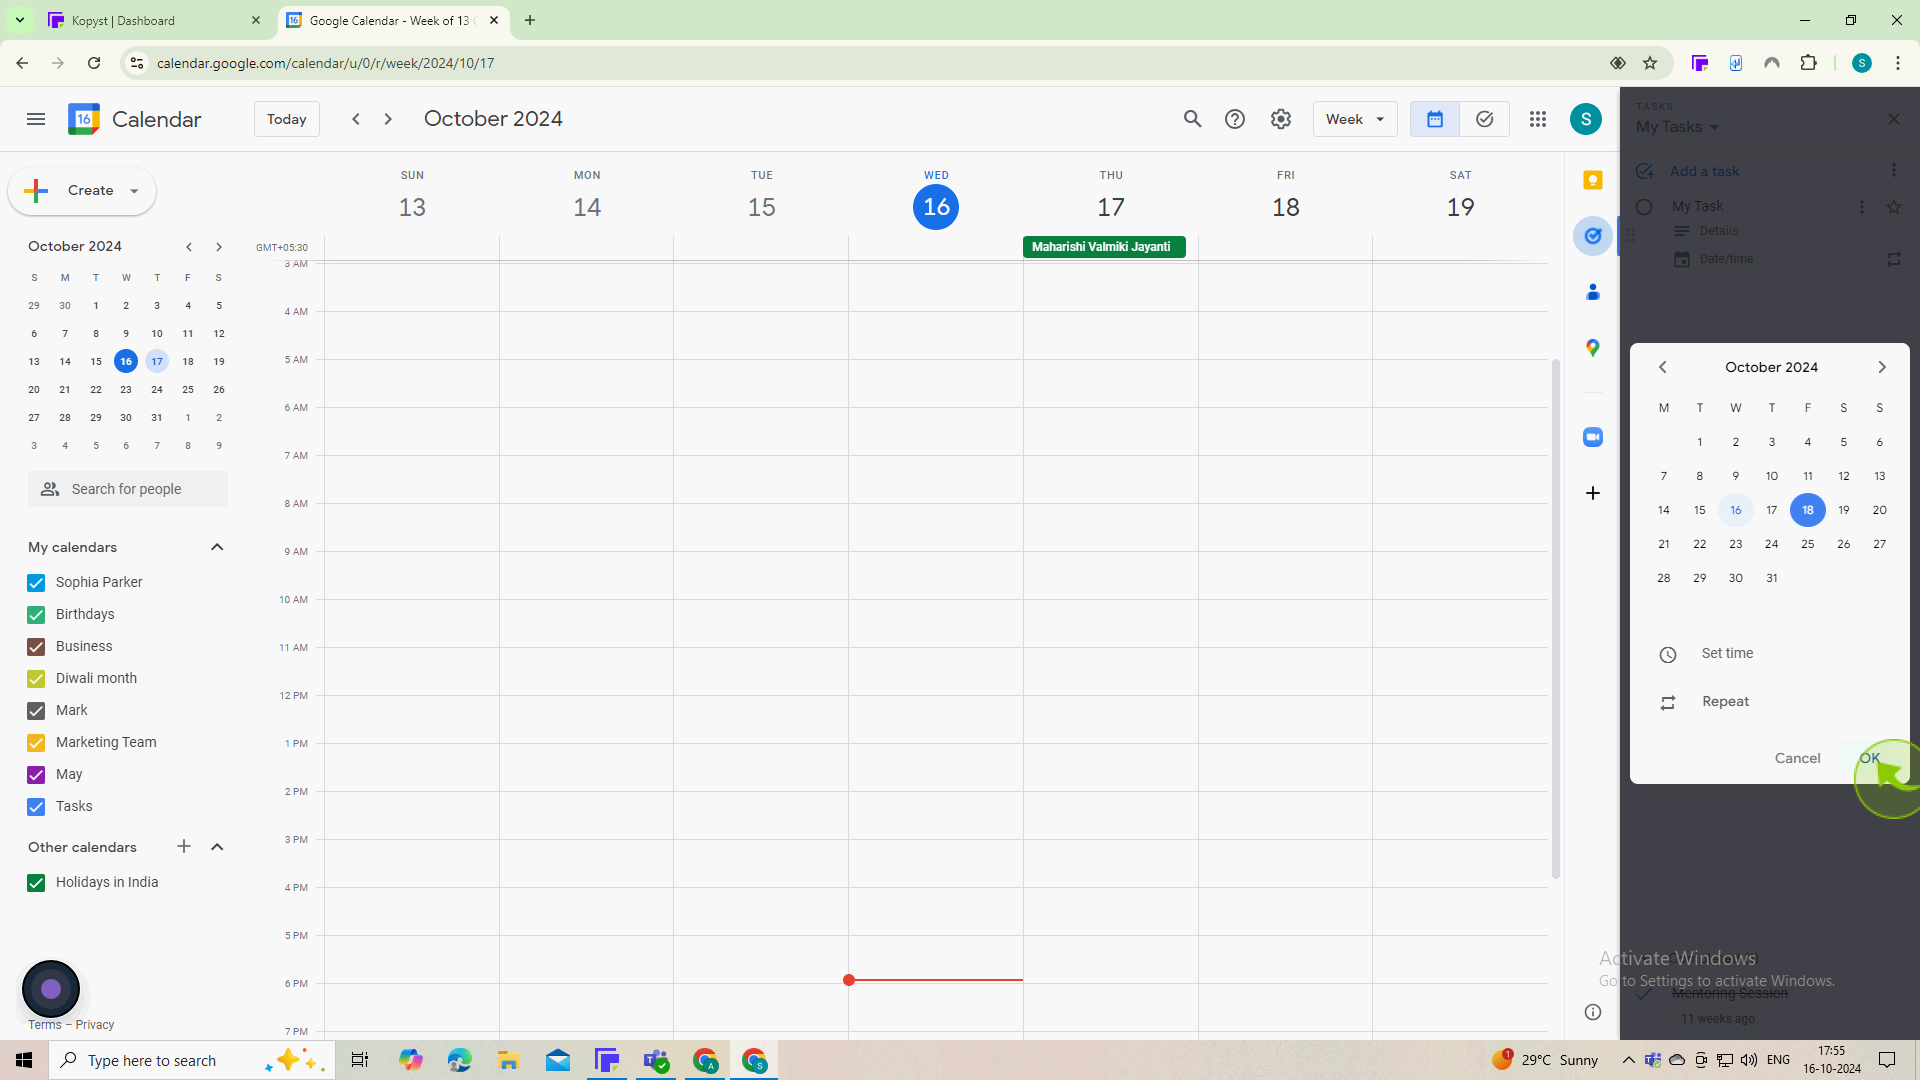
8
Click on "OK"
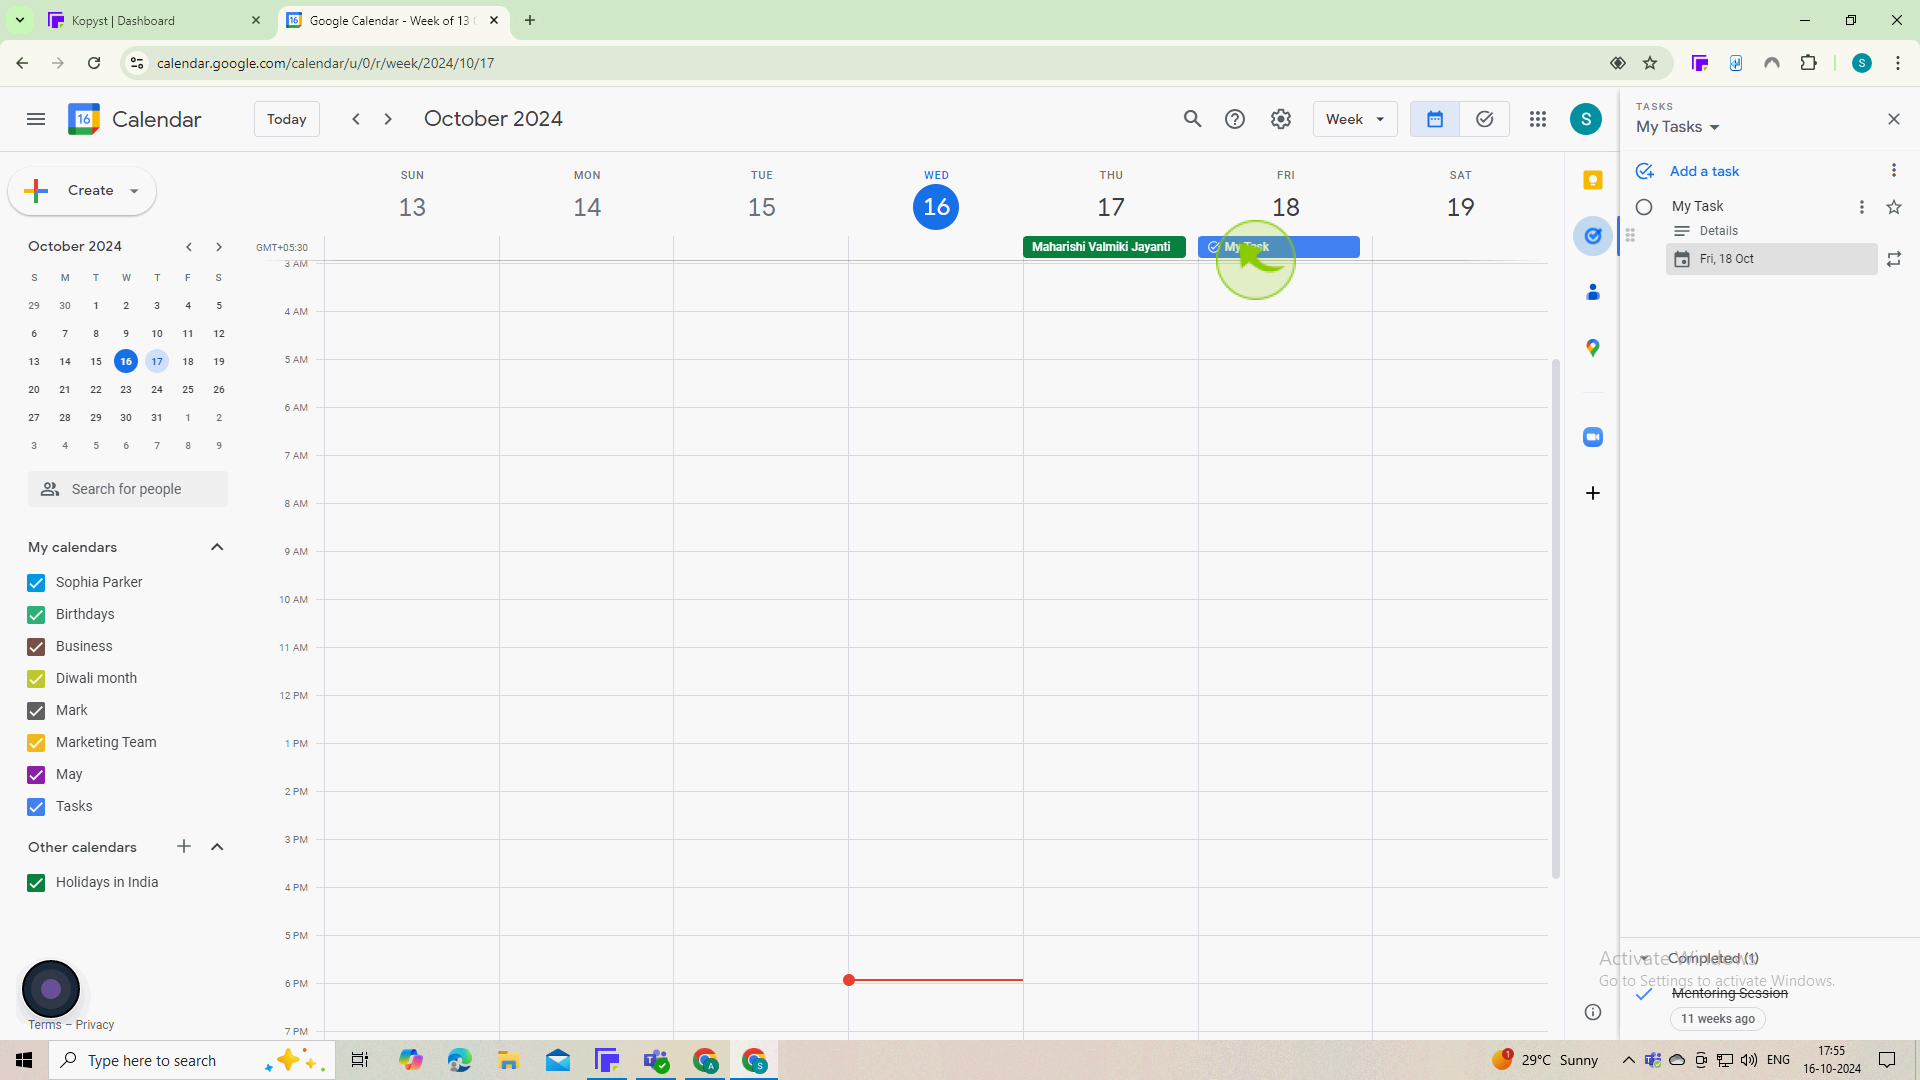
9
Click on your "Task" to review it.
Regularly check your Tasks list and update the status (e.g., marking tasks as completed).
10
Click "Mark Completed" once action has been completed
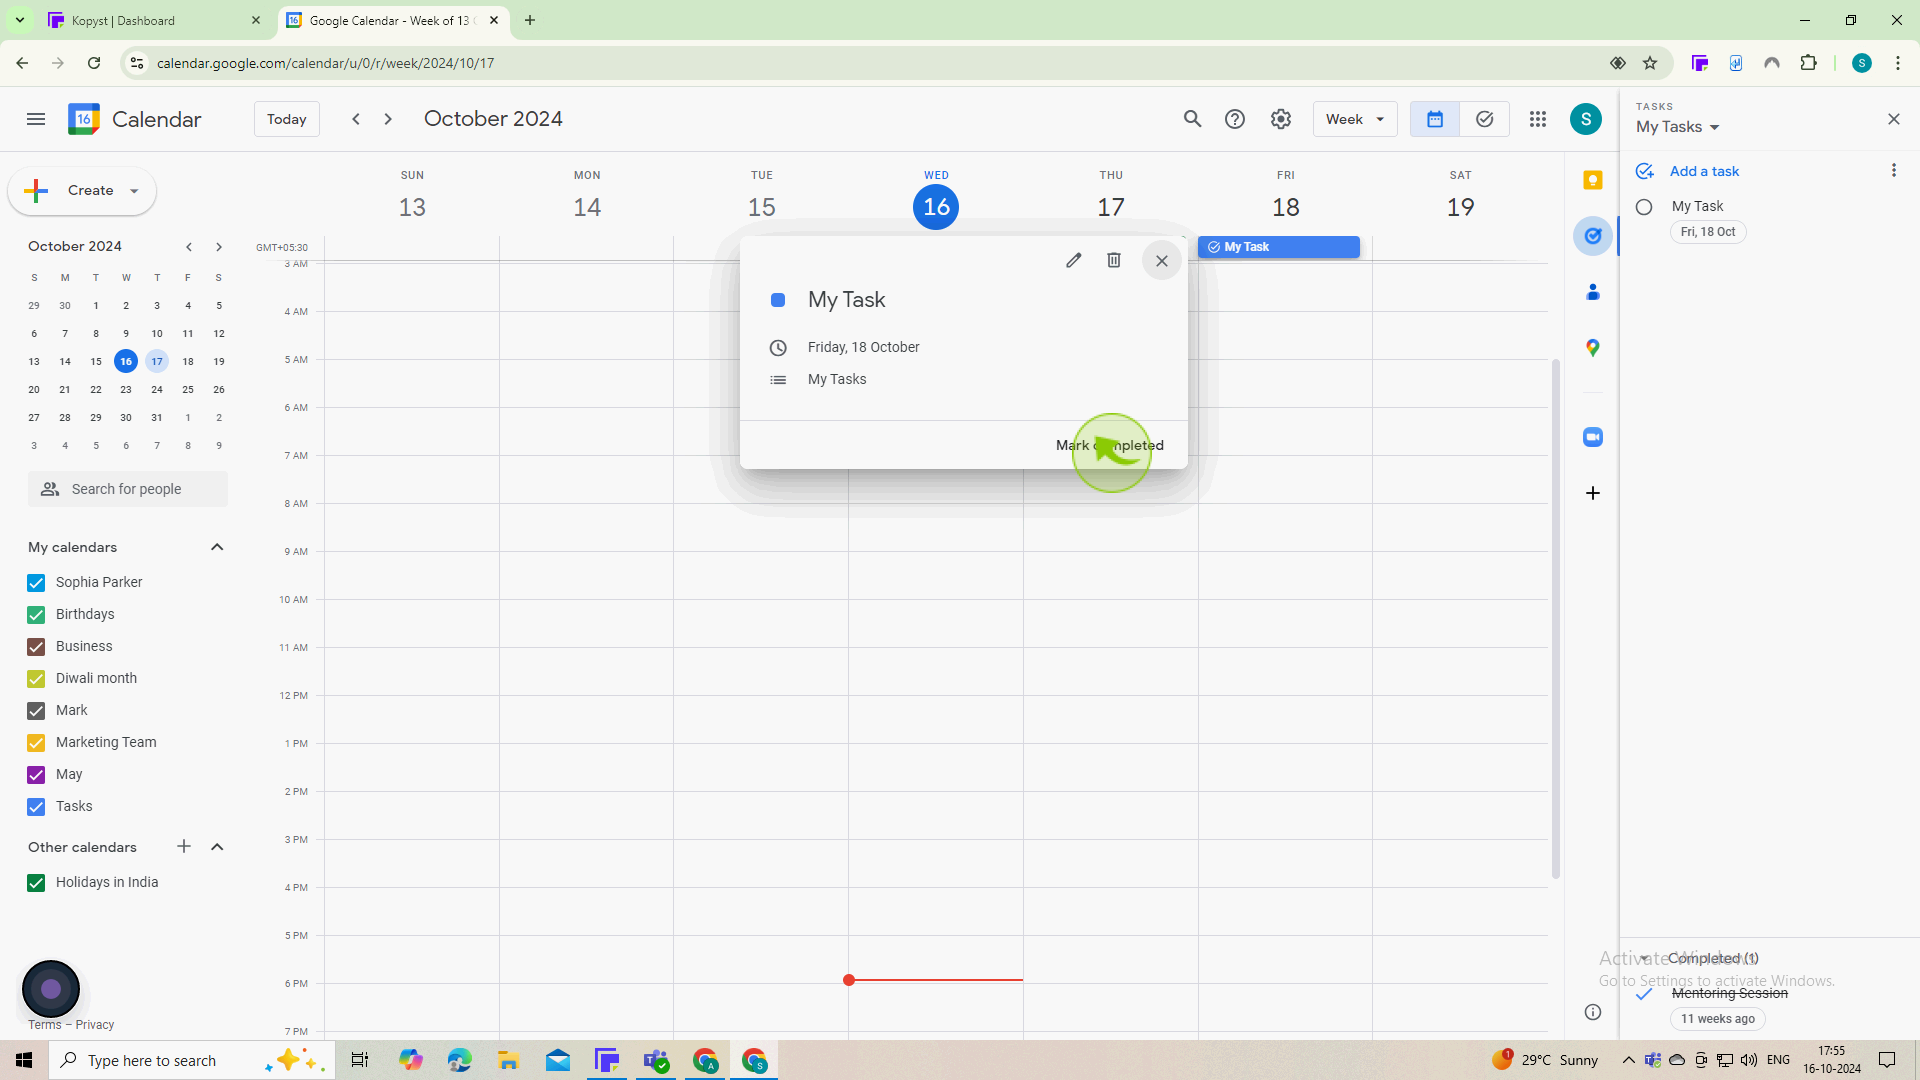
11
Your "Task" will show as "Completed"
By following these steps, you can ensure that all tasks are documented and easily accessible.

