How to Add Borders and Rounded Corners to Elements in Canva ?
How to Add Borders and Rounded Corners to Elements in Canva ?
|
 Canva
|
Canva
|
3 months ago
|
8 Steps
Learn how to elevate your Canva designs with stylish borders and rounded corners! This document will walk you through the simple steps to add these design elements to your text, images, and shapes. Discover how to customize the border width, color, and corner radius to create unique and professional-looking designs. Whether you're a beginner or an experienced Canva user, this tutorial will help you take your designs to the next level.
How to Add Borders and Rounded Corners to Elements in Canva ?
|
Canva
|
8 Steps

1
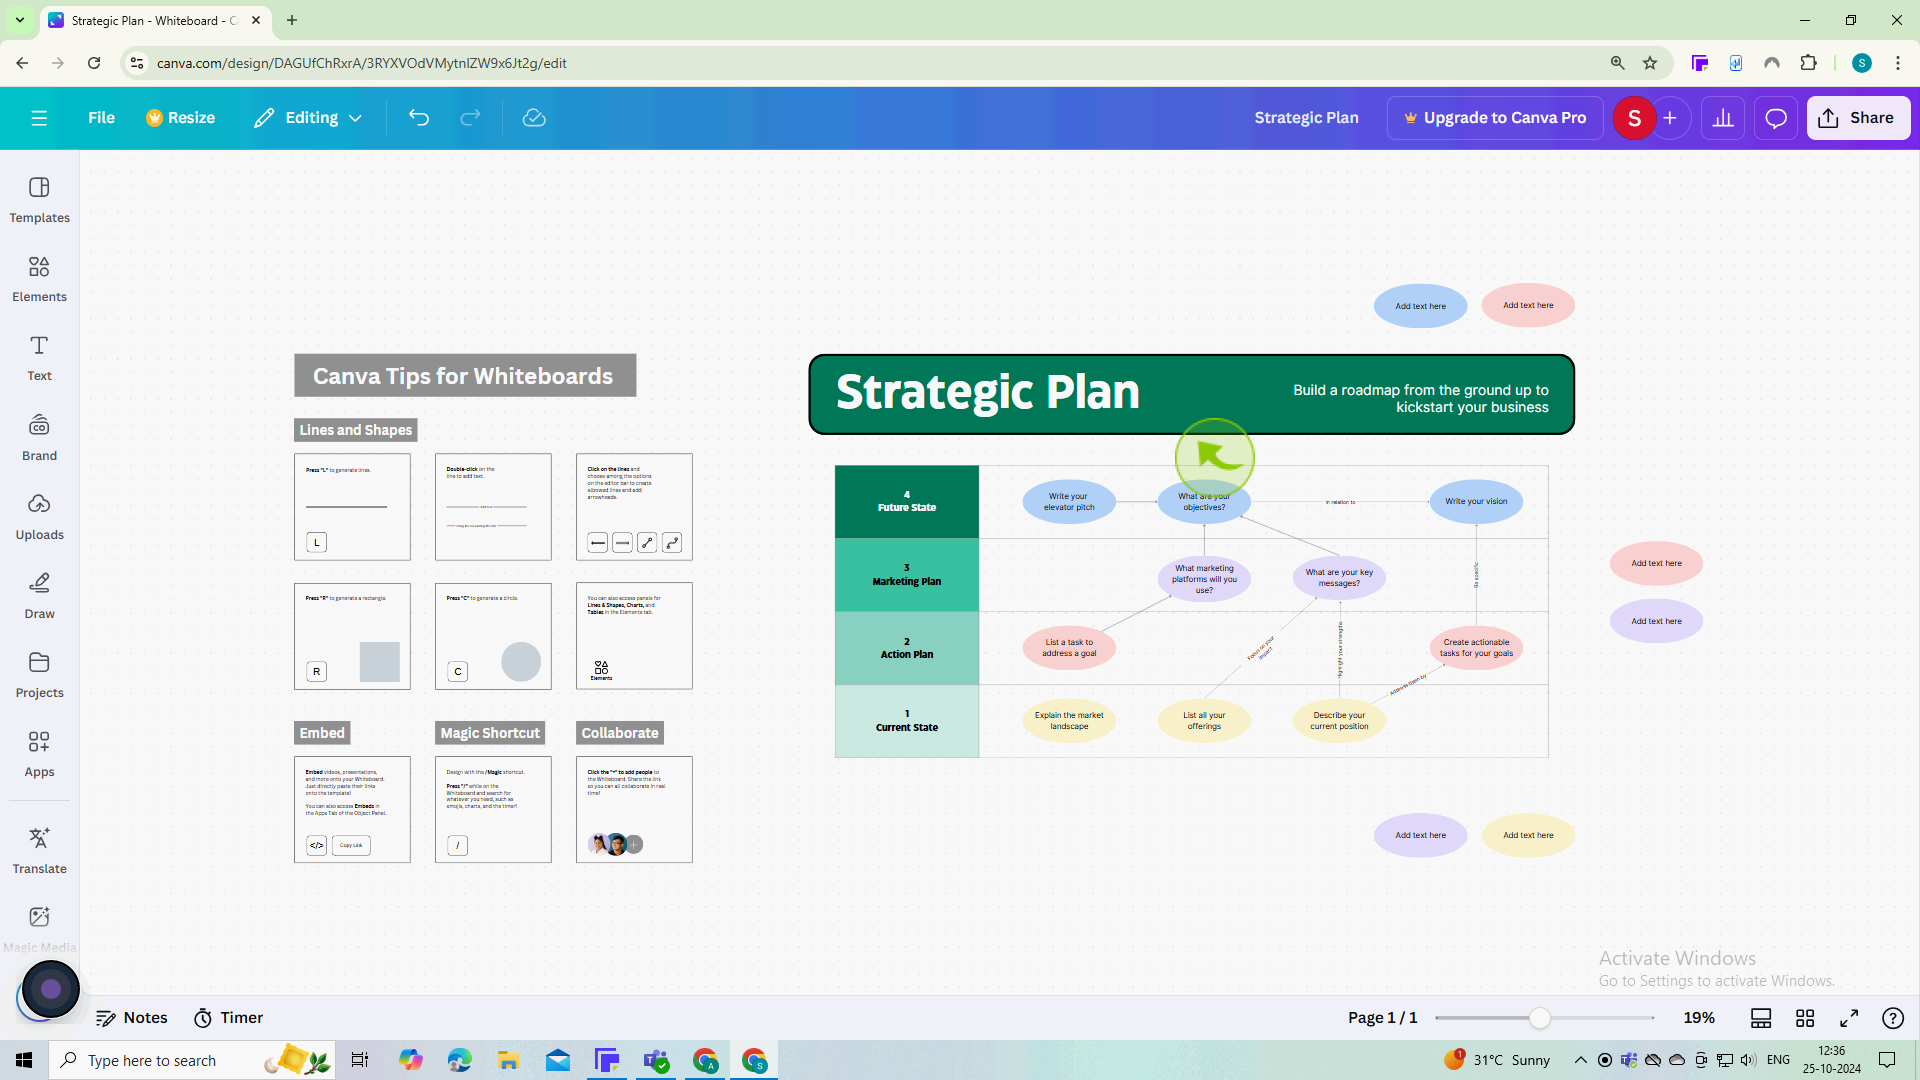
Navigate to https://www.canva.com and open a design.
You can create a new design or edit an existing one.
2
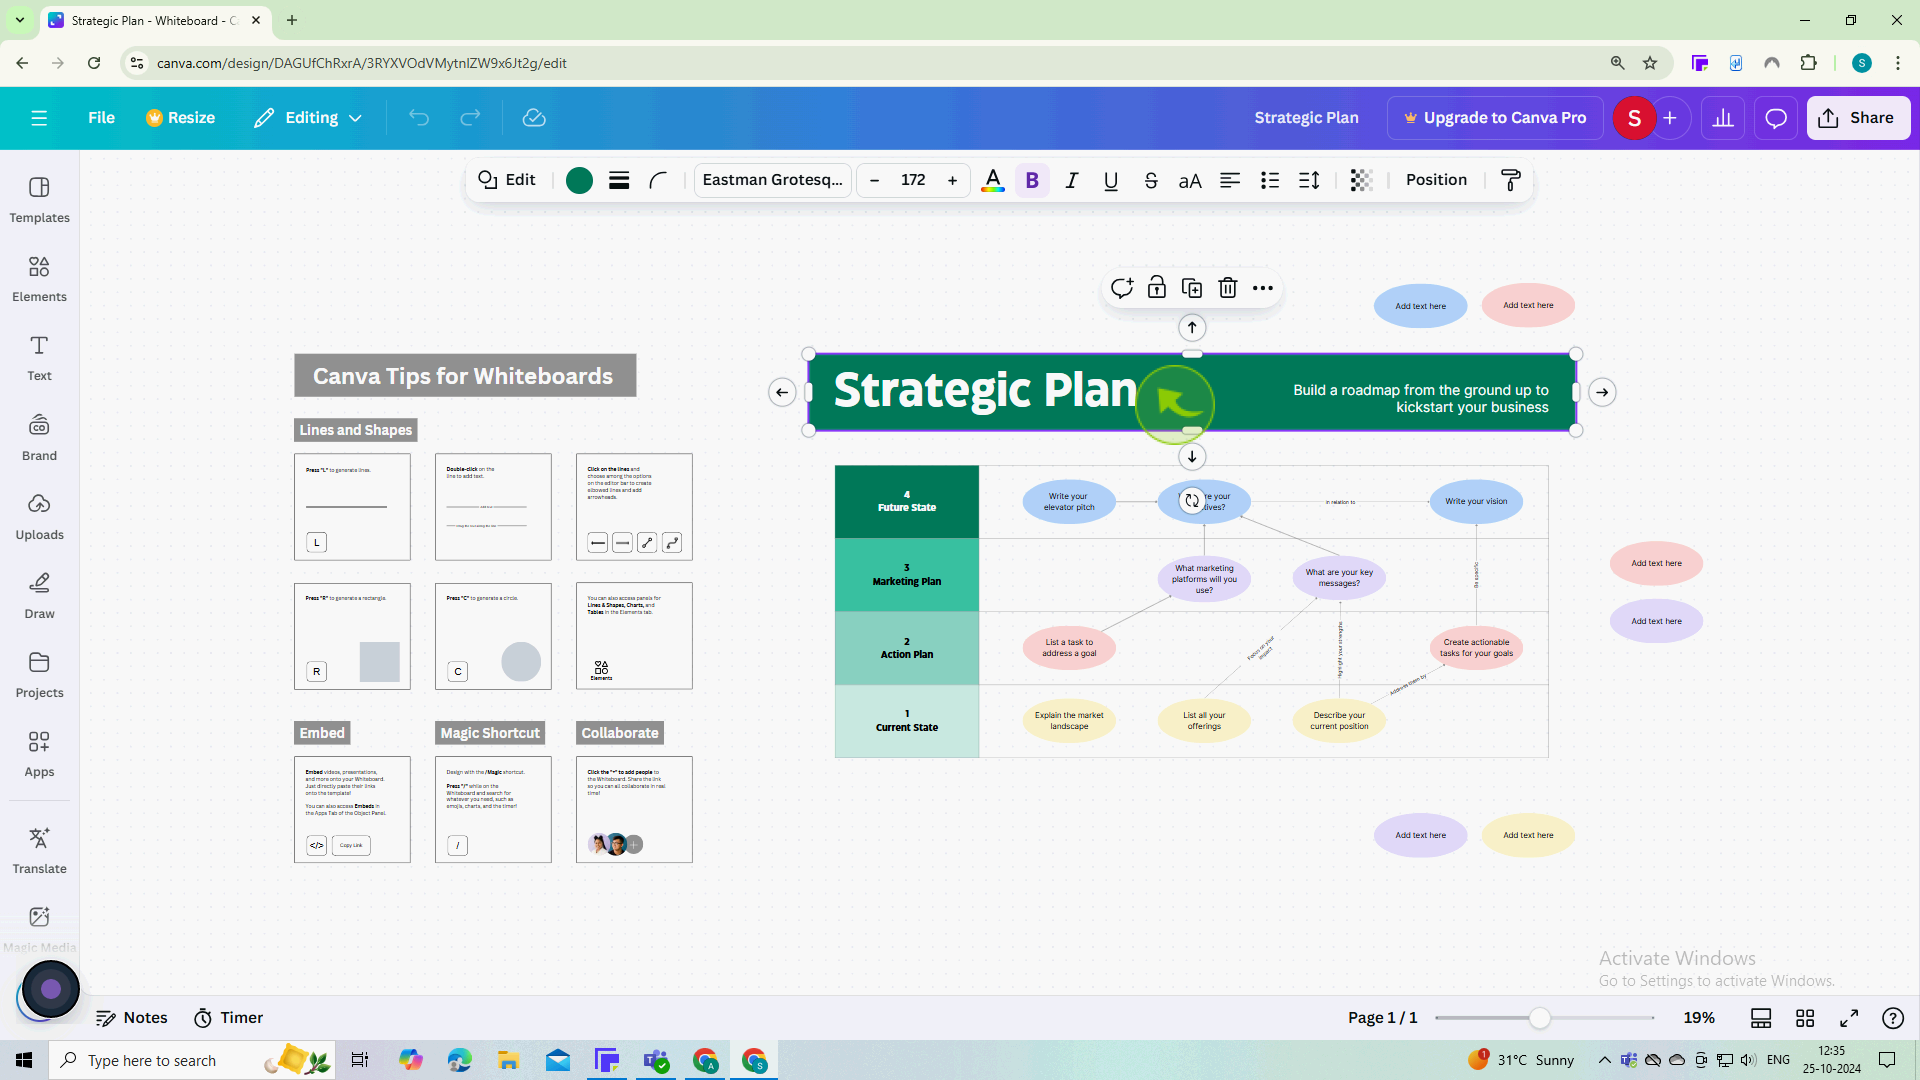
Click on the "Image" that you want to modify.
This will activate the editing options for that specific element.
3
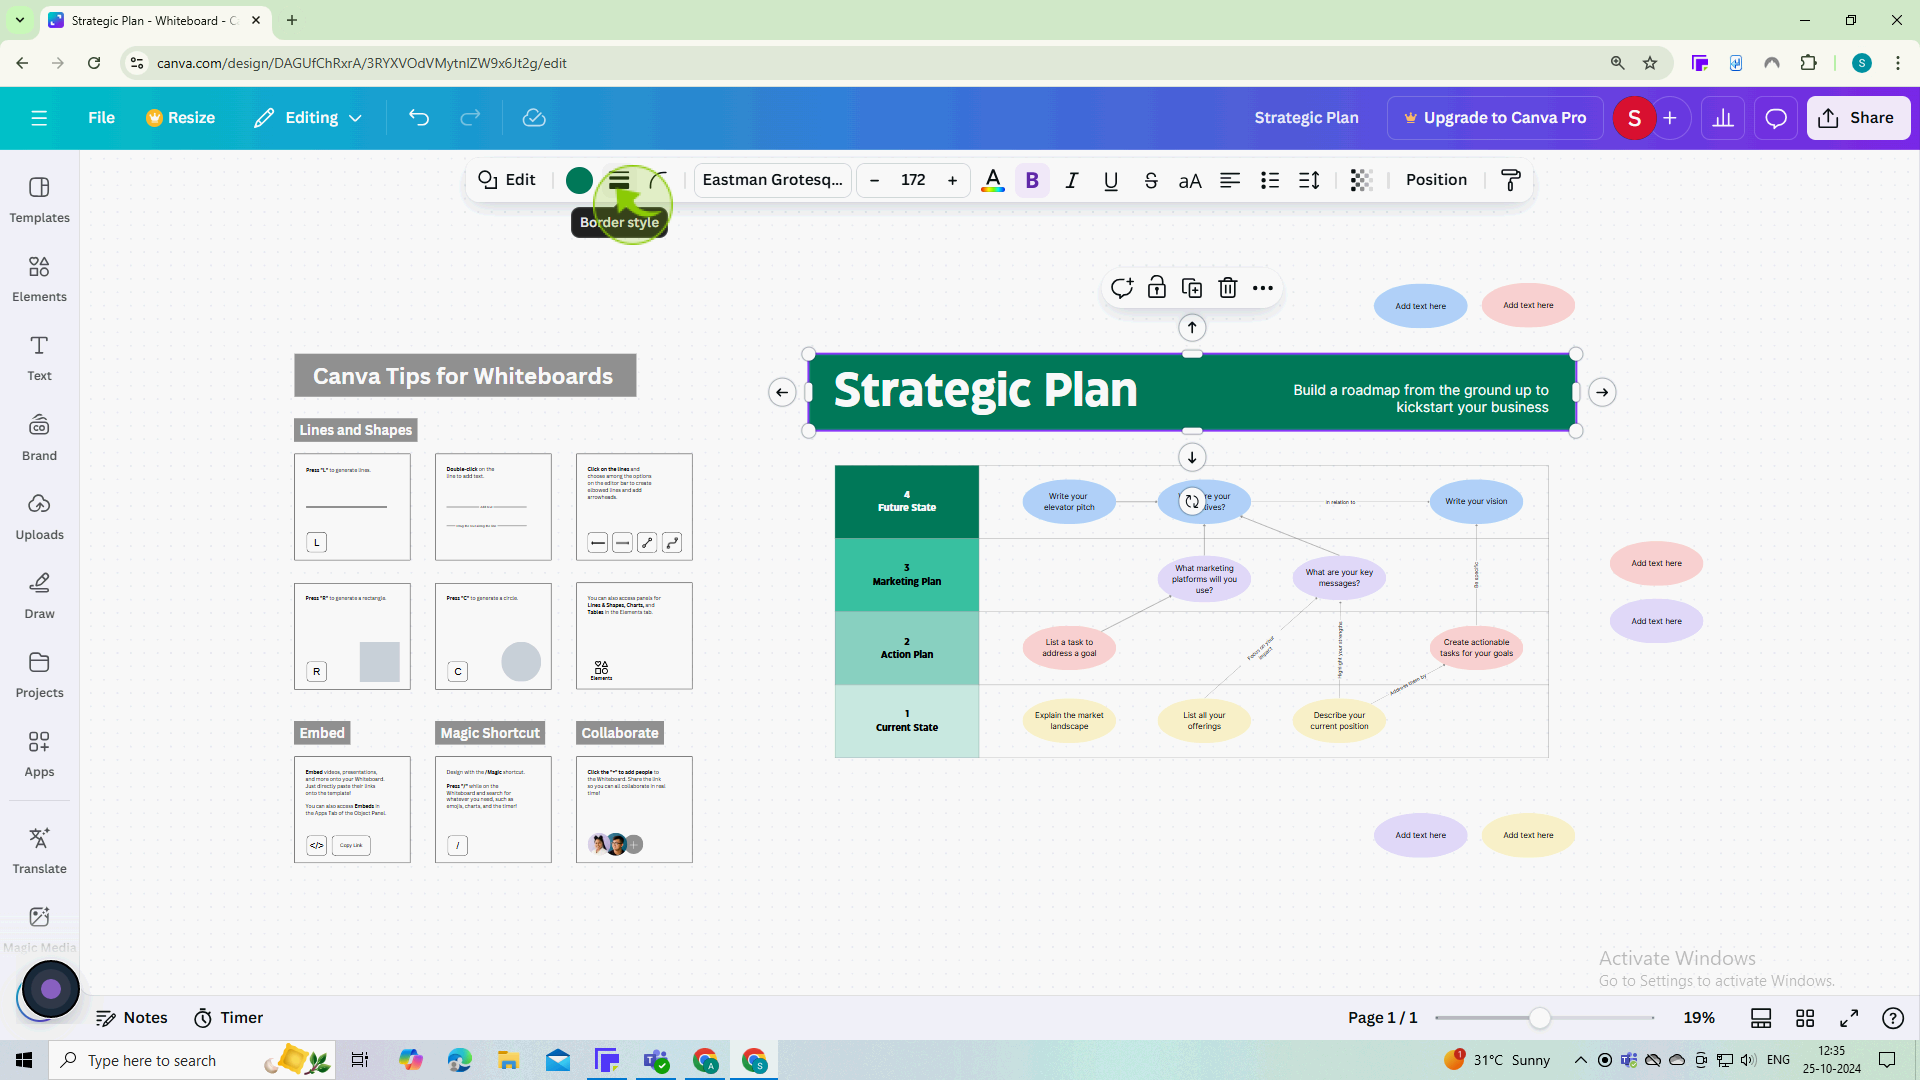
Click on the "Border" icon (it looks like a square with a line around it).
This will open border options where you can adjust the thickness, color, and style of the border.
4
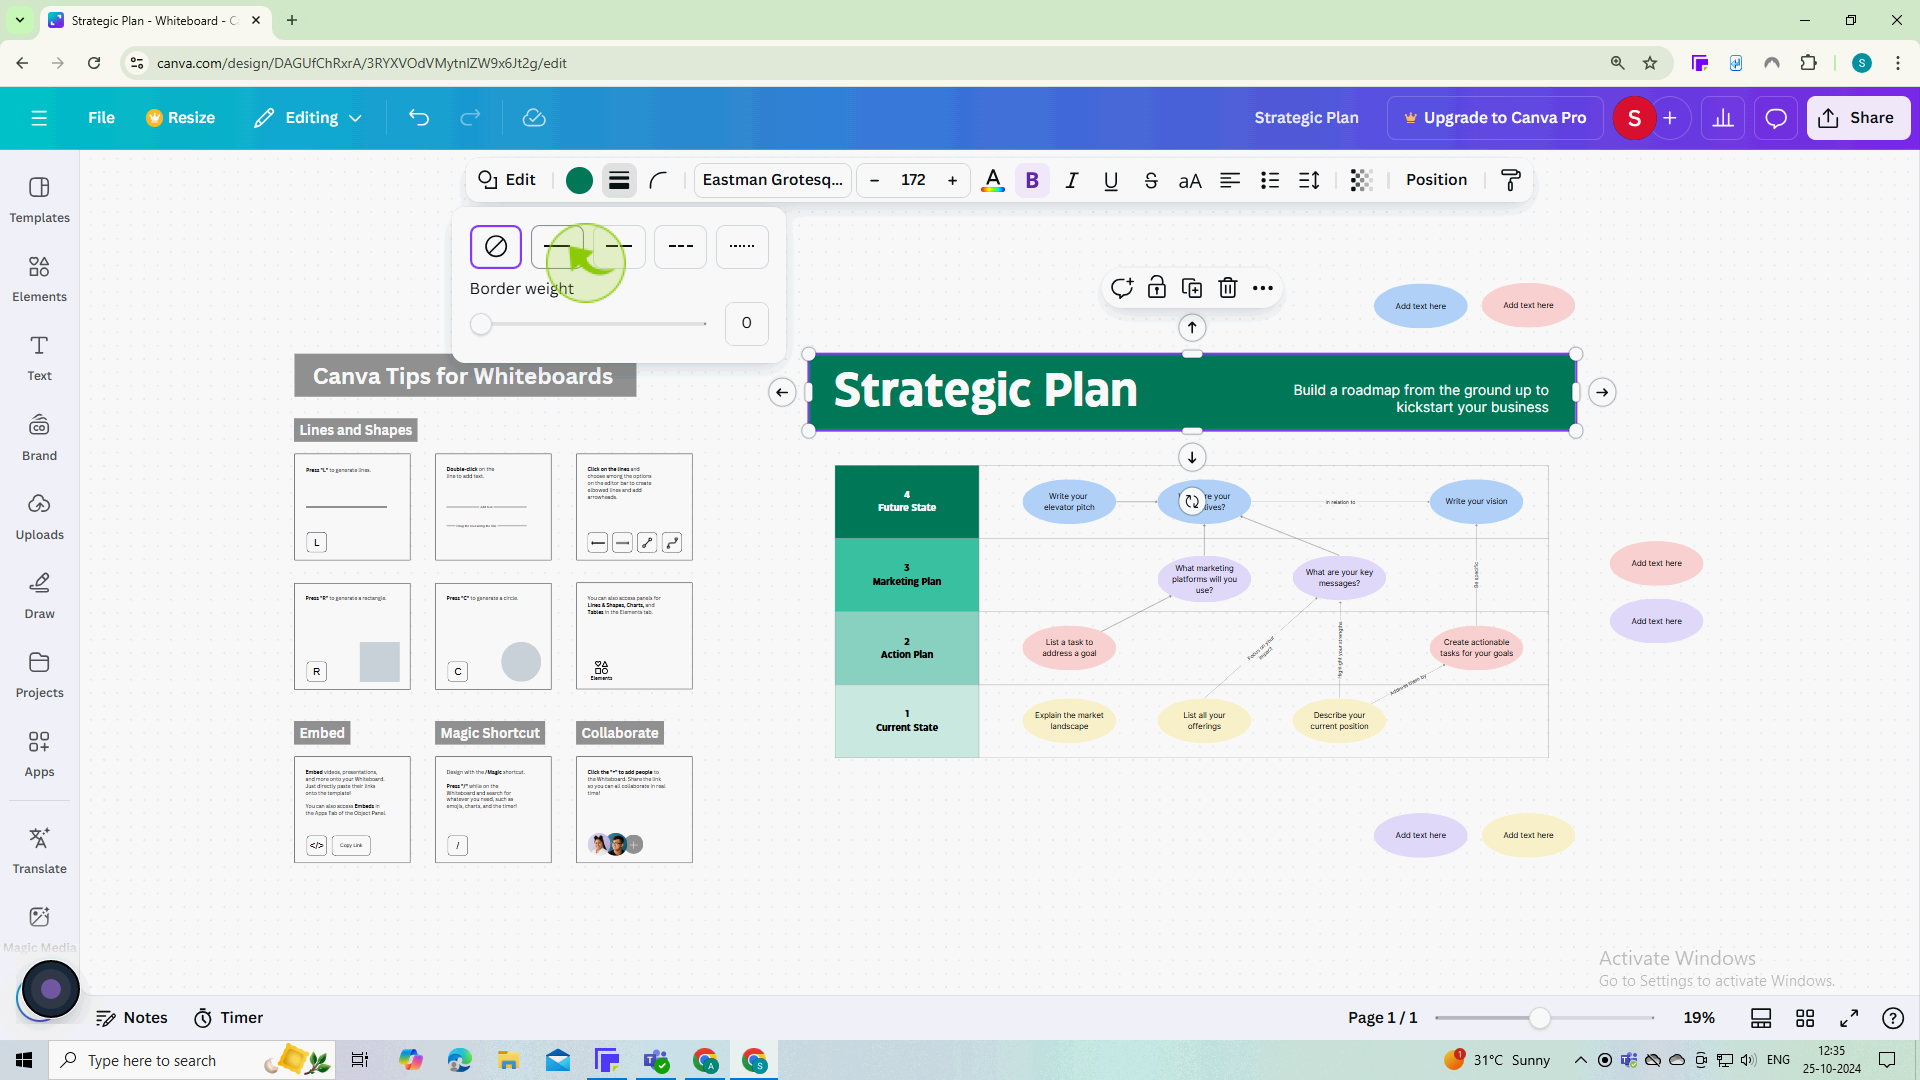
Select a "Border".
5
Use the slider to adjust the "Border" weight or thickness.

6
Click on the "Corner" rounding icon
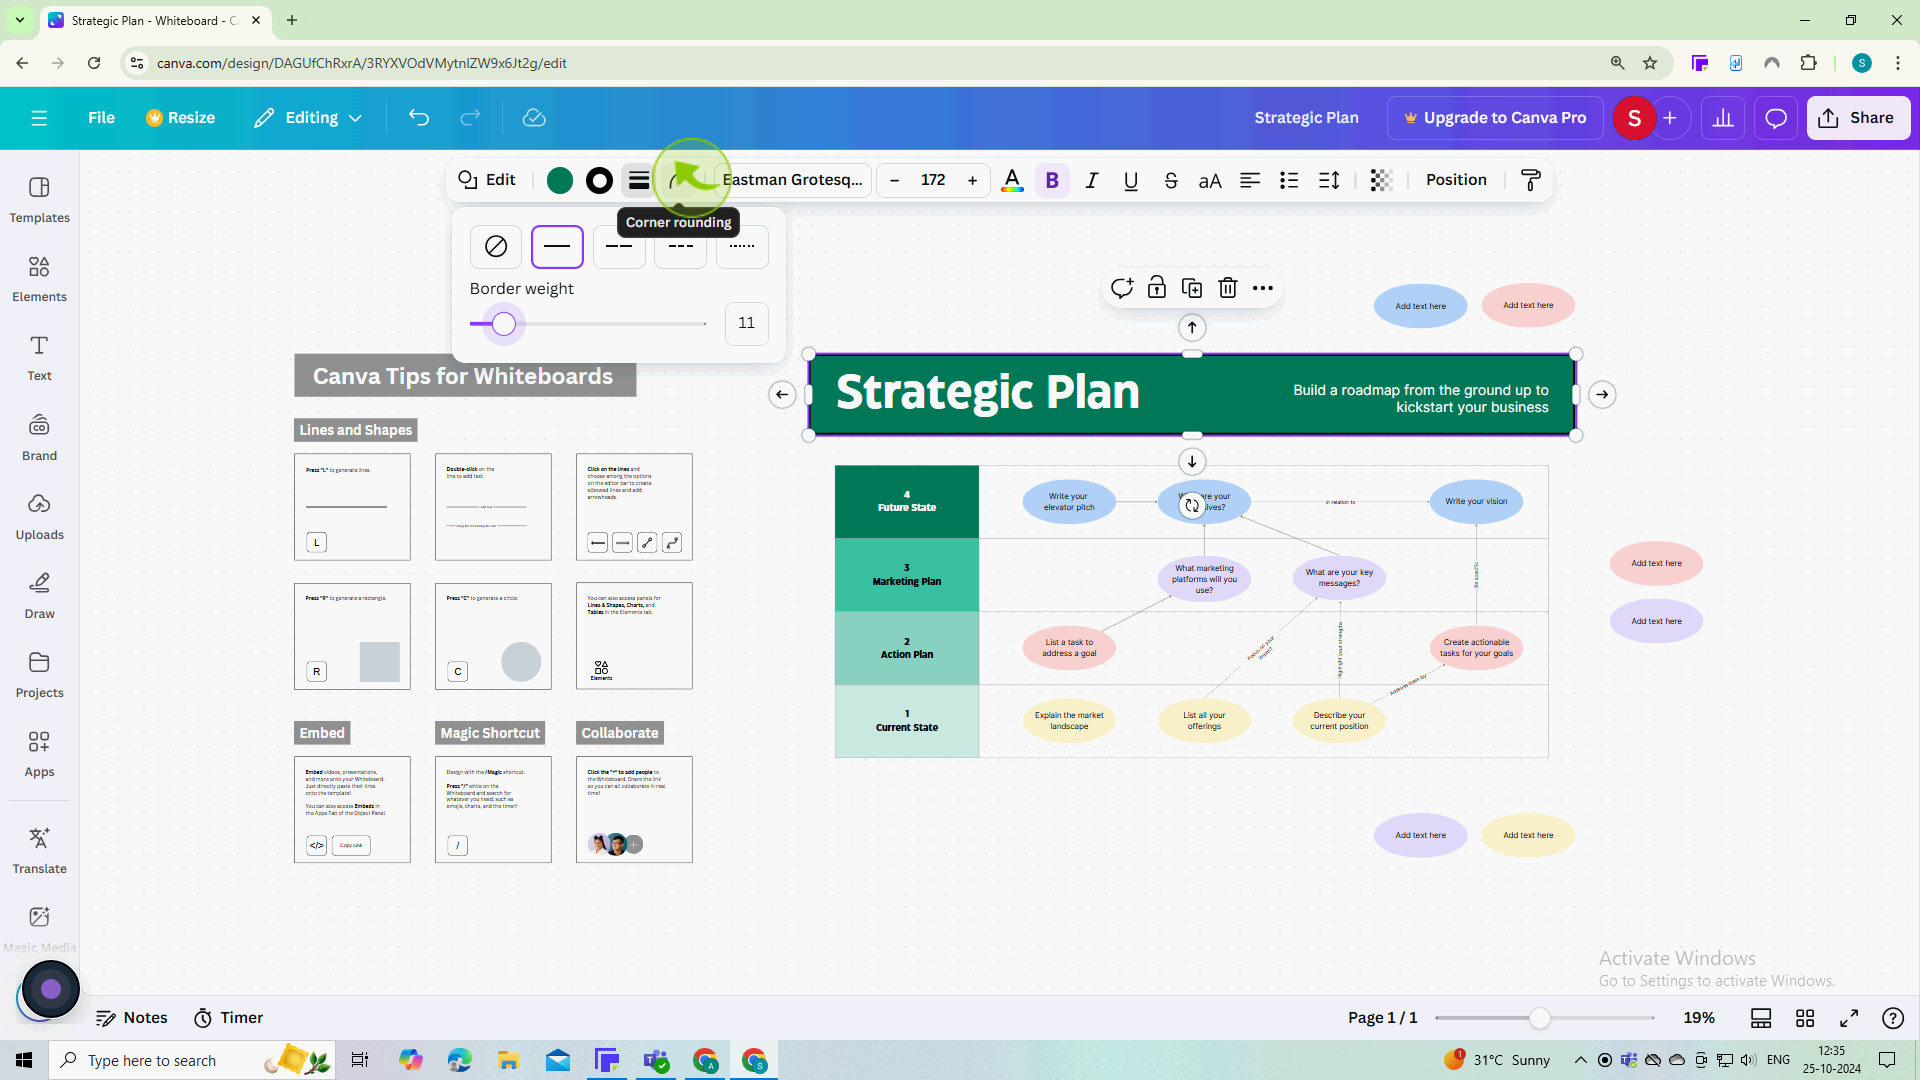
7
Use the slider to adjust the "Corner rounding"

8
Make sure your design looks balanced with the newly added borders and rounded corners.
By following these steps, you can effectively add borders and rounded corners in Canva designs