How to add borders in Google Docs ?
|
 Google Docs
|
Google Docs
|
Aug 05, 2024
|
19 Steps
This guide will show you how to easily add borders to your text and tables in Google Docs. Learn how to customize border styles, colors, and widths to enhance the visual appeal and readability of your documents. Whether you're creating a professional report, a creative presentation, or simply want to organize your notes, this guide will help you add a polished touch to your work.
How to add borders in Google Docs ?
|
Google Docs
|
19 Steps

1
Open your Google docs "Document"
2
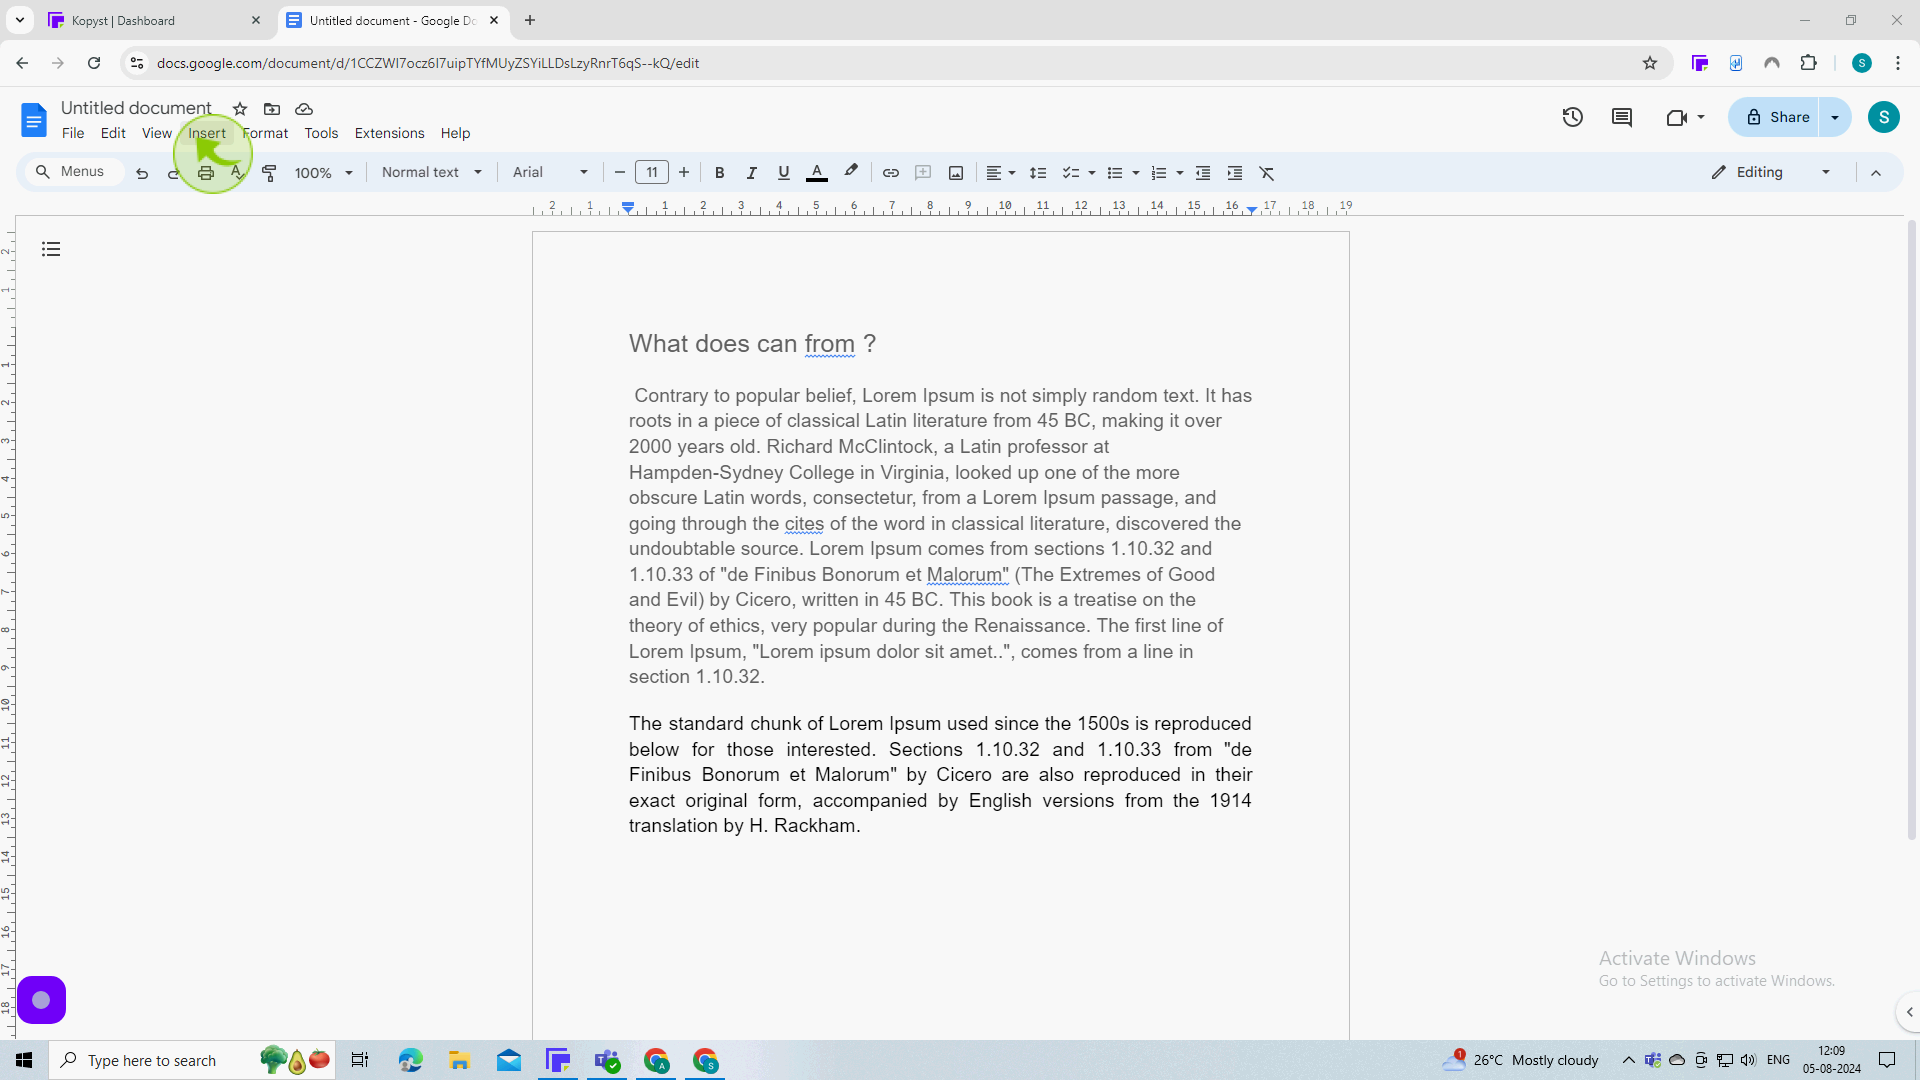
Click on "Insert" from the Menu bar across the top.
3
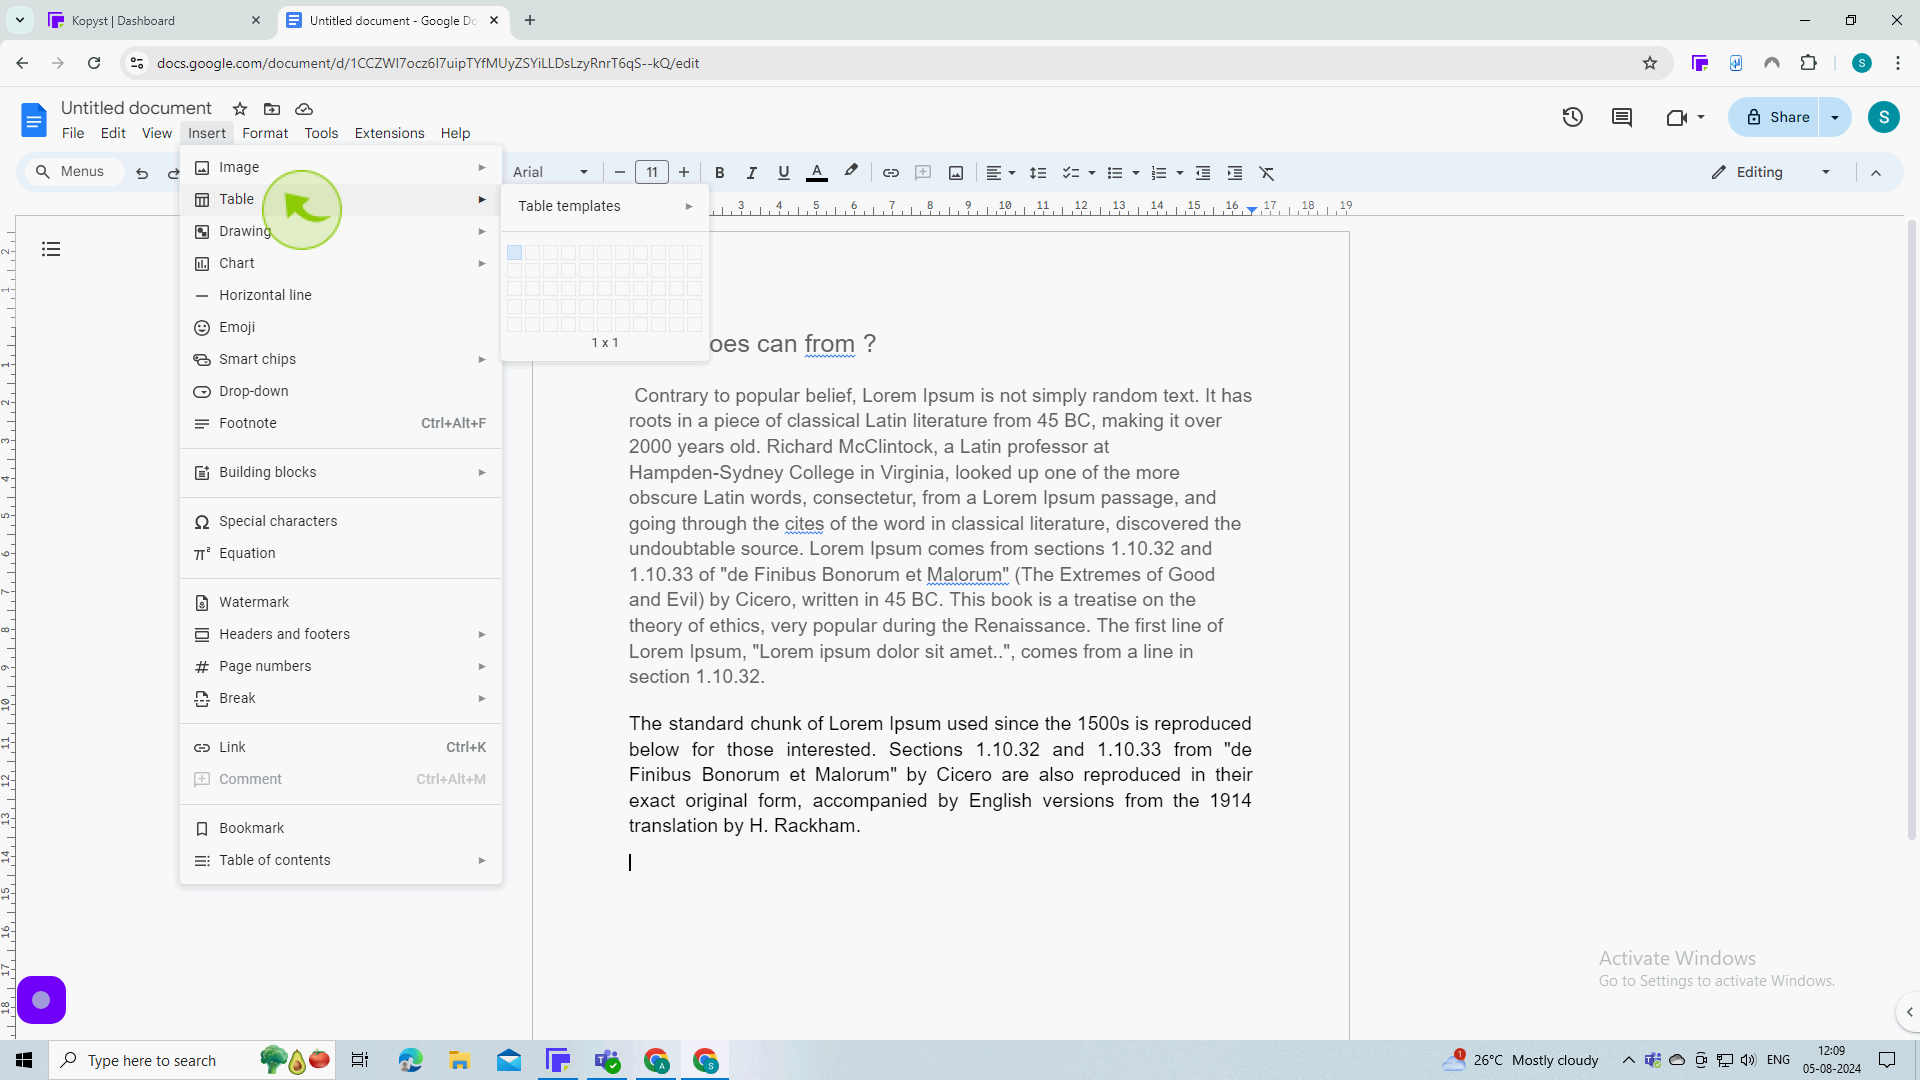
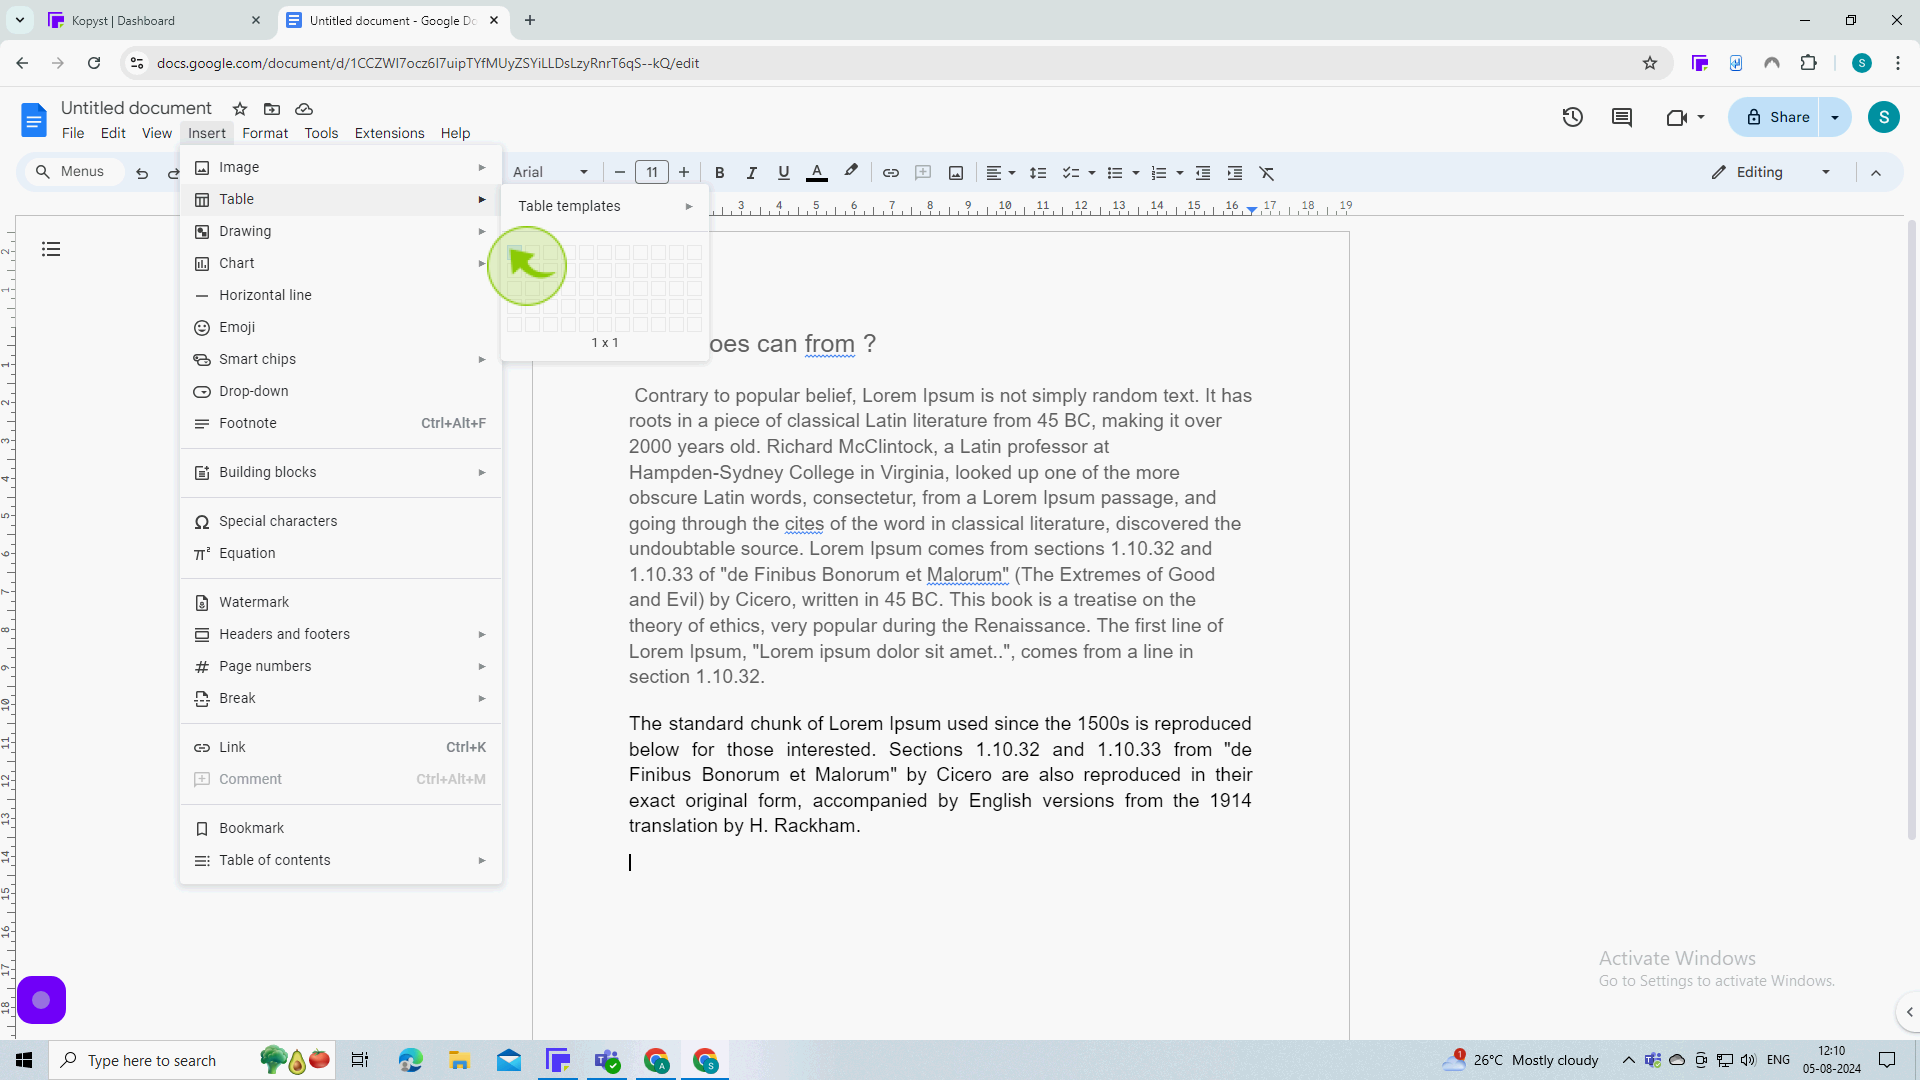
Click on "Table".
4
Select just one "Cell".
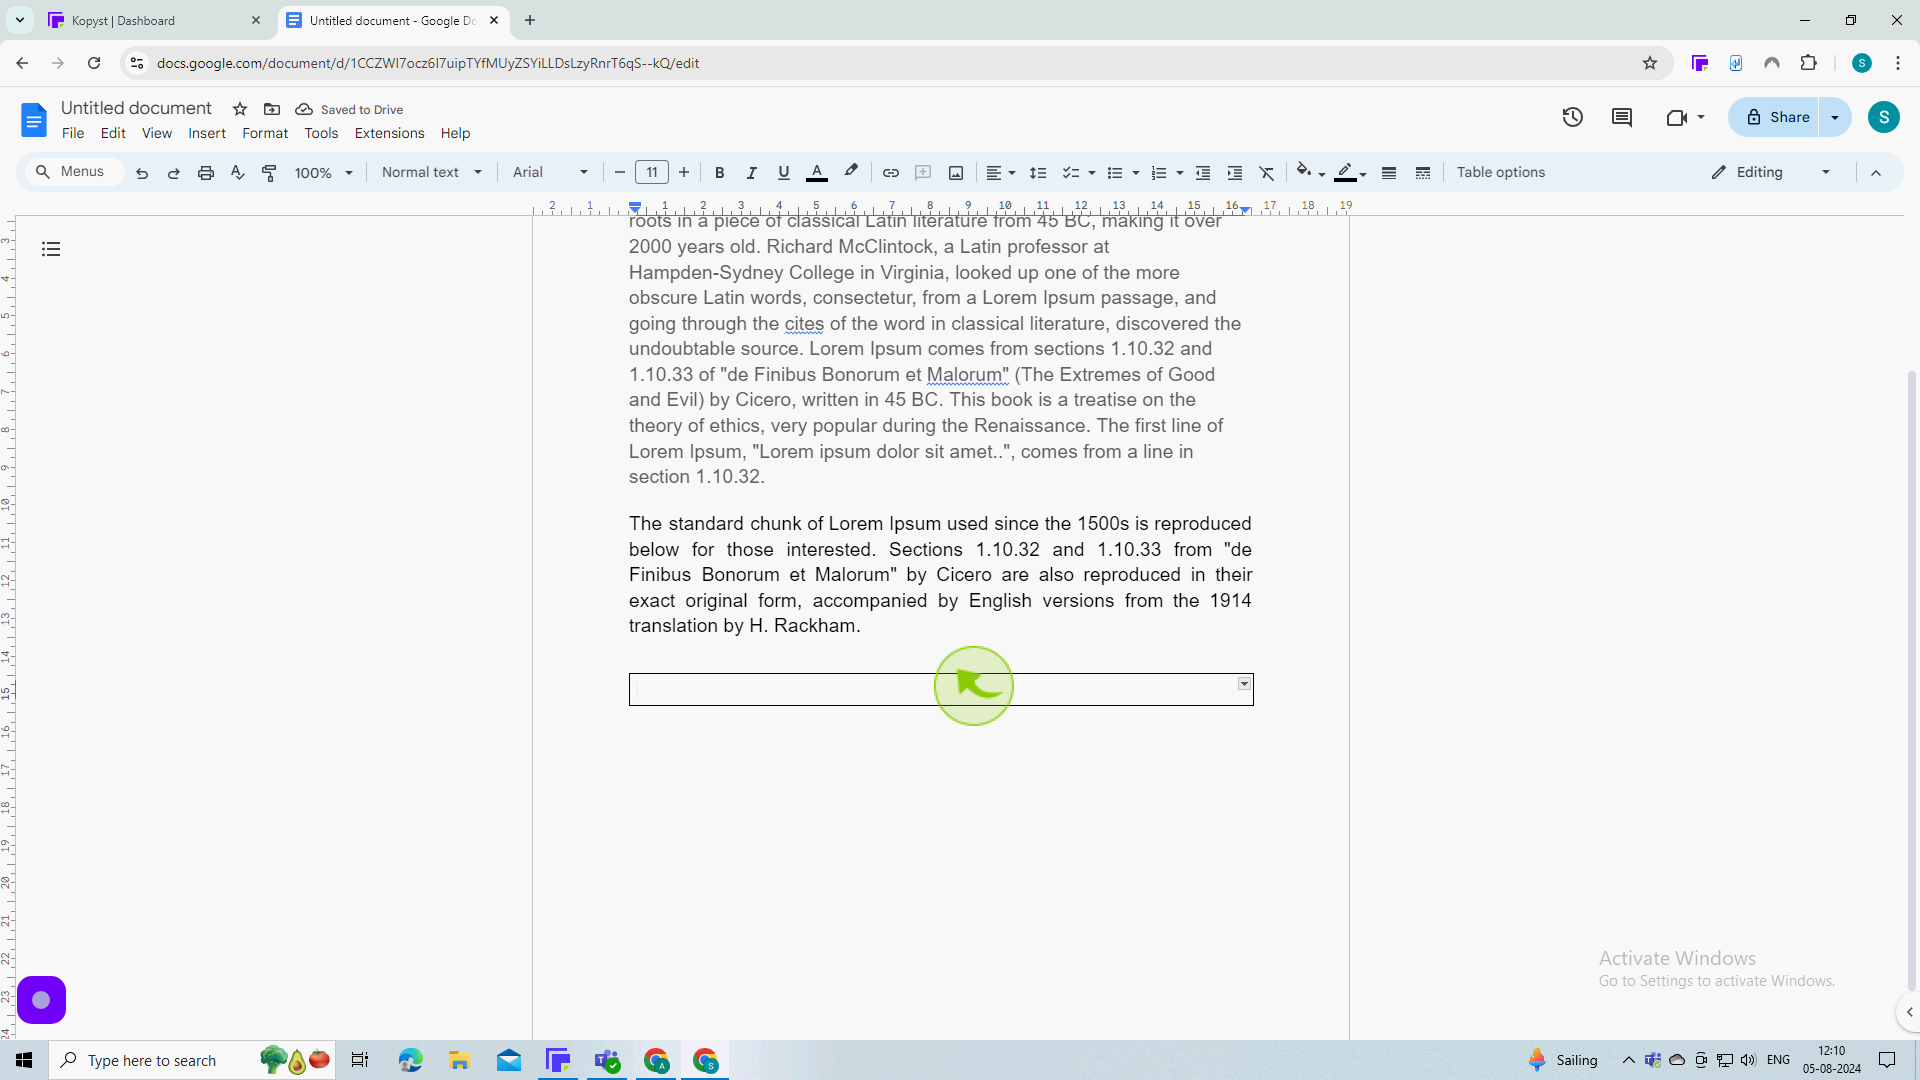
5
Drag the bottom of the "Border".
This will insert a table that you can use as a border. Drag the bottom of the border to drag it to fill up your entire page.
6
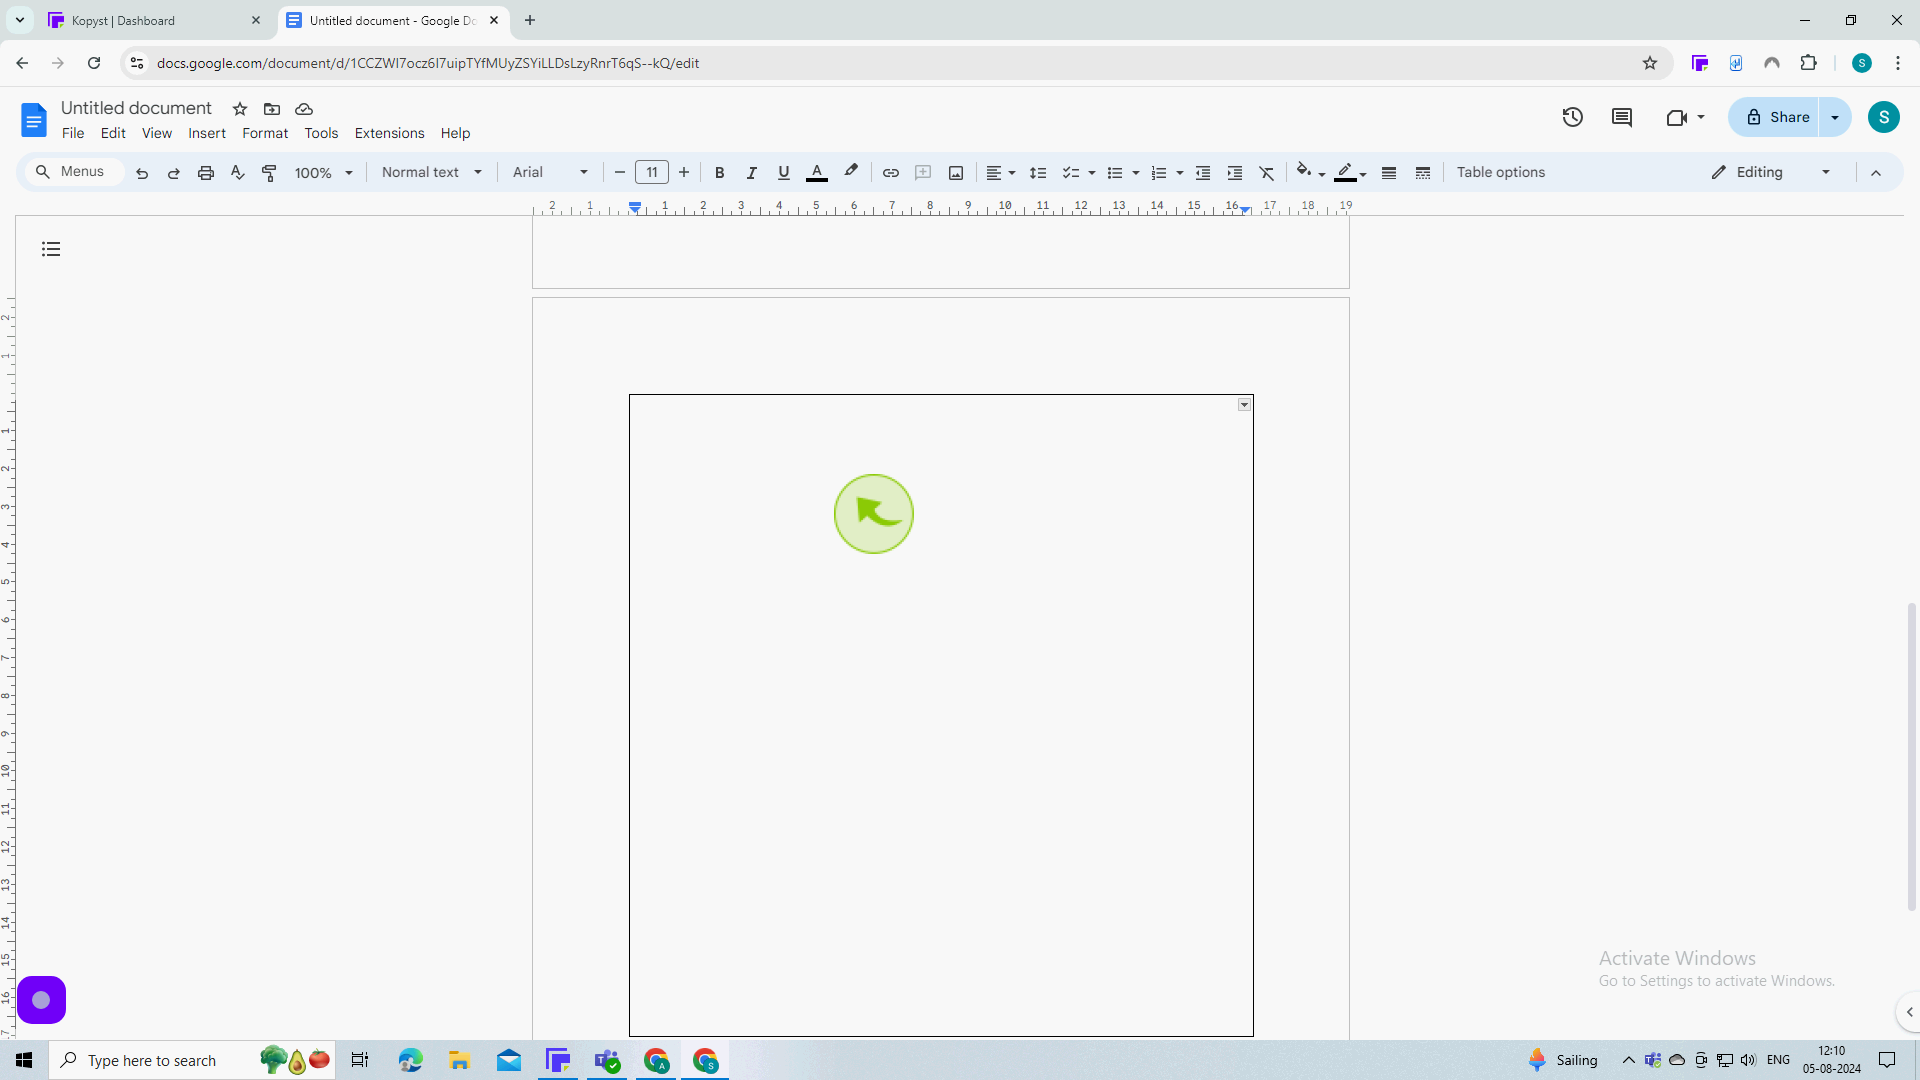
See, the "Border" has been added to the page
7
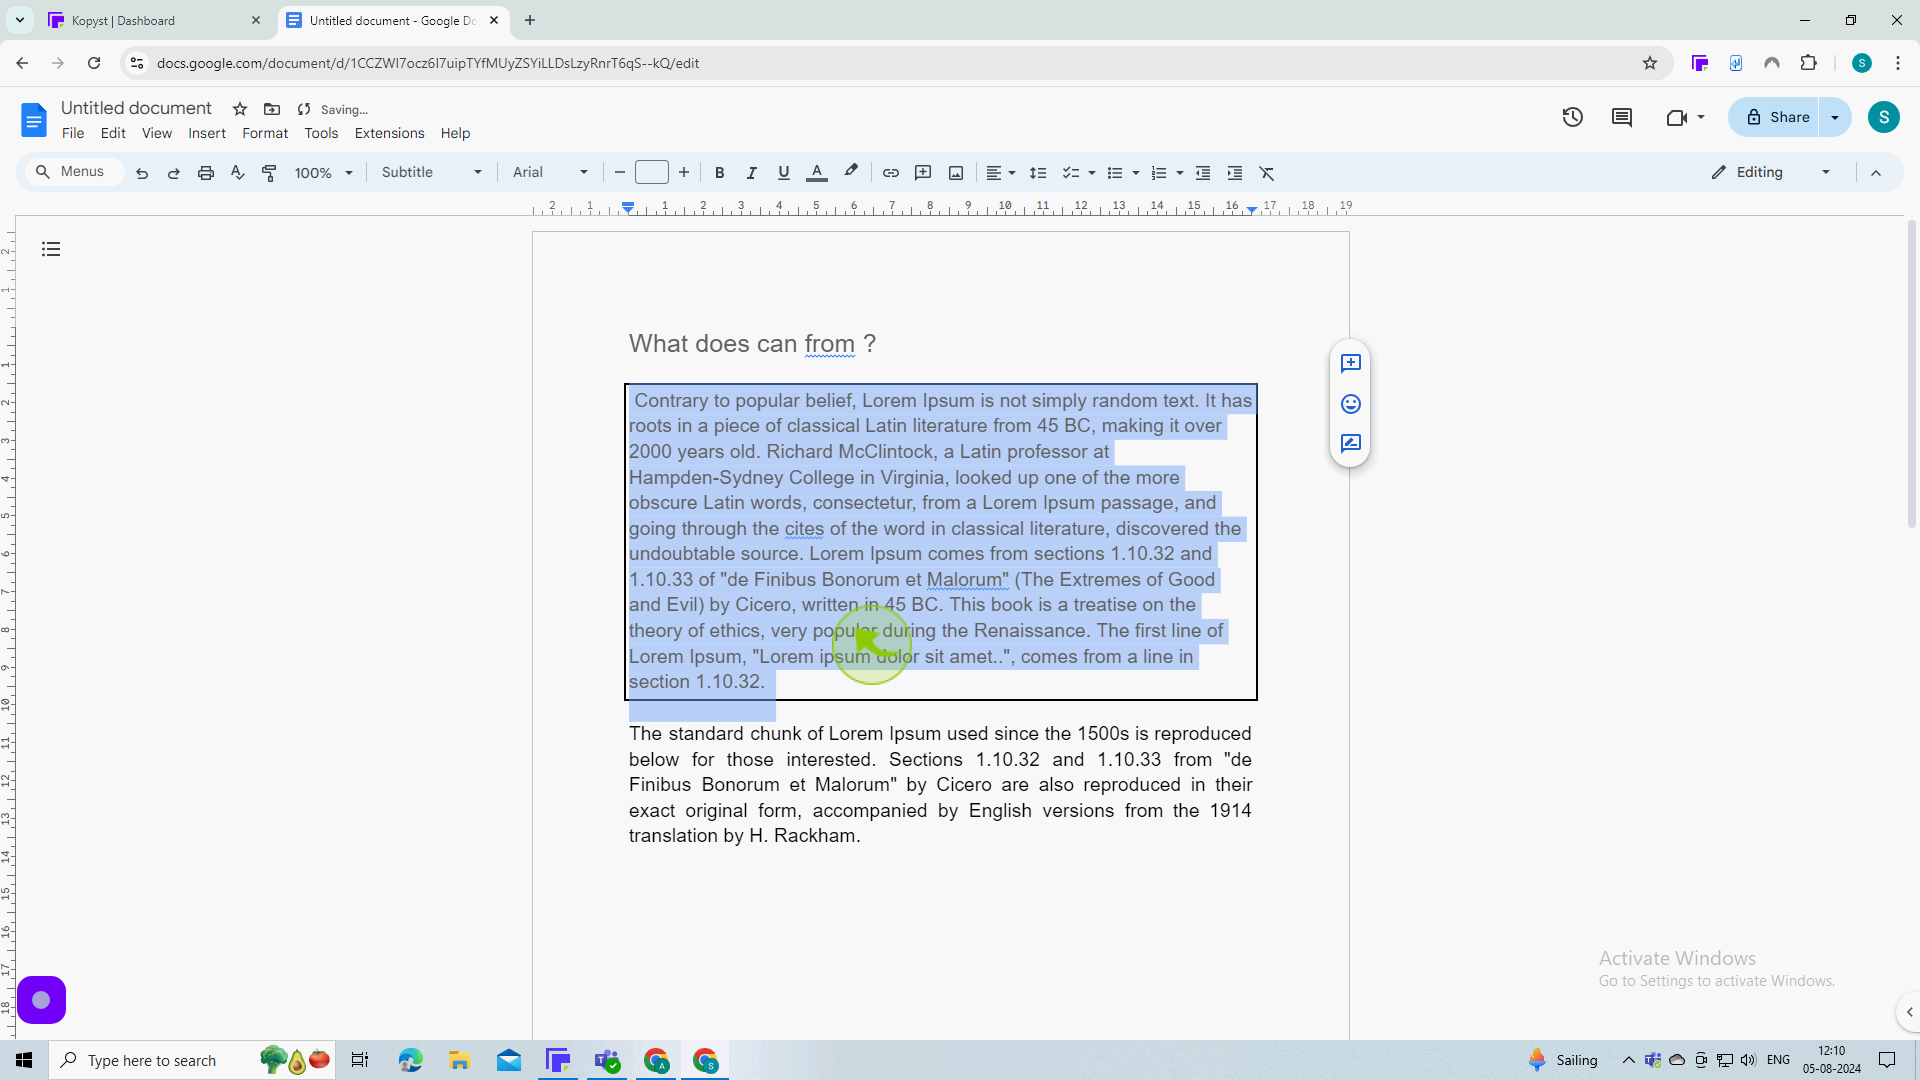
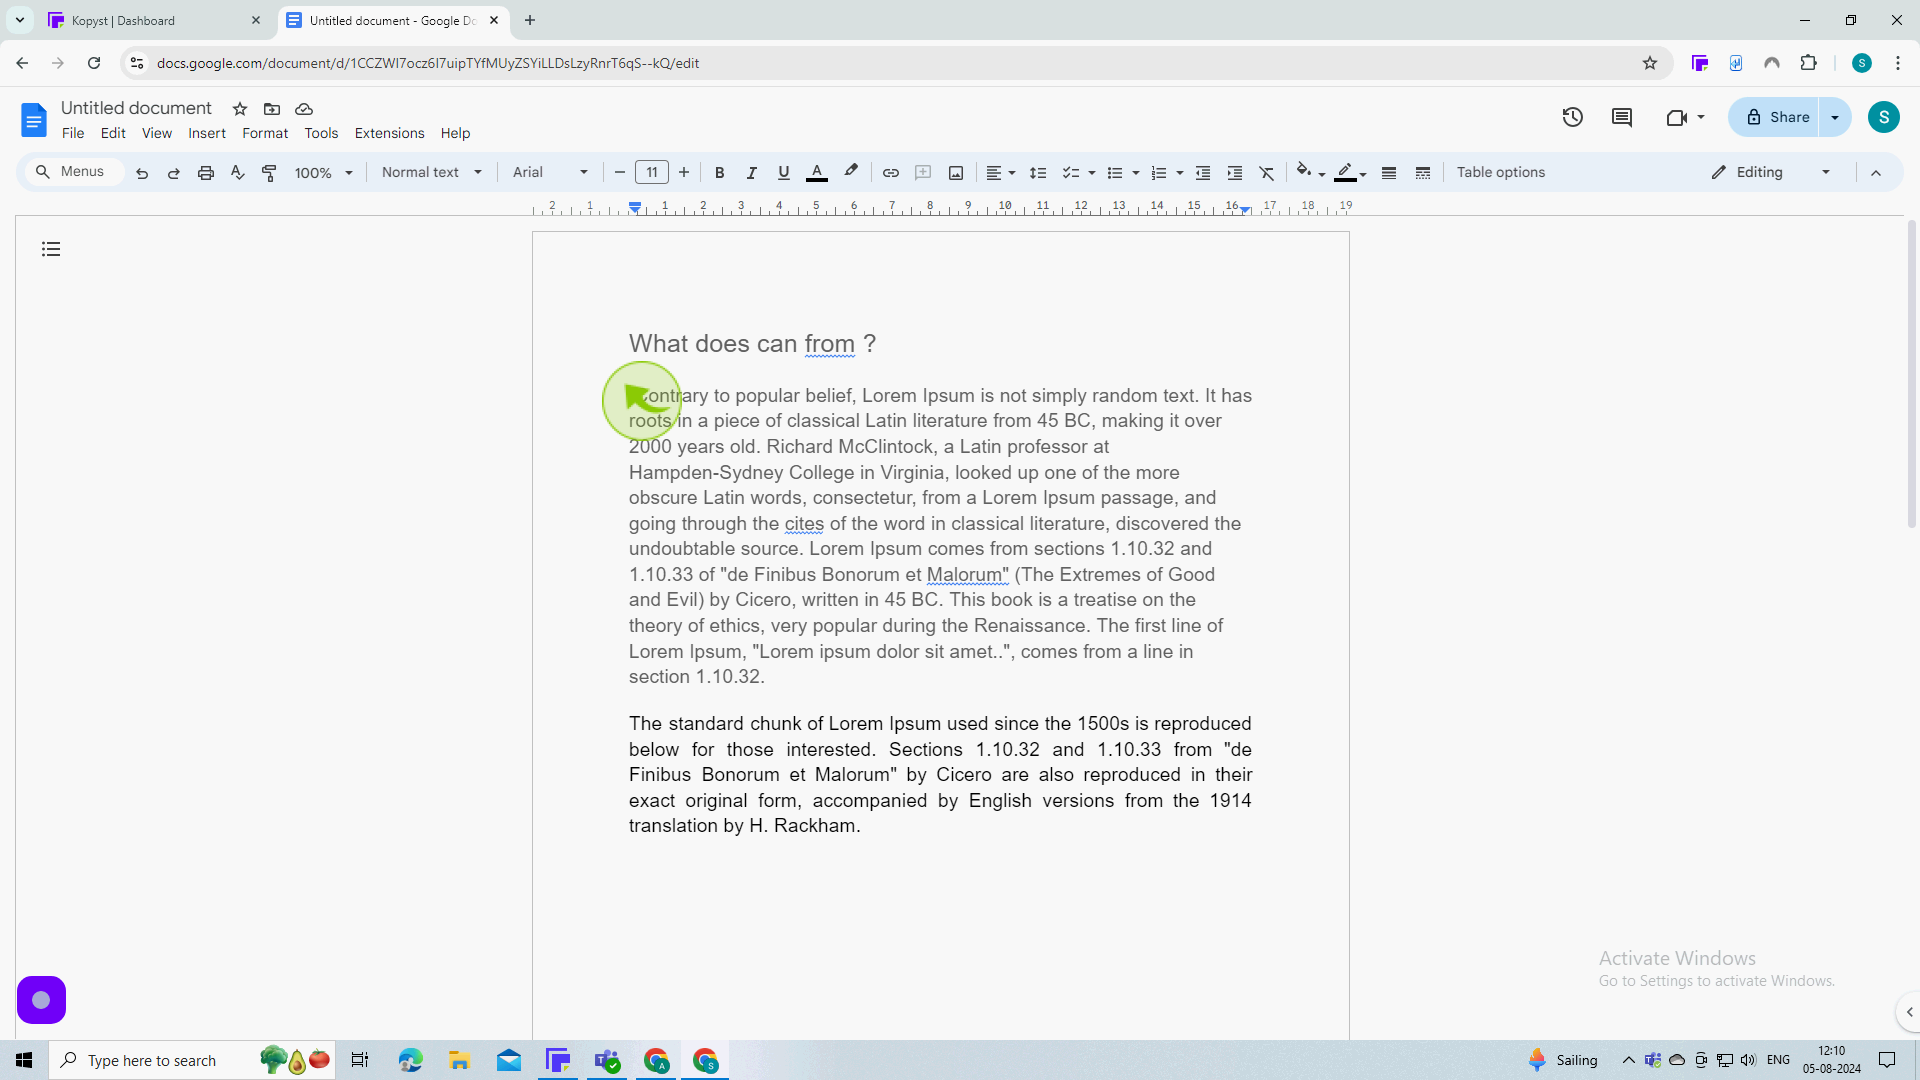
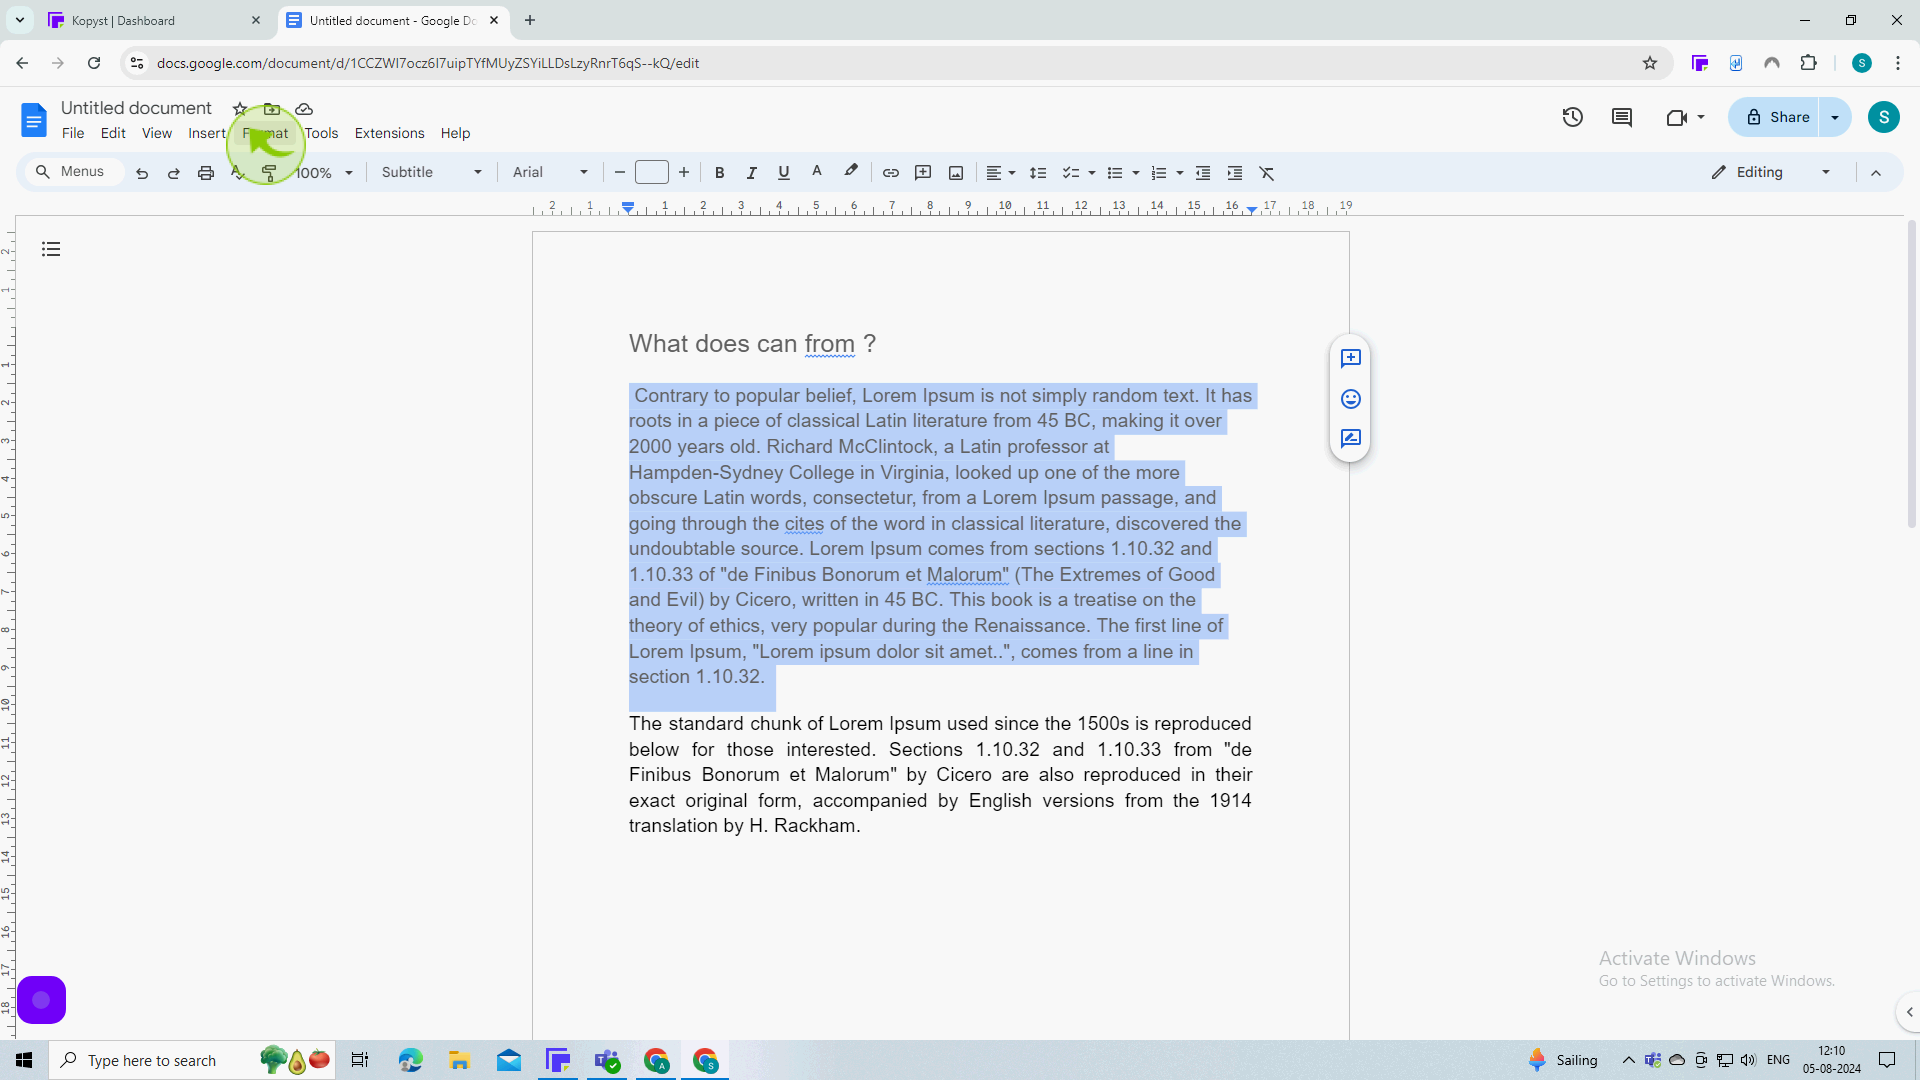
You can also add a "Border" around individual "Paragraphs".
8
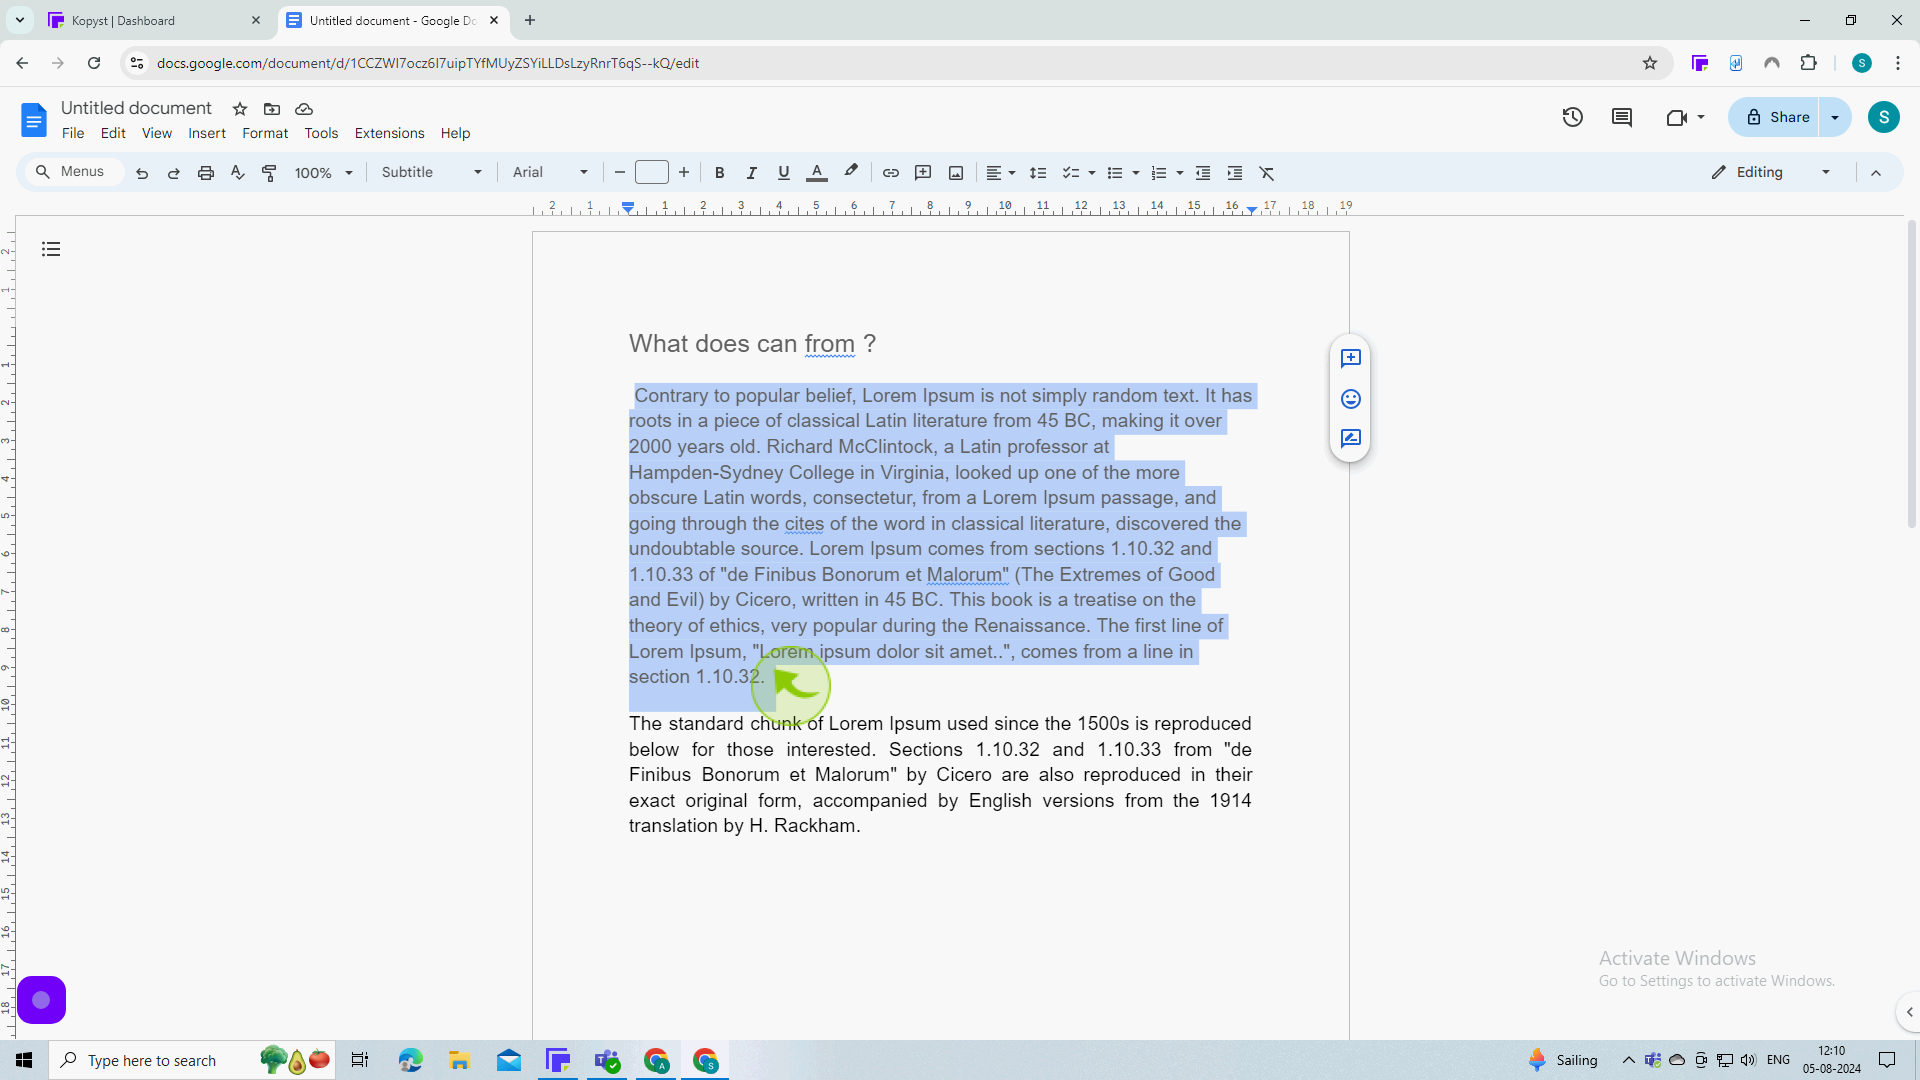
Highlight your "Paragraph".
9
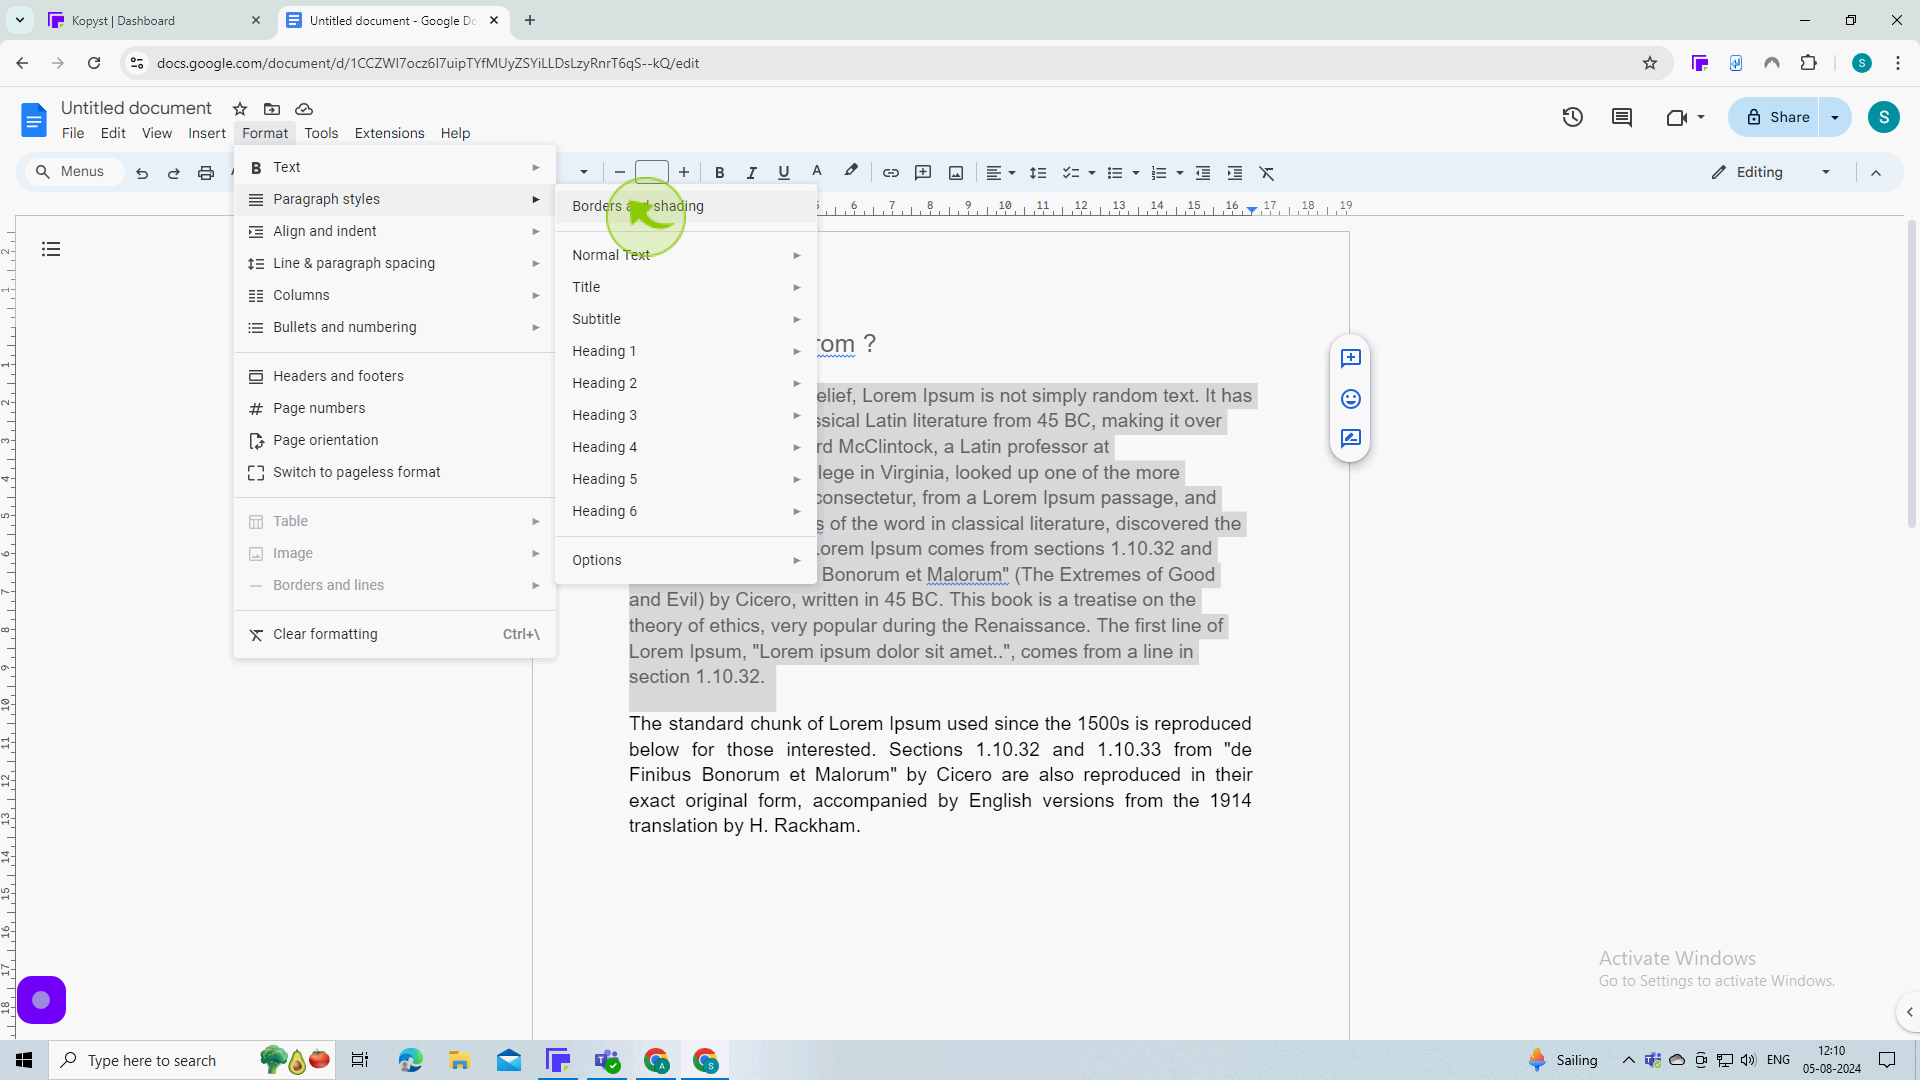
Click on "Format".
10
Select the "Paragraph Styles".

11
Select the "Borders and Shading" from the Dropdown.
12
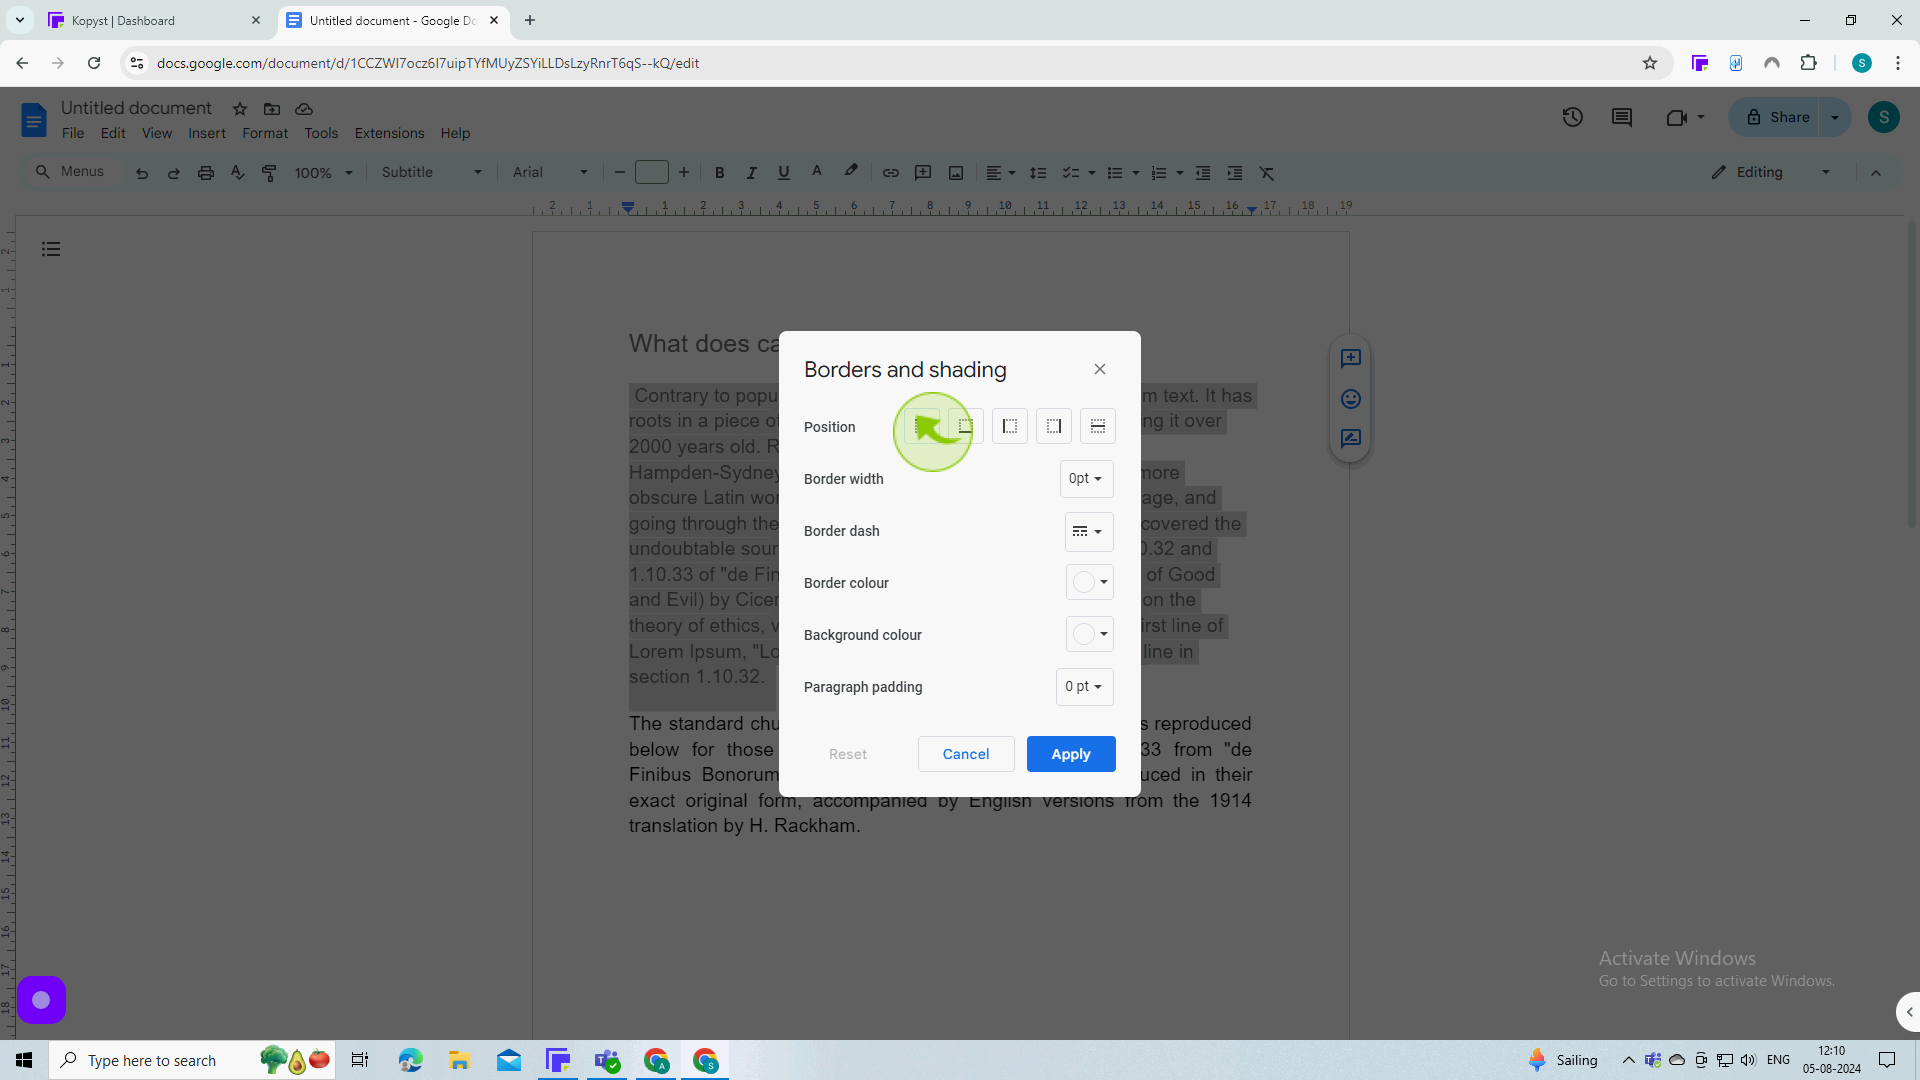
Set the "Top" border.
13
Set the "Bottom" border.

14
Set the "Left Side" border.

15
Set the "Right Side" border.
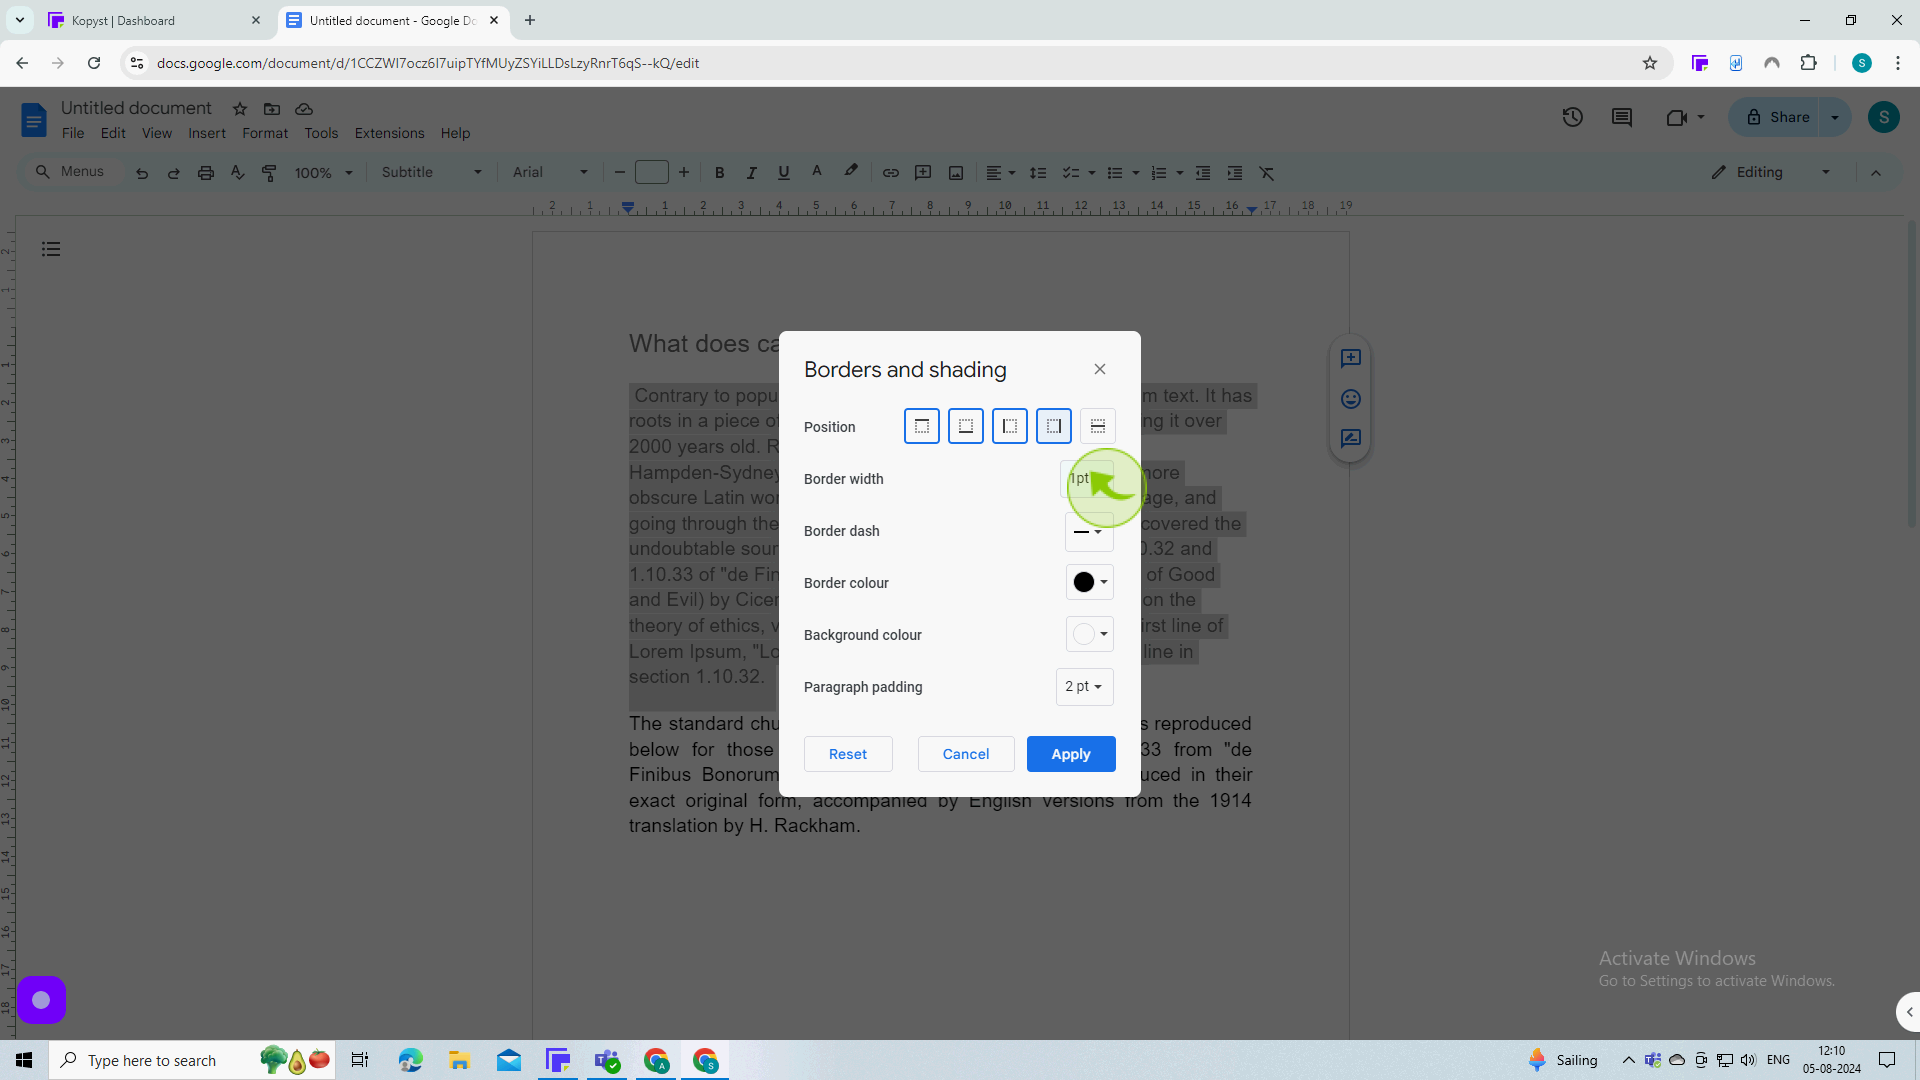
16
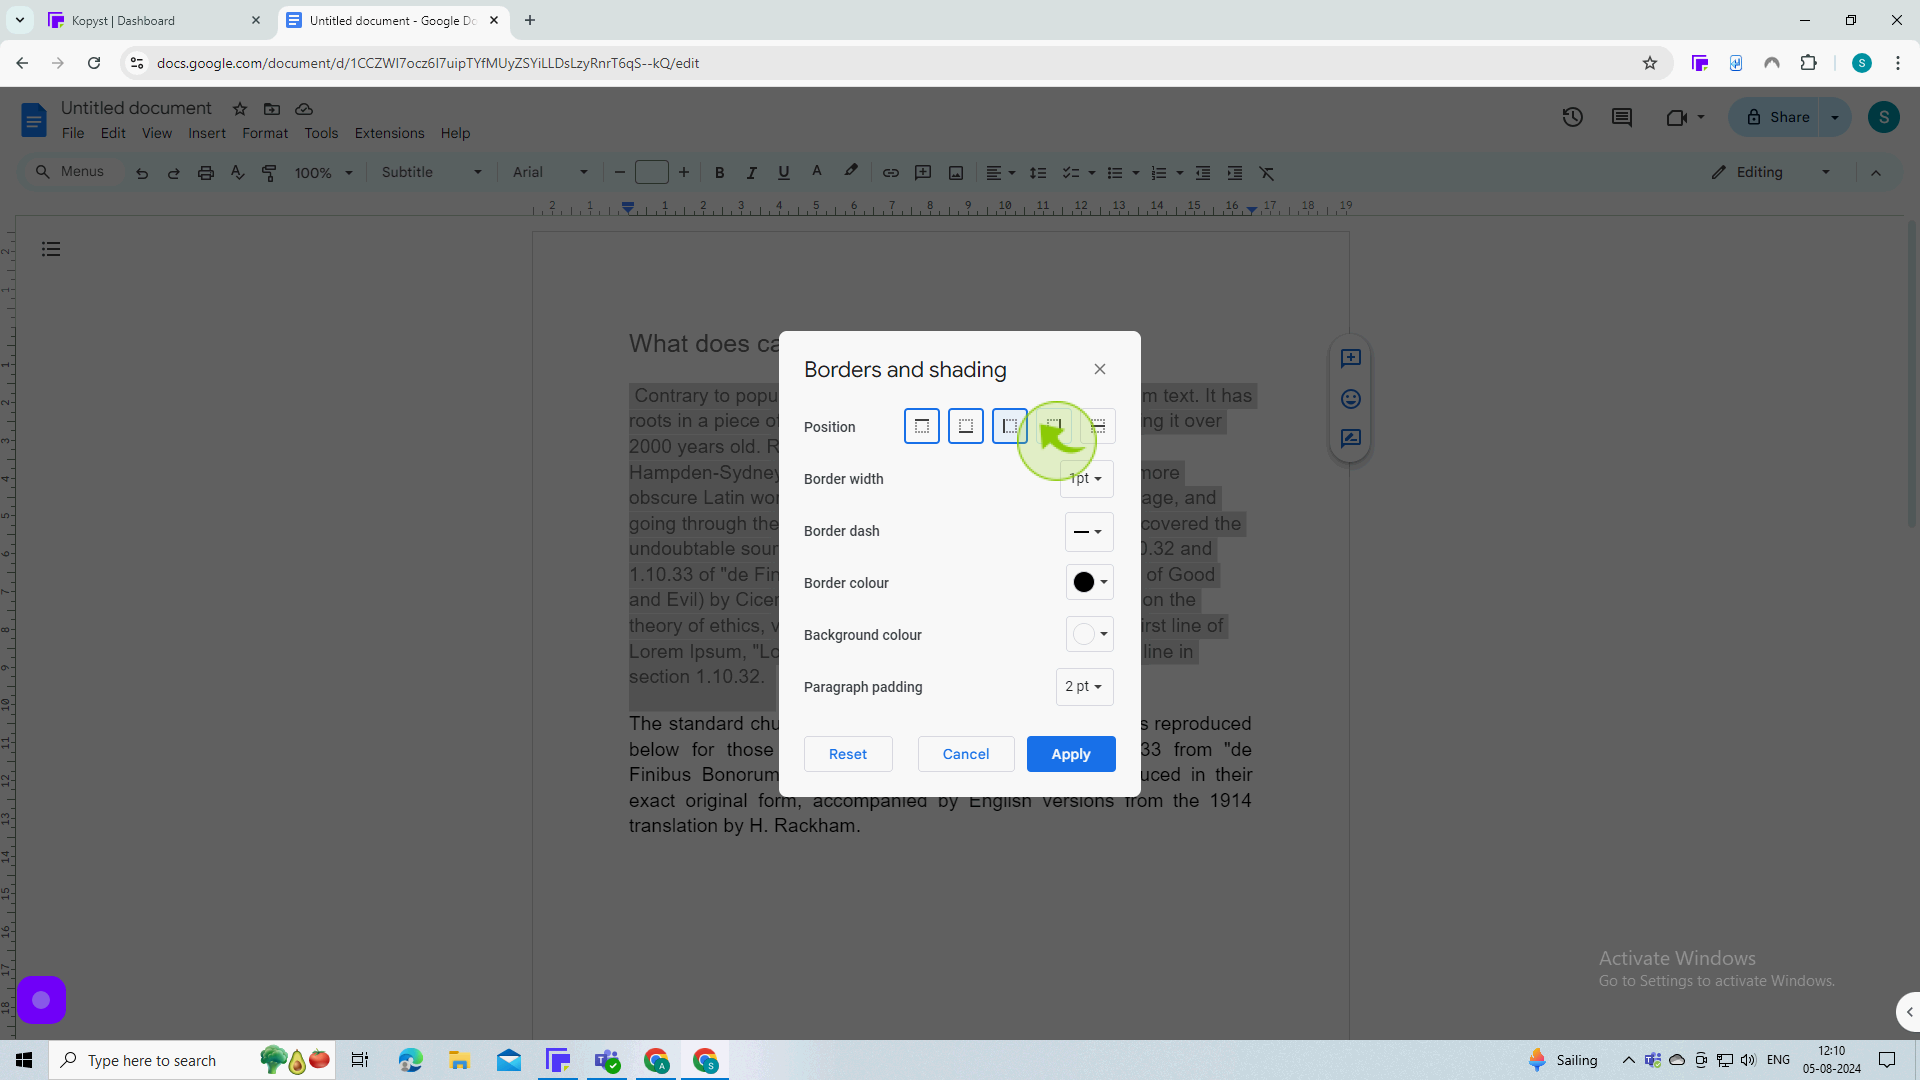
You can set your "Border Width".
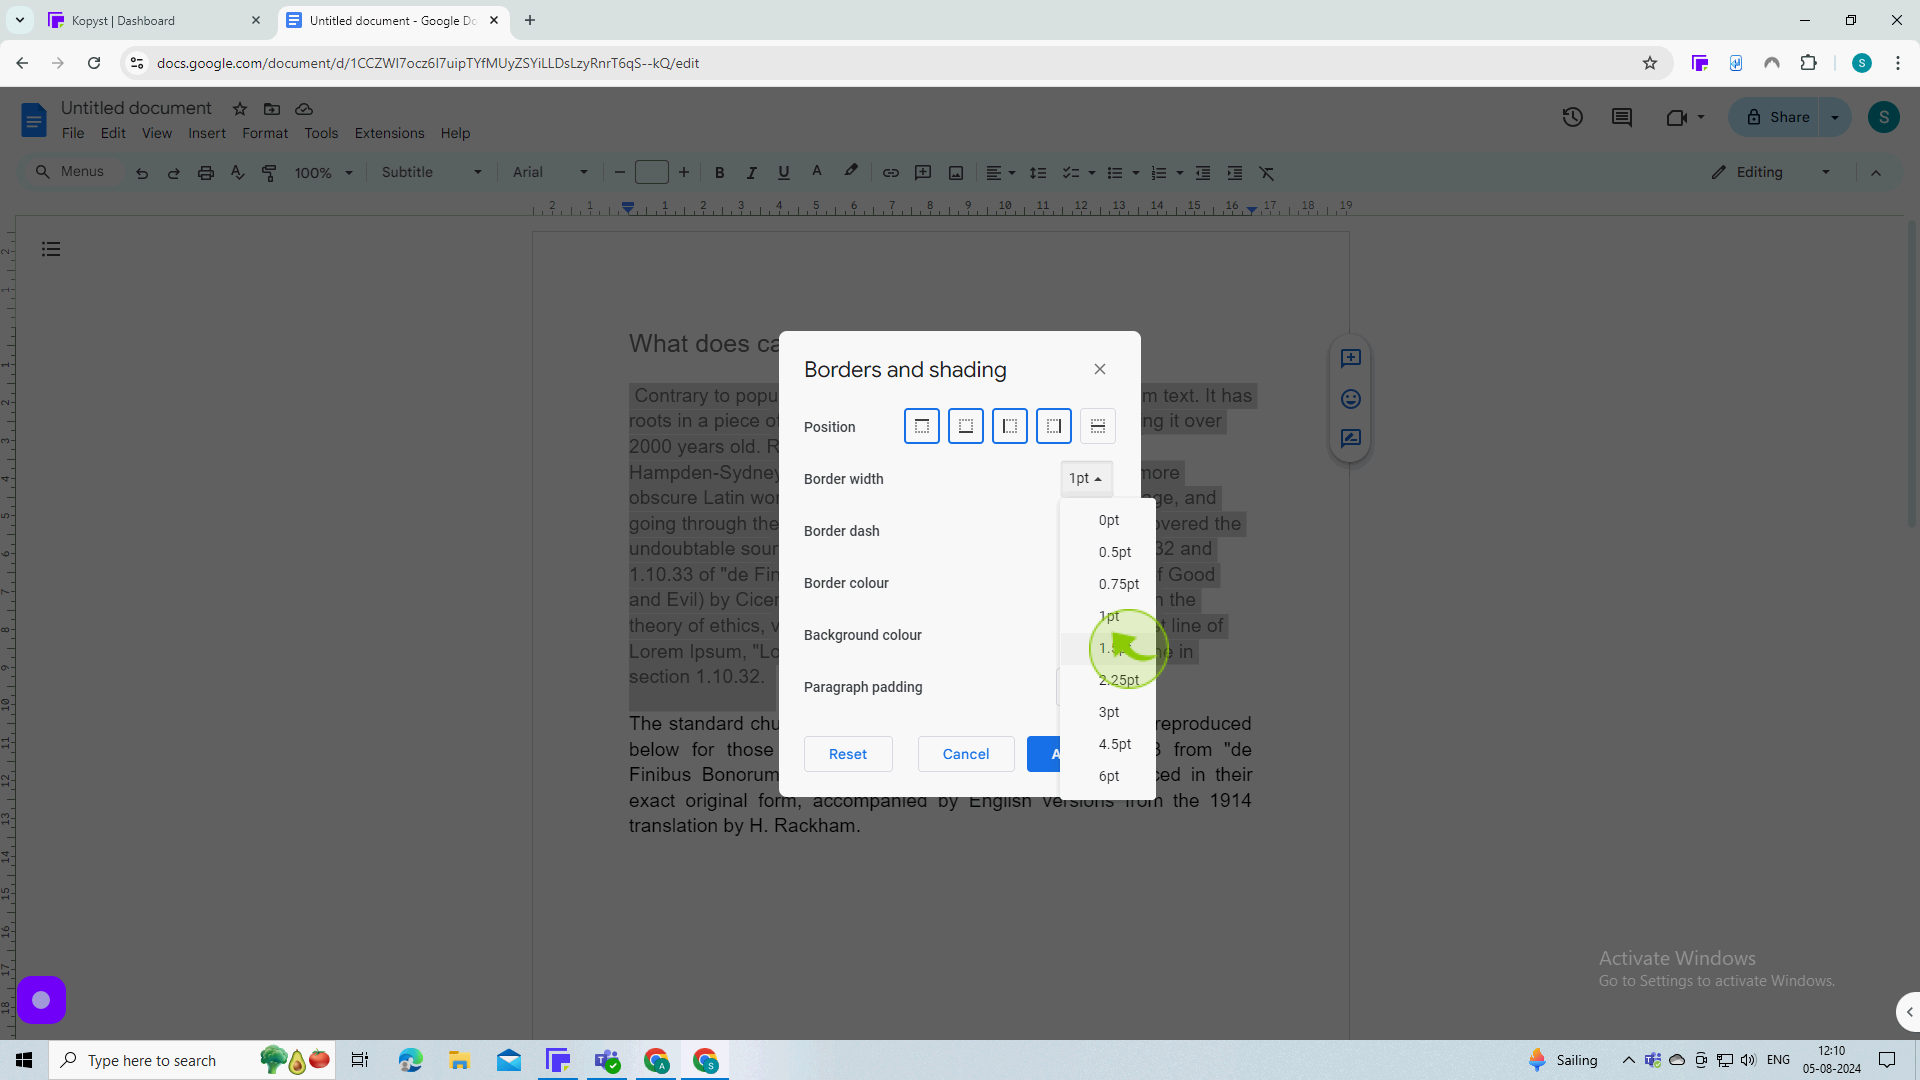
17
Select the "Width" you want.
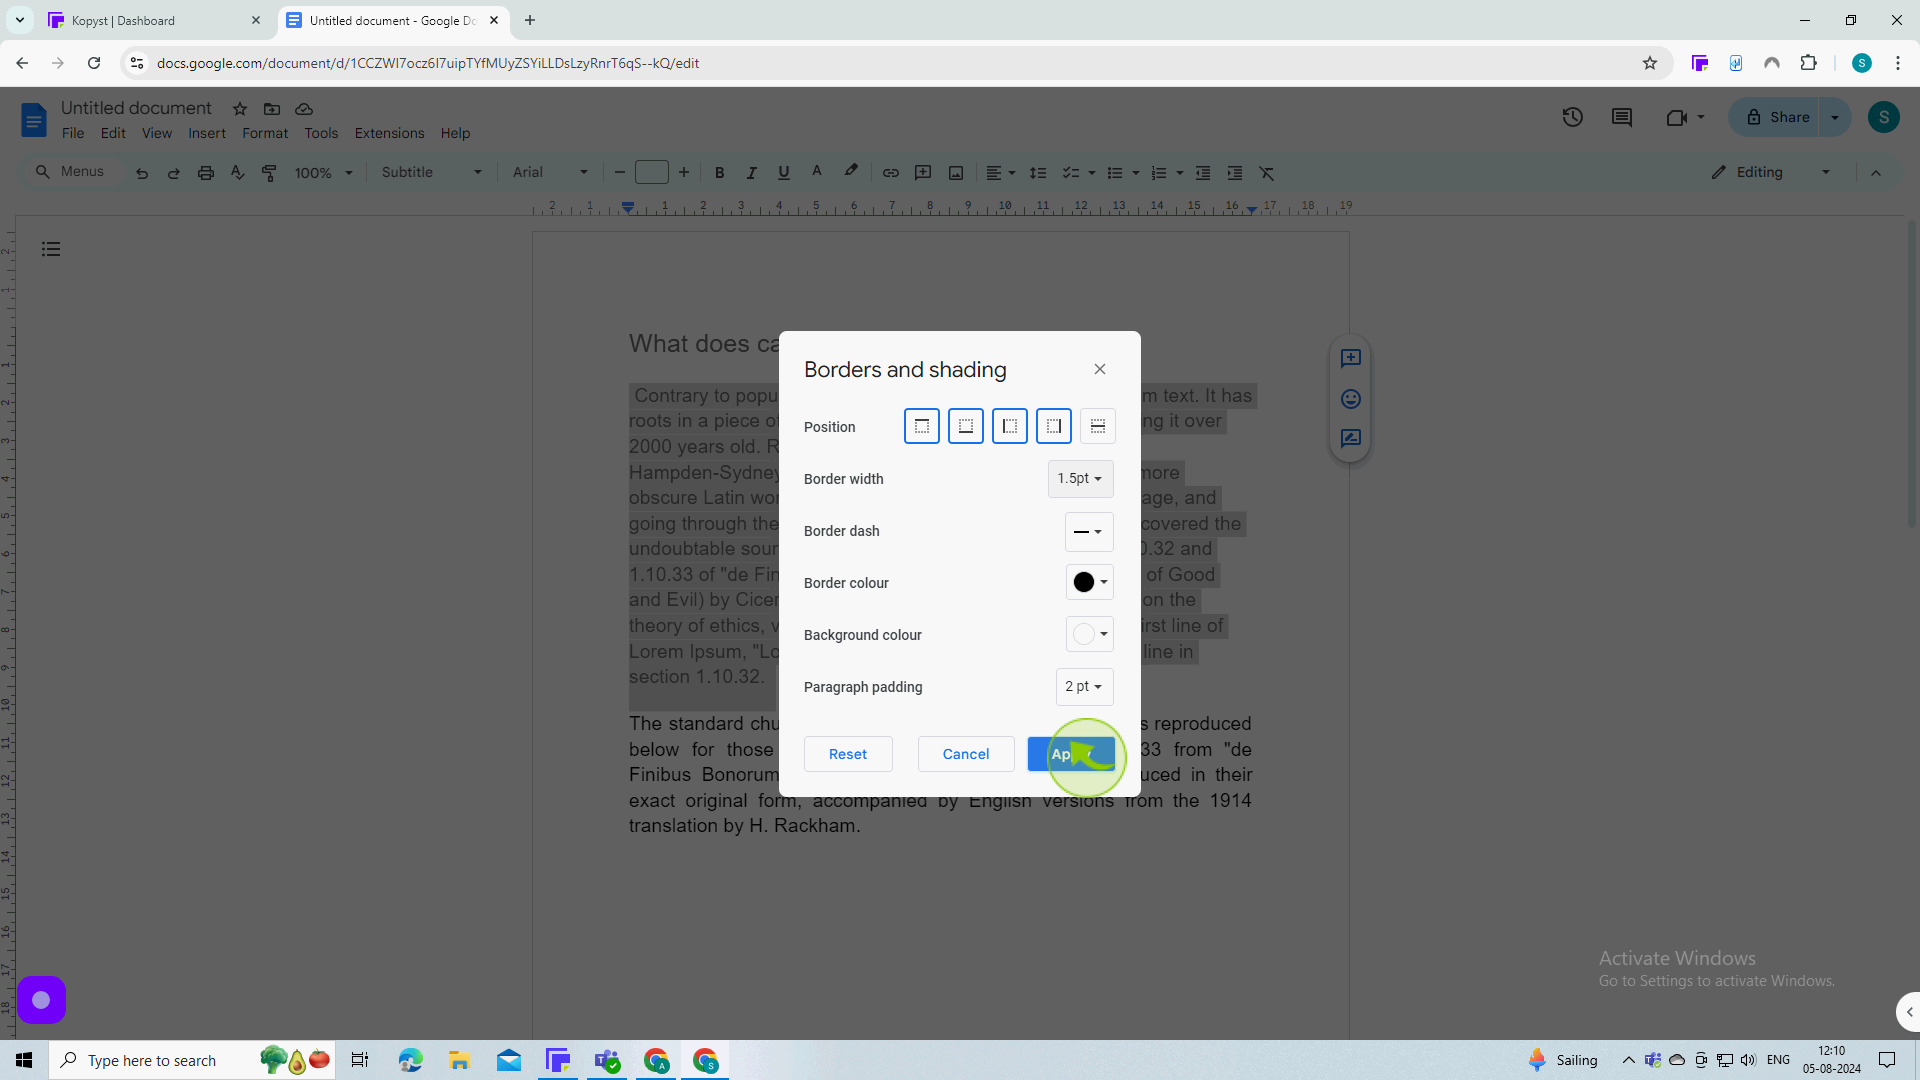
18
Click "Apply" to confirm.
19
As you can see, we now have a "Border" around one "Paragraph".
You can add borders in Google Docs by following these steps