How to autofill in Excel ?
|
 Excel
|
Excel
|
6 months ago
|
7 Steps
Learn how to save time and effort by using the Autofill feature in Excel. This powerful tool allows you to quickly populate cells with data, formulas, and formatting. Discover how to use the fill handle to drag and drop, and learn about the different fill options available. Whether you're creating number sequences, copying formulas, or replicating formatting, Autofill is a must-know skill for any Excel user.
How to autofill in Excel ?
|
Excel
|
7 Steps

1
Start your Microsoft Excel and open a new or existing workbook.
This is where you'll create or modify your spreadsheet.
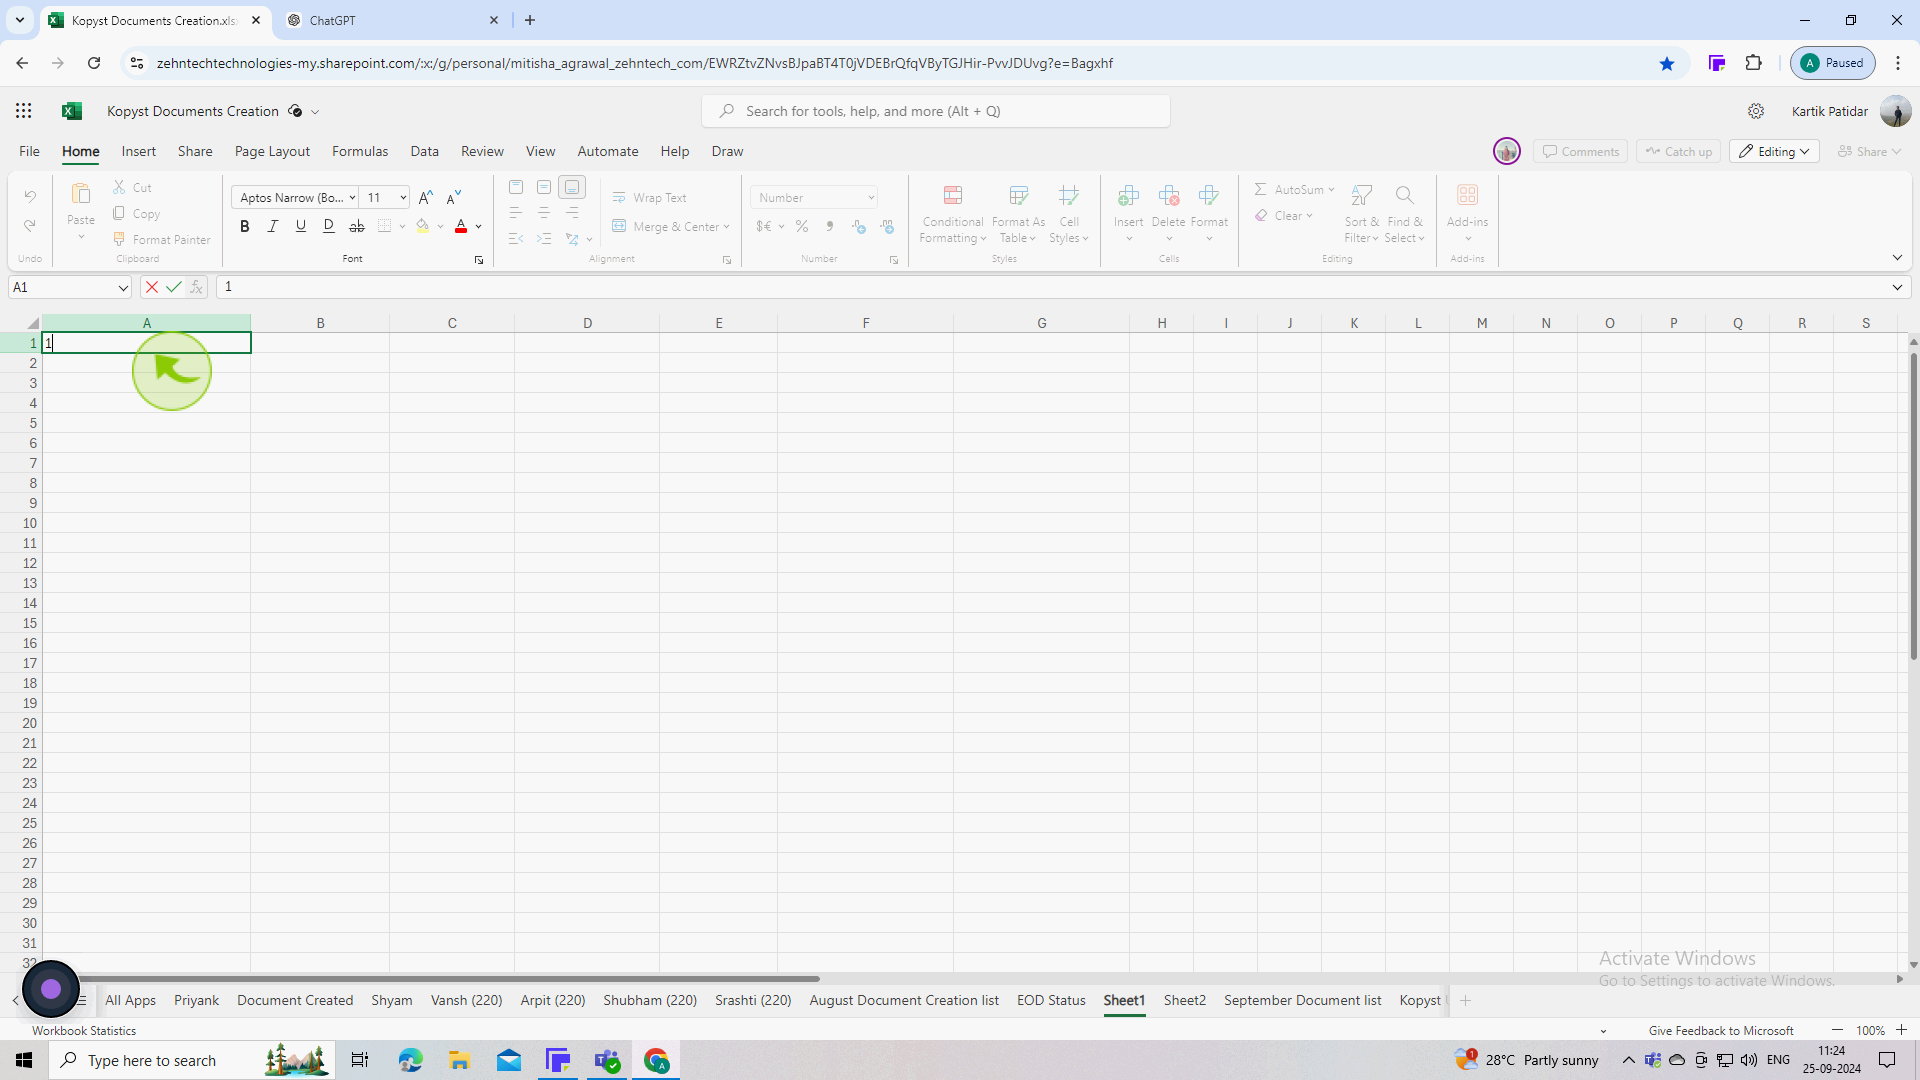
2
Click on a "Cell" and type your starting value (e.g "1" in cell A1).
The initial value serves as a reference for Excel to understand the pattern you want to autofill.
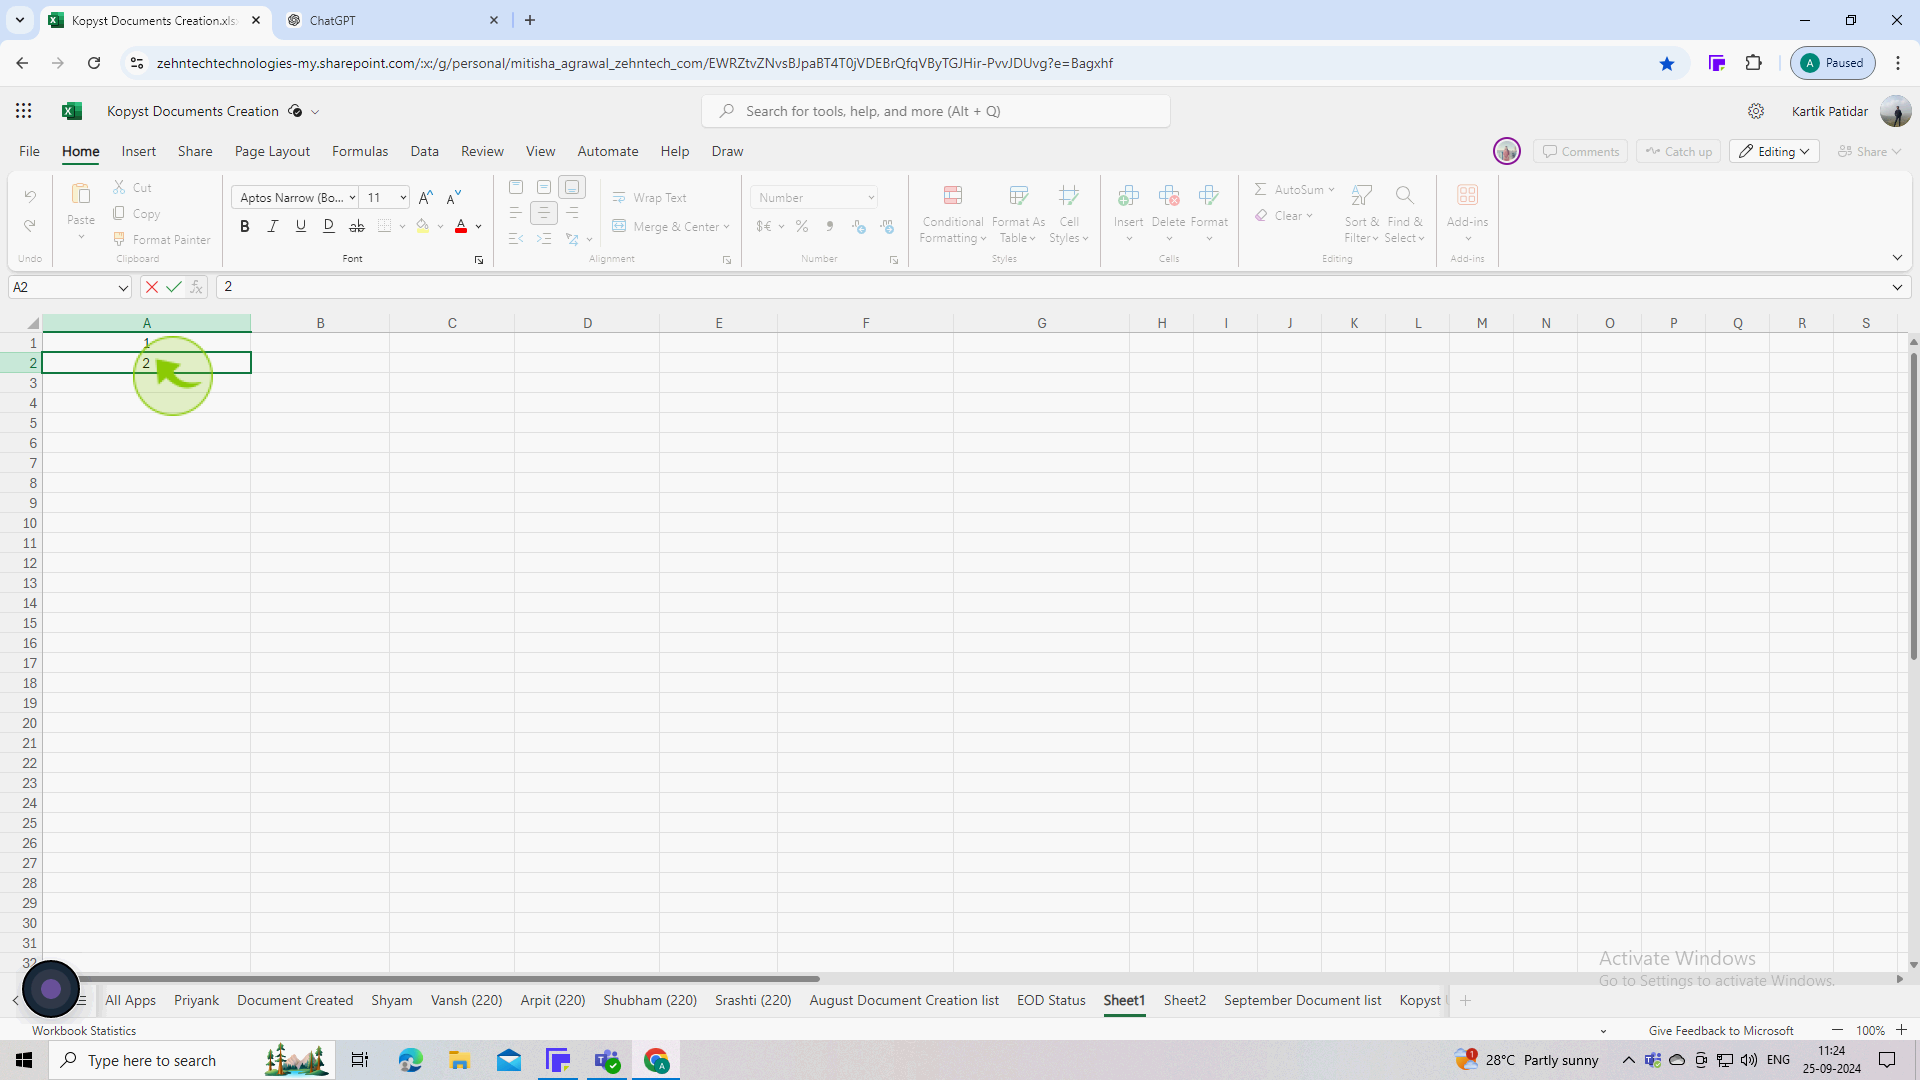
3
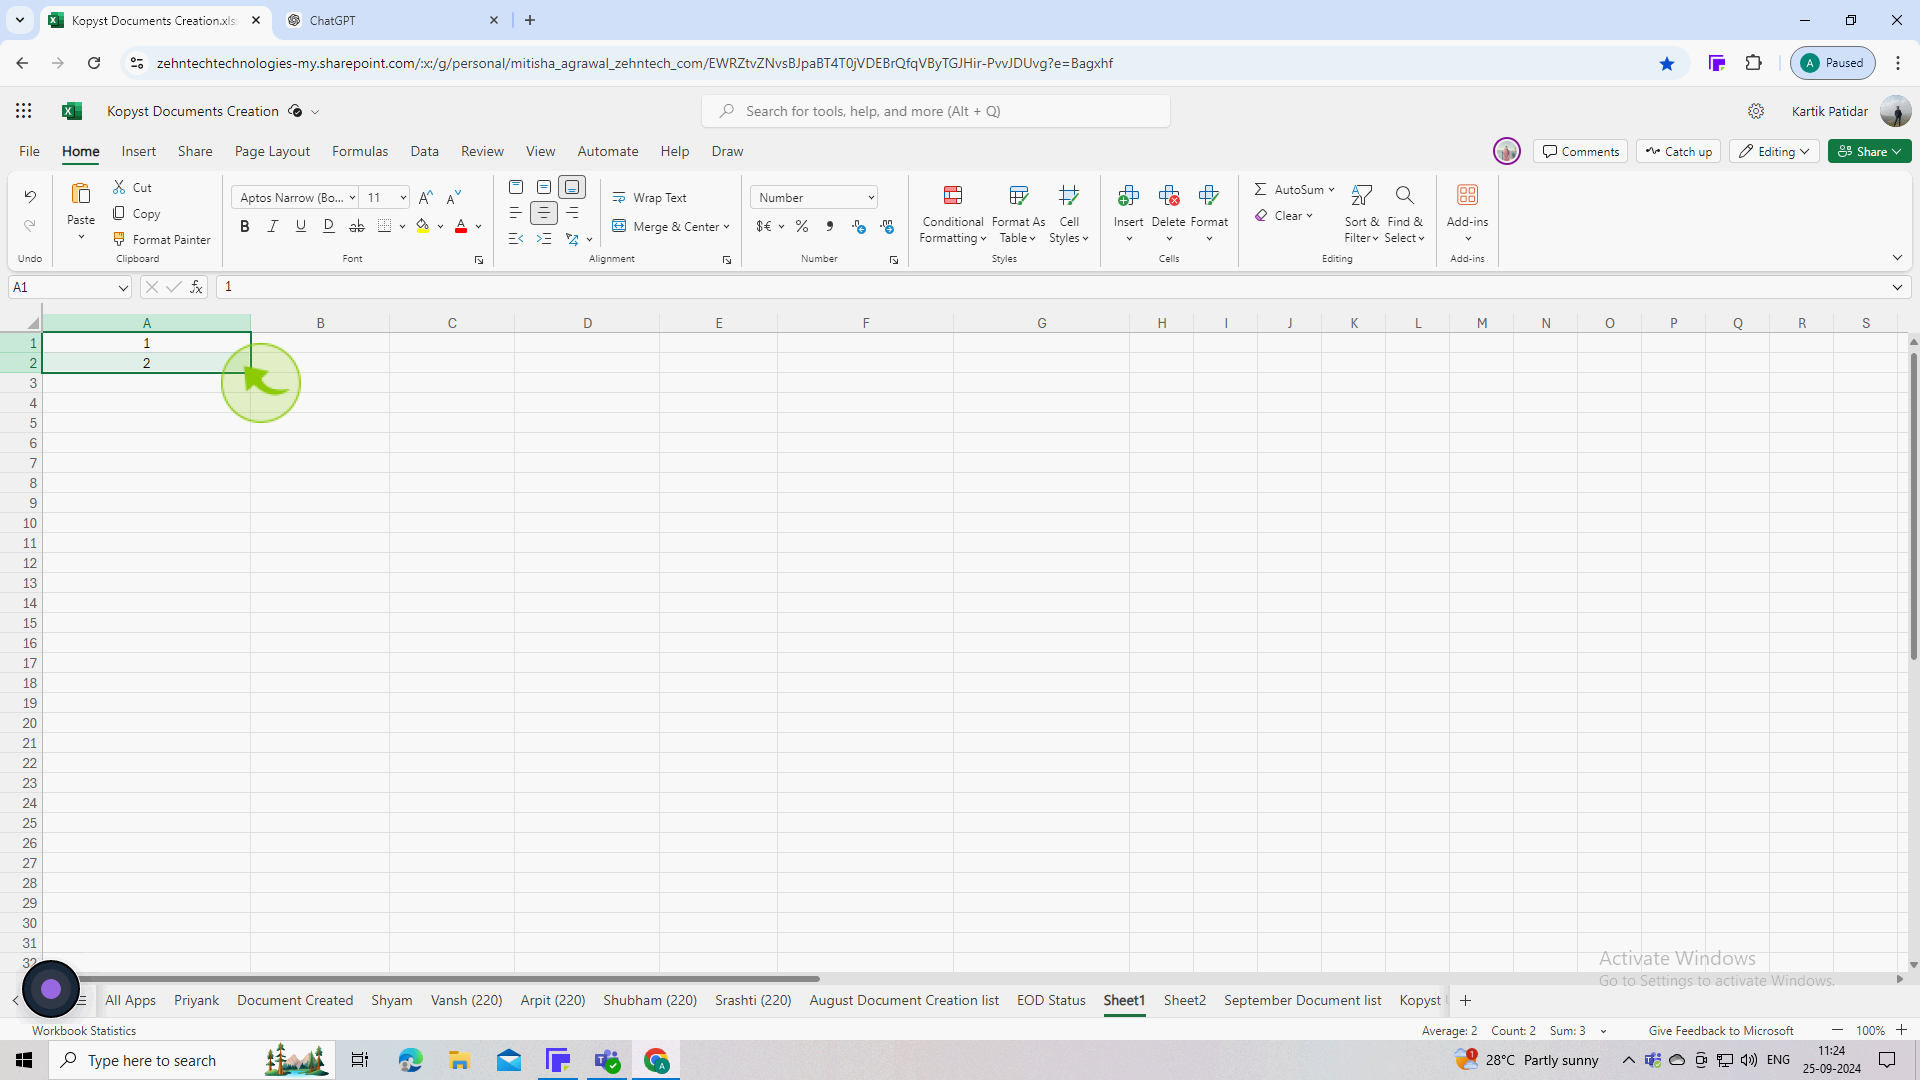
If you're filling a series (like dates or numbers), enter a "Second value" in the next cell (e.g "2" in cell A2).
Entering a second value helps Excel recognize the sequence, enabling it to autofill more accurately.
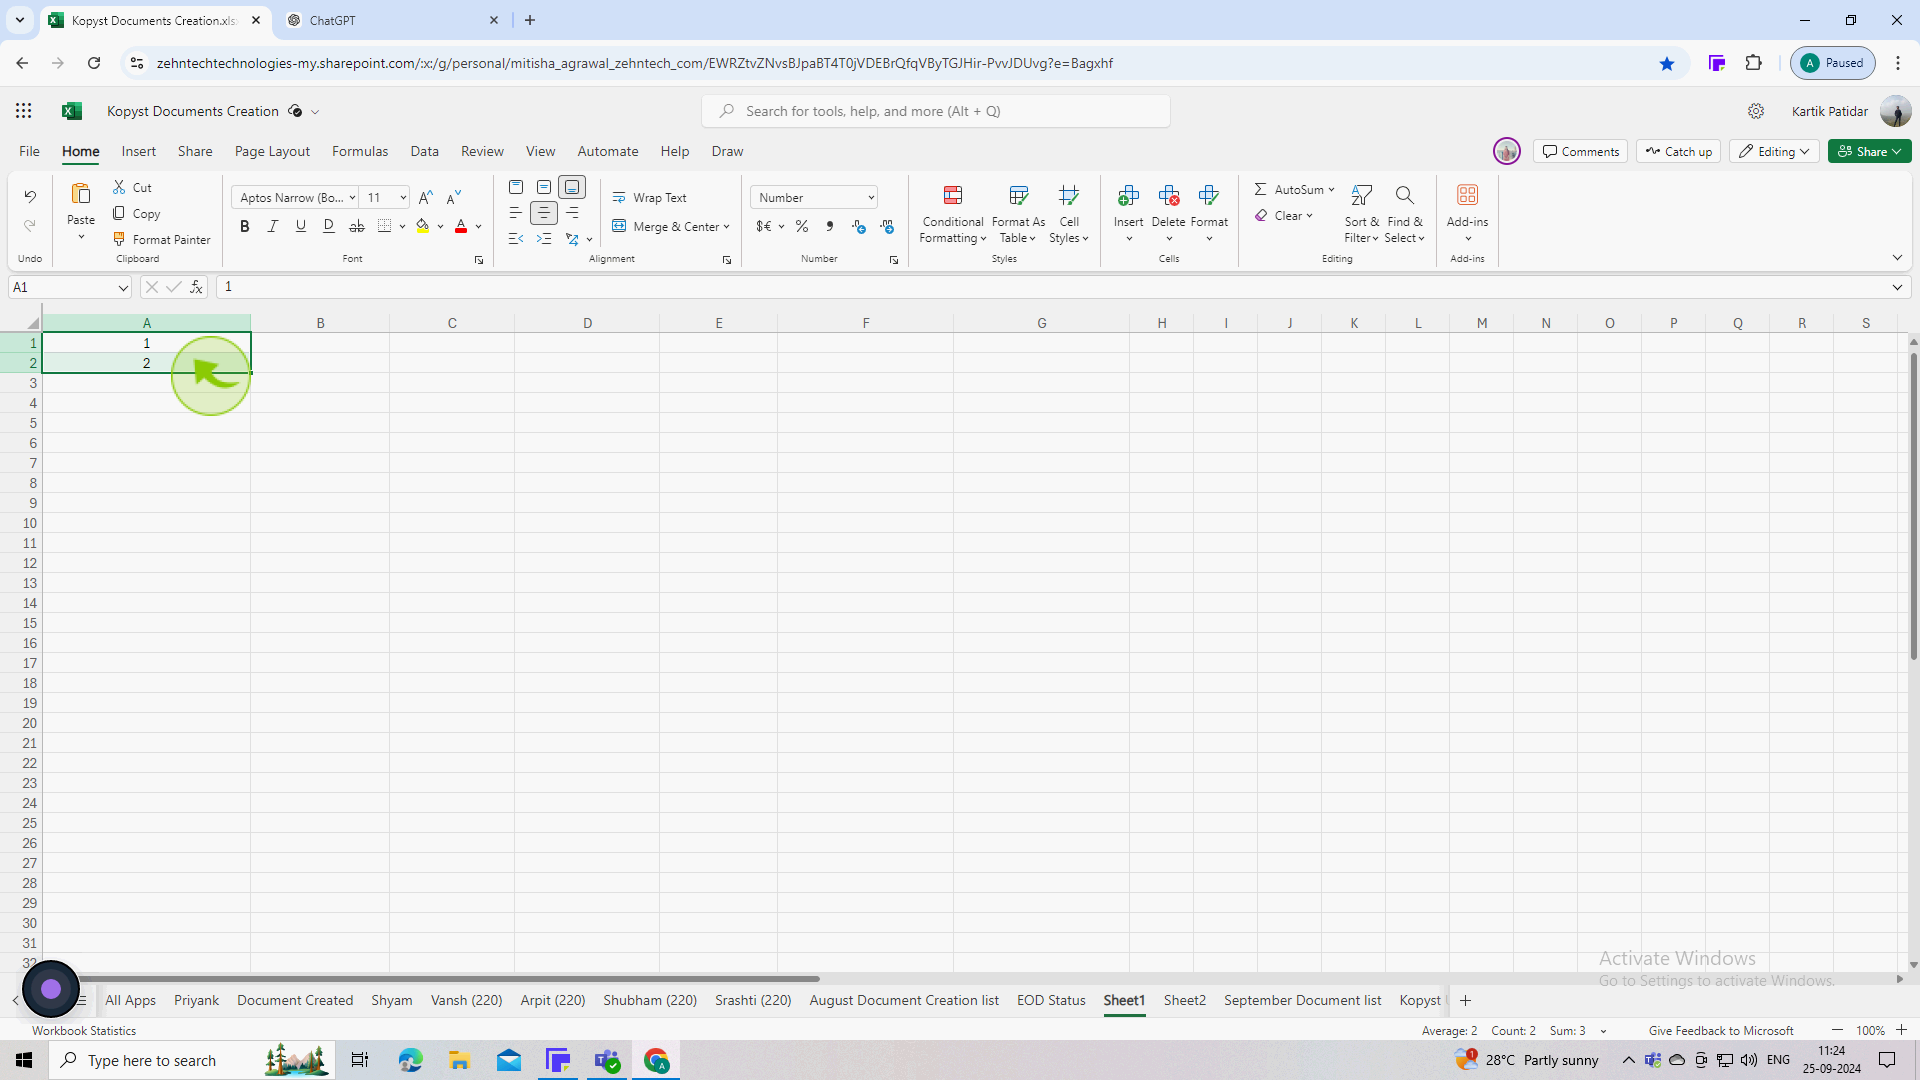
4
Click and drag to select the "Cells" containing your initial values (e.g A1 and A2).
Selecting these cells allows Excel to determine the range and pattern for autofilling.
5
Move your cursor to the bottom right corner of the selection until it changes to a "Small Cross" (this is the Fill Handle).
The Fill Handle is a small square that allows you to extend your selection.
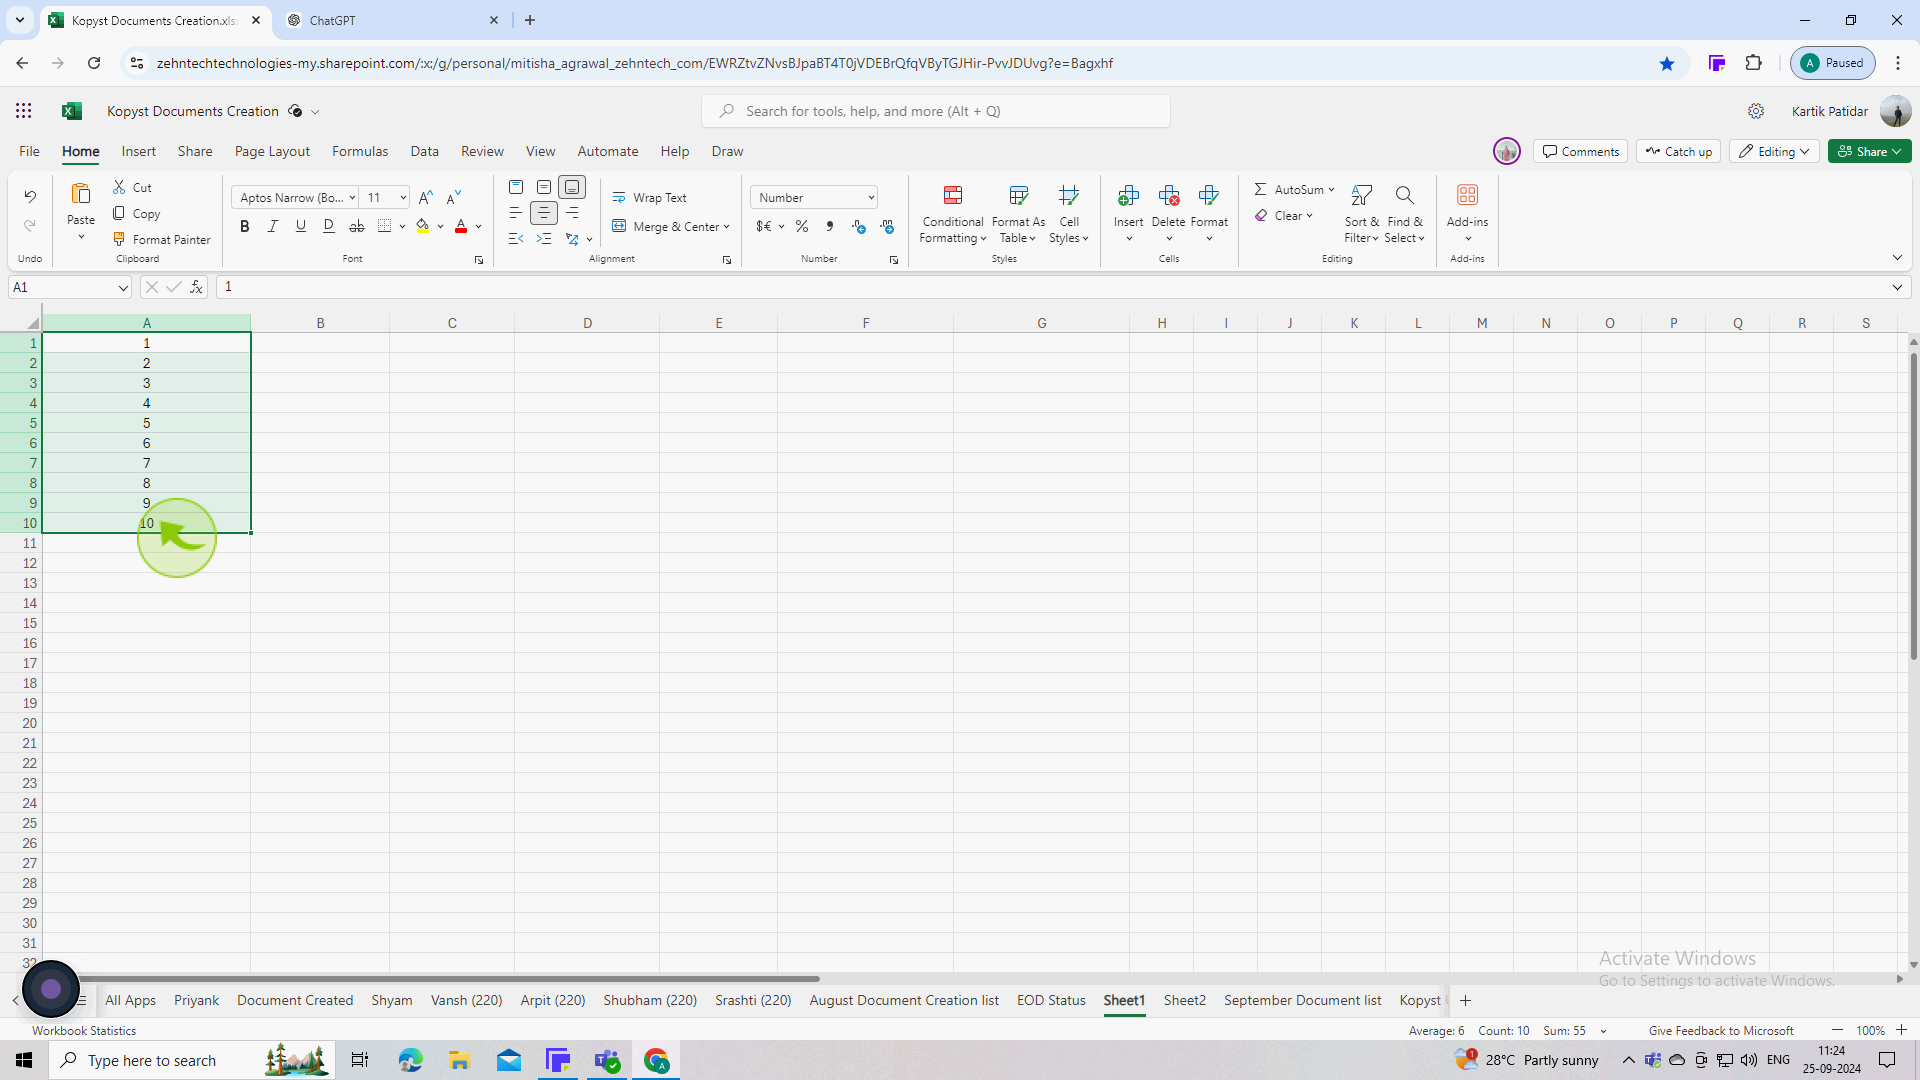
6
Click and drag the Fill Handle down (or across) to the desired number of cells (e.g drag down to A10).
As you drag, Excel will fill in the cells based on the pattern you've established.
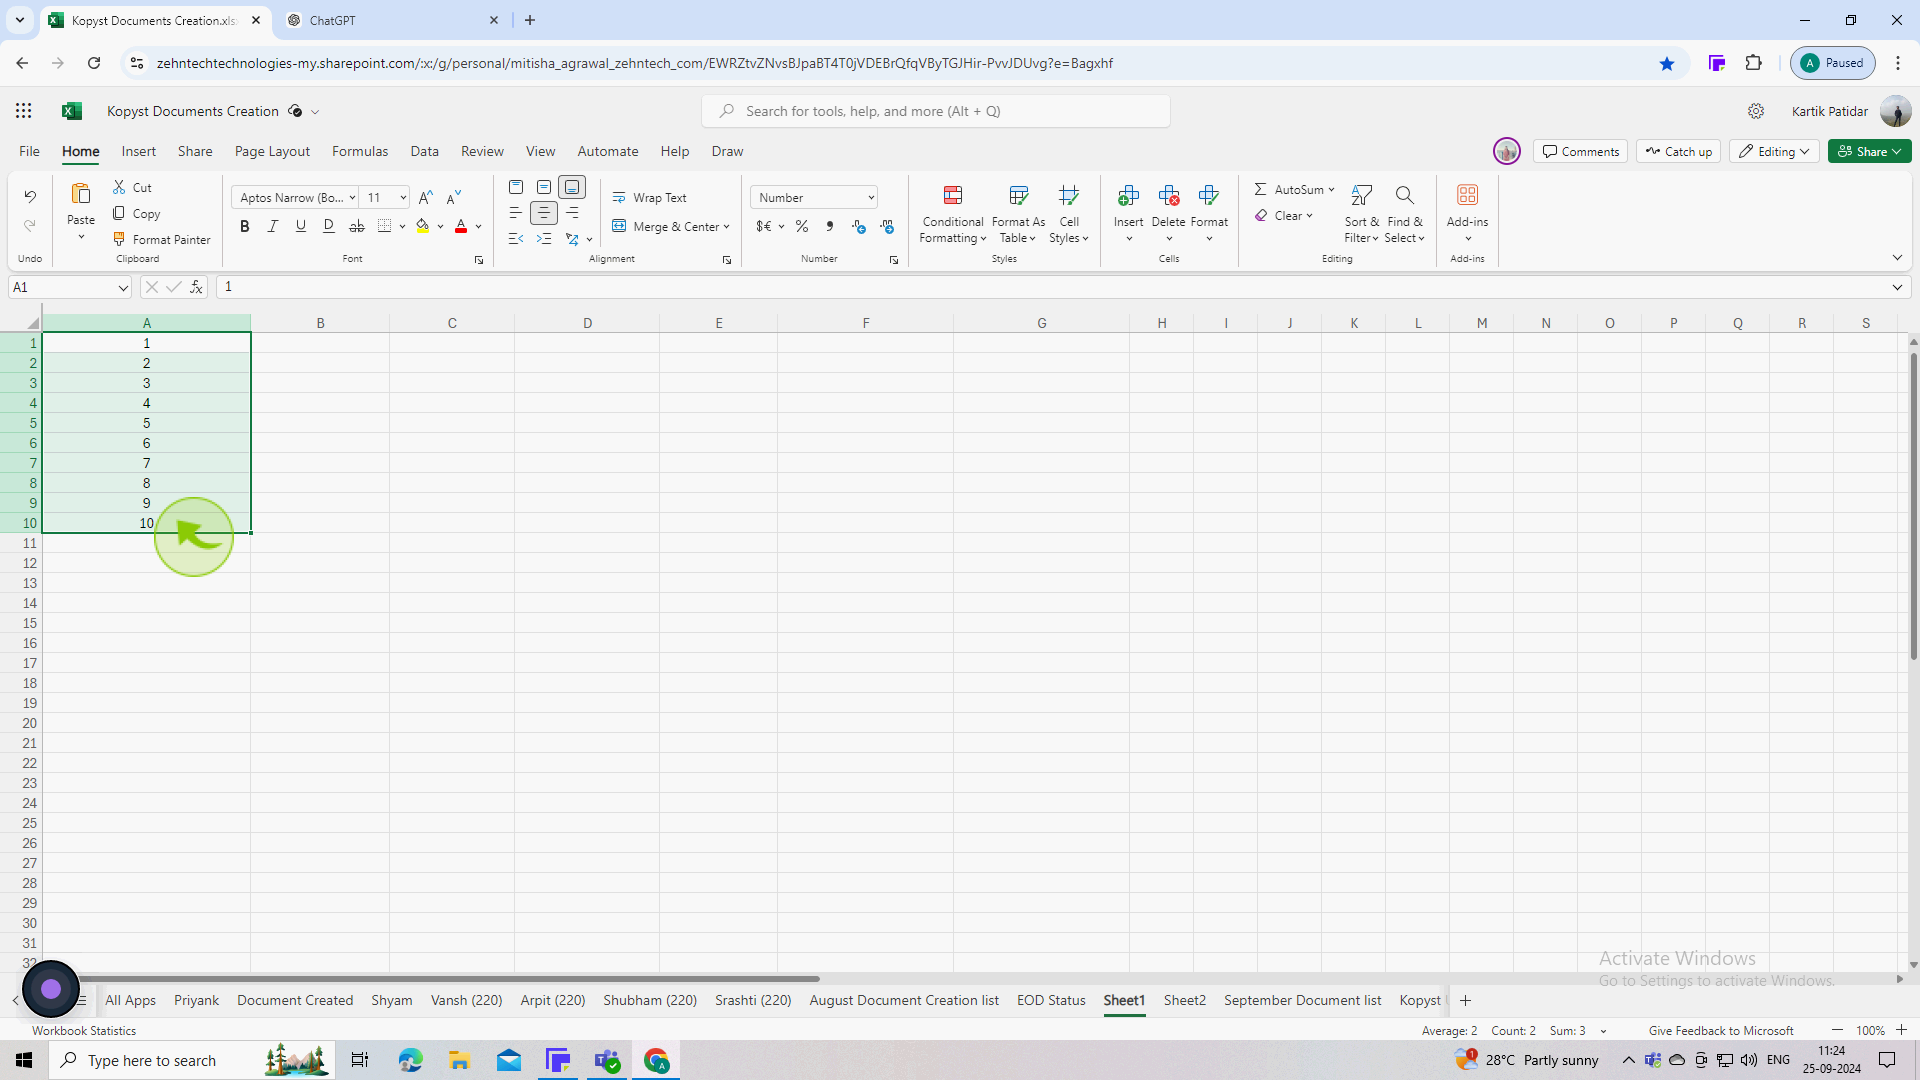
7
Review the filled "Cells" to ensure they follow the intended pattern (e.g A1 to A10 should read 1, 2, 3.).
This step confirms that Excel interpreted your data correctly.