How to change date format in Excel ?
|
 Excel
|
Excel
|
6 months ago
|
9 Steps
Learn how to customize the display of dates in your Excel spreadsheets. This document will show you how to change the date format to match your specific needs, whether it's short date, long date, or a specific custom format. Discover how to easily switch between different date formats and ensure that your data is presented clearly and professionally. Whether you're working with financial data, project timelines, or personal records, mastering date formatting in Excel is an essential skill.
How to change date format in Excel ?
|
Excel
|
9 Steps

1
Start Excel and open the workbook containing the dates you want to format.
This allows you to access the data you wish to modify.
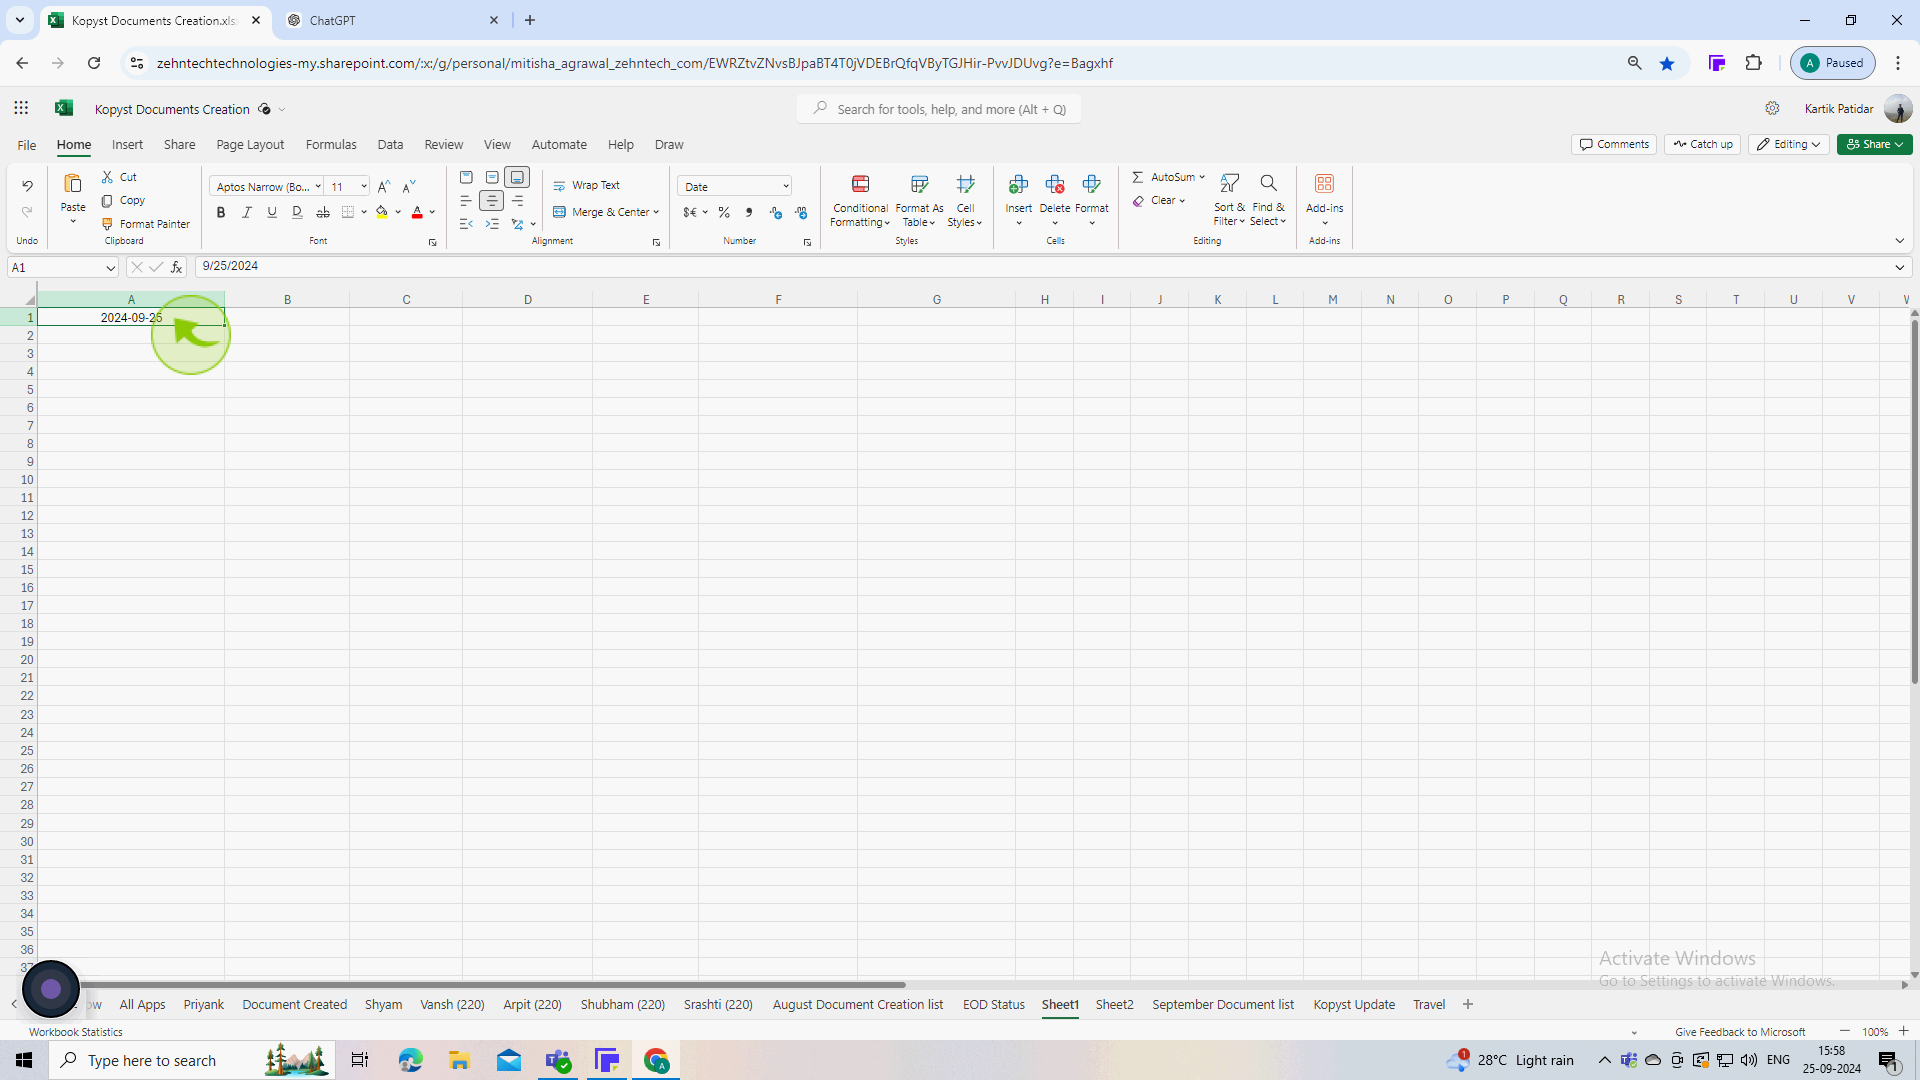
2
Click and drag to select the "Cells" that contain the dates you want to change.
Select the cells lets Excel know which ones to apply the new format to.

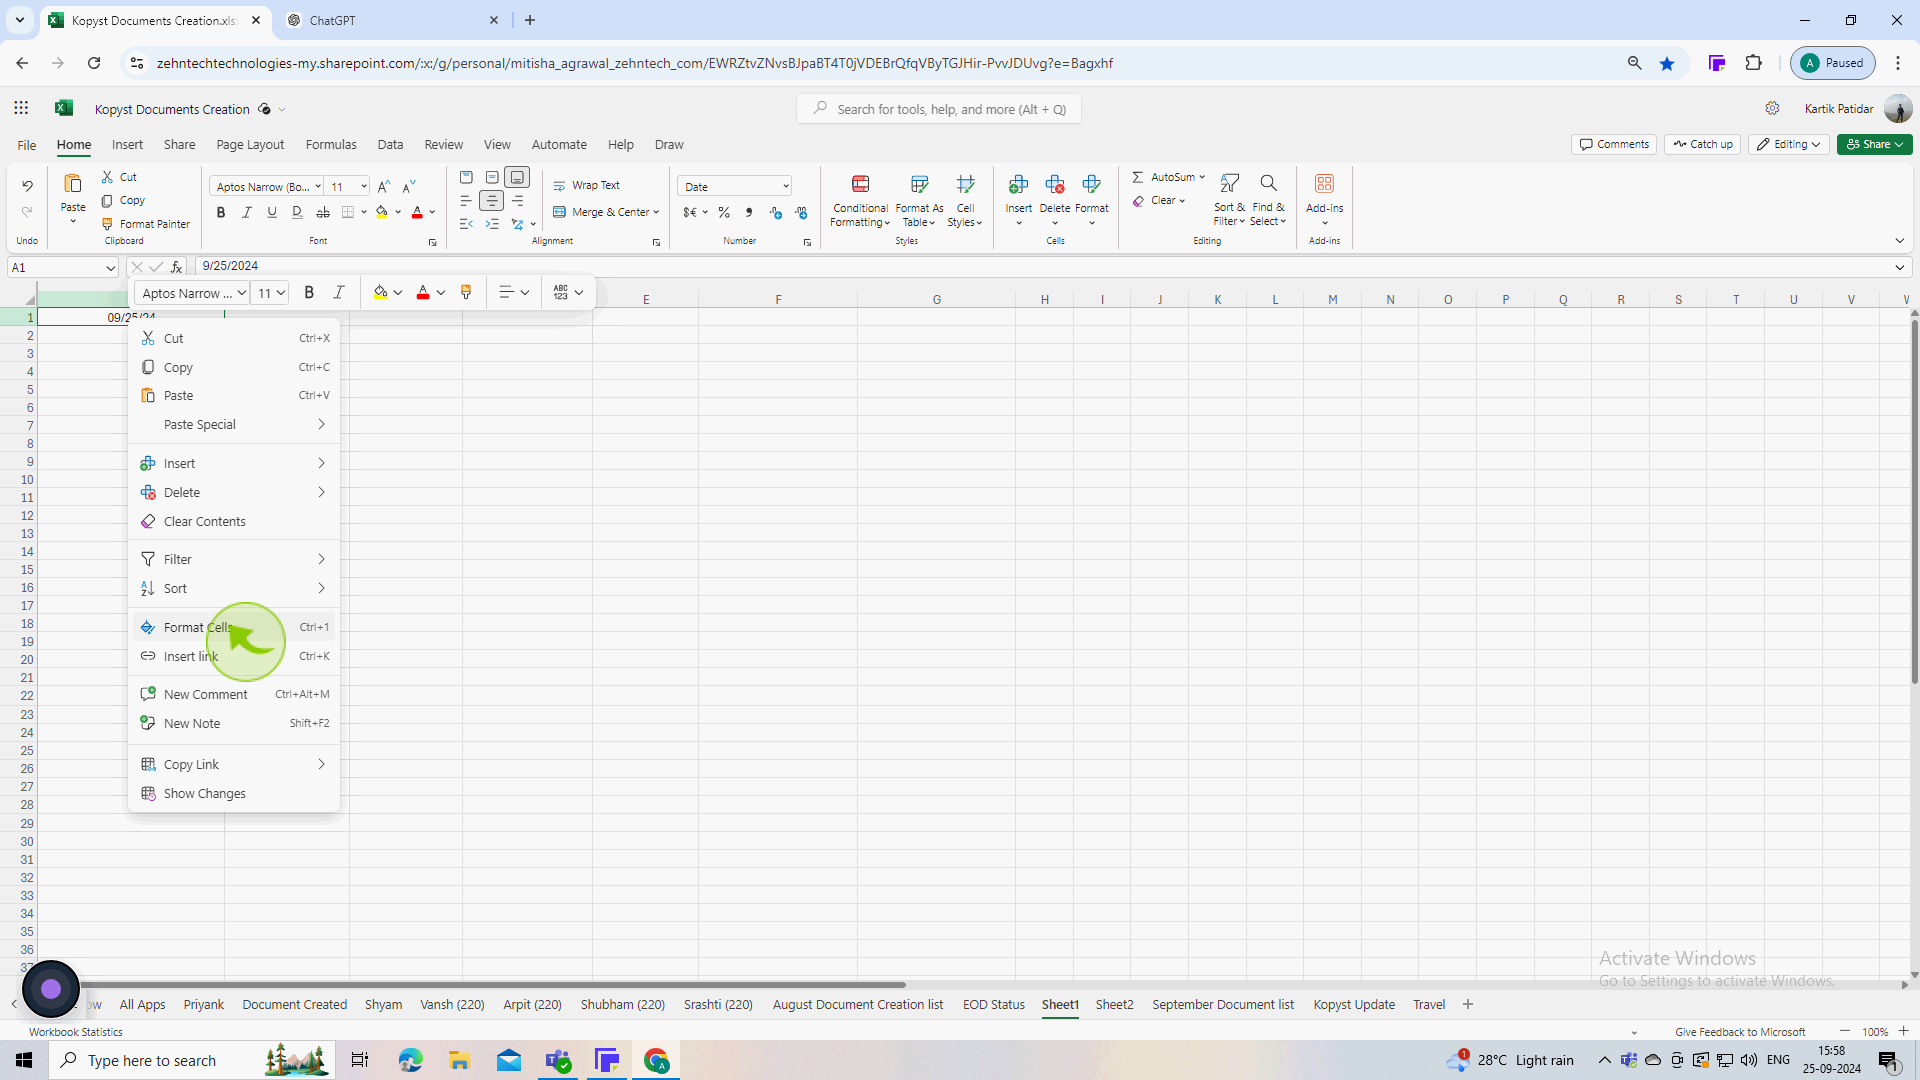
3
Right click on the selected cells and choose "Format Cells" from the context menu.
This opens a dialog box where you can customize various formatting options for the selected cells.
4
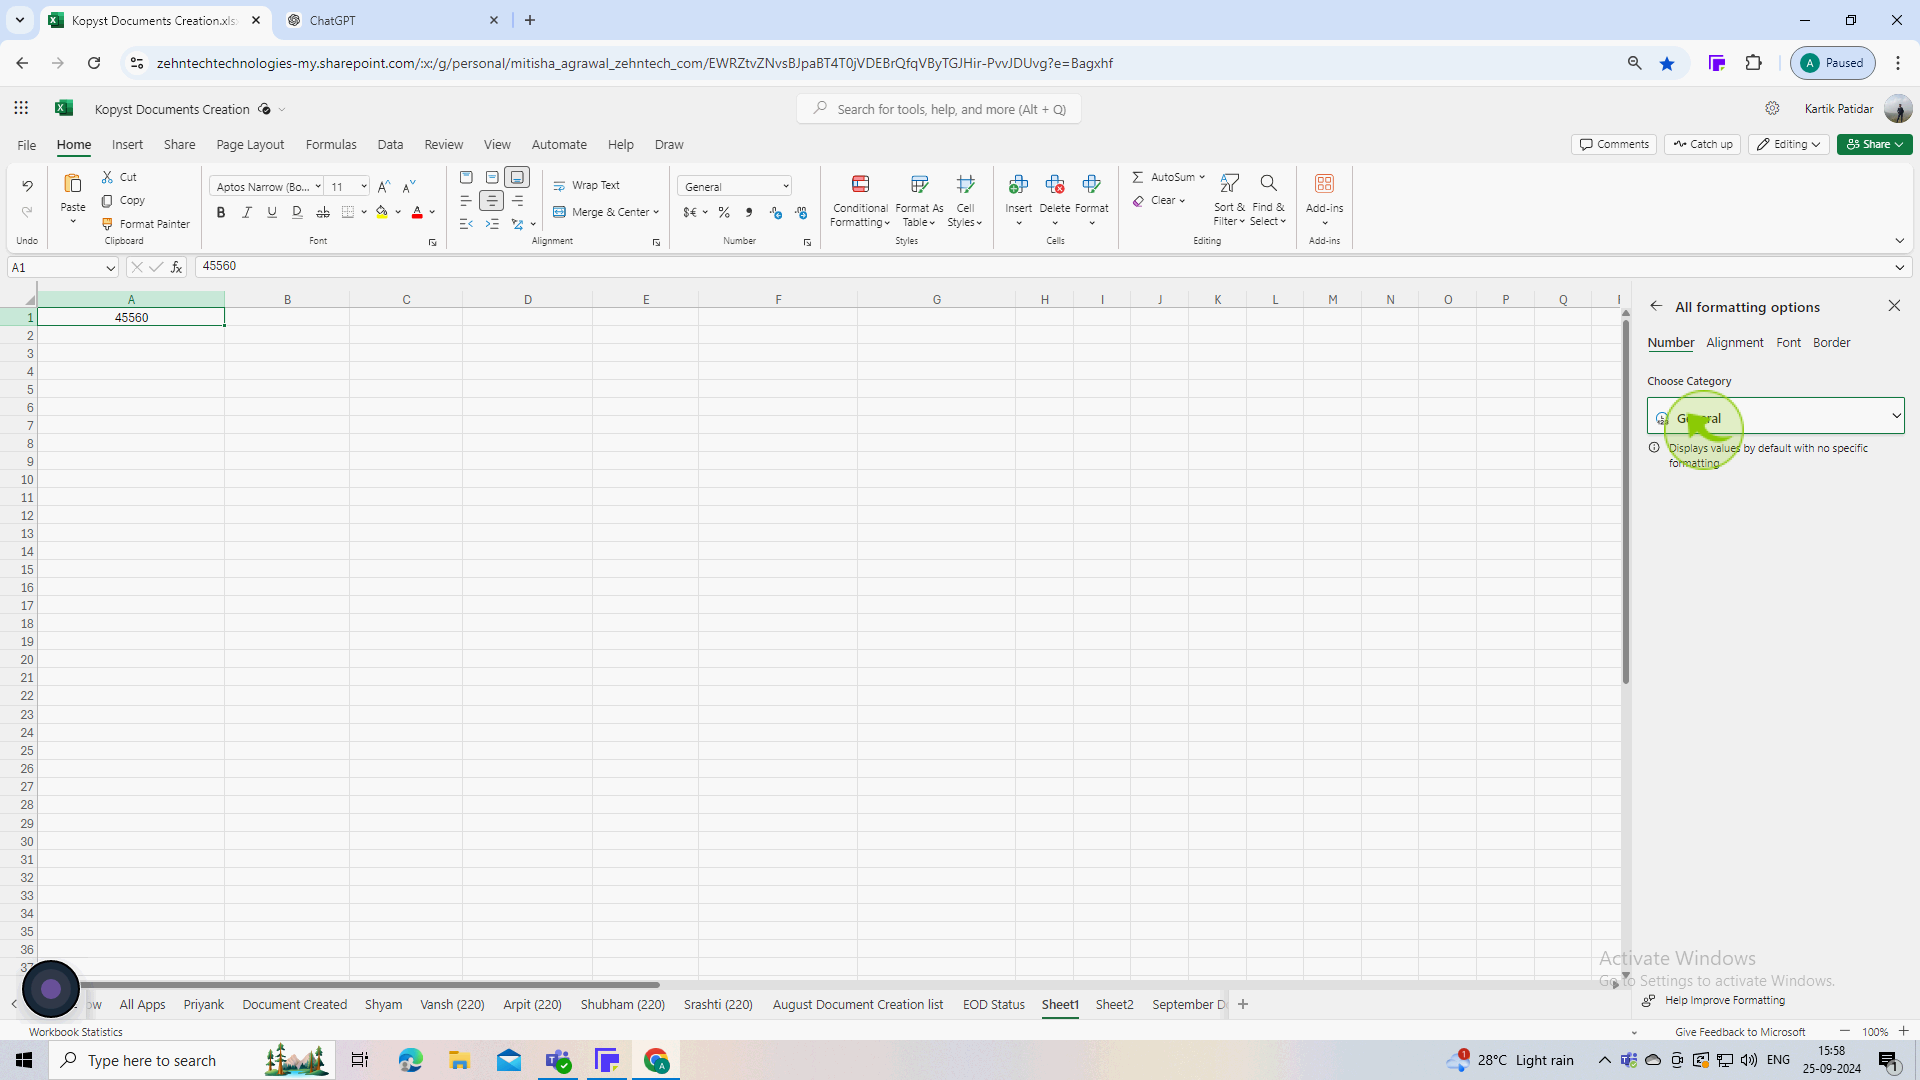
In the format cells dialog, click on the "Number" tab if it's not already selected.
5
This section contains various "Categories" for formatting your data.
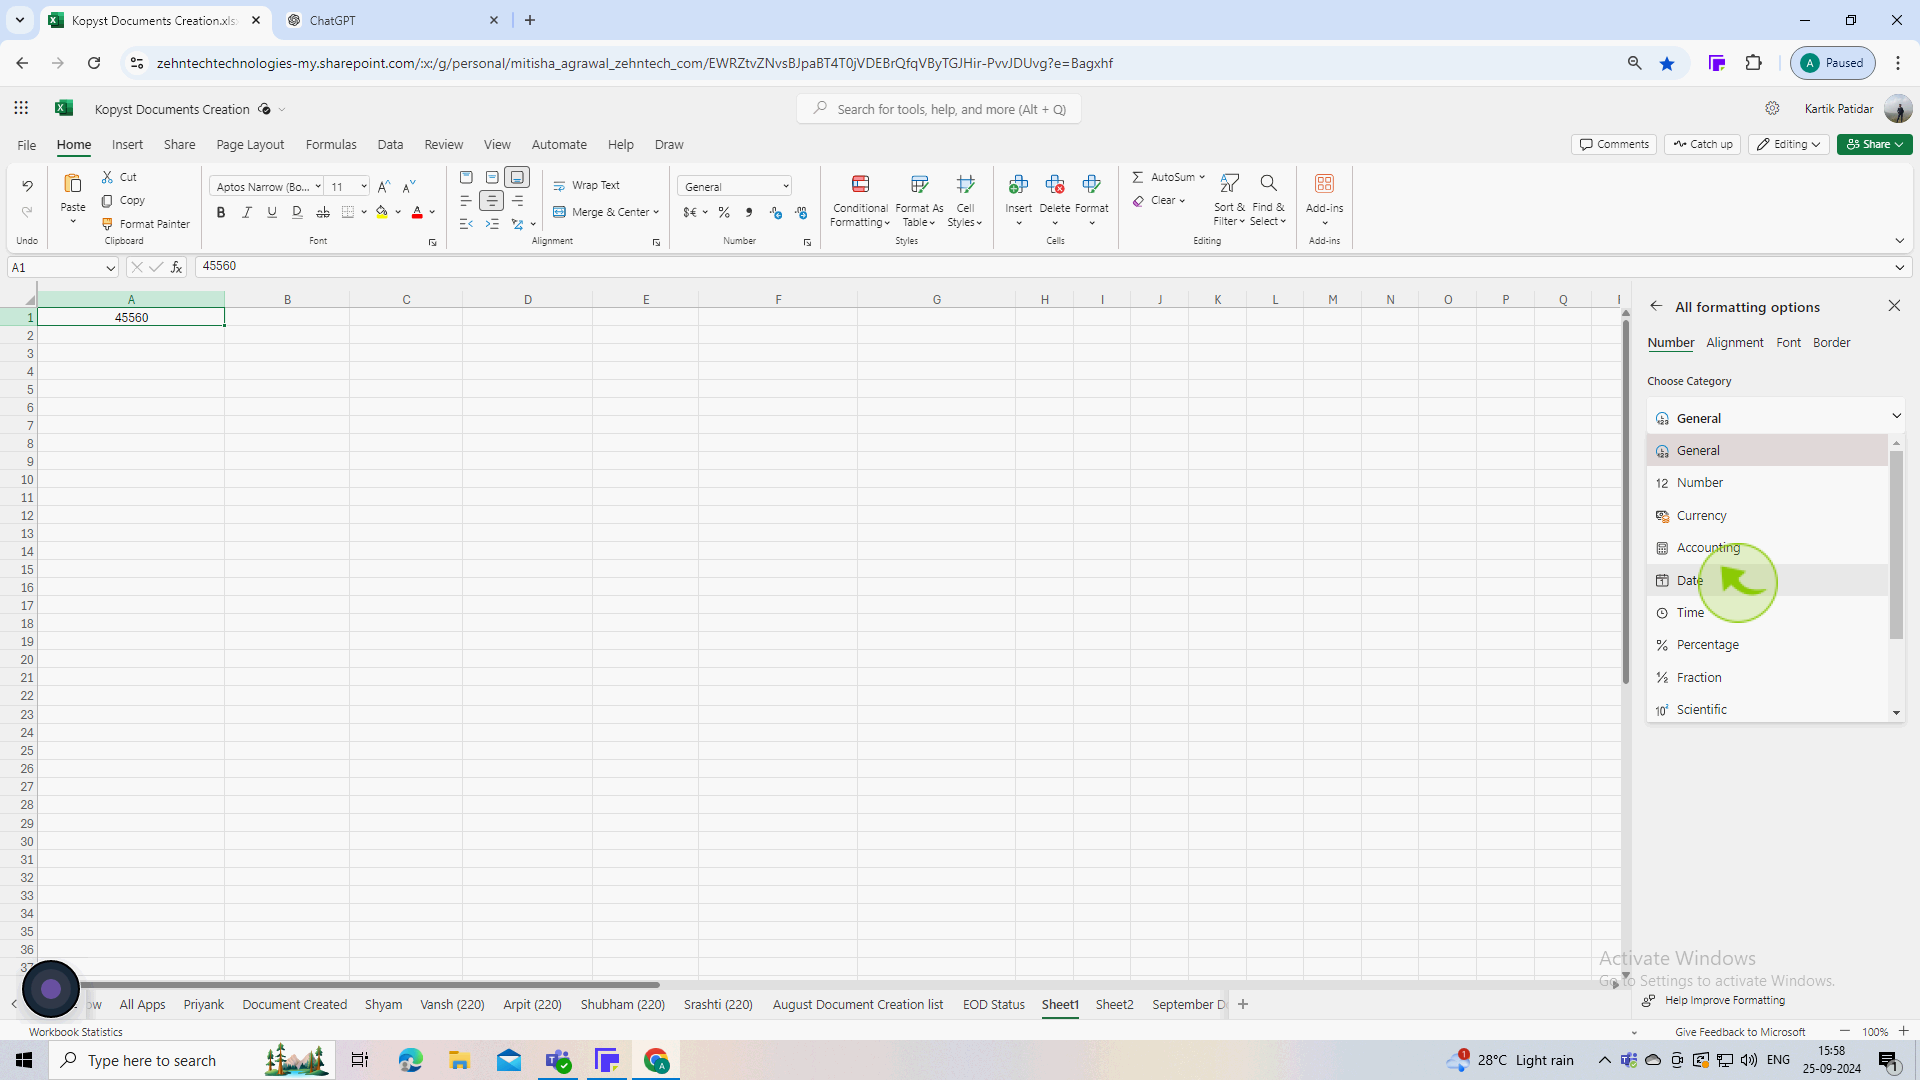
6
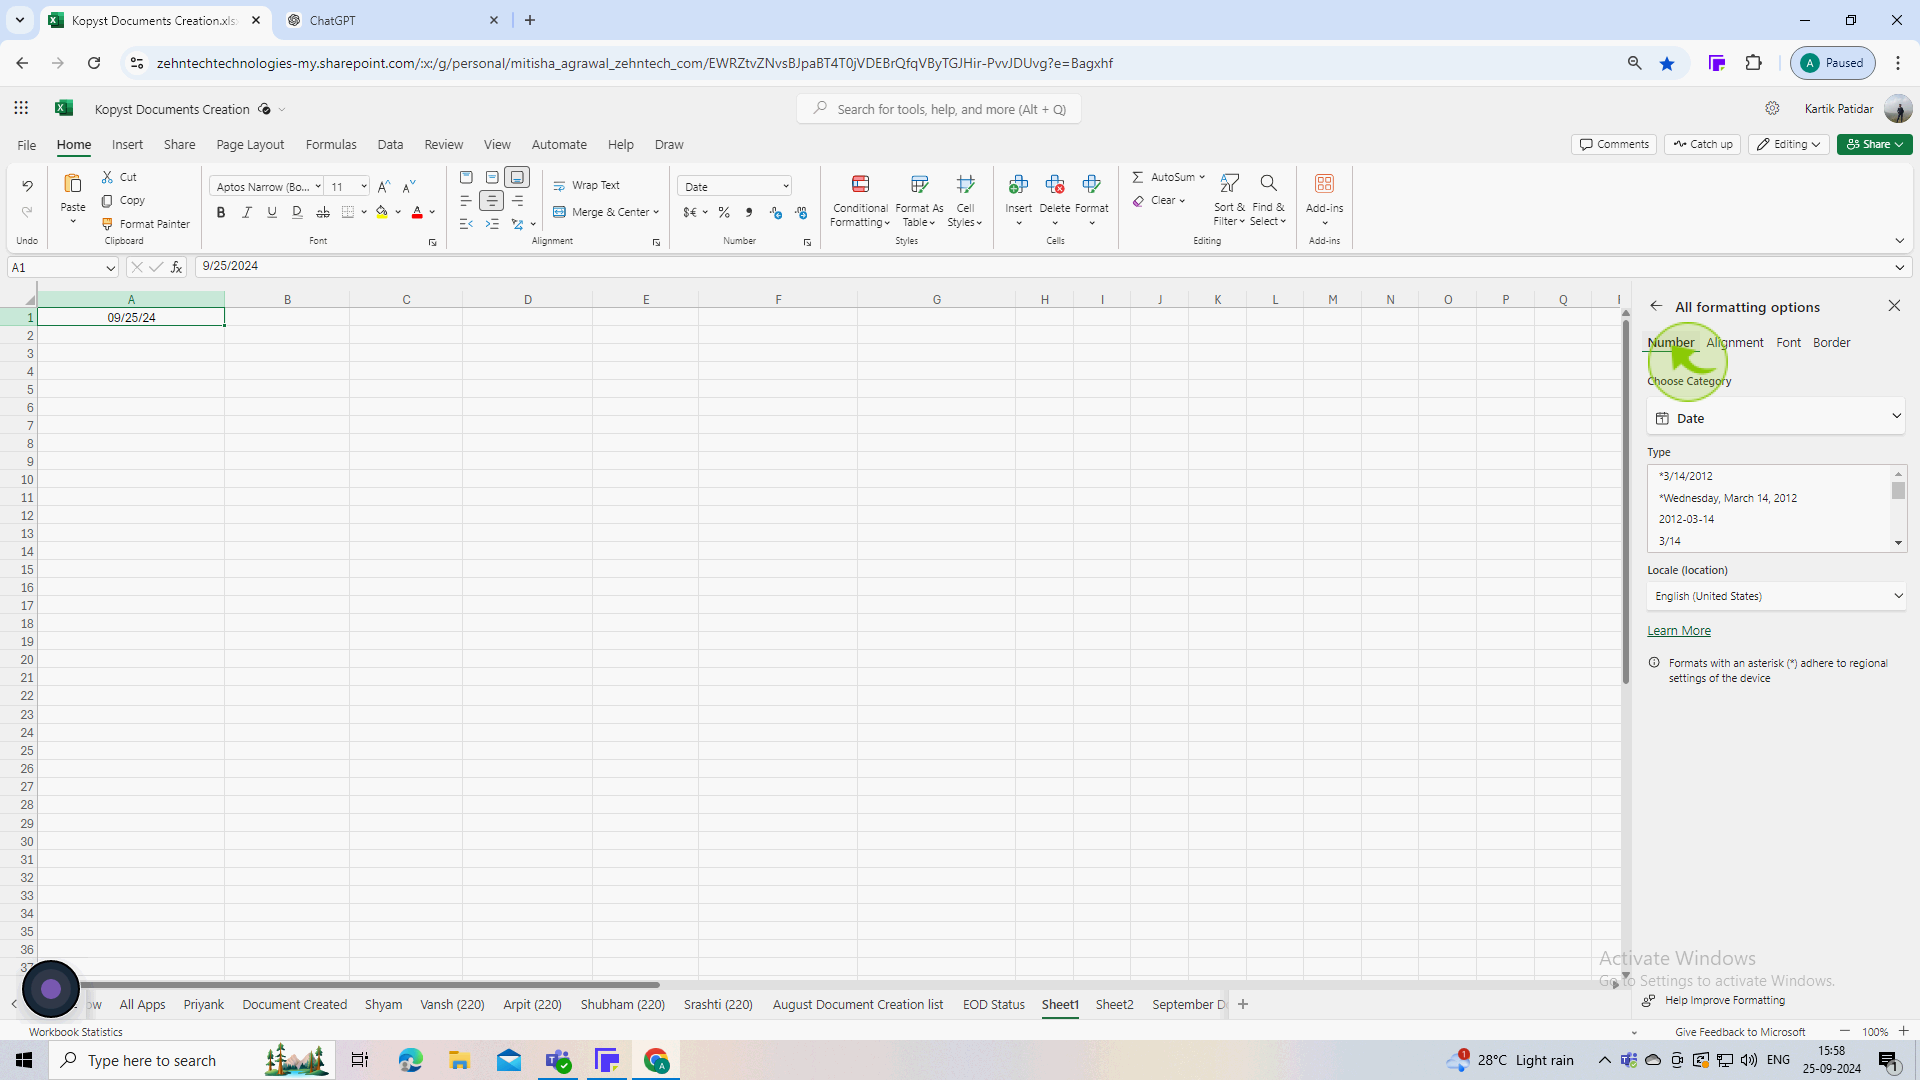
In the list on the left, select "Date".
This category provides different date formats you can choose from.
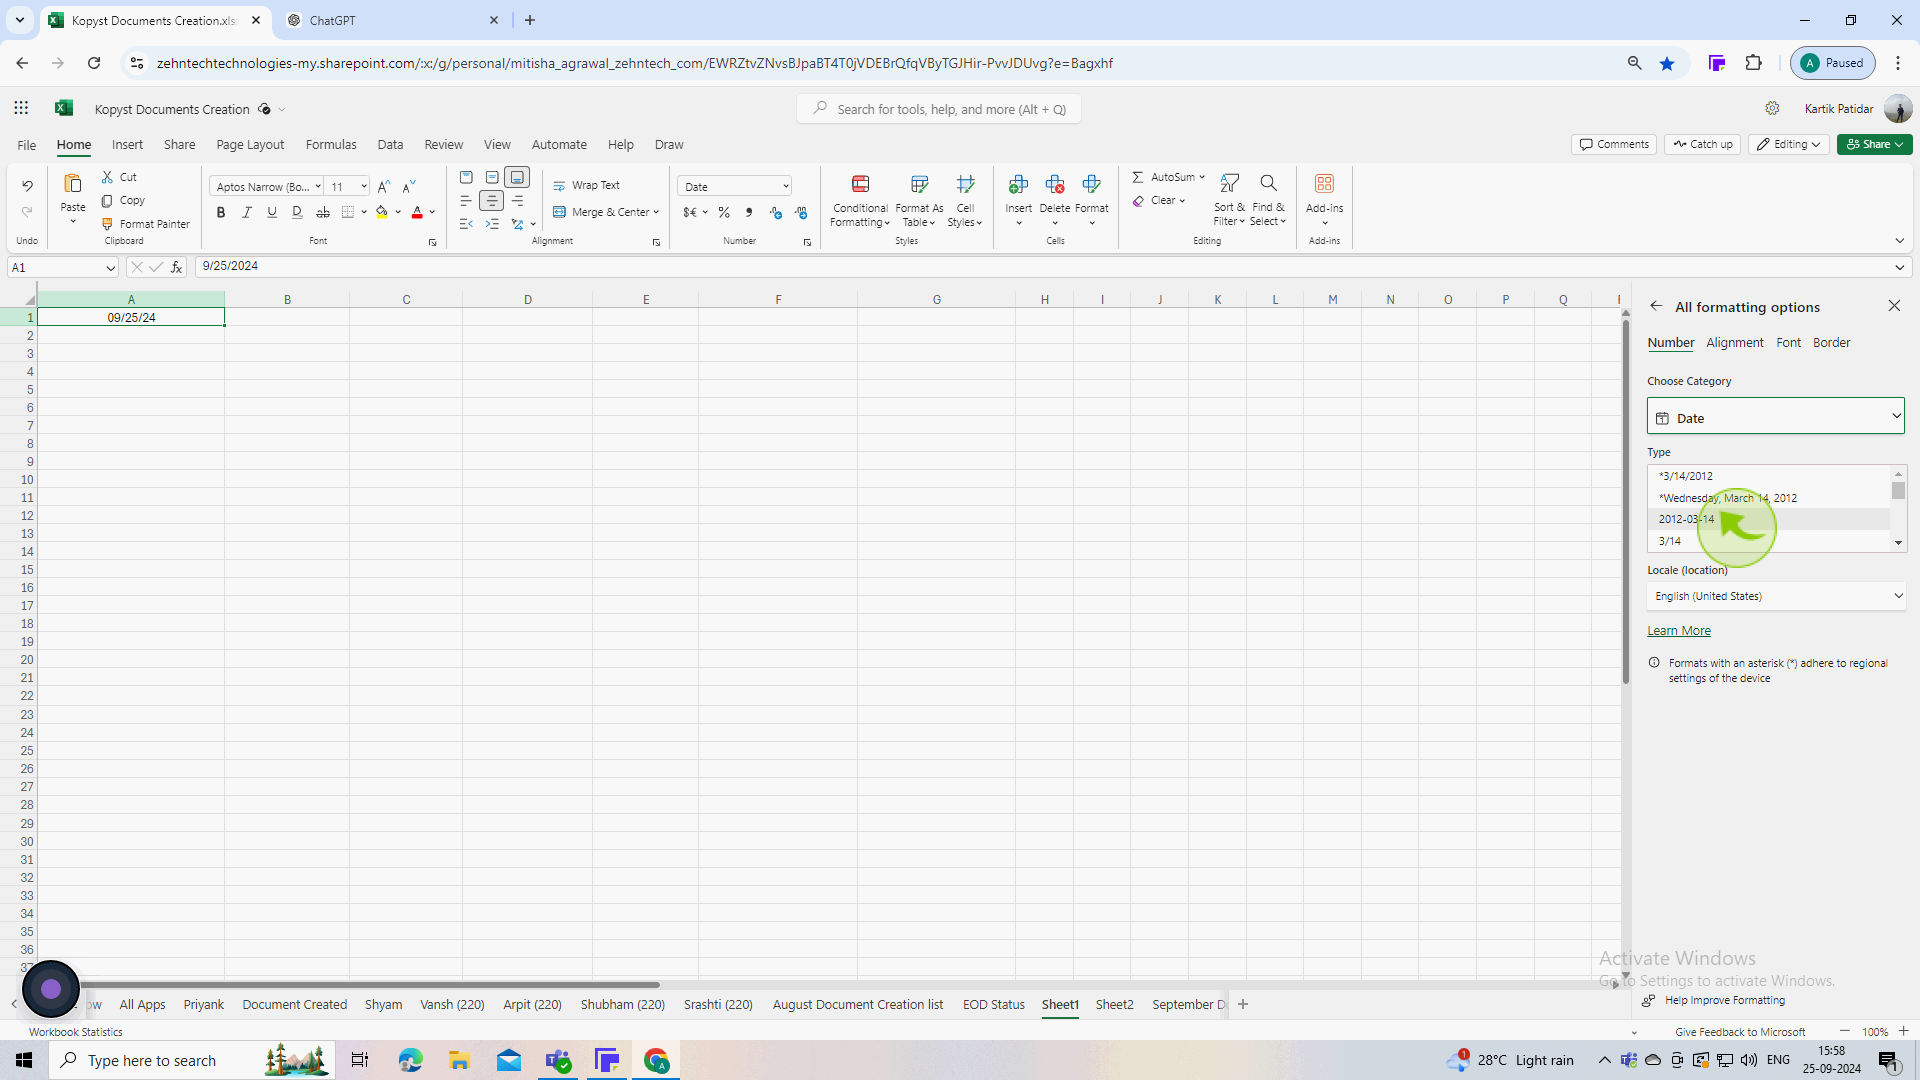
7
Browse through the list of "Date Formats" in the right pane and click on the one you want.
You can see how the selected format will look in the Sample box.
8
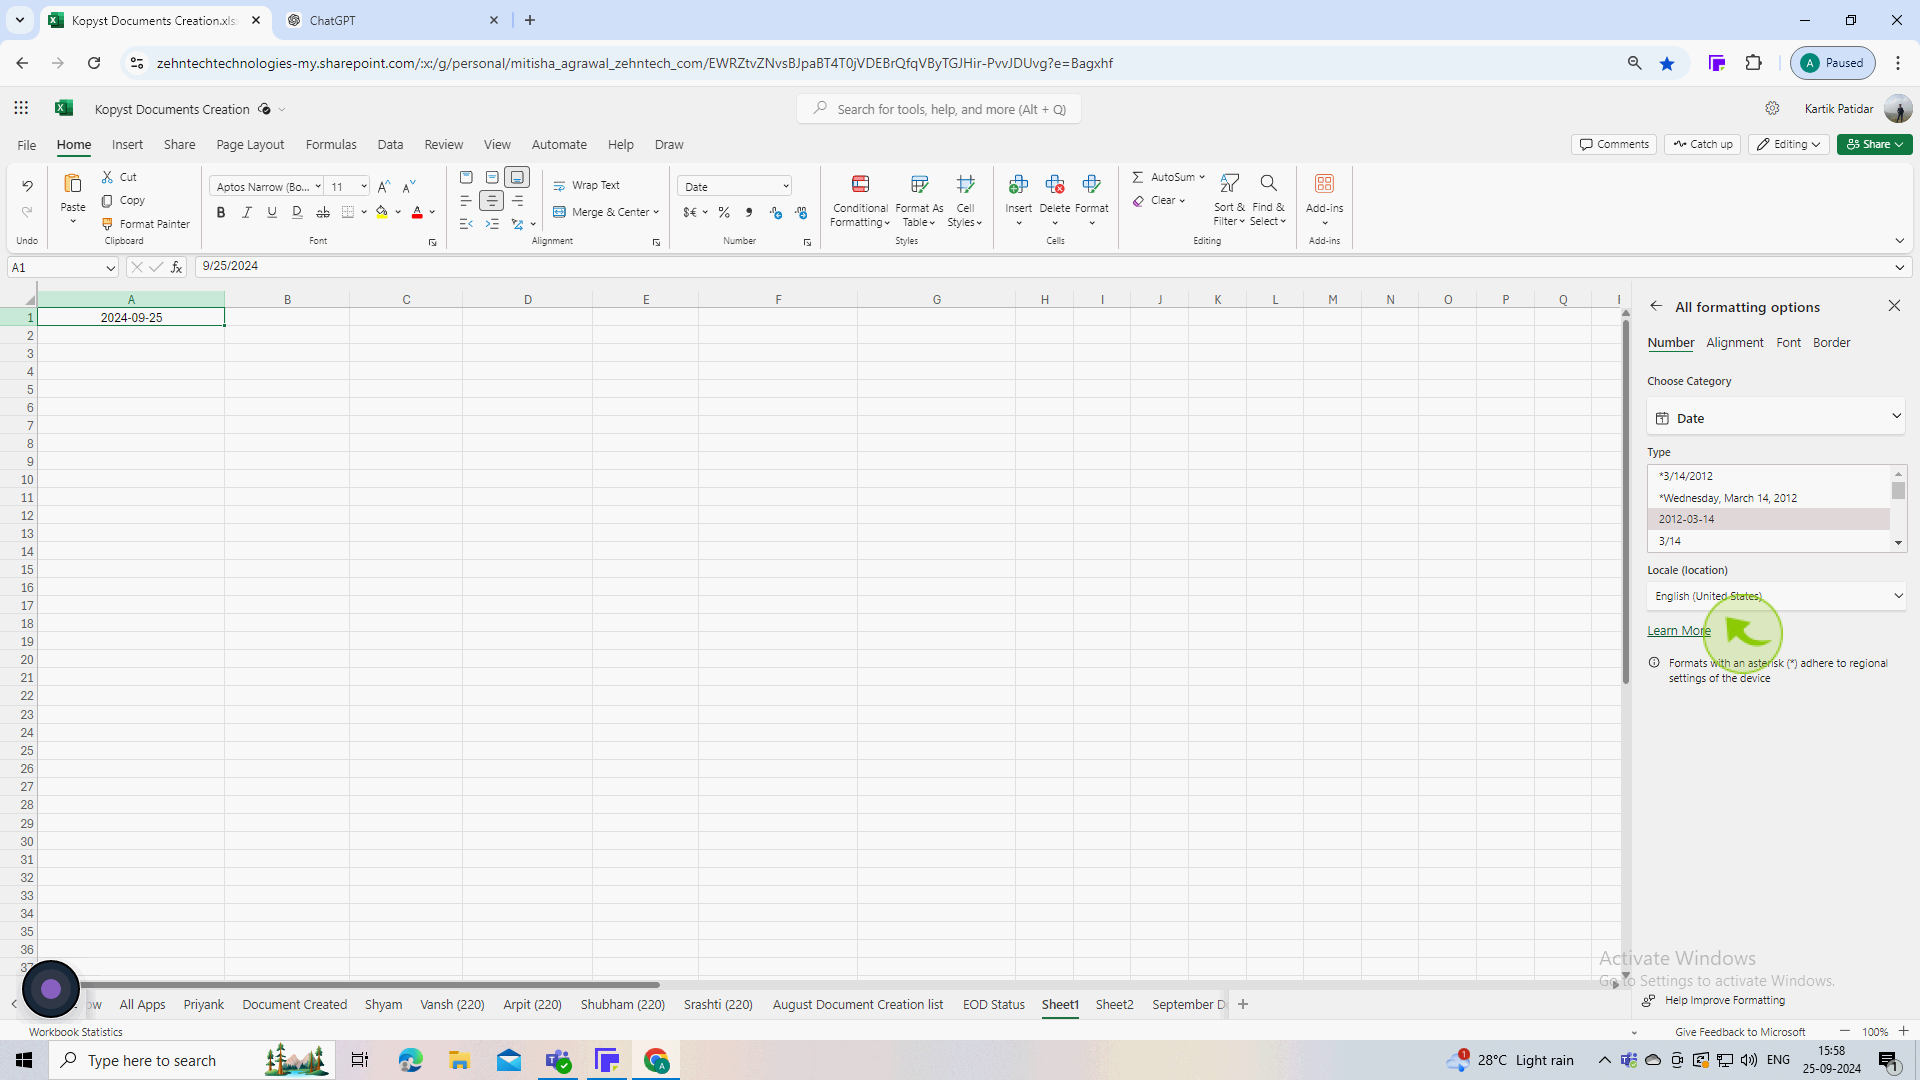
If you need a specific locale format, you can adjust it in the "Locale" (location) dropdown menu.
This is useful if you're working with dates that follow different regional formats.
9
Look at the selected "Cells" to ensure the dates are displayed in the new format.
This step ensures that your formatting has been applied correctly.