How to Configure Remarketing Tag in Google Tag Manager ?
|
 ads.google
|
ads.google
|
Jul 18, 2024
|
26 Steps
Learn how to set up remarketing tags in Google Tag Manager to target specific website visitors with personalized ads. This document will walk you through the step-by-step process of creating and configuring remarketing tags, including audience definitions, tag triggers, and testing. Optimize your digital marketing campaigns by effectively re-engaging your audience and driving conversions.
How to Configure Remarketing Tag in Google Tag Manager ?
|
ads.google
|
26 Steps

1
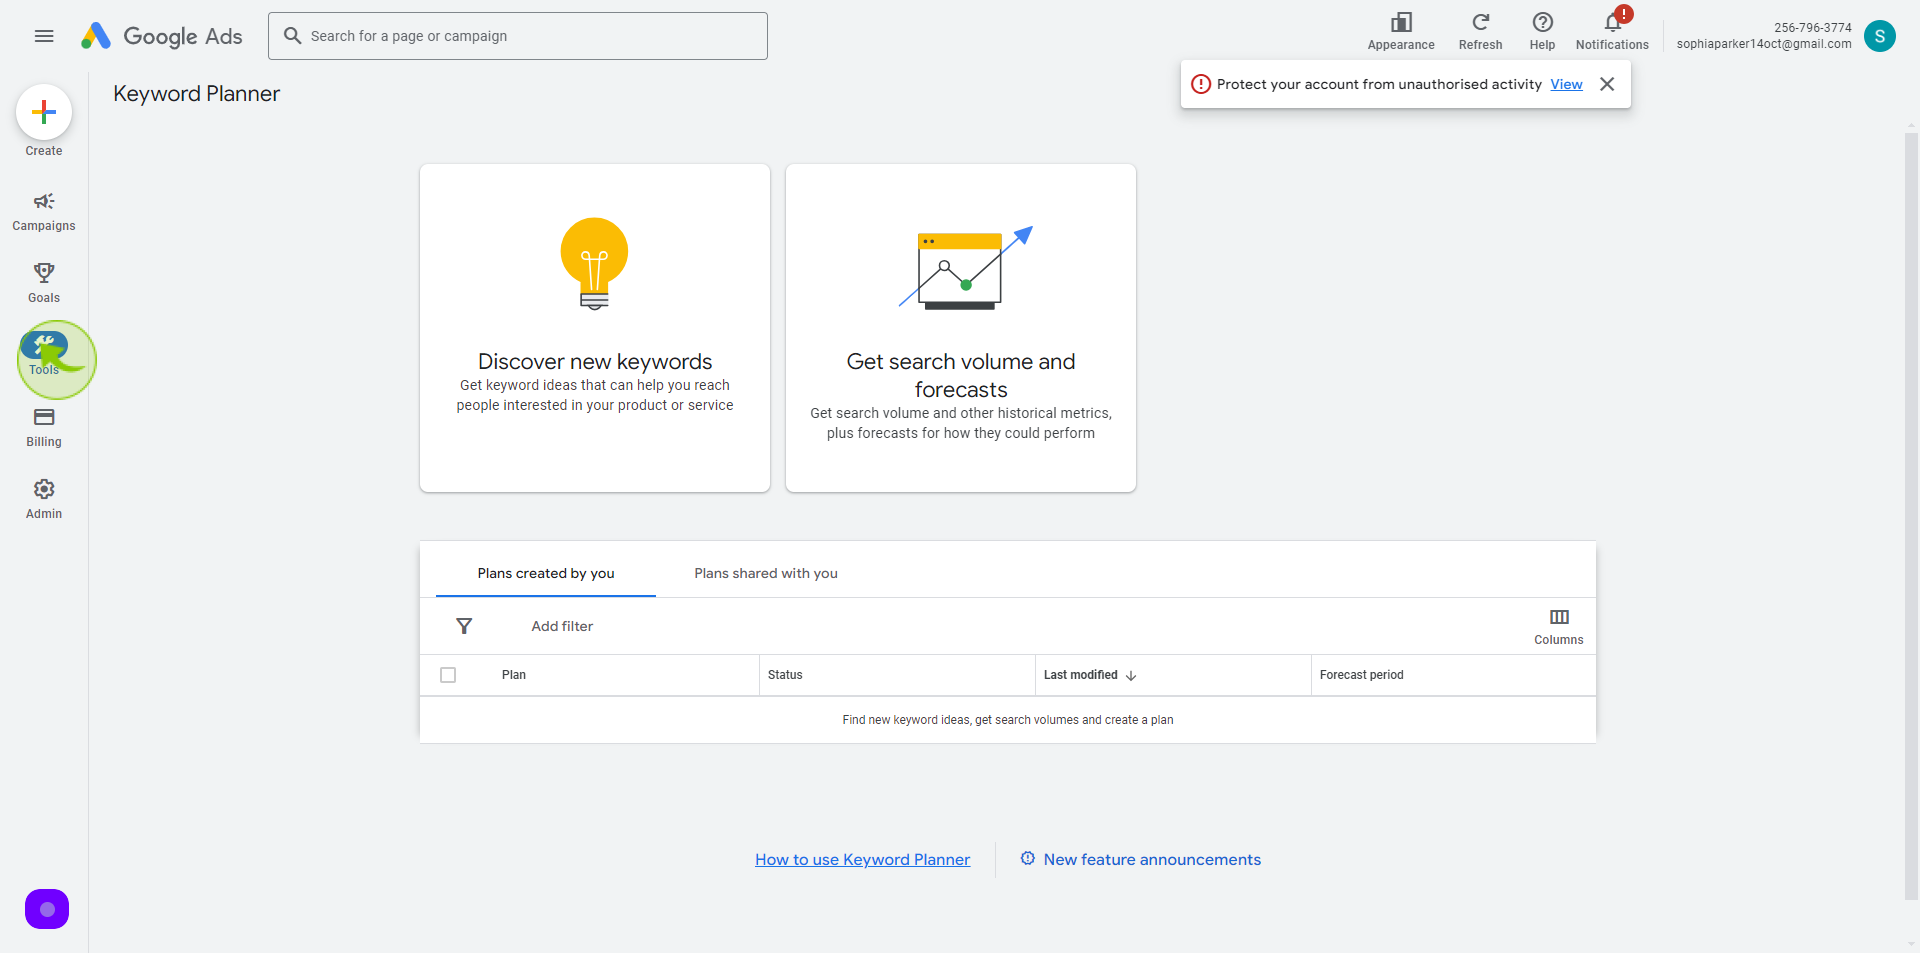
Navigate to https://ads.google.com
2
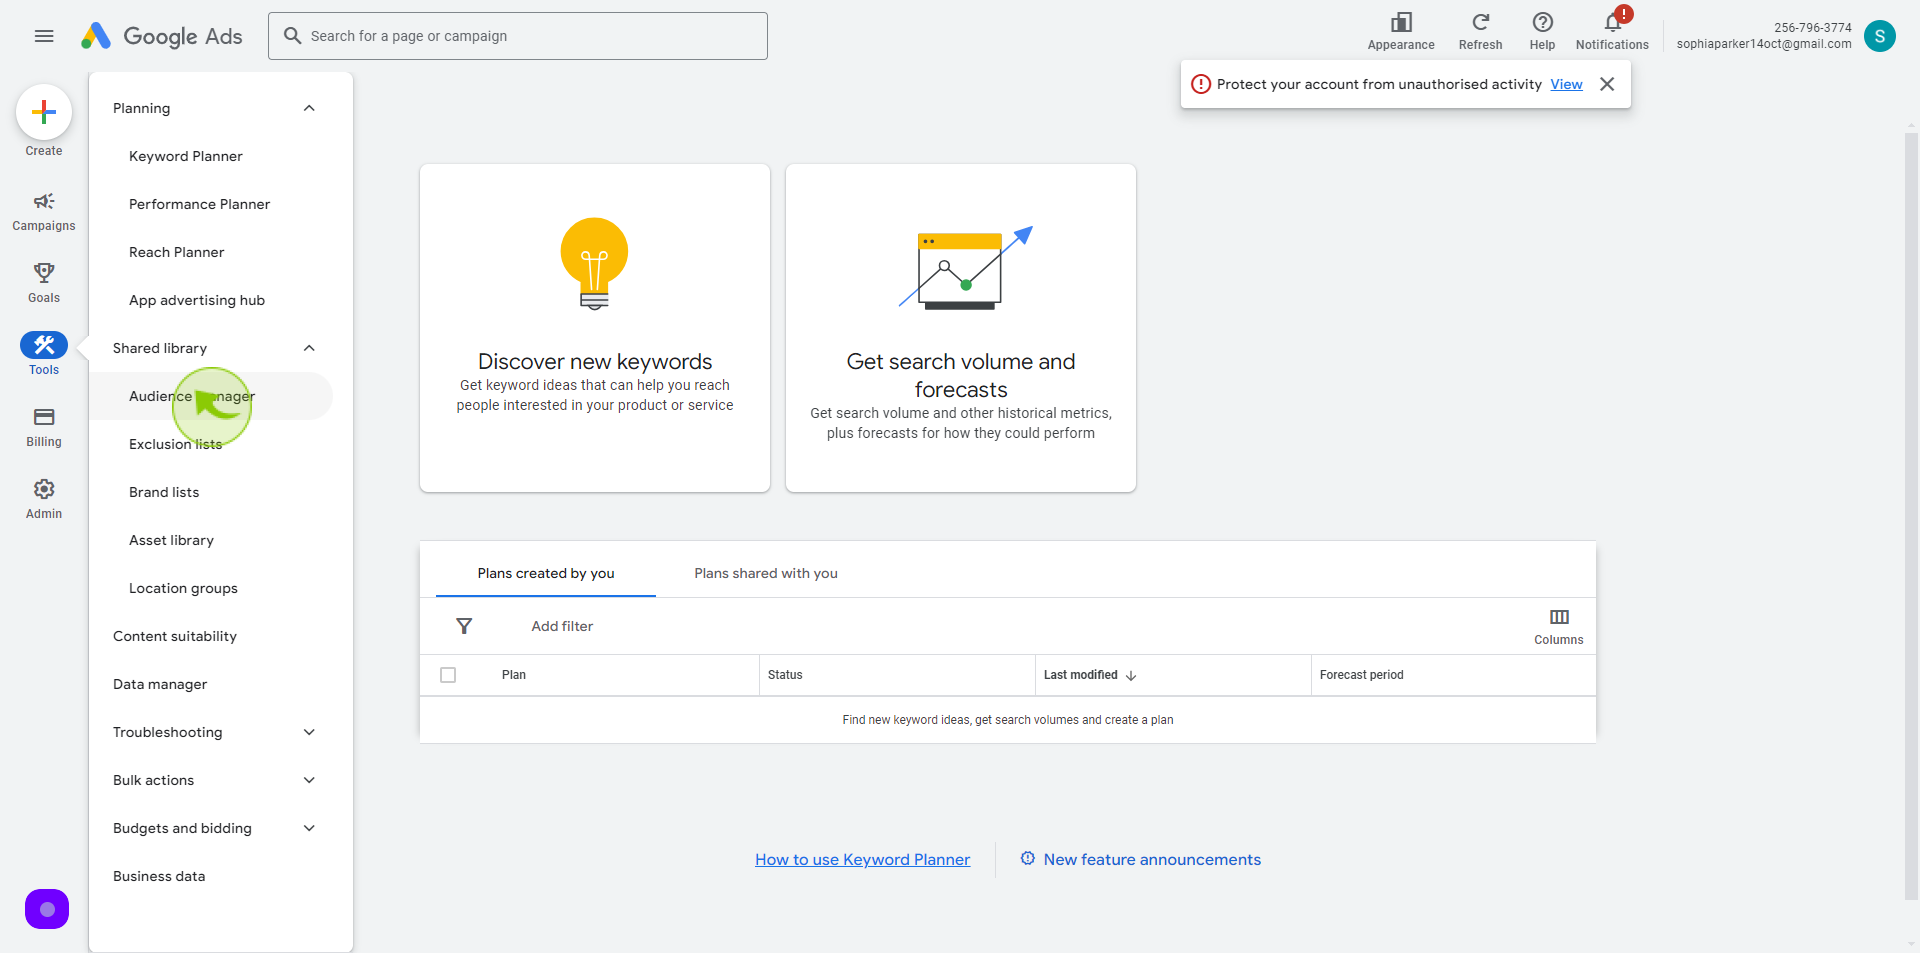
Click on the "Tools".
3
Click "Audience Manager".
4
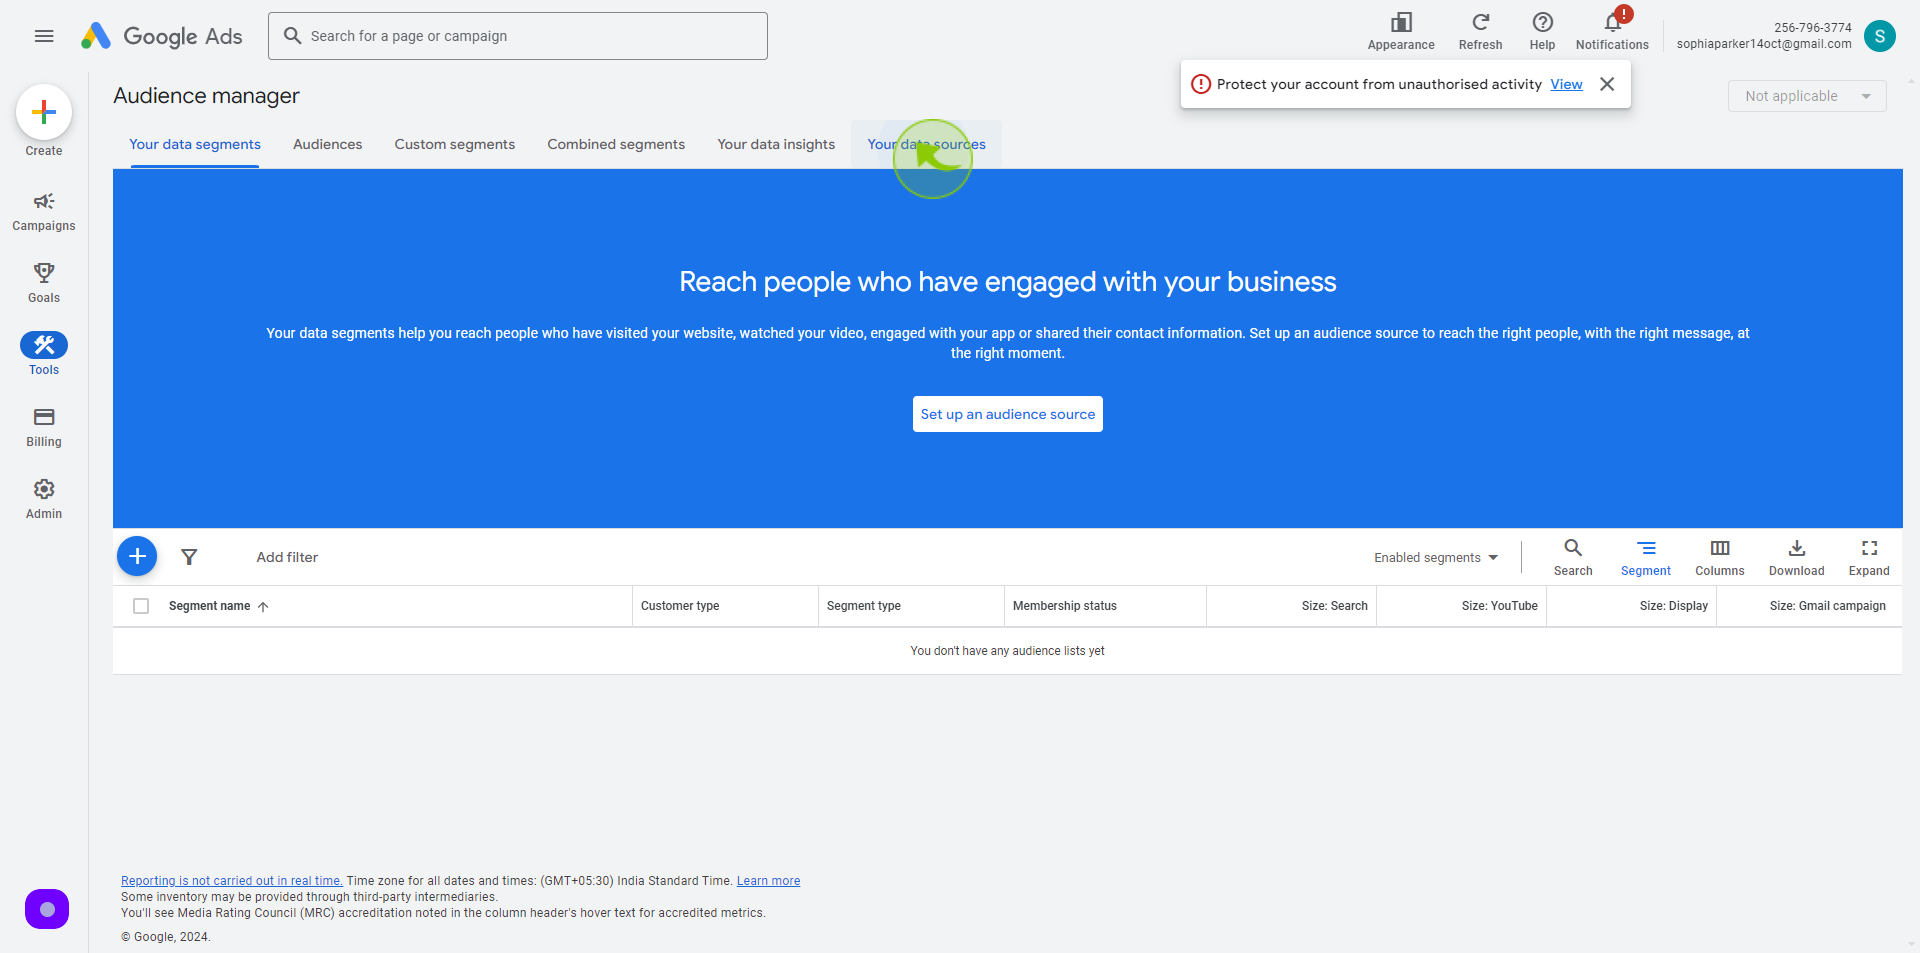
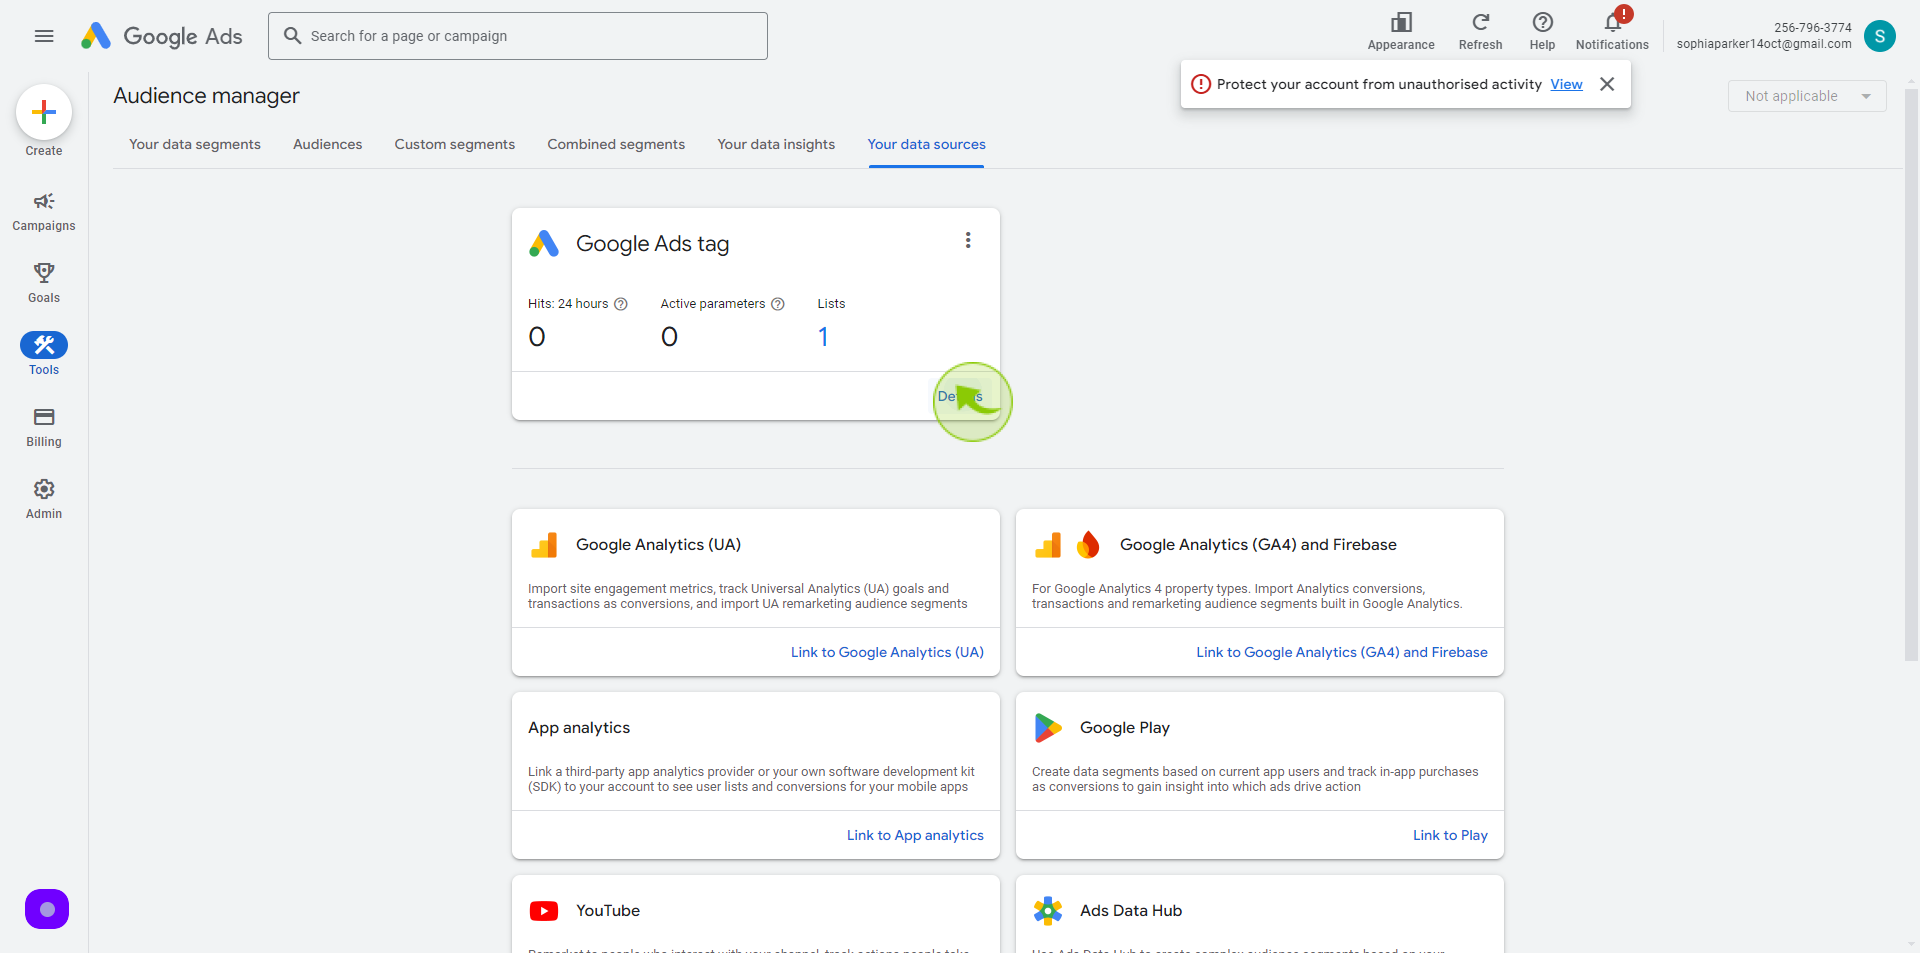
Click on the "Your Data Sources"
5
Click on "Details" on the Google Ads tag box
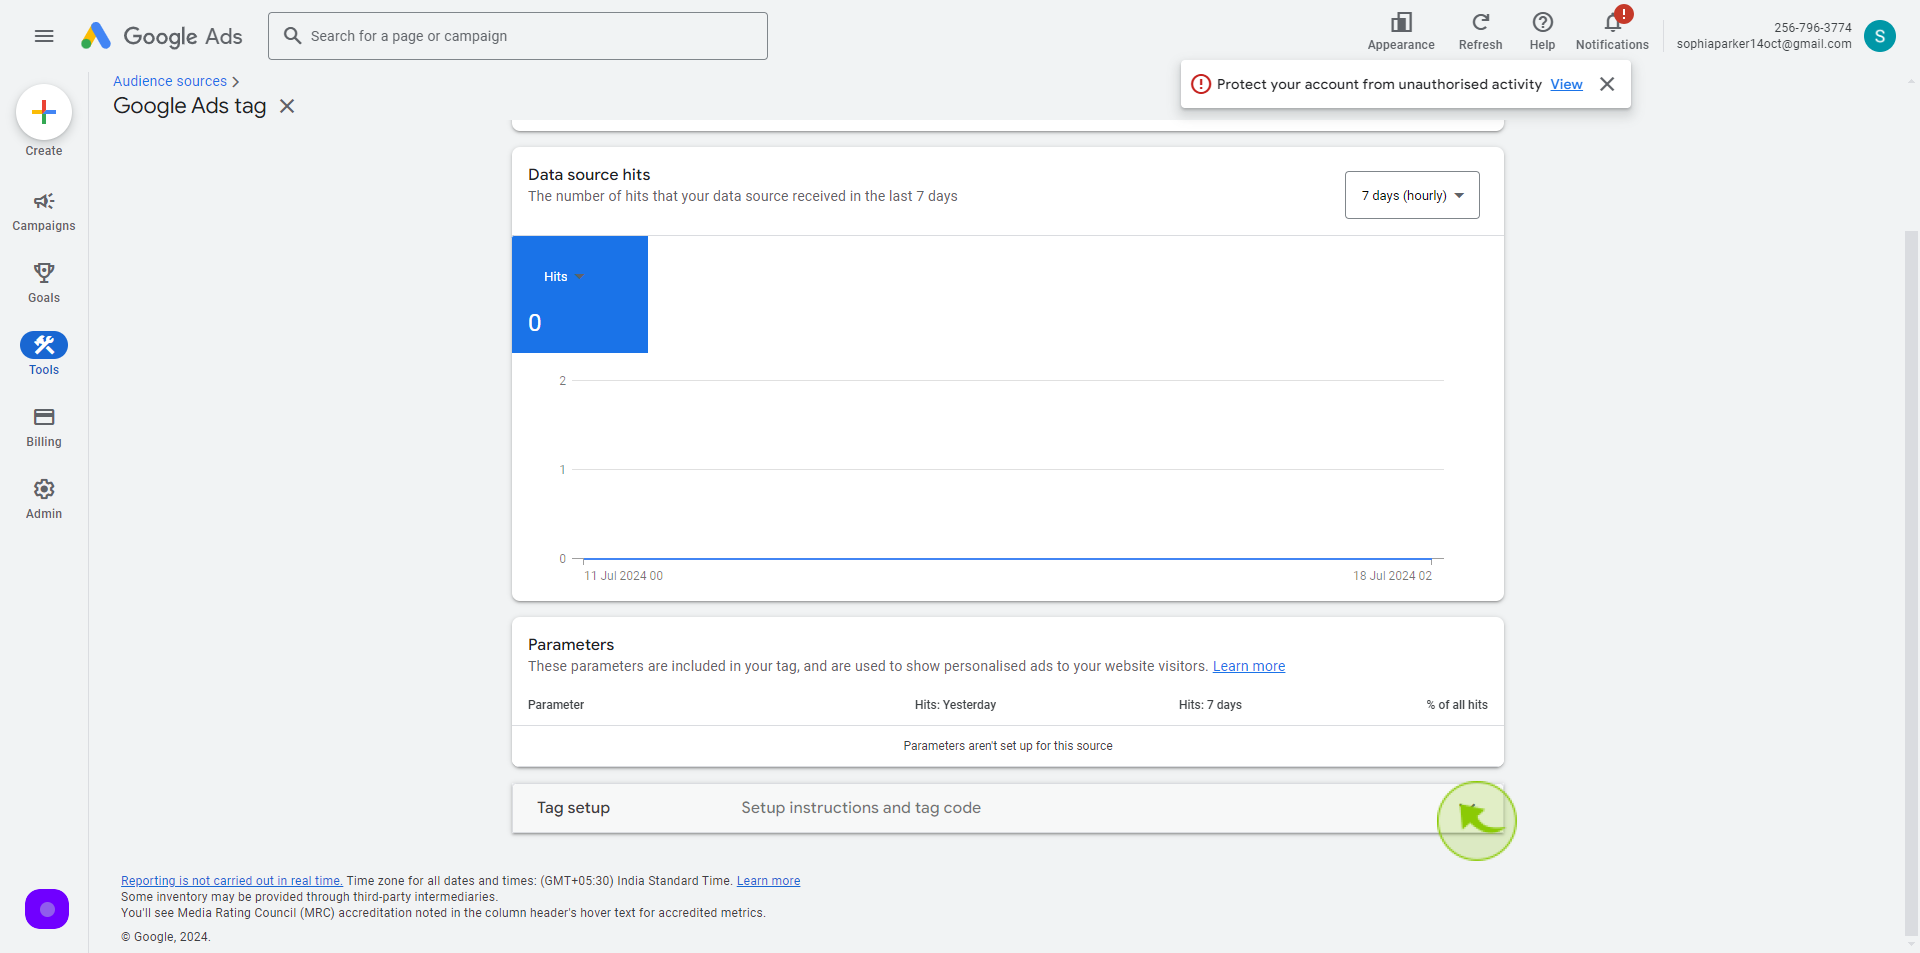
6
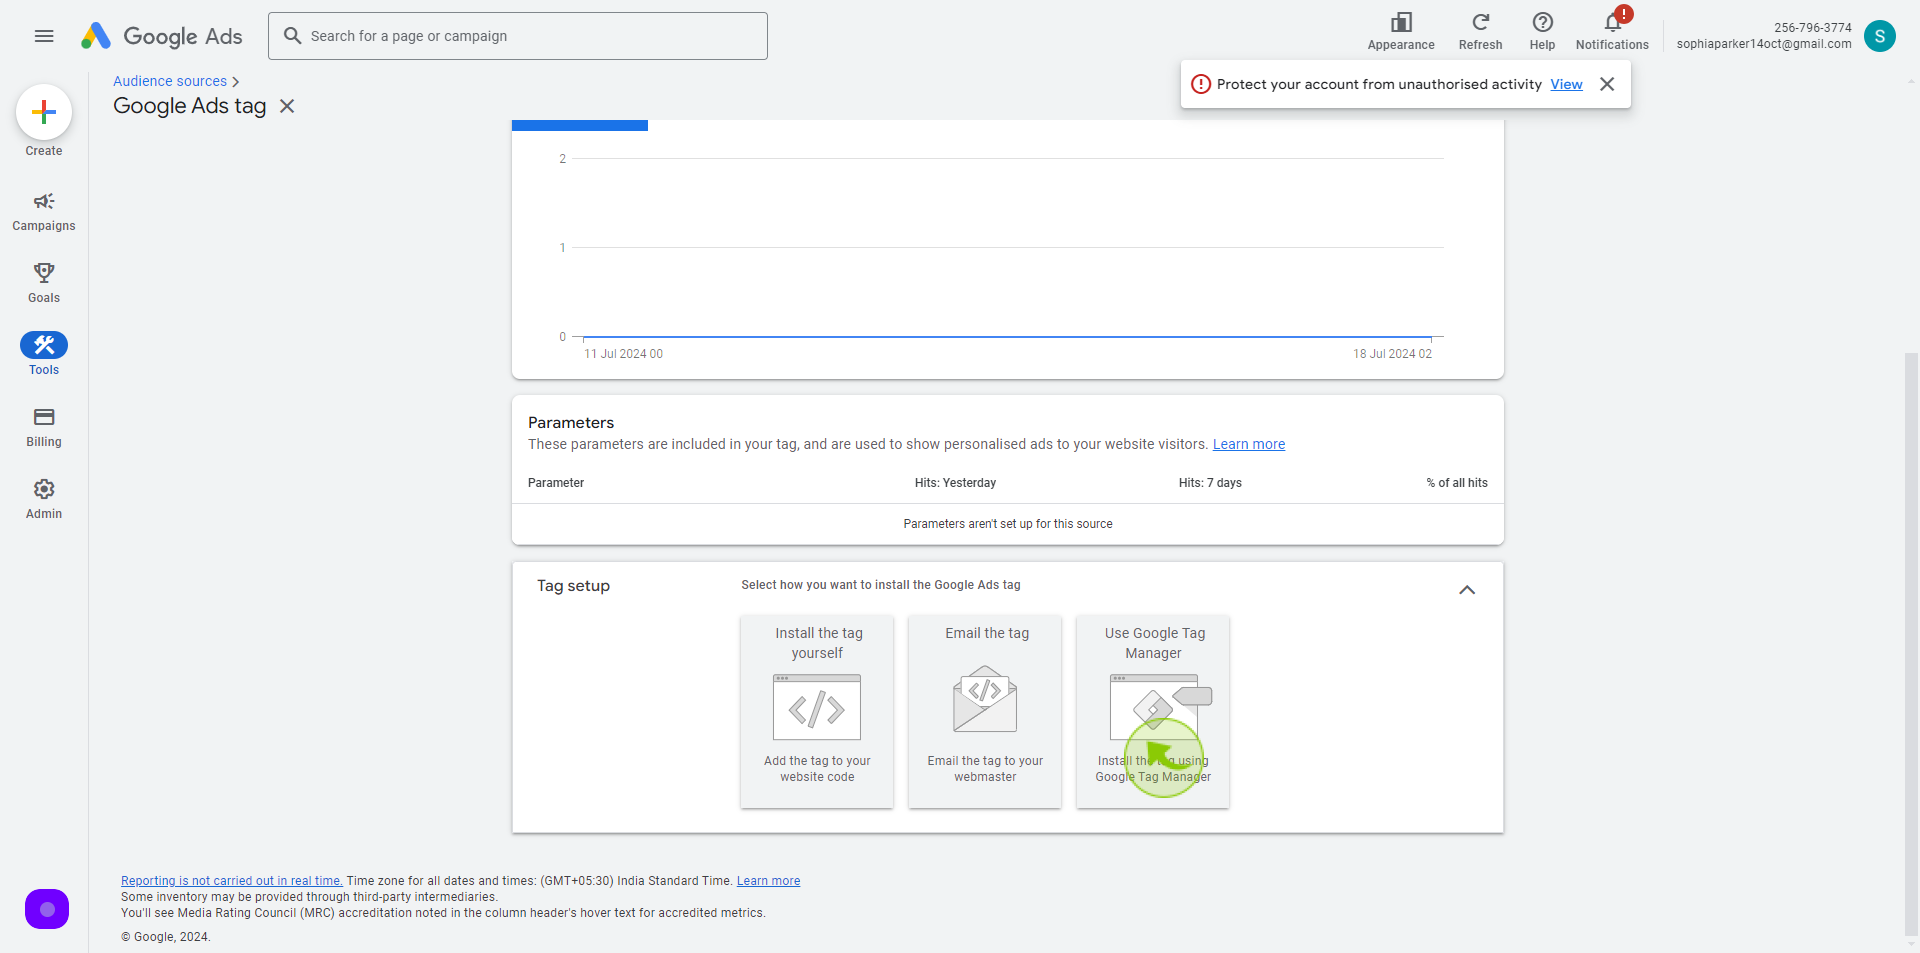
Expand the "Tag setup" section
7
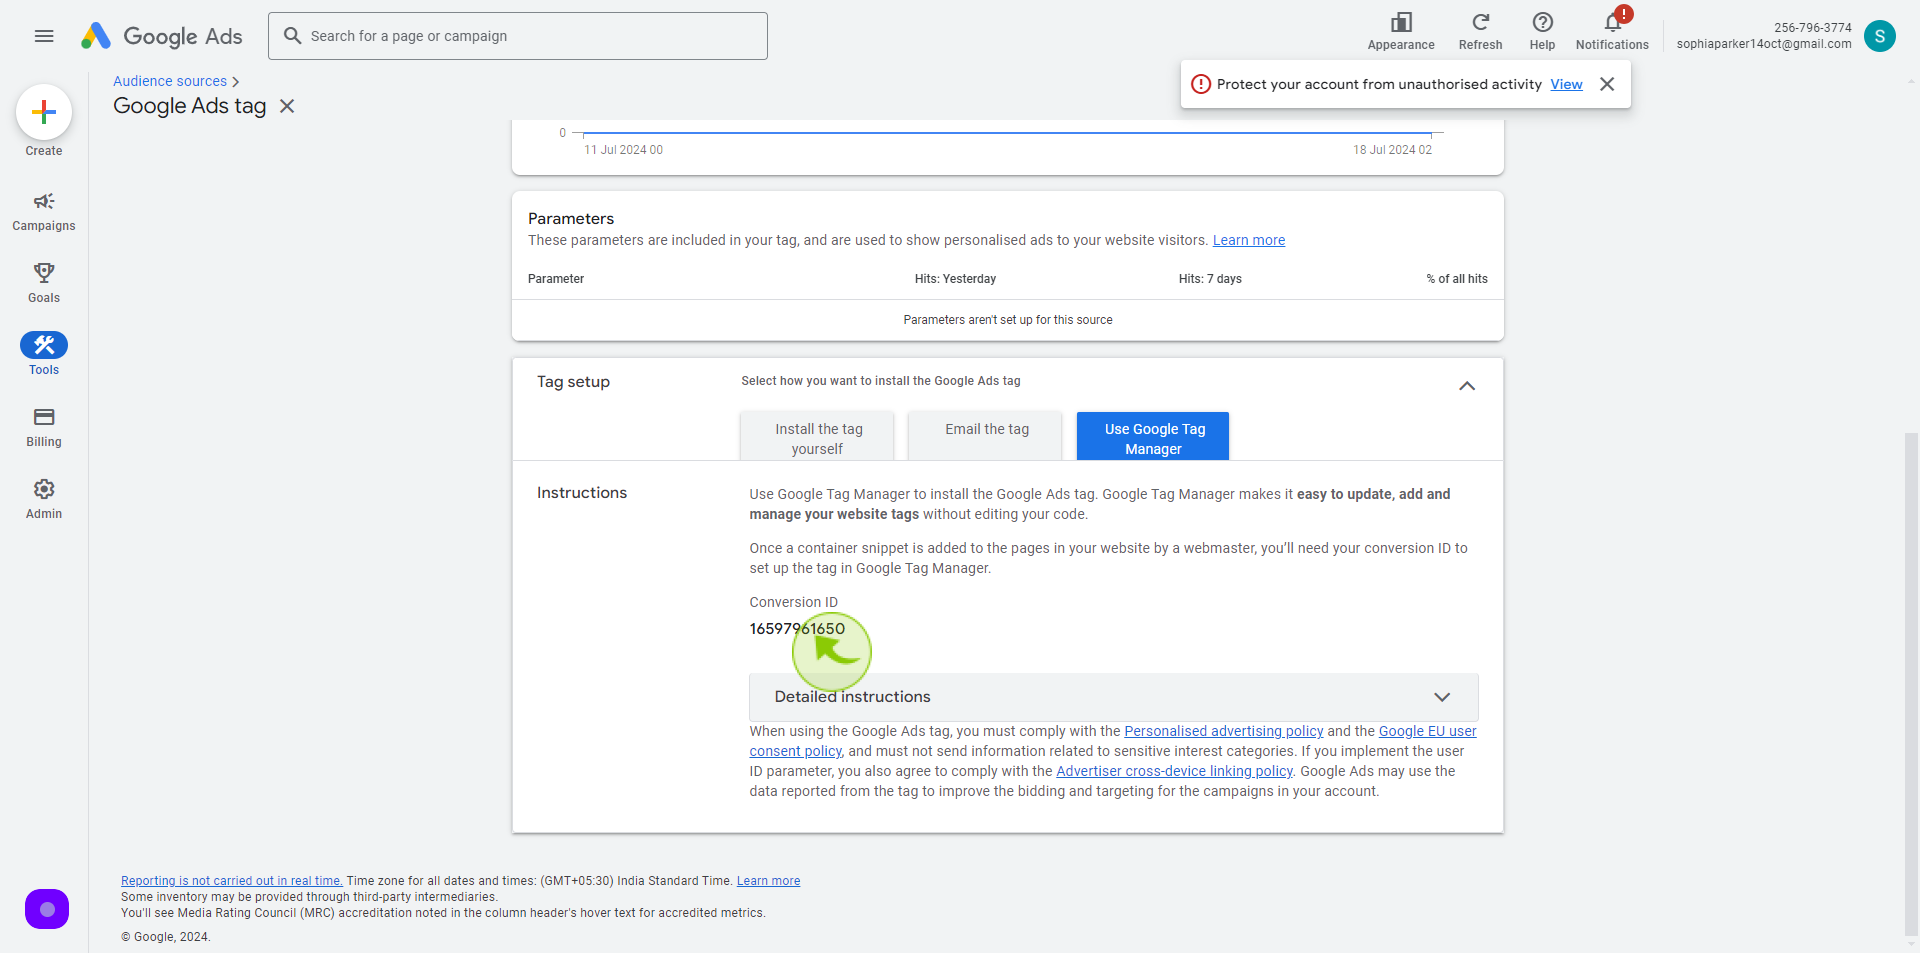
Select on the "Use Google Tag Manager"
8
Copy the "Conversion ID".
9
Go to Client's Google Tag Manager Container https://tagmanager.google.com
10
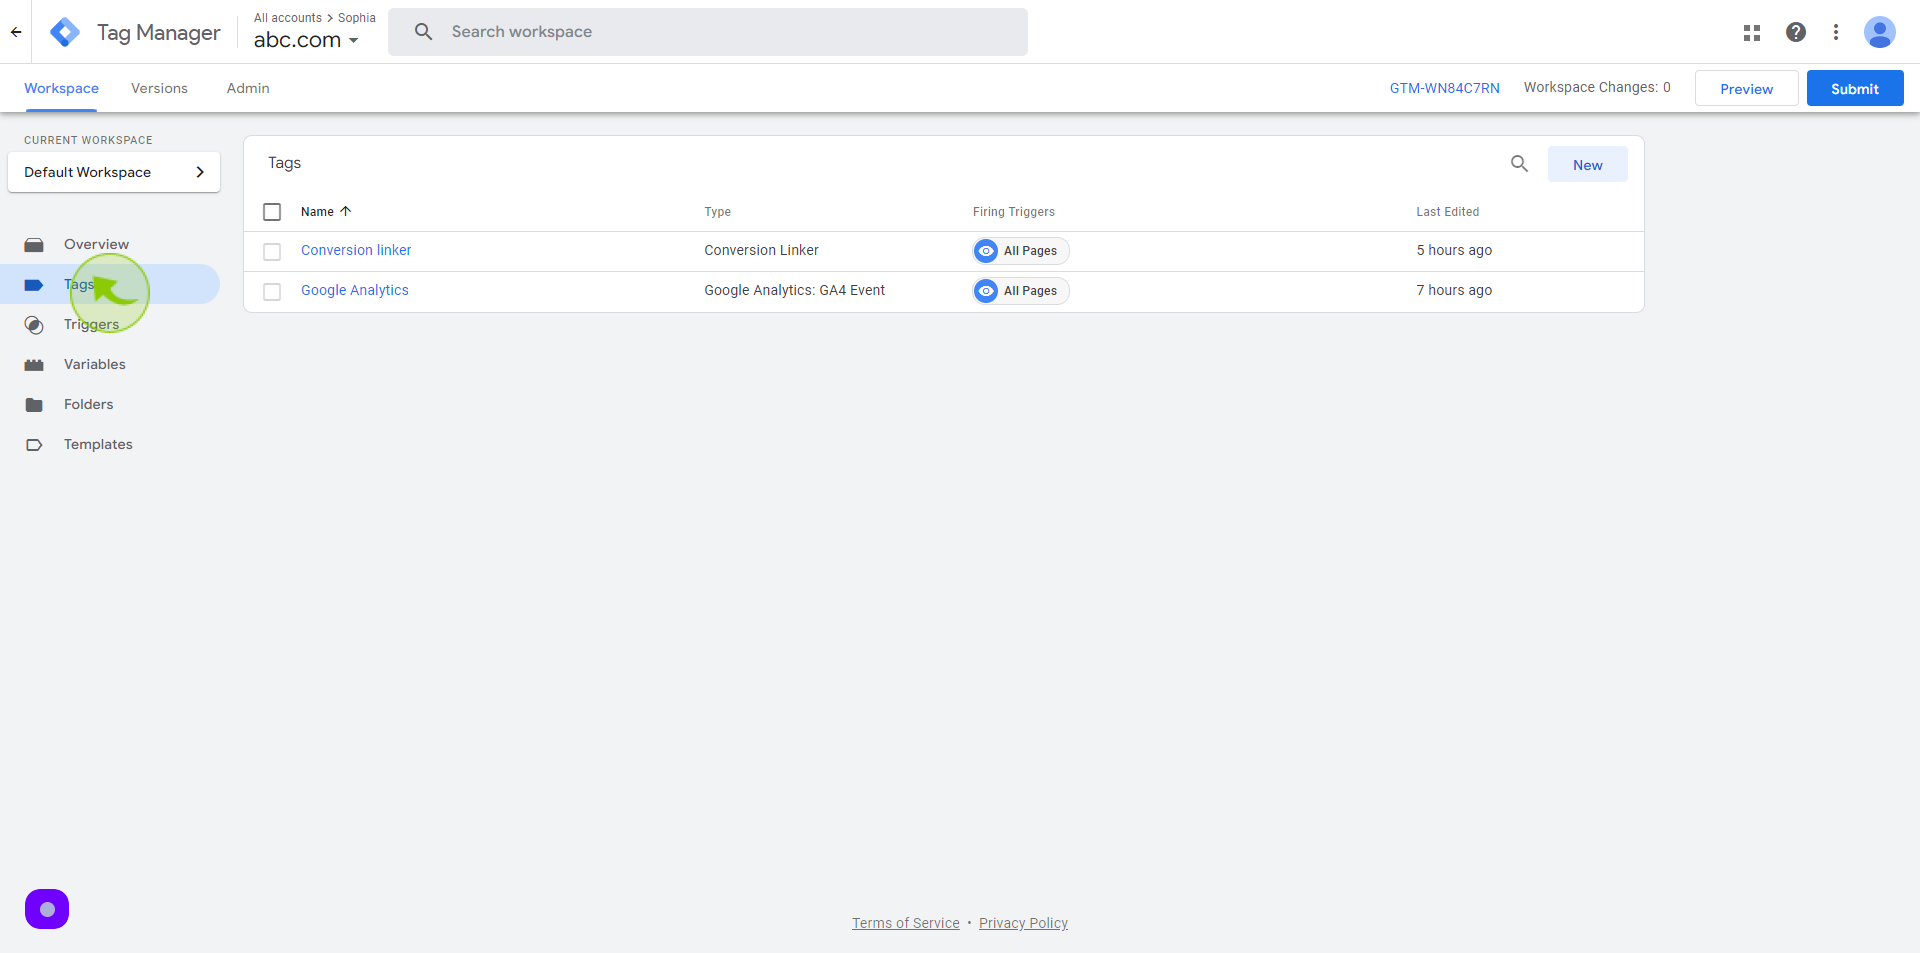
Click "Tags"
11
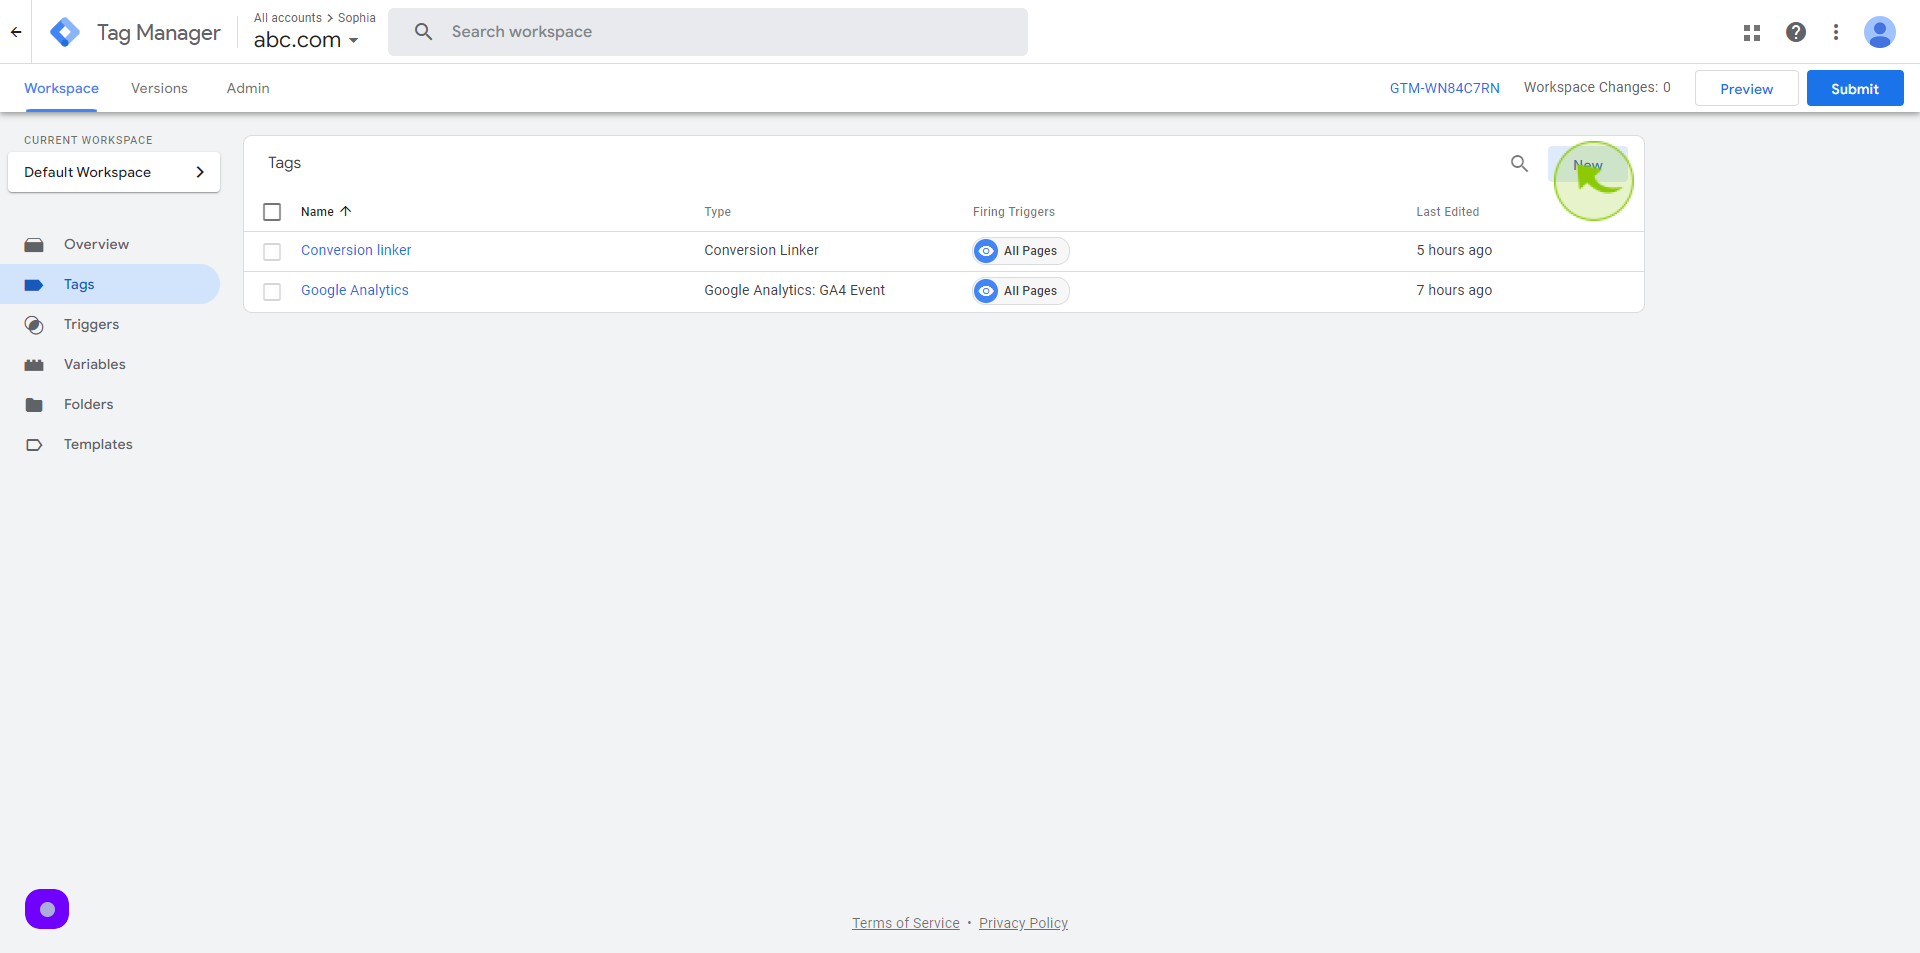
Click "New".
Create New tag
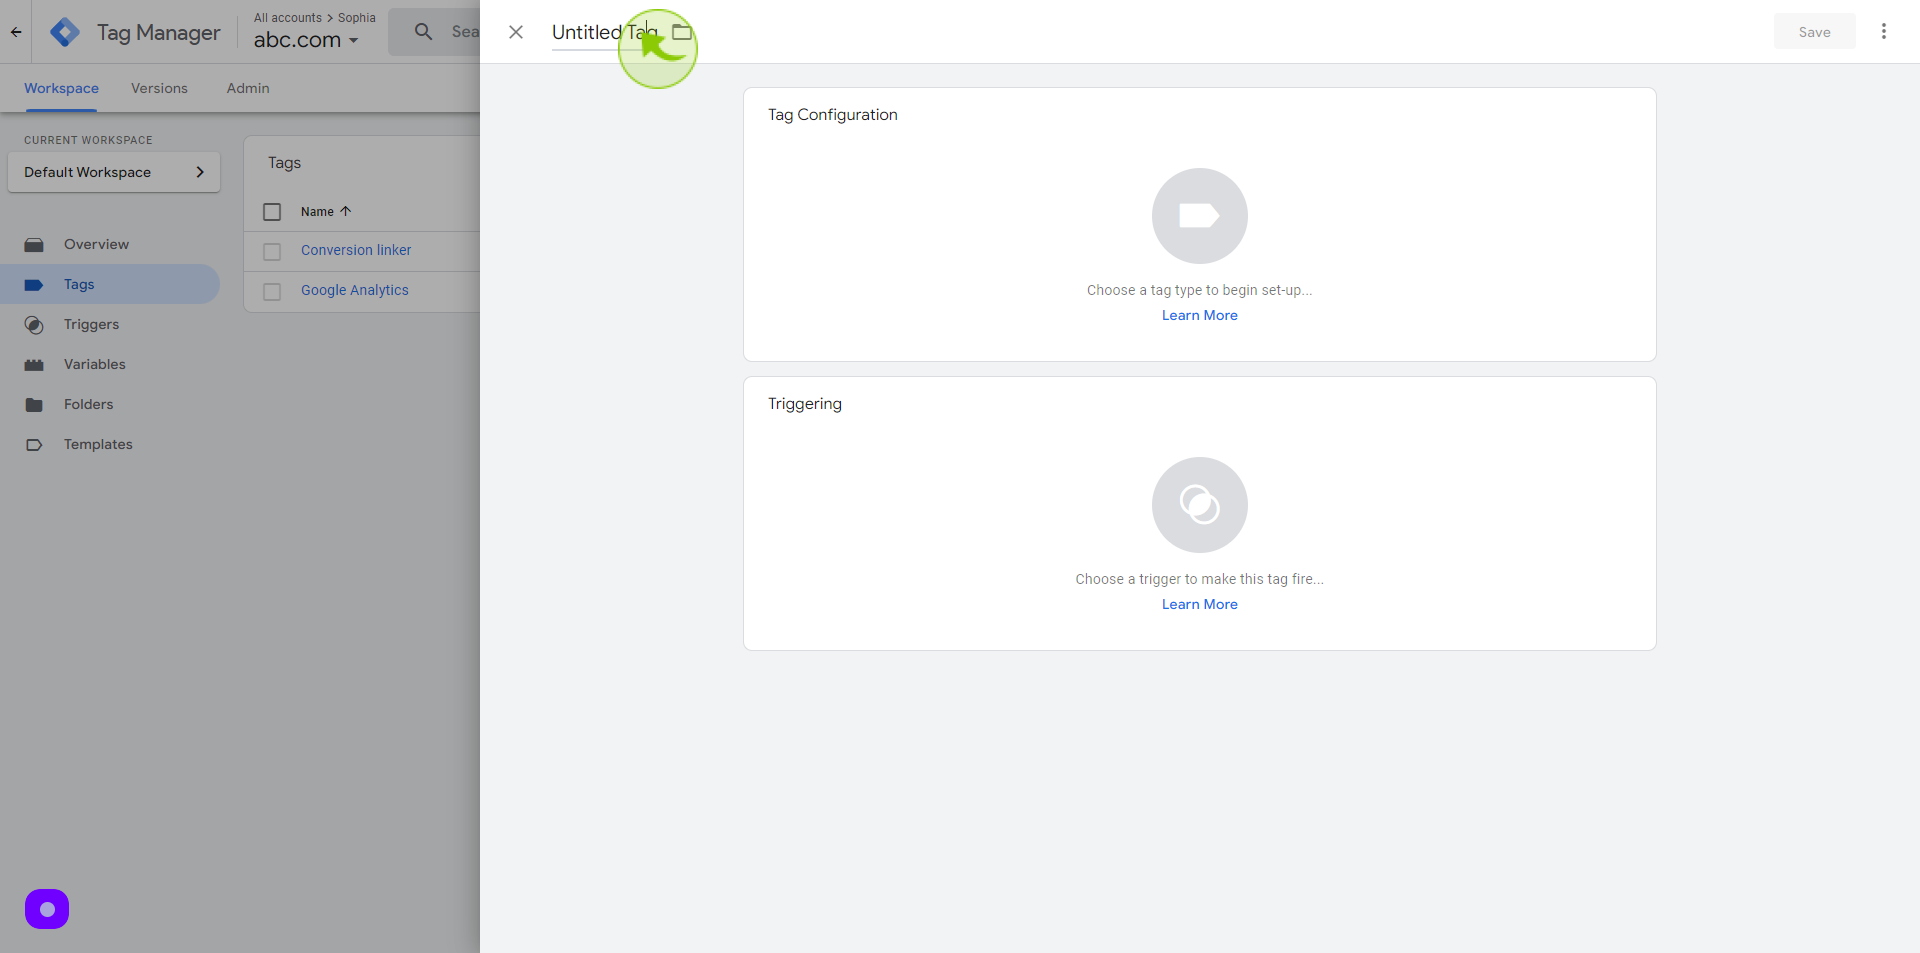
12
Click on "Untitled Tag".
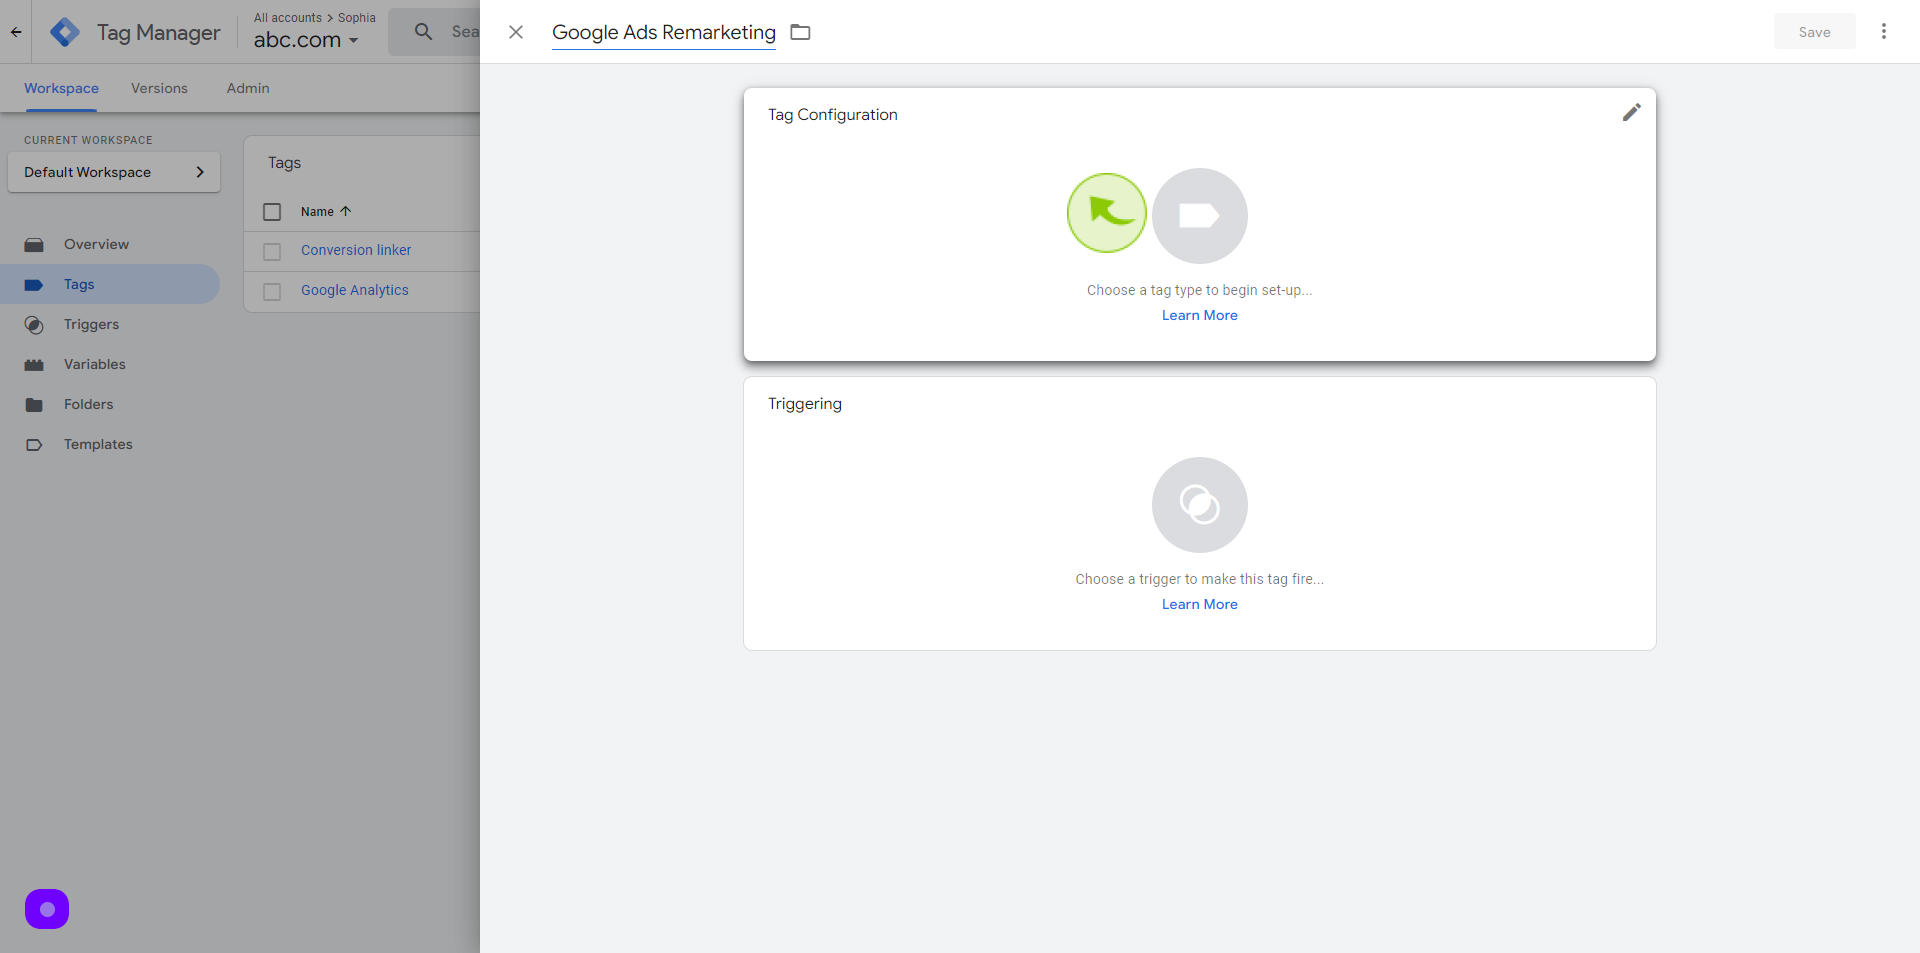
Set a name of the tag.
13
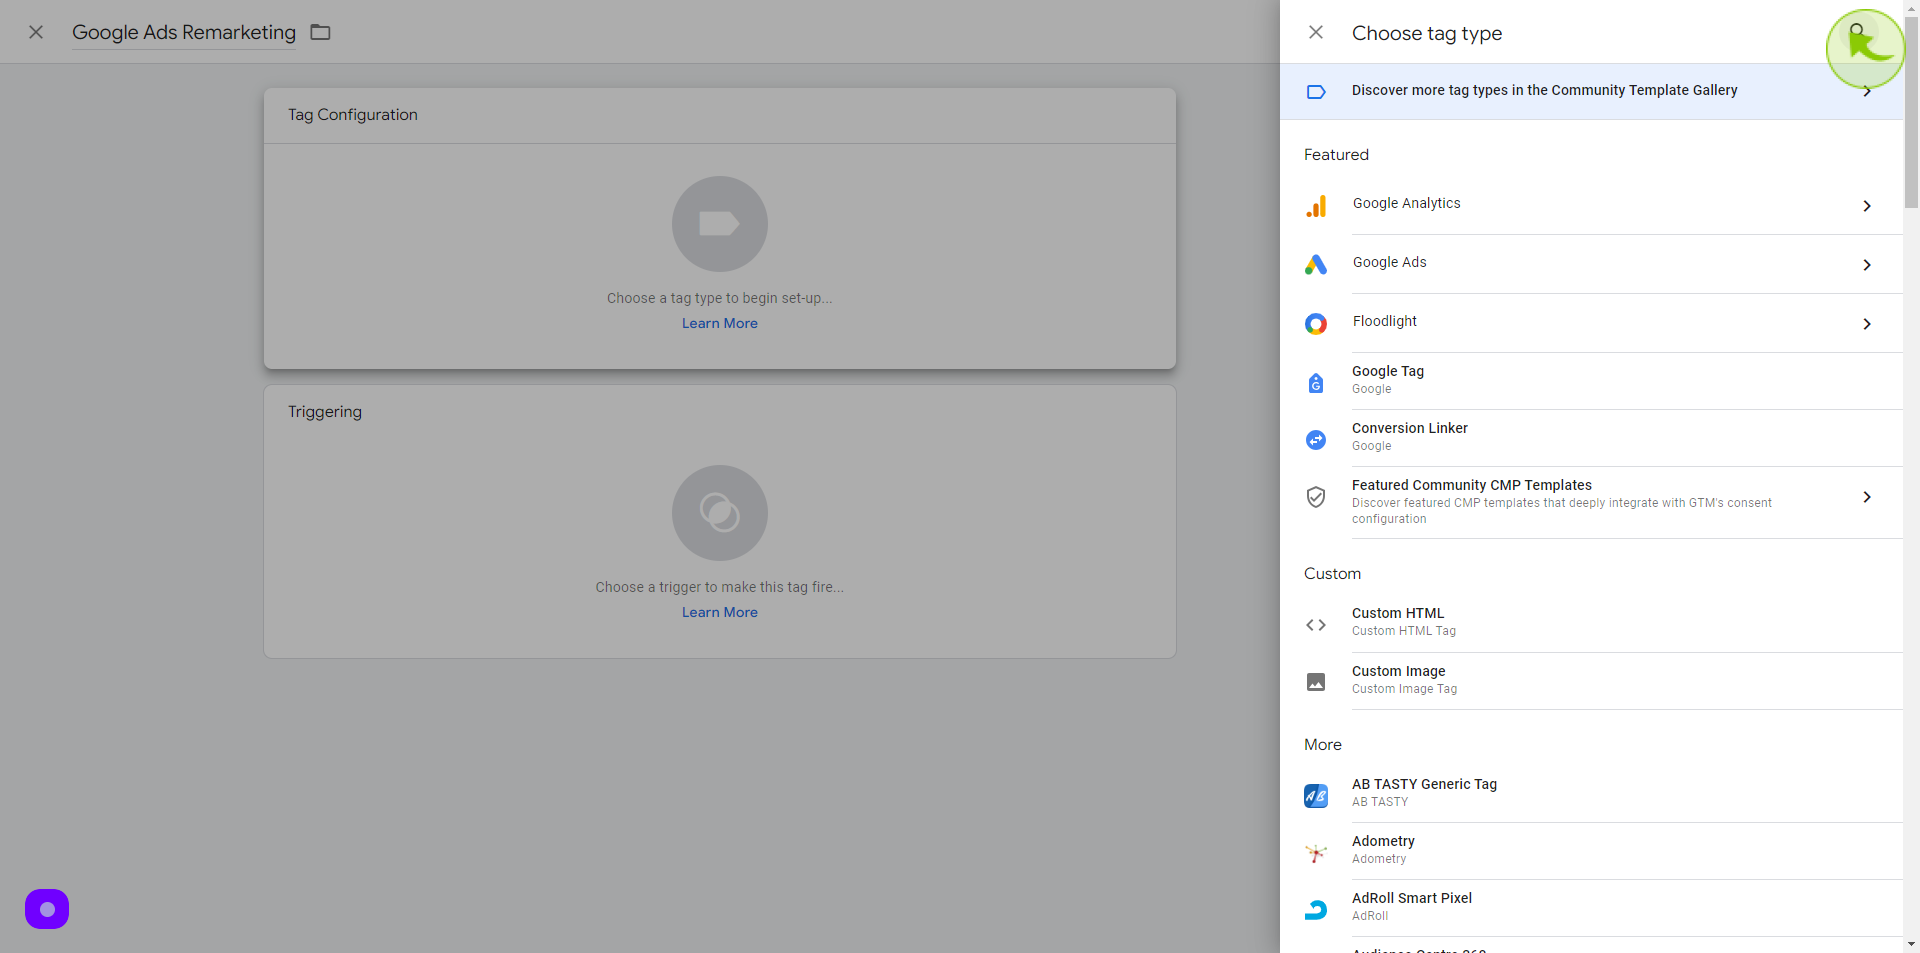
Click on "Tag Configuration" tab
14
Click the "Search" icon.
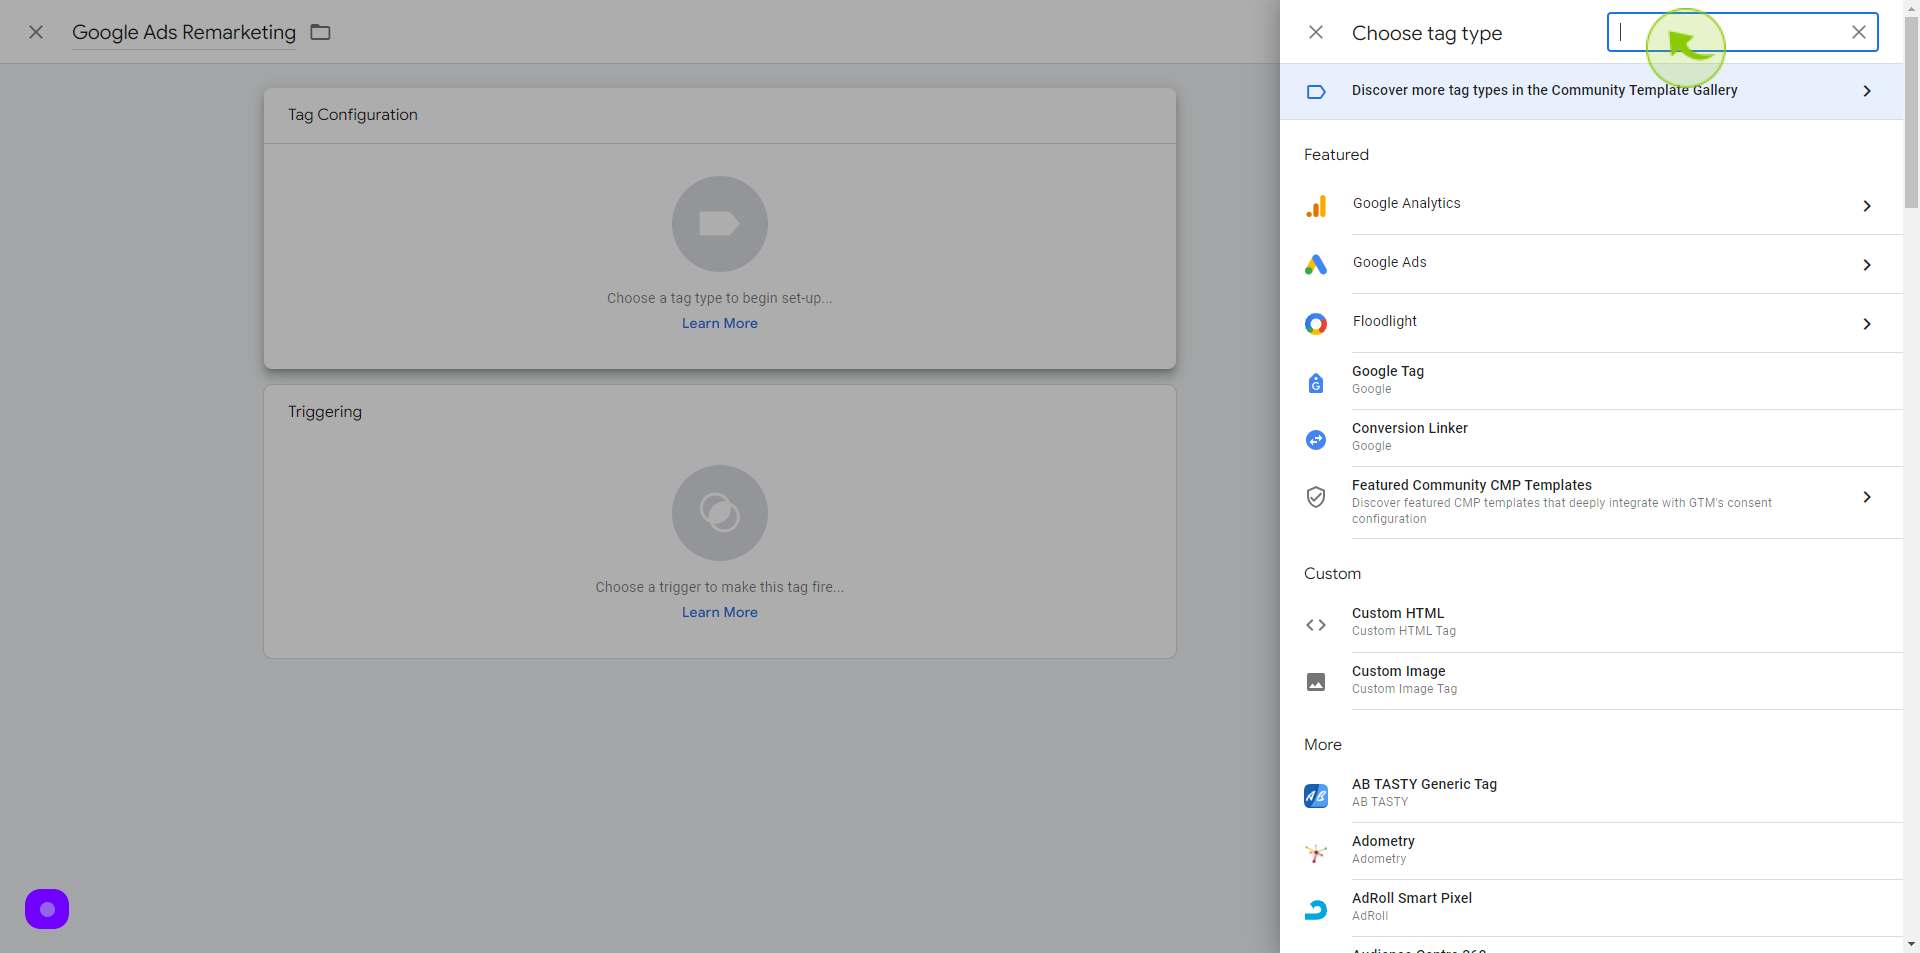
15
Click on the "Search" field.
Type google ads remarketing
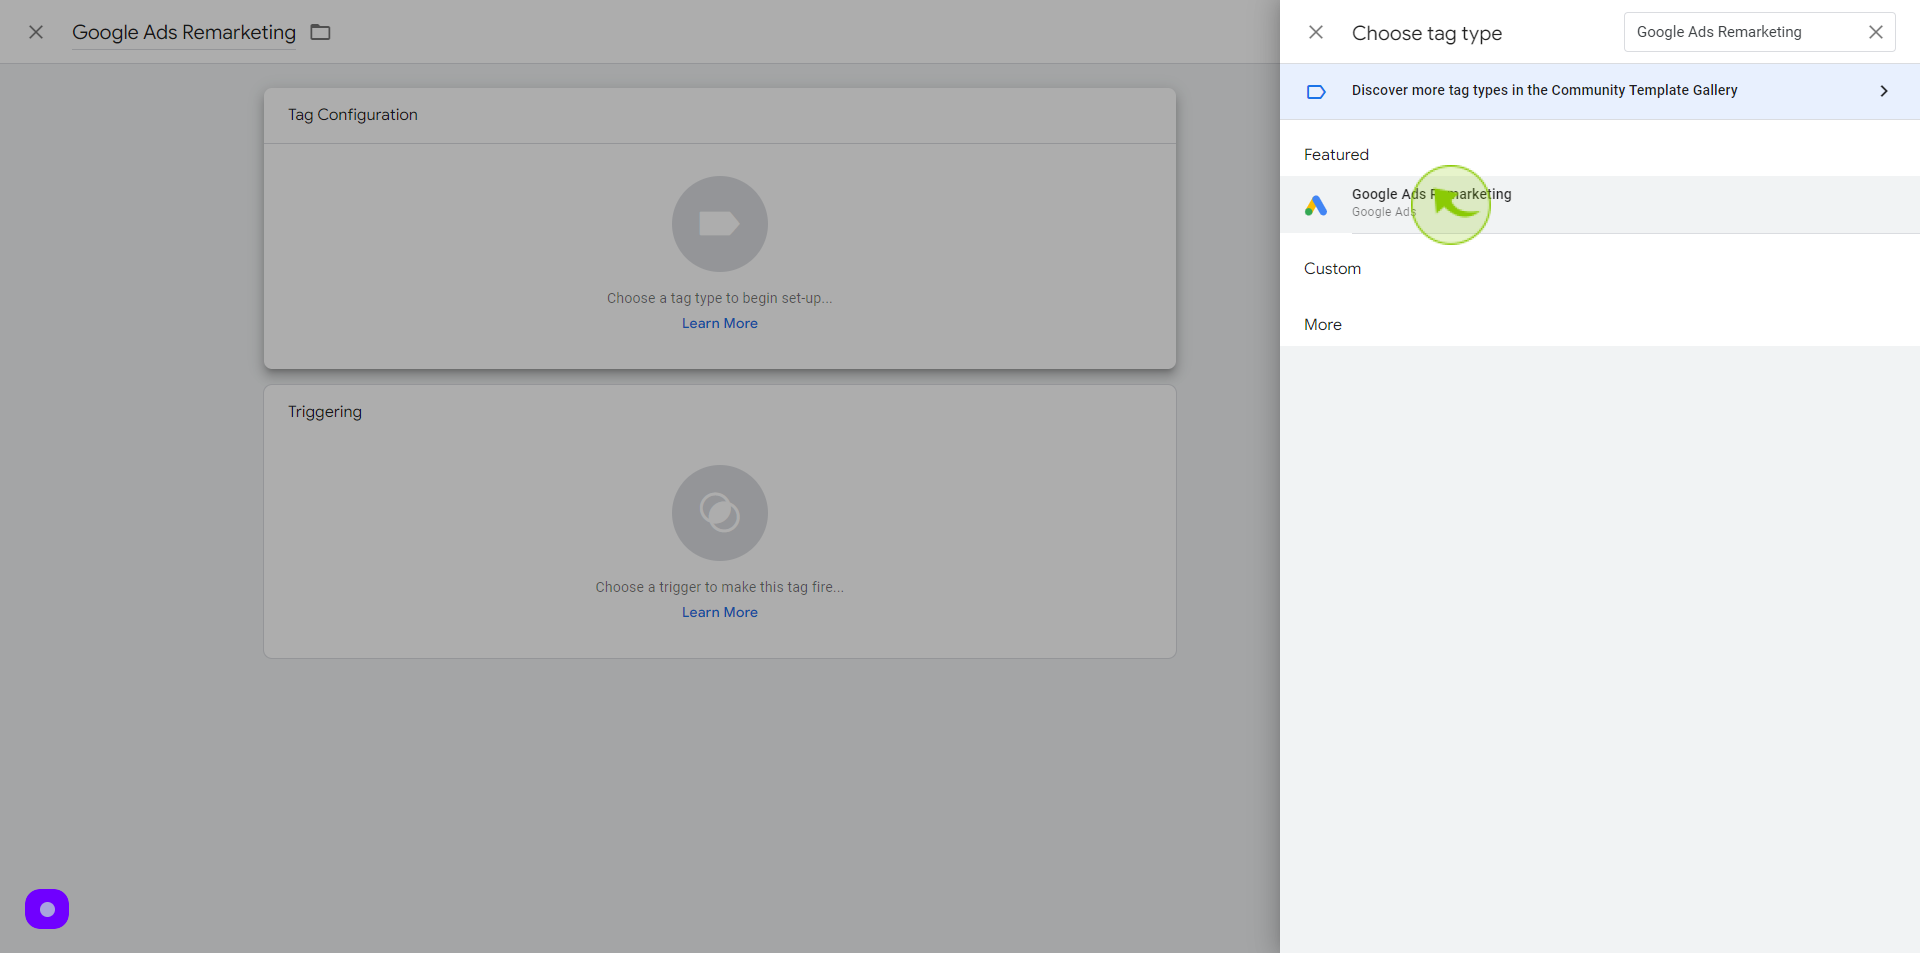
16
Click "Google Ads Remarketing"
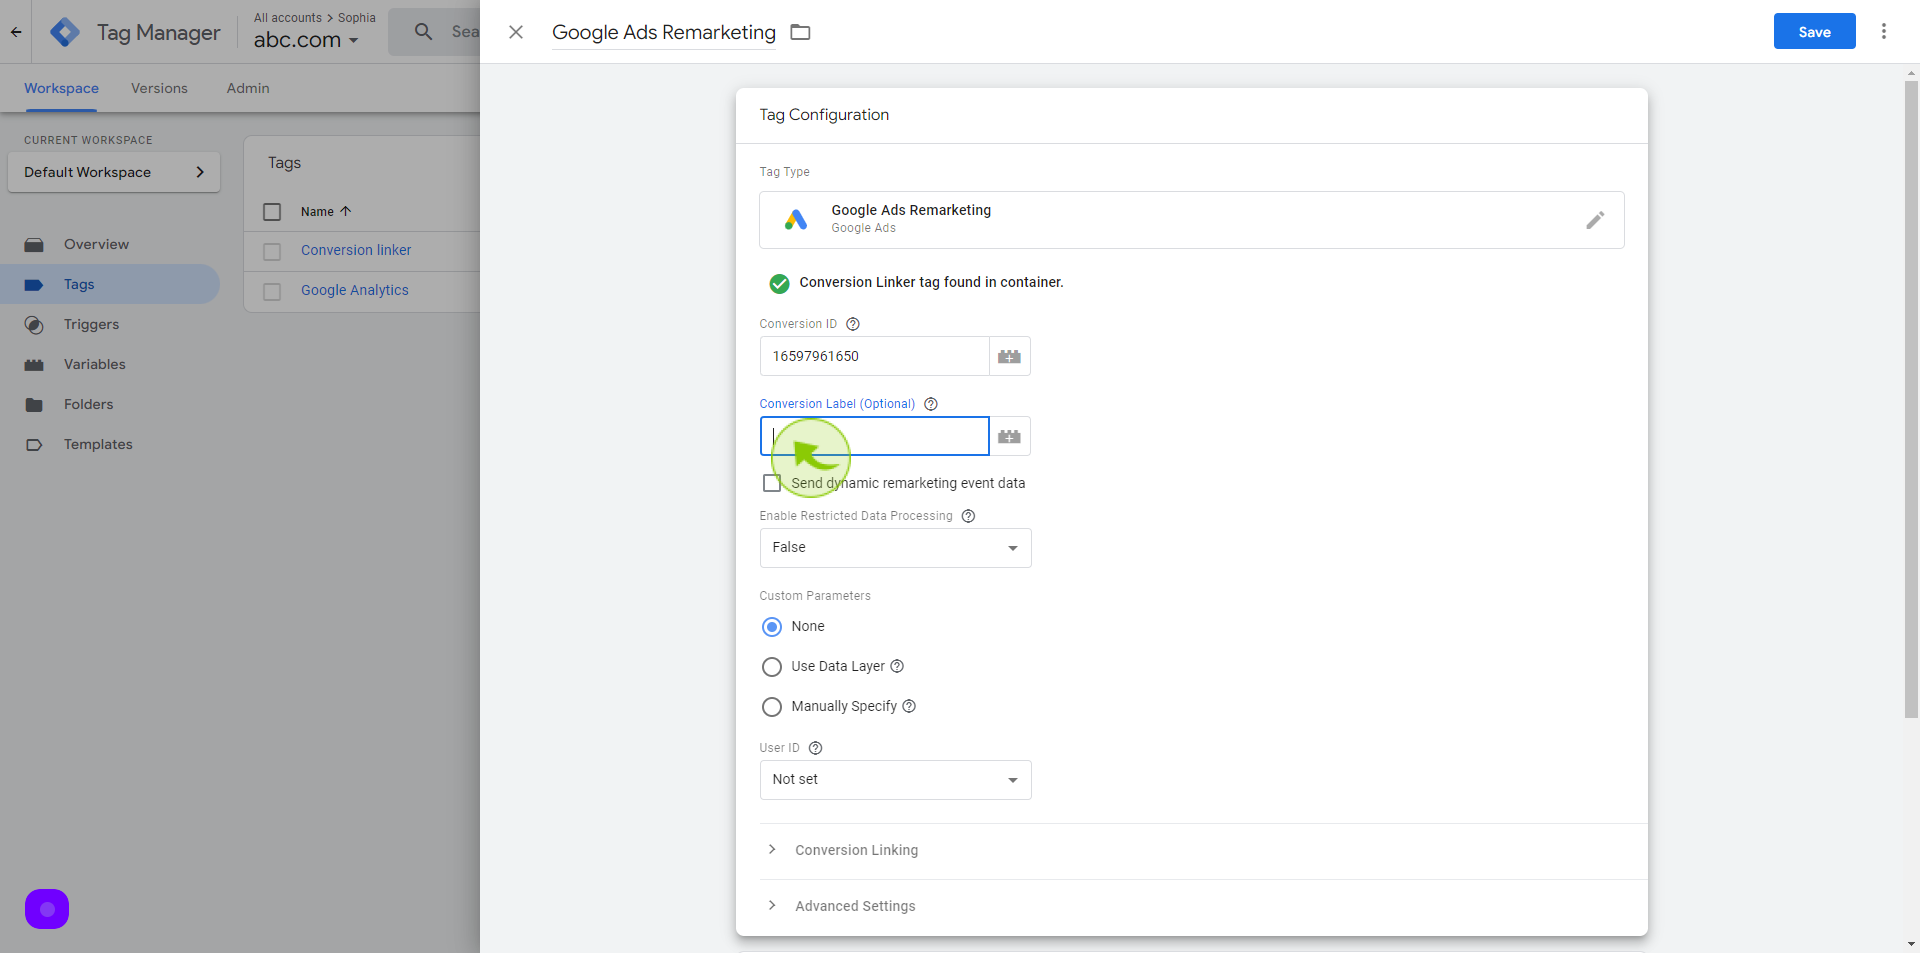
17
Click the "Conversion ID" field.
Paste the conversion id here.

18
Click the "Conversion Label" field.
Enter the conversion label
19
Click on "Triggering"
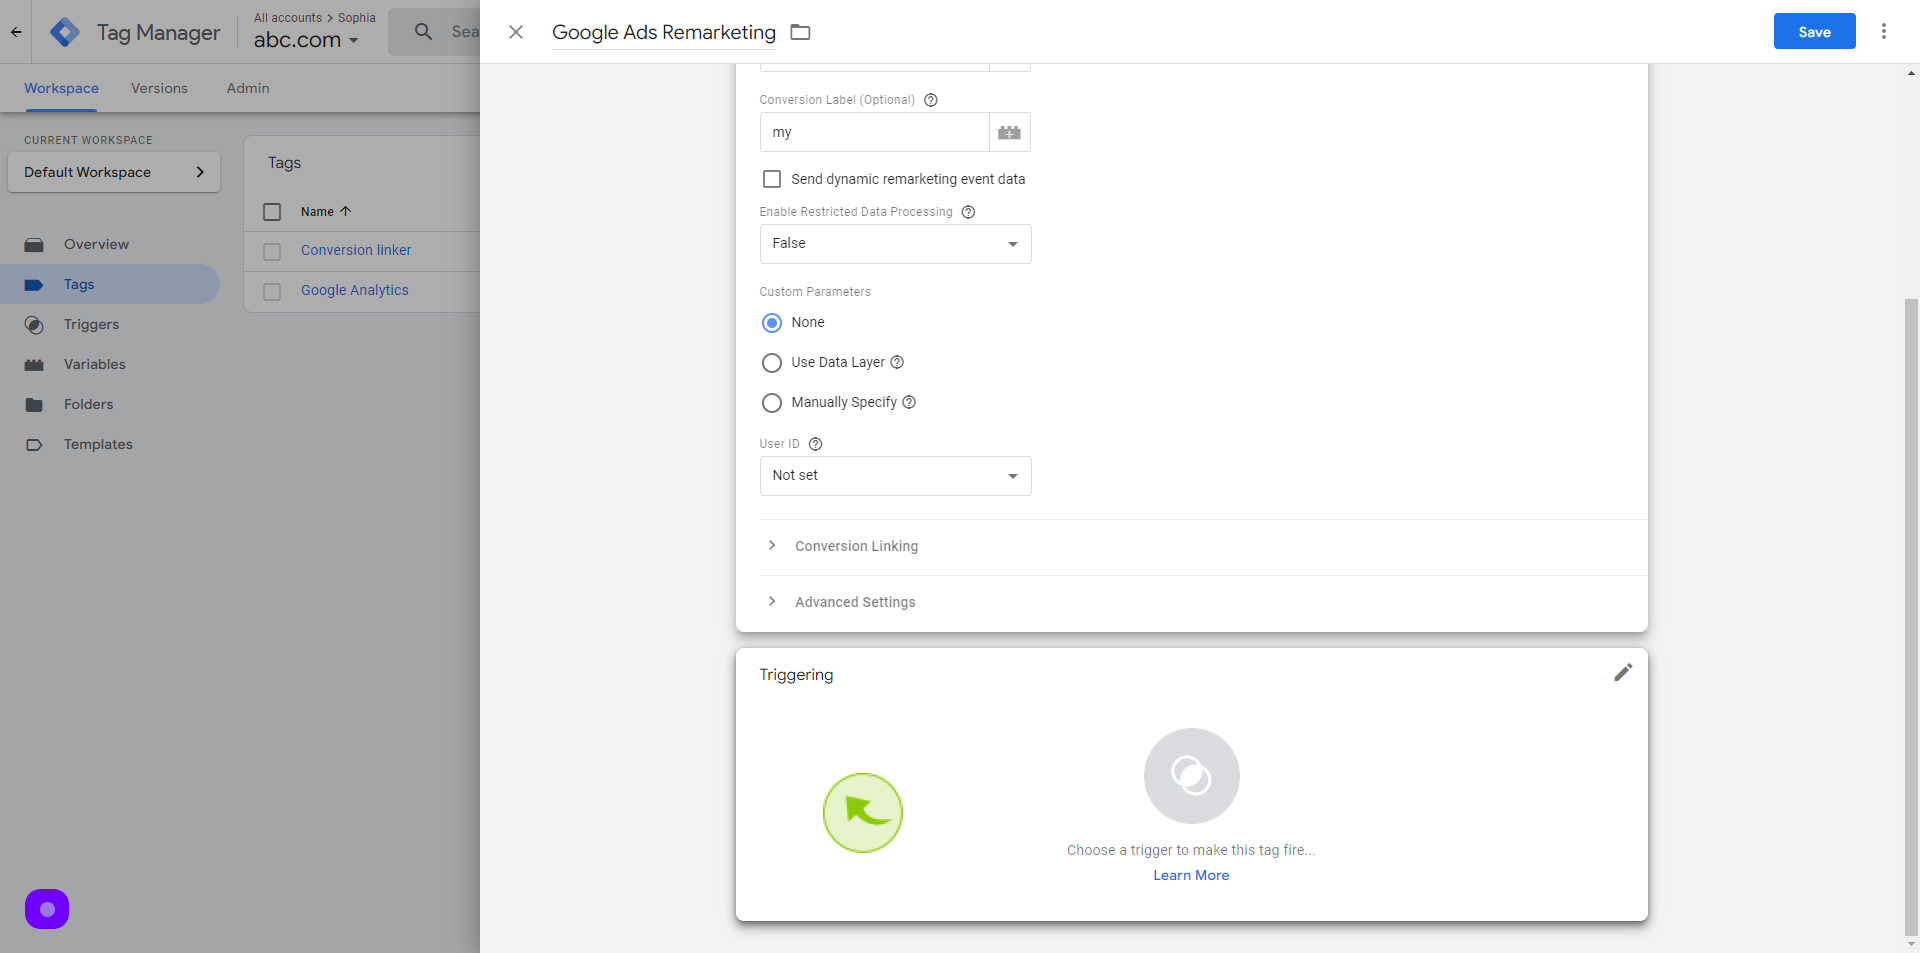
20
Select the "All Pages"

21
Click "Save"
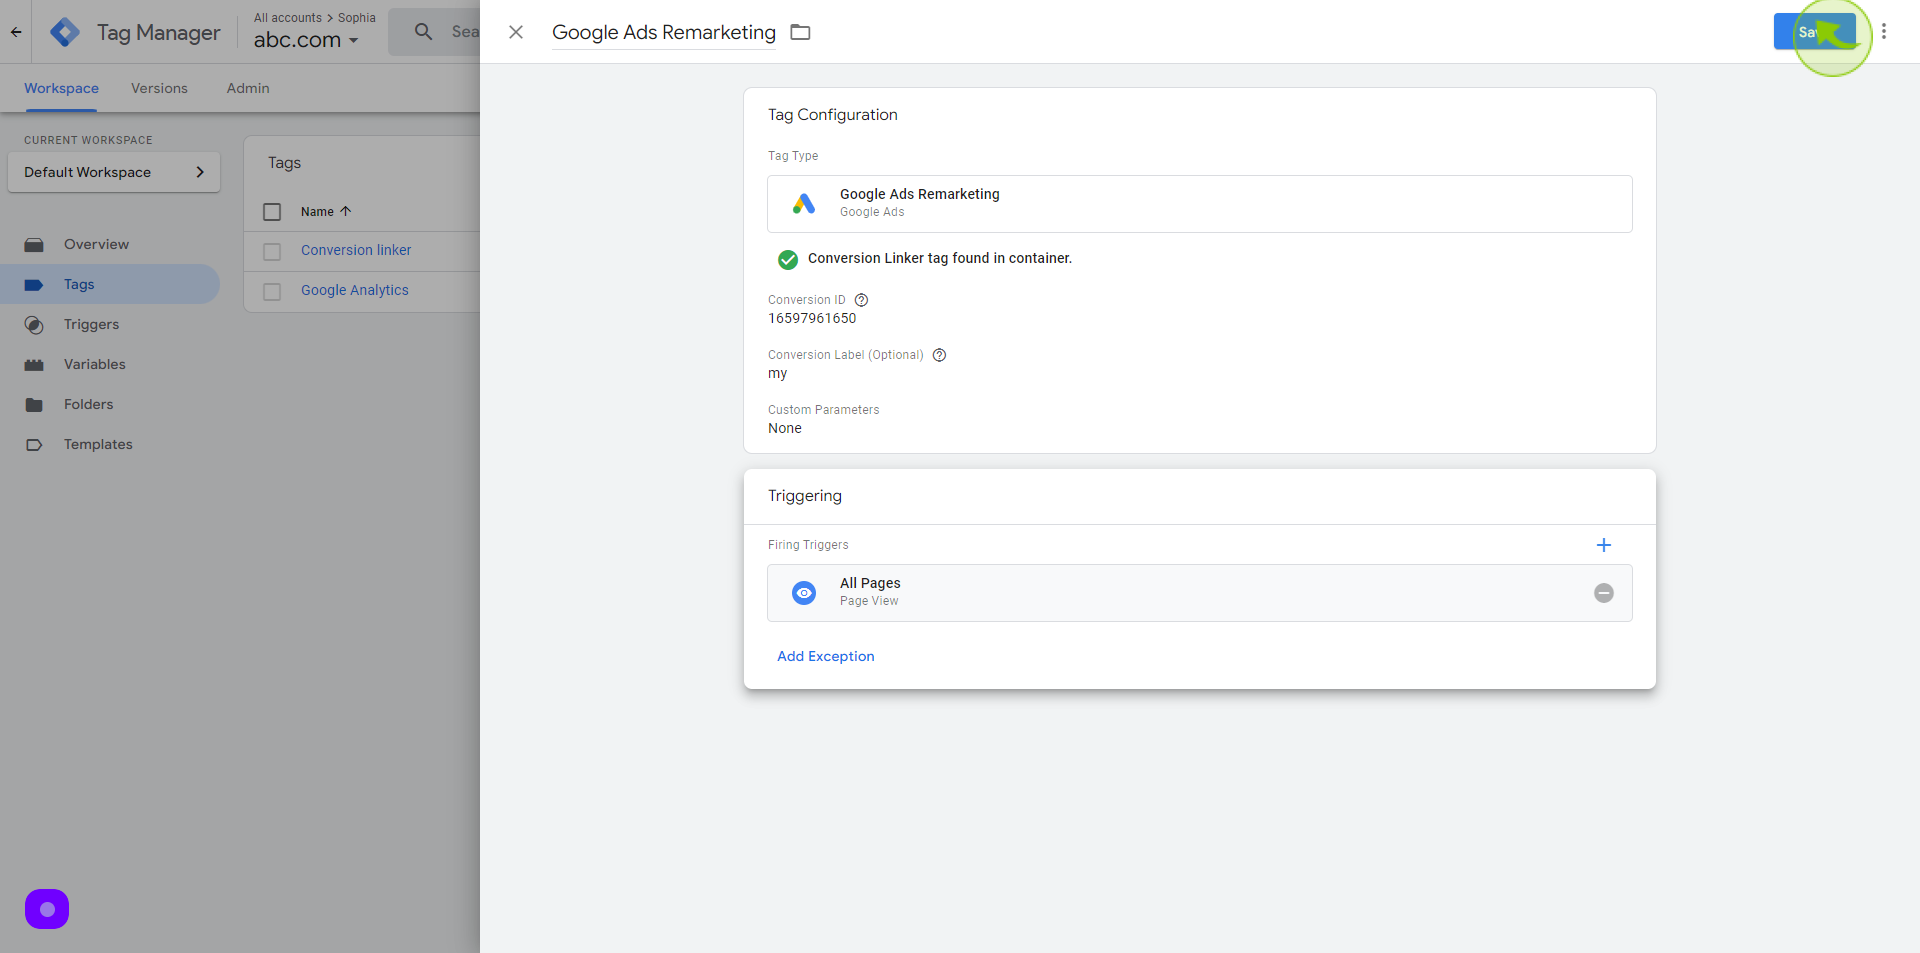
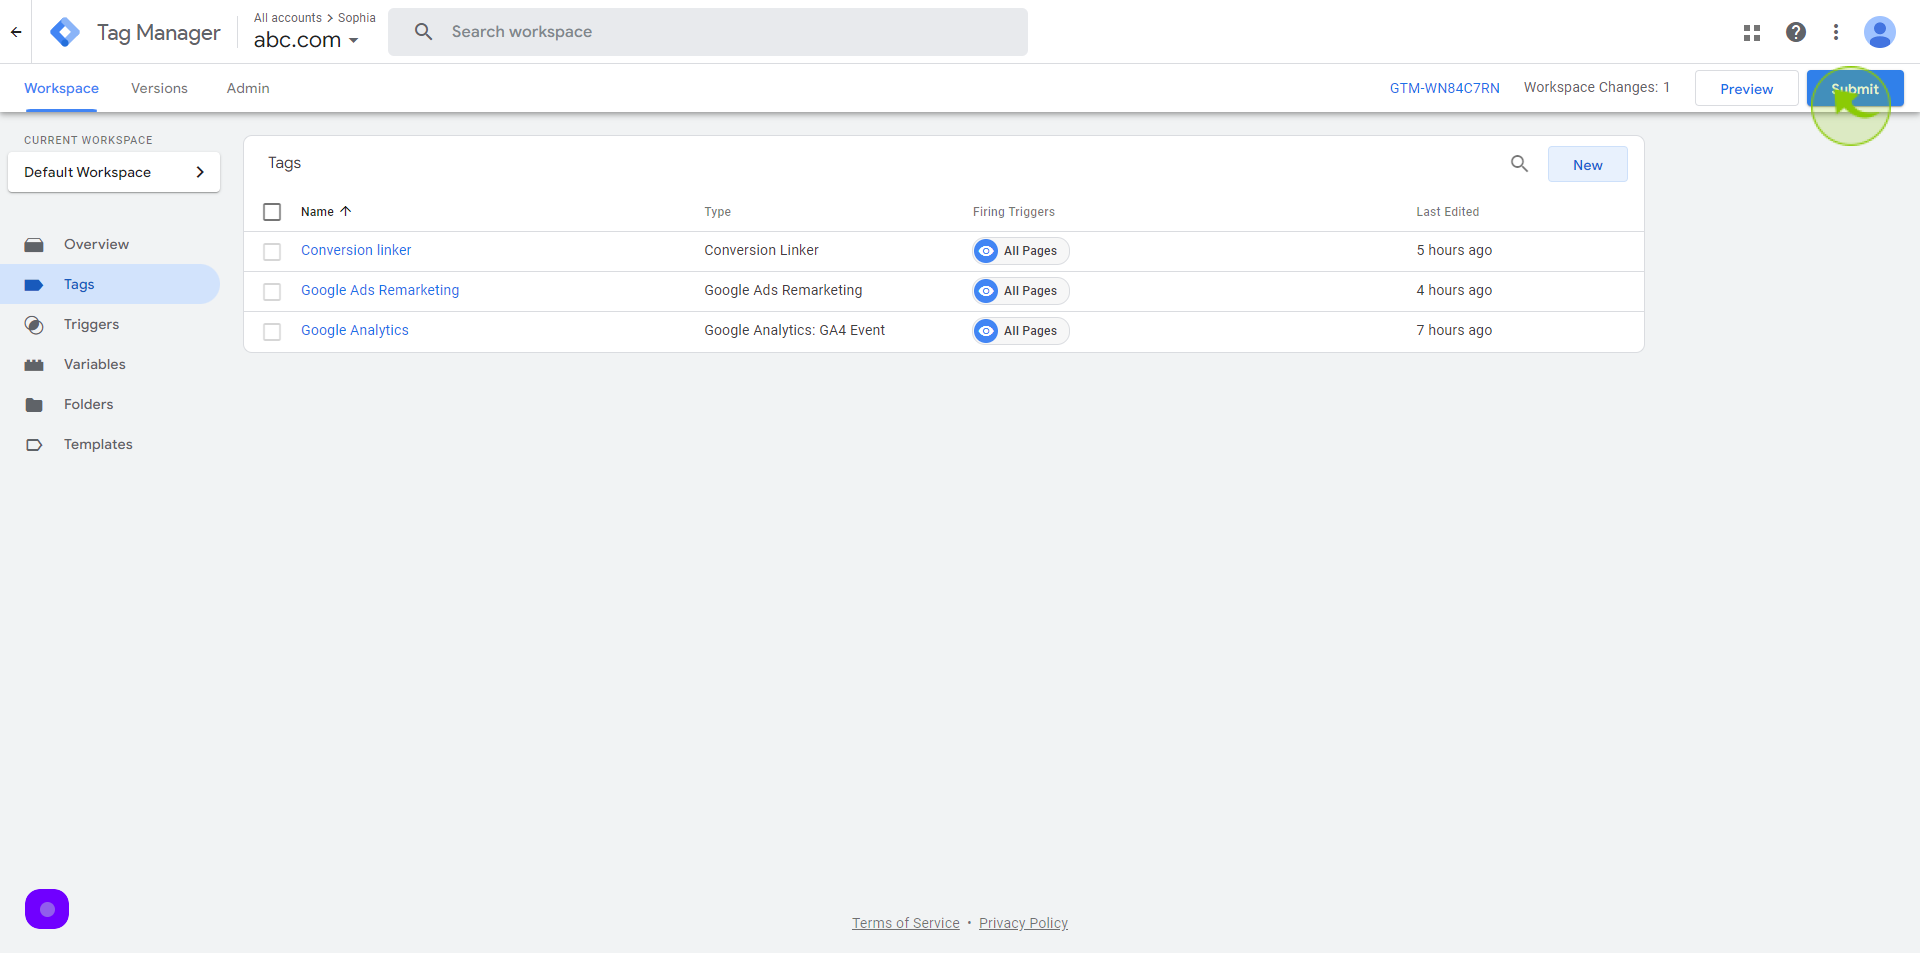
22
Click "Submit"
23
Click "Publish"
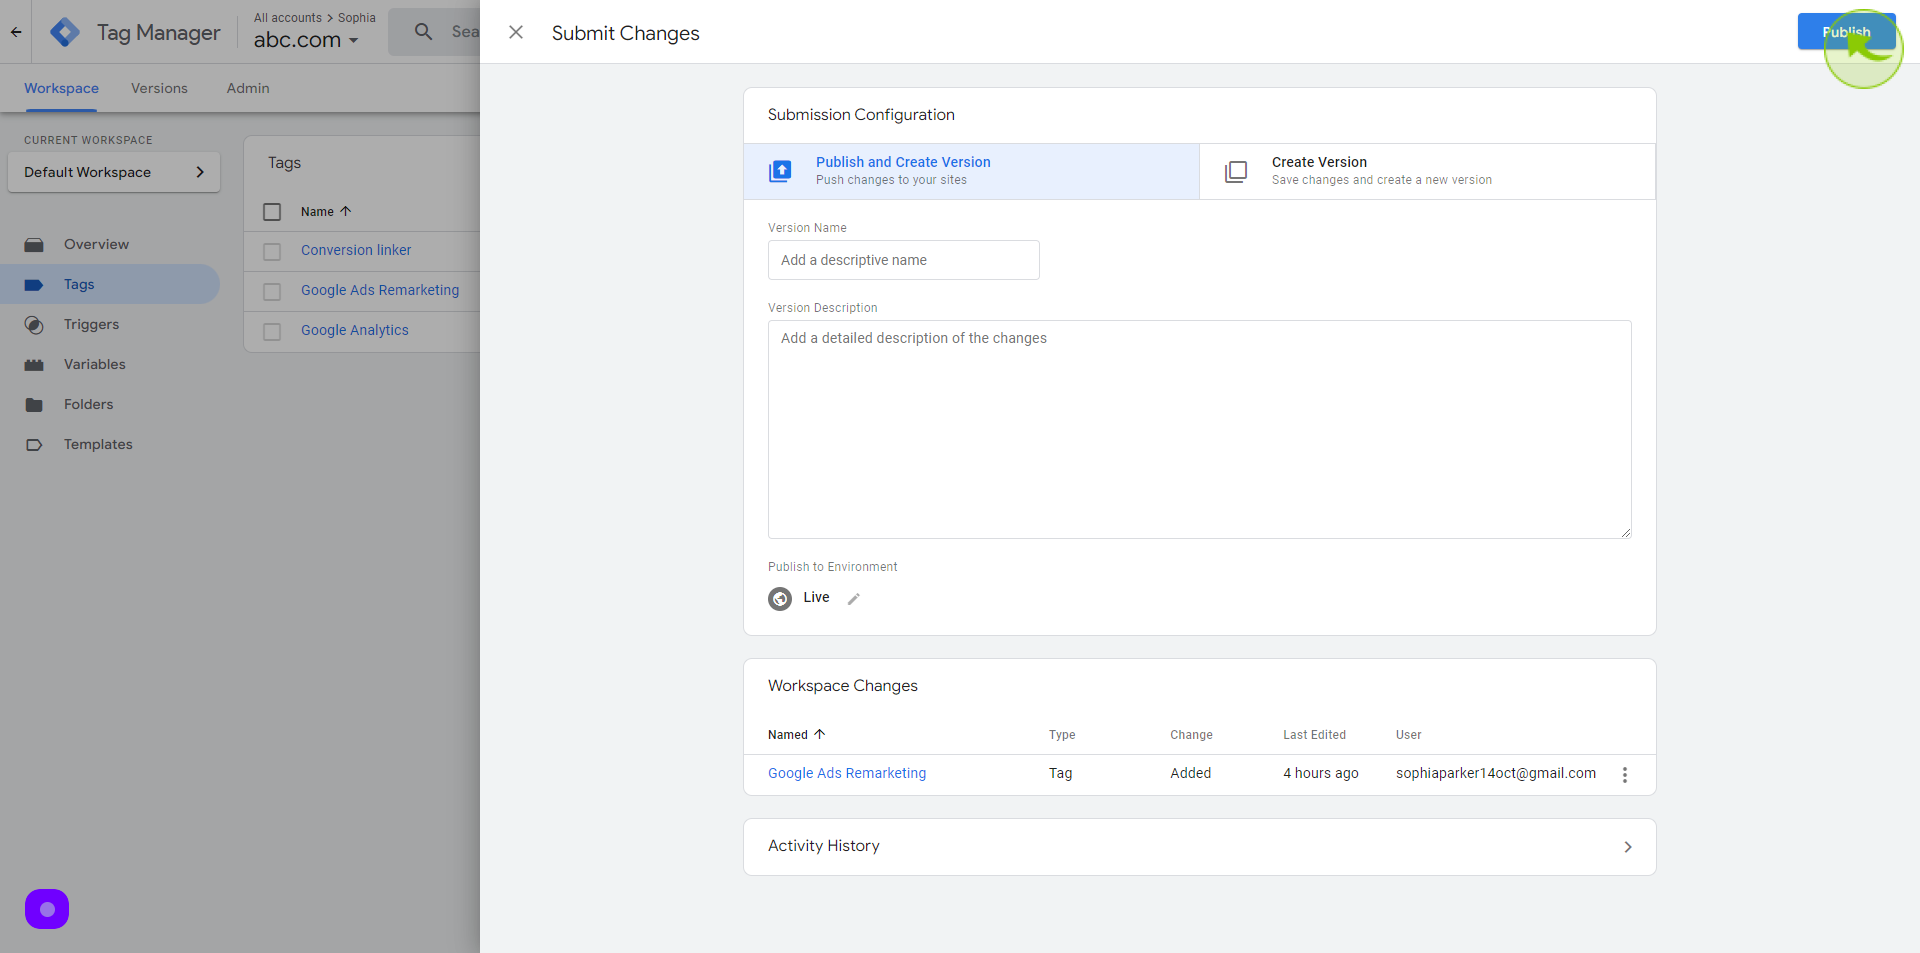
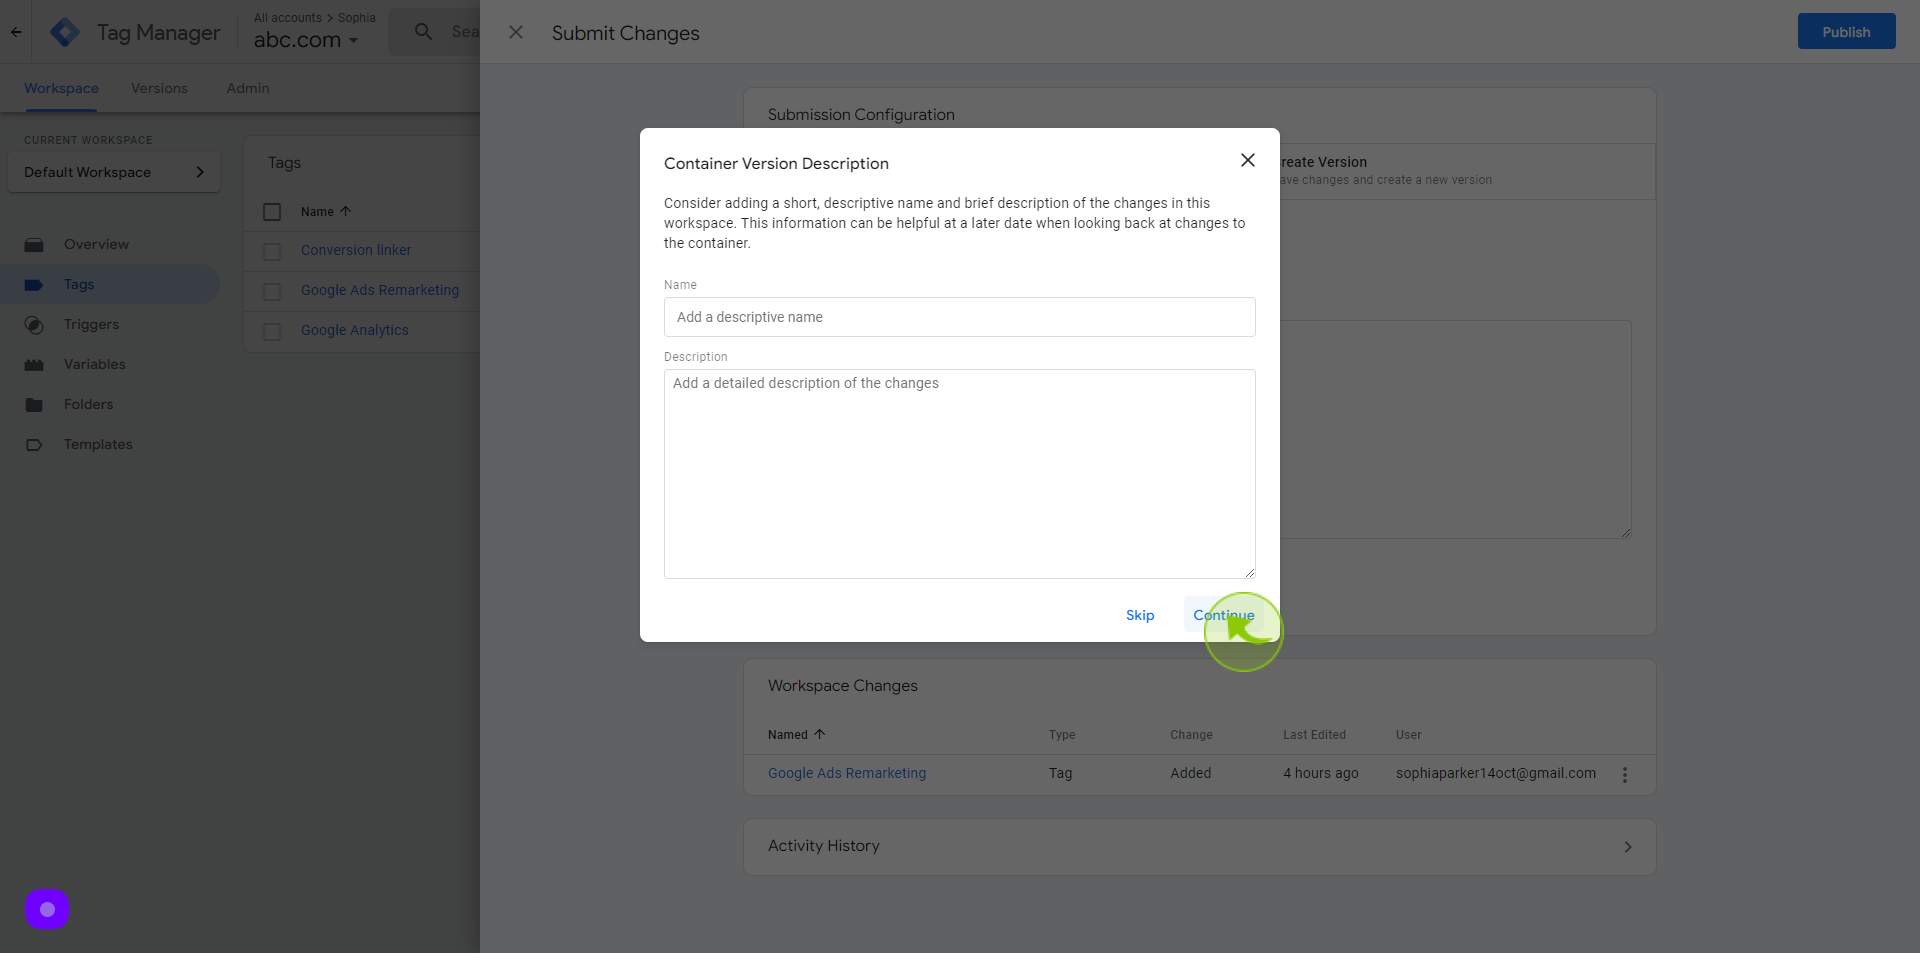
24
Click "Continue"
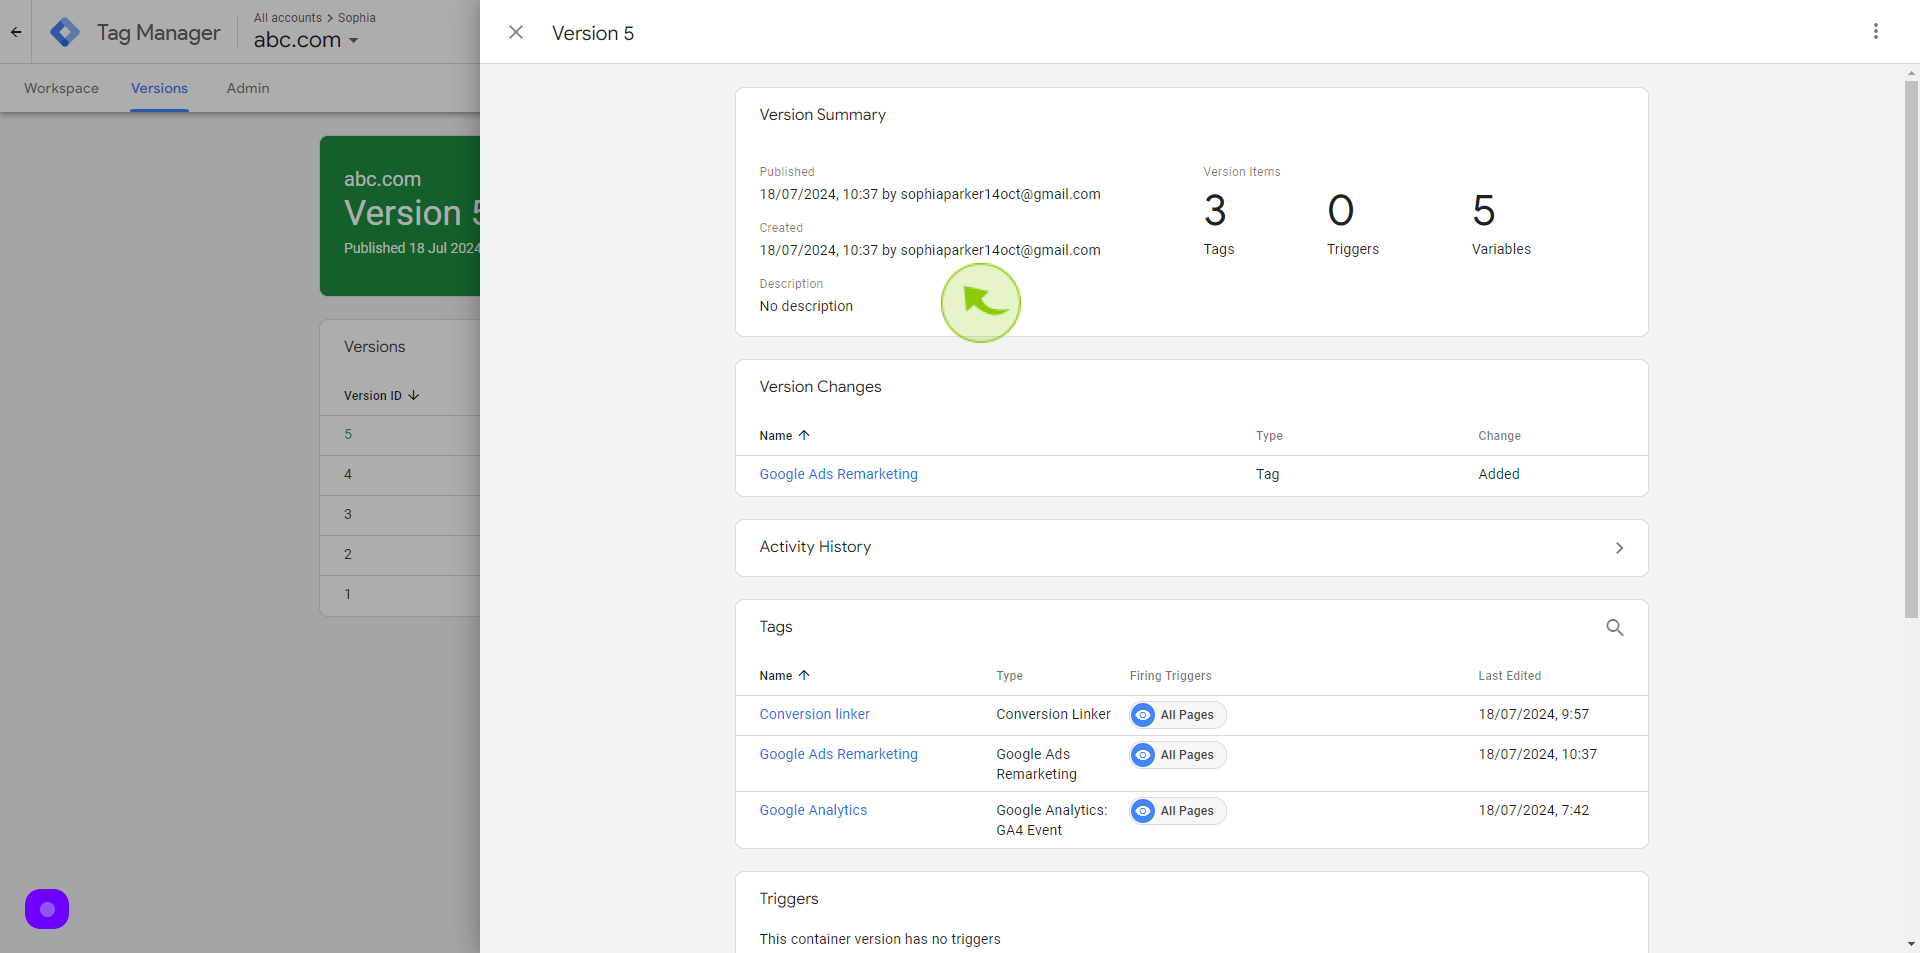
25
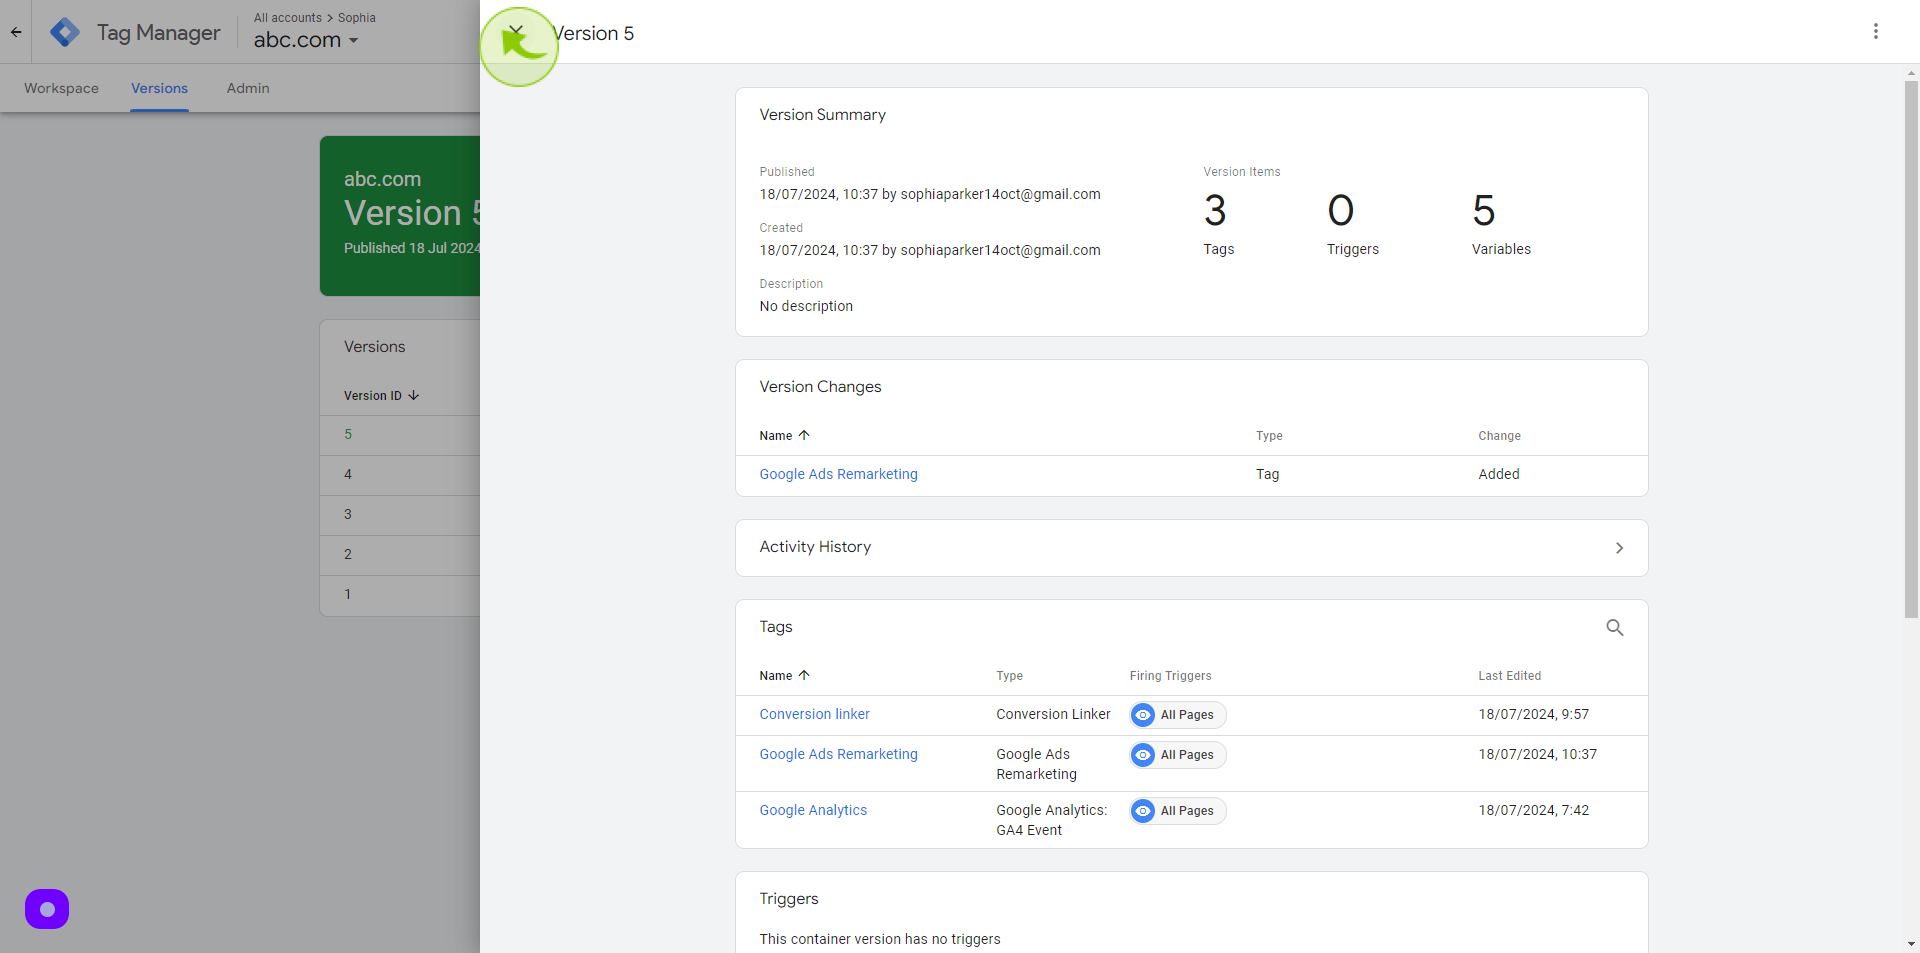
See the "Version Summary"
Changes has been published and details for the tag created will show up here.
26
Click "Close Screen"
Process is completed and this is how we configure remarketing tag in google tag manager