How to Create a Portfolio in Asana?
|
 app.asana
|
5 months ago
|
12 Steps
This document provides a step-by-step guide on how to create a portfolio in Asana. It explains the process of organizing and managing multiple projects within Asana to streamline workflows and track progress efficiently. By following this guide, users will learn how to set up a portfolio, add projects, and monitor their status using Asana’s intuitive interface. This will help teams stay aligned, prioritize tasks, and gain valuable insights into their work in a single, unified view.
How to Create a Portfolio in Asana?
|
 app.asana
|
12 Steps
1
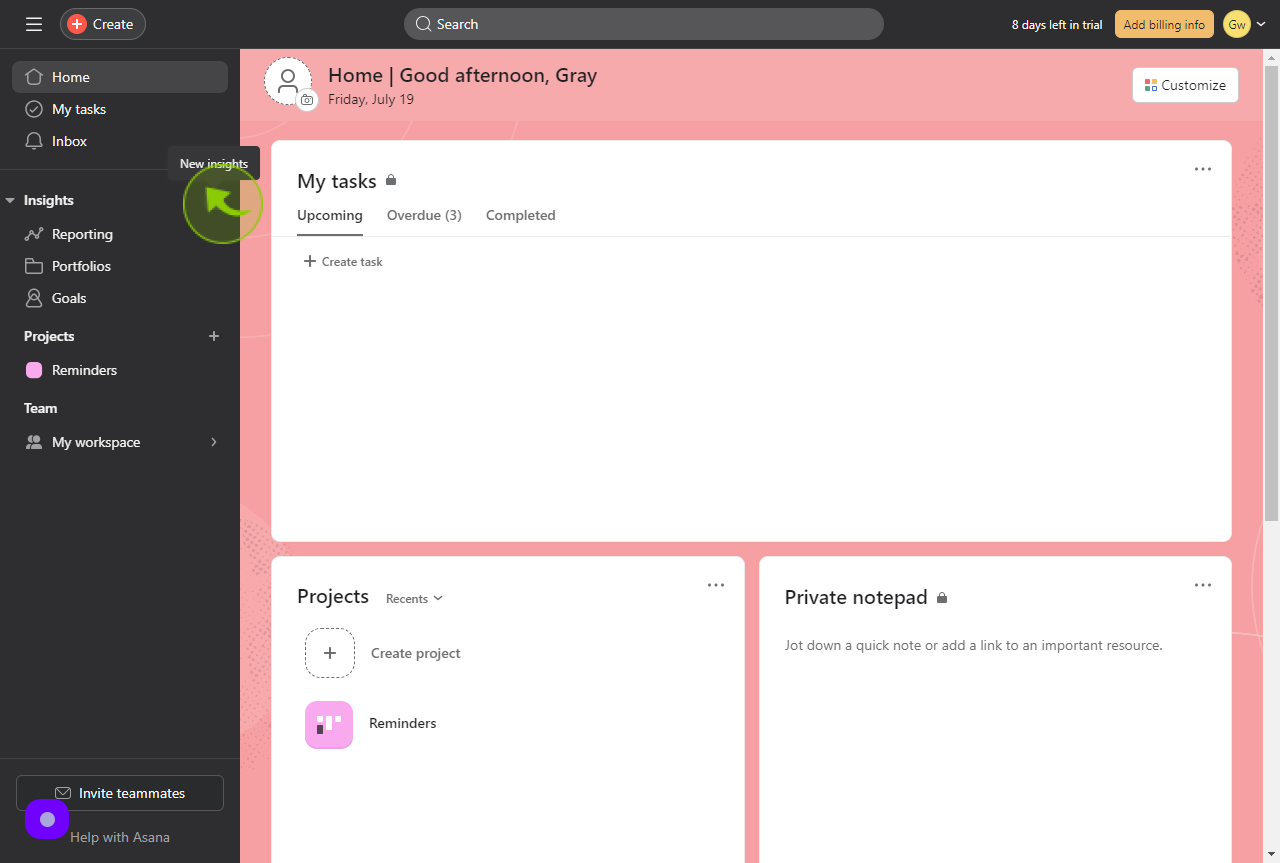
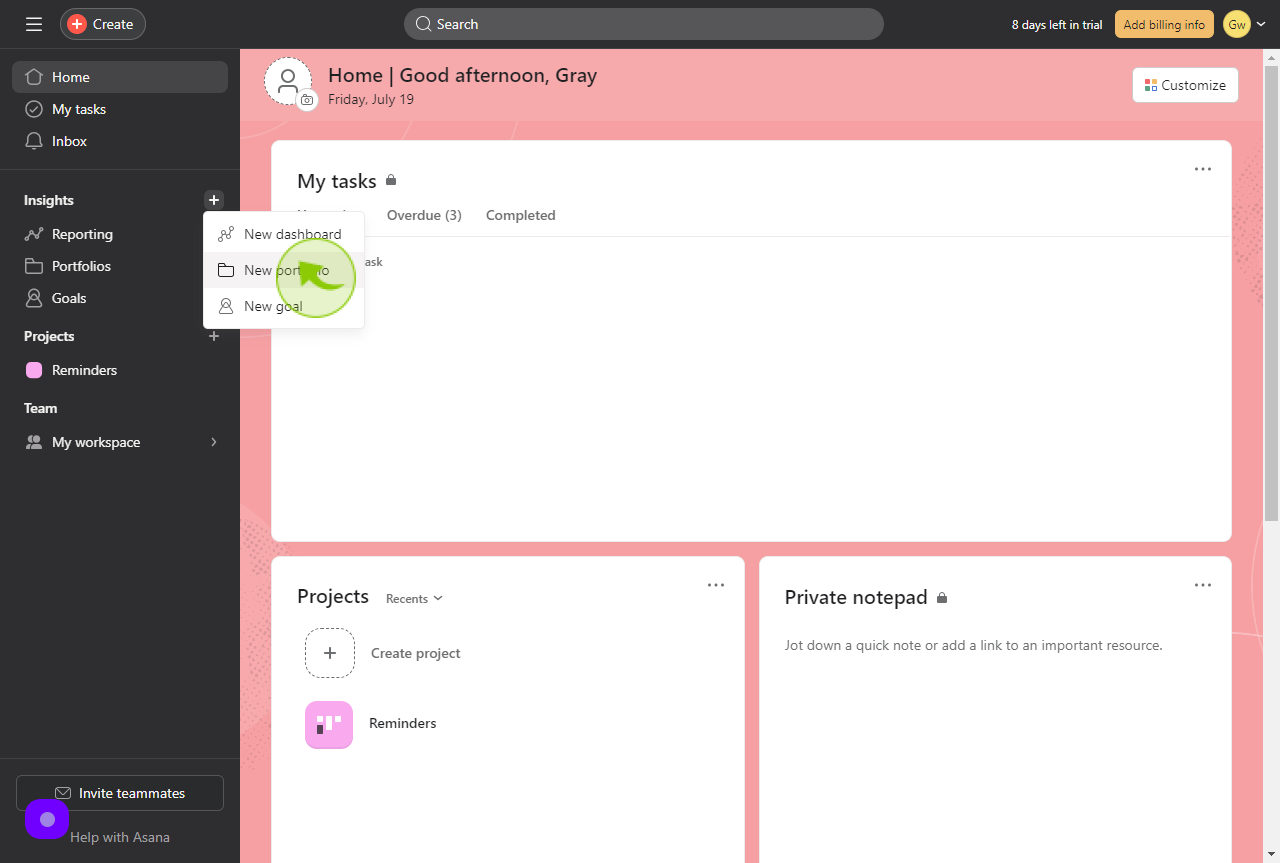
On the left hand side bar, click the "+" next to "Insights".
2
Click "New portfolio"
3
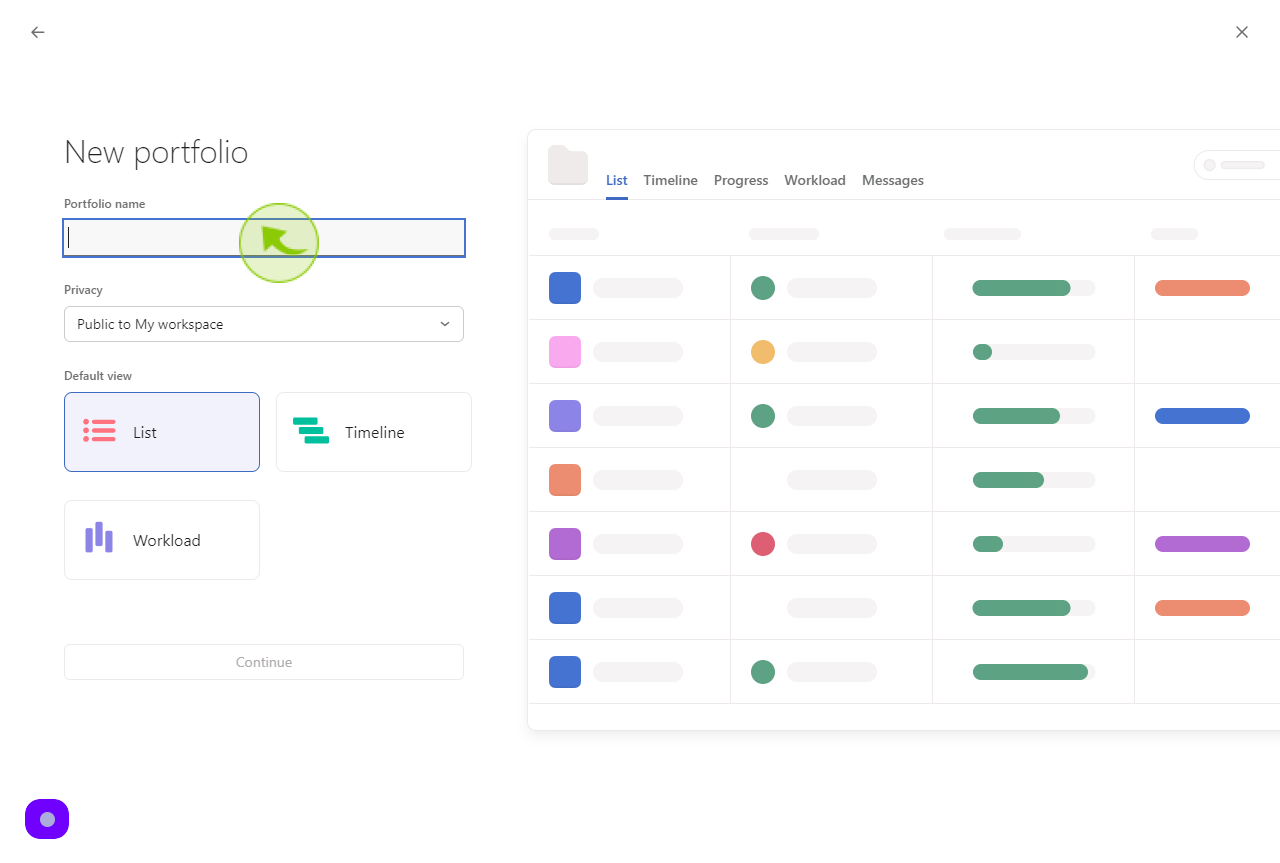
Click the "Portfolio name" field.
Enter your portfolio name
4
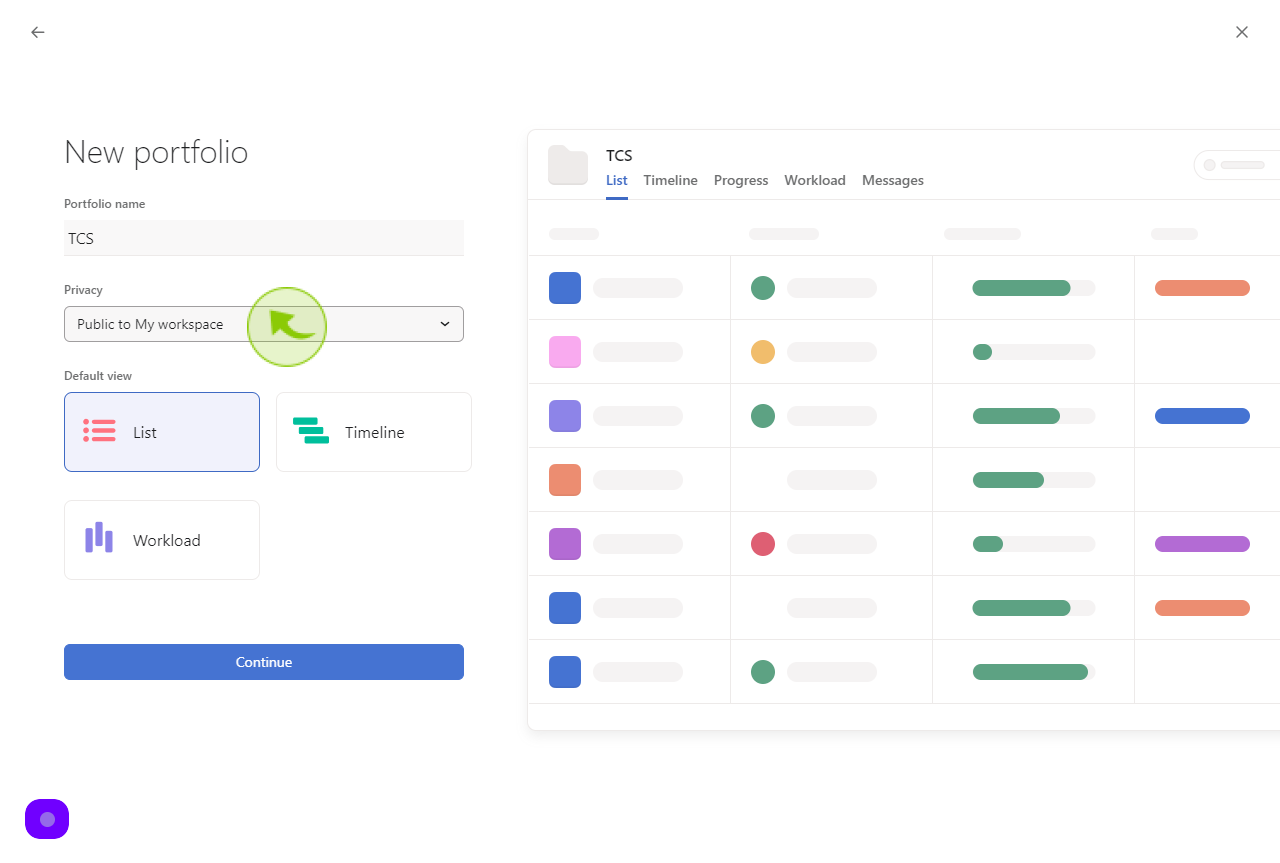
Set privacy to "private to portfolio members".
5
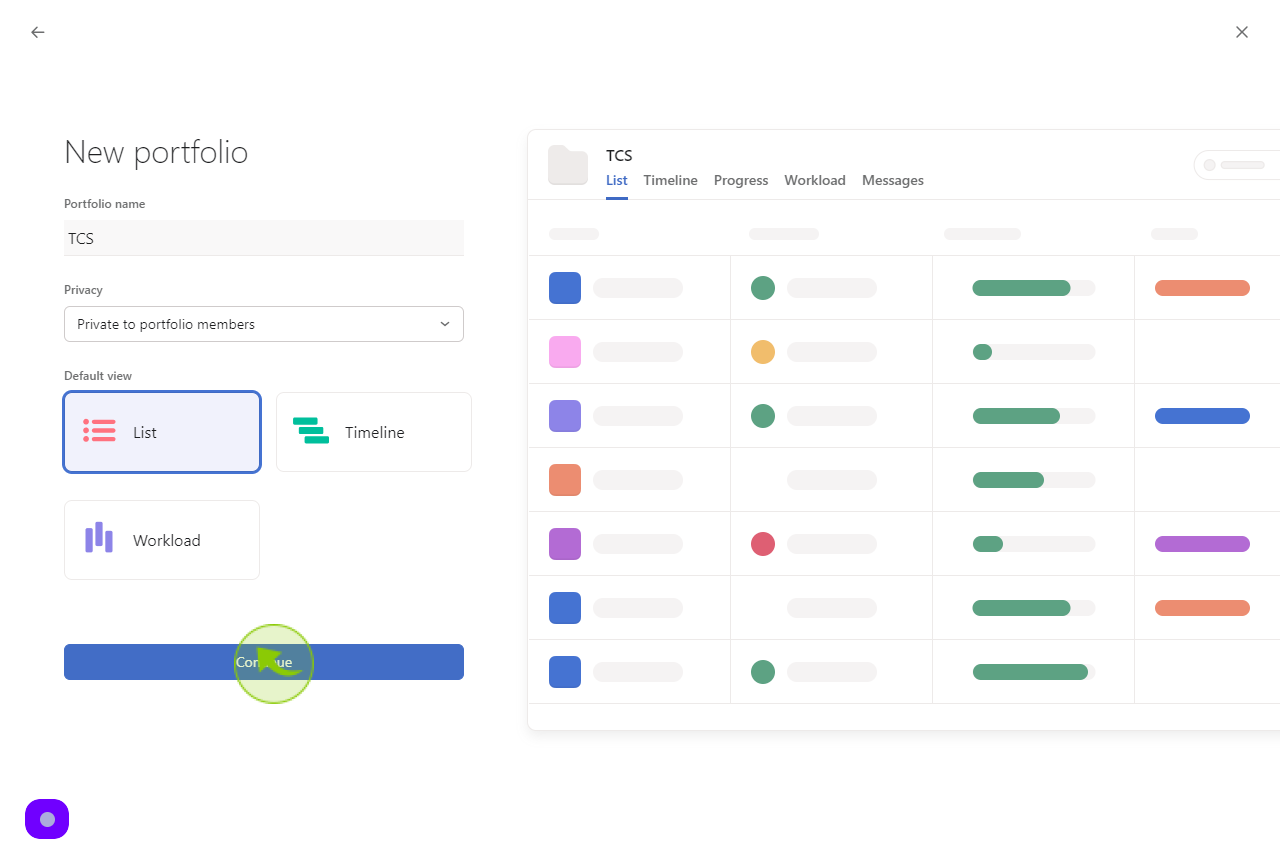
Click "Continue"
6
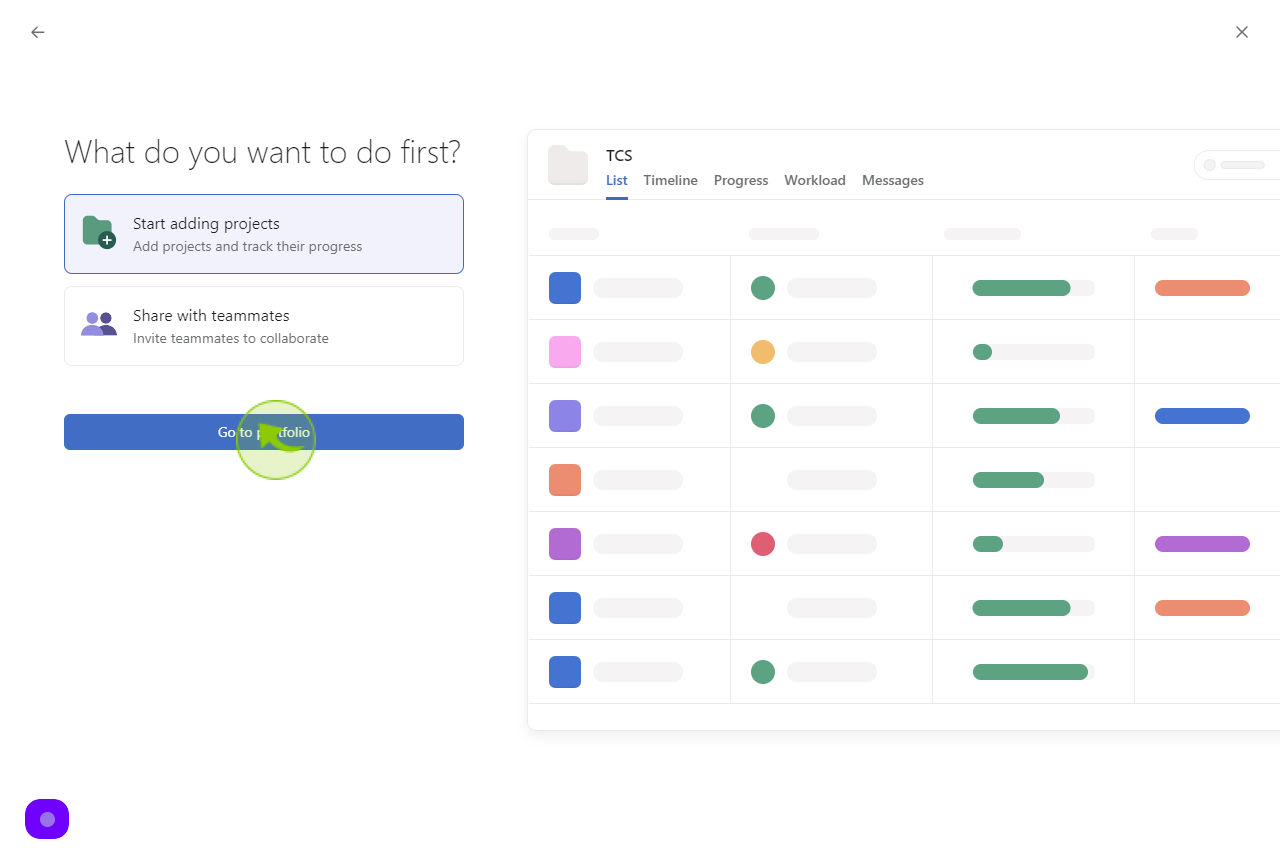
Click "Go to portfolio"
7
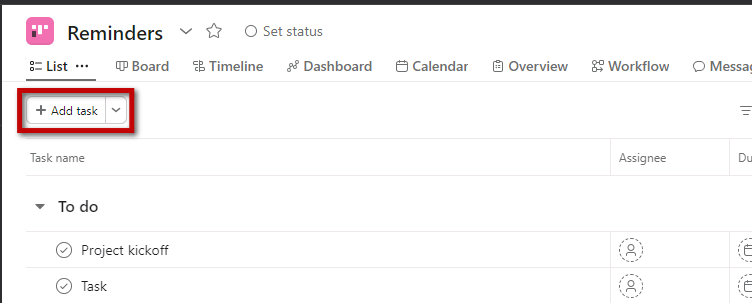
To include projects in the portfolio, click "Add task"
8
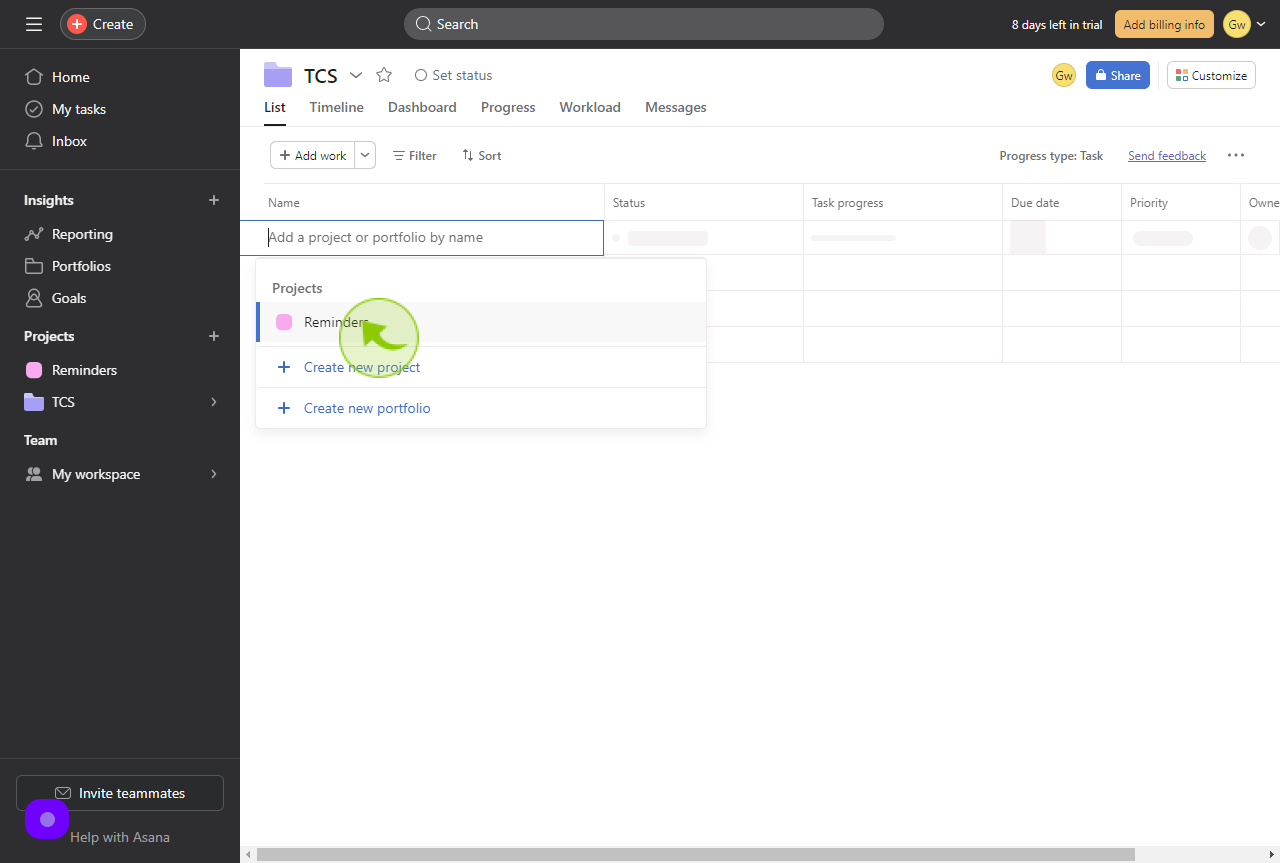
Select or search by name for the projects you would like to add to the portfolio.
9
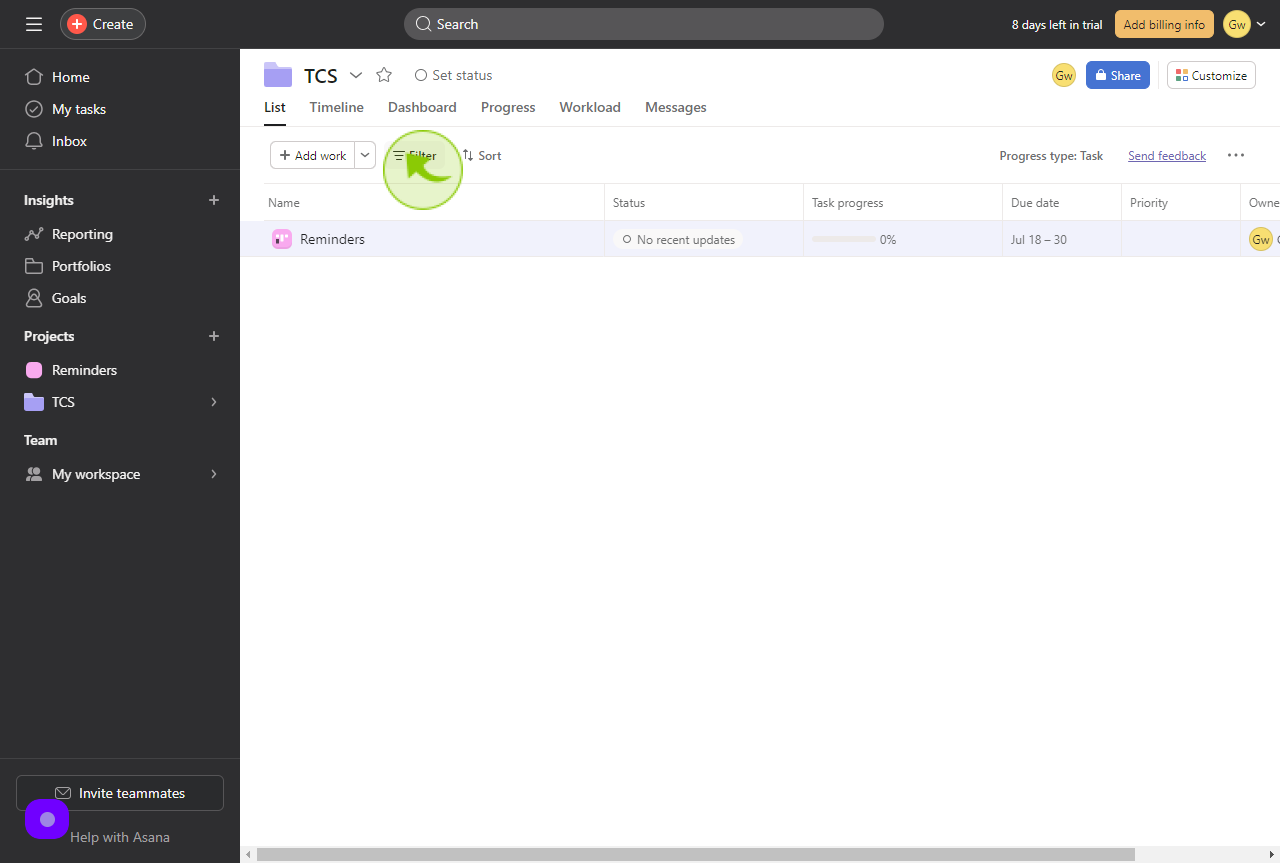
Click "Filter".
Under "filter" you can filter by:
(1)Archive status
(2)Completion status
(3)Owner
(4)Priority
(5)Status
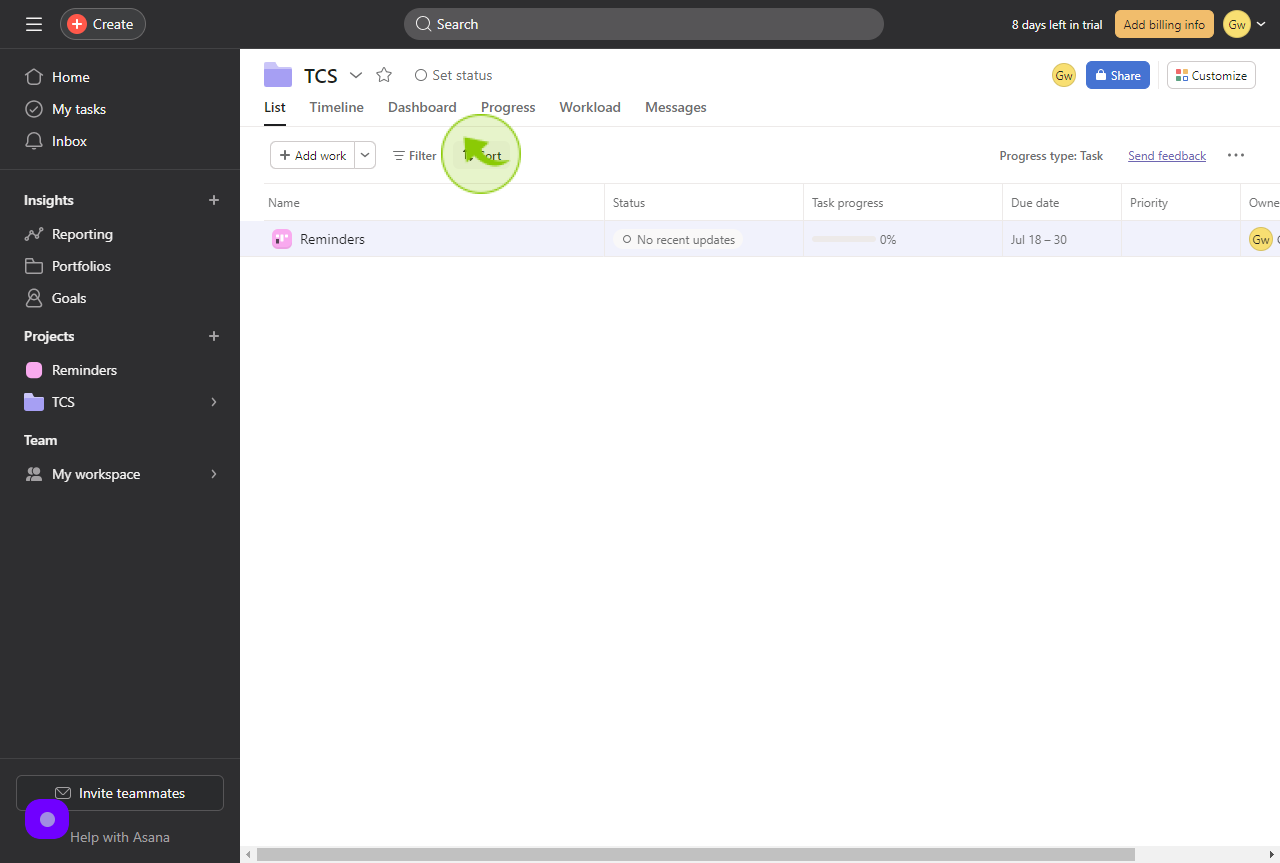
10
Click "Short"
Under "sort" your options are:
(1)Status
(2)Owner
(3)Date
(4)Name
(5)Completed
(6)Duration
(7)Time remaining
(8)Priority
11
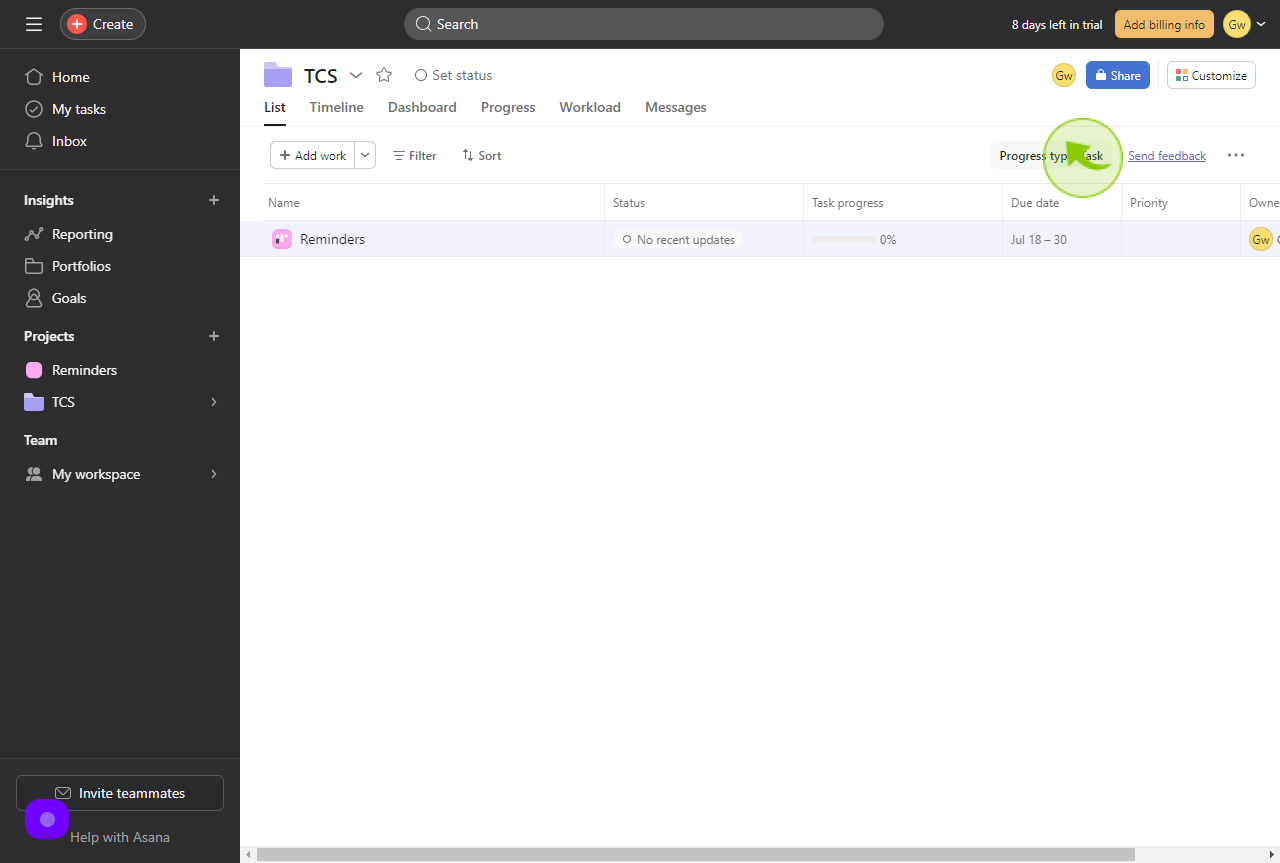
Click "Progress type: Task"
Under "Progress type" your options are:
(1)Task
(2)Milestone
12
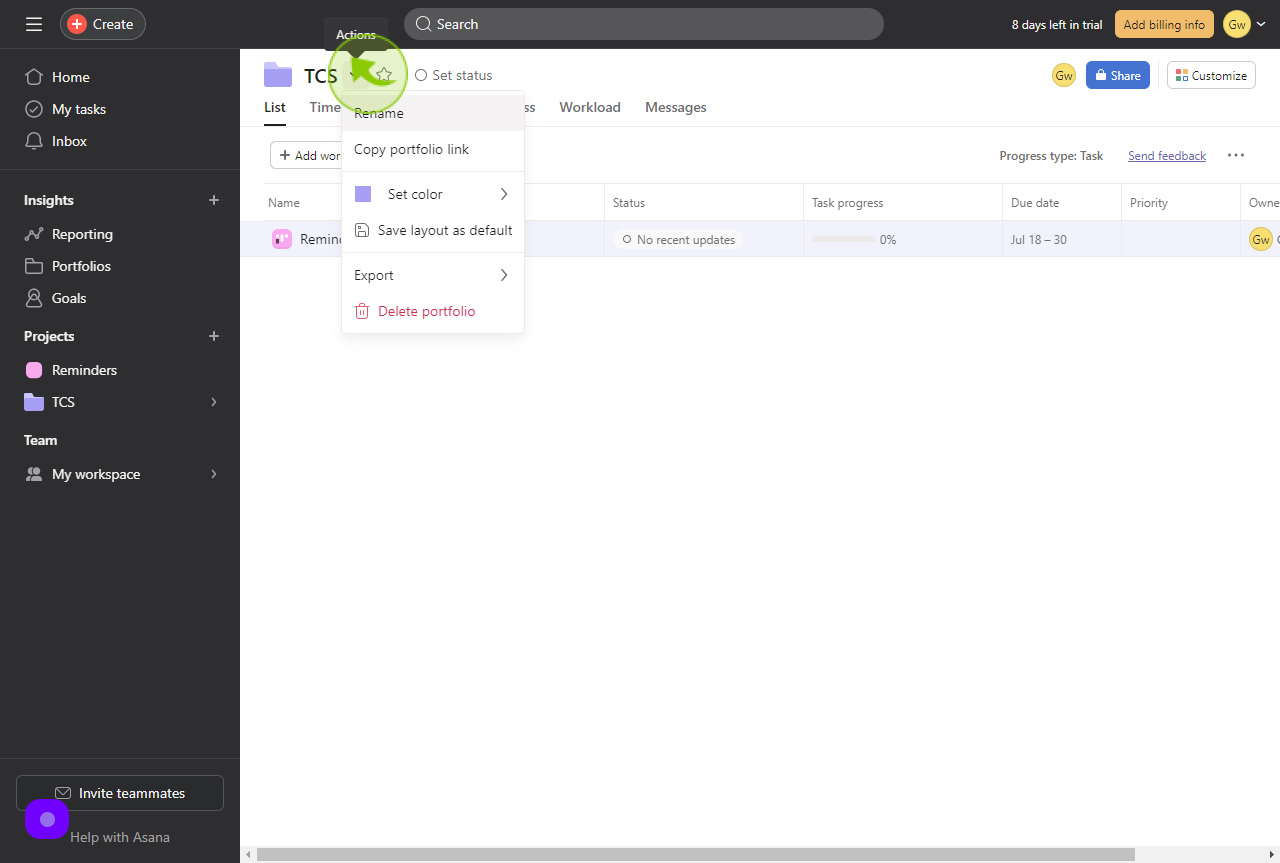
Click "Action".
Next to the name of the Portfolio, the portfolio actions drop down gives the options:
(1) Rename
(2) Copy portfolio link
(3) Set color
(4)Save layout as default
(5)Export
(6)Delete
