How to Create Account on X?
|
 X
|
X
|
8 months ago
|
19 Steps
This document provides a simple, step-by-step guide on how to sign up for X, ensuring a smooth registration process. Whether you're new to the platform or need assistance, this guide covers everything from accessing the website or app to completing the registration form and verifying your account. With clear instructions and helpful tips, you'll be ready to start using X in no time. Follow this guide to create your account and explore all that X has to offer!
How to Create Account on X?
|
 X
|
X
|
19 Steps
1
Navigate to https://x.com/?lang=en
Open your preferred web browser and type in the URL "https://x.com/?lang=en" in the address bar. Press Enter to navigate to the X homepage.
2
Click on "Create Account"
On the X homepage, locate and click on the "Sign Up" or "Create your Account" button. This will direct you to the account creation page.

3
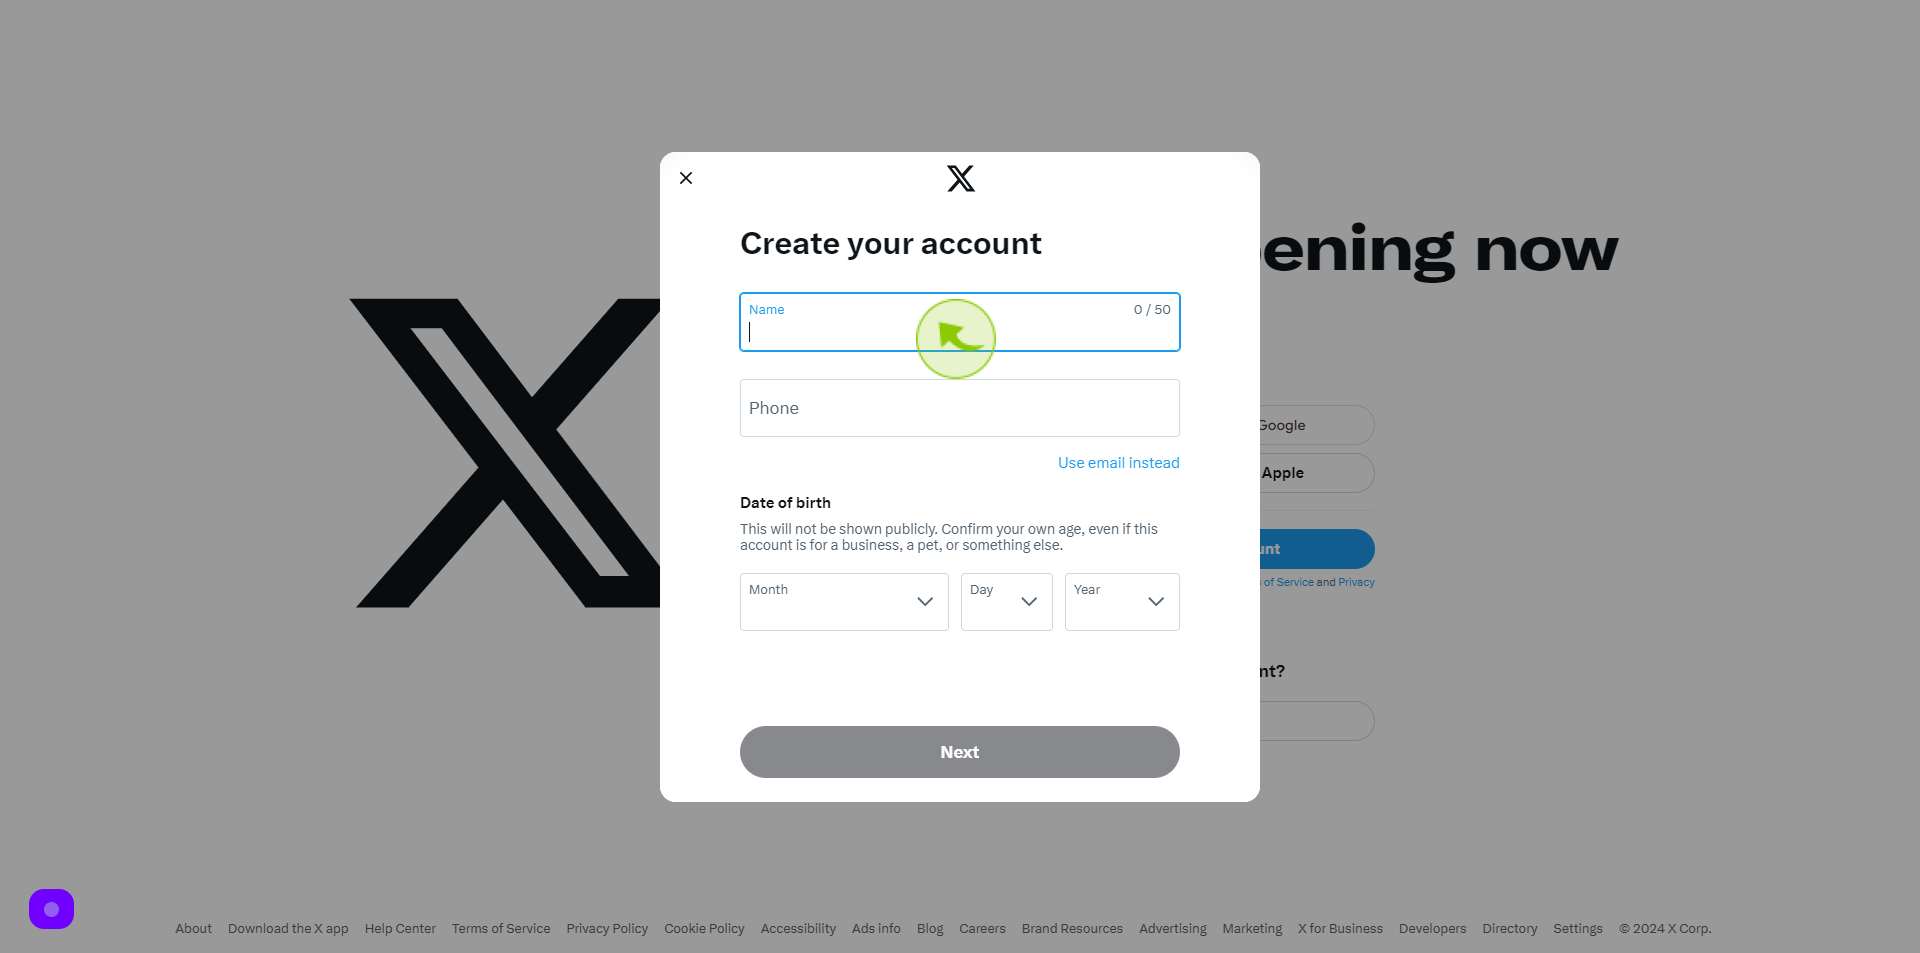
Click the "Name" field.
On the account creation page, you'll see fields for your Full Name. Click on the "Full Name" field and enter your complete name as you would like it to appear on your X profile.
4
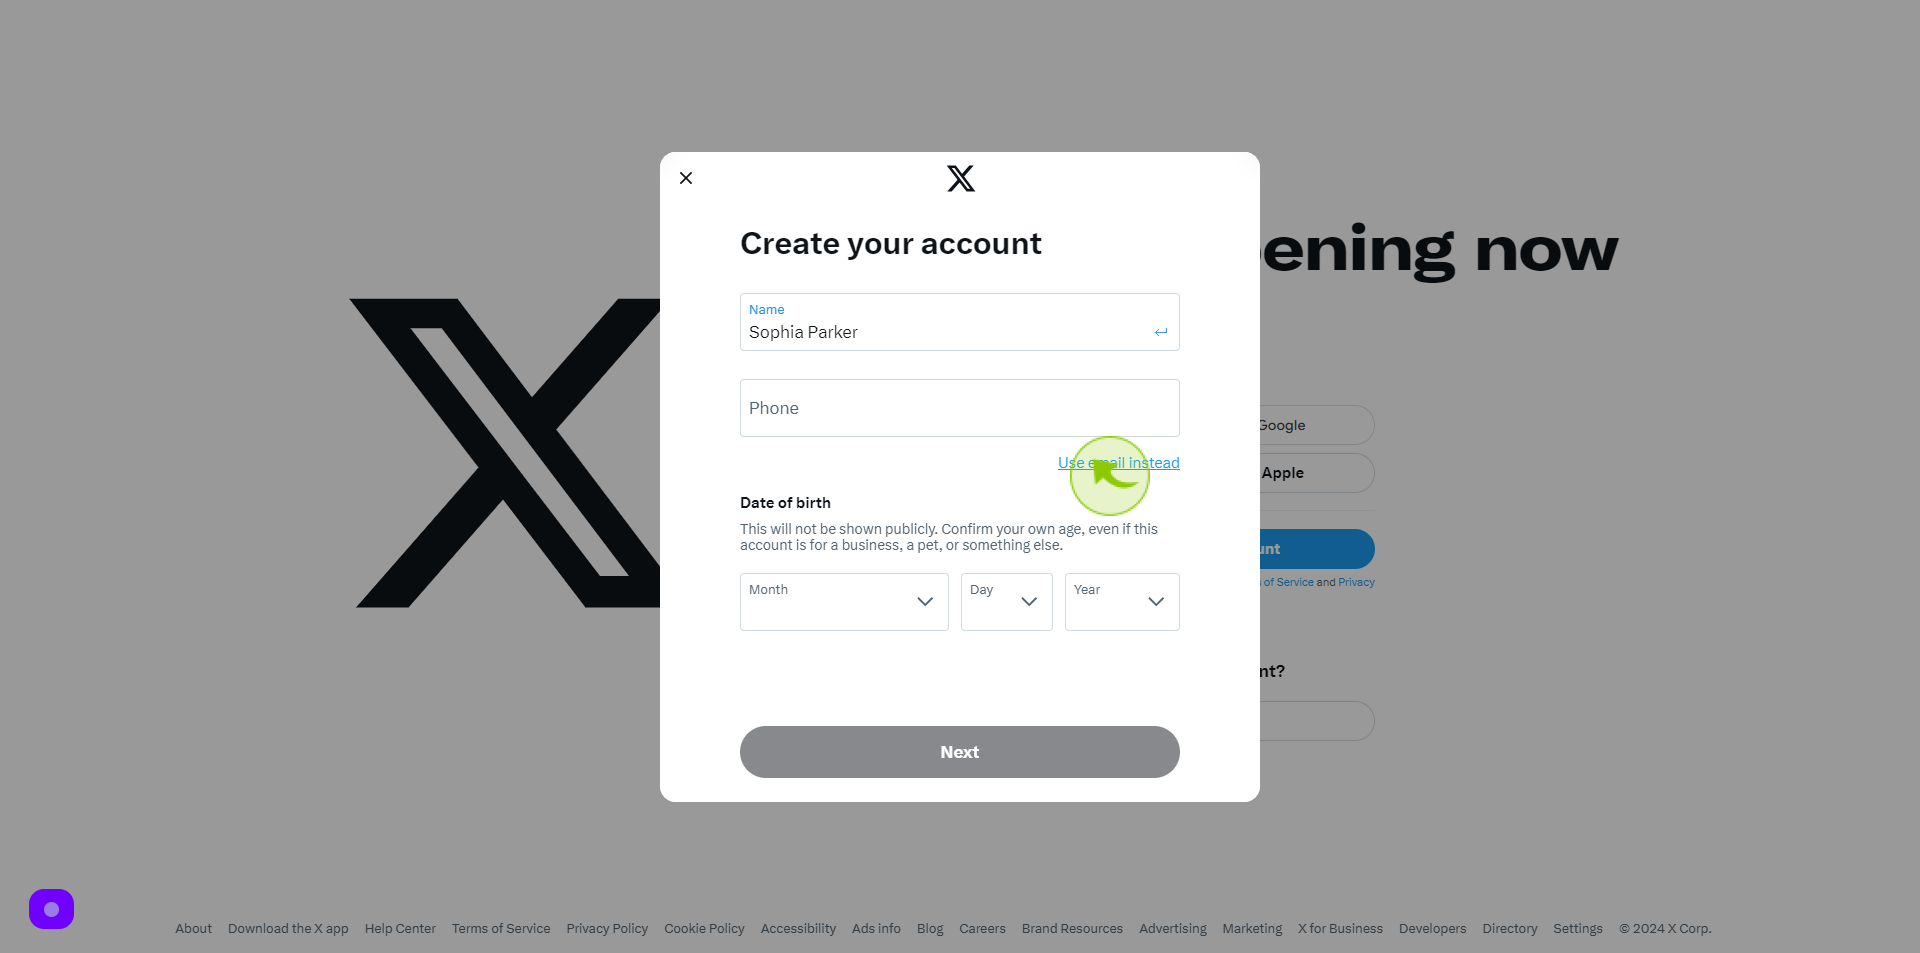
Click "Phone" or "Use email instead"
At this stage, you have the option to continue with your phone number or choose email instead. We are using "Use email instead" option to proceed with creating your account using an email address.
5
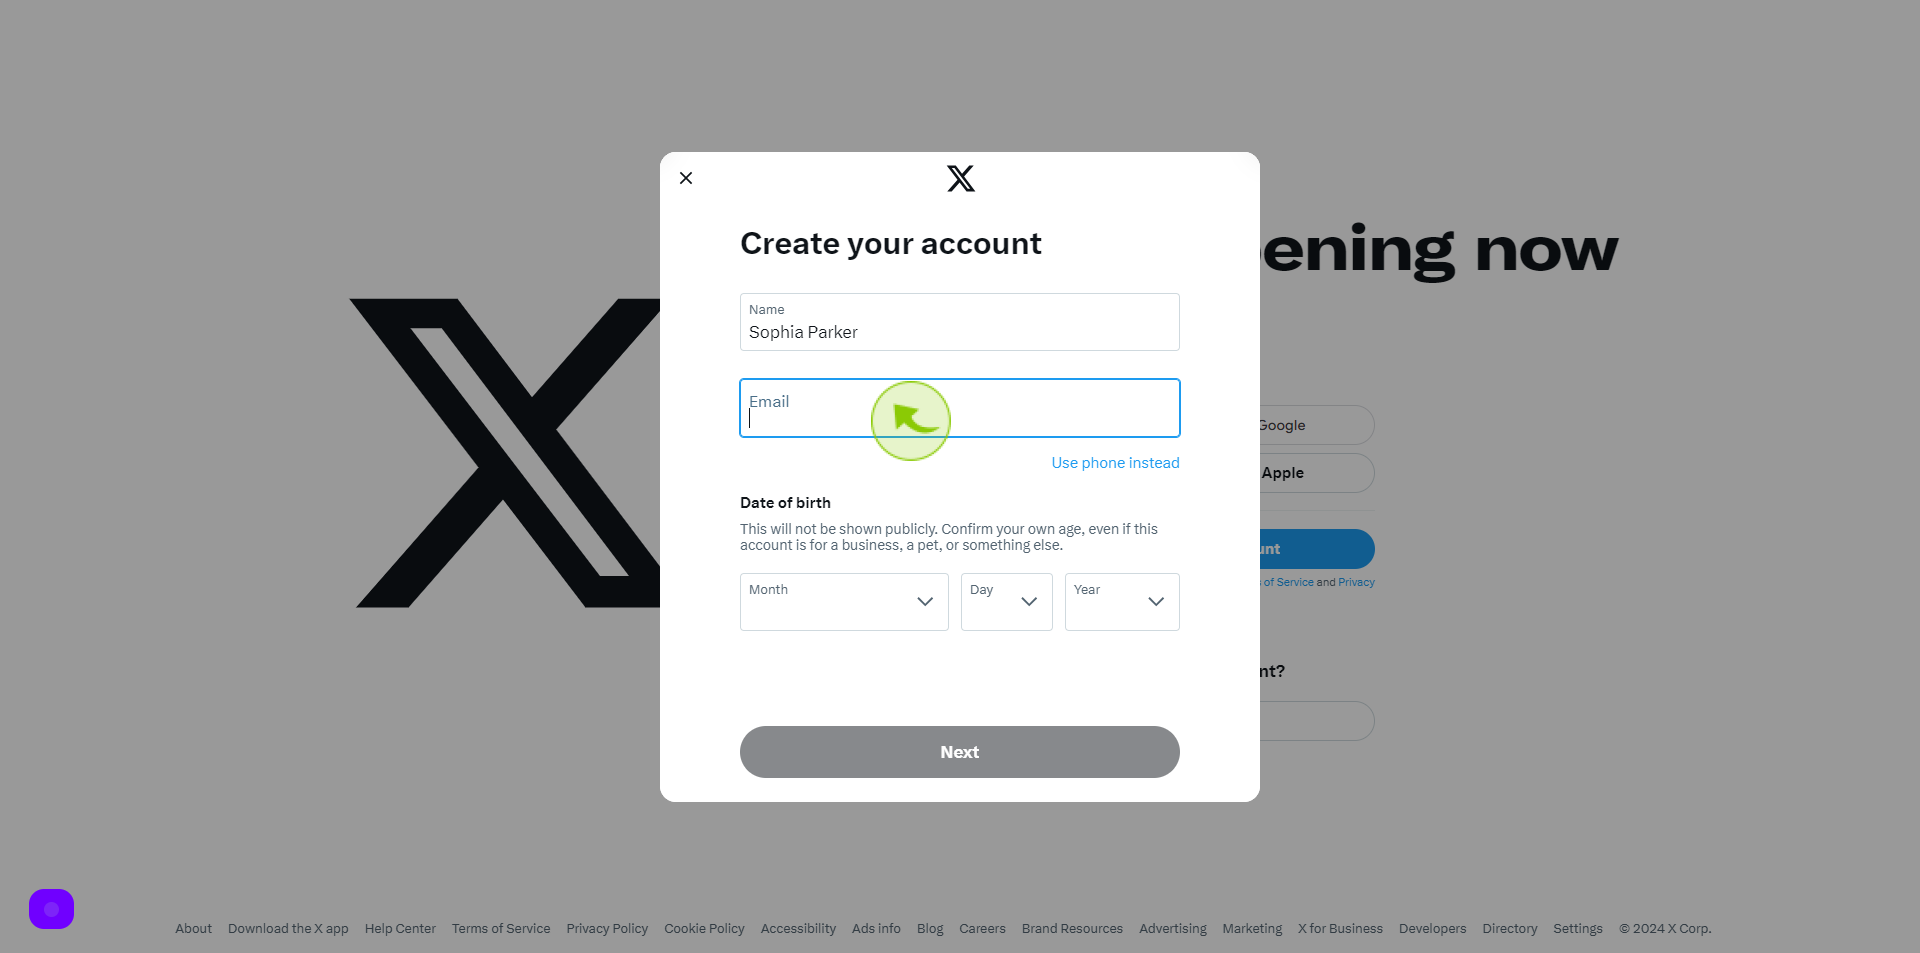
Click the "Email" field.
Enter your email address in the designated field. Make sure to use a valid email address that you have access to as this will be used for account verification and communication from X.
6
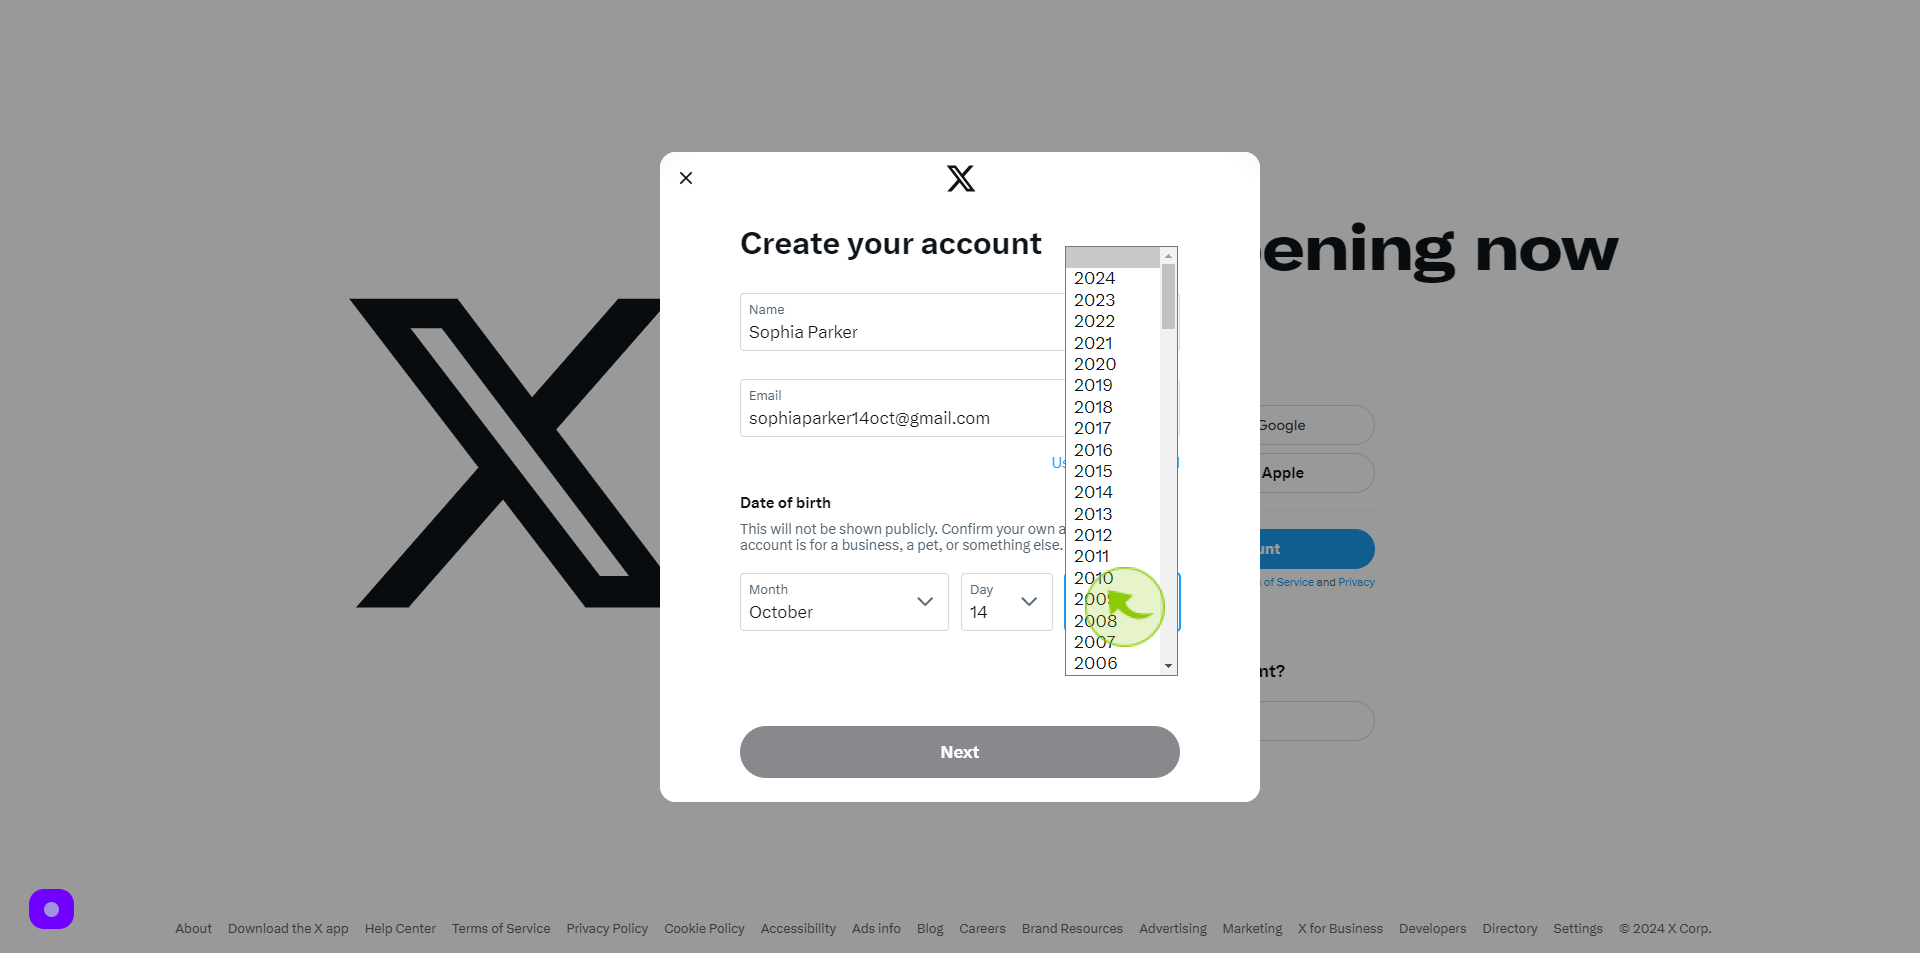
Fill out the "Date of Birth" Section.
Select your date of birth from the drop-down menus provided. This is necessary to confirm that you meet the minimum age requirement for creating a X account.
7
Click "Next".
After completing the necessary information, click on the "Next" button to move forward in the account creation process.

8
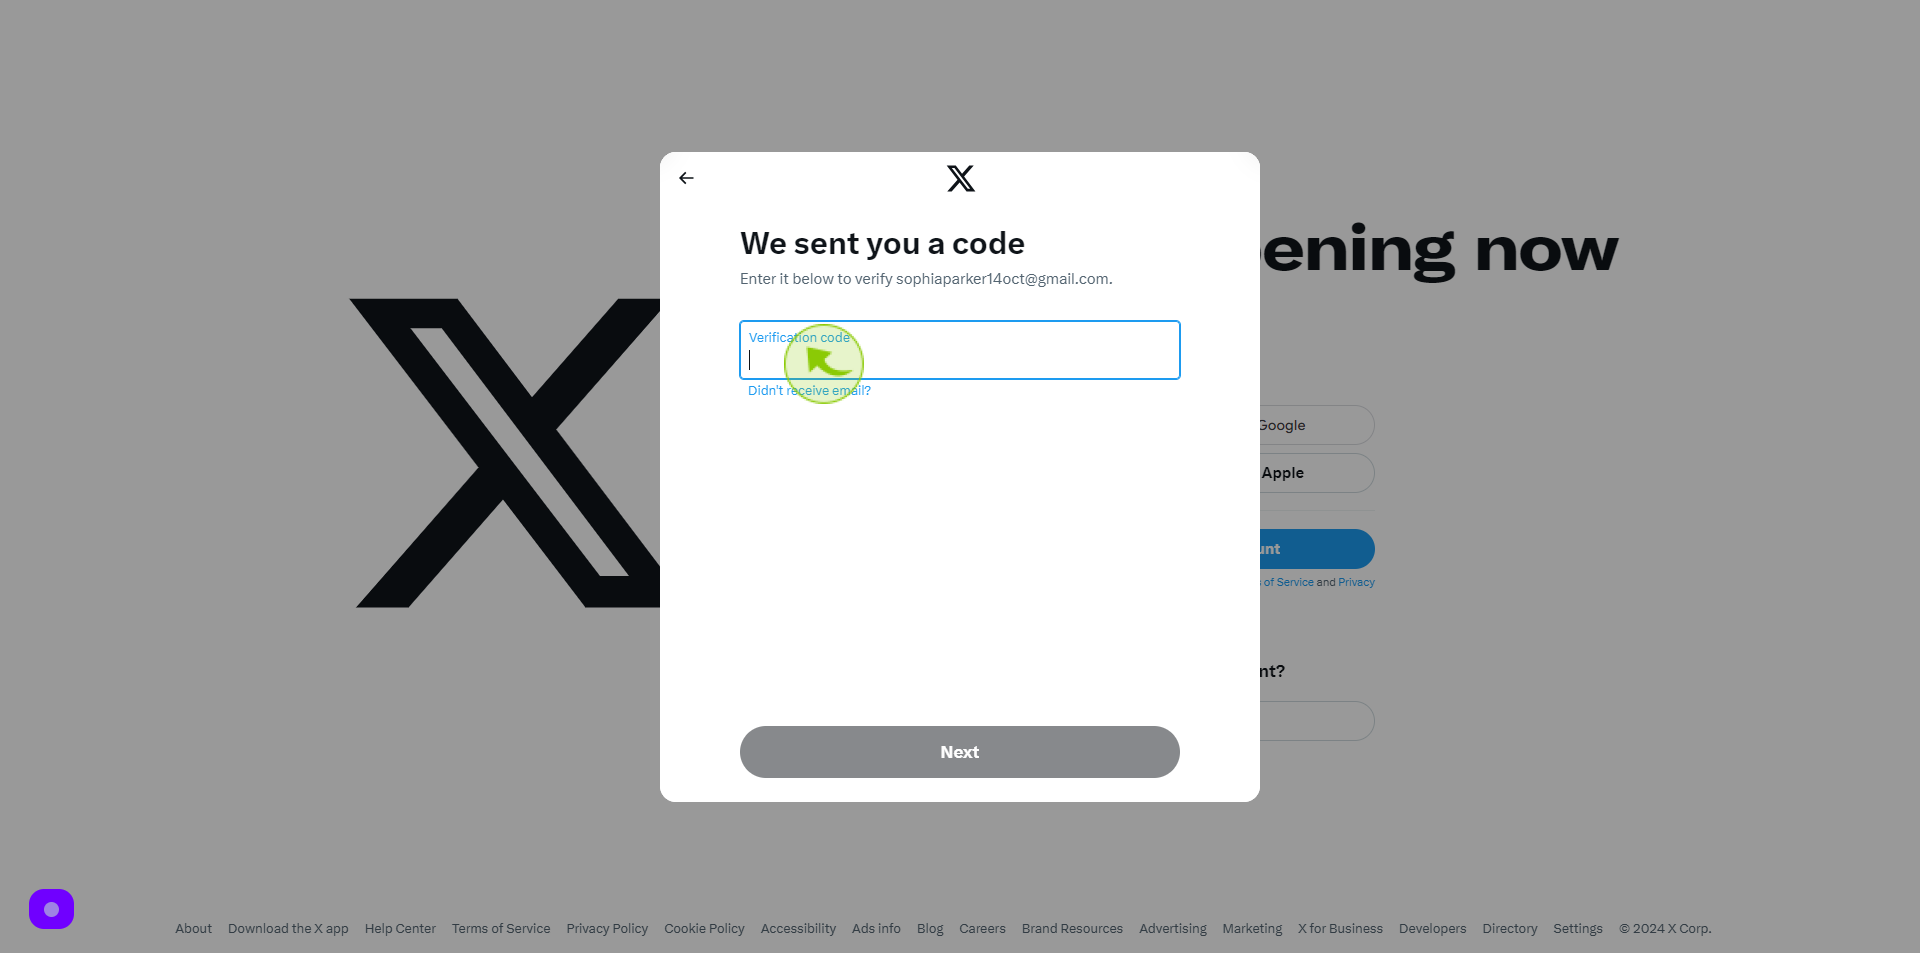
Click the "Verification code" field.
You'll now be prompted to enter the verification code sent to your provided email or phone number. Click on the "Verification code" field to input the code.
9
Enter "Verification code".
Enter the verification code you received and click "Next" to proceed with verifying your account.

10
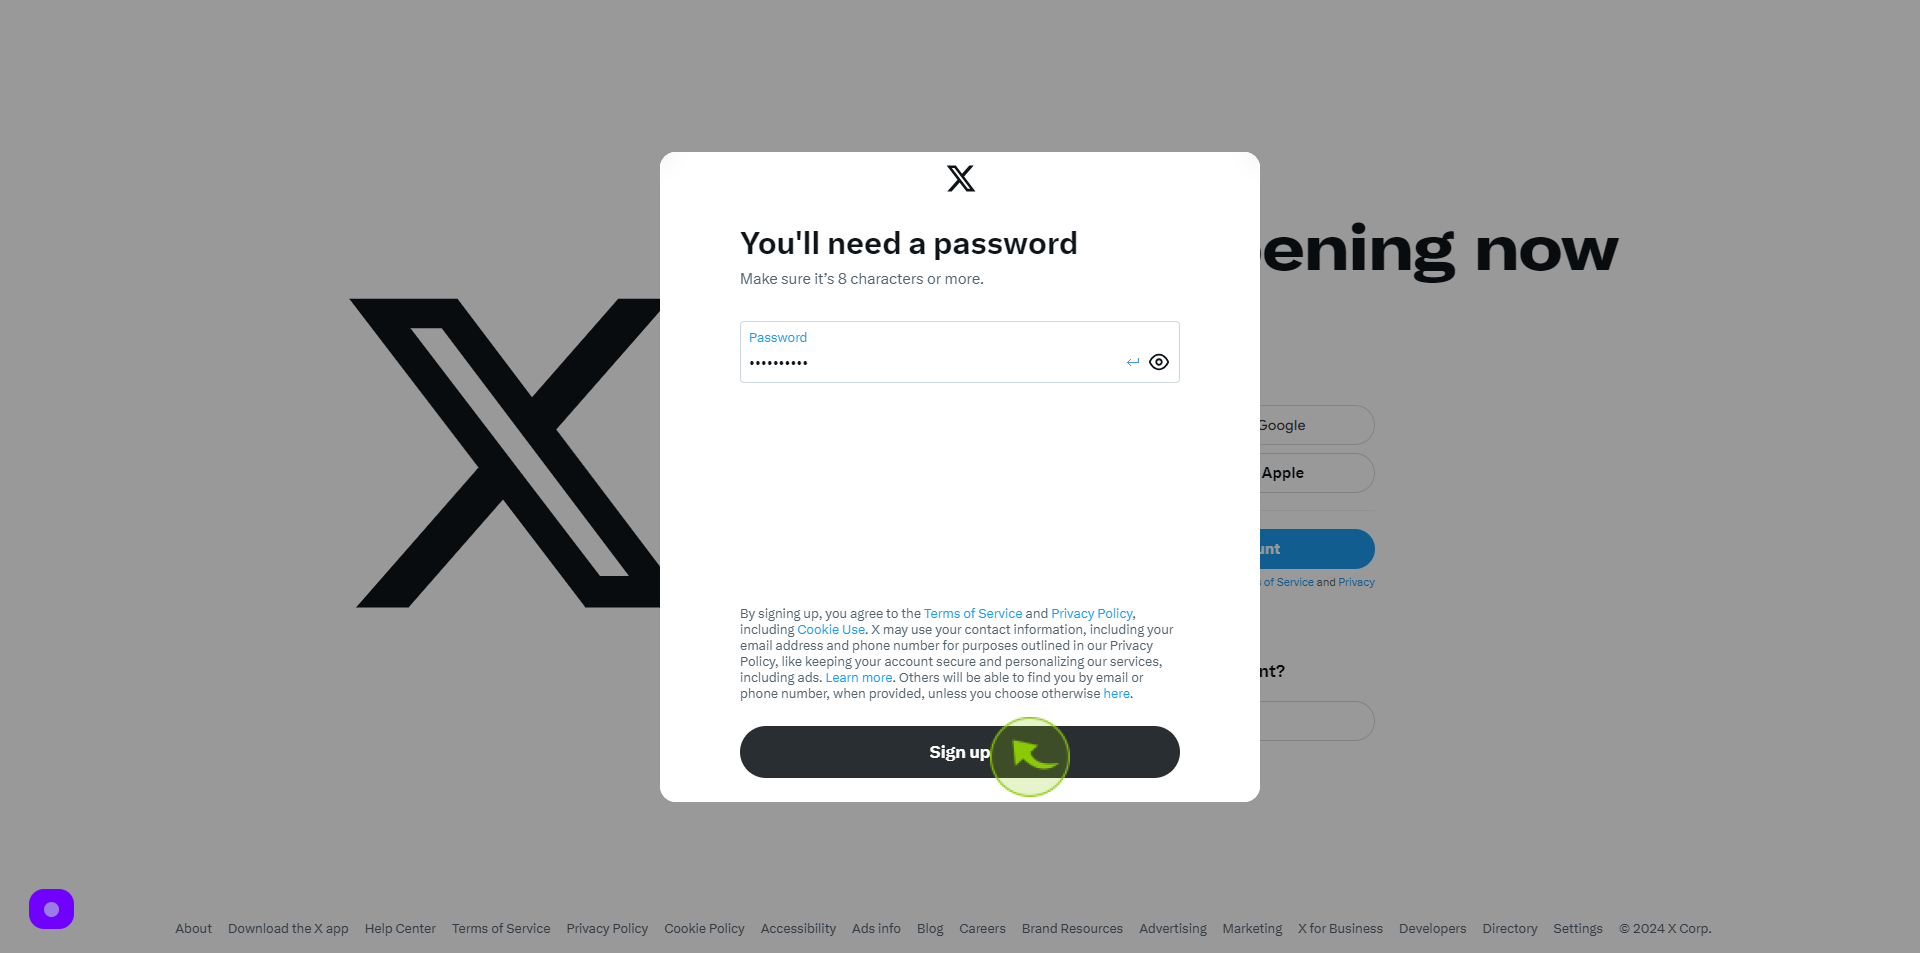
Enter "Password".
Create a password for your X account by entering it into the designated field.
11
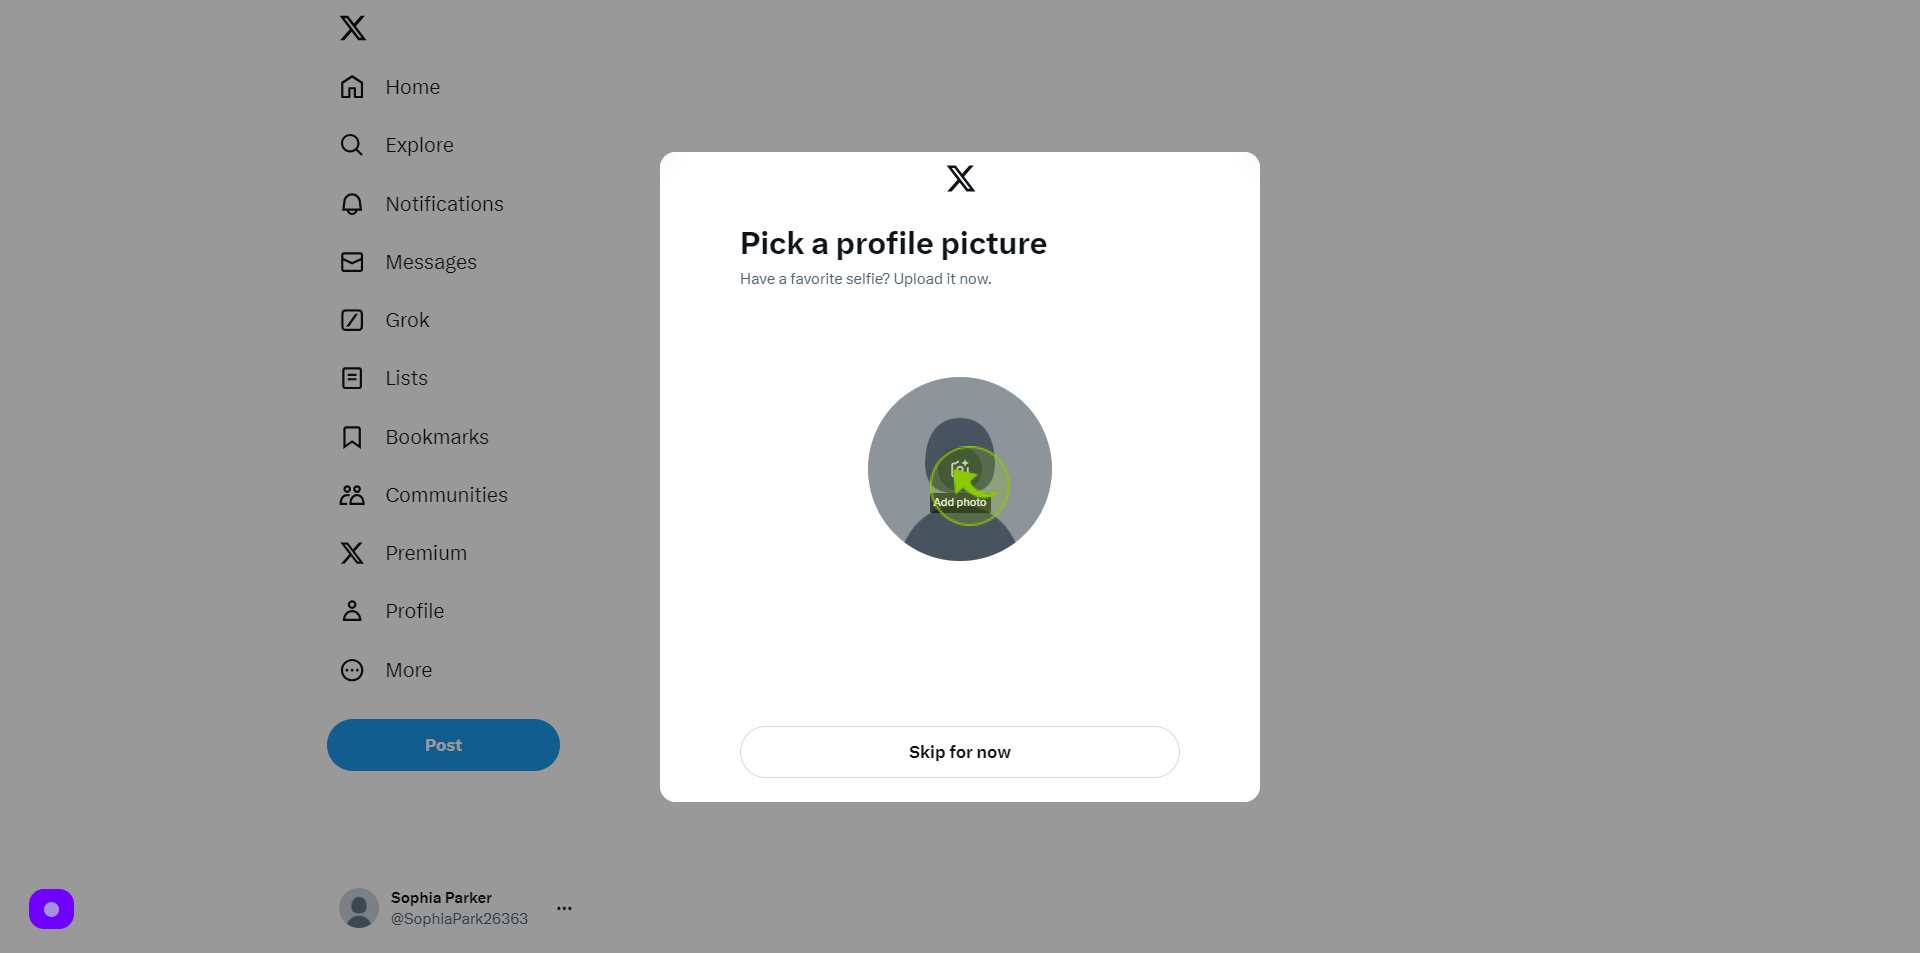
Upload Profile Picture
Optionally, you can upload a profile picture for your account by clicking on the respective button and selecting an image from your device.
12
Click "Next"
Click on the "Next" button to continue.

13
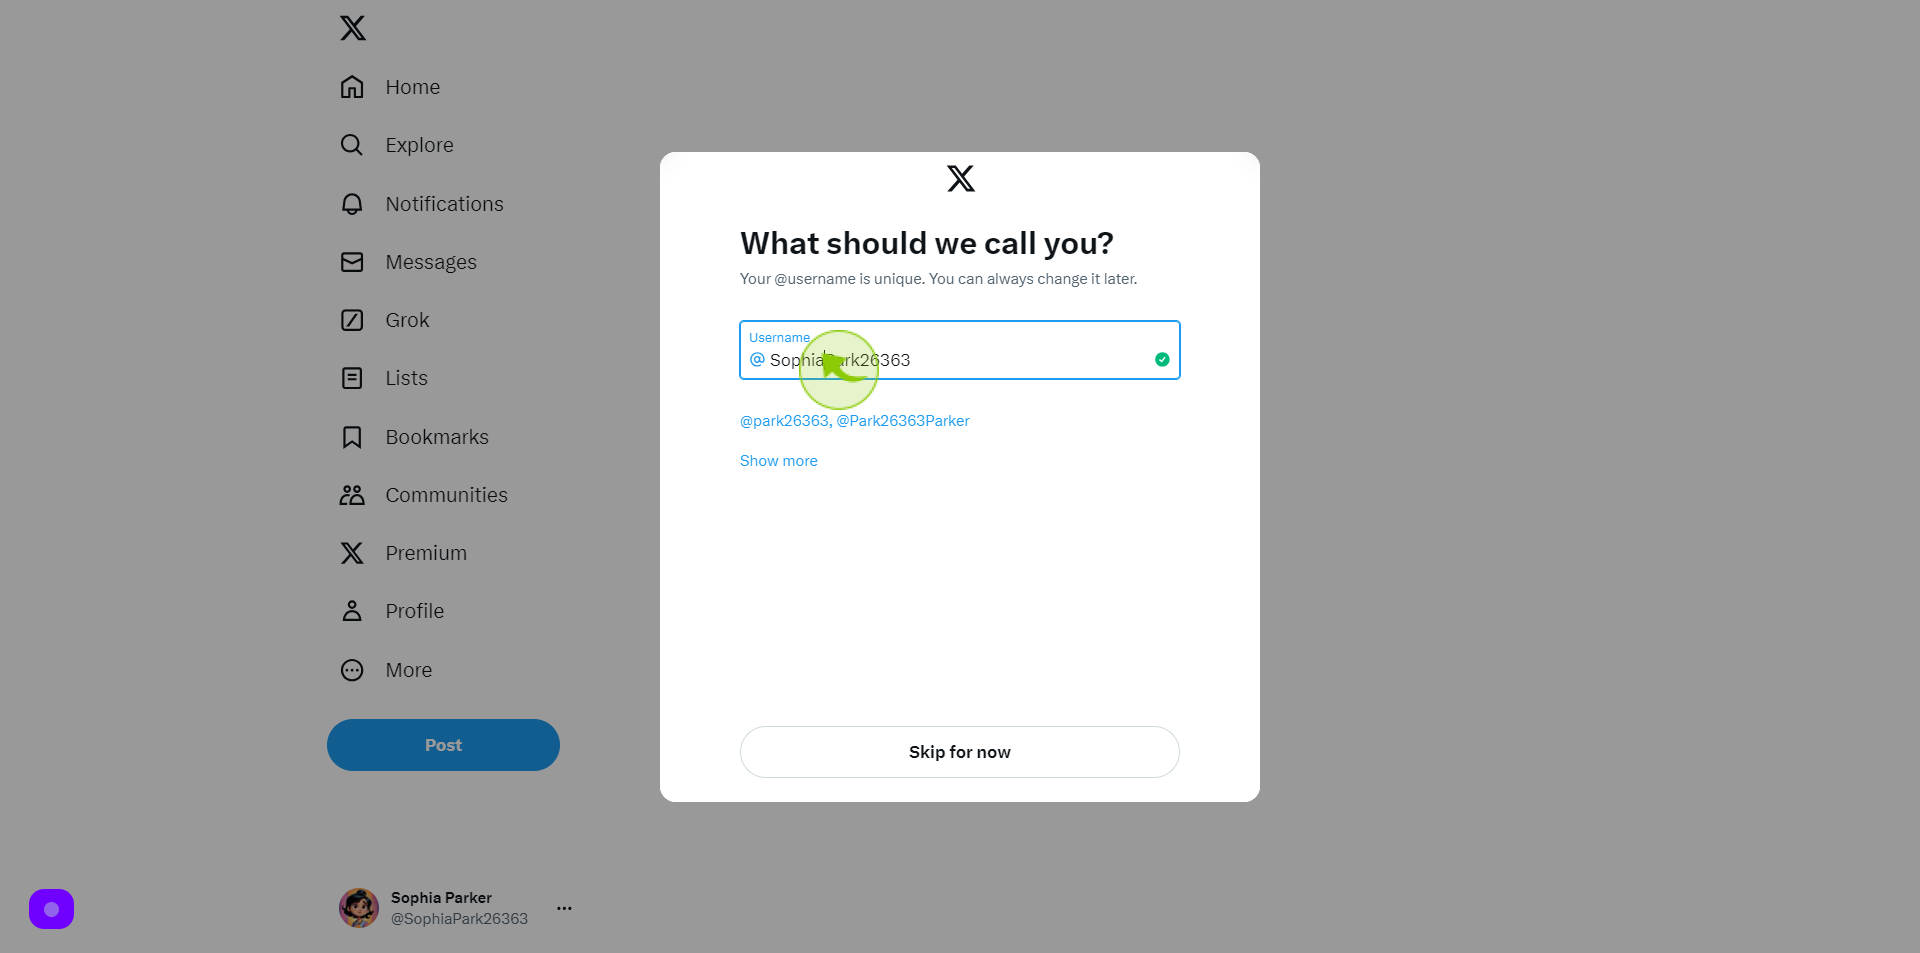
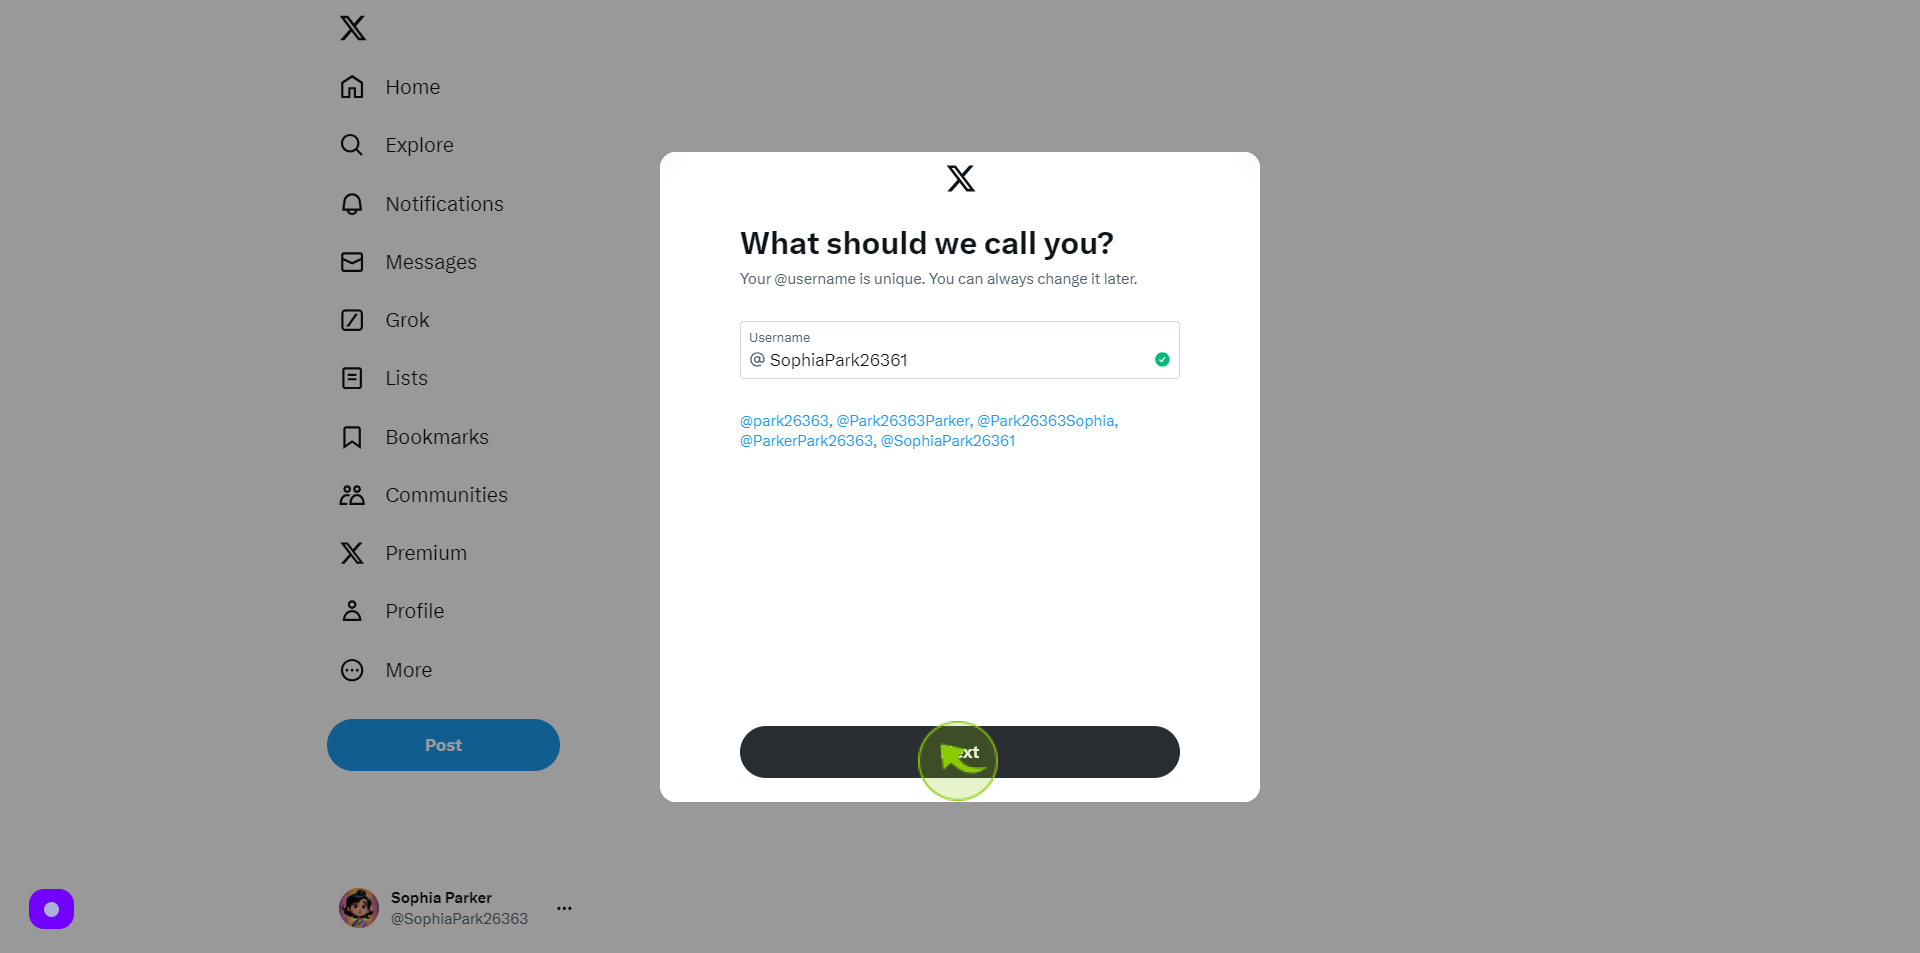
Click the "Username" field.
Enter a unique username for your X account. This will be the name that other users will use to mention or tag you on X.
14
Click "Next" to Continue.
Once you've chosen your username, click on the "Next" button to proceed.
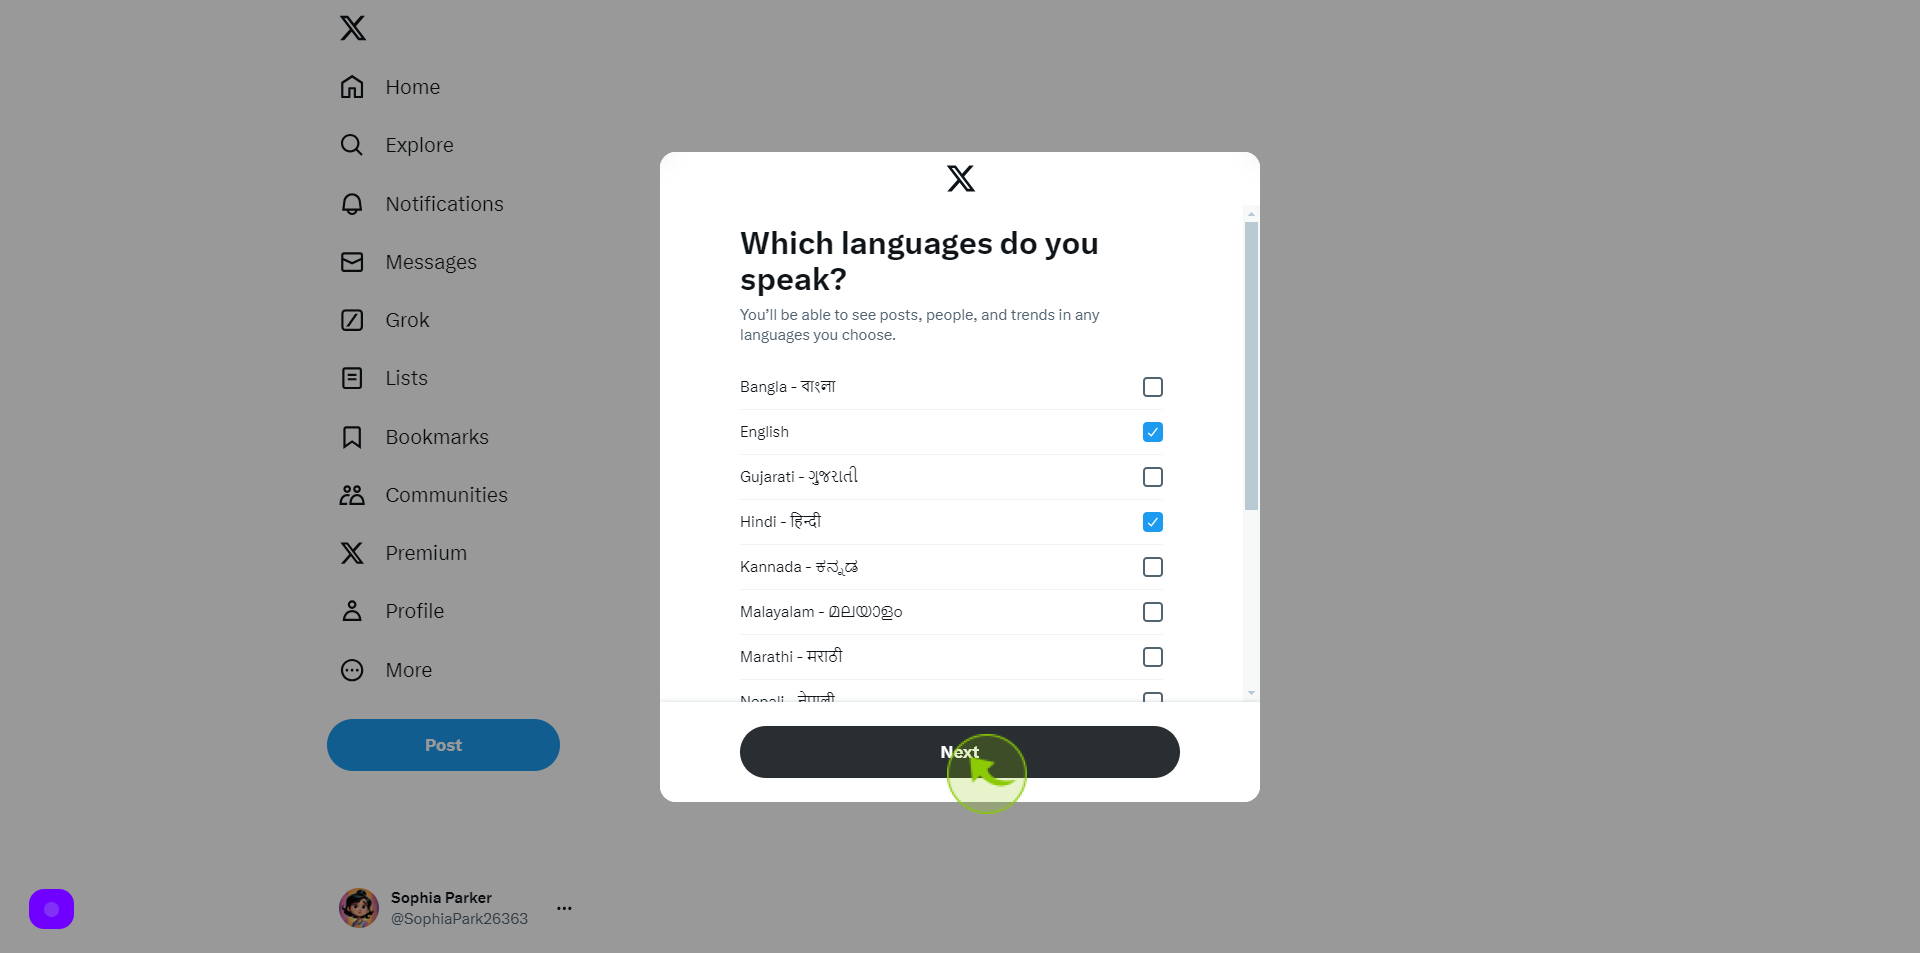
15
Choose Preferred Language.
Select your preferred language(s) from the options provided. This will customize your Twitter experience to display content in the language(s) you select, and Click on "Next"
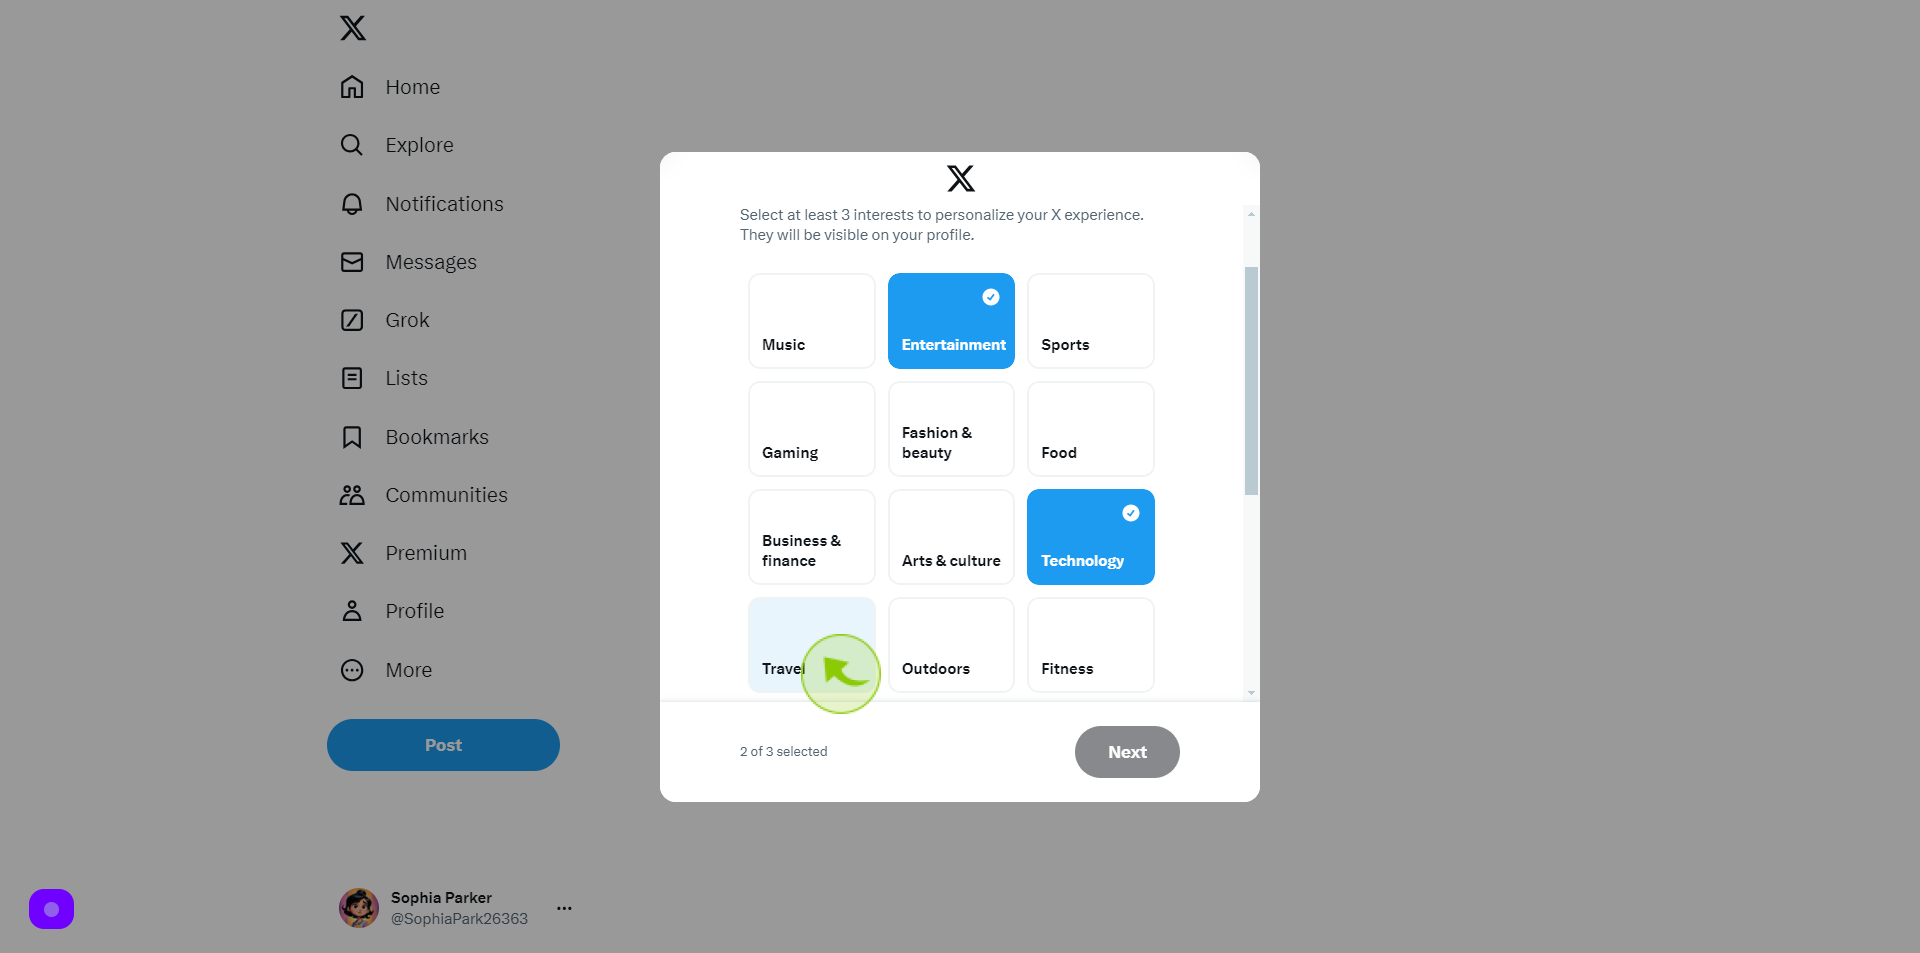
16
Choose your Interest.
Select at least three interests from the list provided to personalize your X experience. This will help X suggest relevant content and accounts for you to follow.
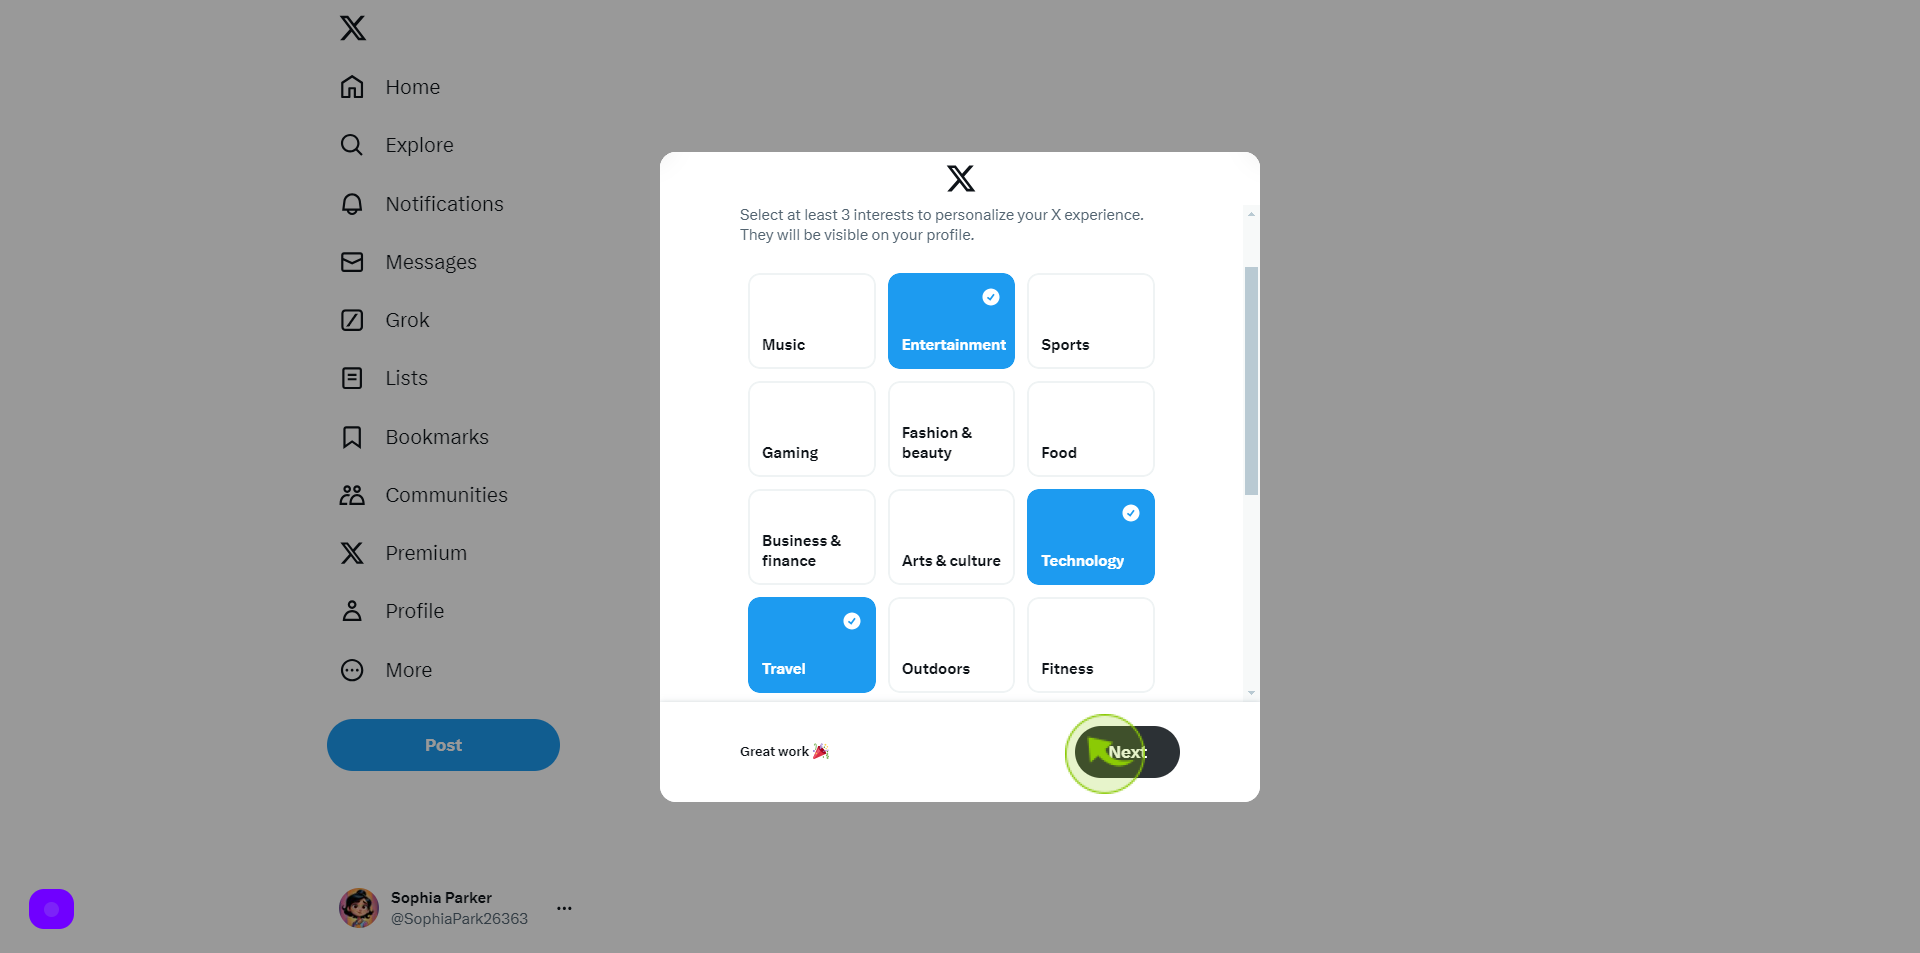
17
Click "Next" to Continue.
After selecting your interests, click on the "Next" button to continue.
18
Click "Follow"
Follow any accounts that interest you by clicking on the "Follow" button next to their names. You can search for specific accounts or browse suggested accounts based on your interests.
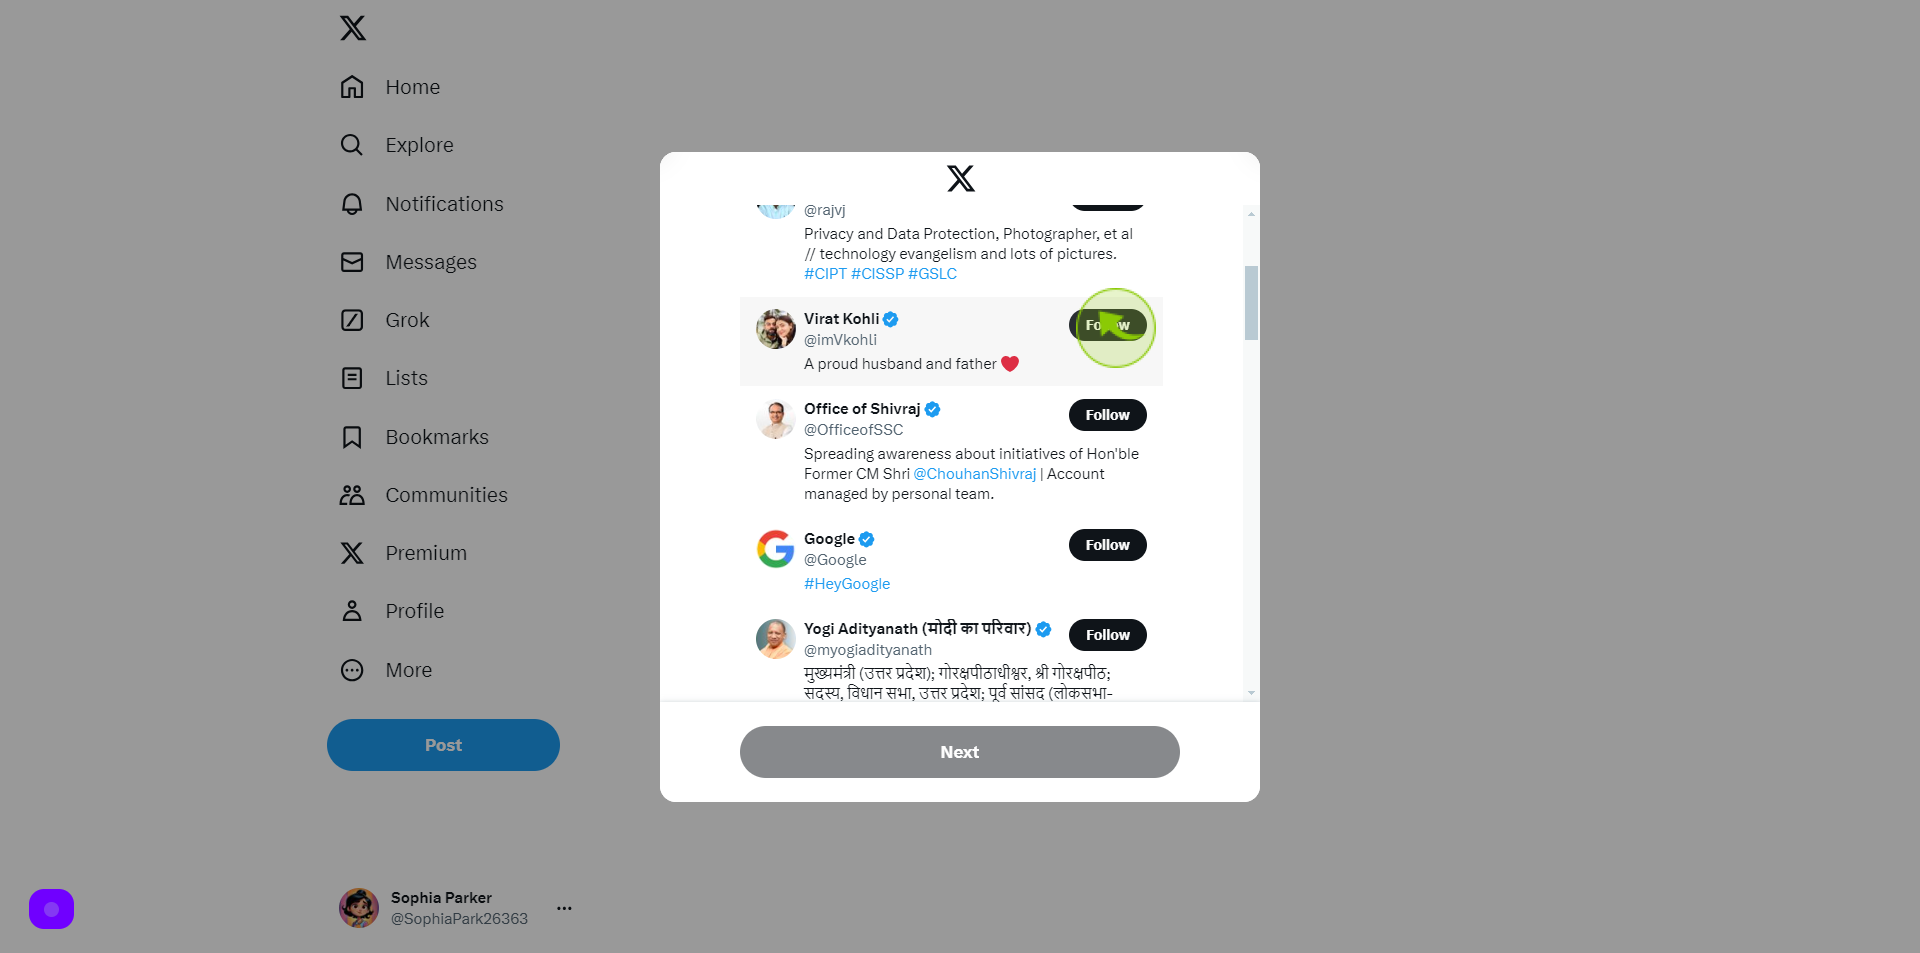
19
Click "Next"
Once you've finished following accounts, click on the "Next" button to complete the account creation process. Your X account is now created, and you can start exploring and interacting with content on the platform.

