How to Create Purchase Google Ads Conversion Action and Installing it in Google Tag Manager ?
|
 ads.google
|
ads.google
|
Jul 18, 2024
|
46 Steps
Learn how to track valuable purchase actions on your website with Google Ads Conversion Tracking. This document will walk you through the step-by-step process of creating a purchase conversion action in Google Ads and then installing it in Google Tag Manager. You'll discover how to set up triggers and variables to ensure accurate tracking of your conversions. By following these instructions, you can gain valuable insights into your advertising campaigns and optimize your marketing efforts.
How to Create Purchase Google Ads Conversion Action and Installing it in Google Tag Manager ?
|
ads.google
|
46 Steps

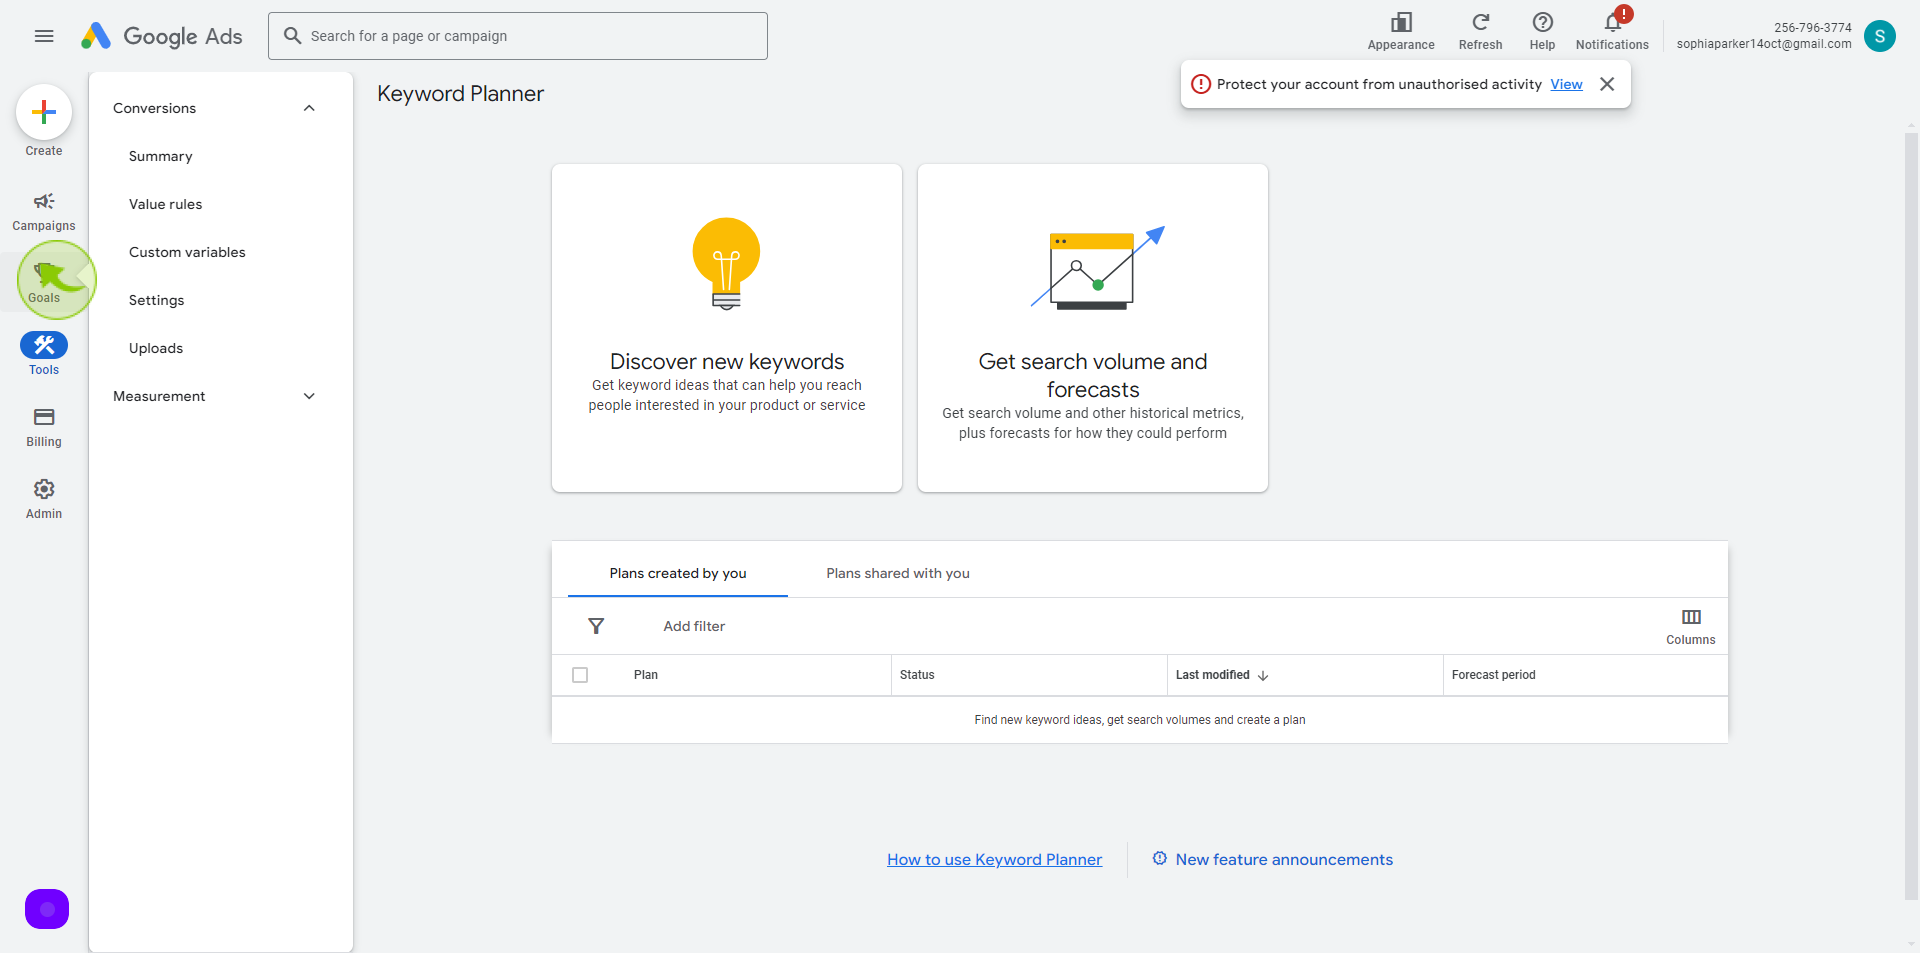
1
Navigate to https://ads.google.com/aw/keywordplanner/home?
2
Click on "Goals"
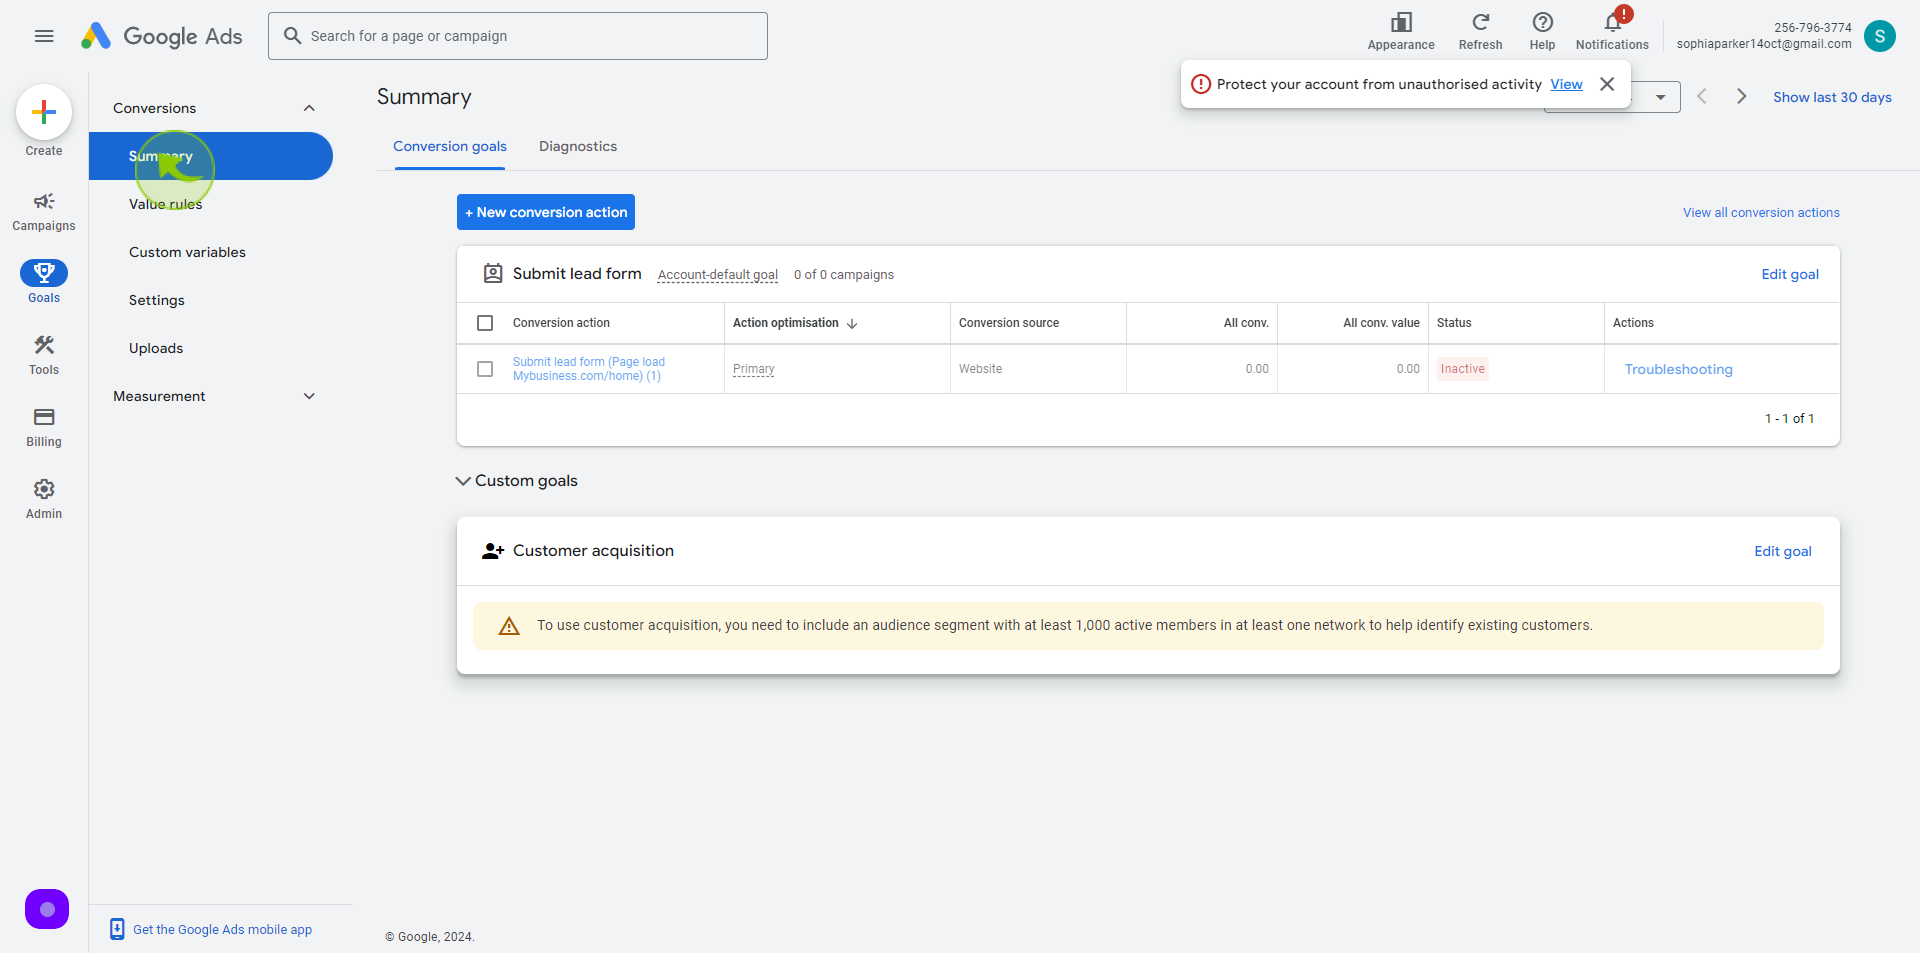
3
Click on "Summary"
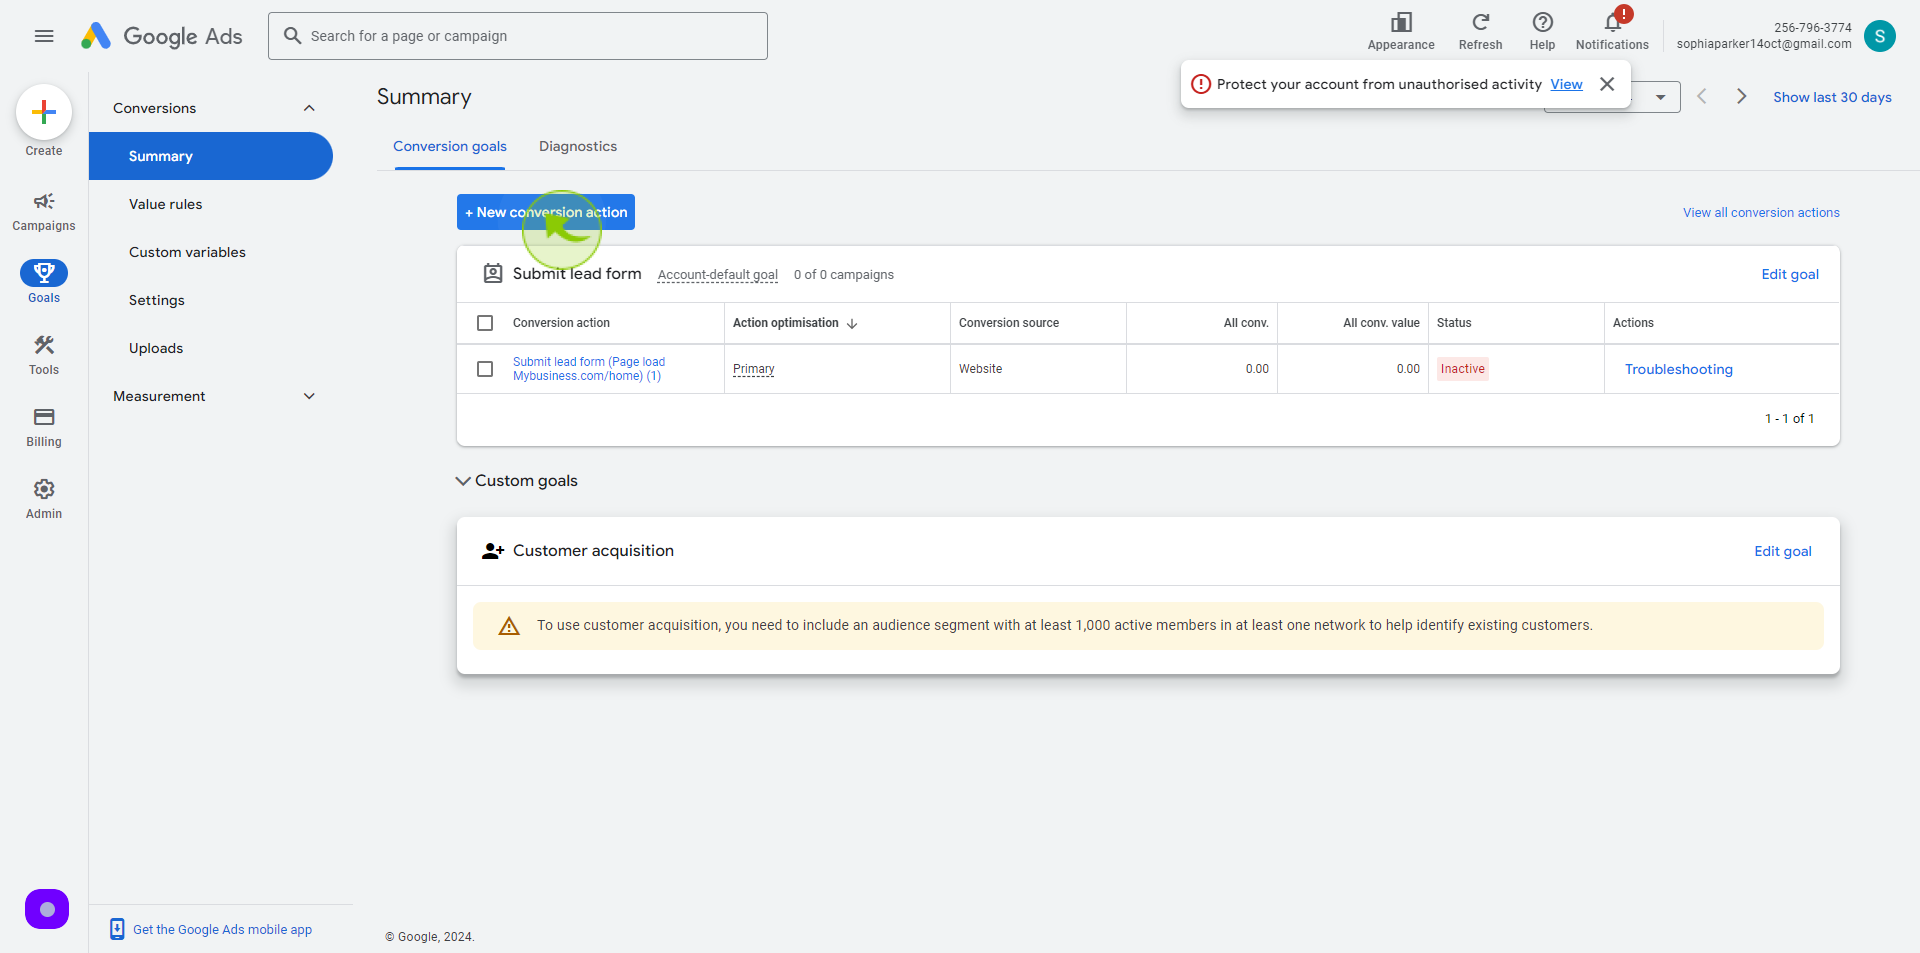
4
Click the "New Conversion Action"
5
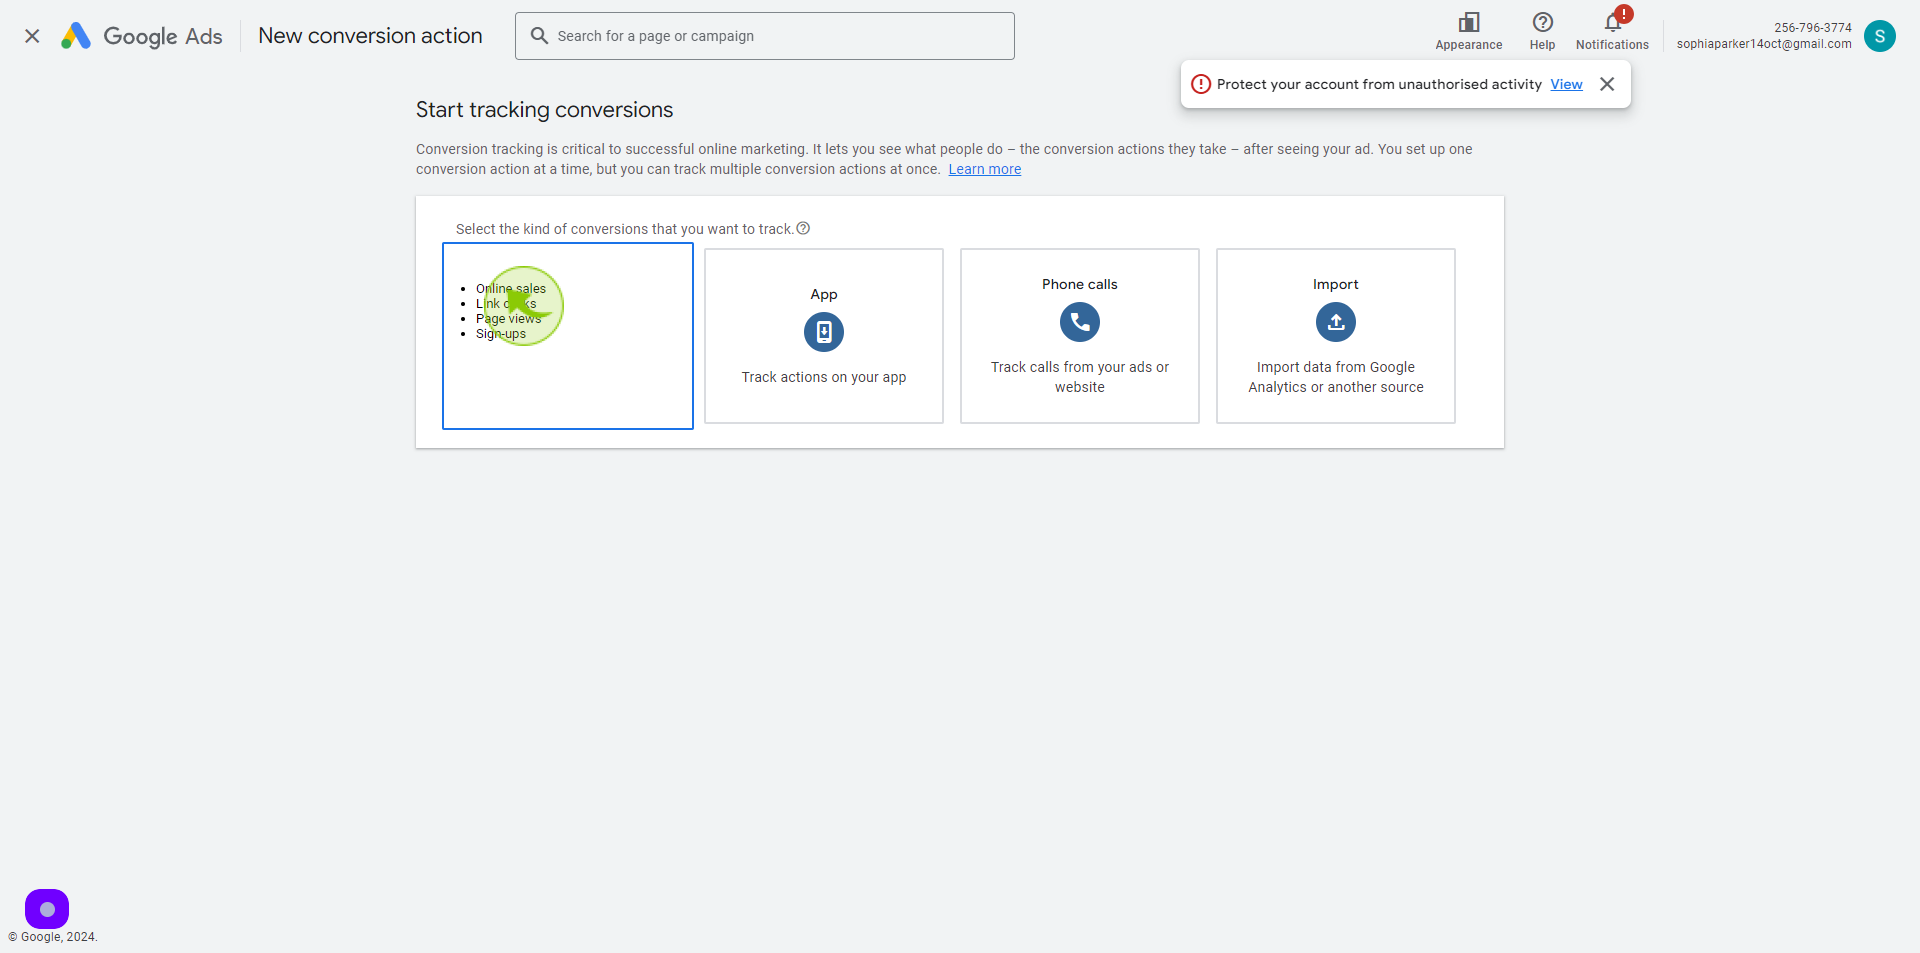
Select "Website: Track actions on your website"
6
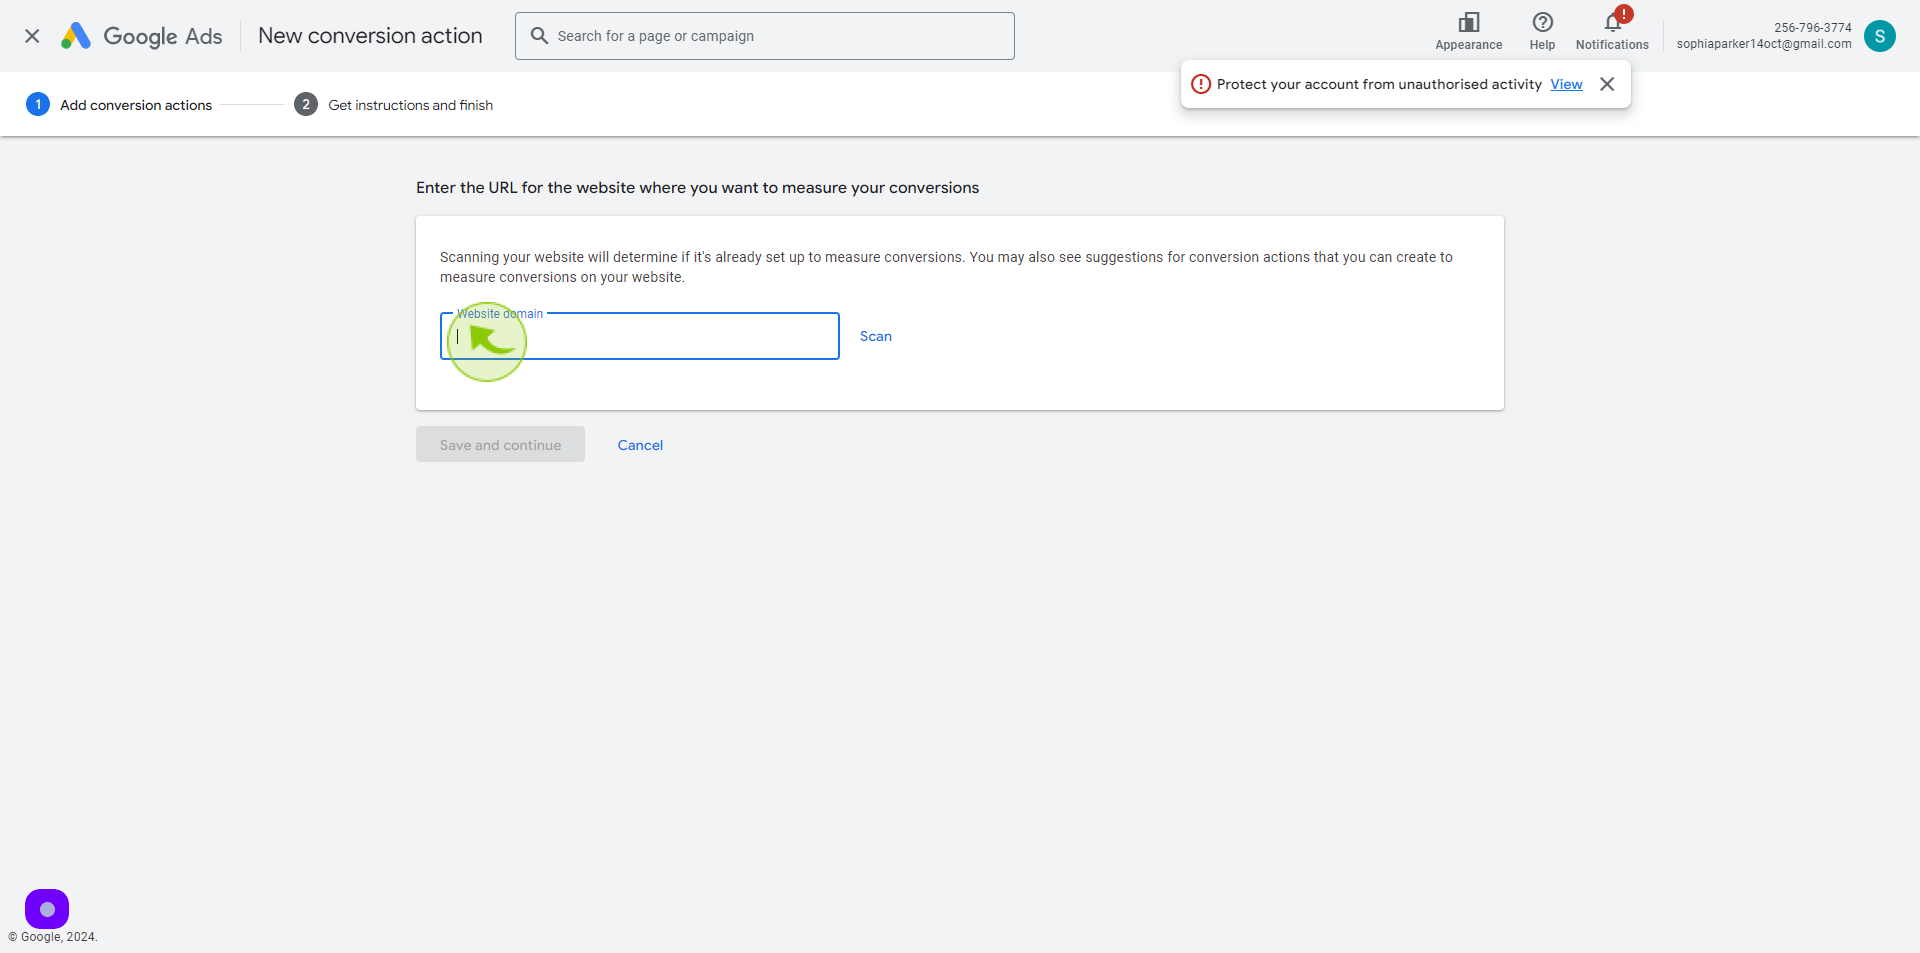
Click the "Website Domain" field.
Enter the website URL on the text field
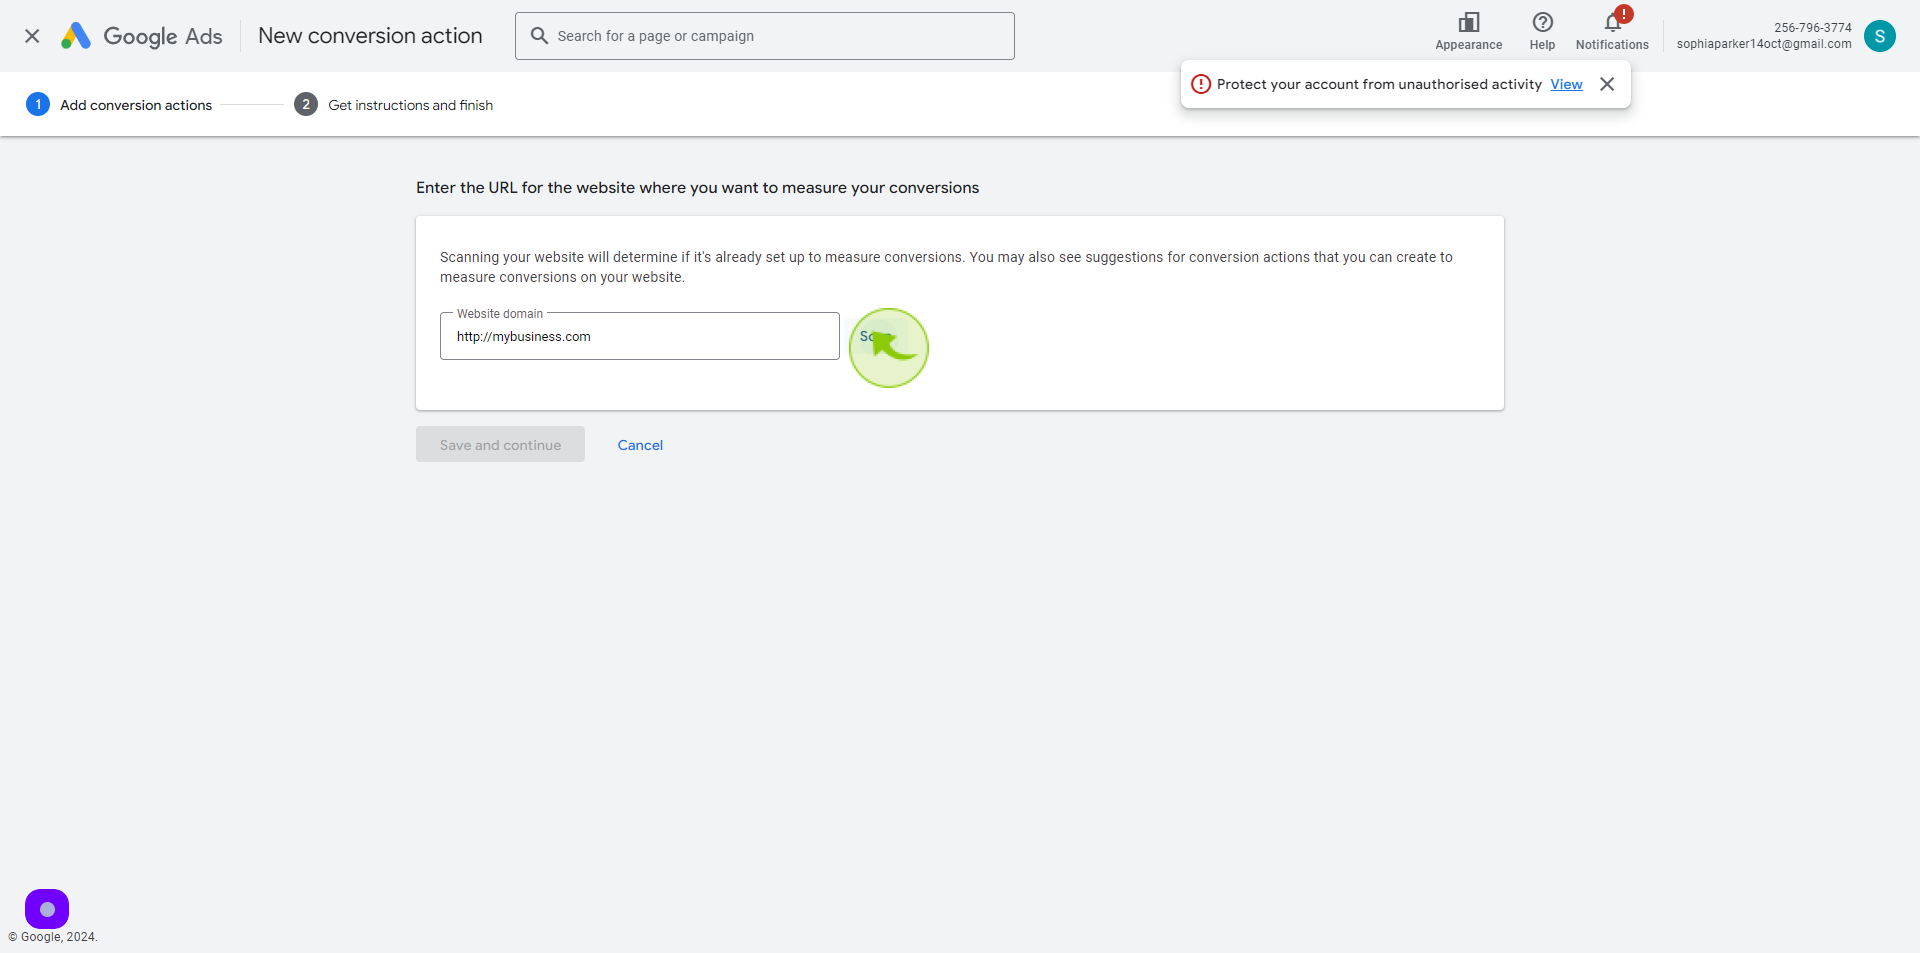
7
Click on "Scan"
8
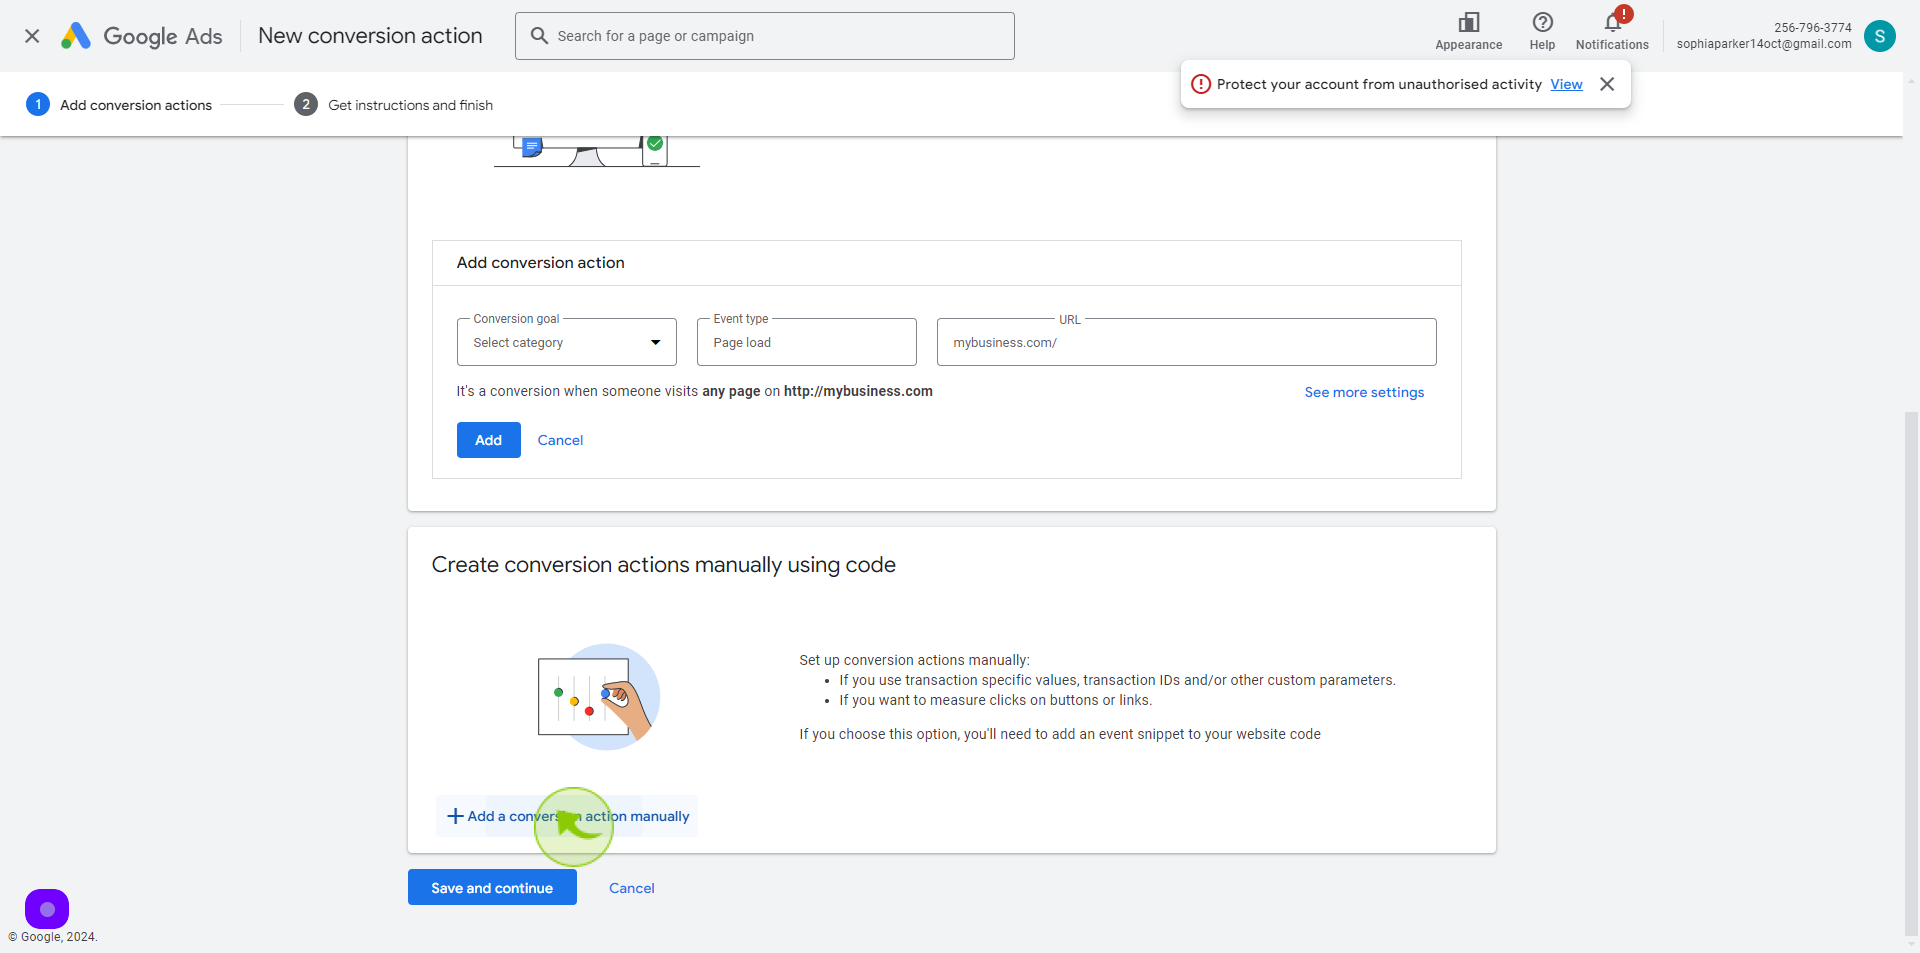
Click "Add a Conversion Action Manually"
9
Click on "Select Category" tab
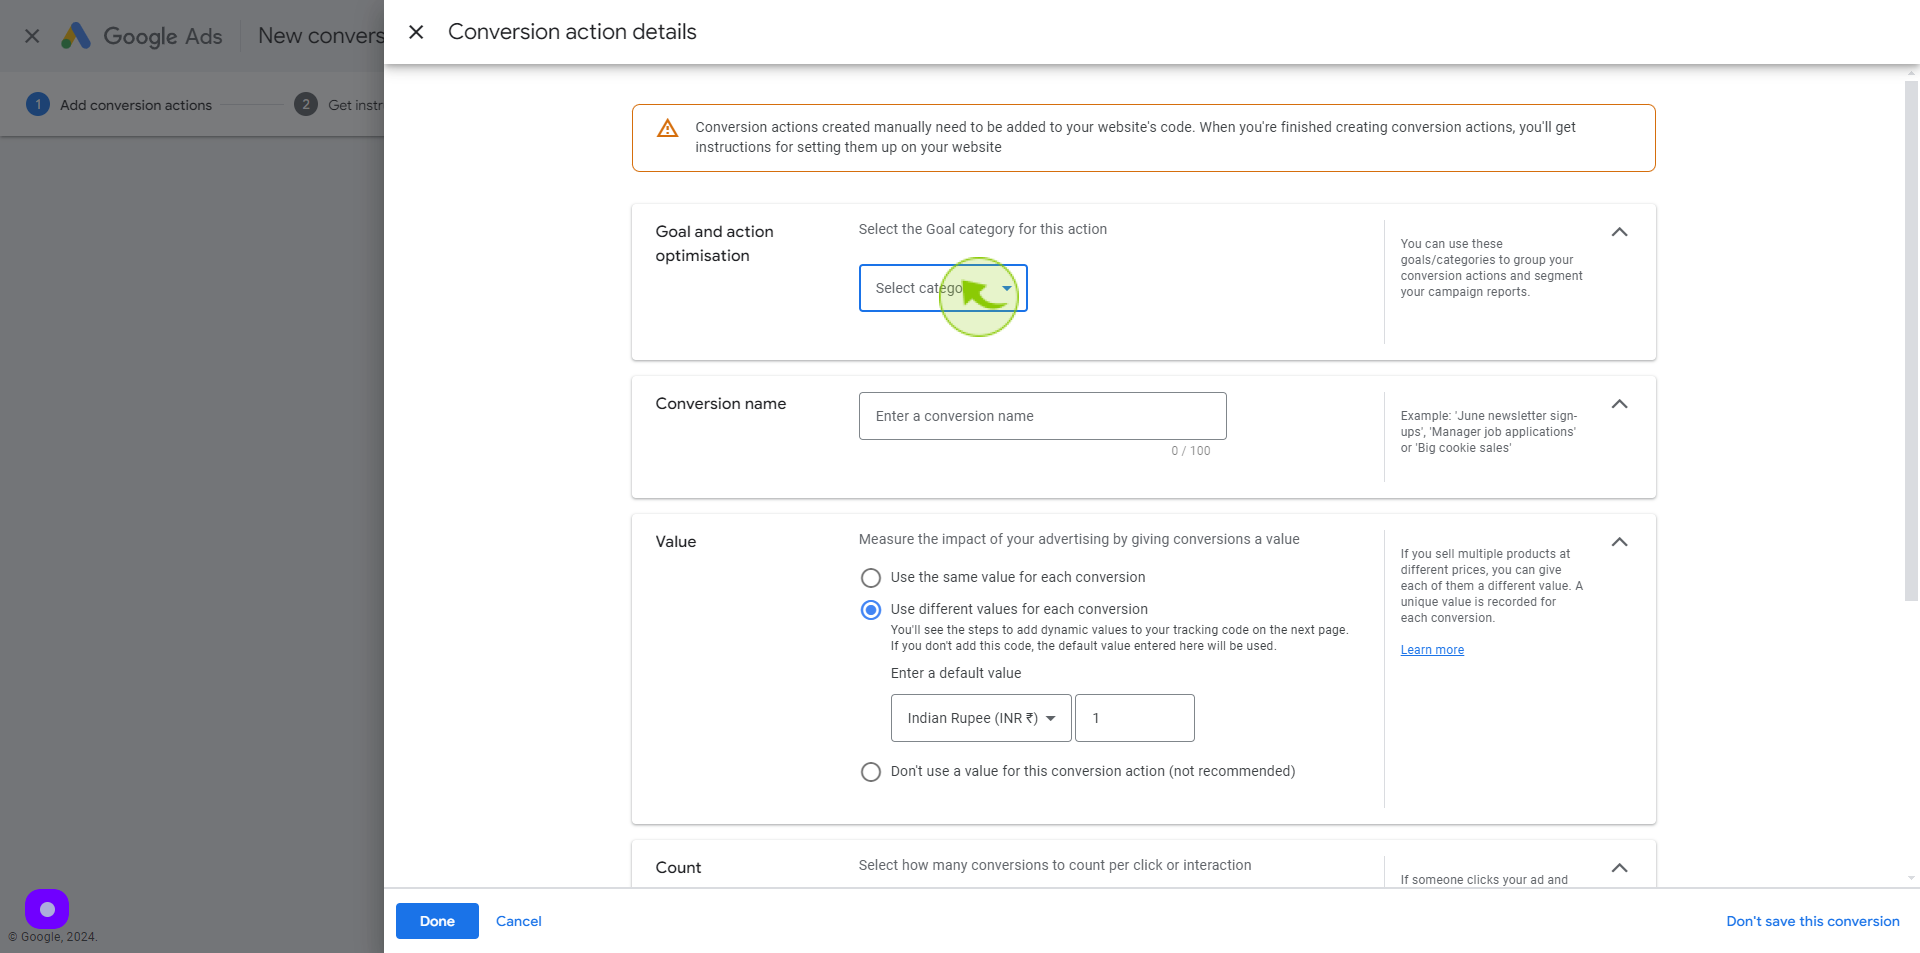
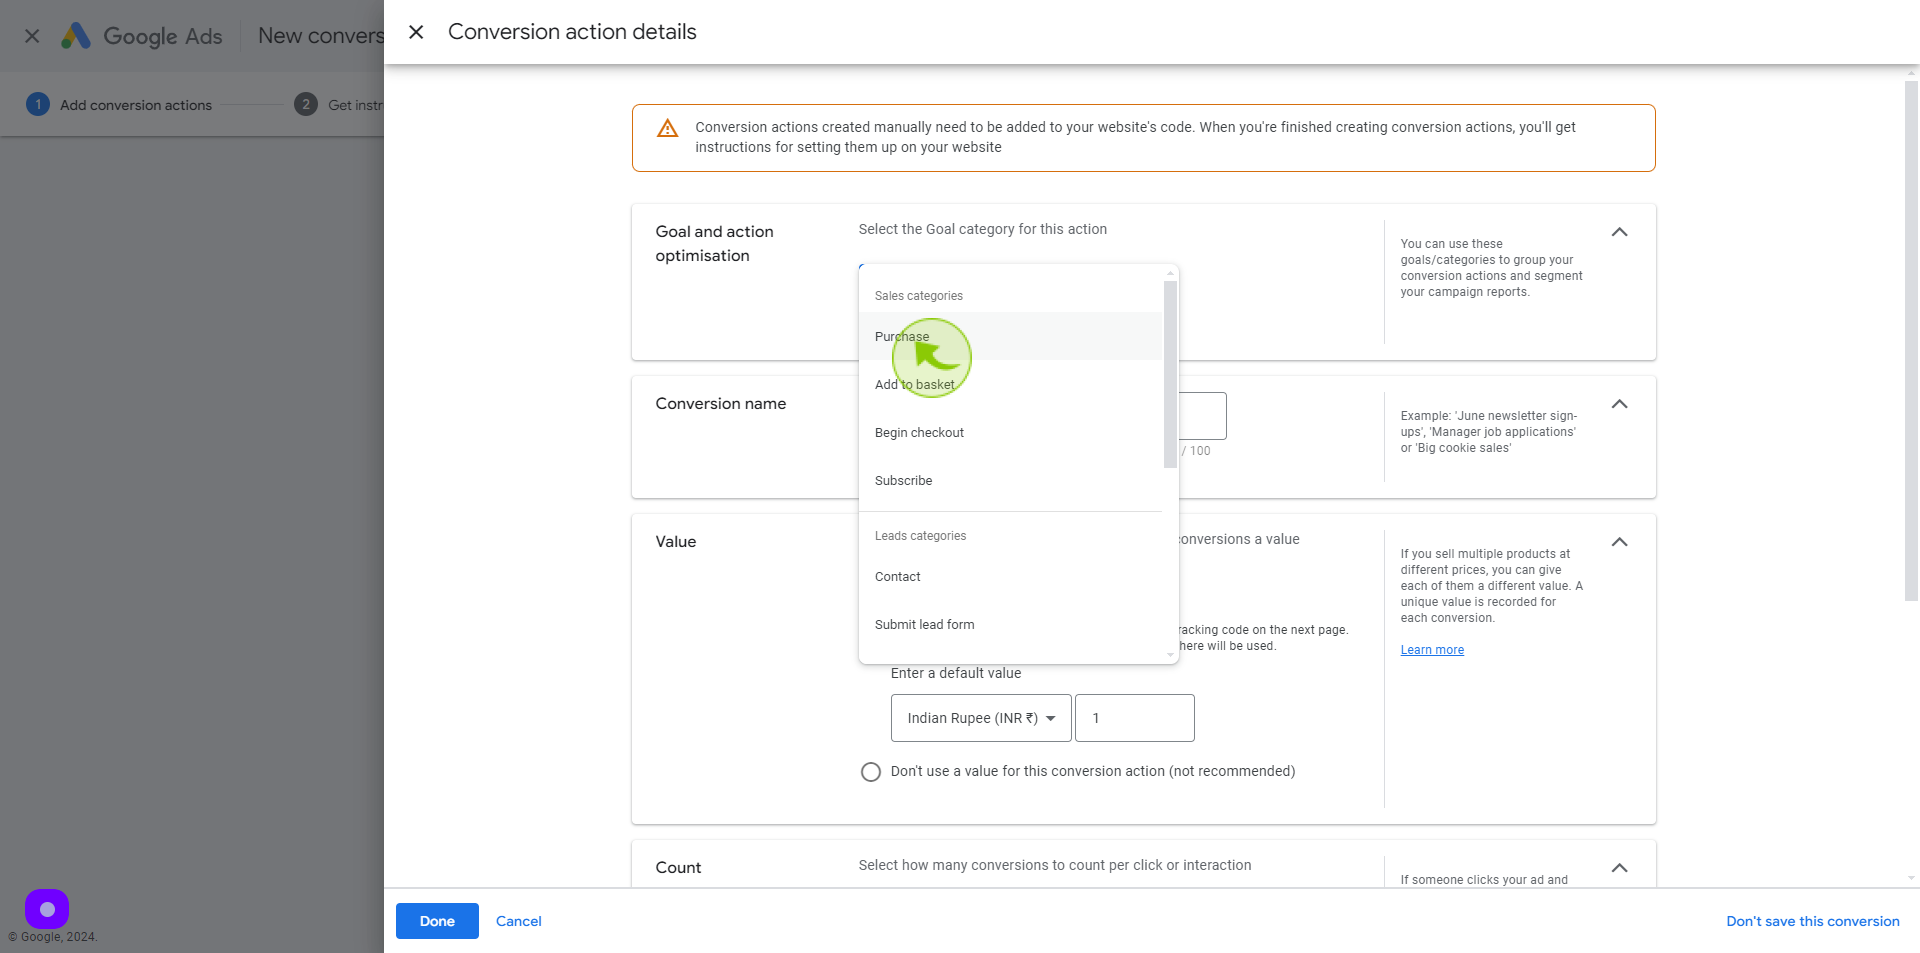
10
Select "Purchase" on the Dropdown Menu
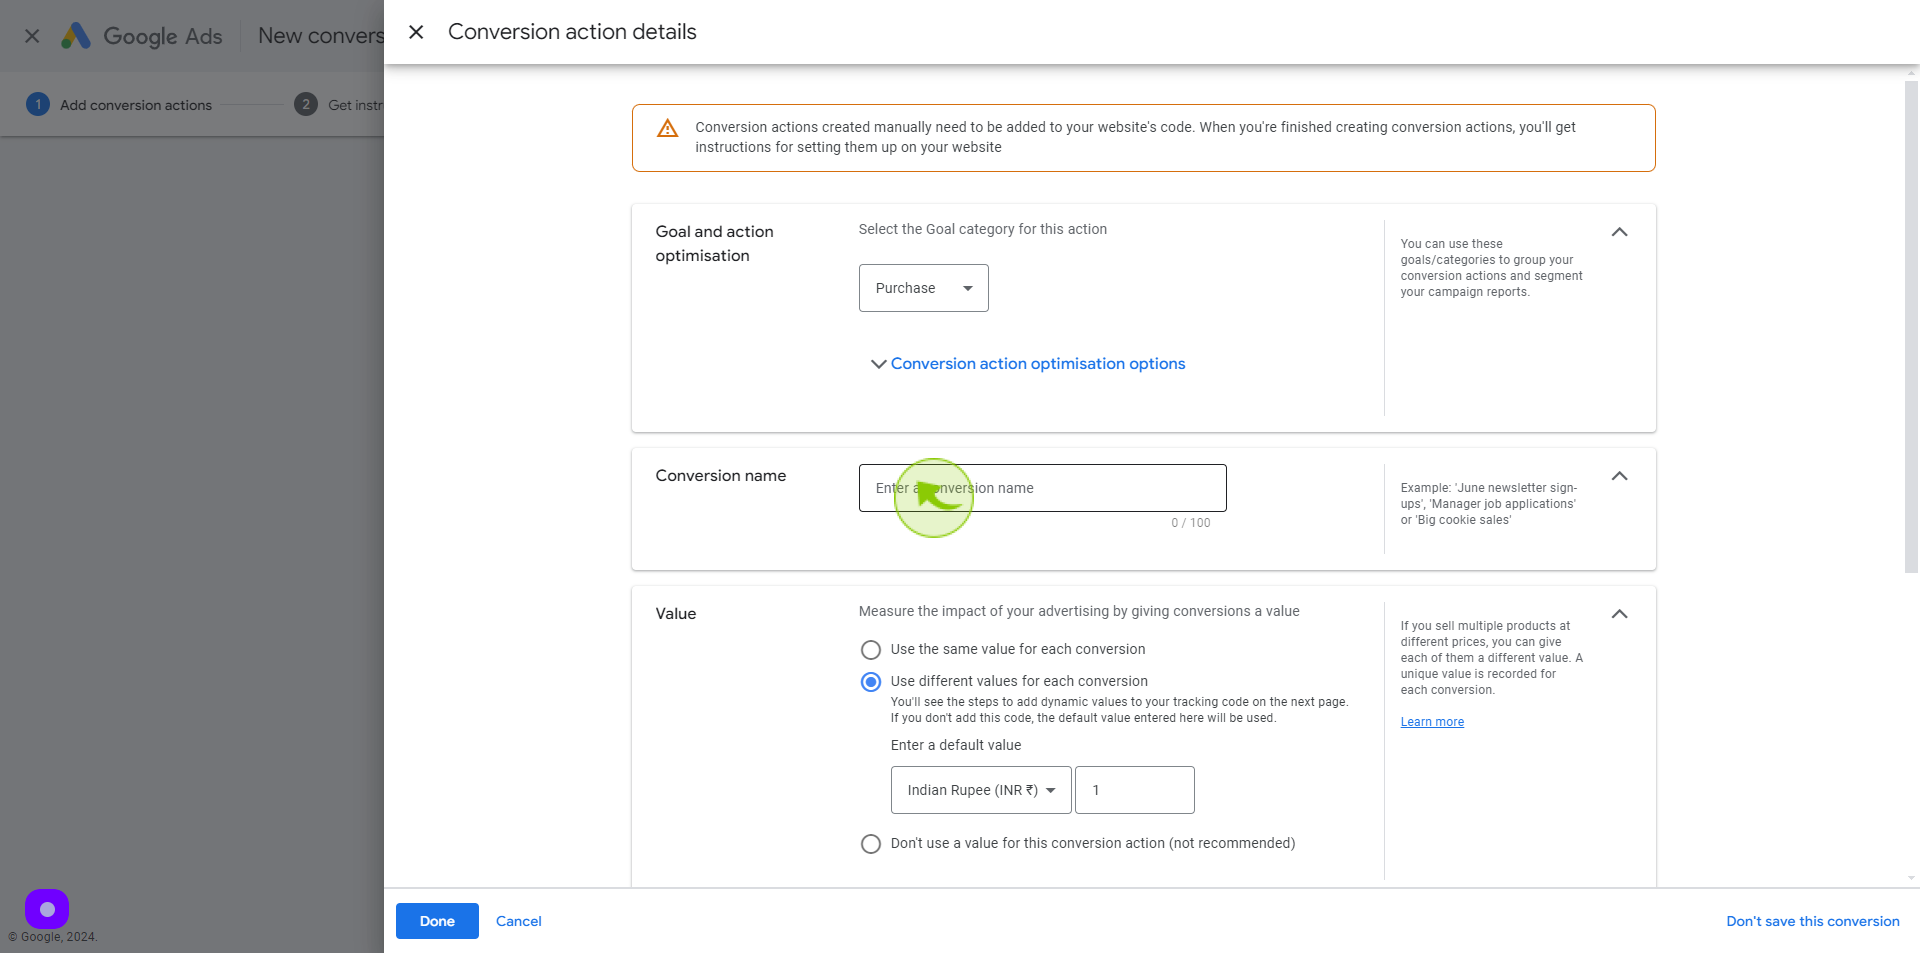
11
Click the "Conversion Name" field.
Enter a conversion name
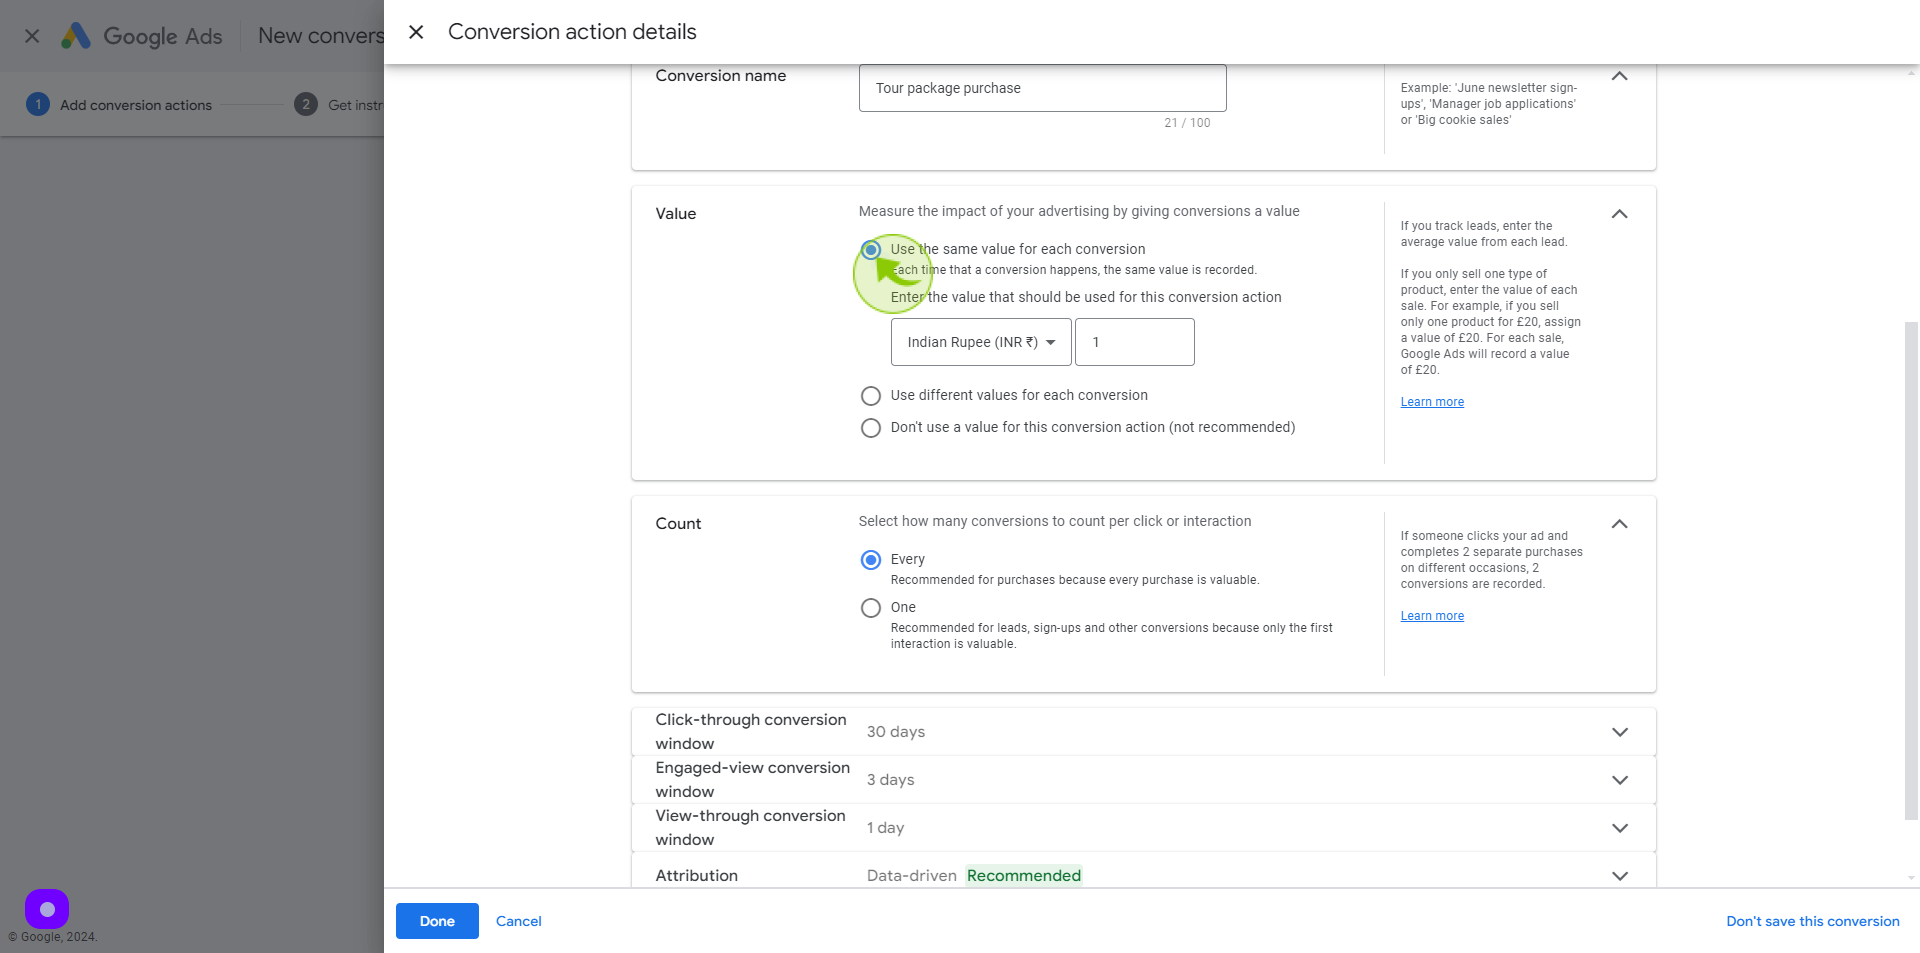
12
Click the "Menu" button and Select Conversion Value .
If a purchase transaction has dynamic values, choose "Use different values for each conversion" but when it only have a single value, set it at "Use the same value for each conversion"
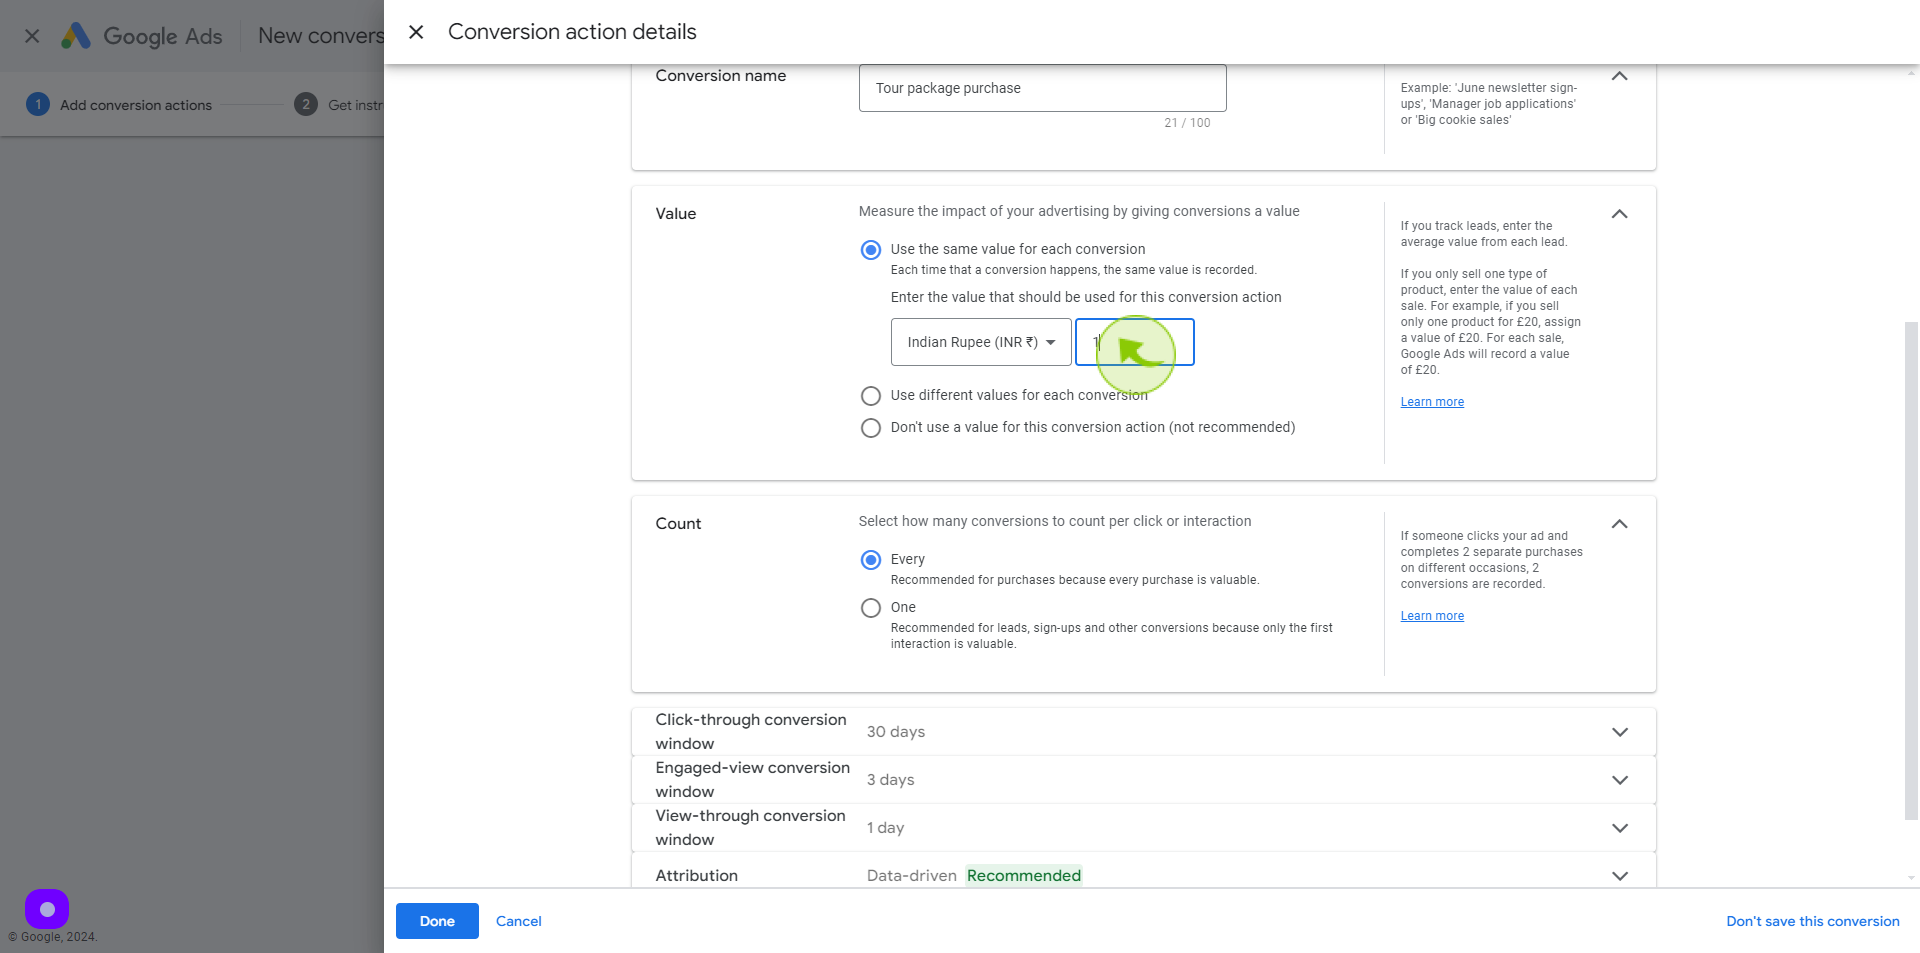
13
Click the "Value" field.
Enter the value below
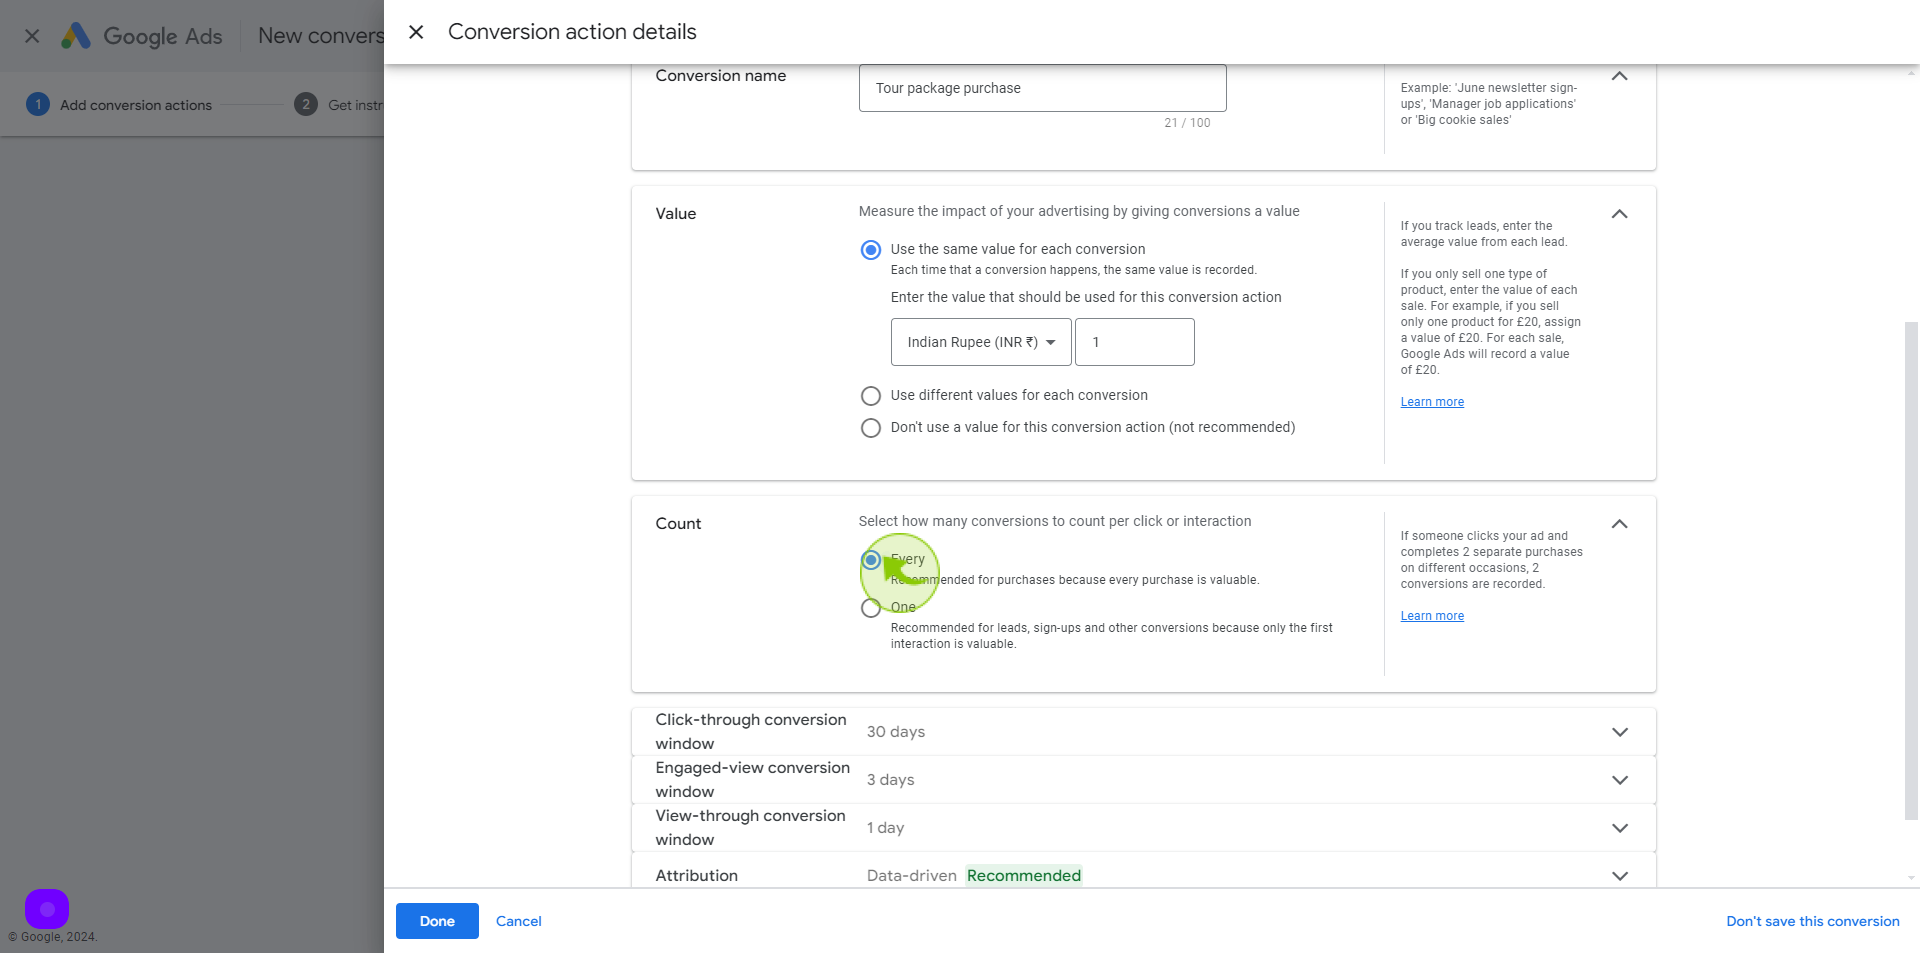
14
Set the Settings of the "Conversion Value".
Select "Every" under count section
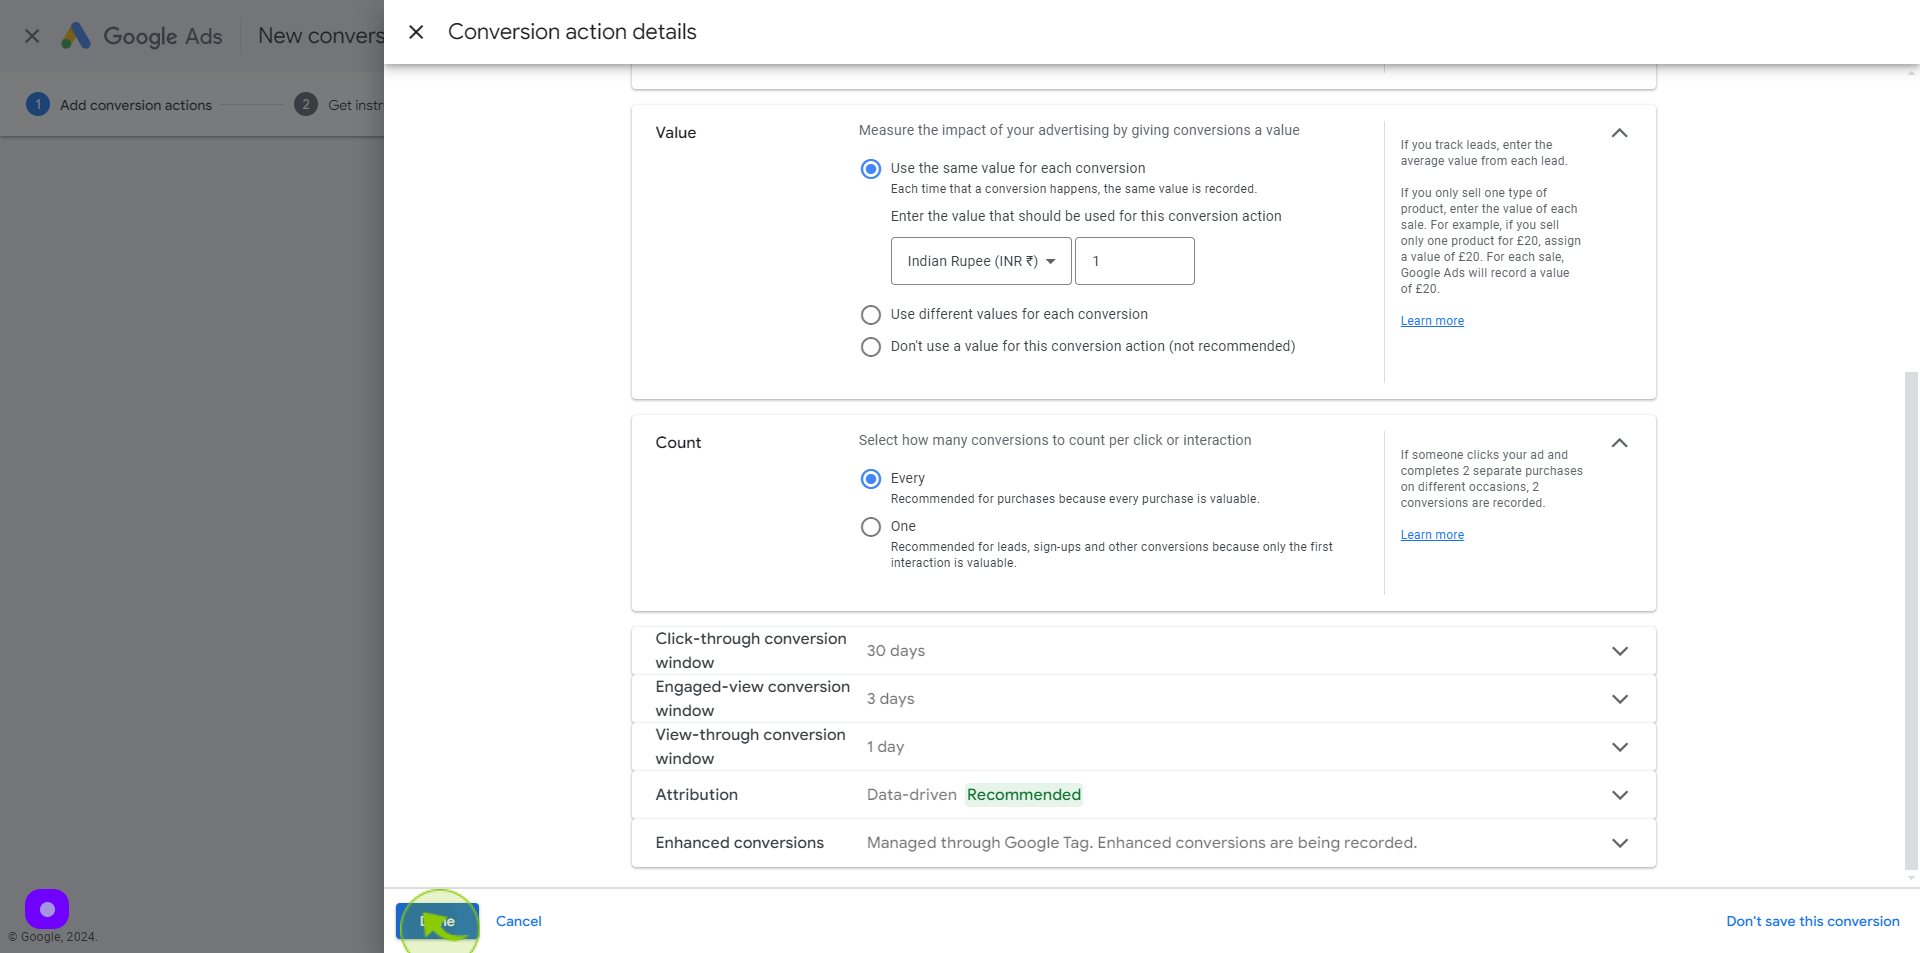
15
Click on "Done"
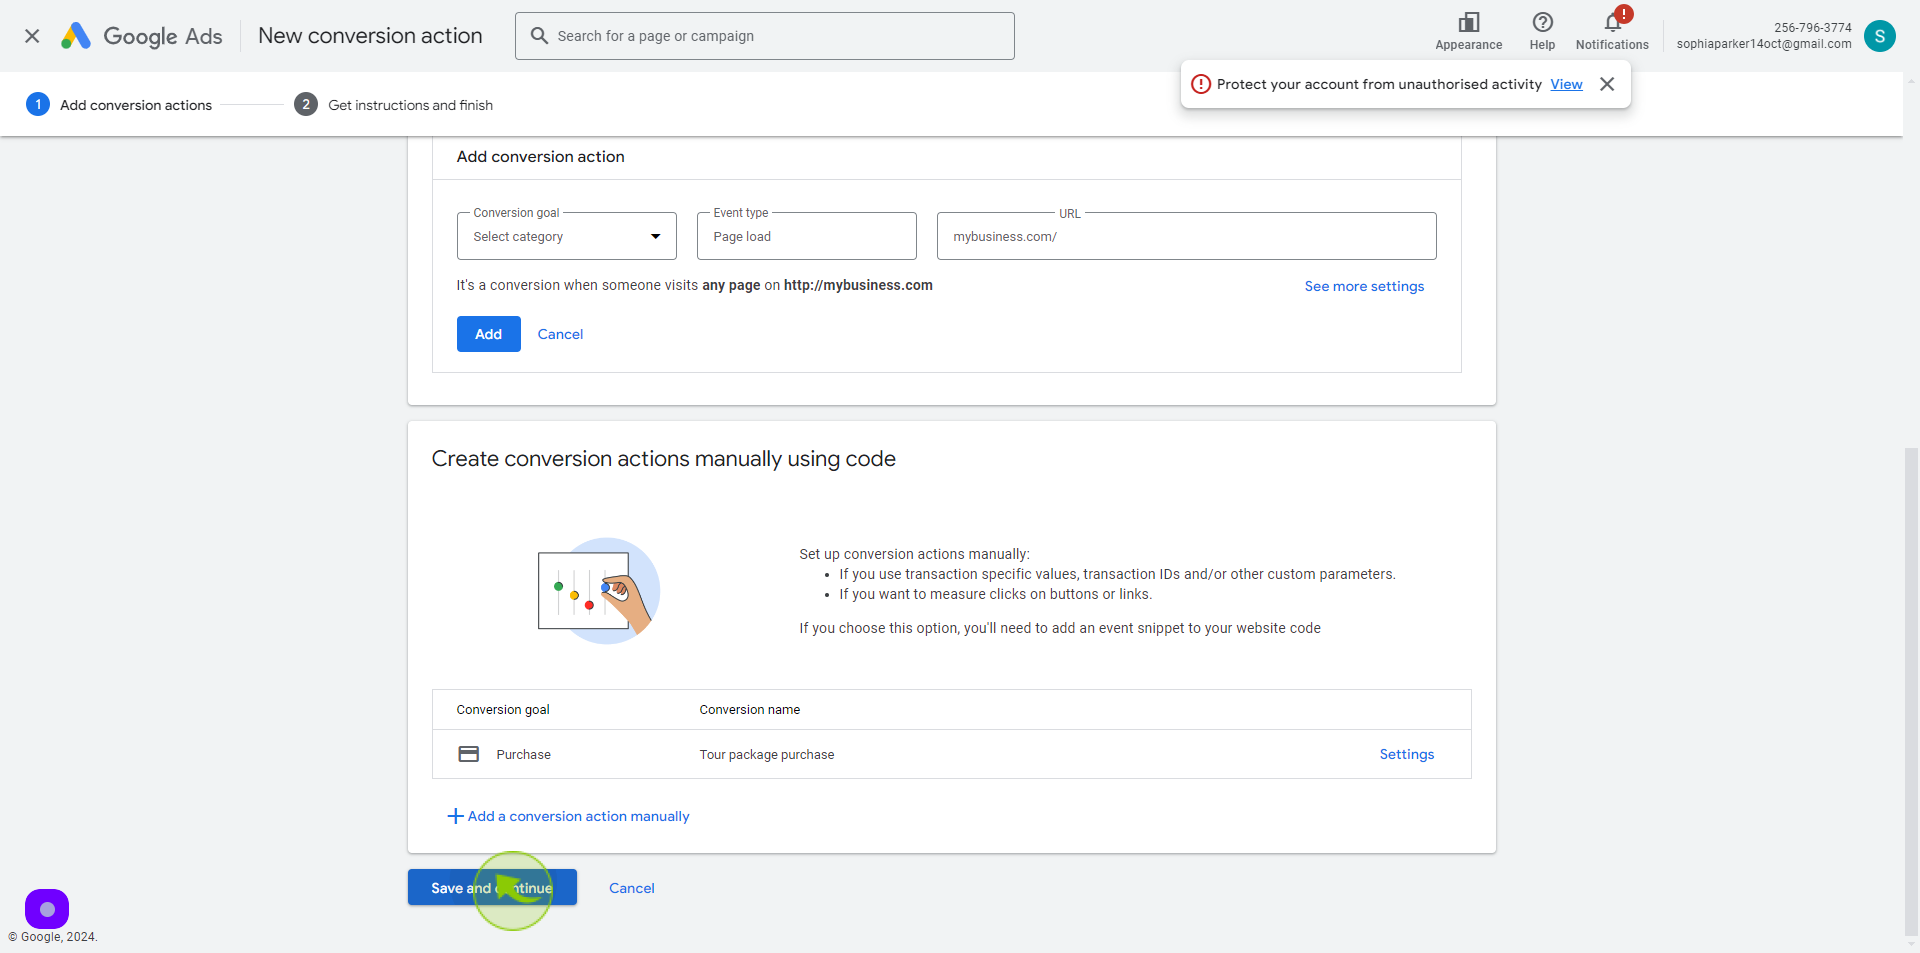
16
Click on "Save and Continue" button
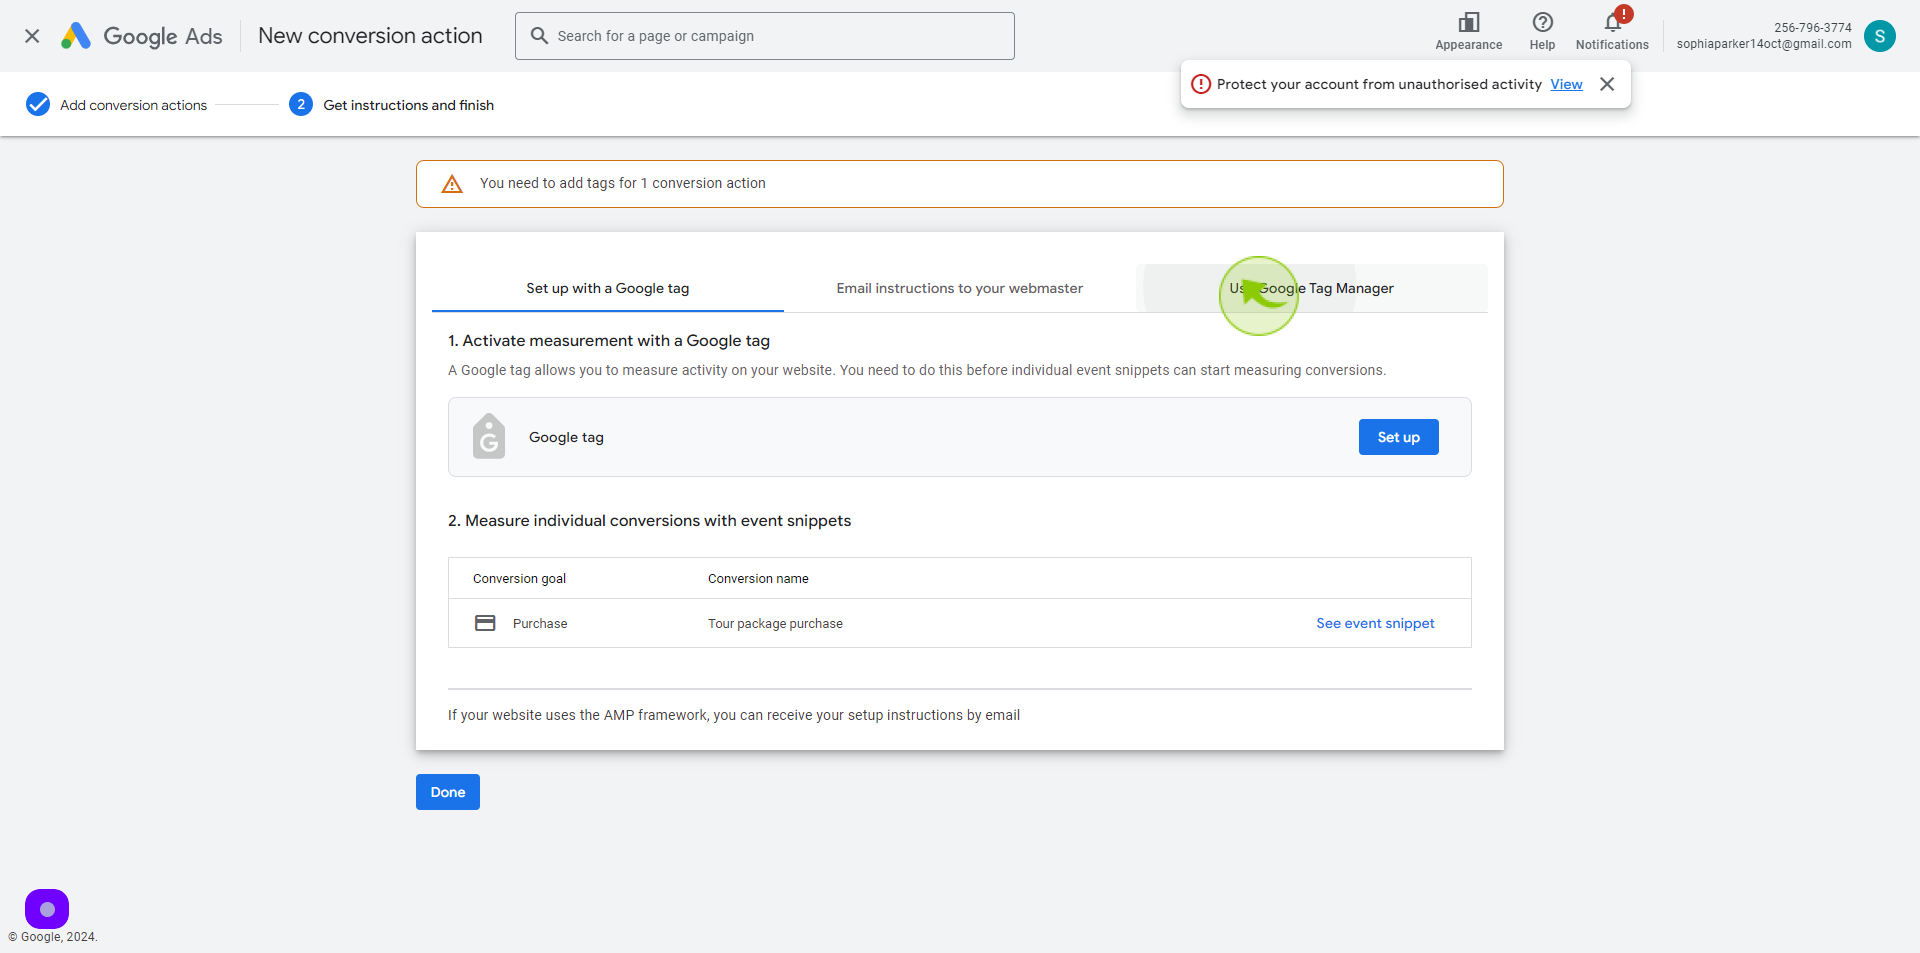
17
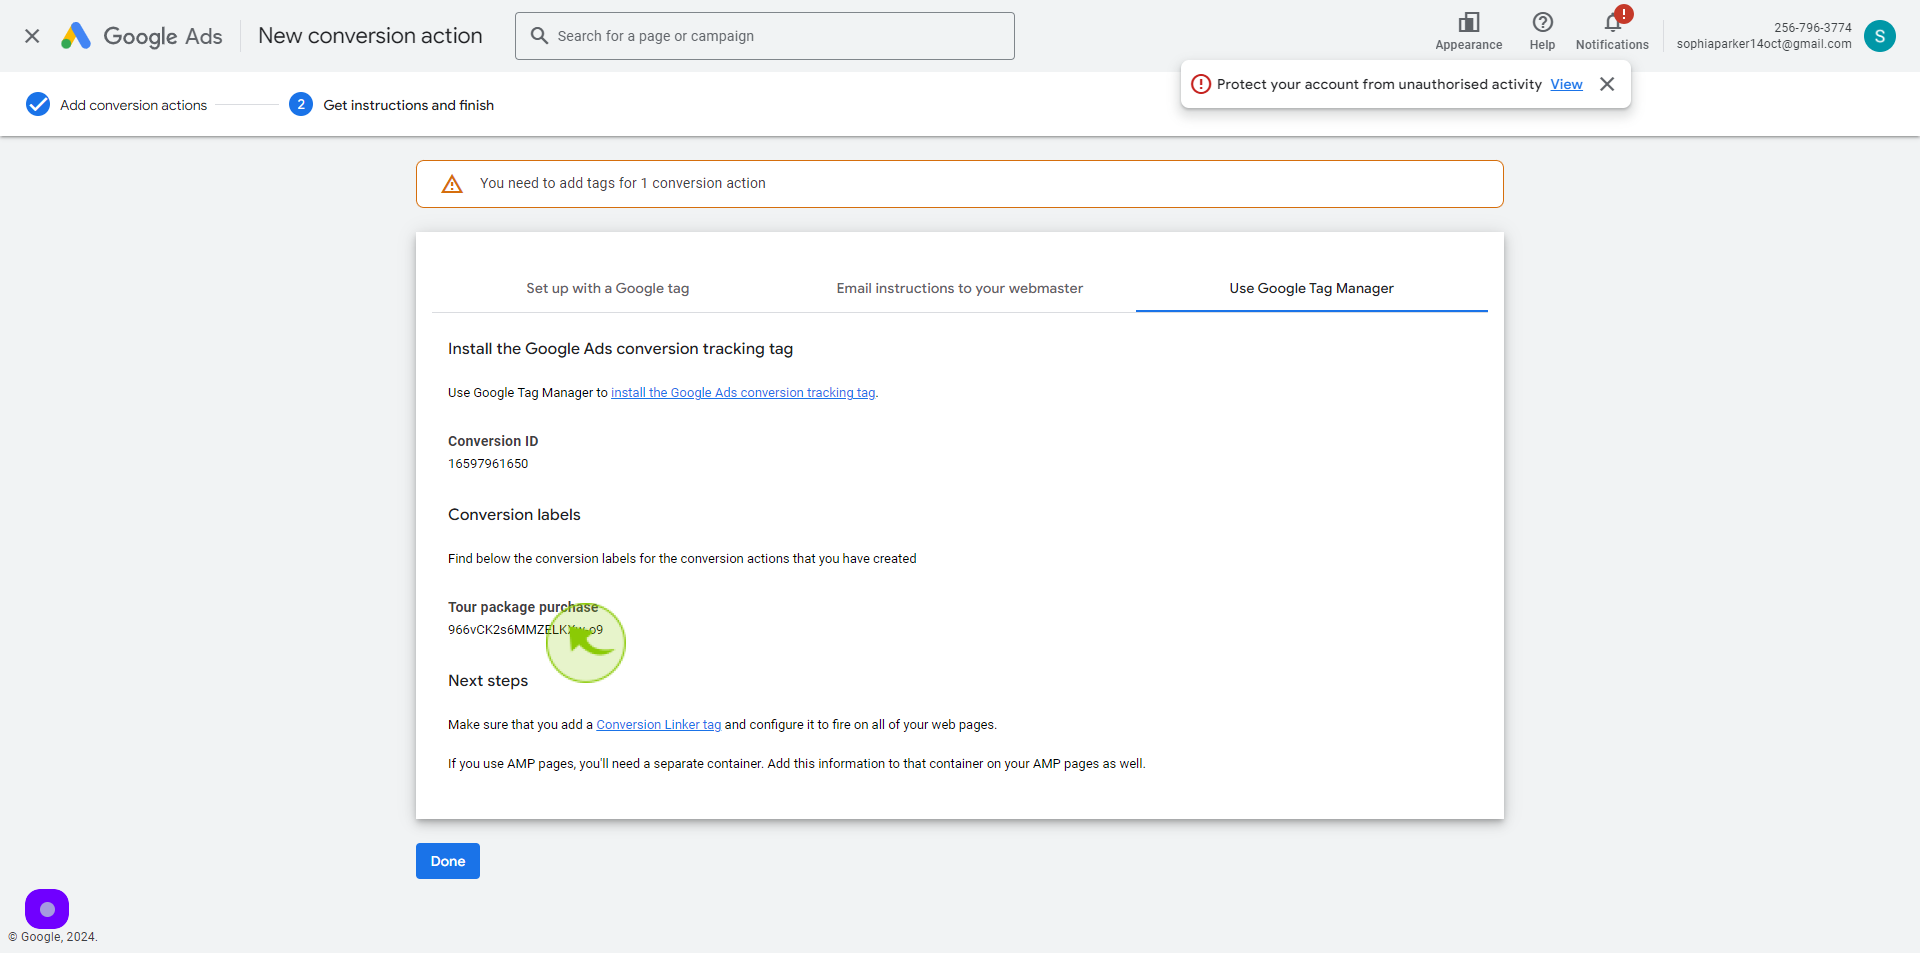
Select "Use Google Tag Manager".
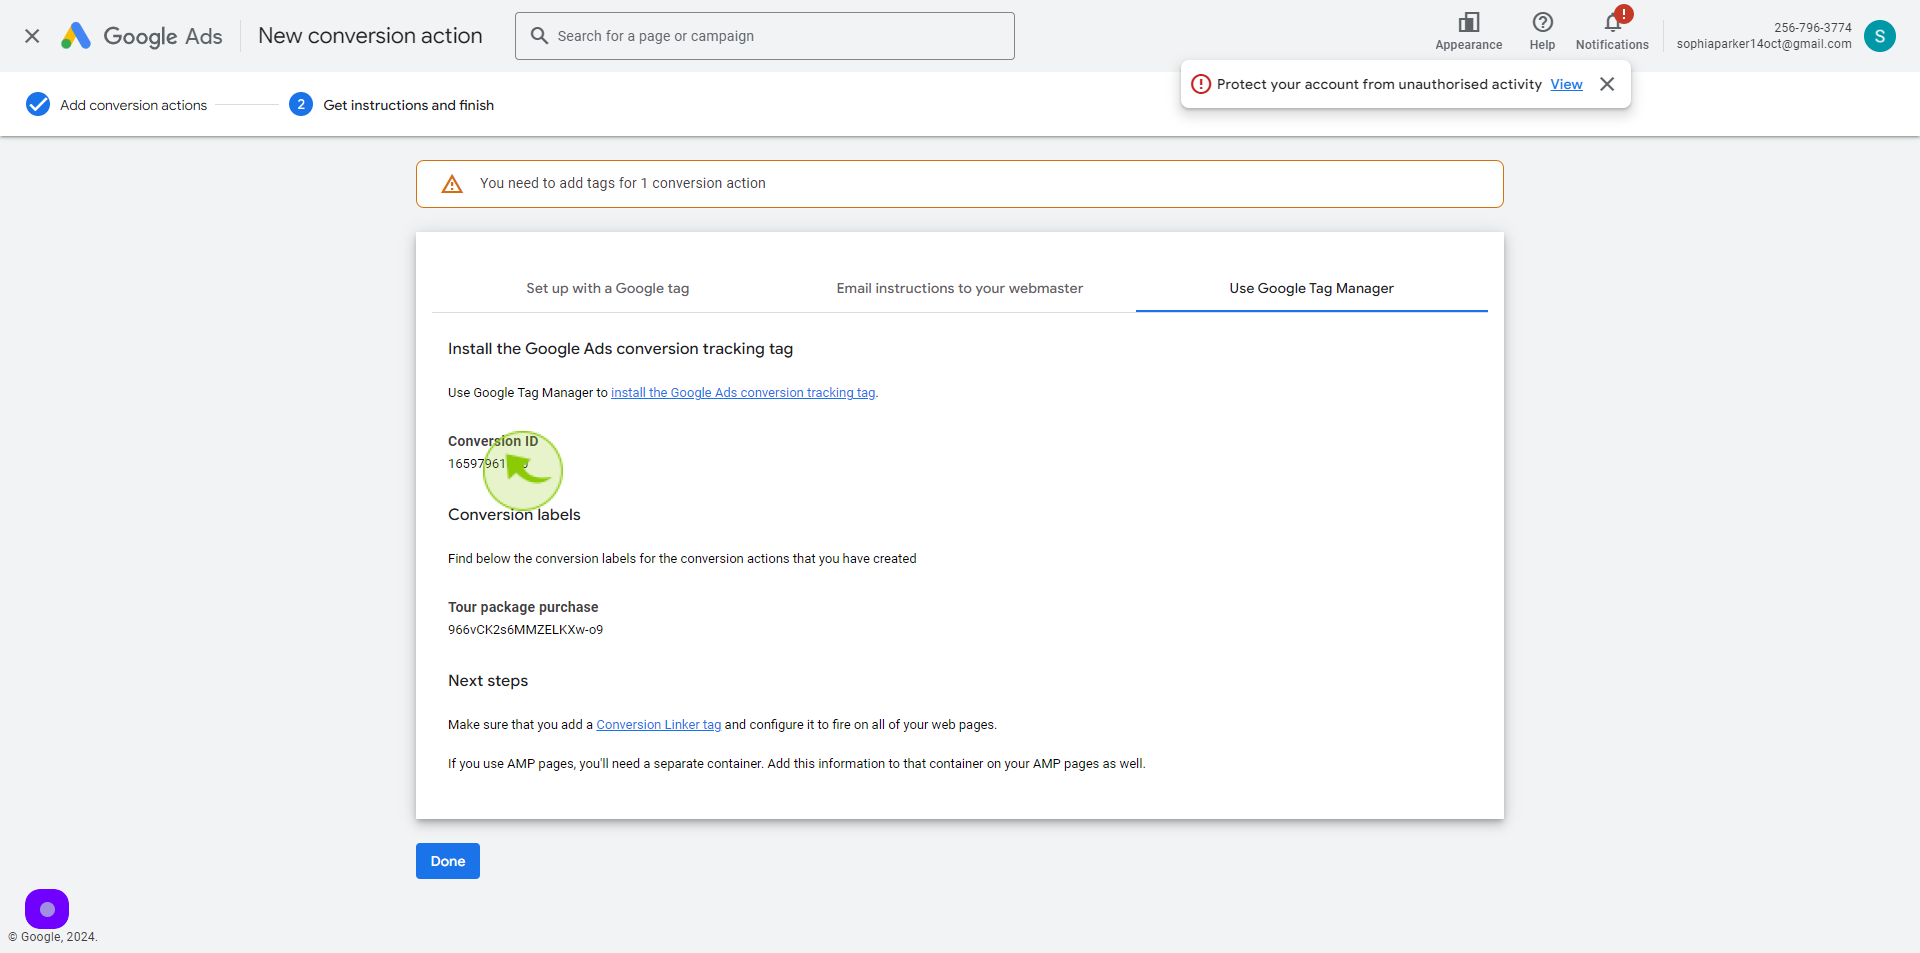
18
Copy the "Conversion ID"
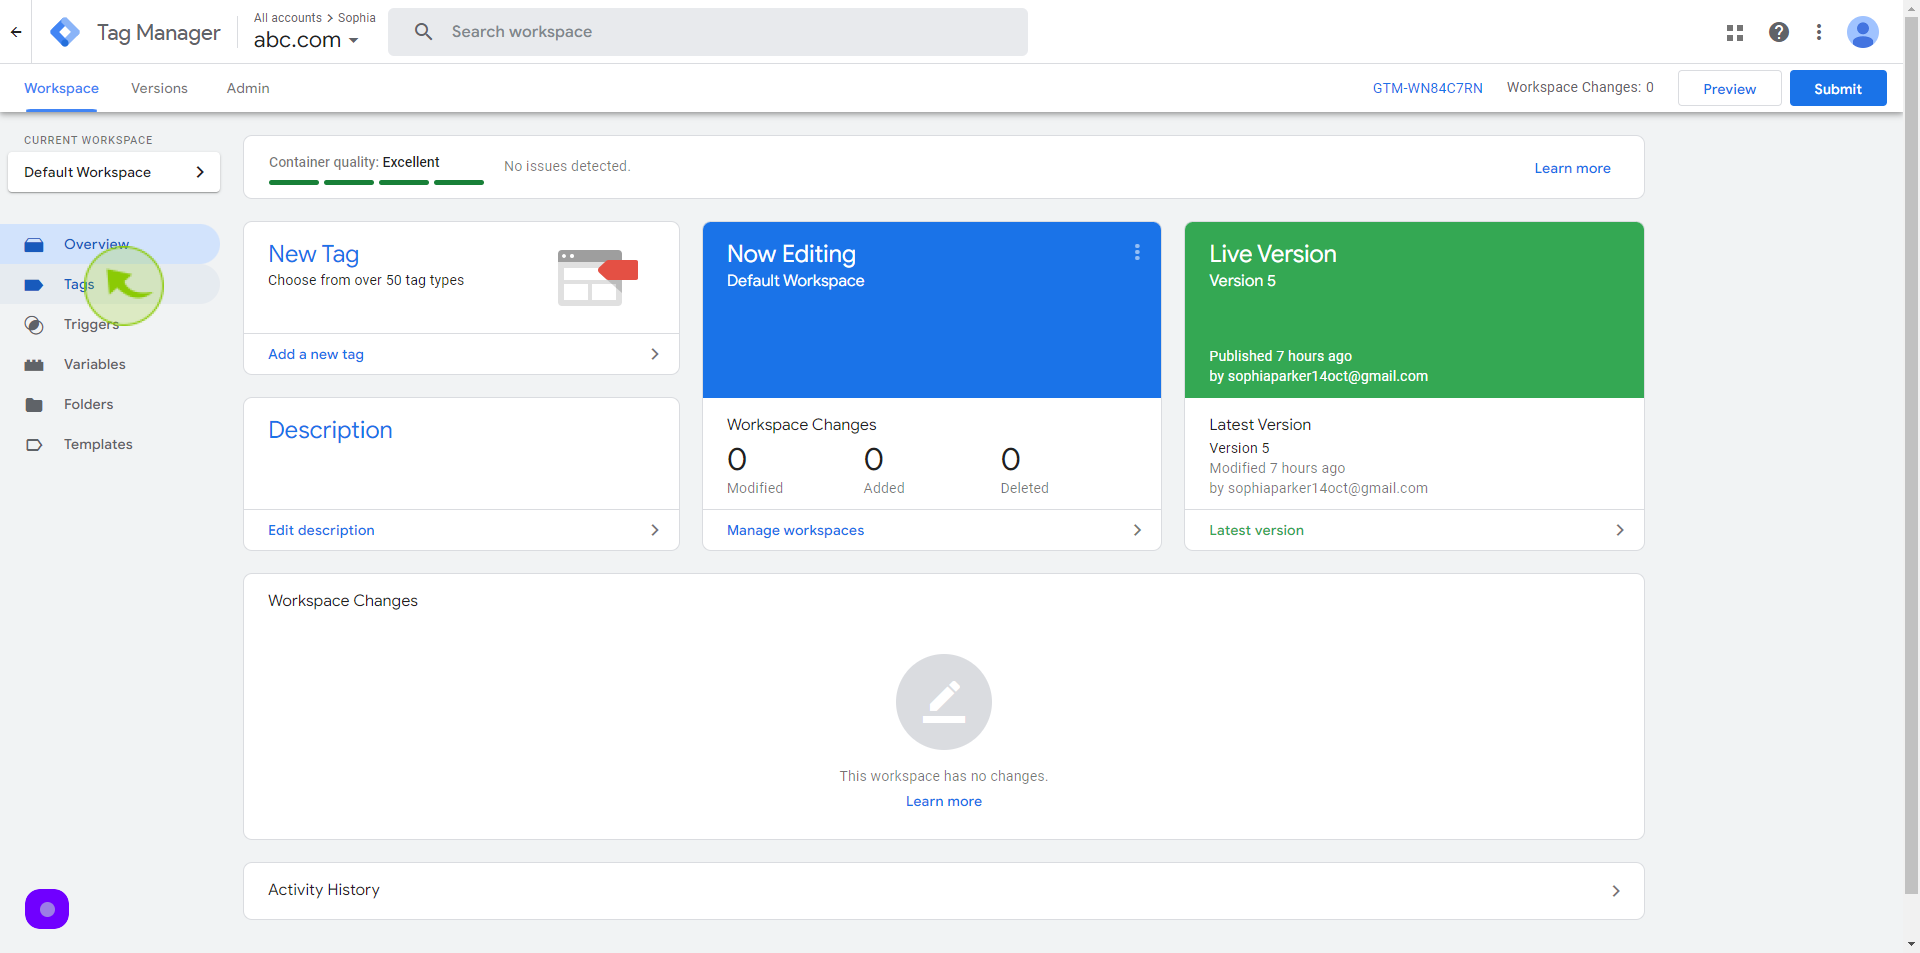
19
Open the Client's Google Tag Manager Account
https://tagmanager.google.com
20
Click on "Tags"
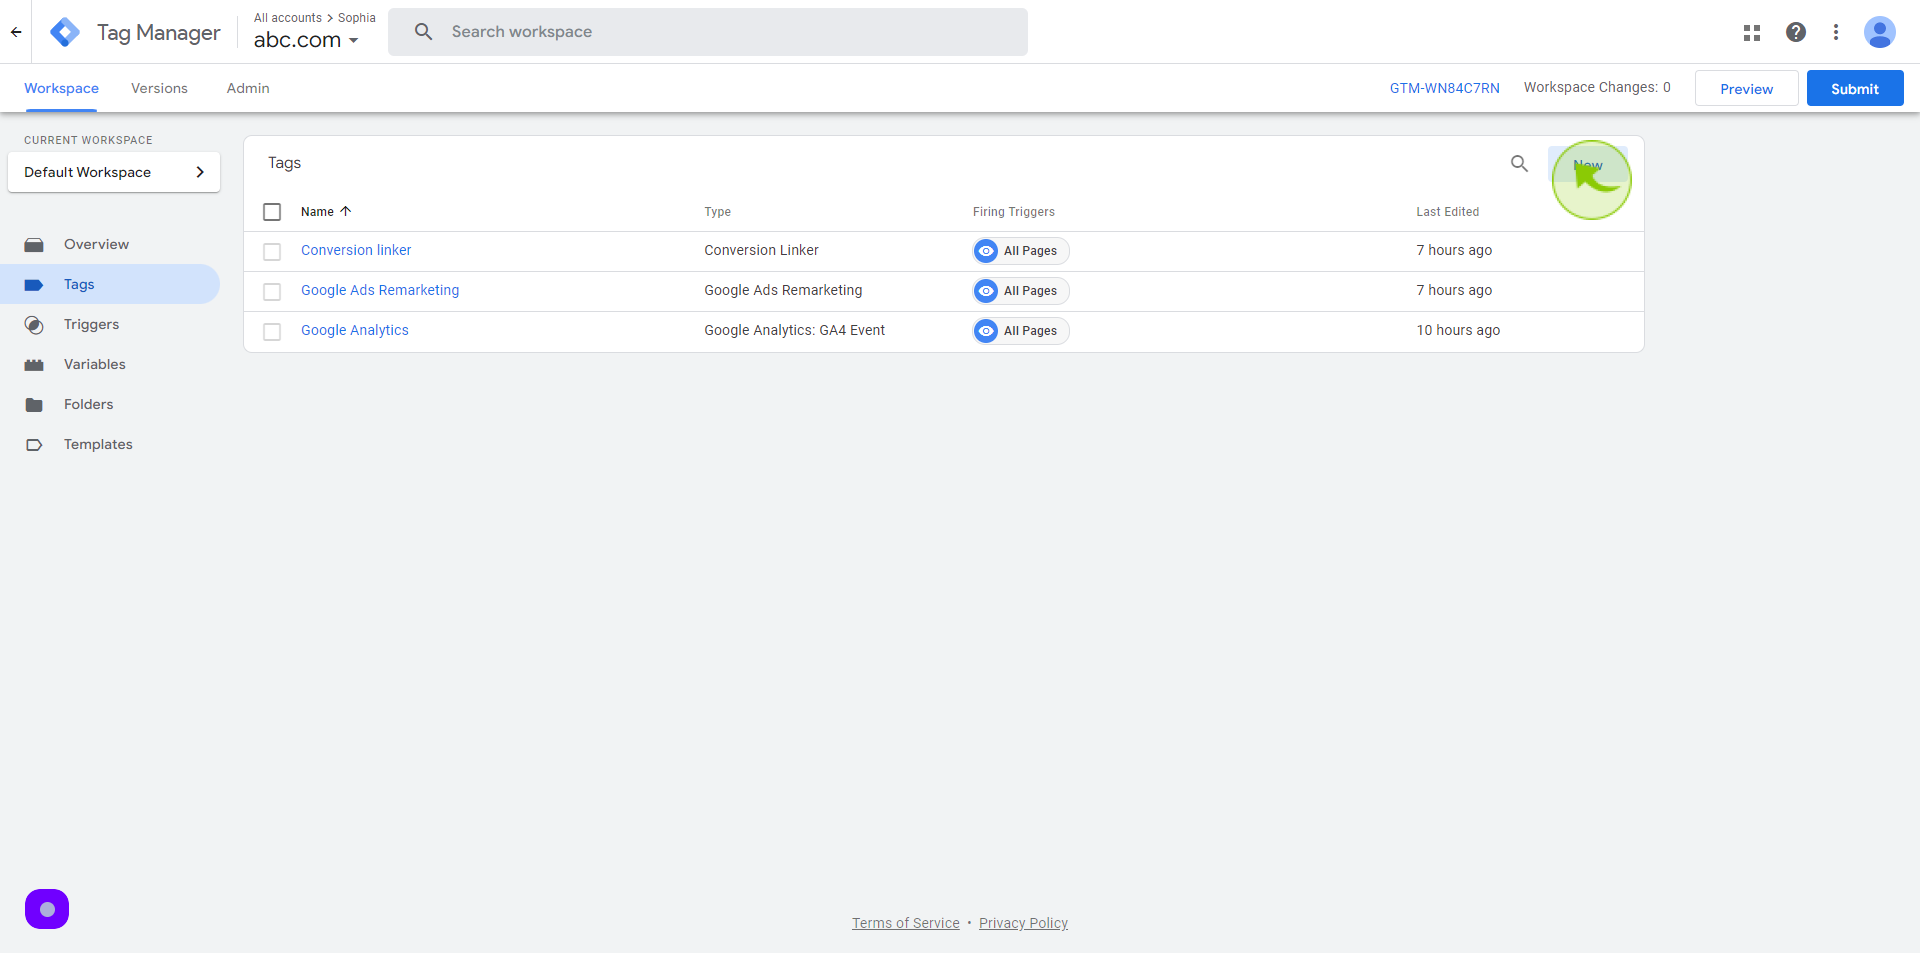
21
Click on "New"
22
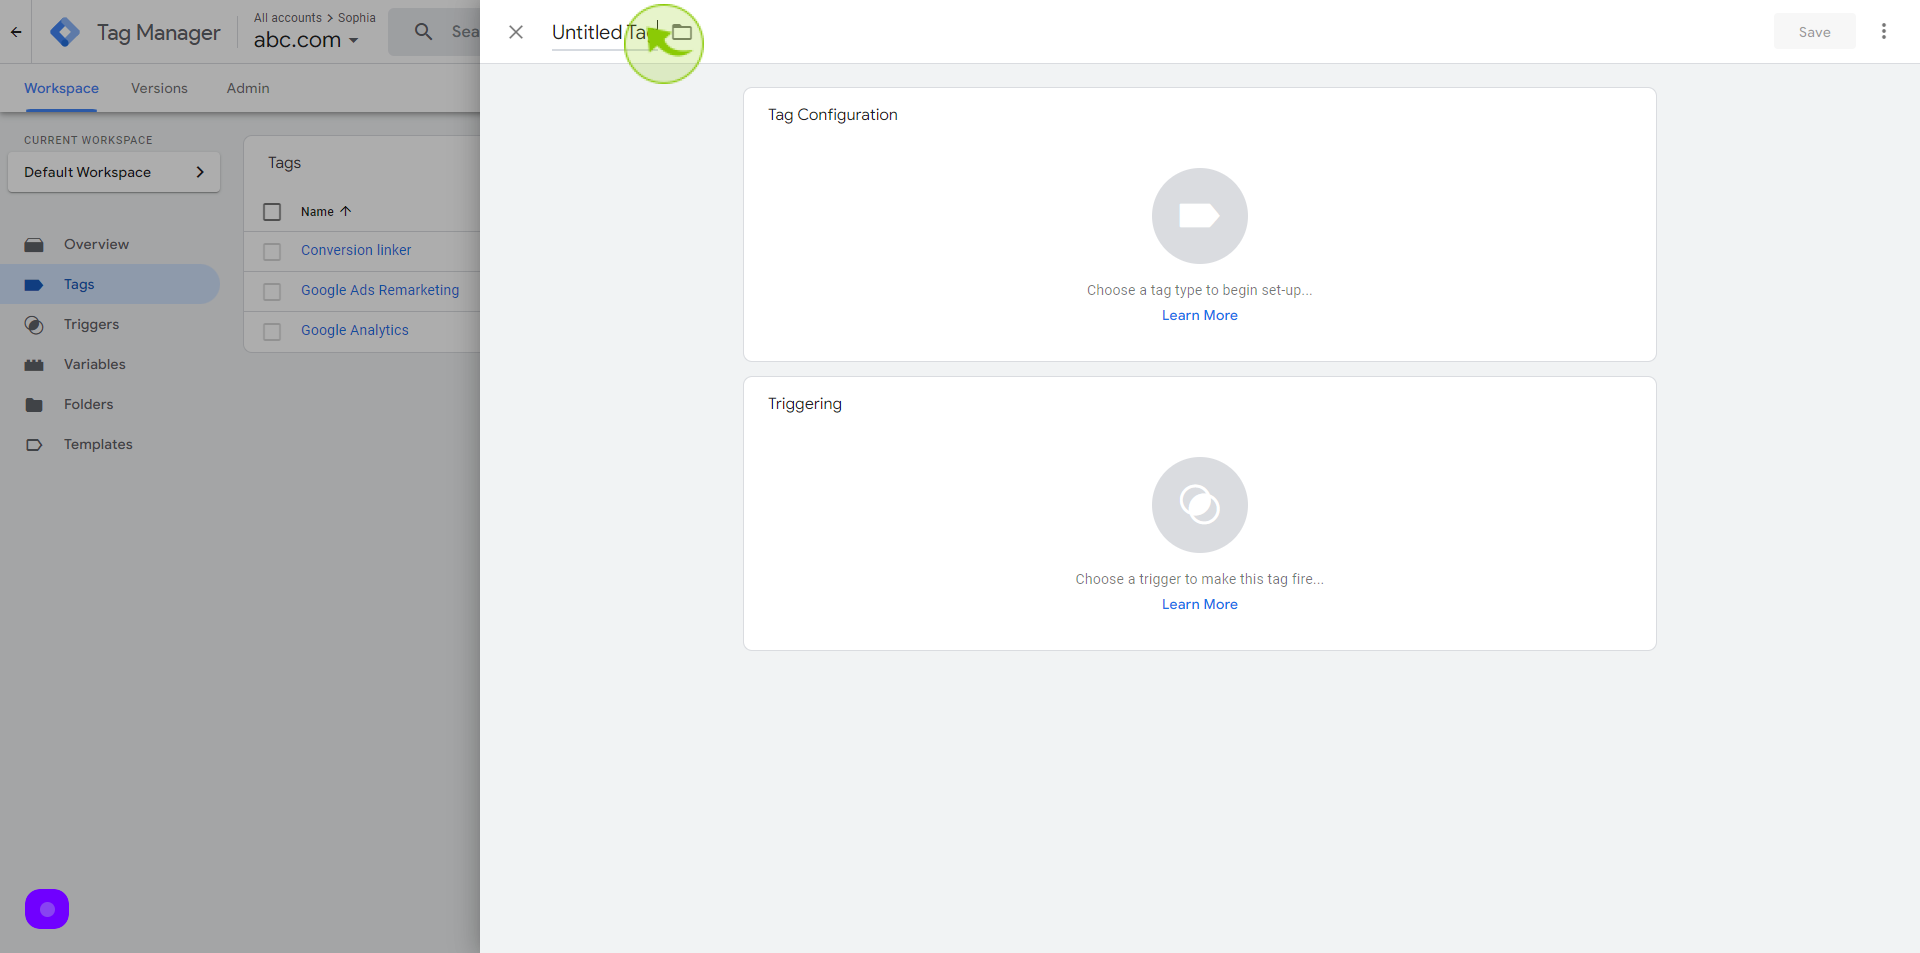
Click on the "Untitled Tag"
Set a name of the tag
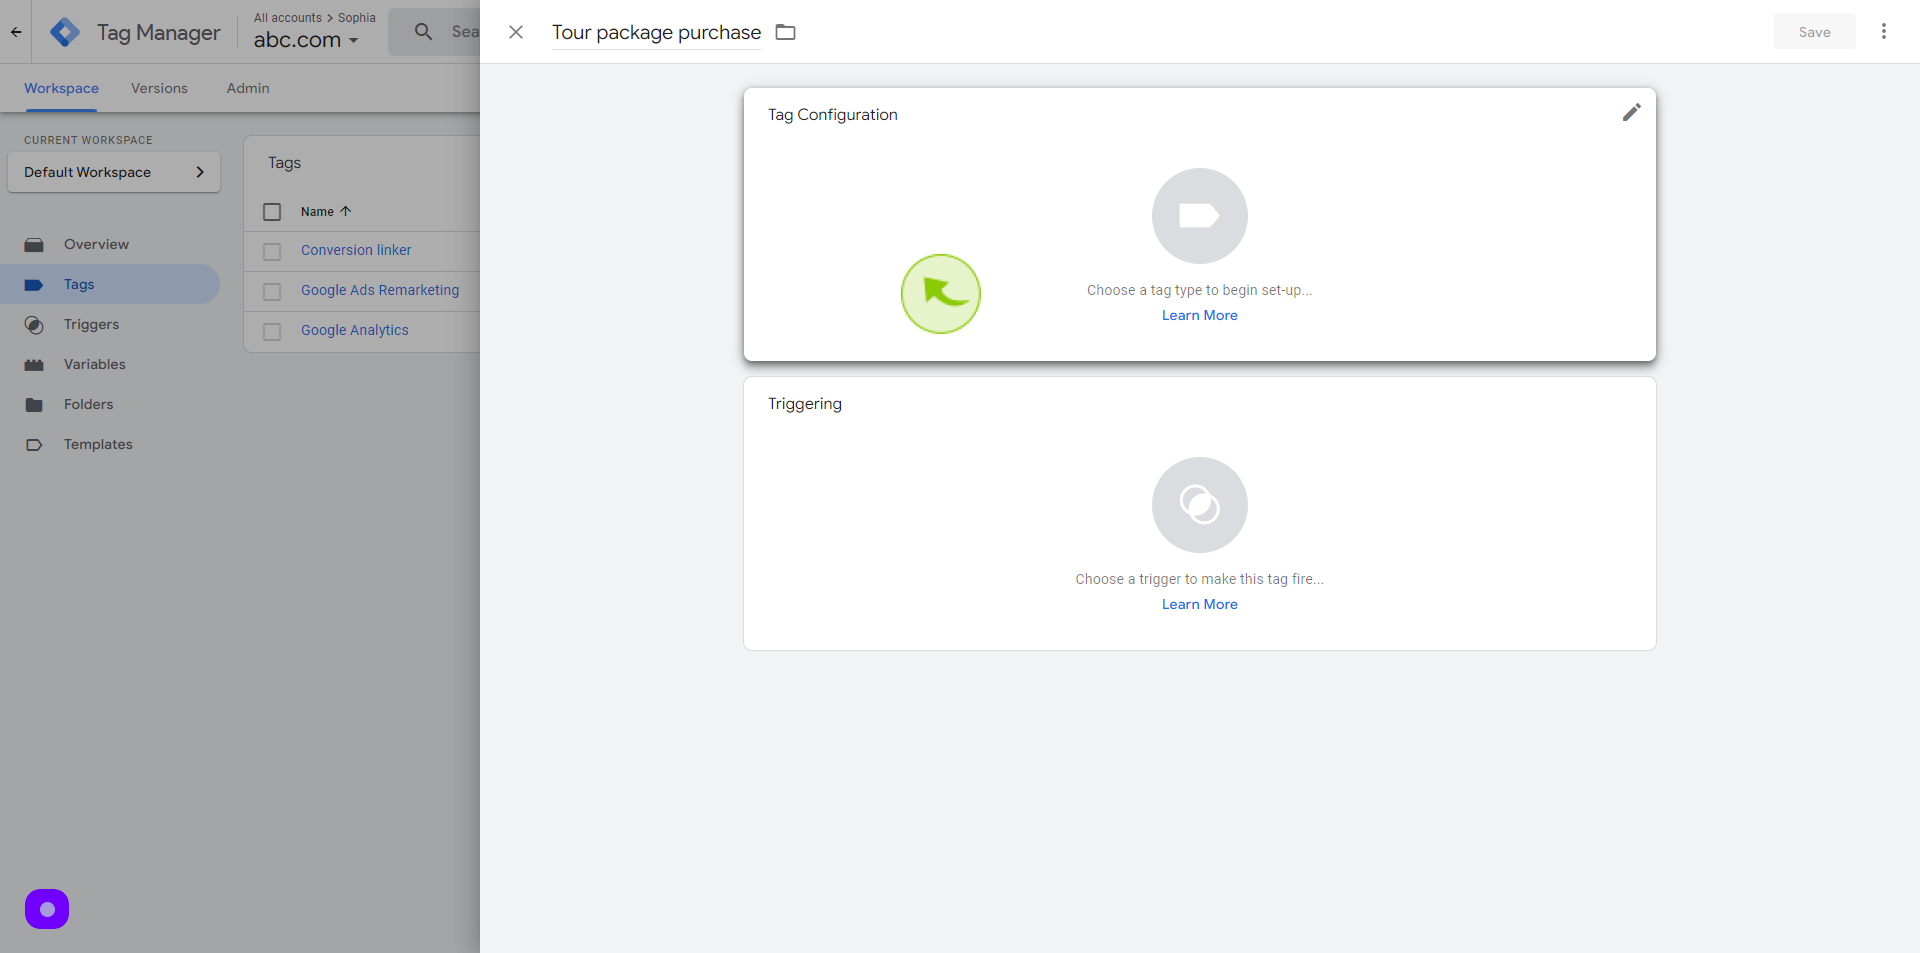
23
Click on "Tag Configuration" tab
24
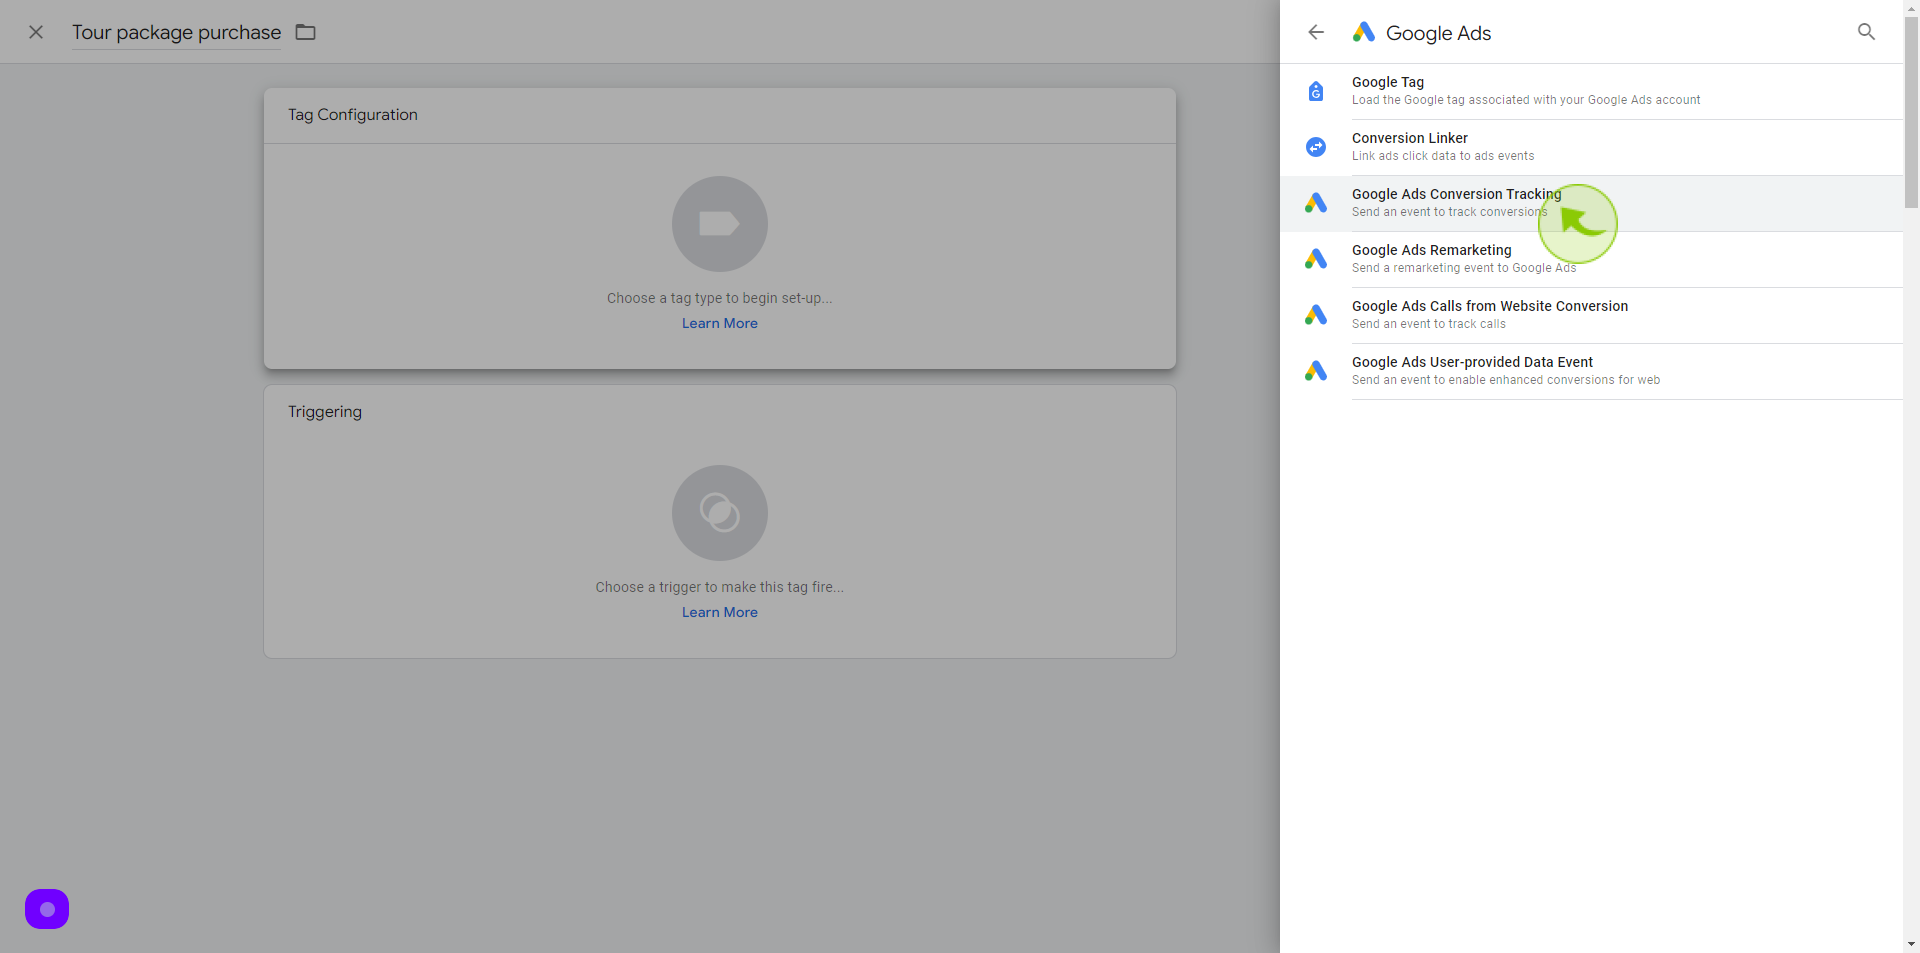
Select "Google Ads" from the menu

25
Select "Google Ads Conversion Tracking"
26
Click the "Conversion Id" field.
Paste the "Conversion ID" on this section

27
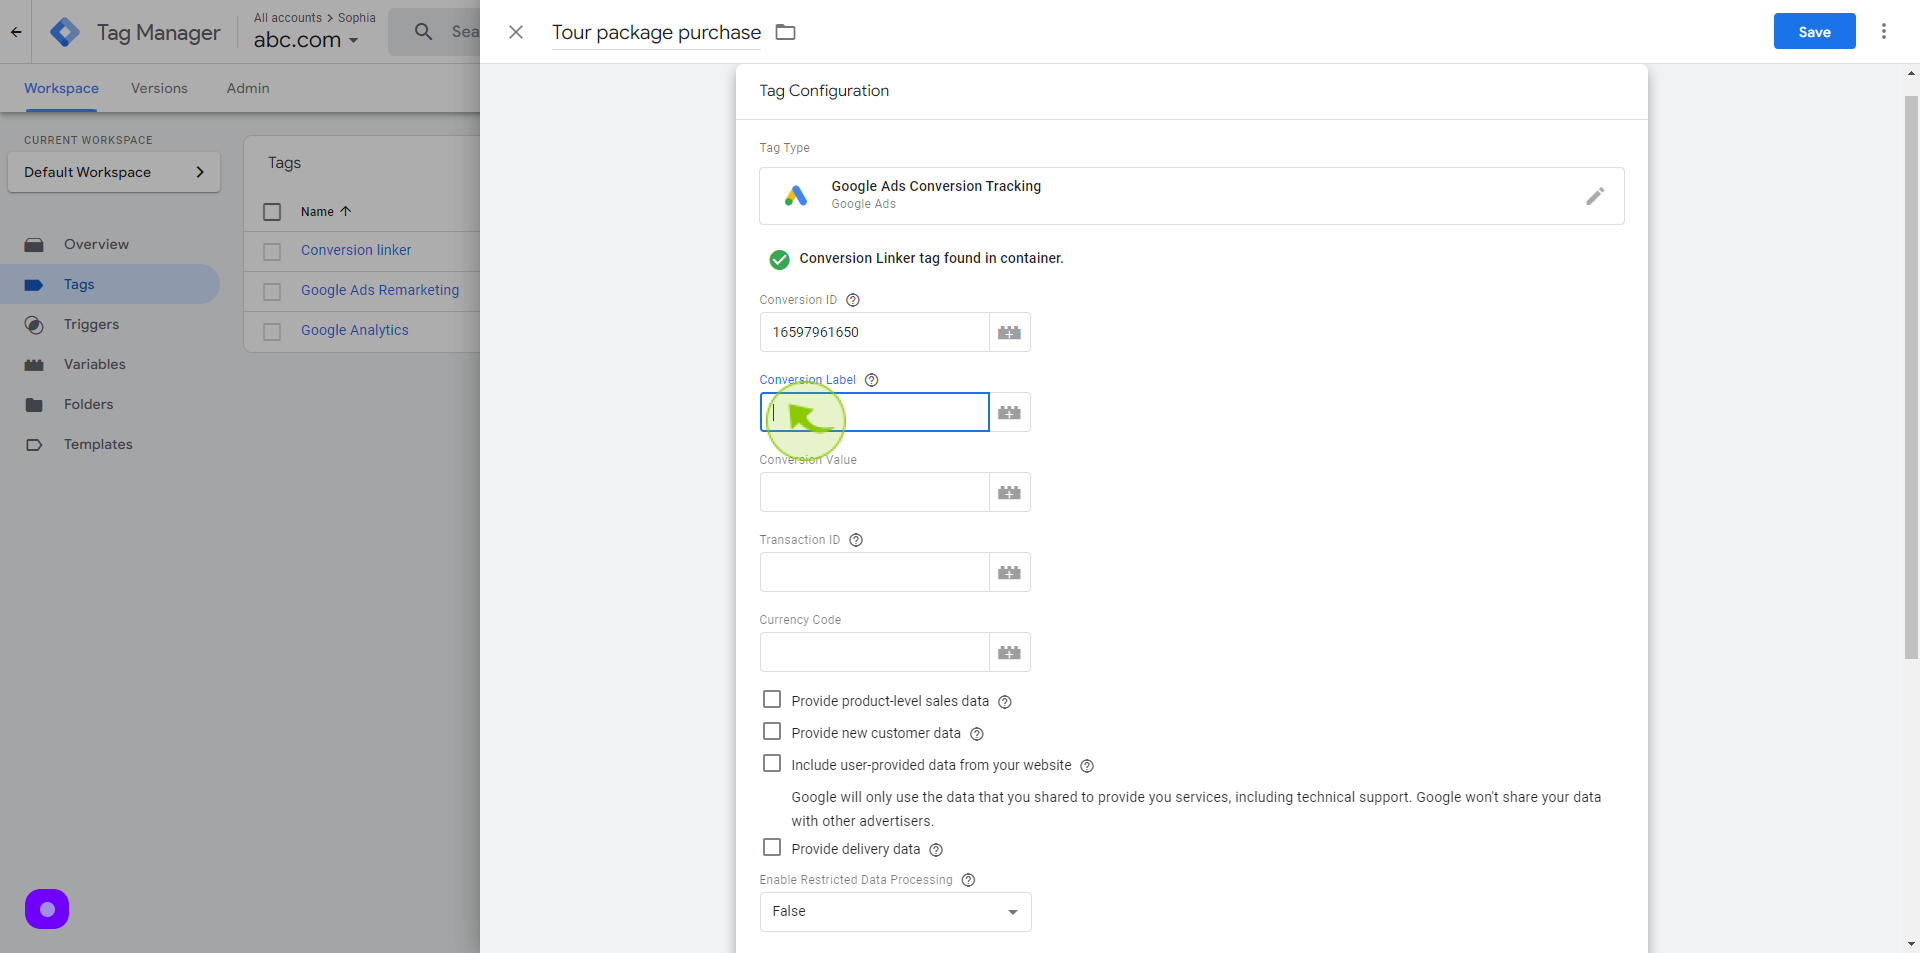
Click the "Conversion Label" field.

28
Copy the "Conversion Label"
29
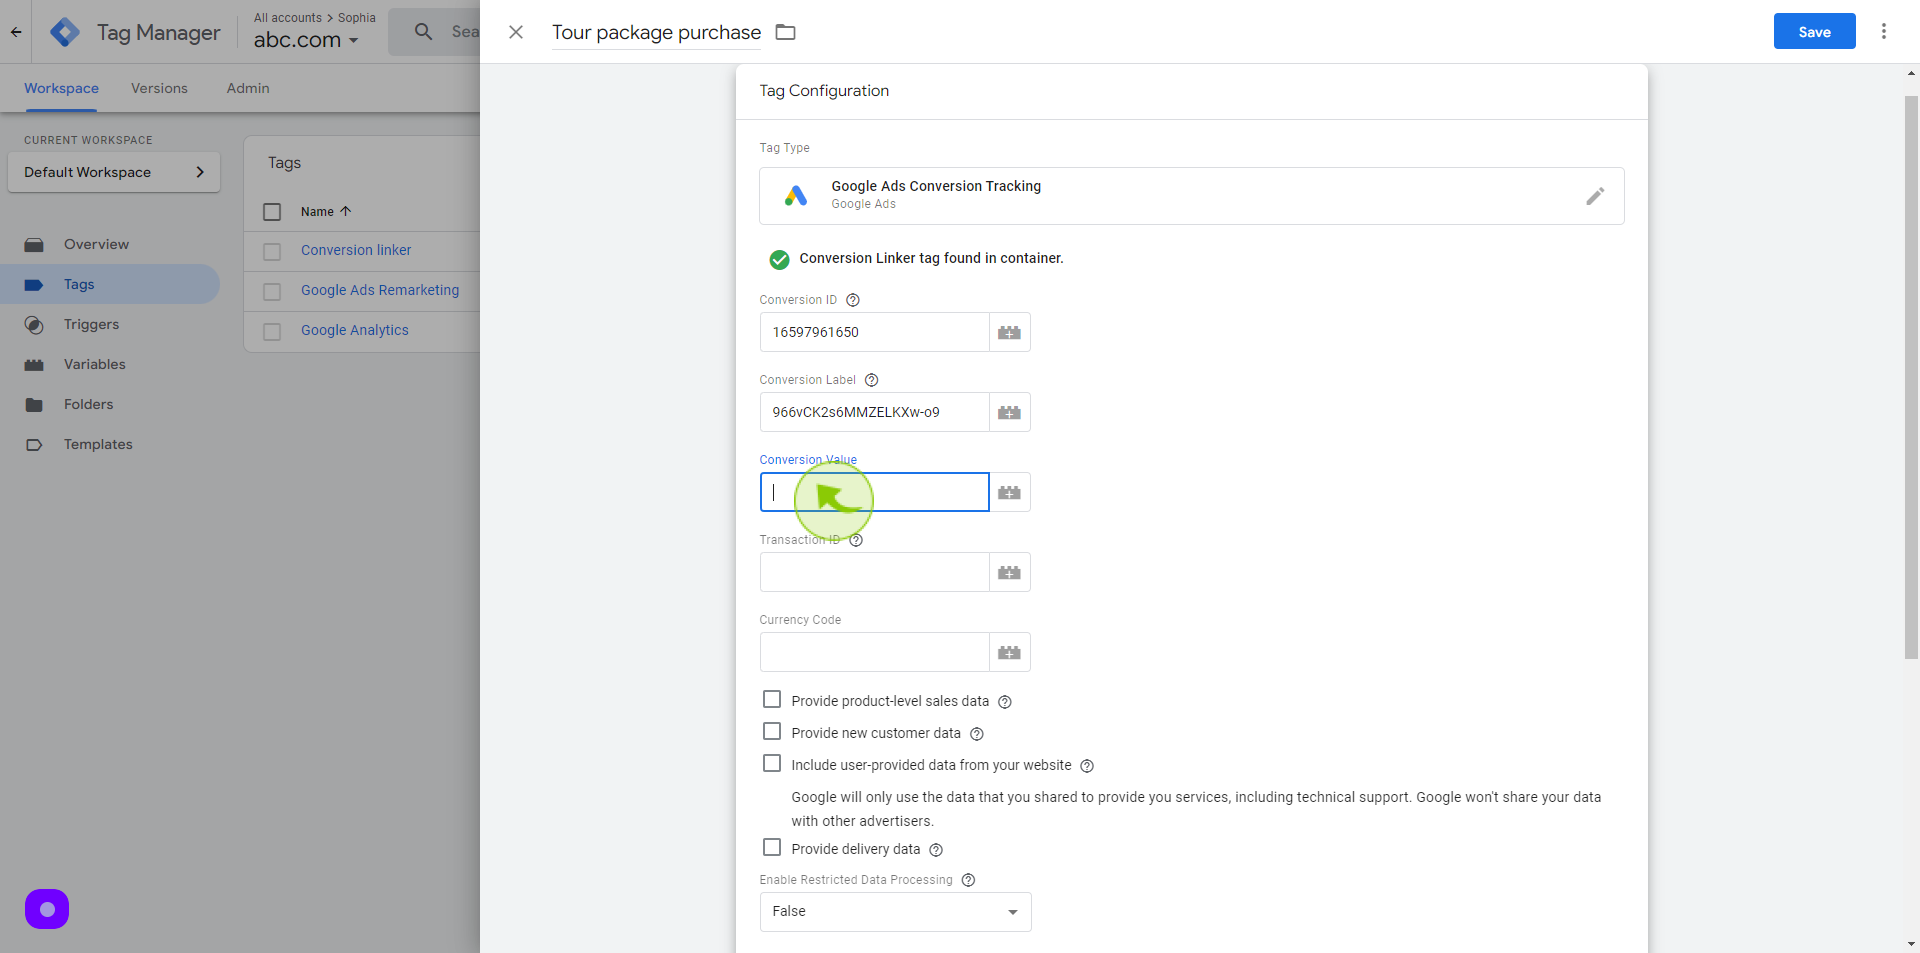
Paste the "Conversion Label" on this section
30
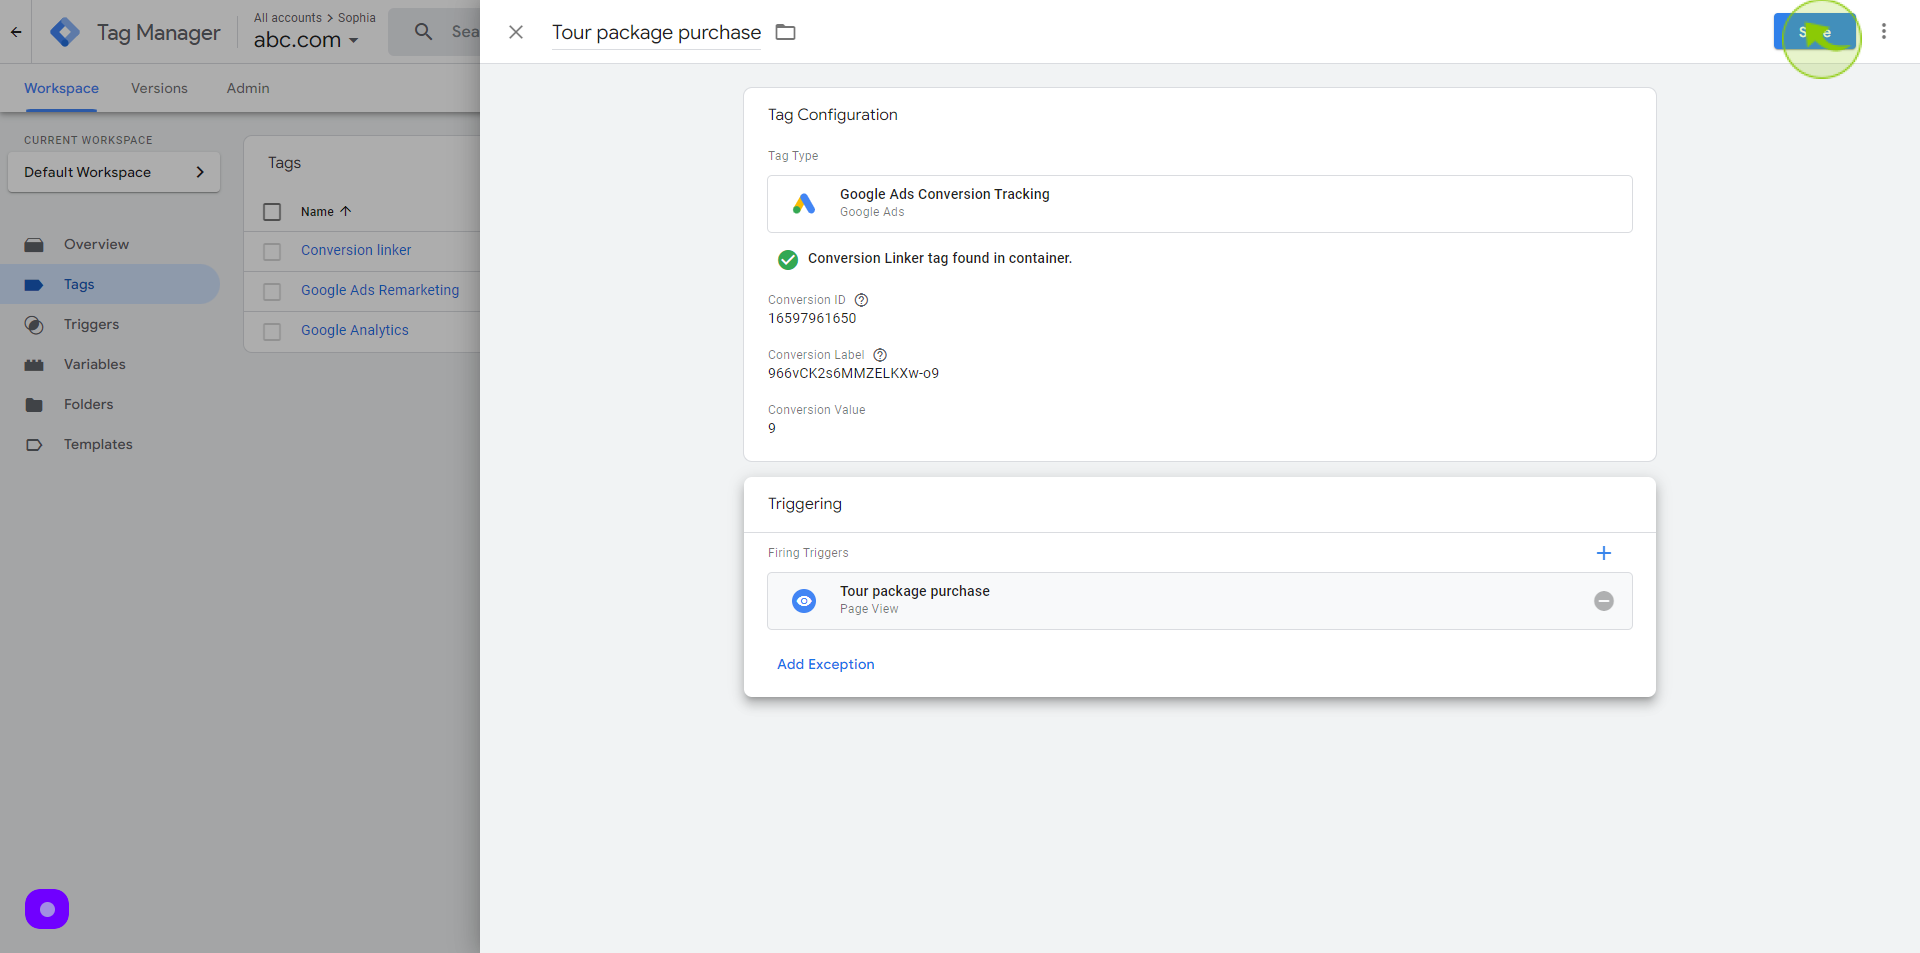
Click the "Conversion Value" field.
Add a conversion value
31
Click on "Triggering" tab
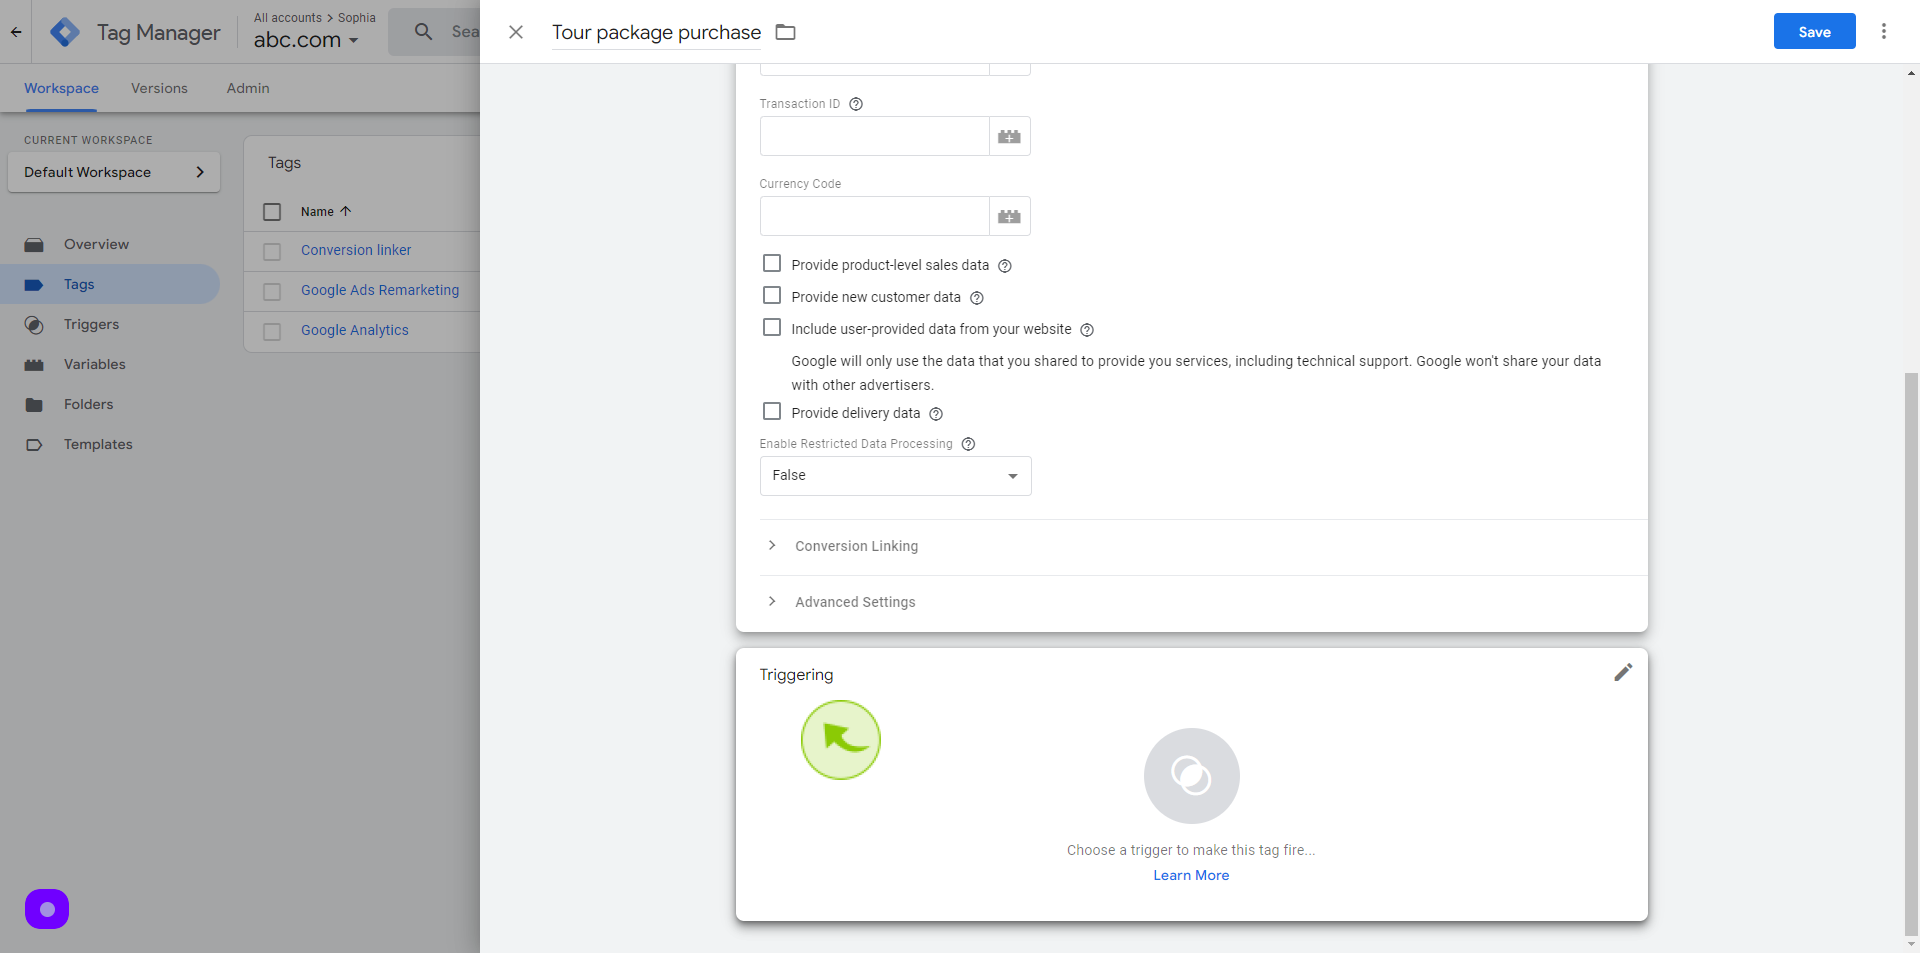
32
Click the "(+) Plus" button on the top right corner of the page to create a new trigger
33
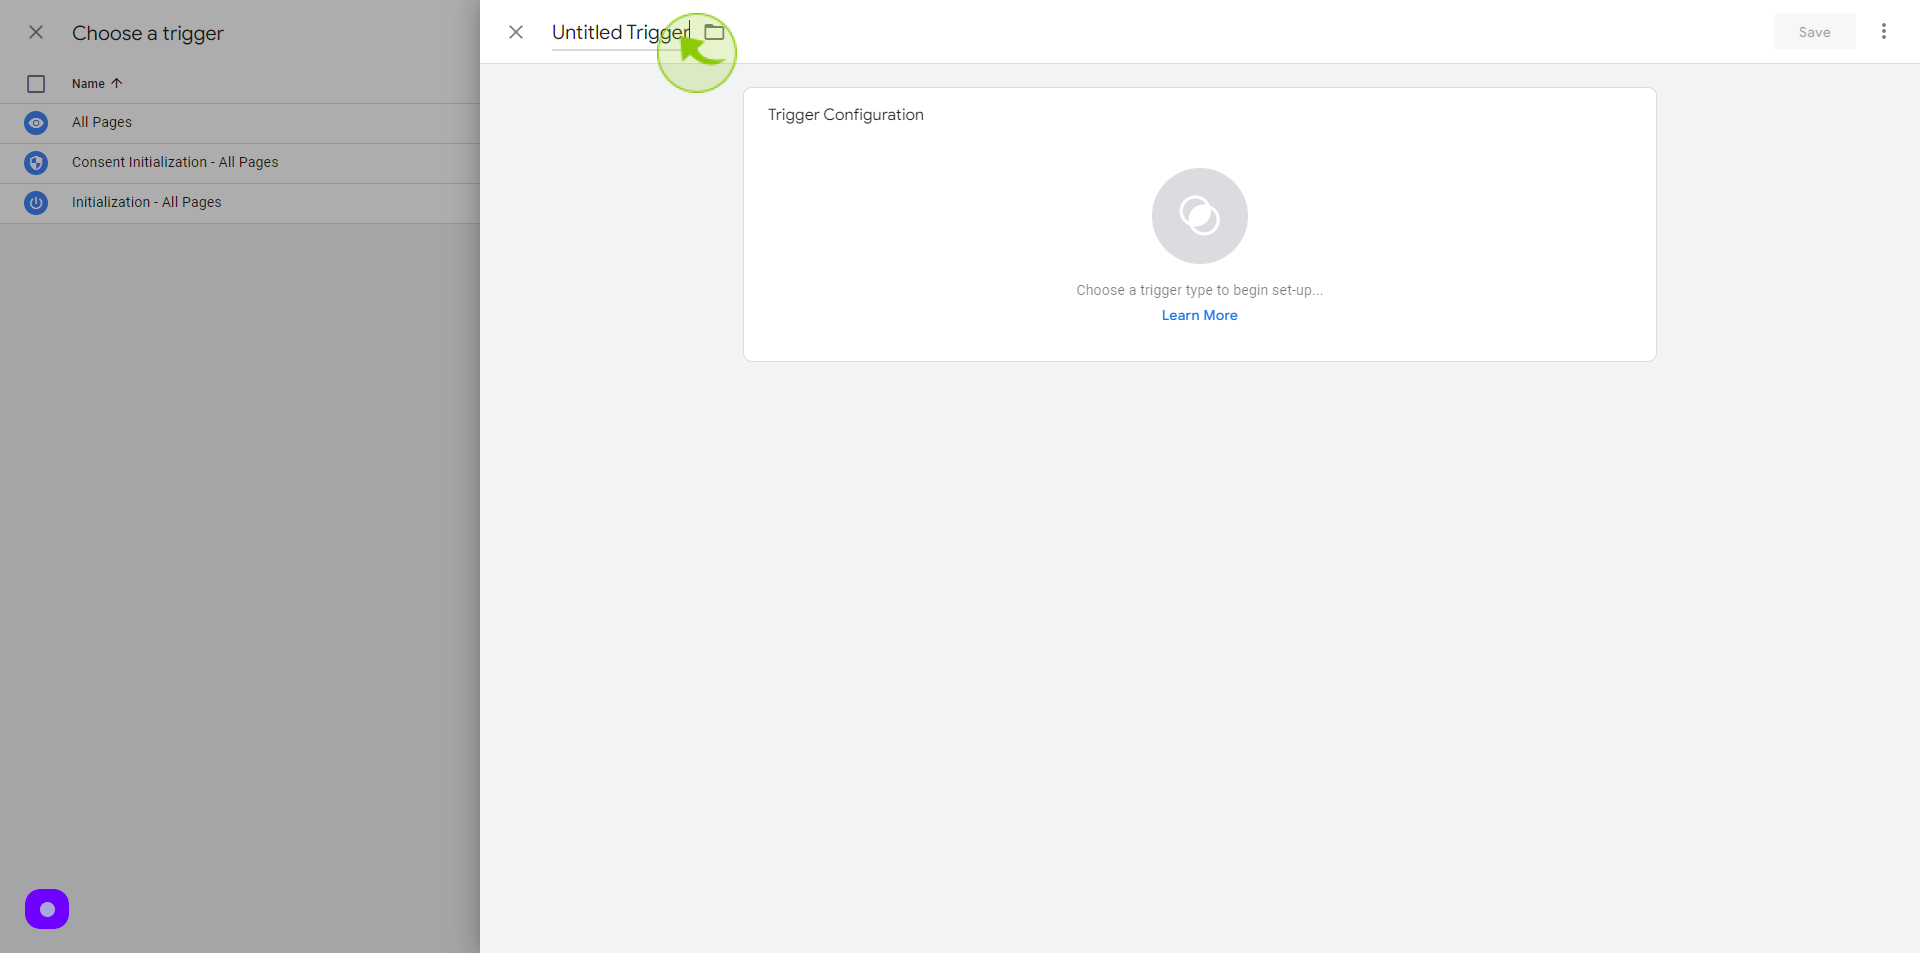
Click on the "Untitled Trigger"
set a trigger name.
34
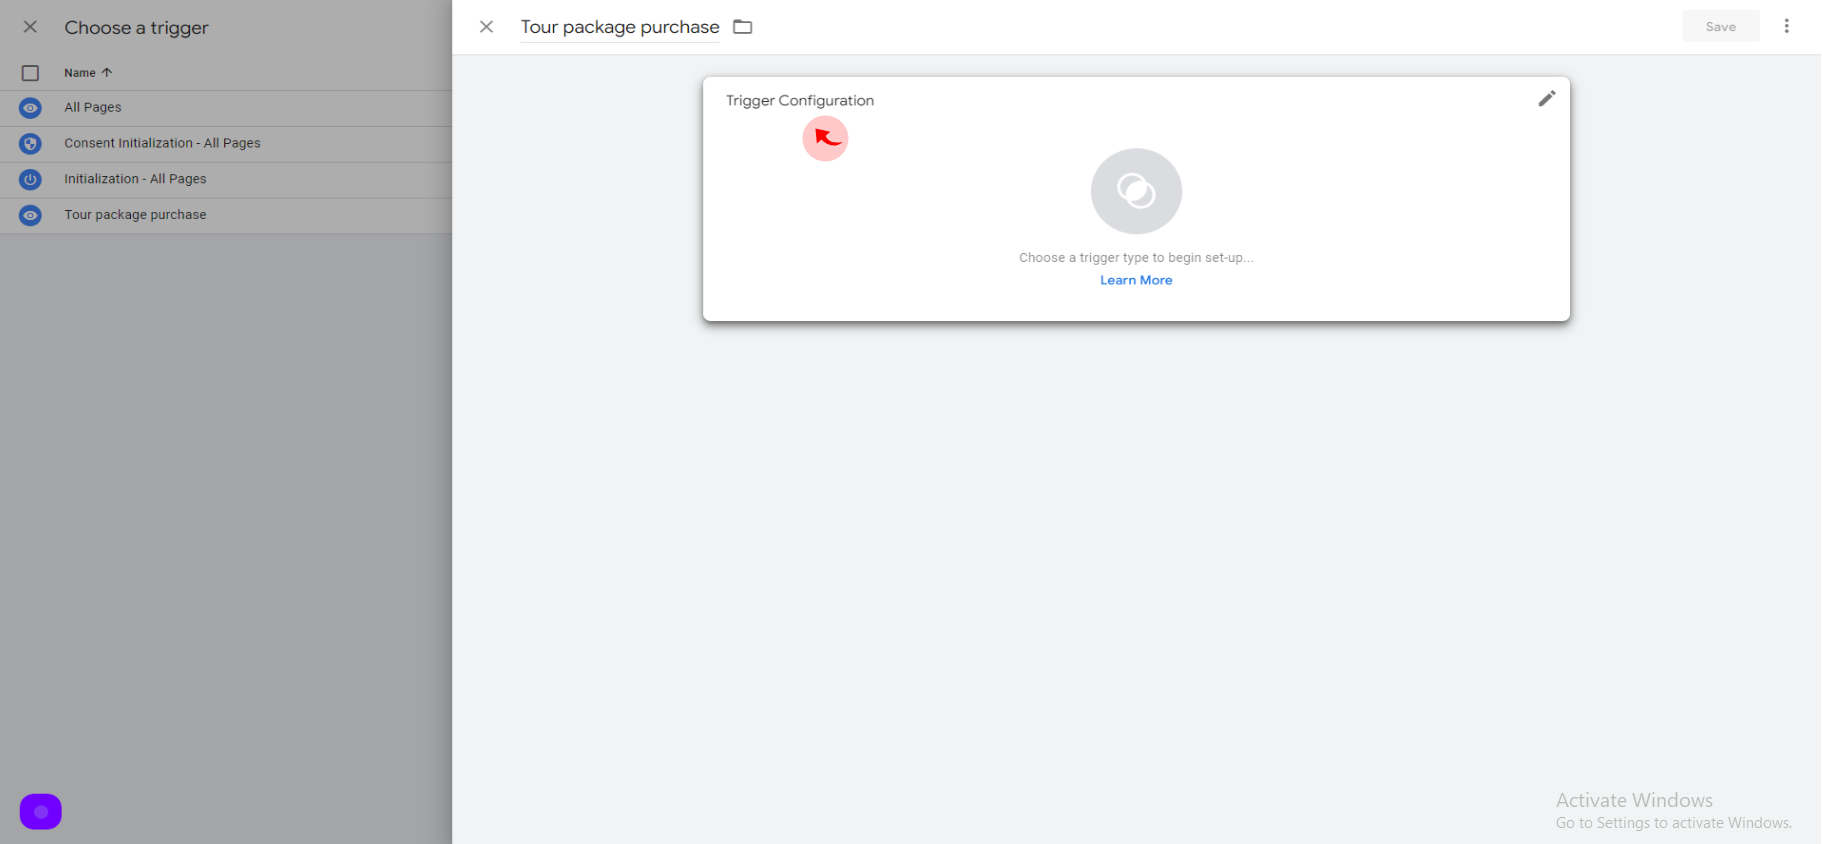
Click on "Trigger Configuration"
35
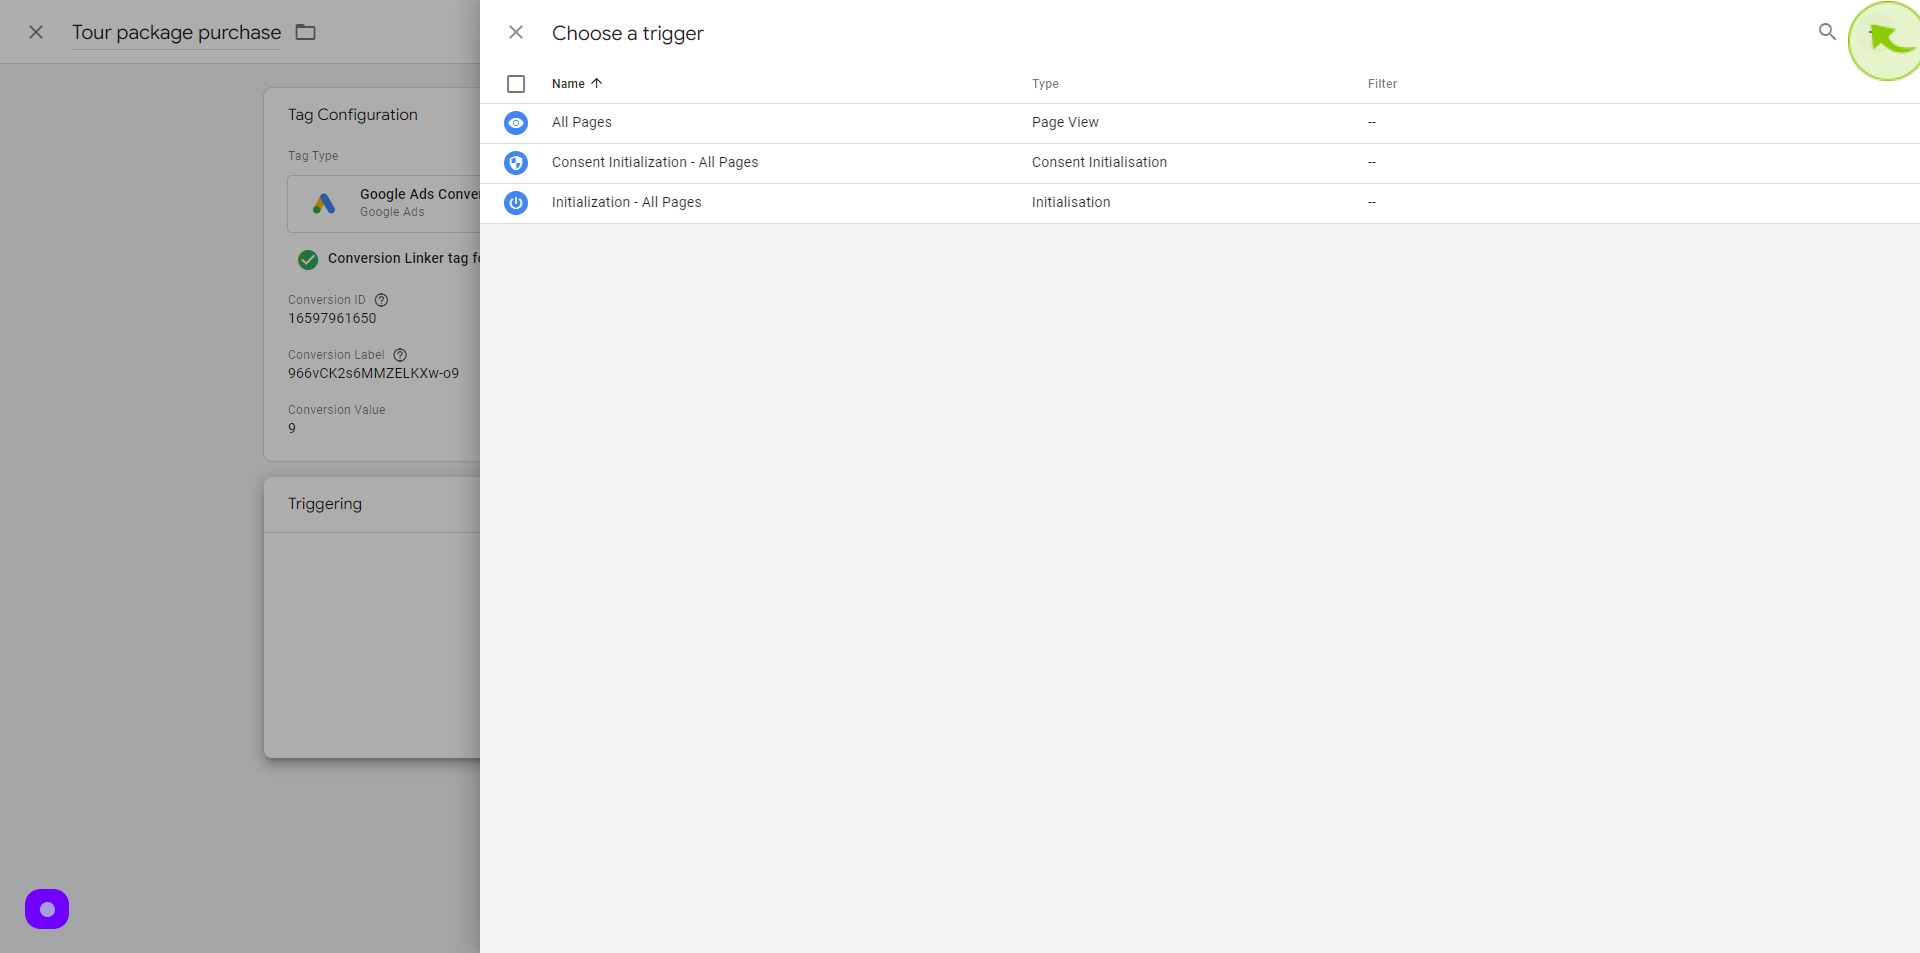
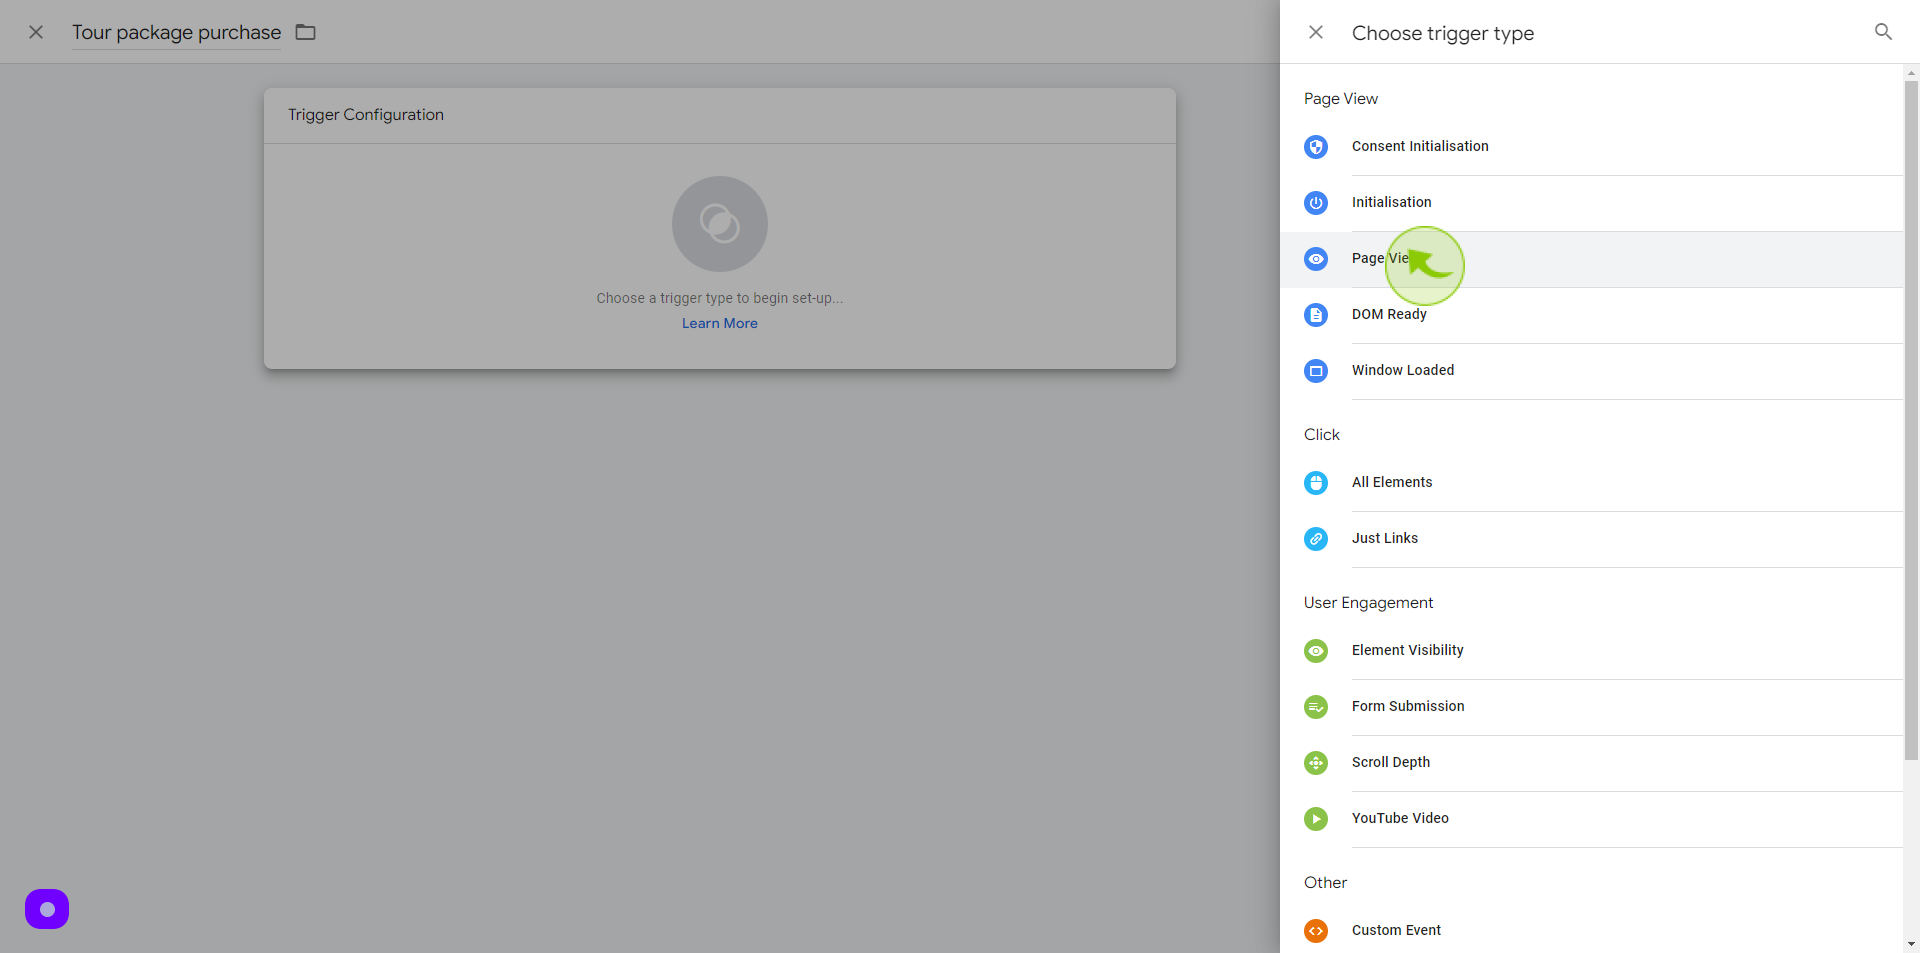
Select "Page View" from the Dropdown
36
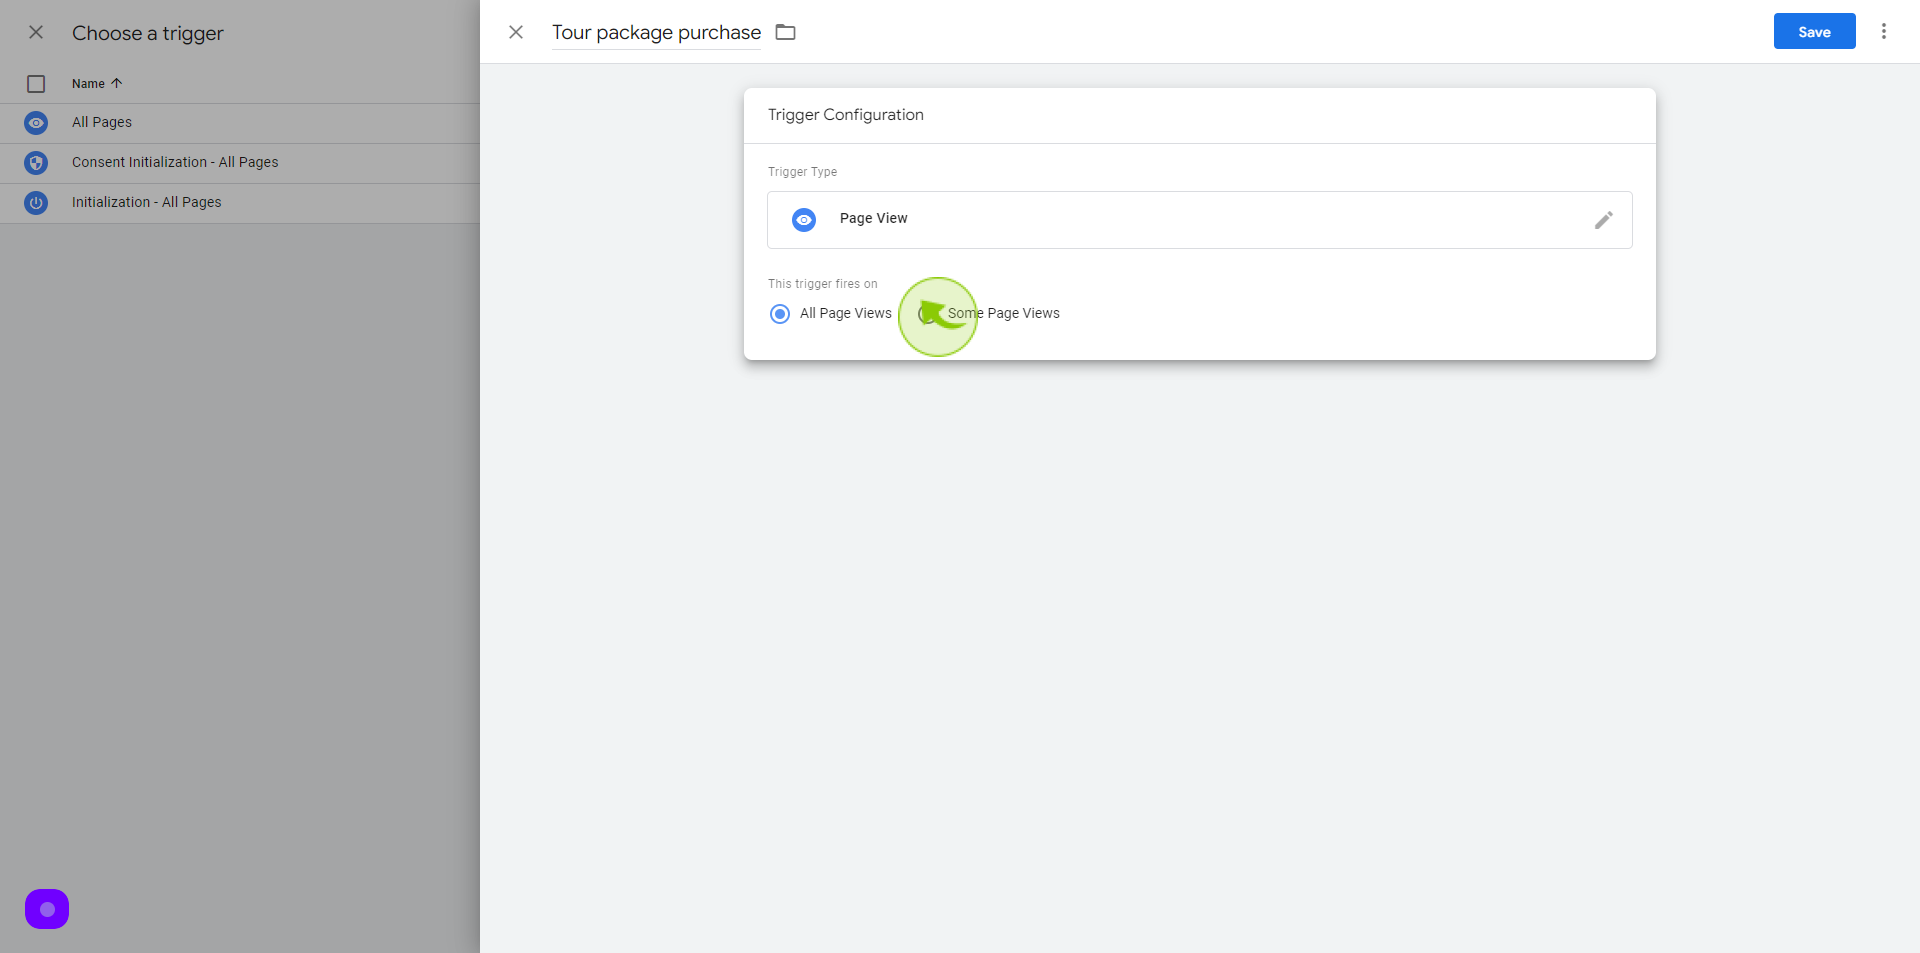
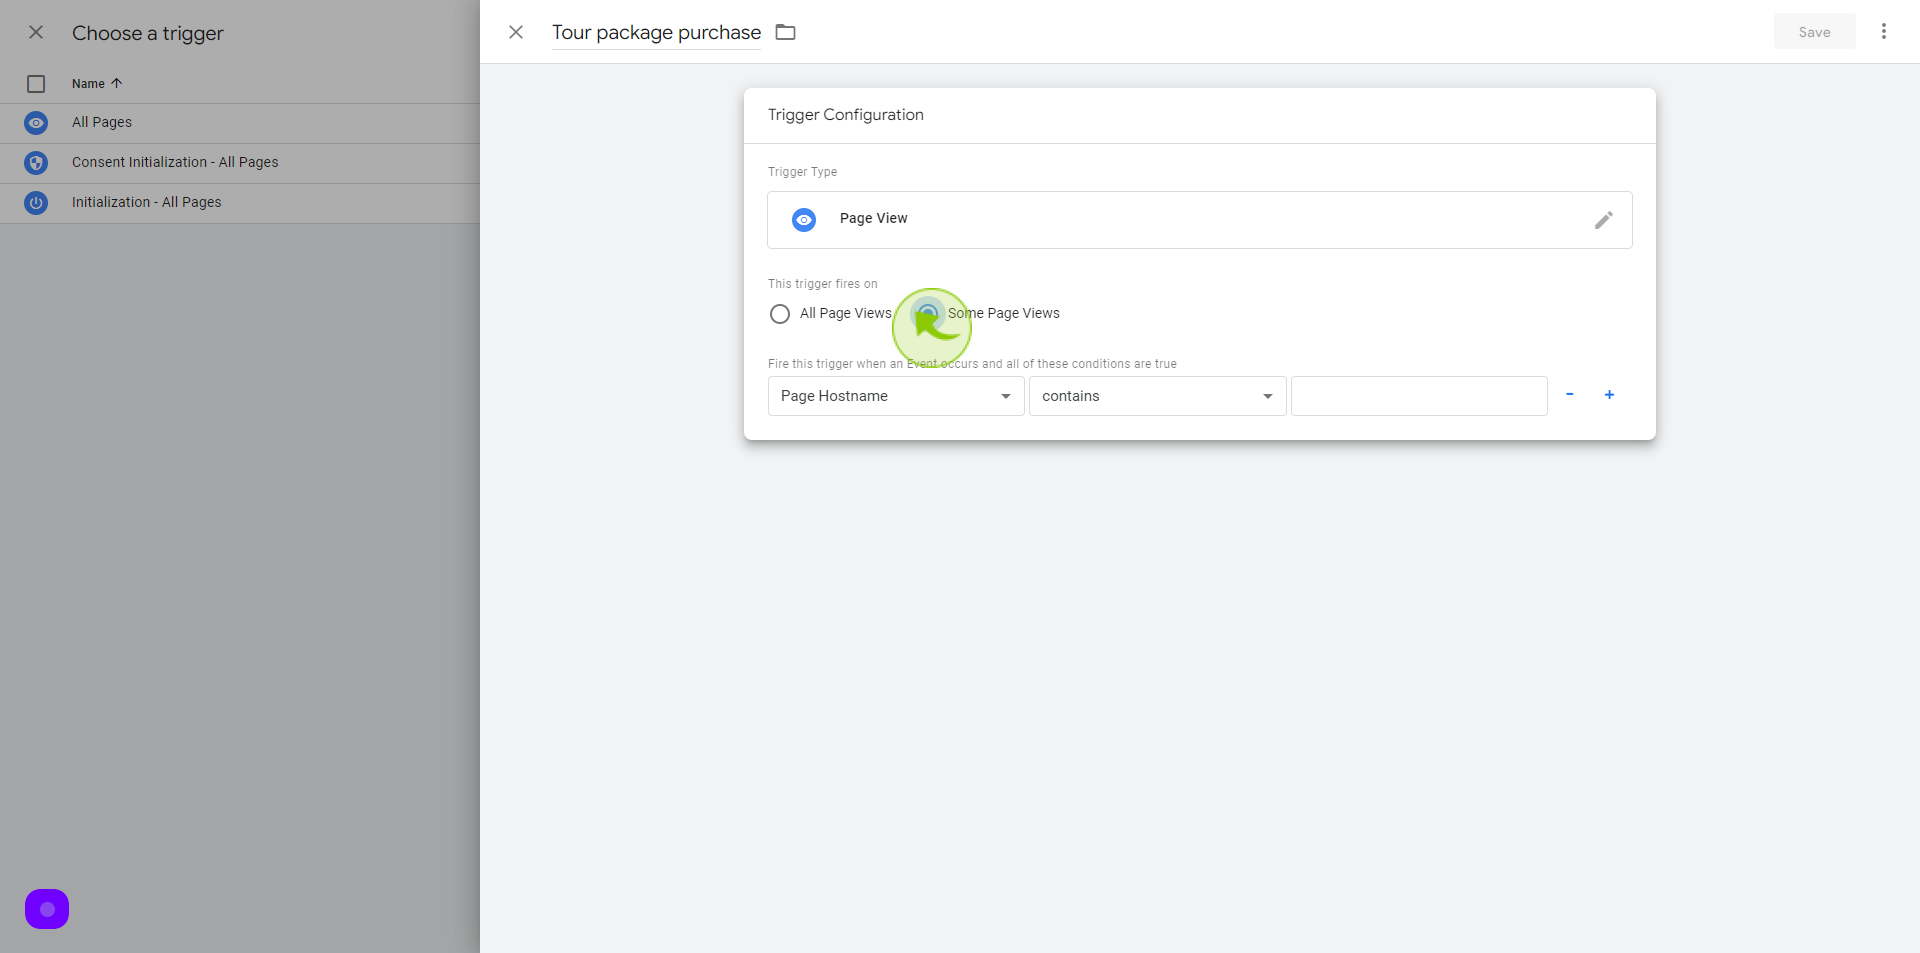
Select "Some Page Views"
You want to fire the purchase event on the Thank you page/ Confirmation page after someone has completed a purchase transaction
37
Click here.
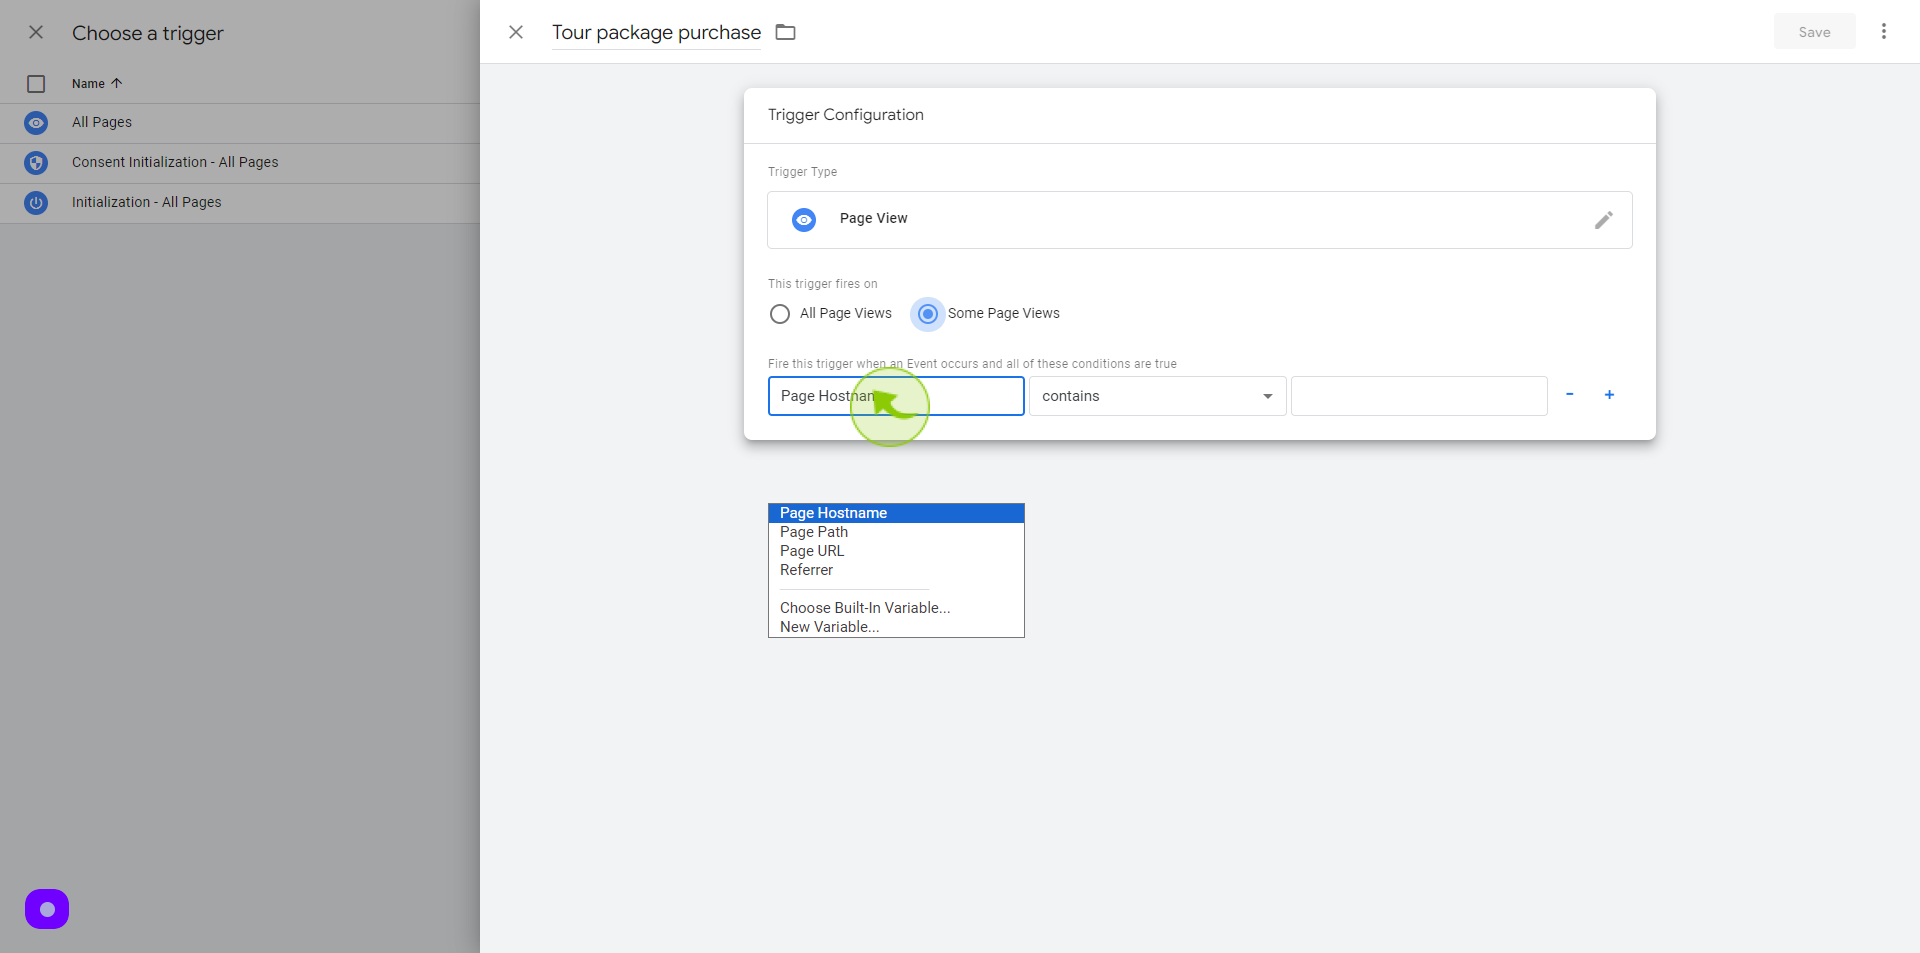
38
Click this "Dropdown"
and select page URL
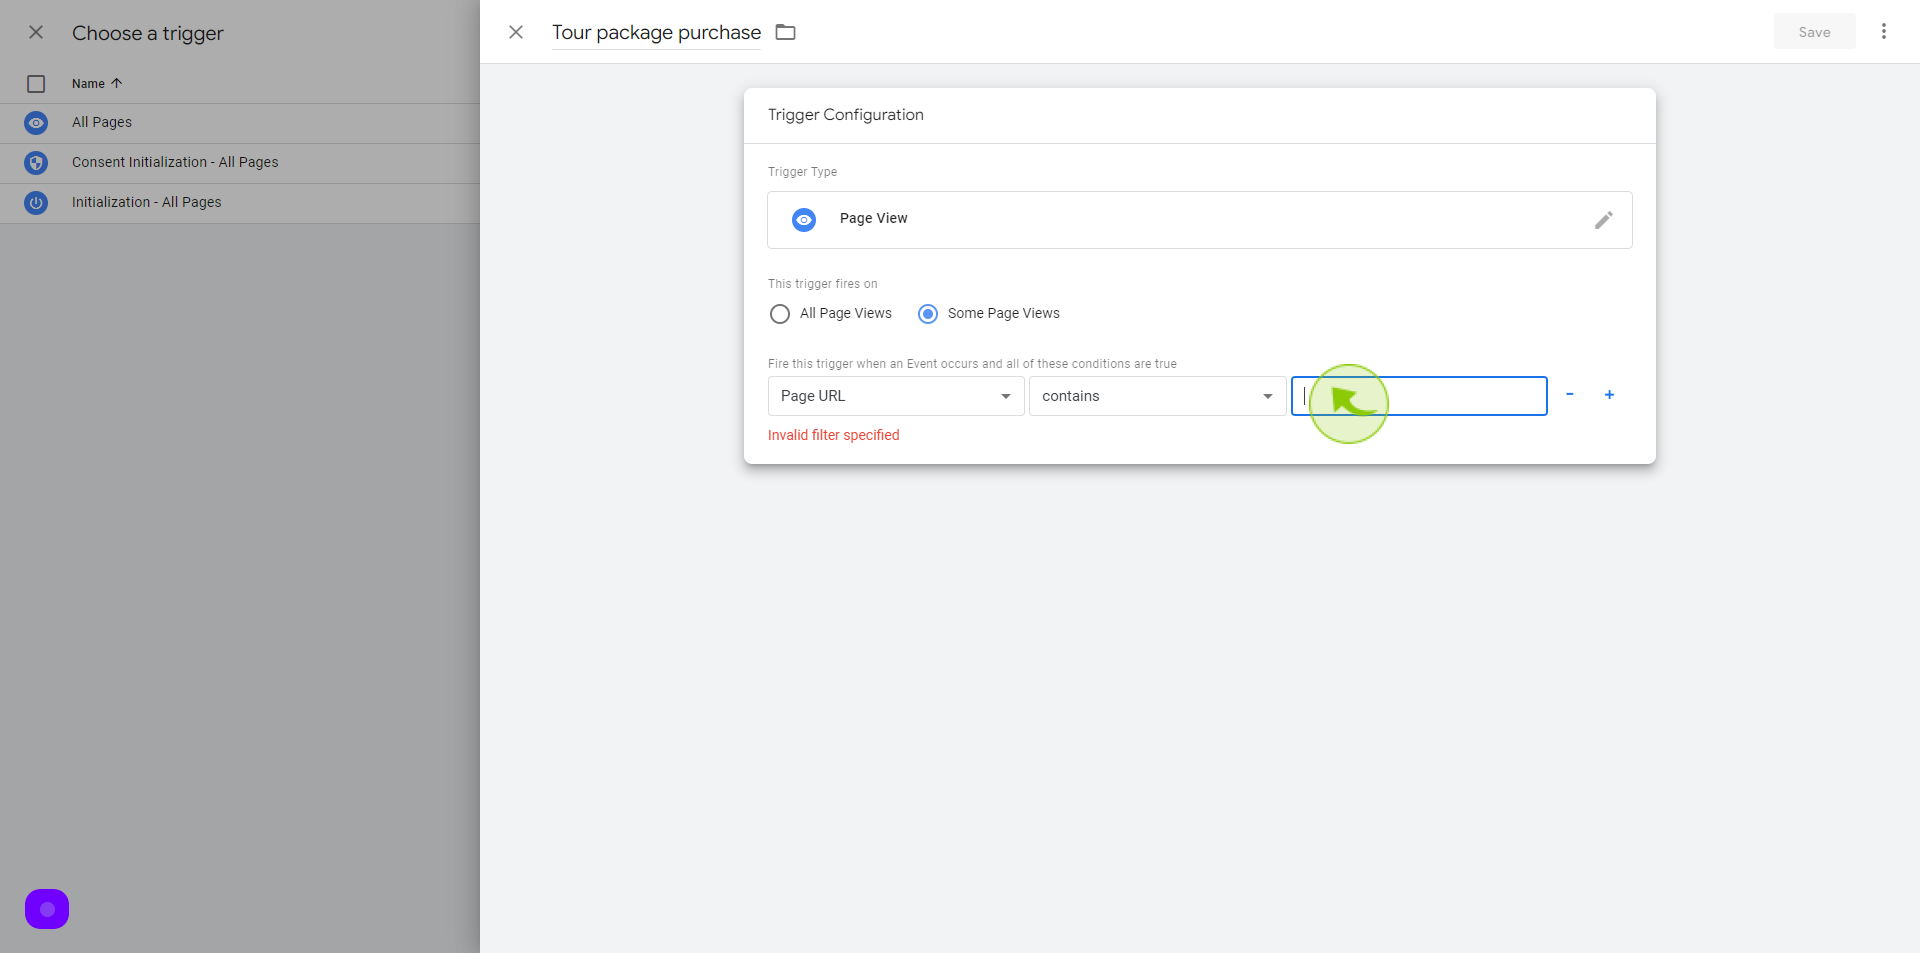
39
Click this "Text" field.
Enter your page URL
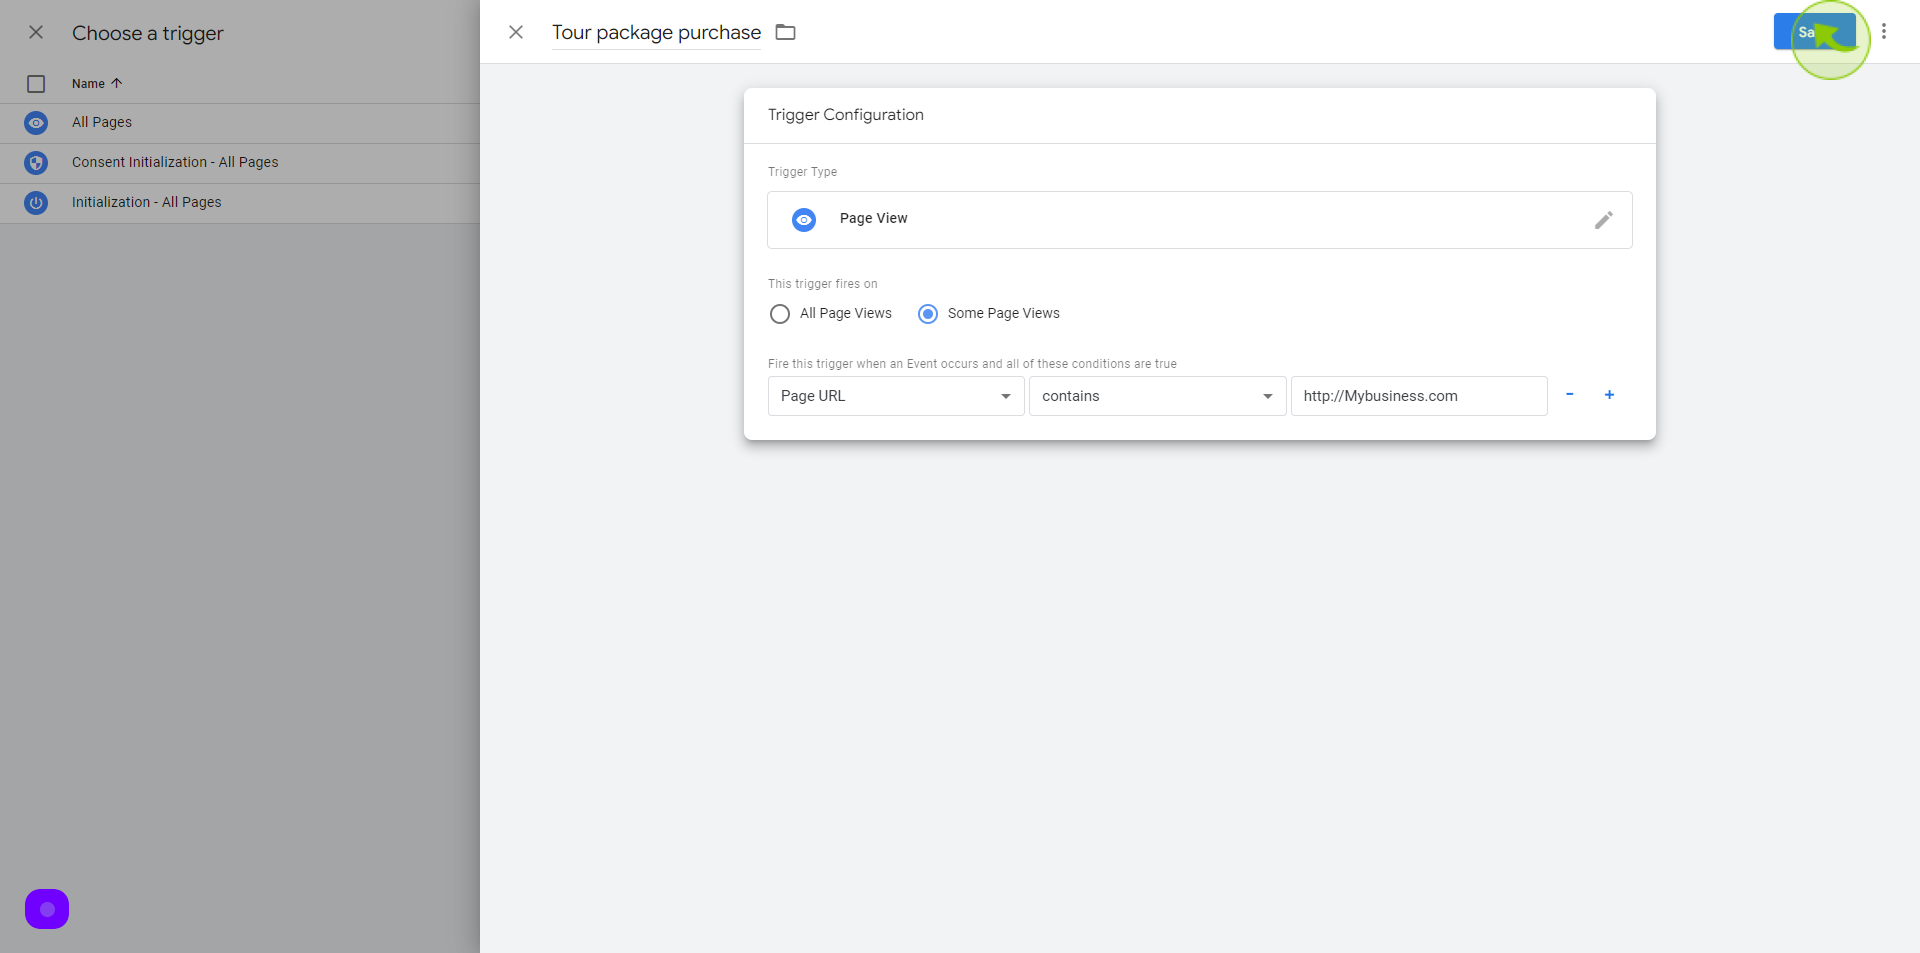
40
Click on "Save"
41
Click on "Save"
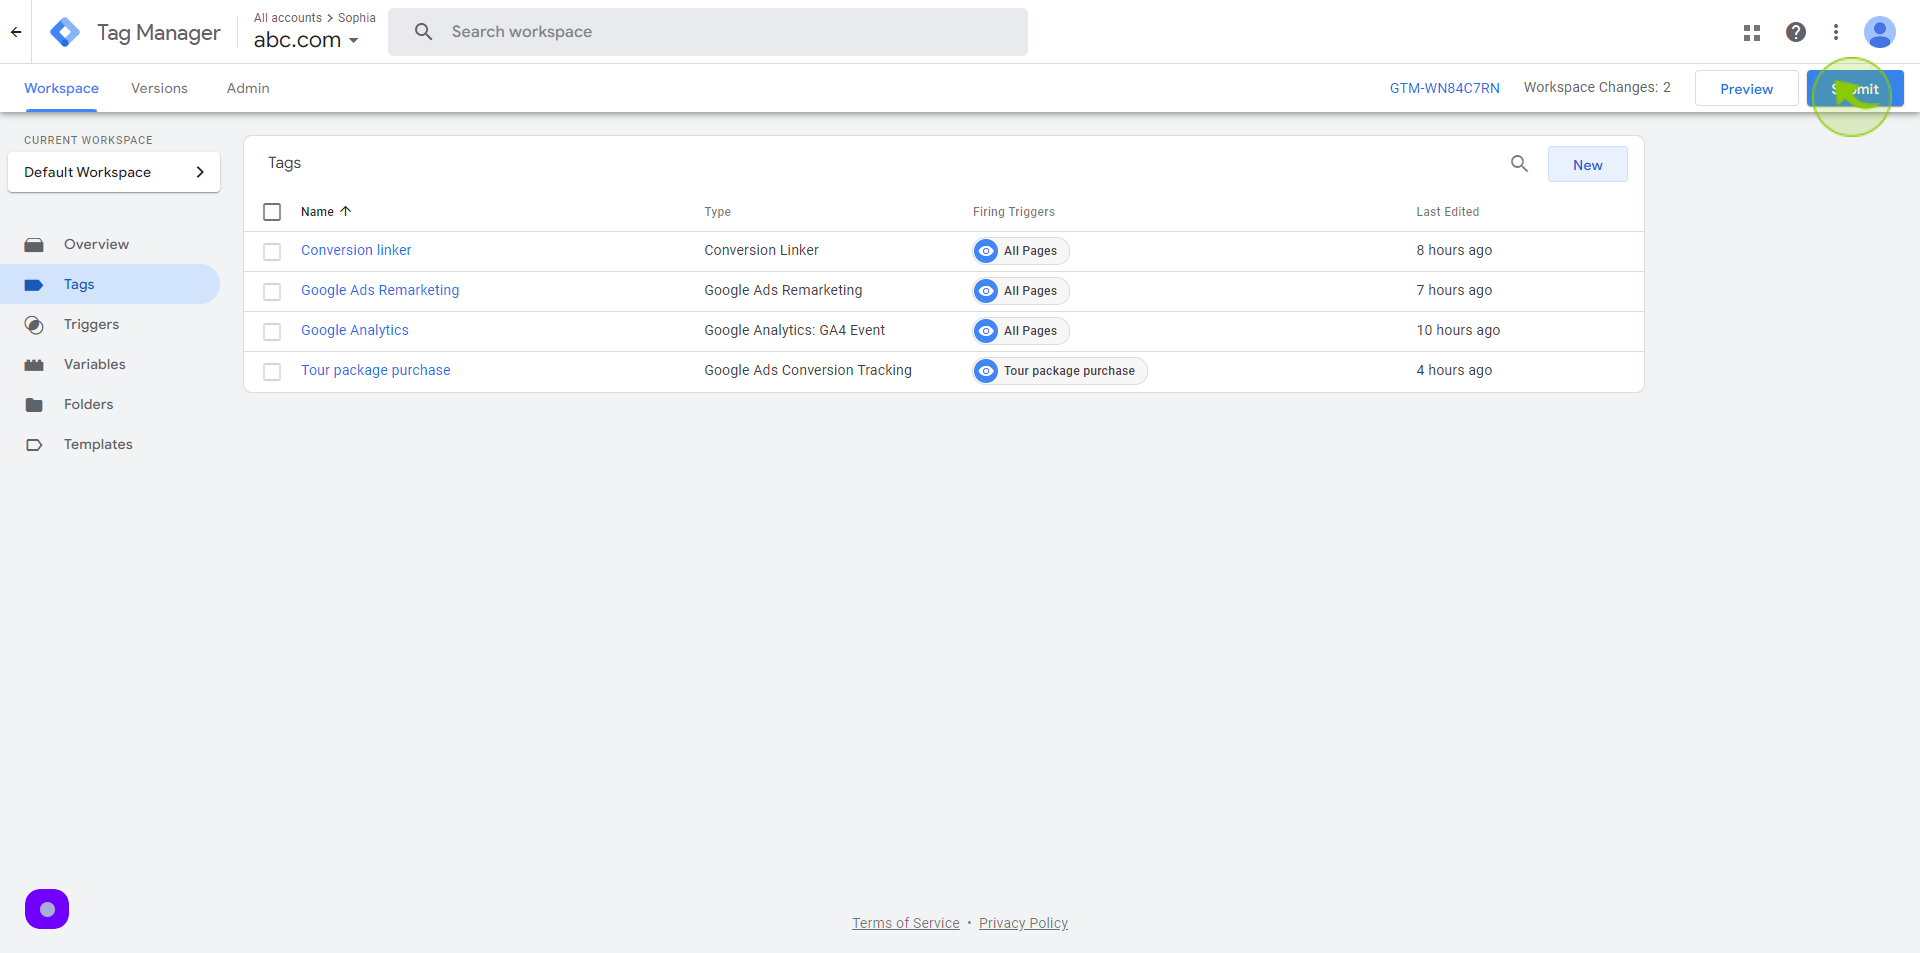
42
Click "Submit"
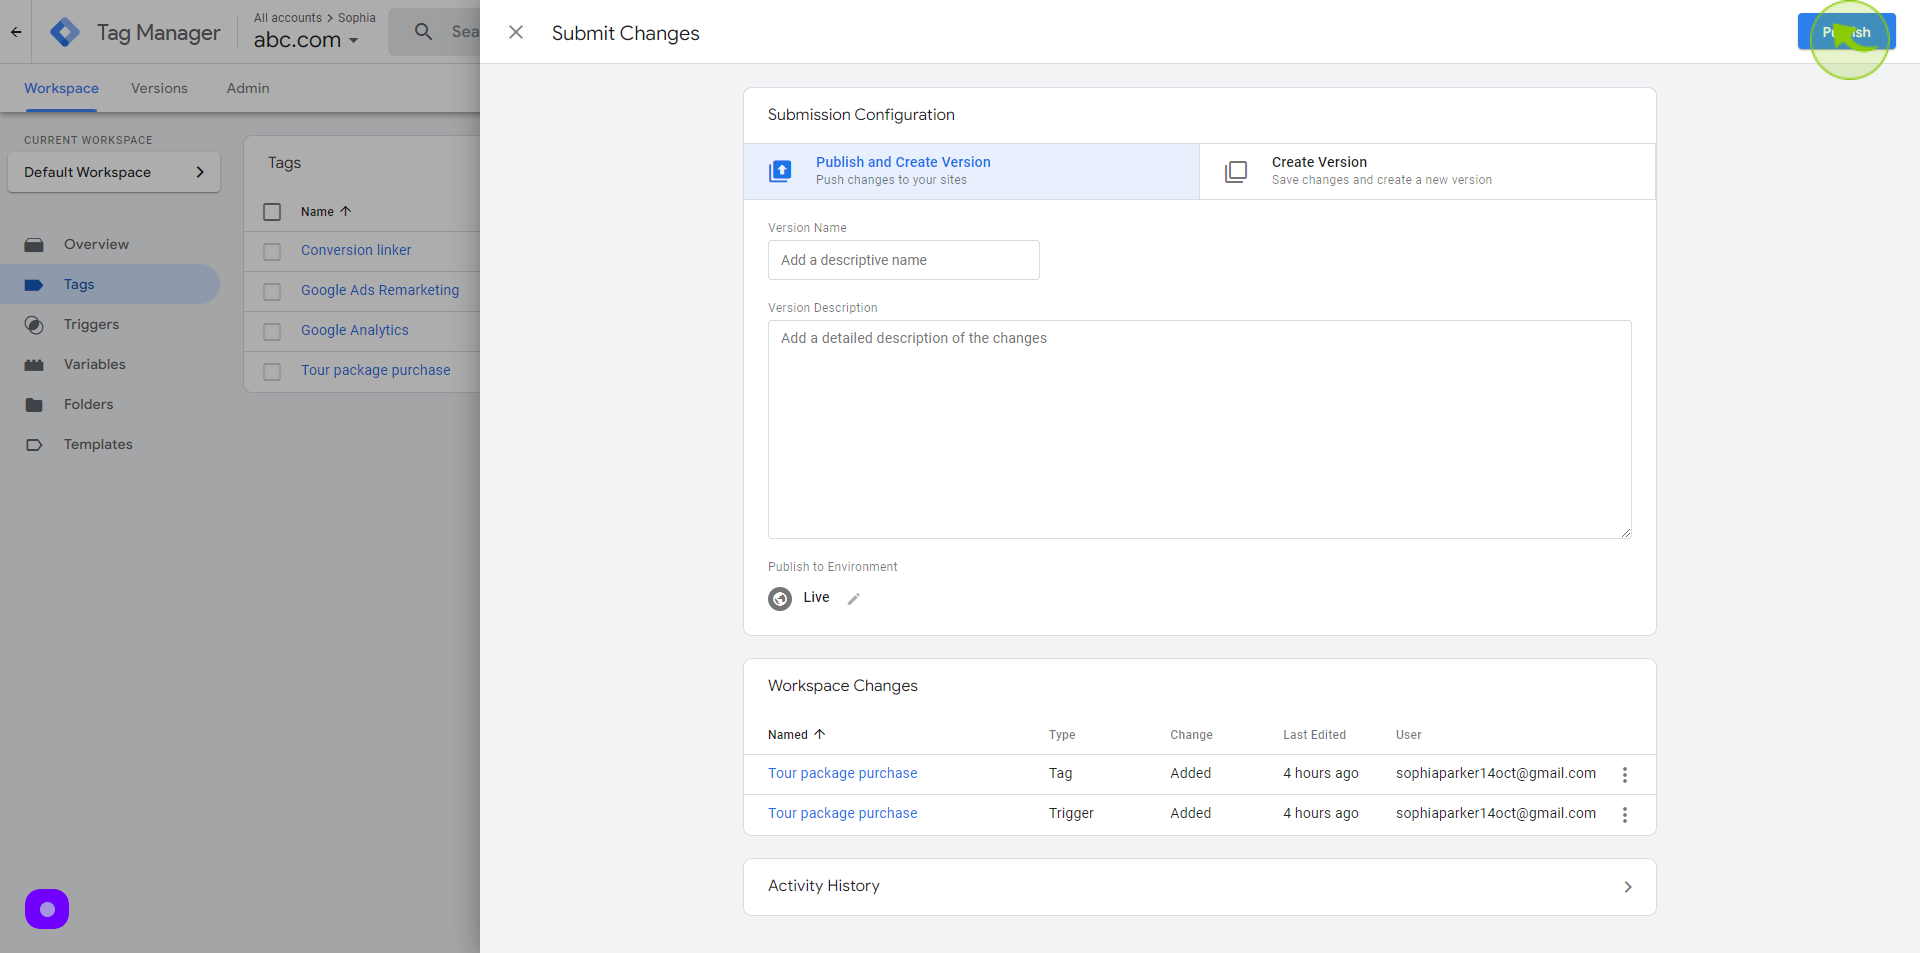
43
Click "Publish"
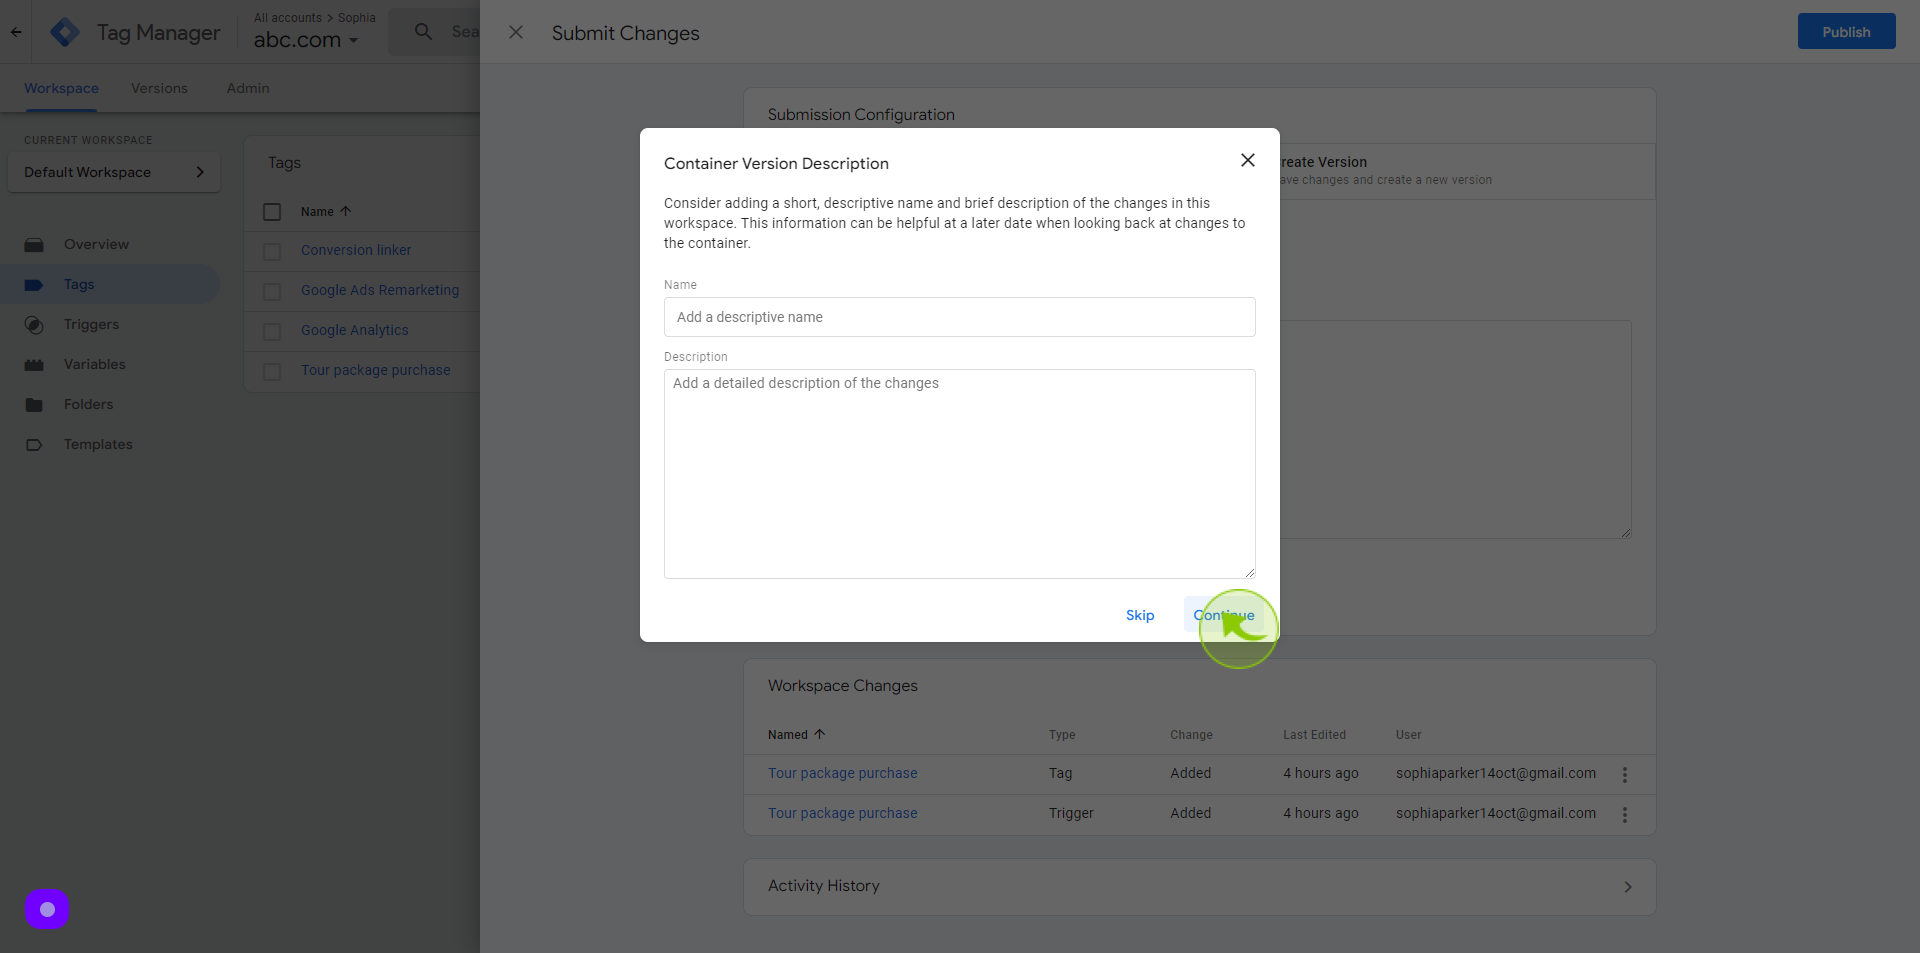
44
Click "Continue"
45
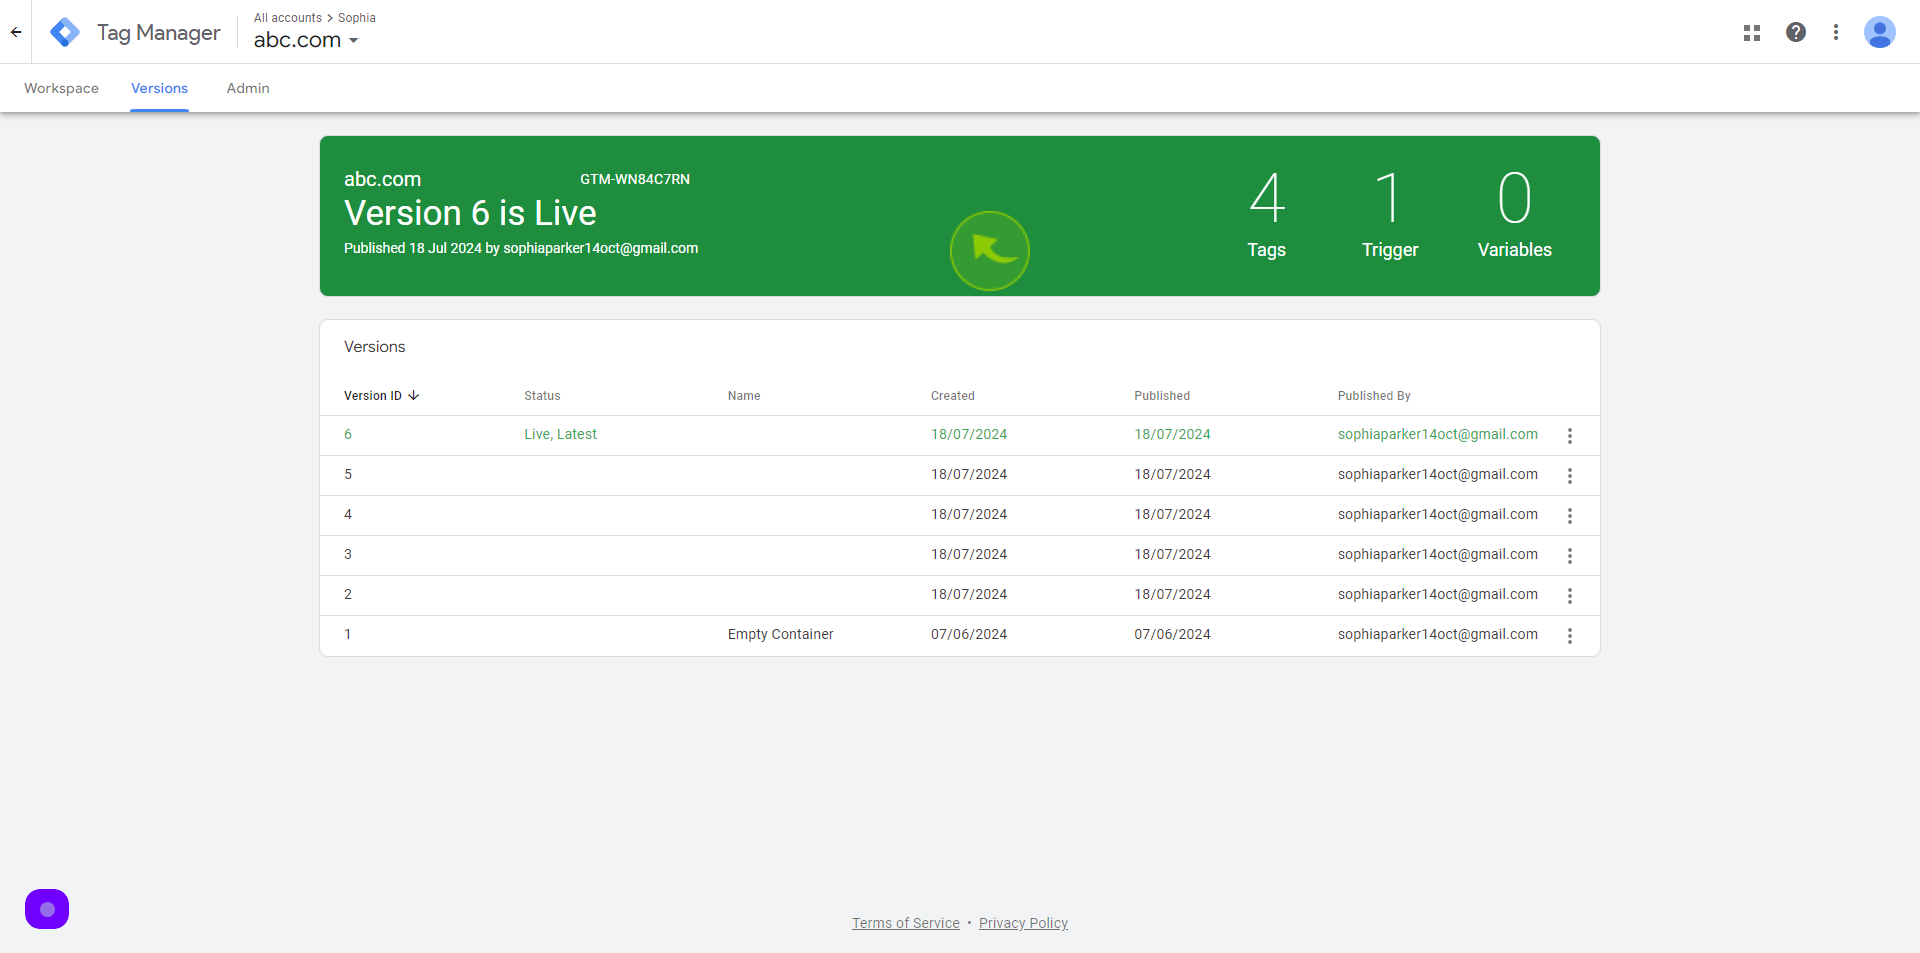
Click "Close screen"
Then you should see this confirmation by showing the most up-to-date version. Click on "X"
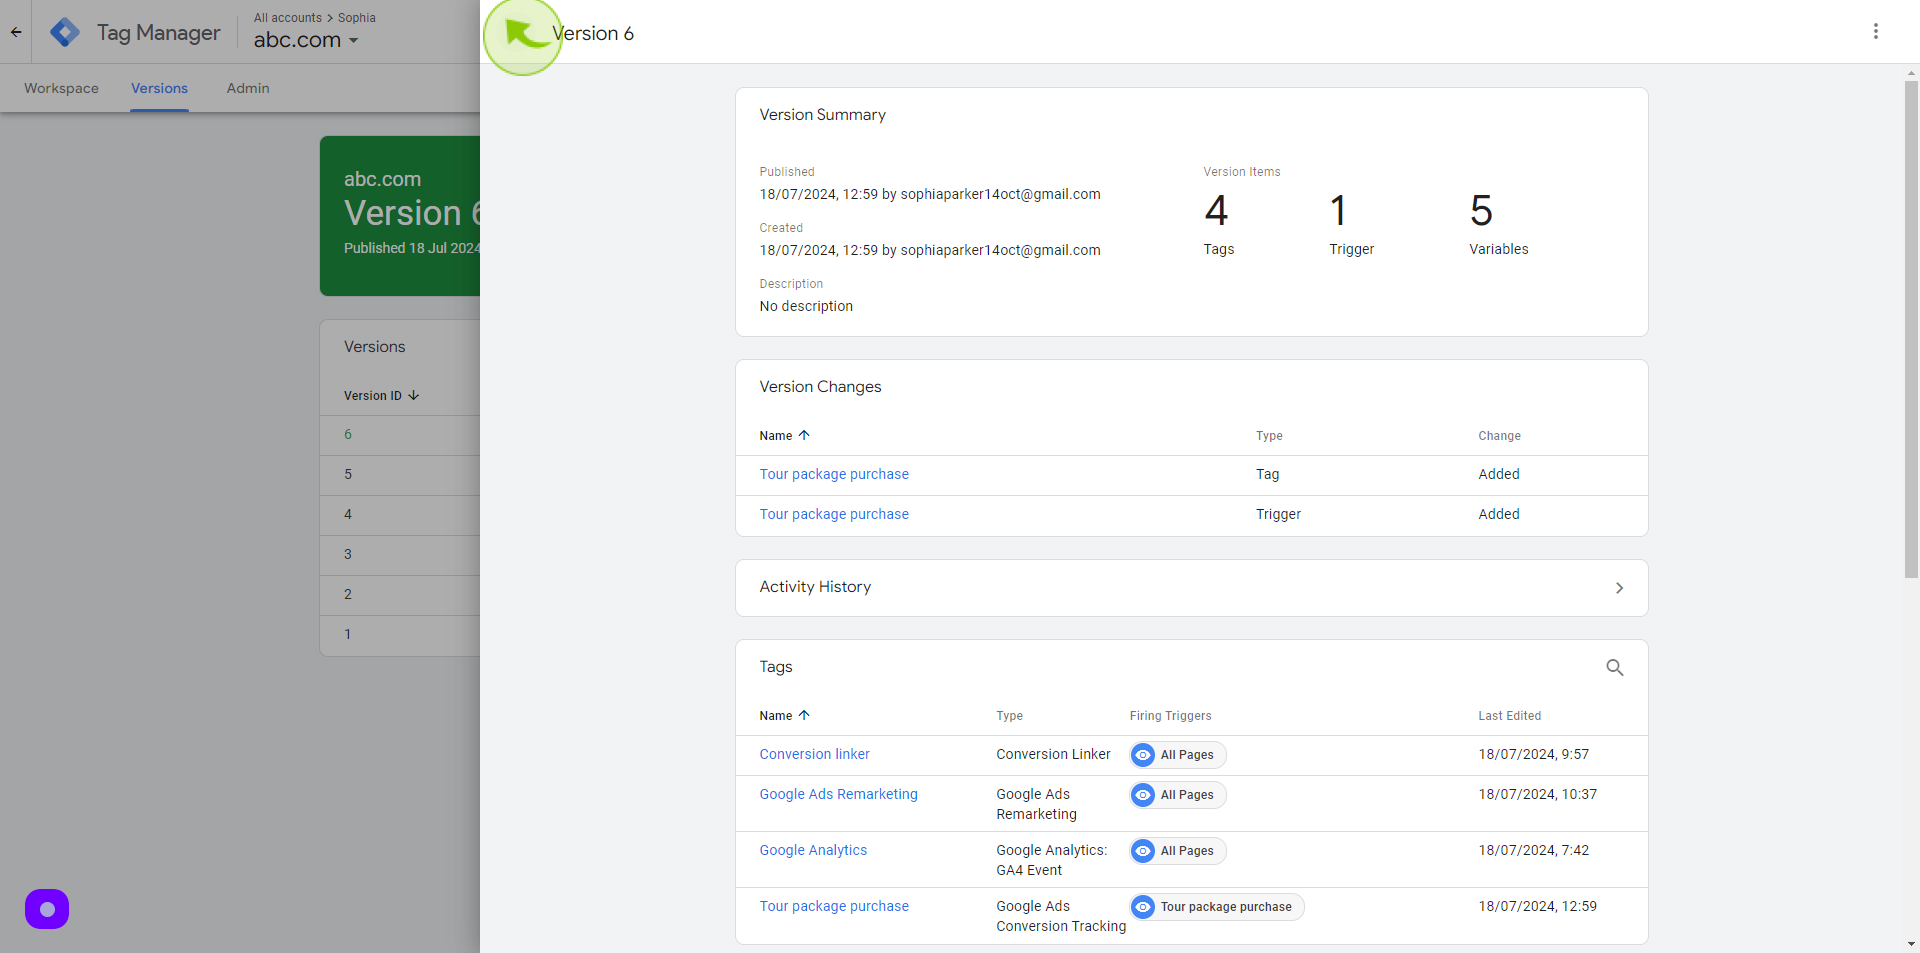
46
There you have it, you have successfully set-up the "Purchase Tracking" Tag
Process is completed and this is how we purchase google ads conversion action and installing it in google tag manager