How to Create "Submit Lead Form" Google Ads Conversion Action in Google Ads and Set it up in Google Tag Manager ?
|
 ads.google
|
ads.google
|
Jul 19, 2024
|
50 Steps
Learn how to track valuable lead form submissions in Google Ads. This document will walk you through the step-by-step process of creating a "Submit Lead Form" conversion action in Google Ads and setting it up using Google Tag Manager. You'll learn how to implement the necessary tracking code, define conversion events, and configure Google Ads to accurately measure and attribute lead conversions. By following these instructions, you can gain valuable insights into your lead generation campaigns and optimize your advertising efforts.
How to Create "Submit Lead Form" Google Ads Conversion Action in Google Ads and Set it up in Google Tag Manager ?
|
ads.google
|
50 Steps

1
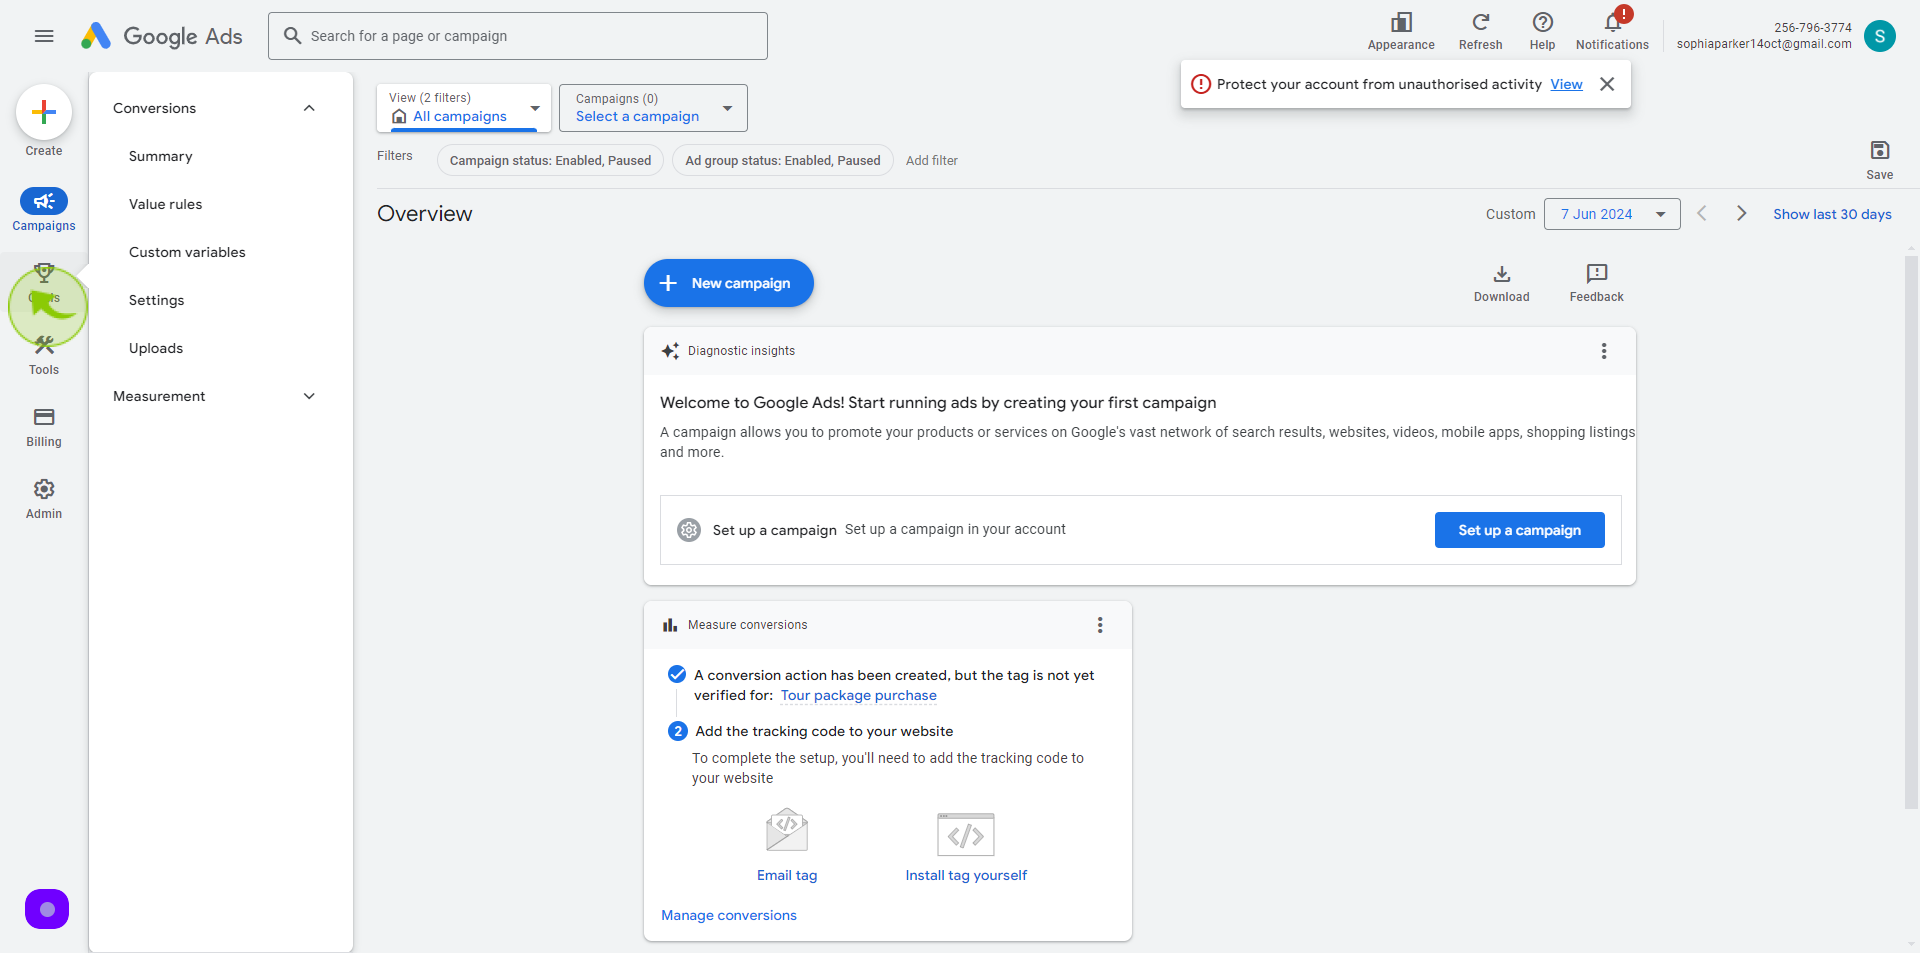
Navigate to https://ads.google.com/aw/overview?
2
Click on "Goals" tab
3
Click on "Conversions" Dropdown.
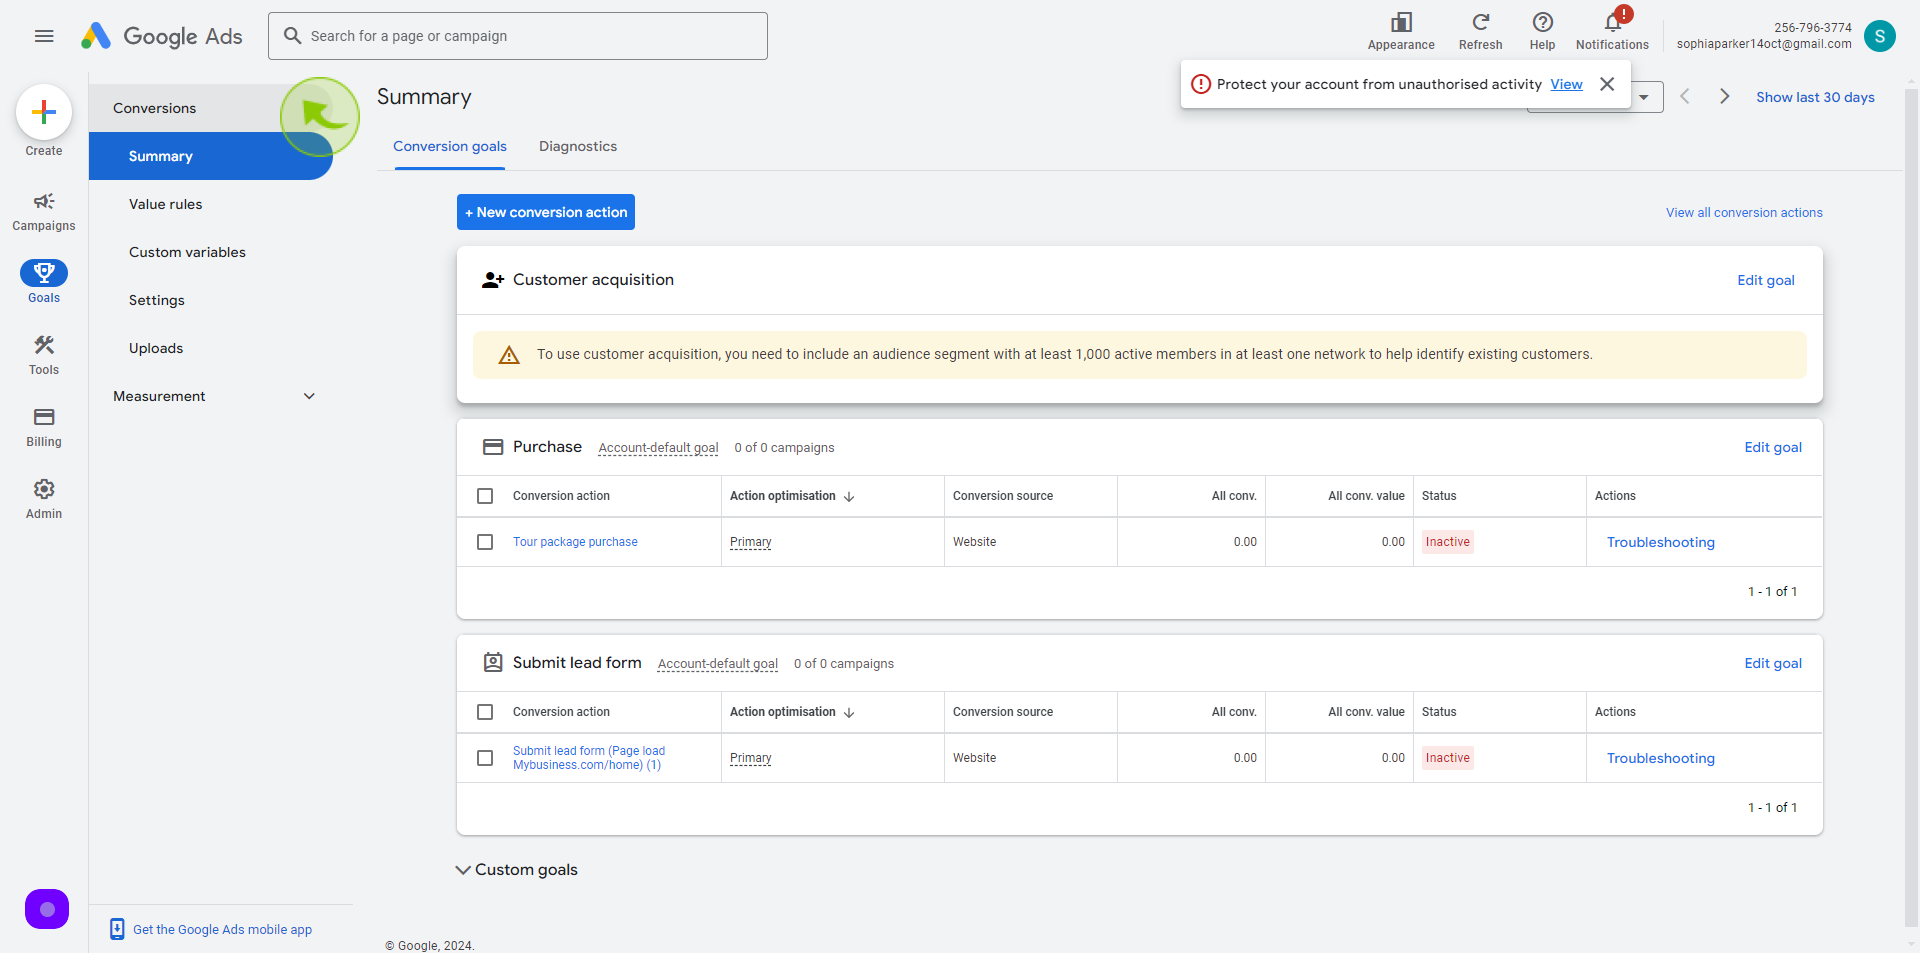
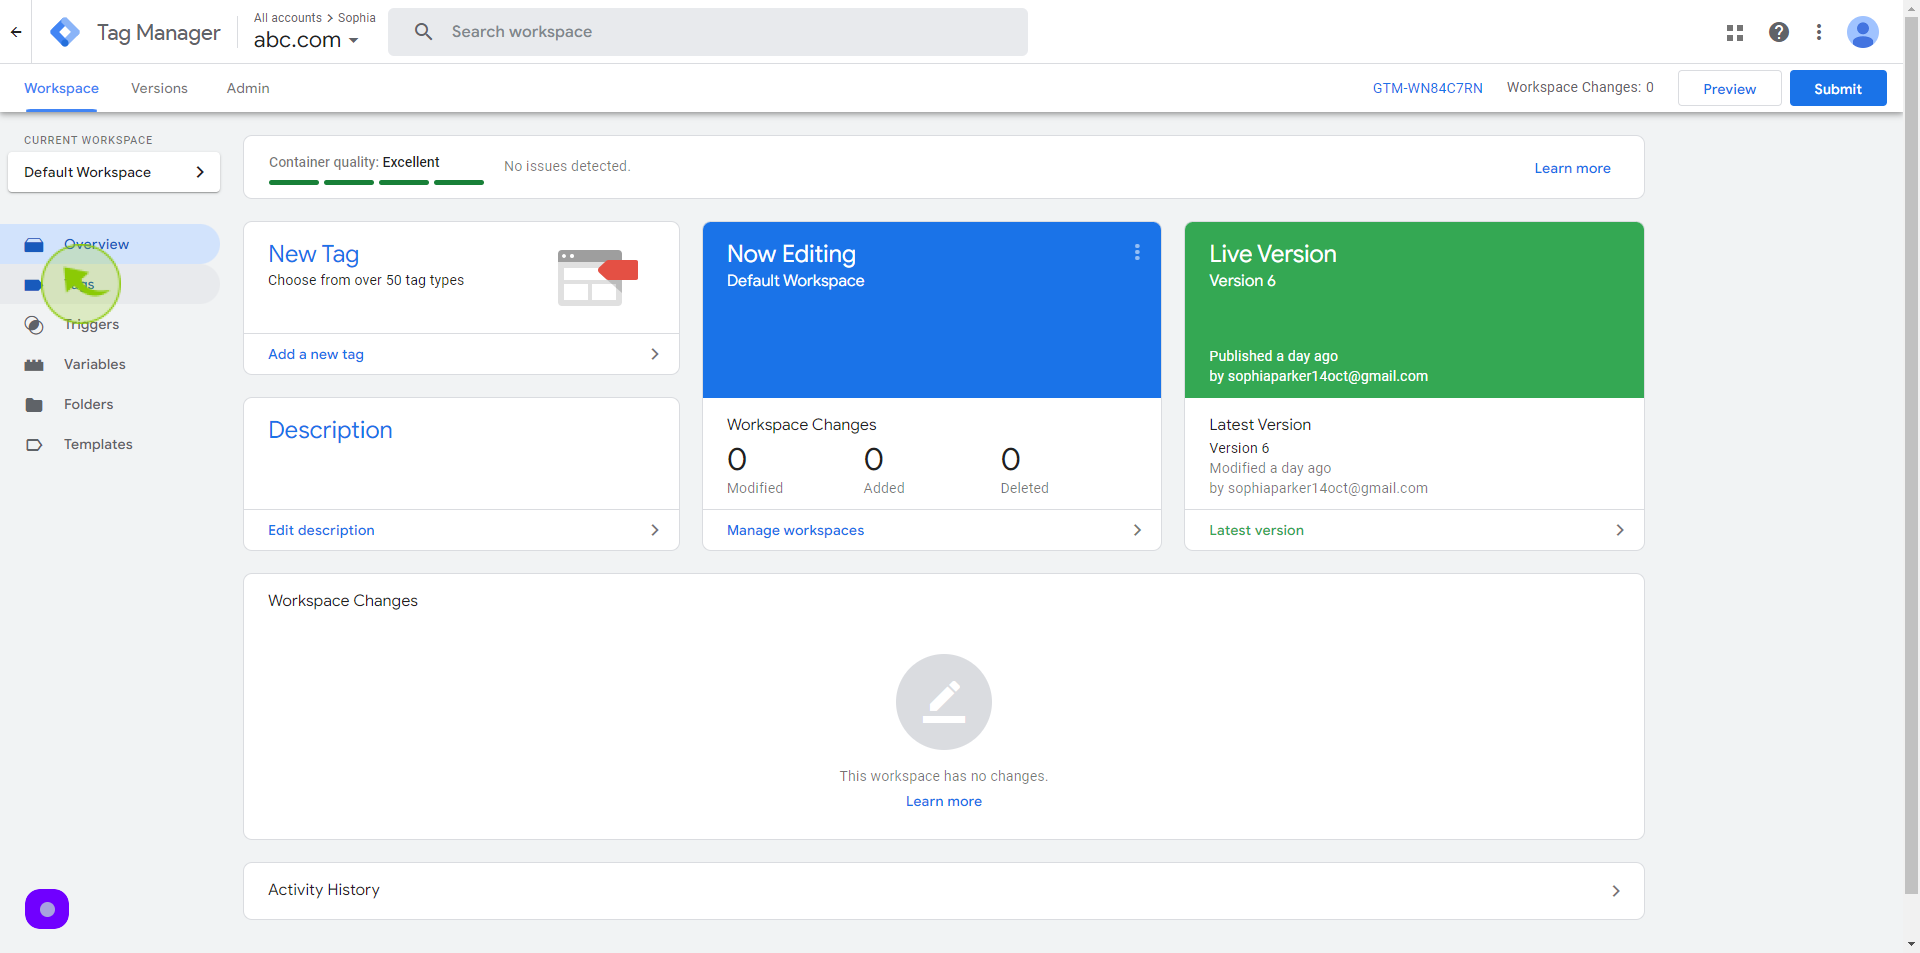
4
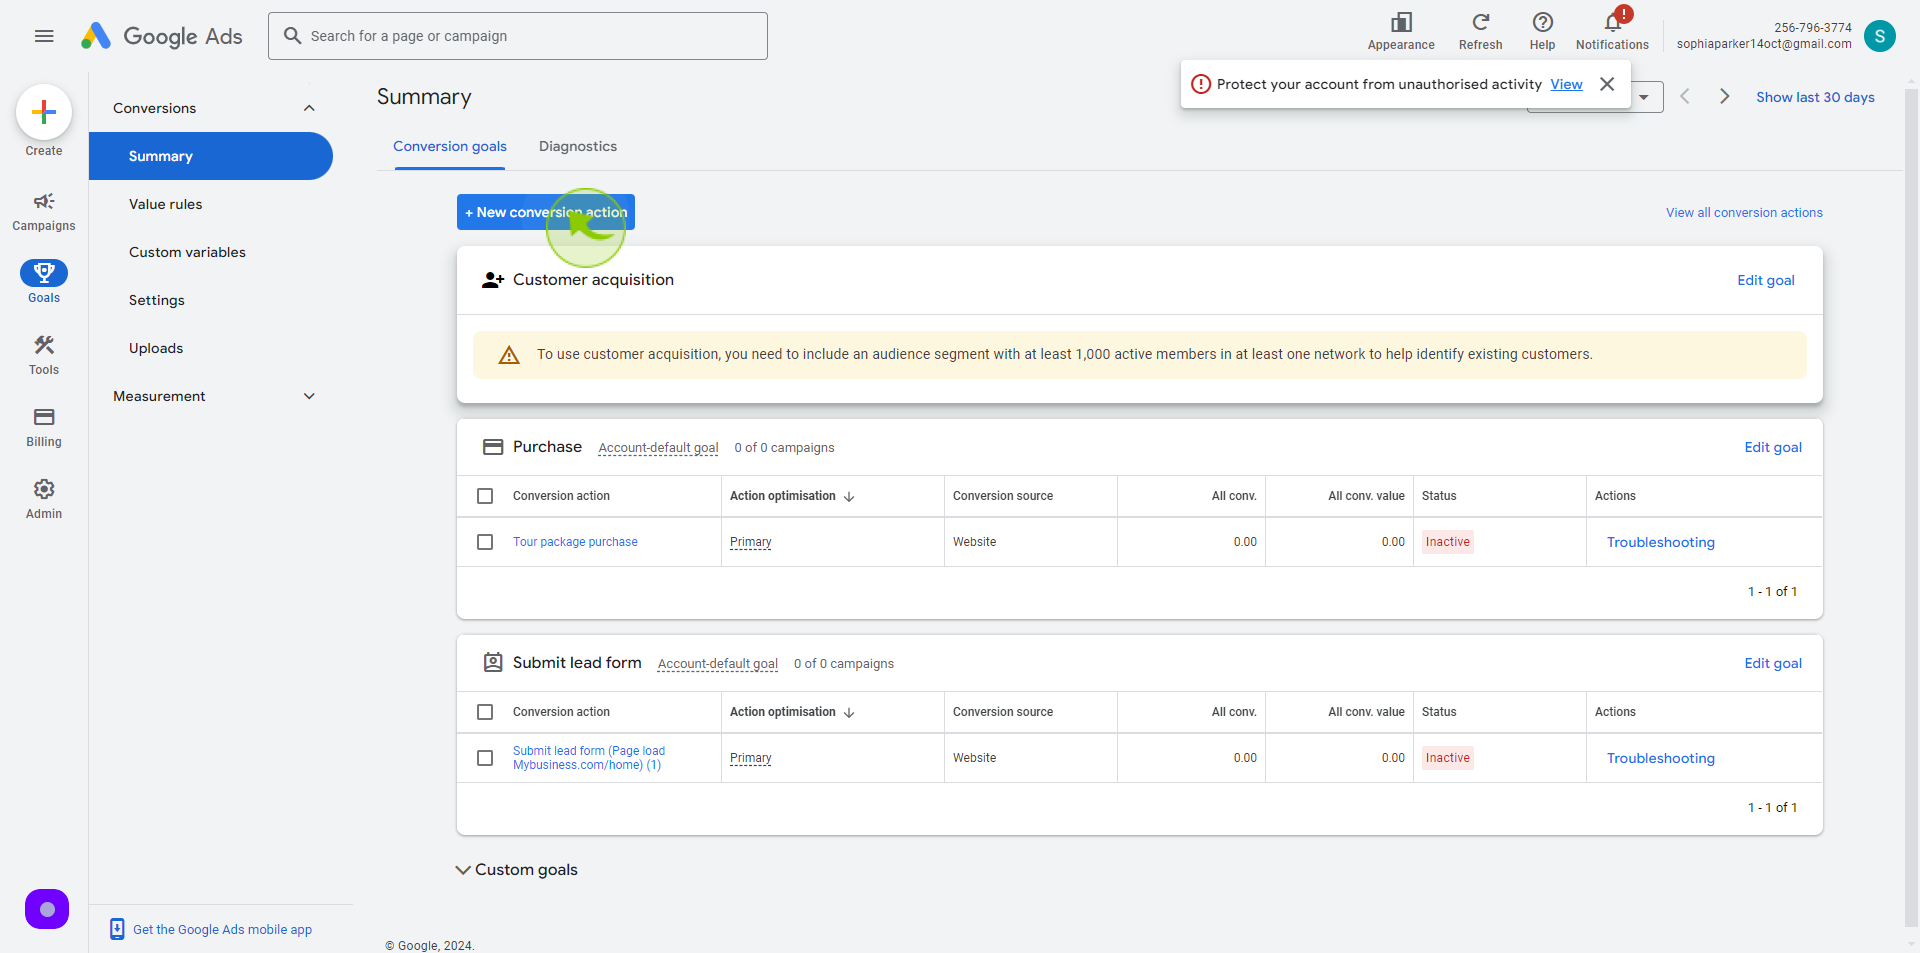
Select "Summary" under Conversions Section
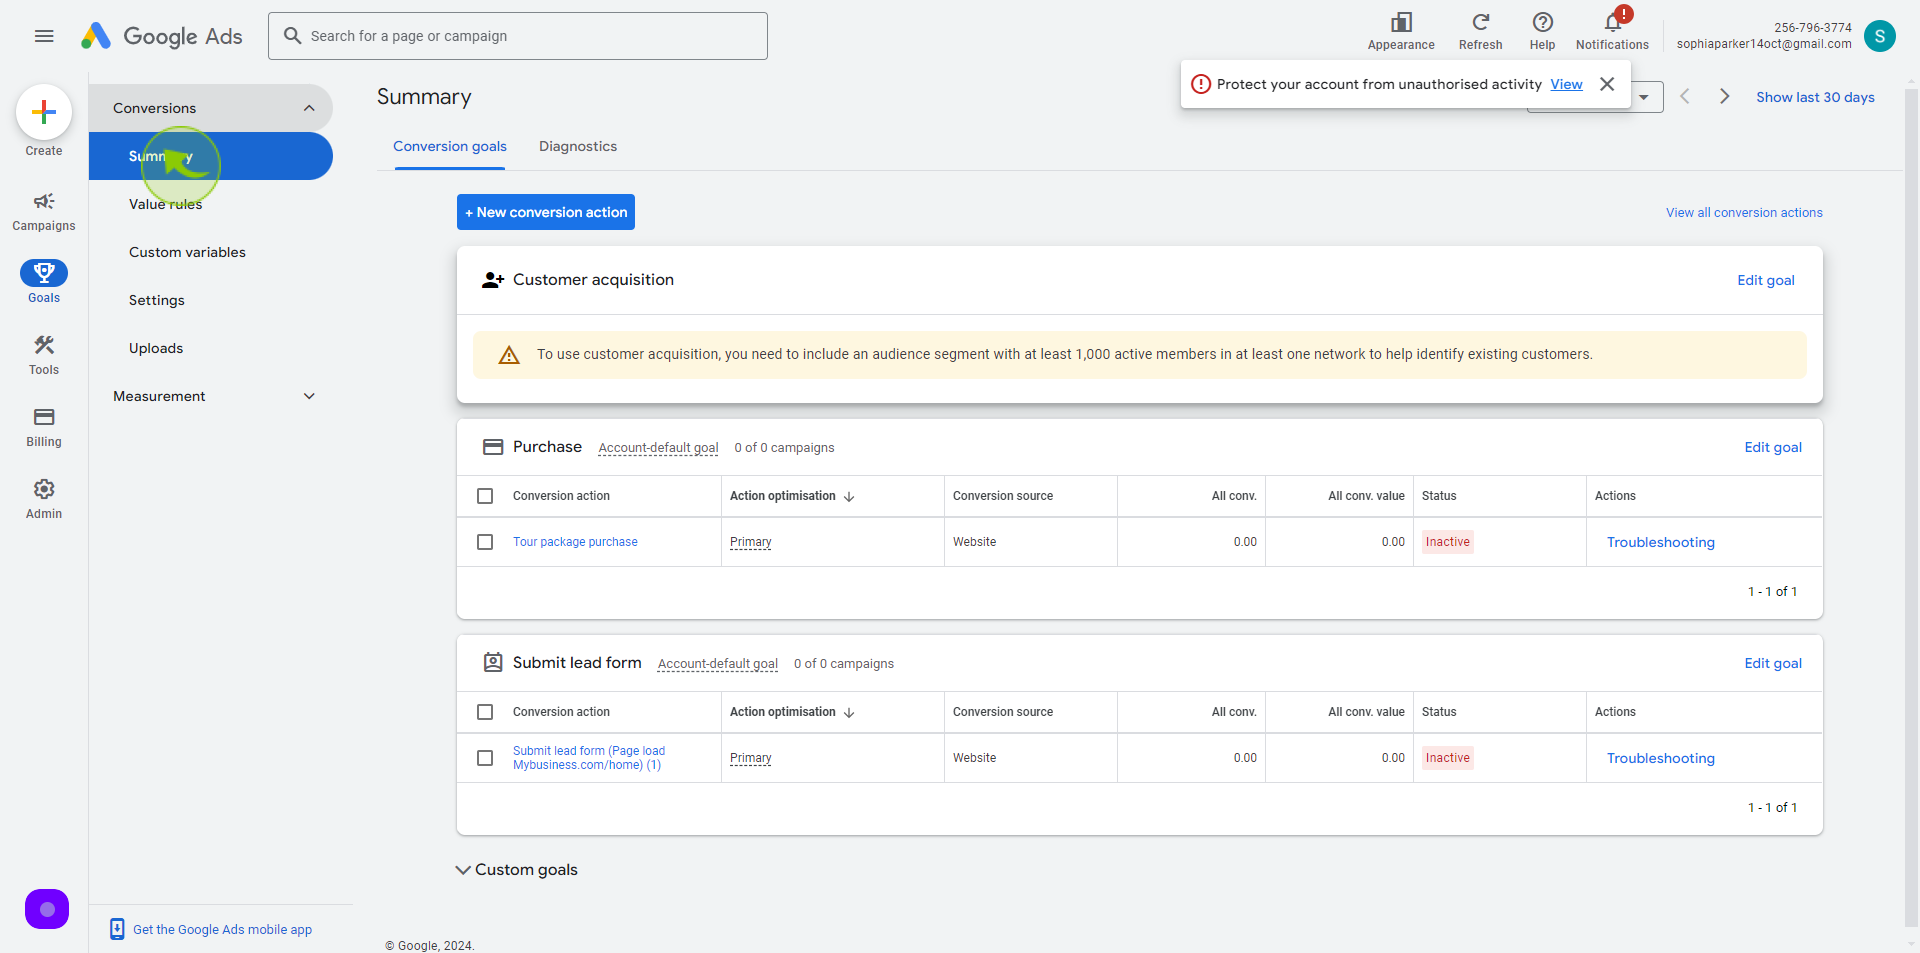
5
Click on the "New Conversion Action" button.
6
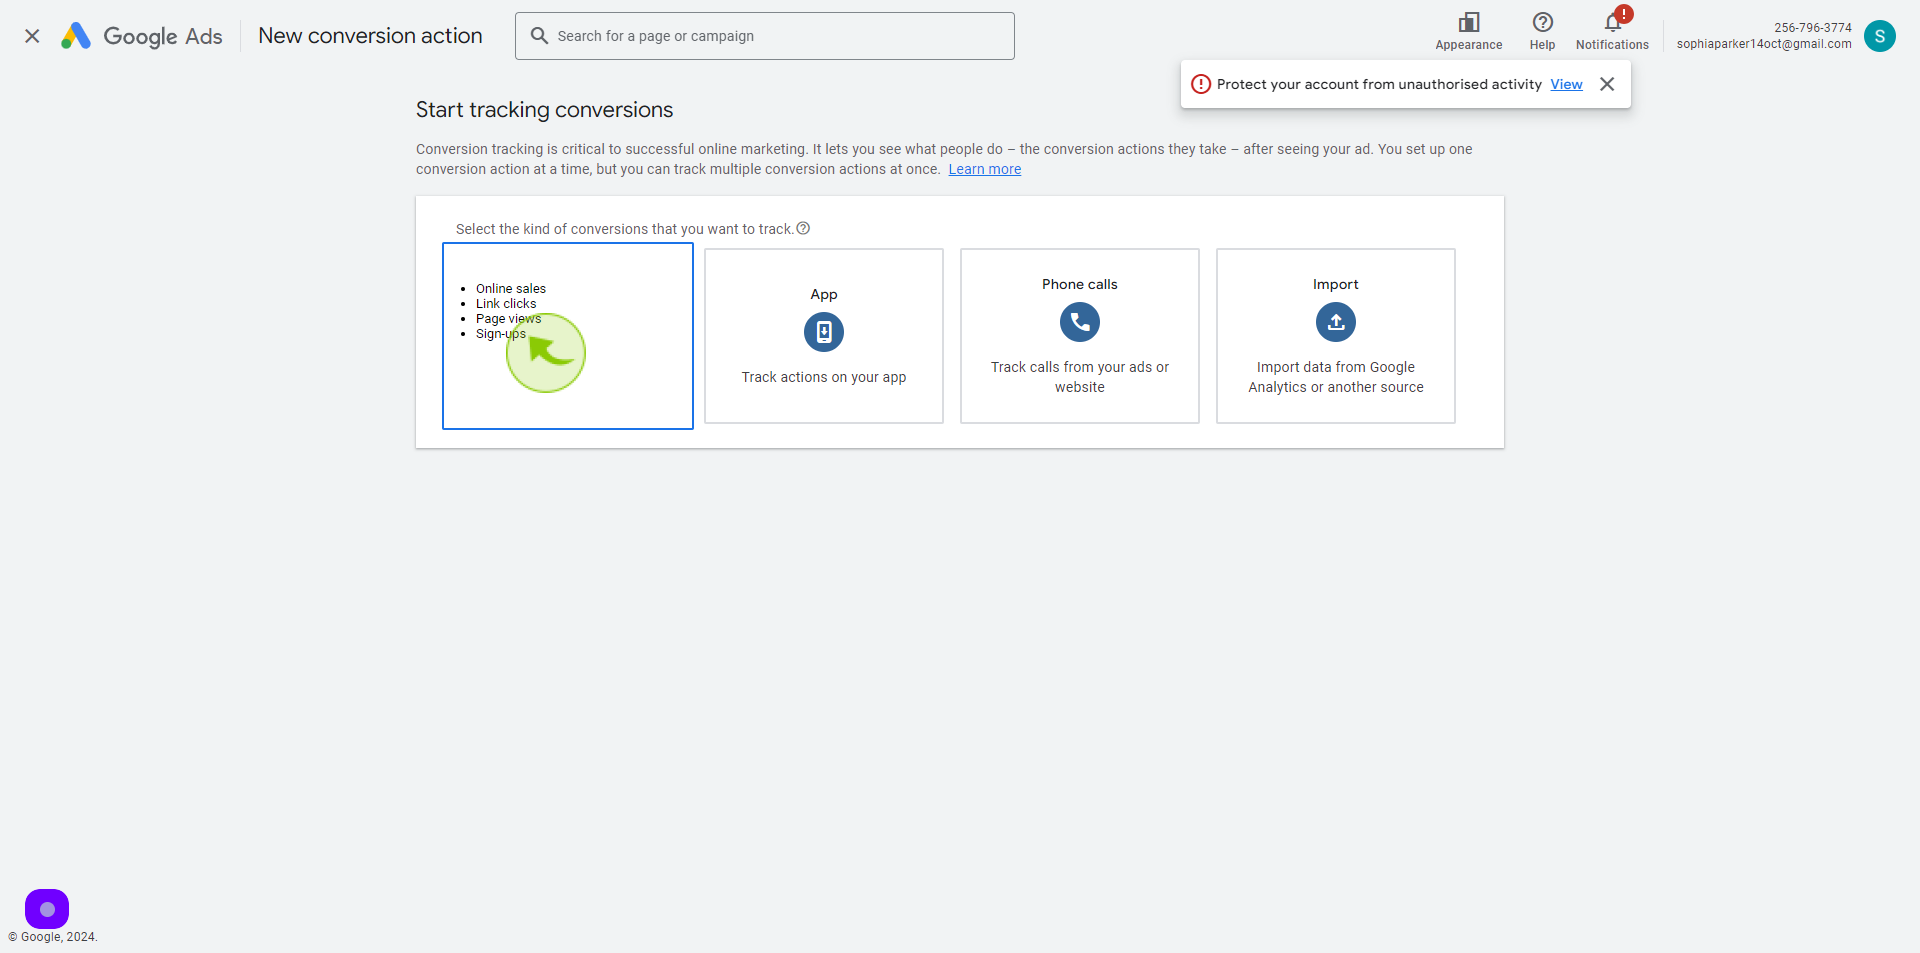
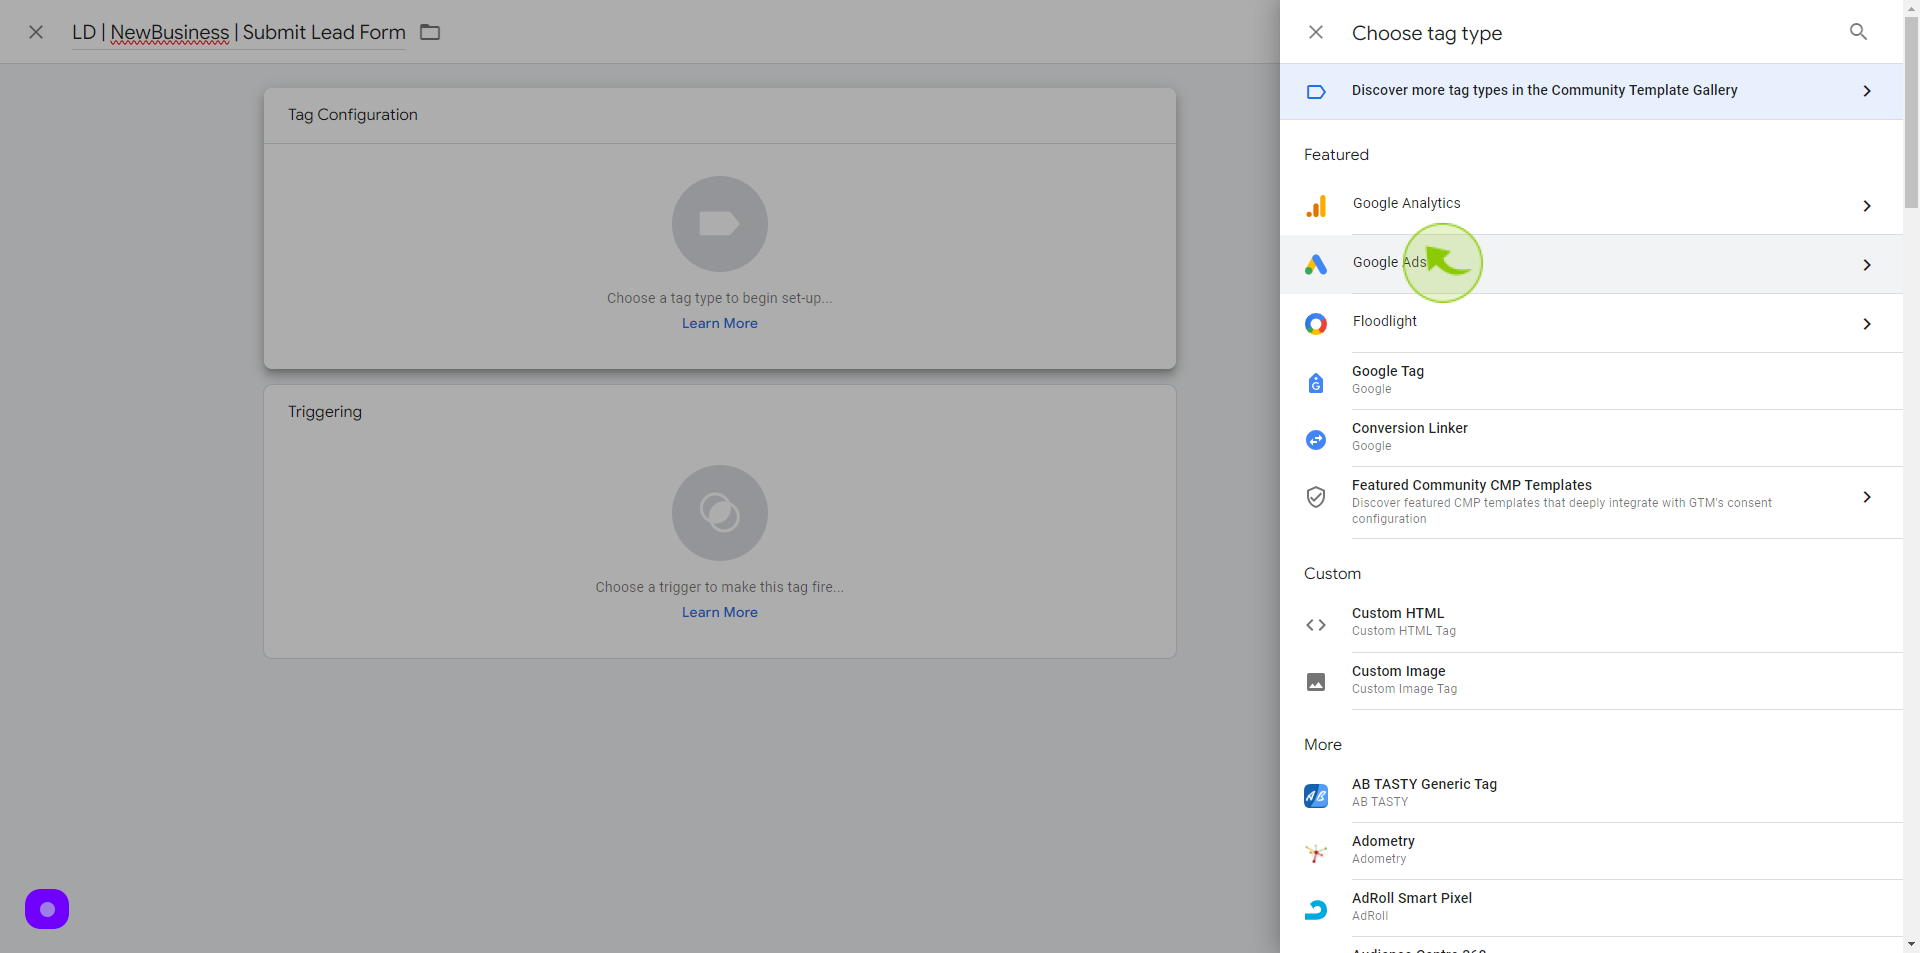
Select "Website Events" below
7
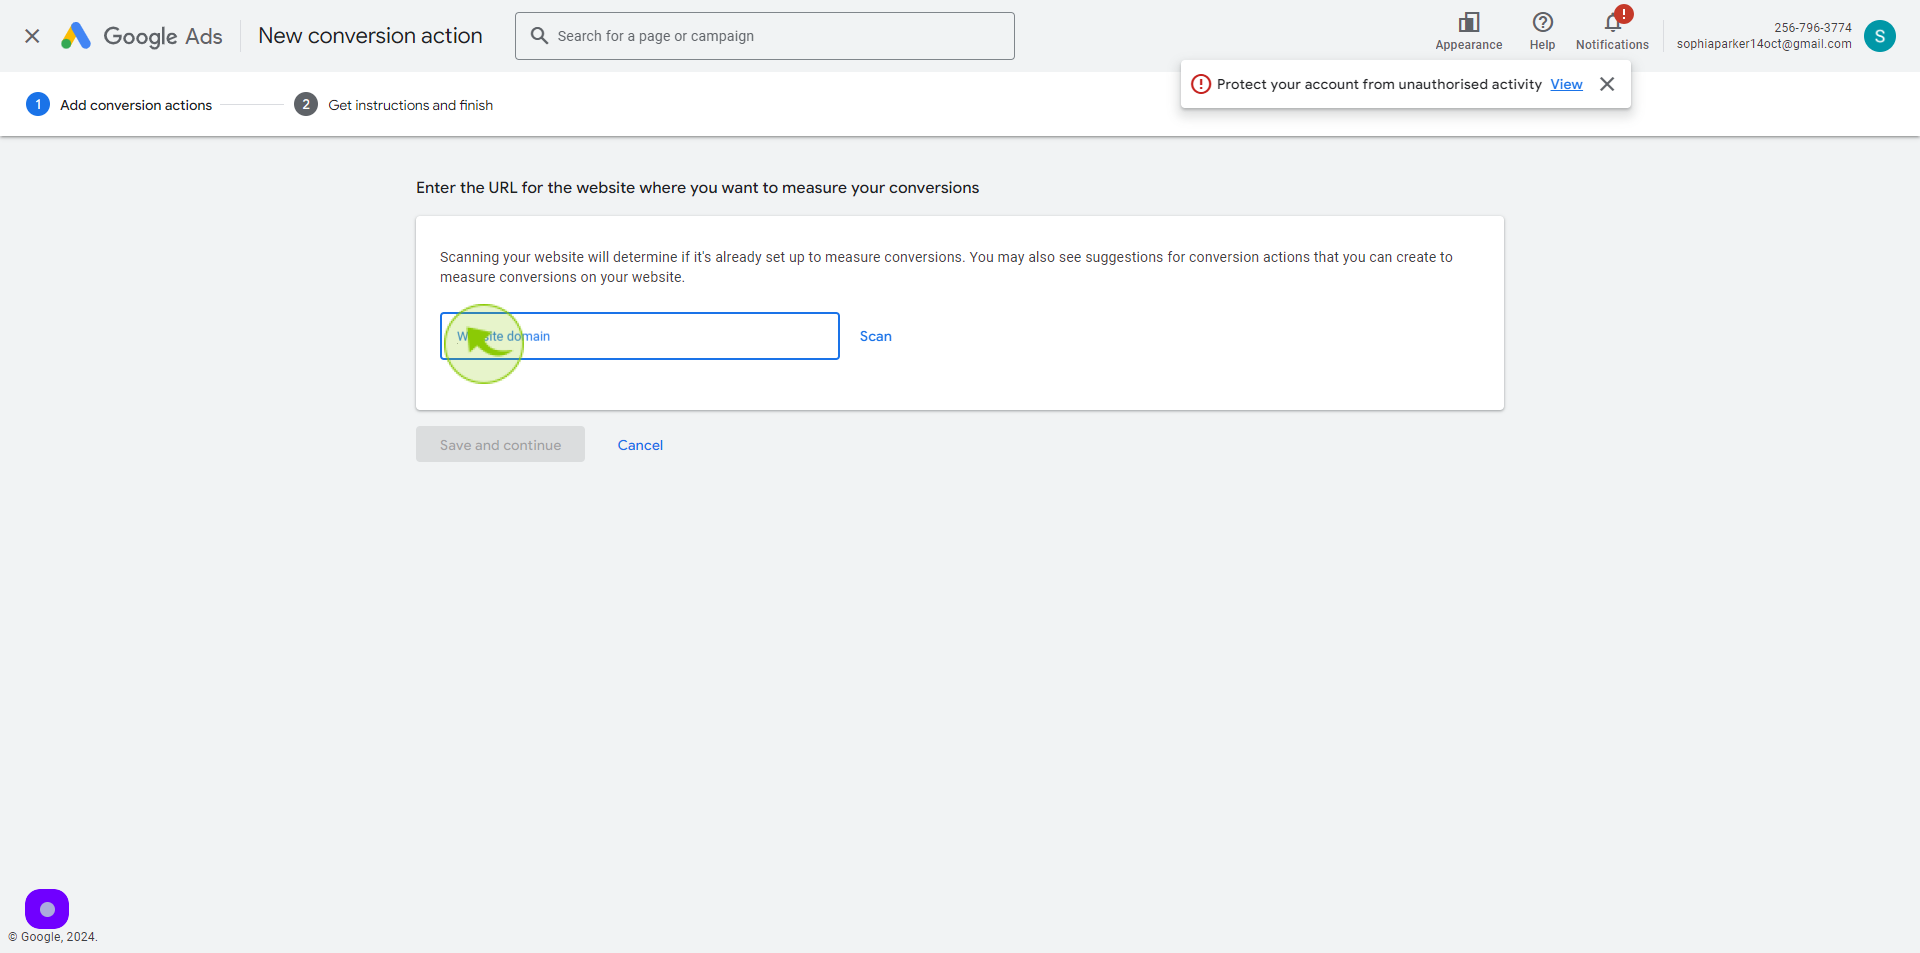
Click the "Website Domain" field.
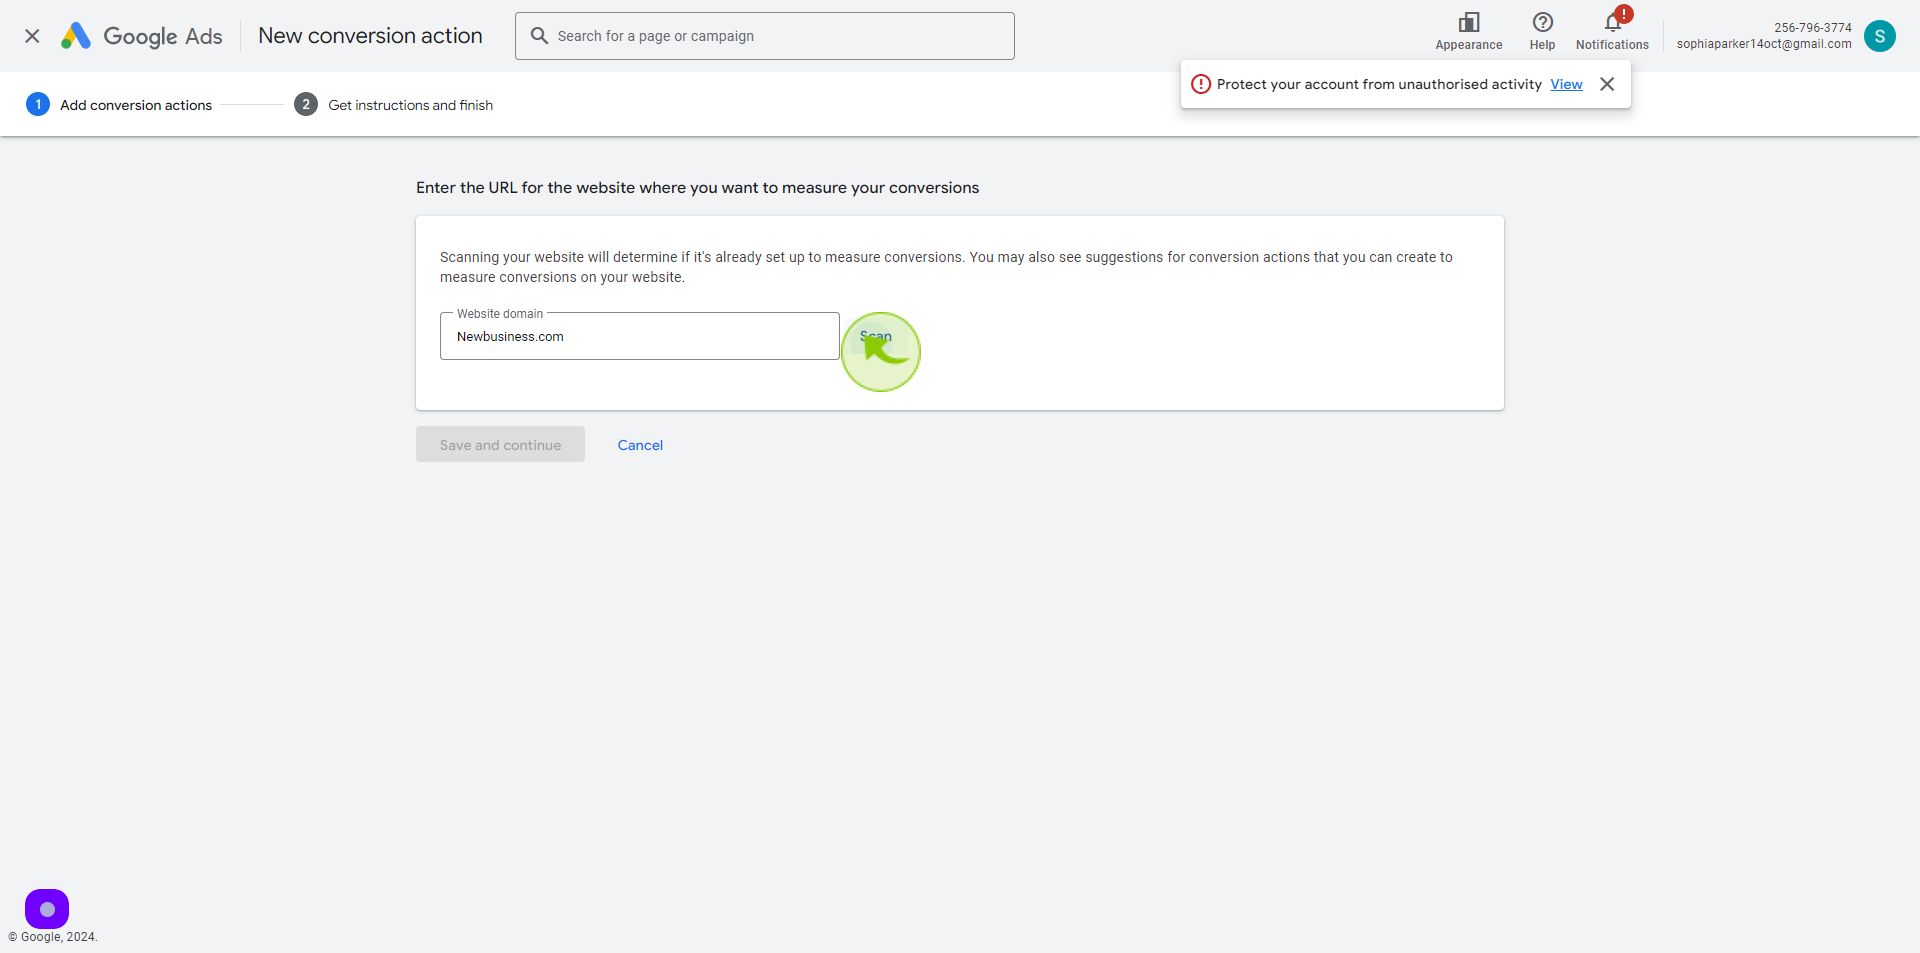
Enter the domain link
8
Click on "Scan"
9
Select the option with "Recommended" indicated

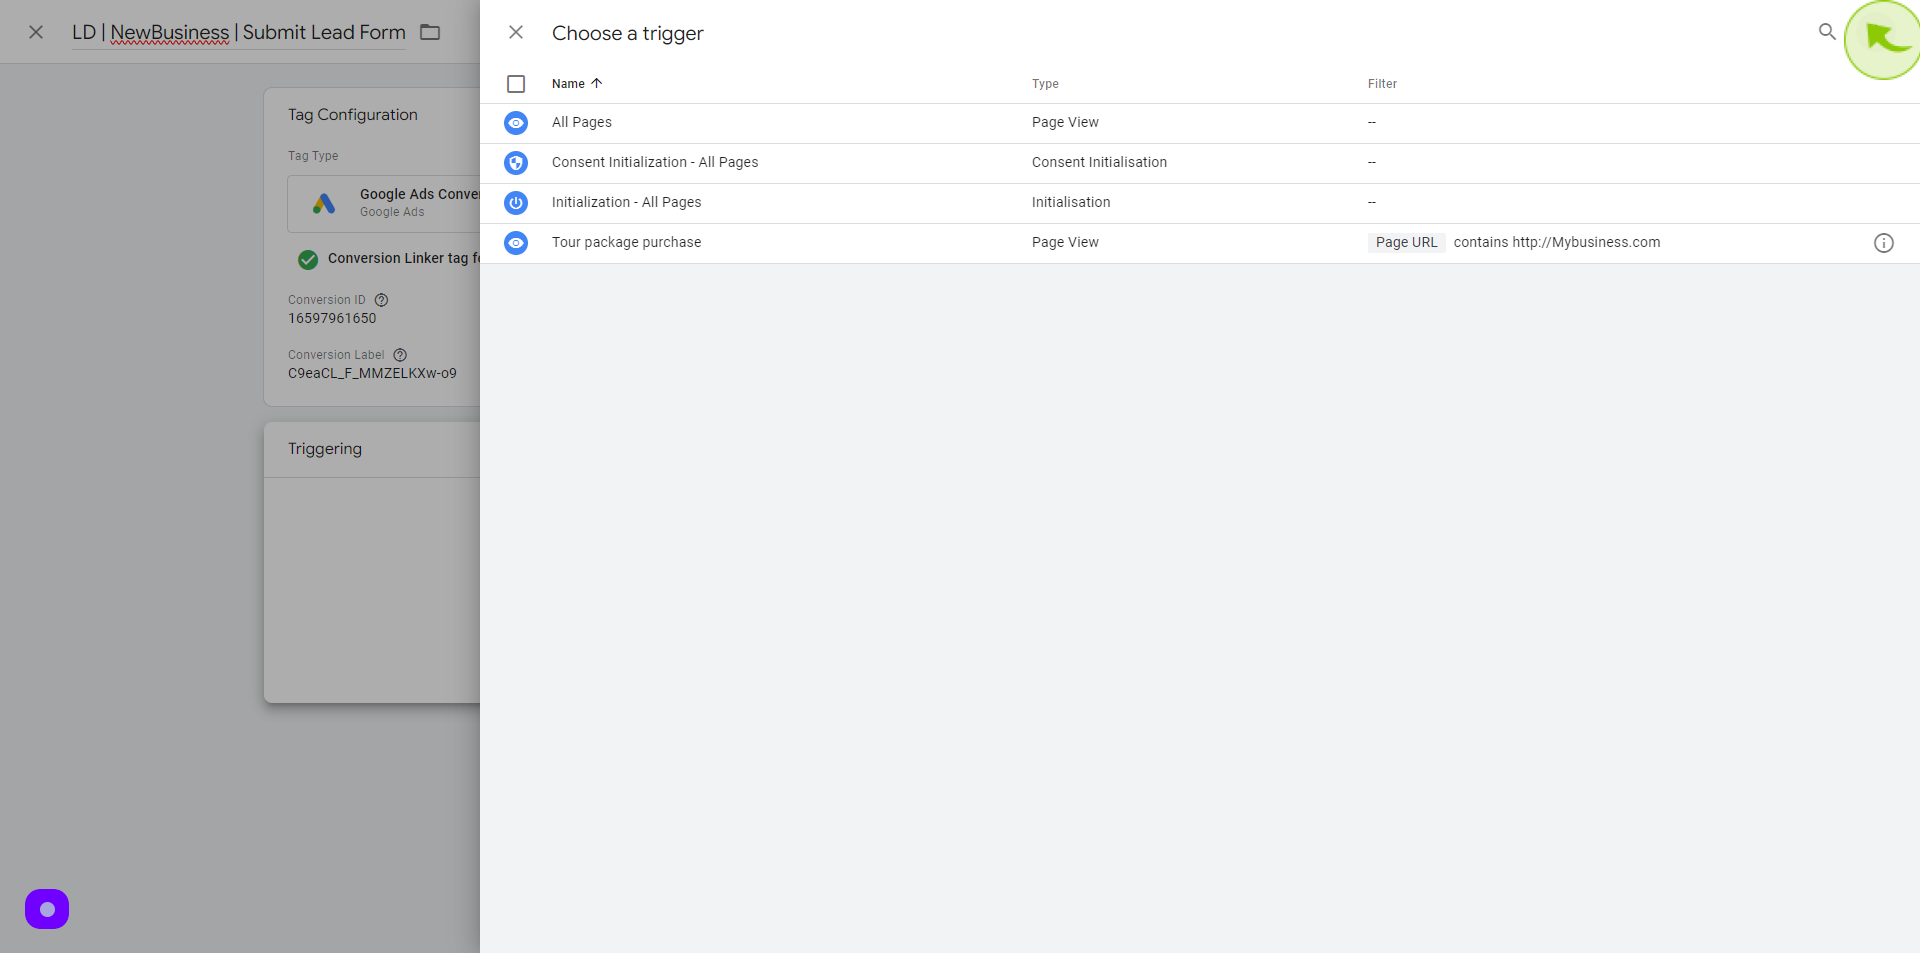
10
Click on "Apply" button.

11
Click on "Add a Conversion Action Manually"
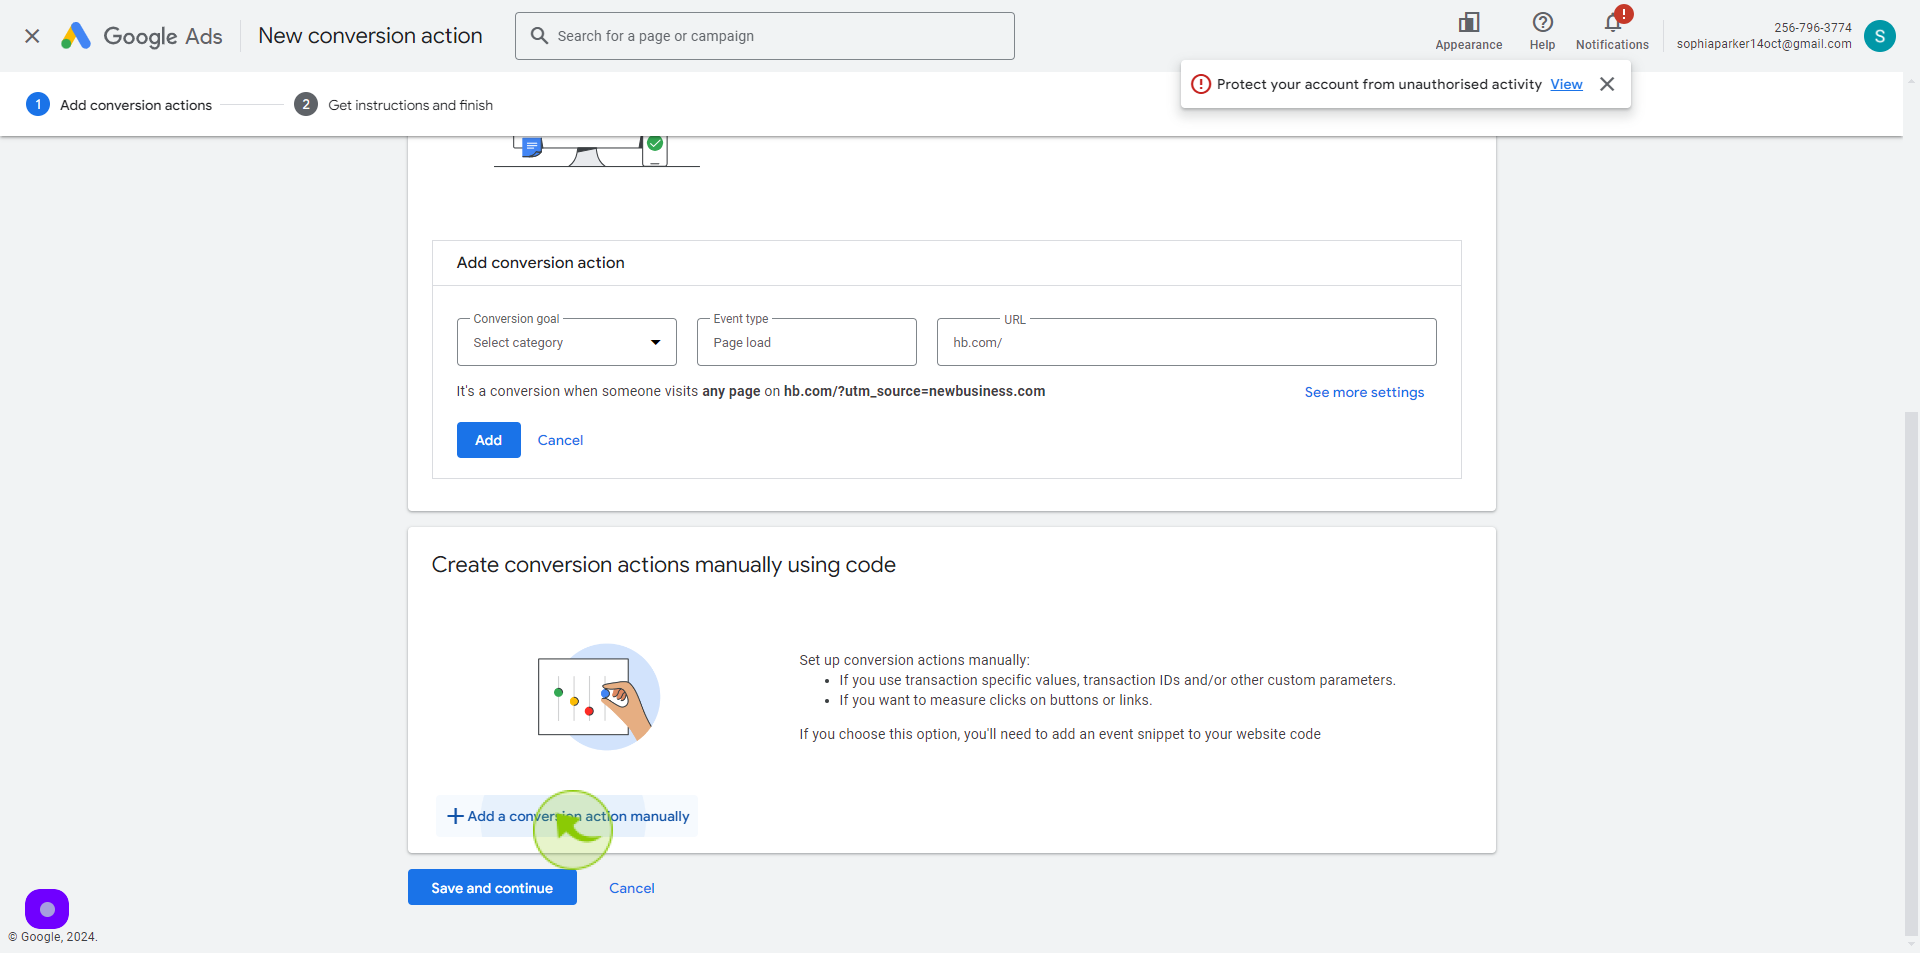
12
Select the "Category" from the Dropdown Menu.

13
Select "Submit Lead Form"
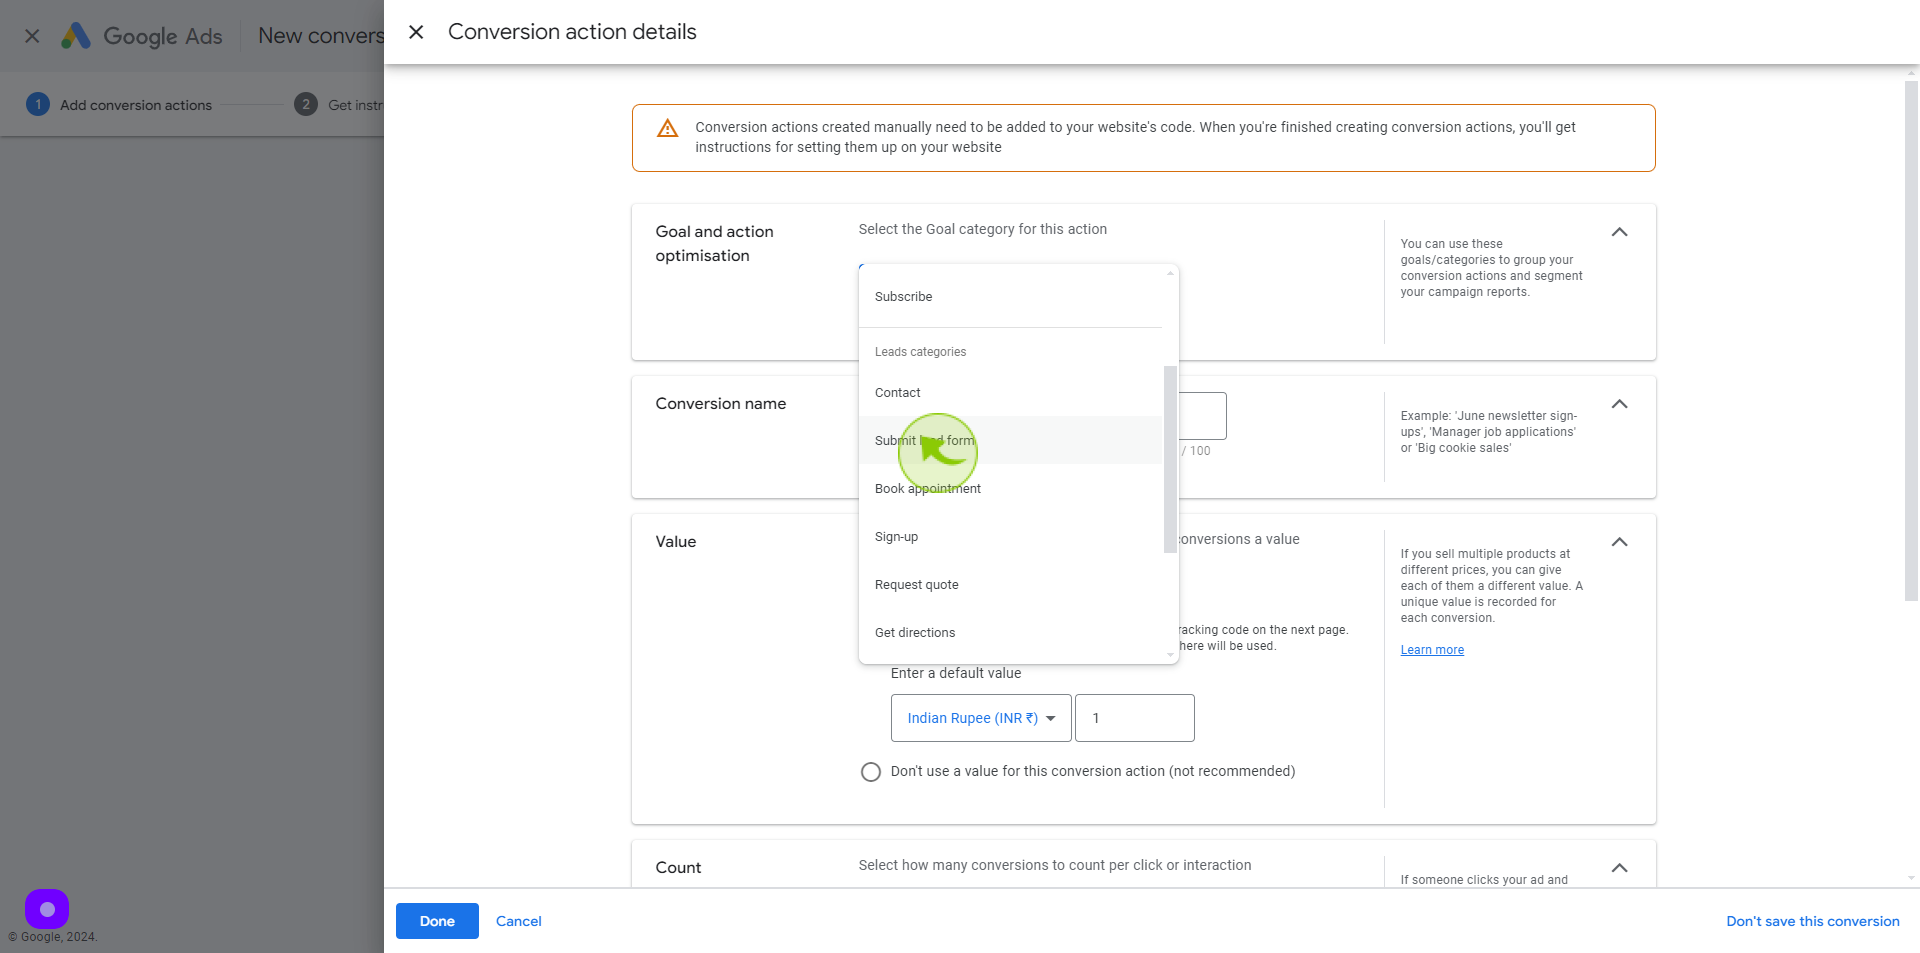
14
Click the "Conversion Name" field.
Enter a conversion name
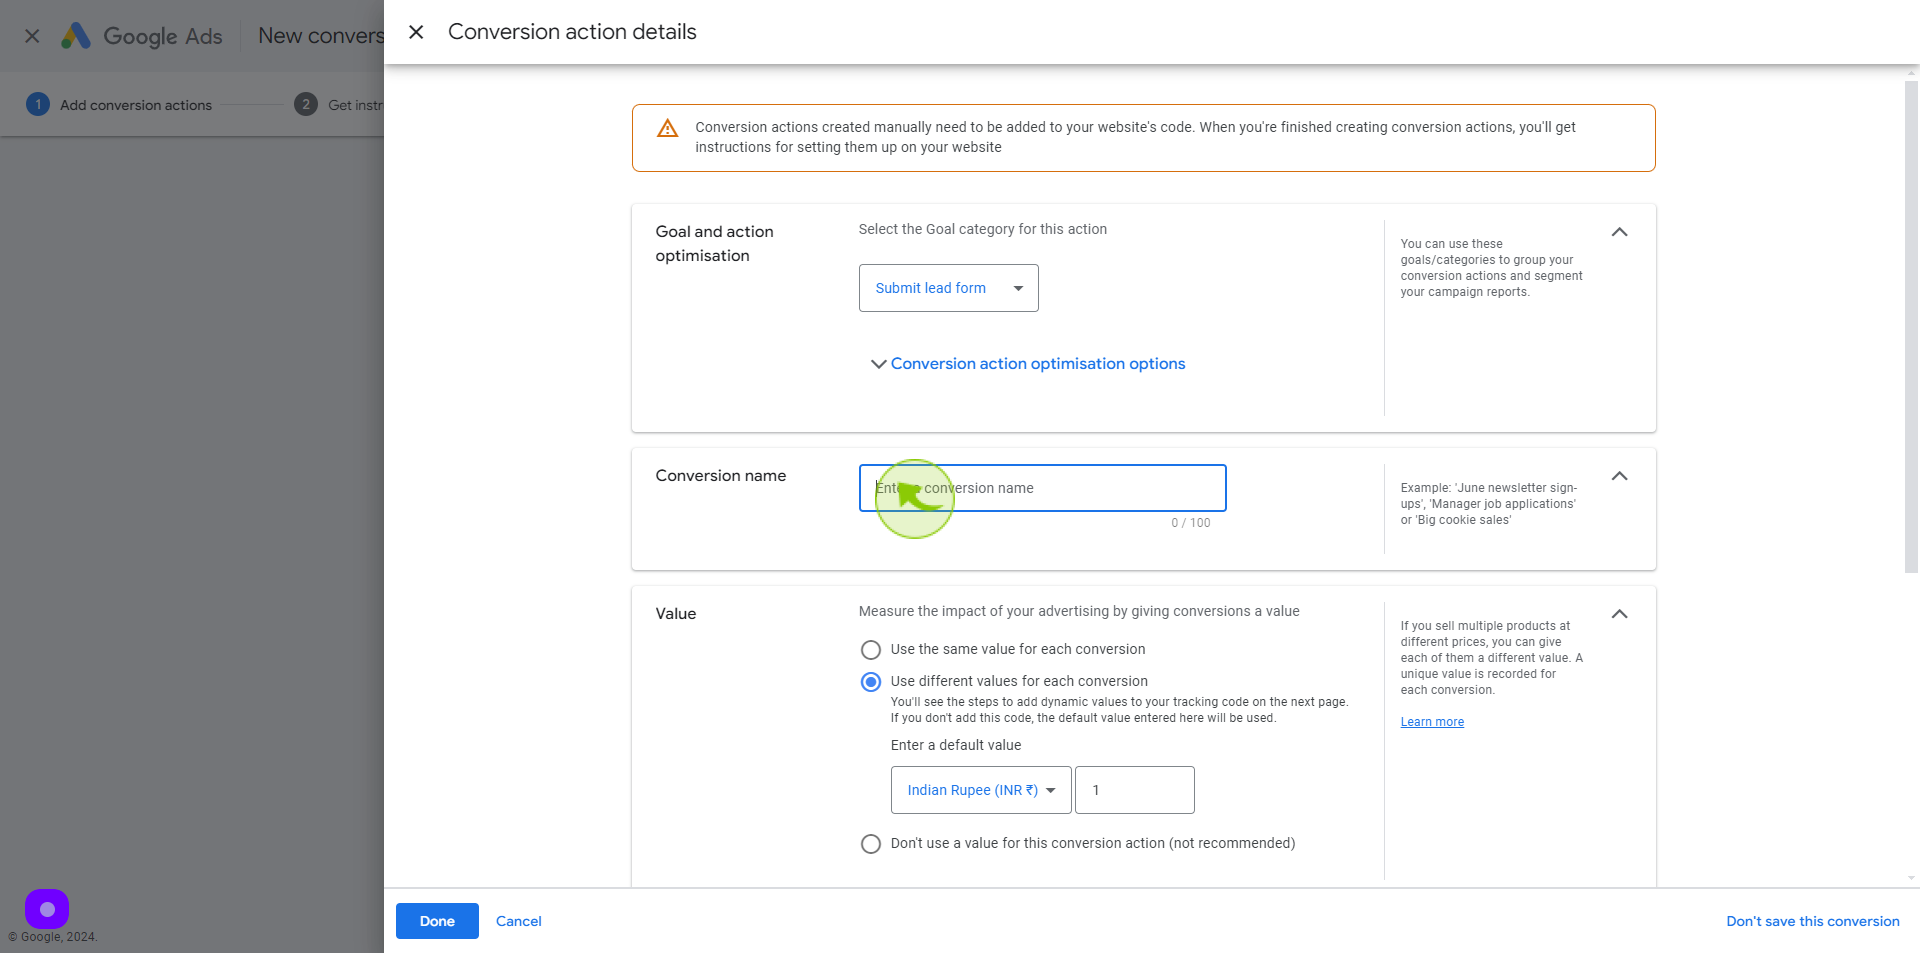
15
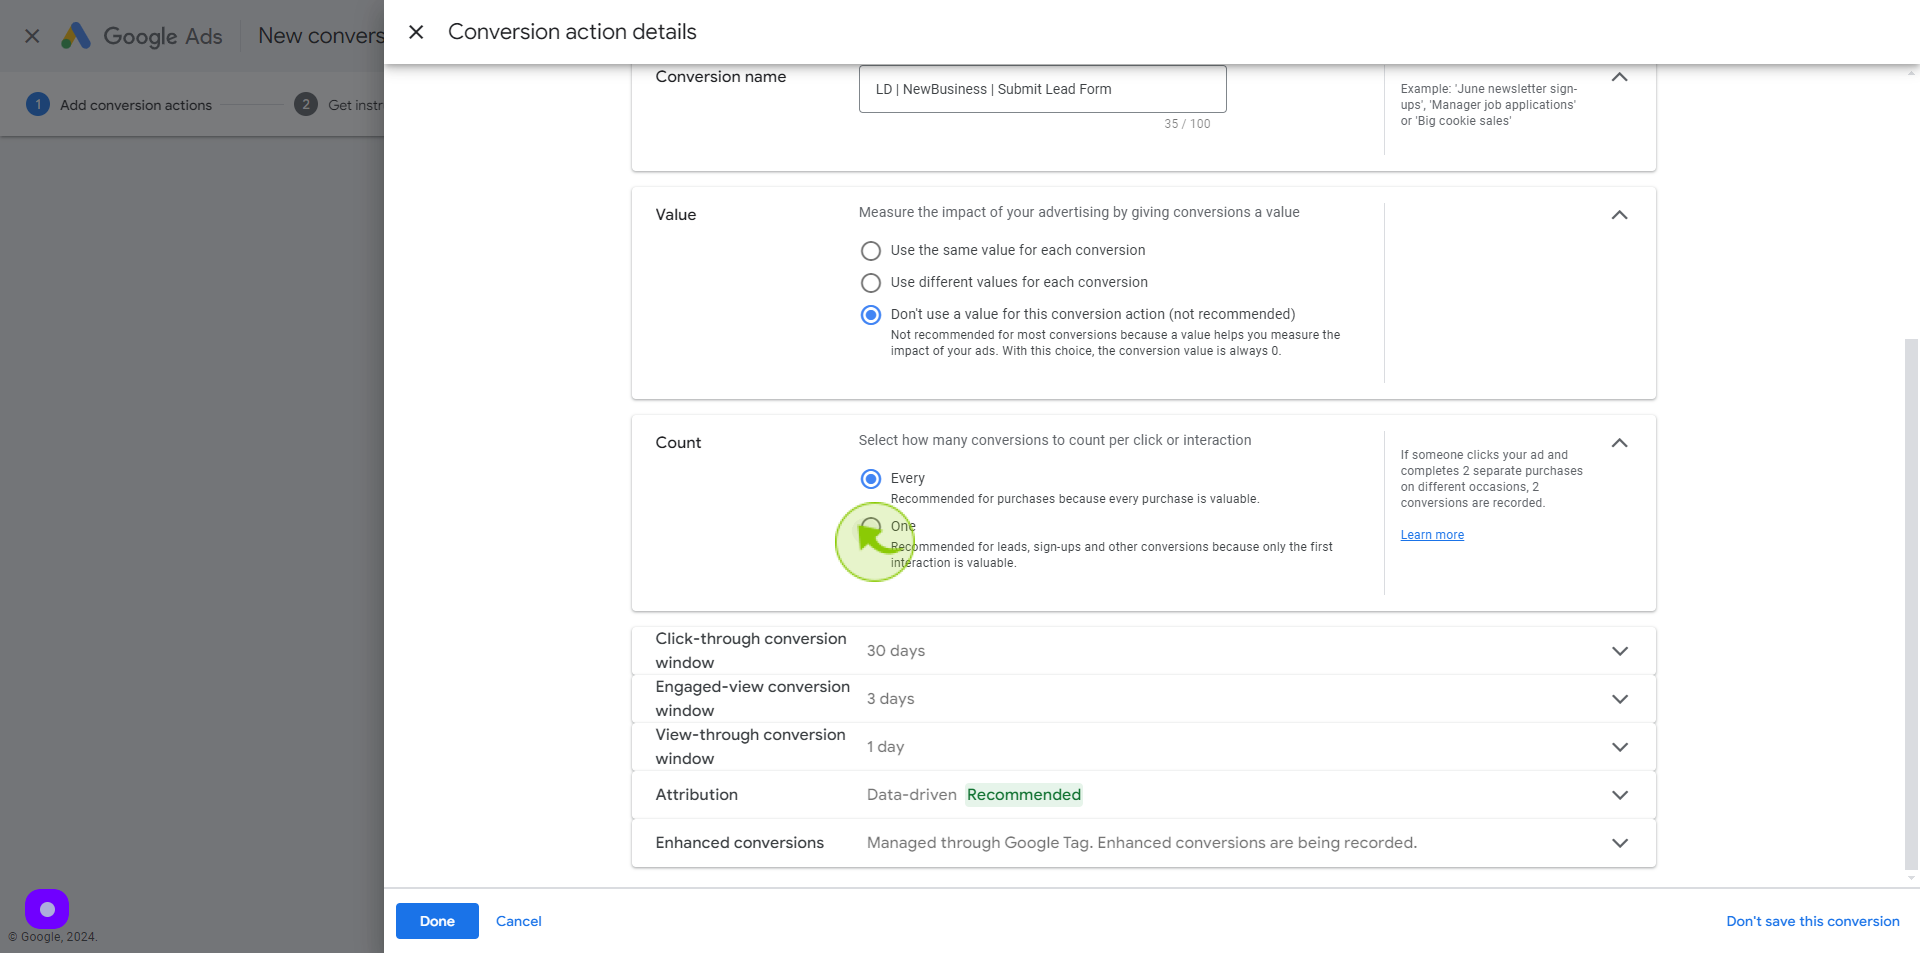
Set a "Conversion Value".
Since this is only a Submit Lead Form event, "Don't use value for this conversion" was selected. But if you wish to associate a certain value, you can do so. Although we usually set a value for a conversion when it's a purchase transaction.
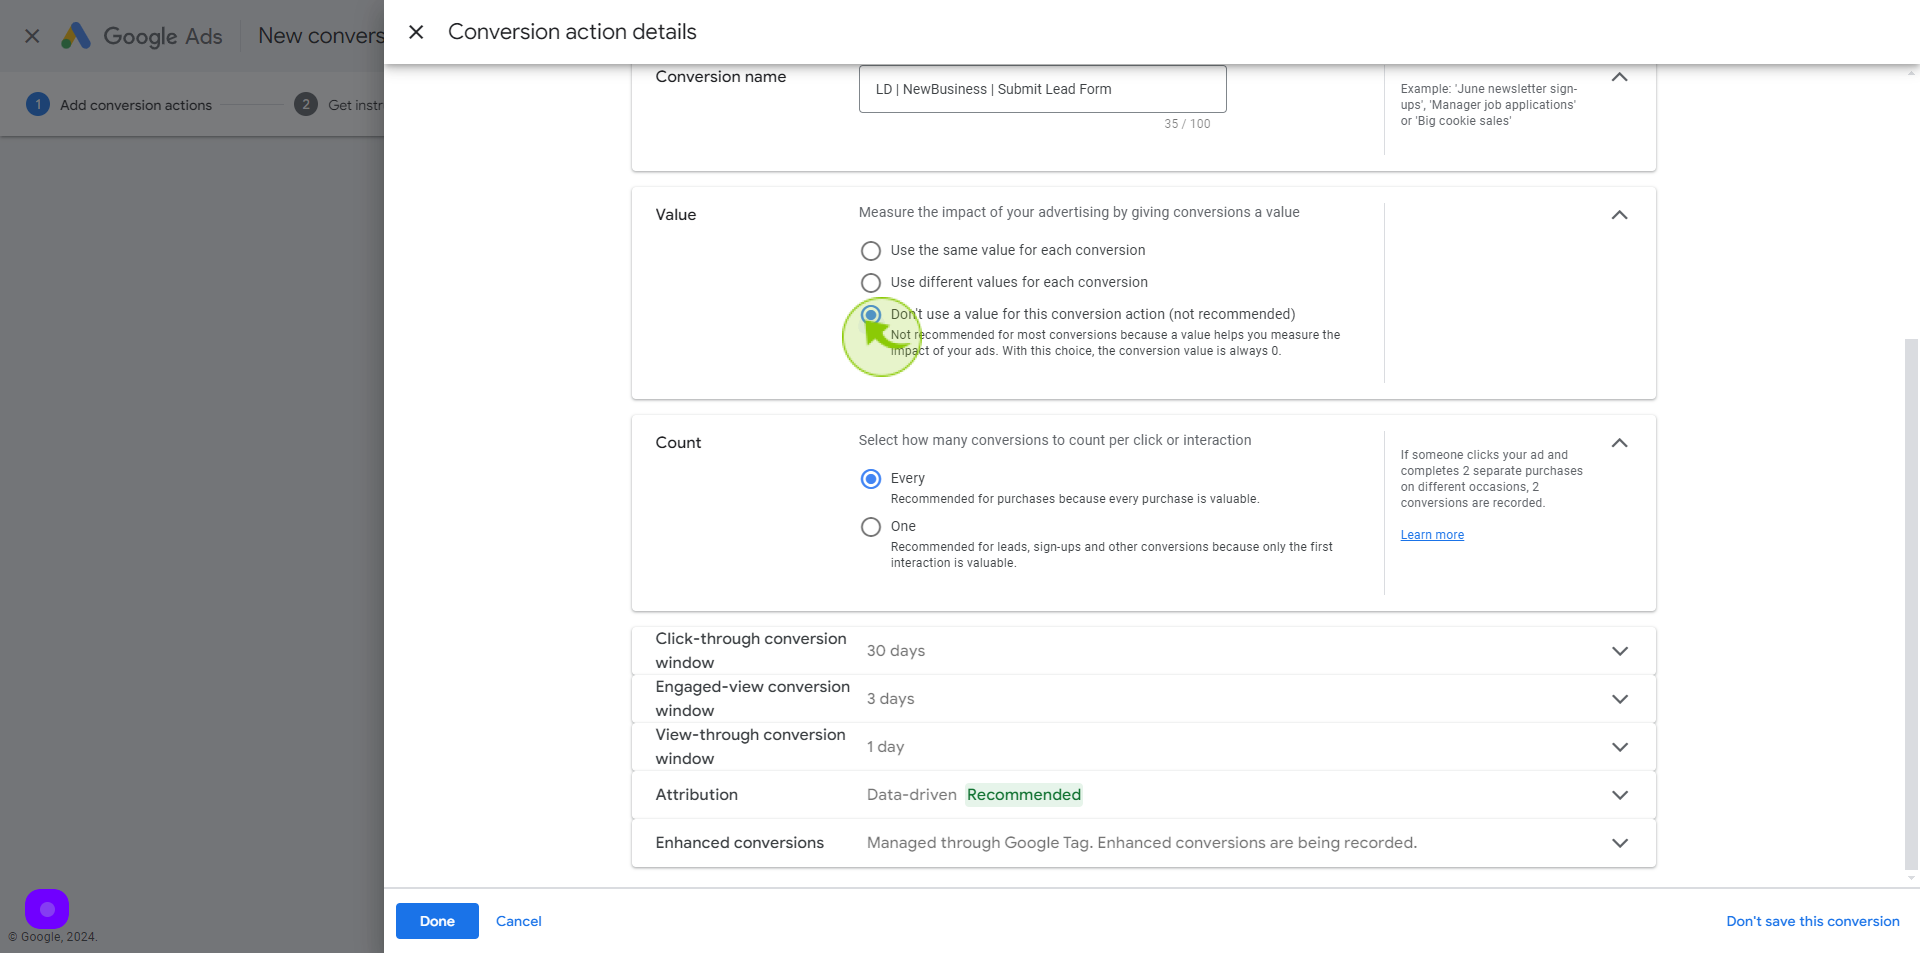
16
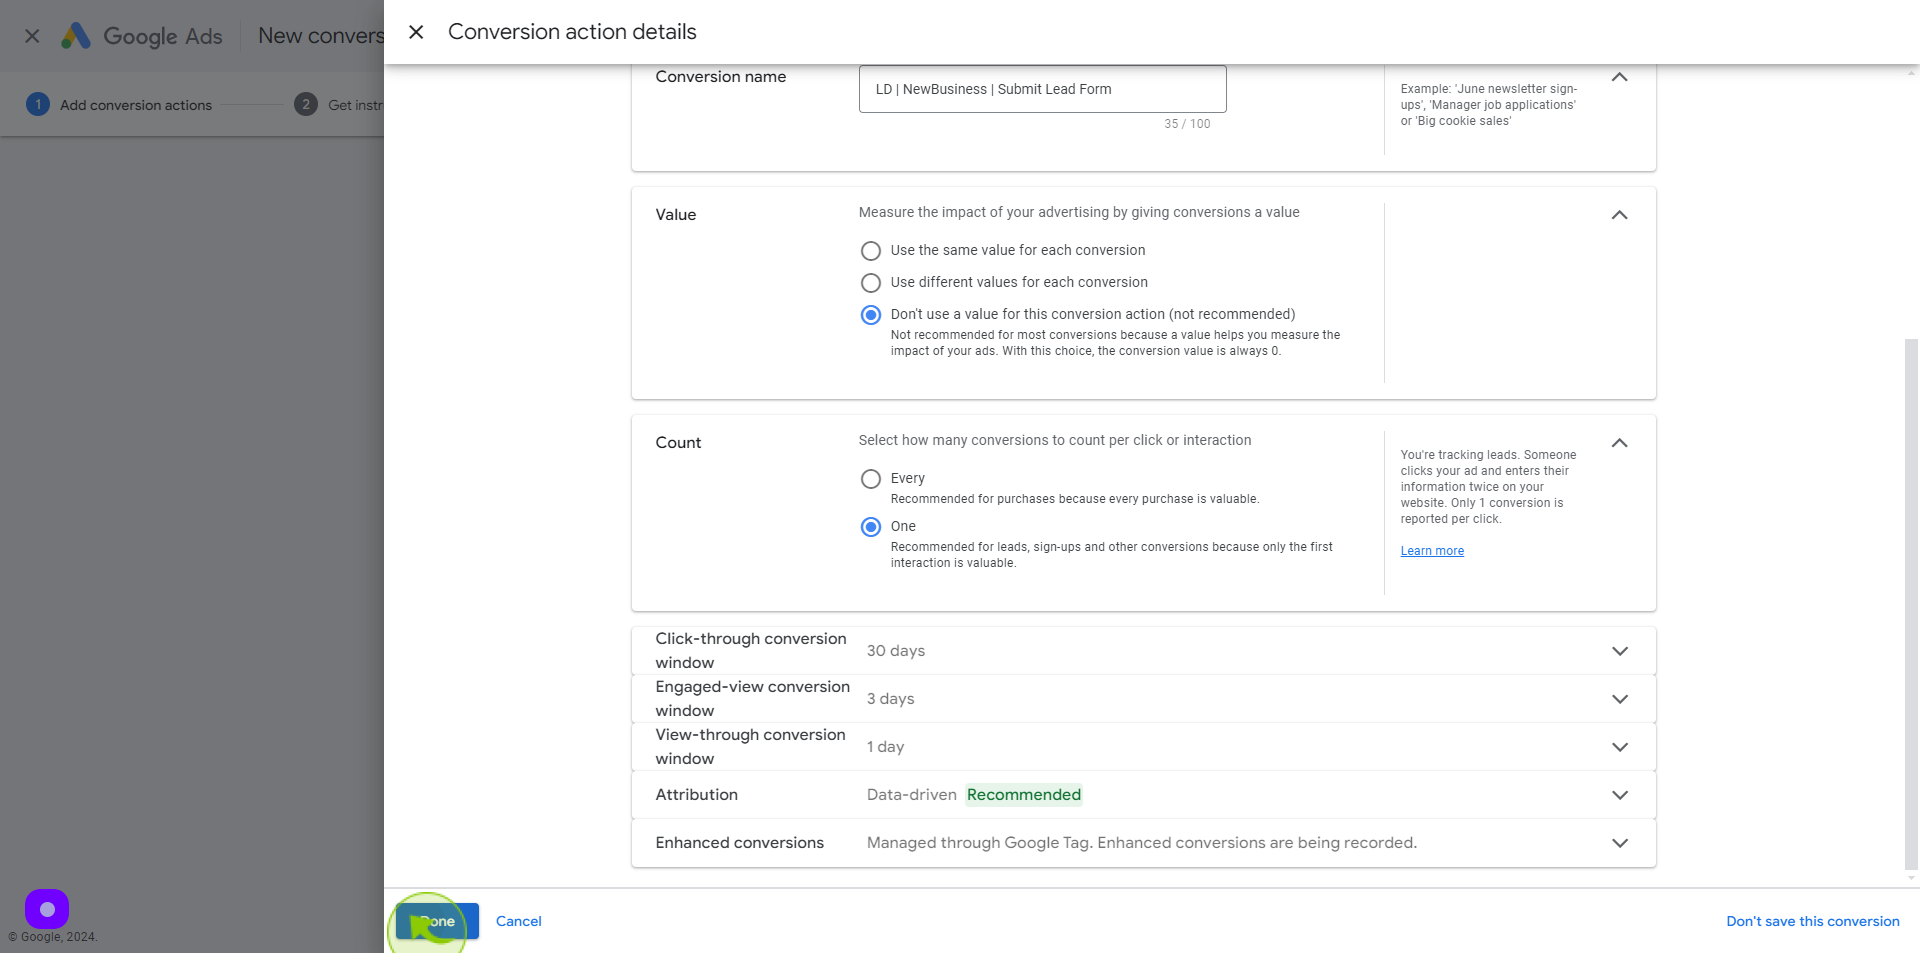
Select the "Conversion Count".
For Submit Lead Form events, we want to select "One" so that it won't track multiple times when a lead opts-in several times
17
Click on "Done"
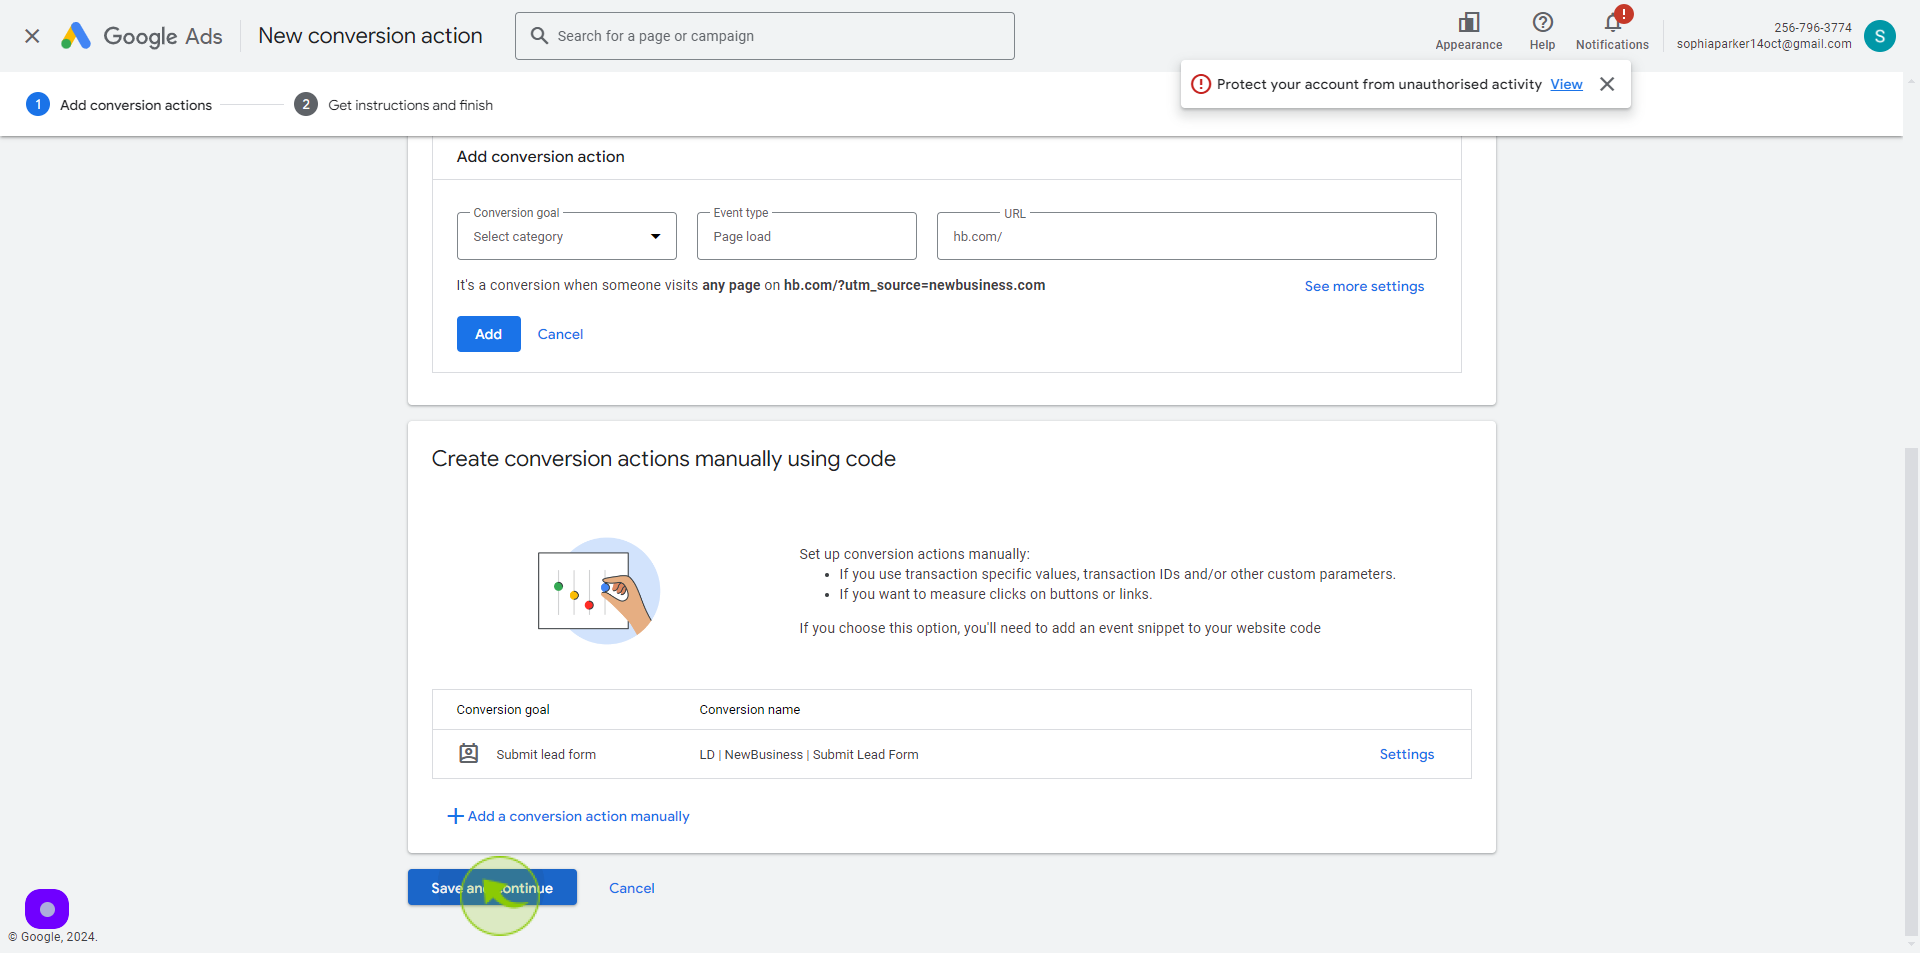
18
Click "Save and Continue" button
19
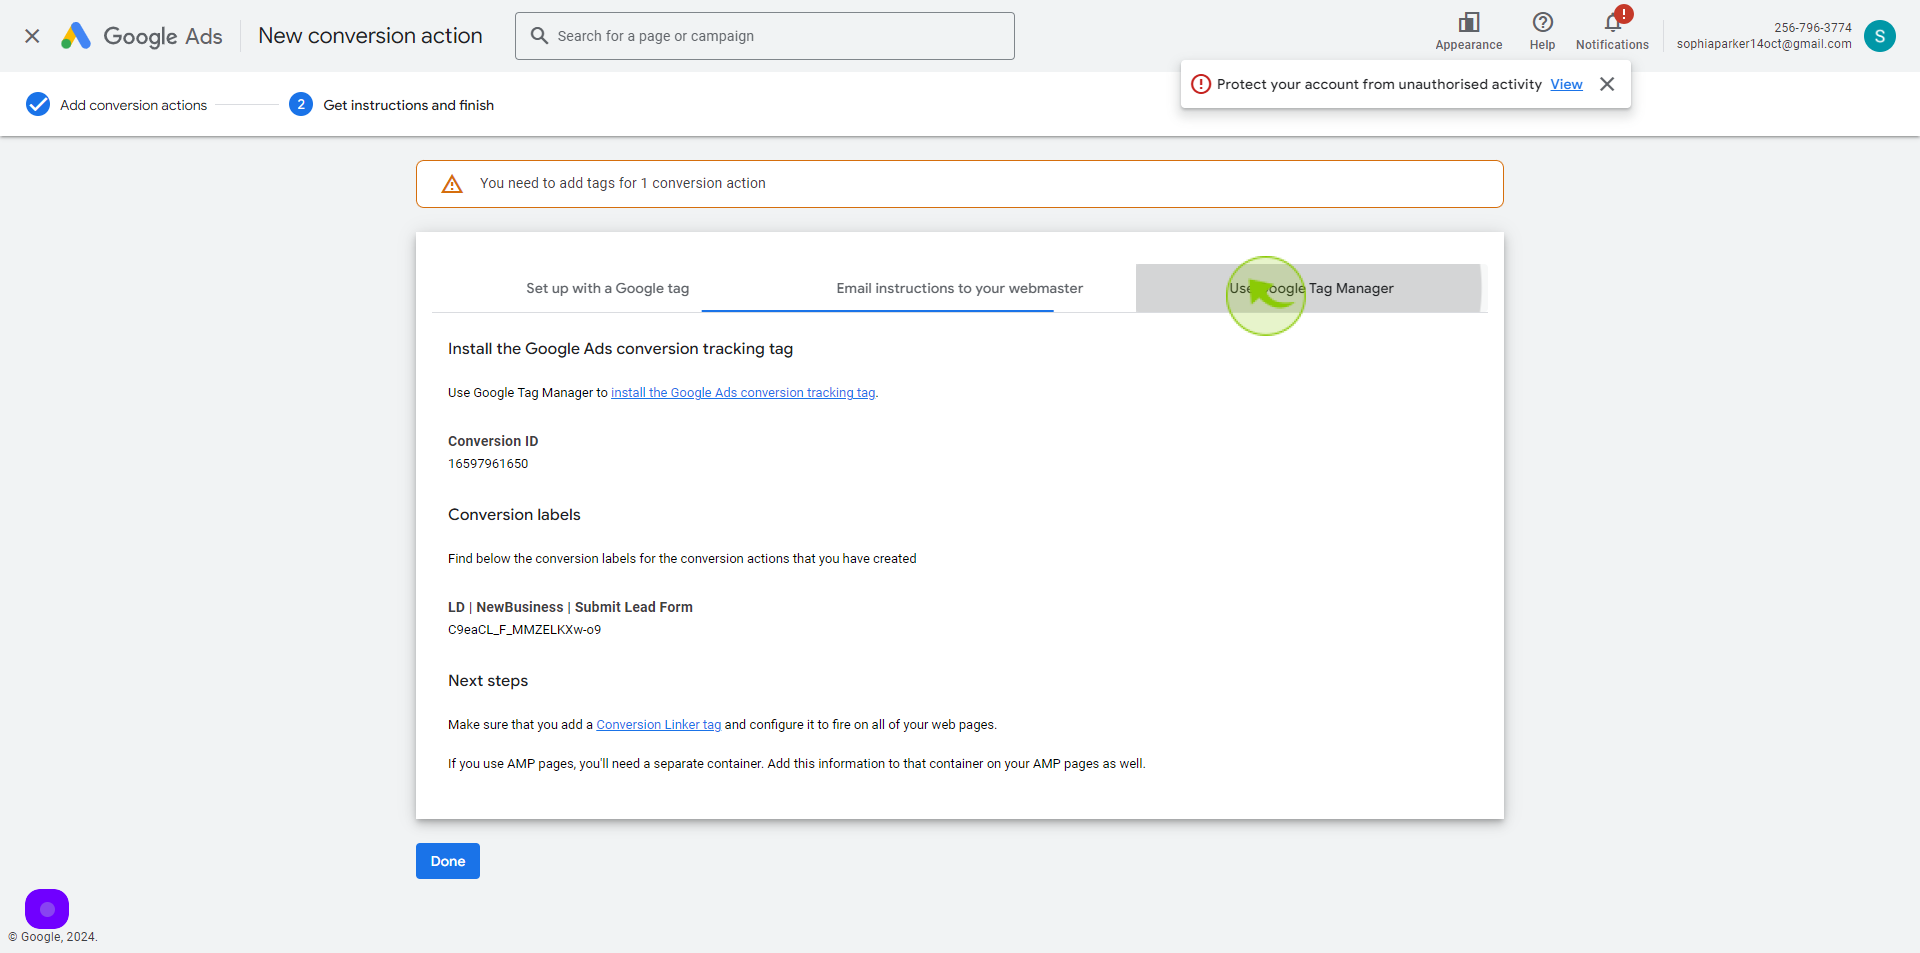
Select "Use Google Tag Manager"
20
Go to Client's Google Tag Manager Account and Login Account https://tagmanager.google.com
21
Click on "Tags"
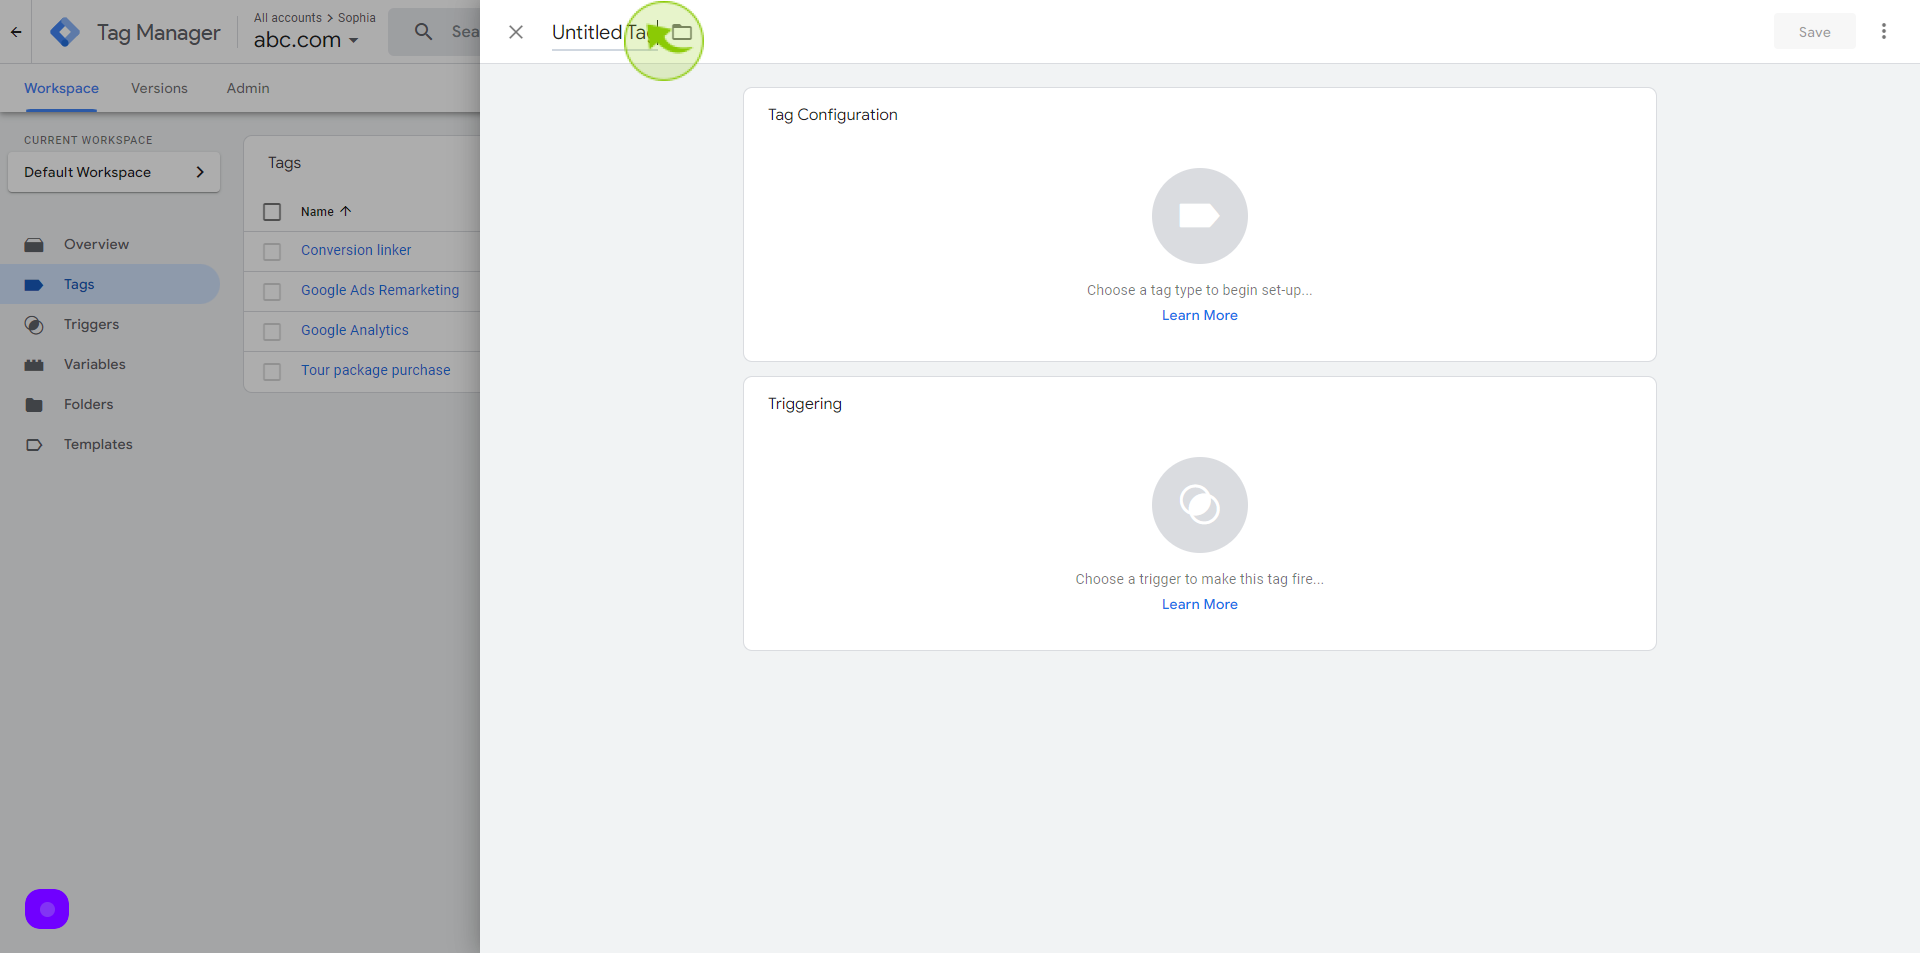
22
Click on "New"

23
Click on the "Untitled Tag"
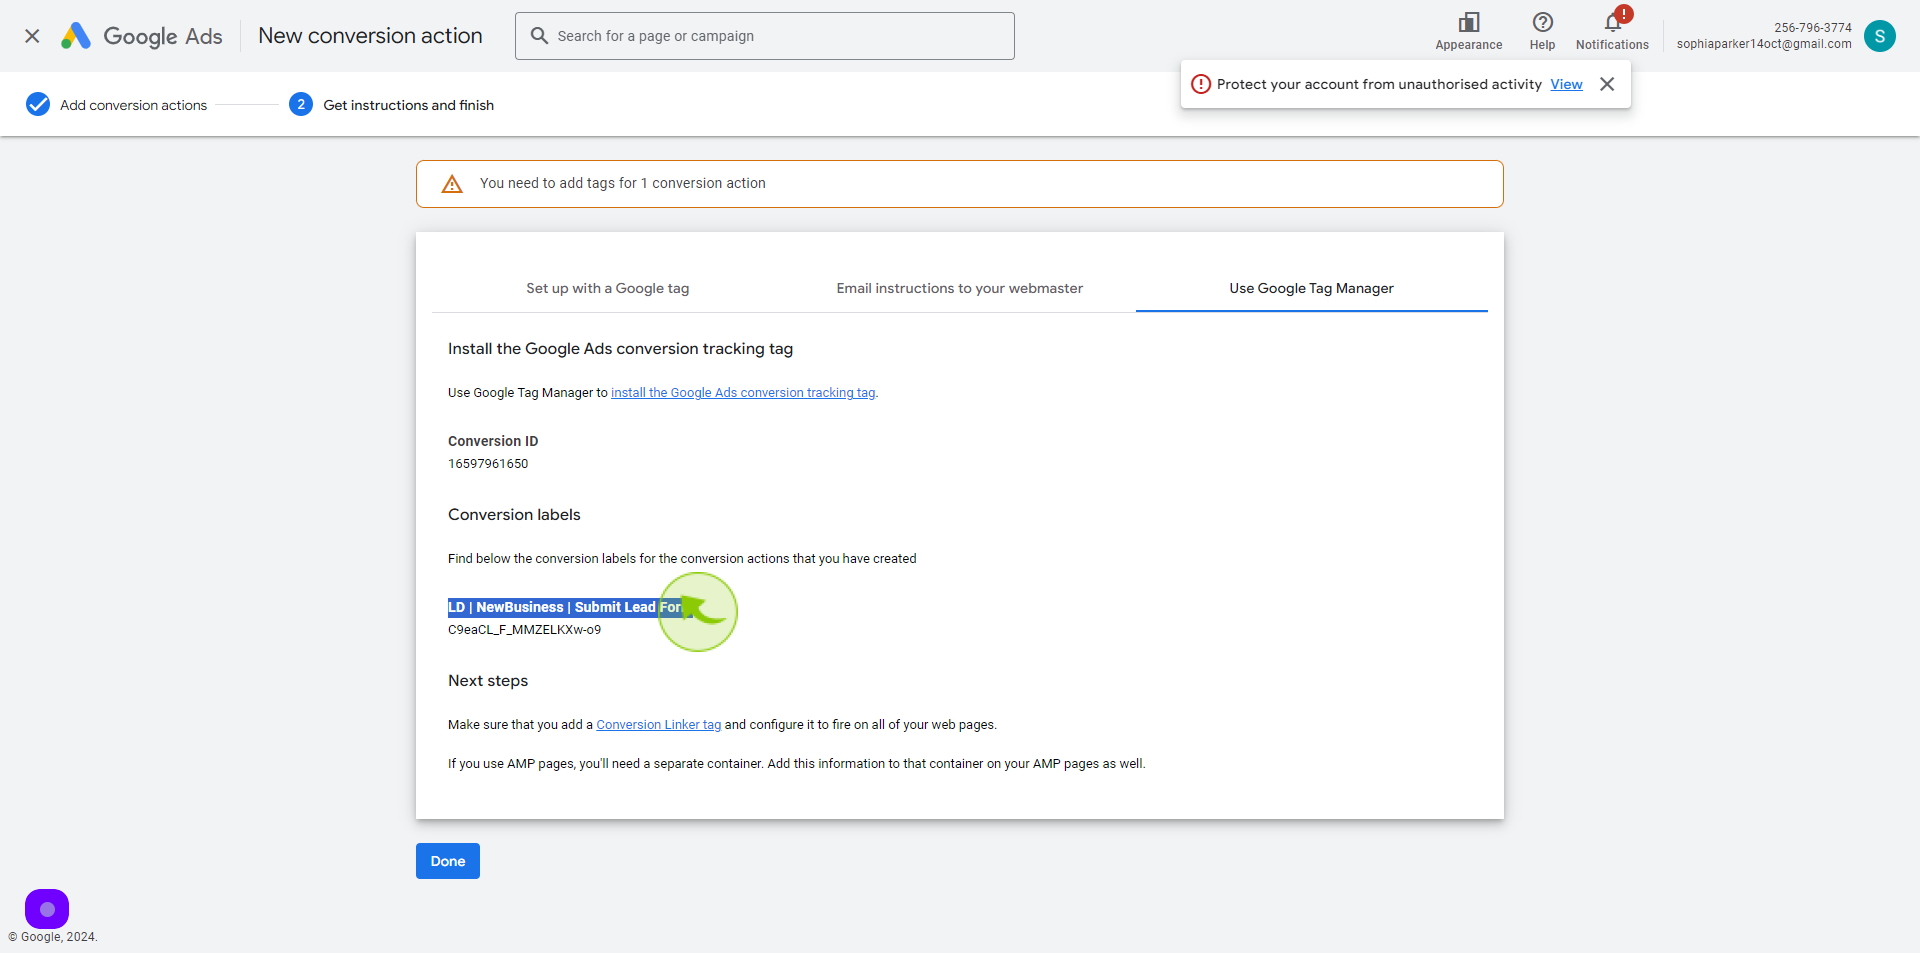
Go back to google ads account tab and copy the google Ads conversion action name that you have previously set-up
24
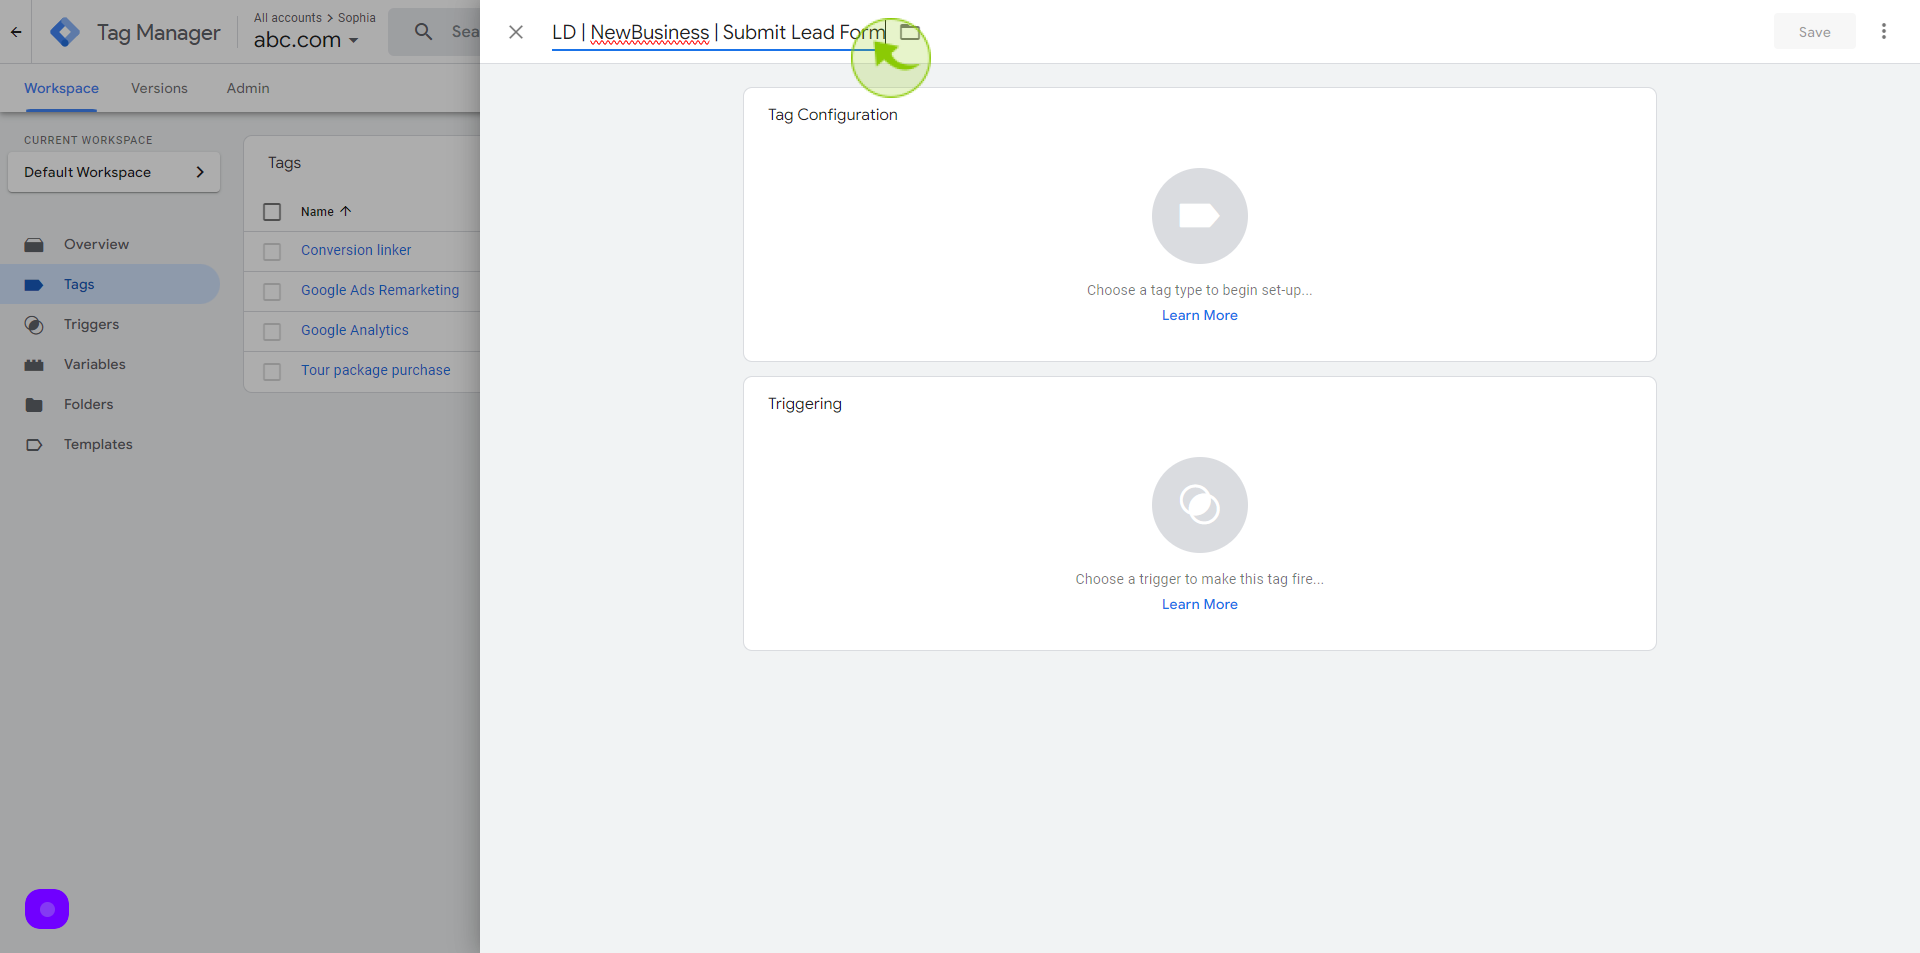
Copy the "Name"
Go back to google tag manager then paste the conversion action name. It would be more organize to follow the same naming convention.
25
Paste the "Conversion Action Name".
26
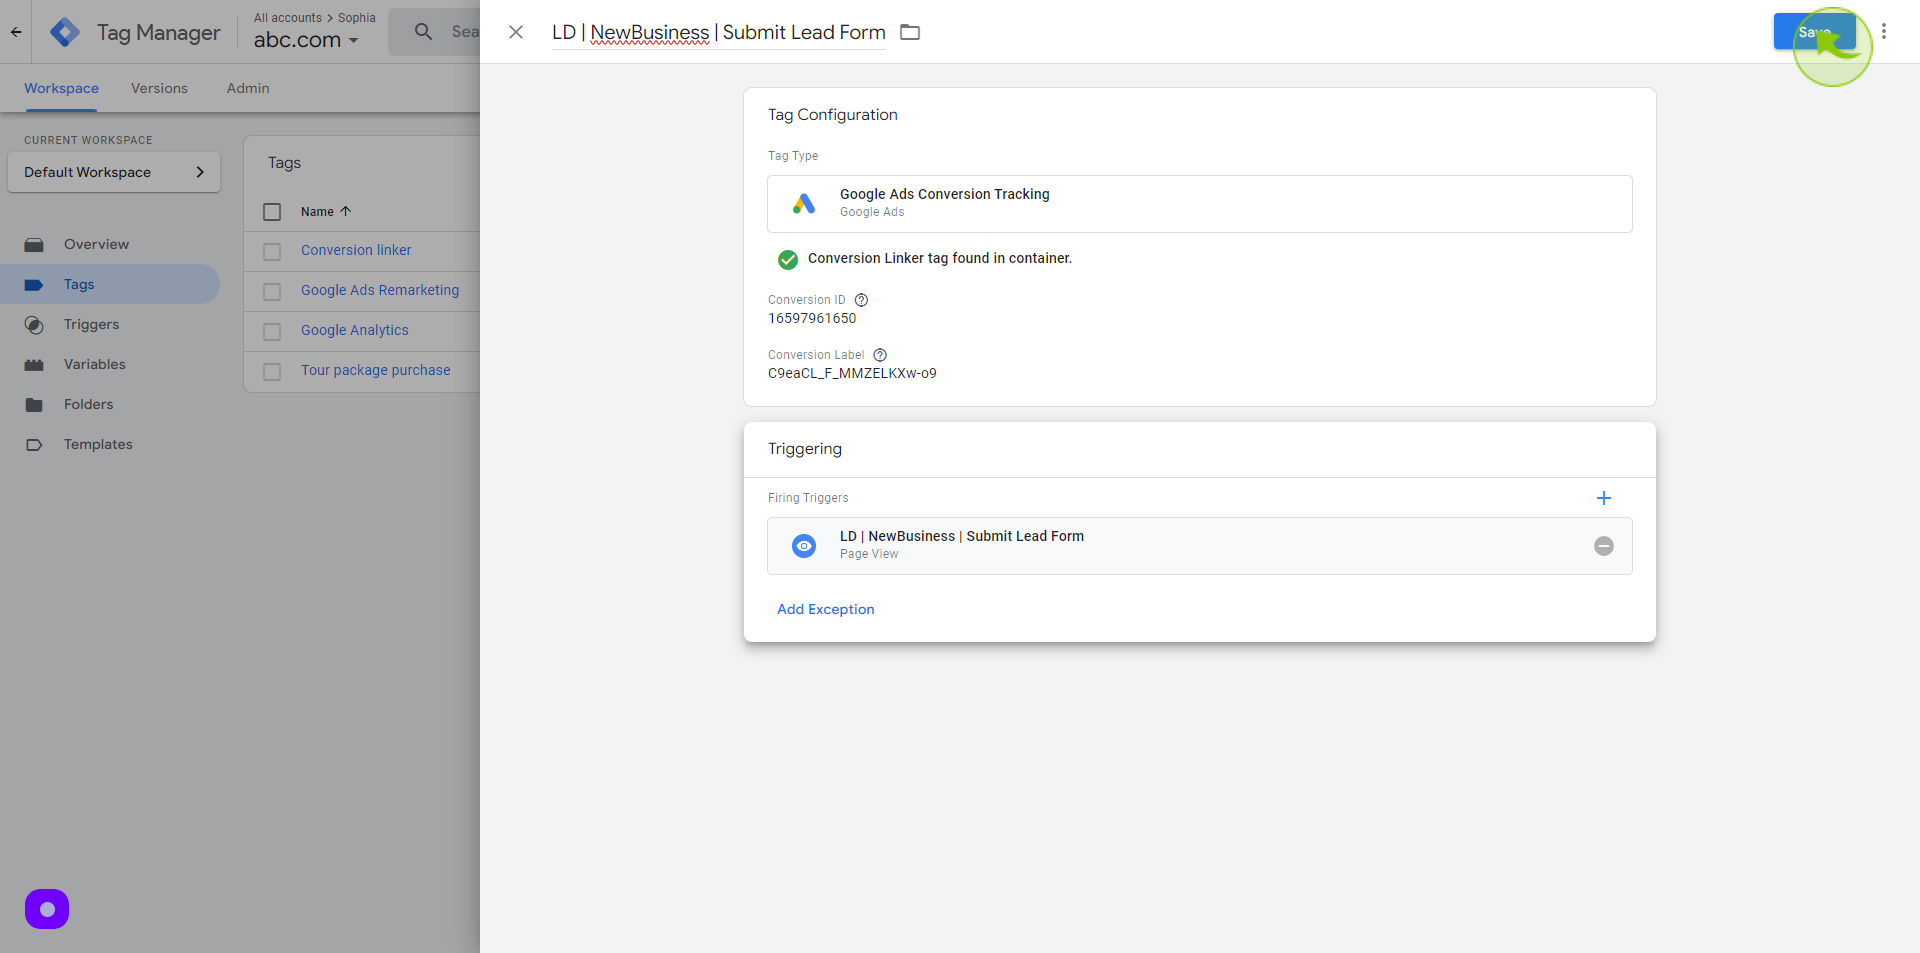
Click on "Tag Configuration" tab

27
Click on the "Google Ads".
28
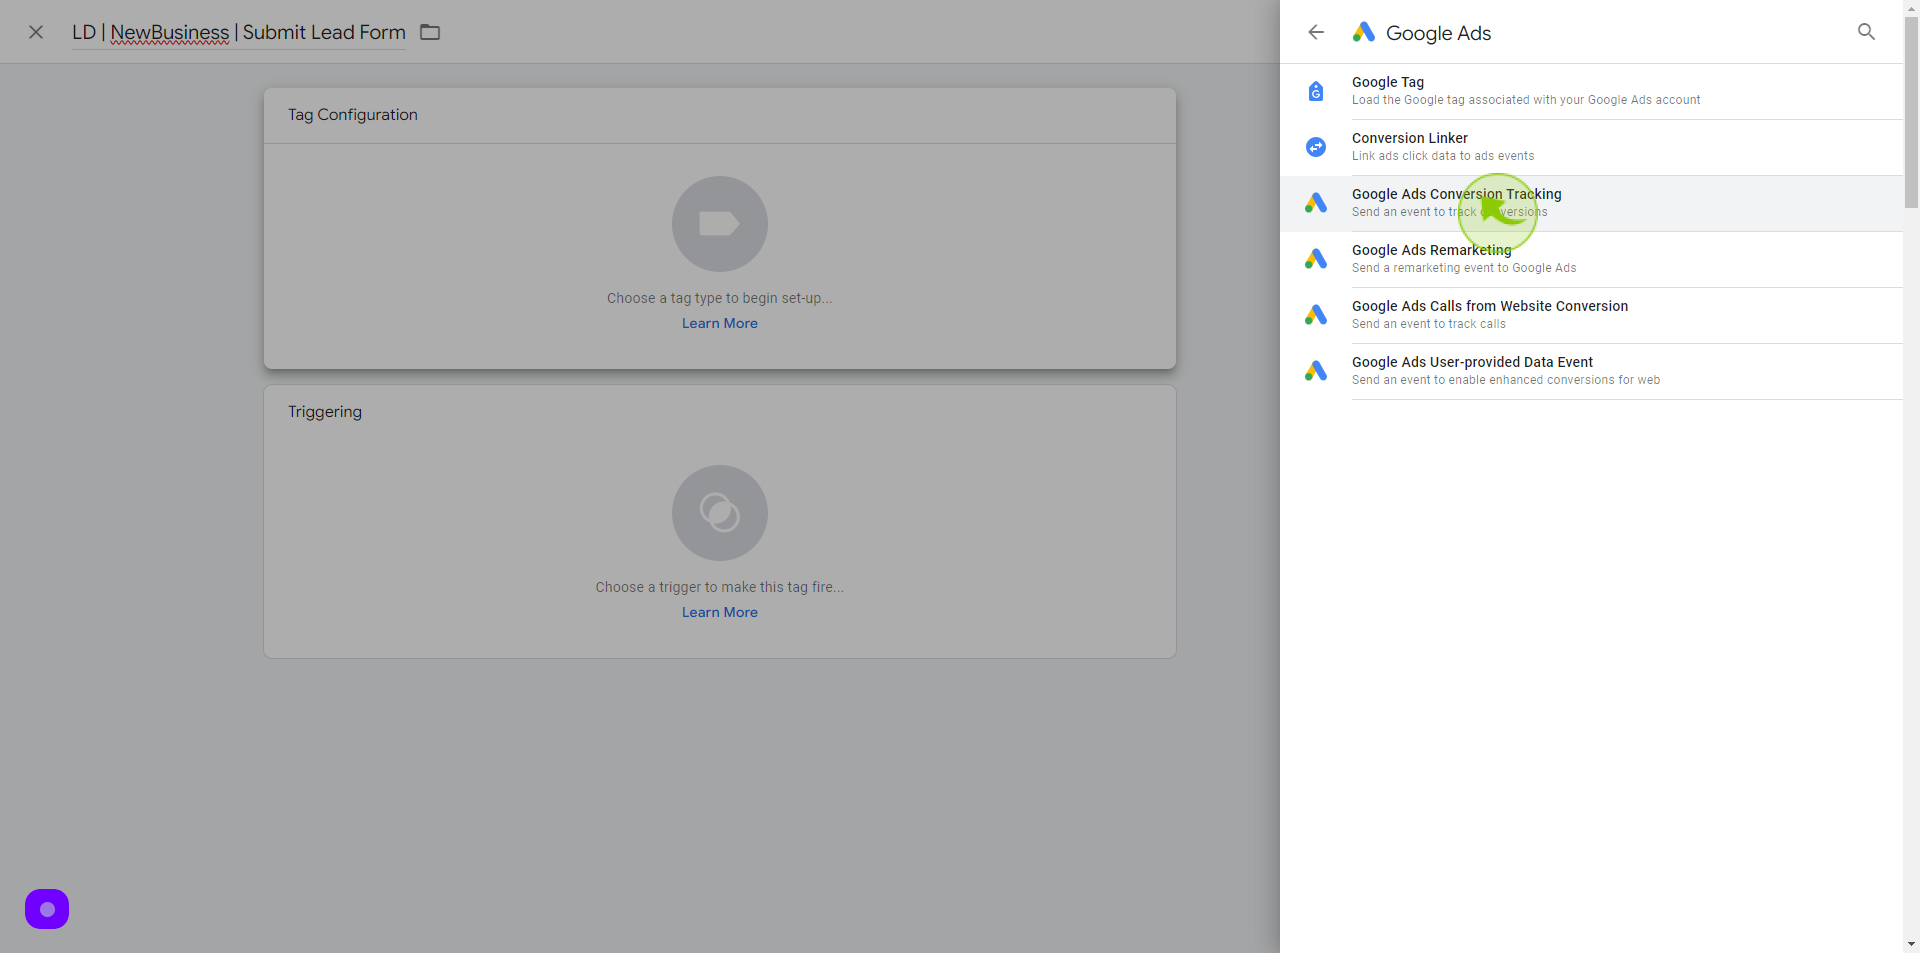
Select "Google Ads Conversion Tracking" from the Dropdown Menu
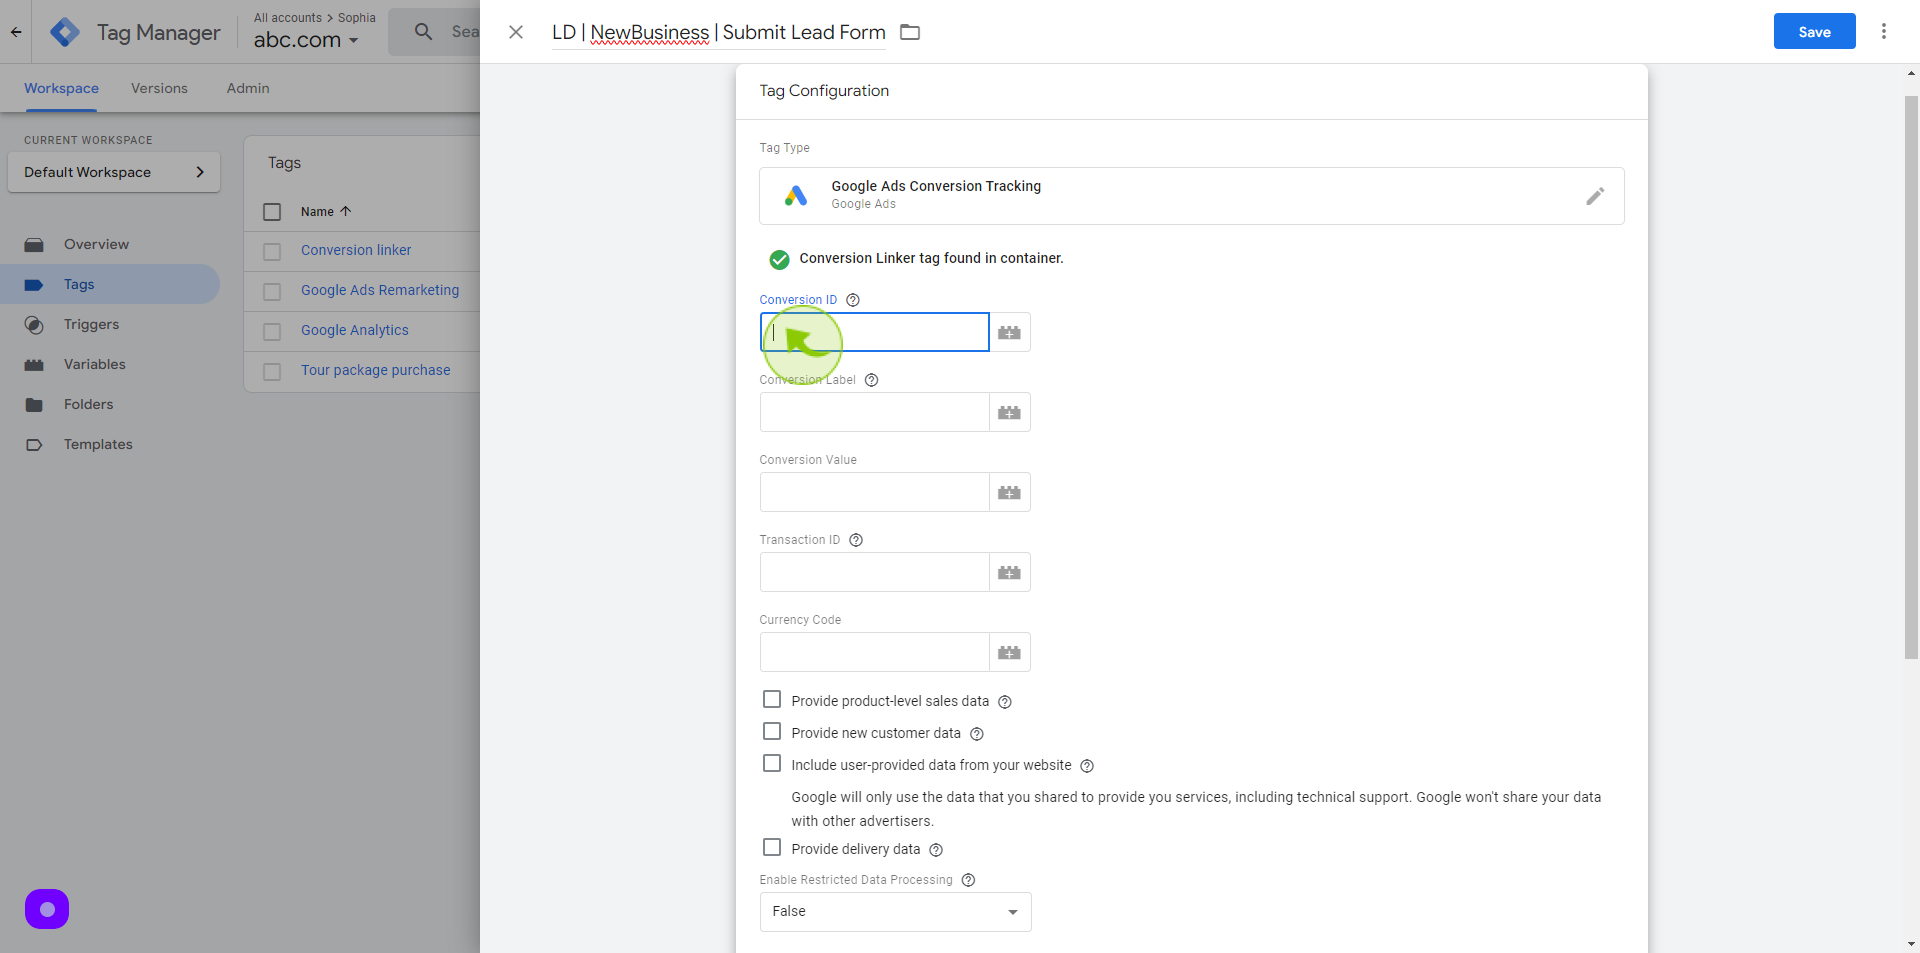
29
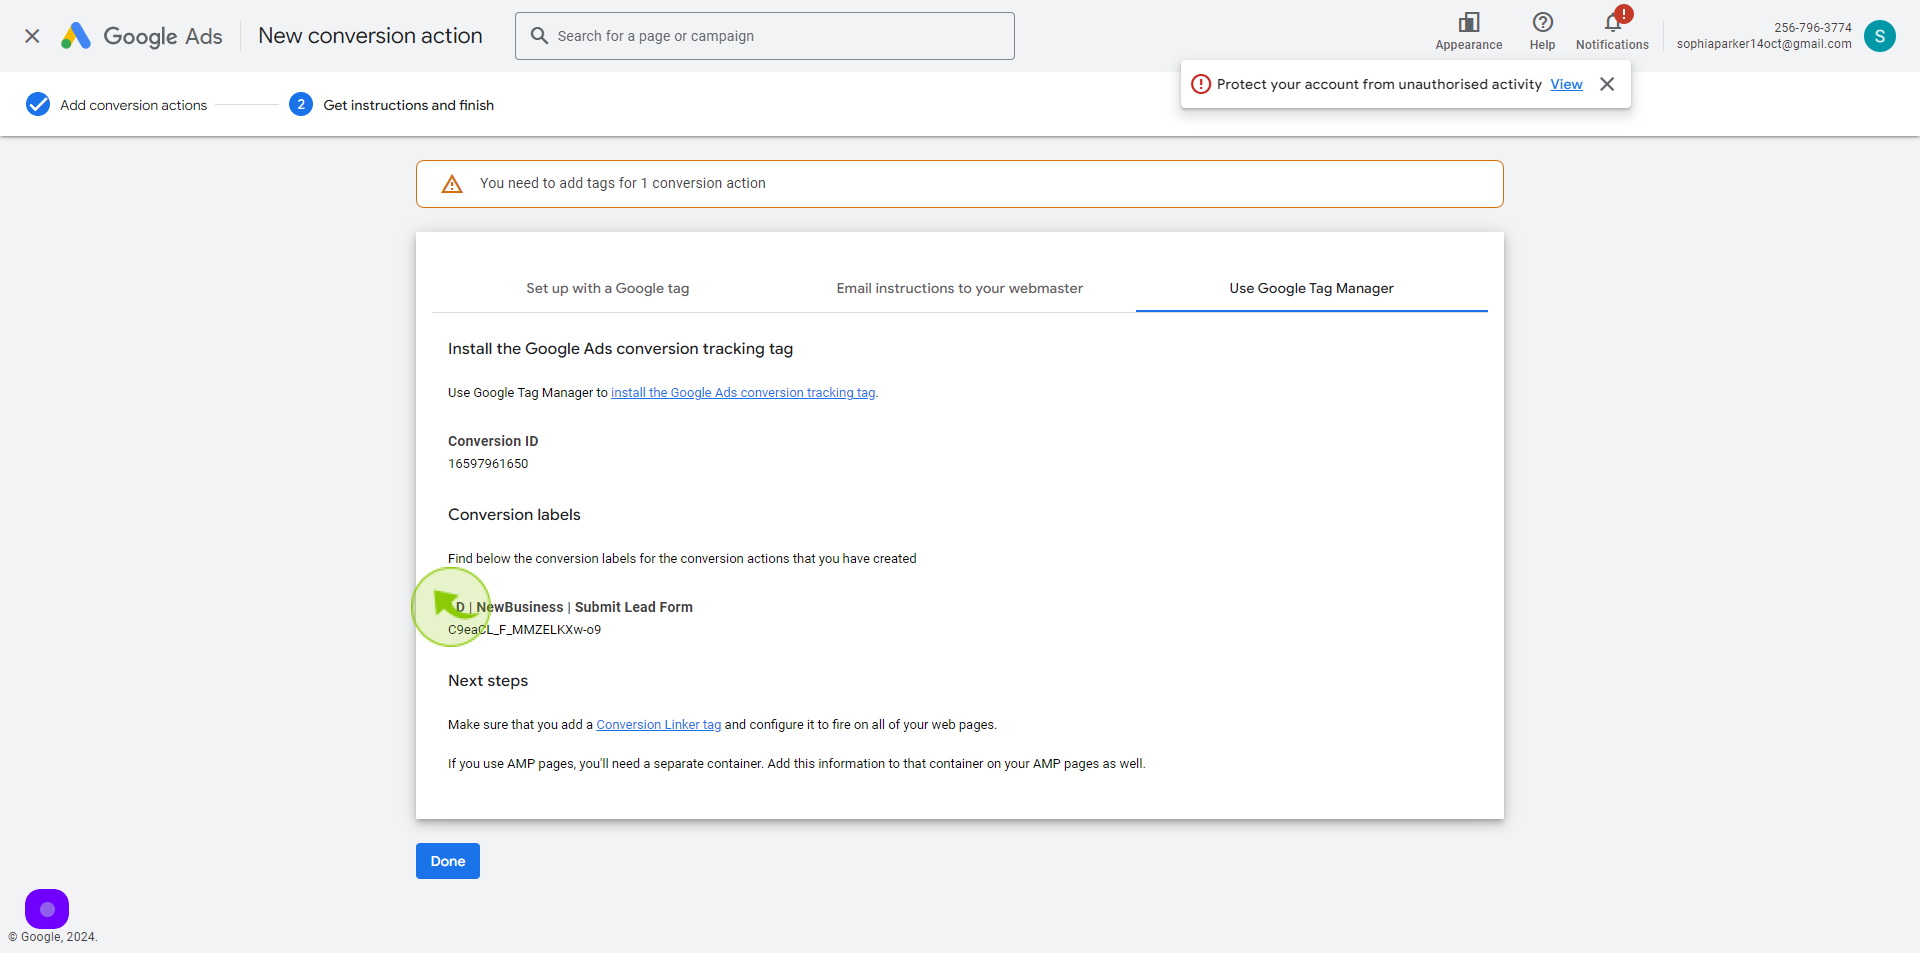
Click the "Conversion ID" text field
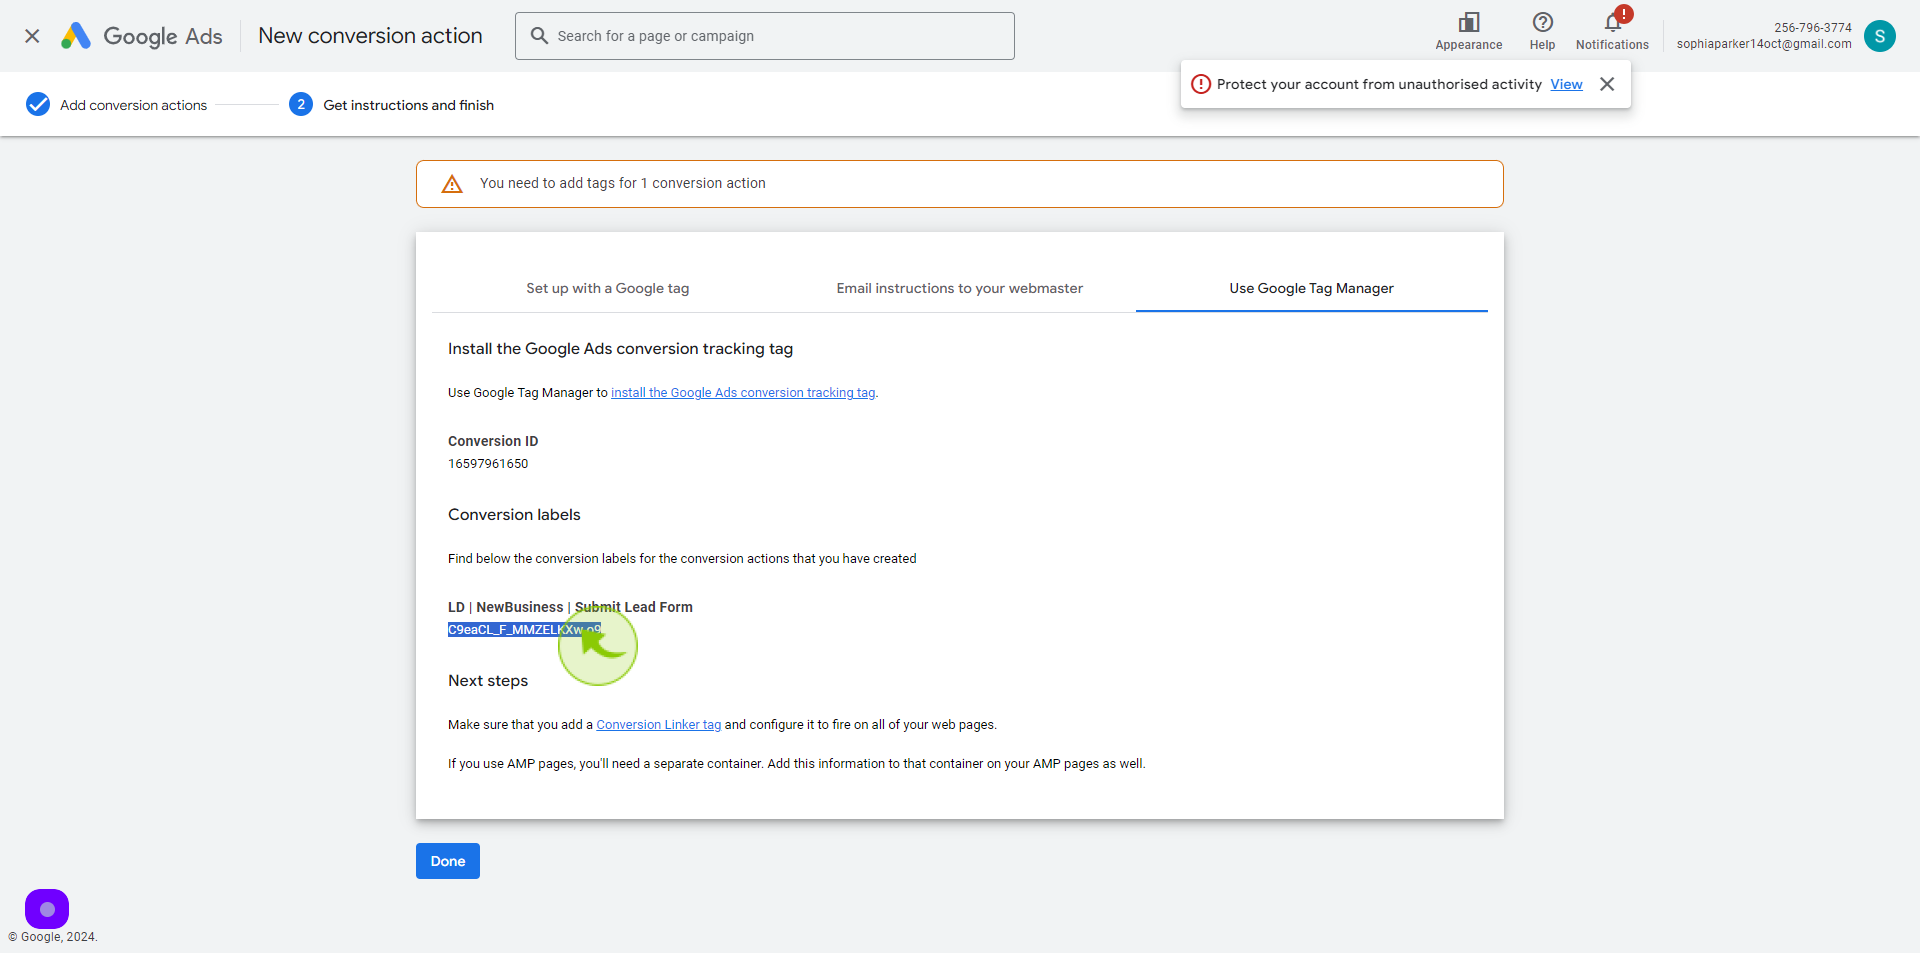
Go back to the google ads account conversion action
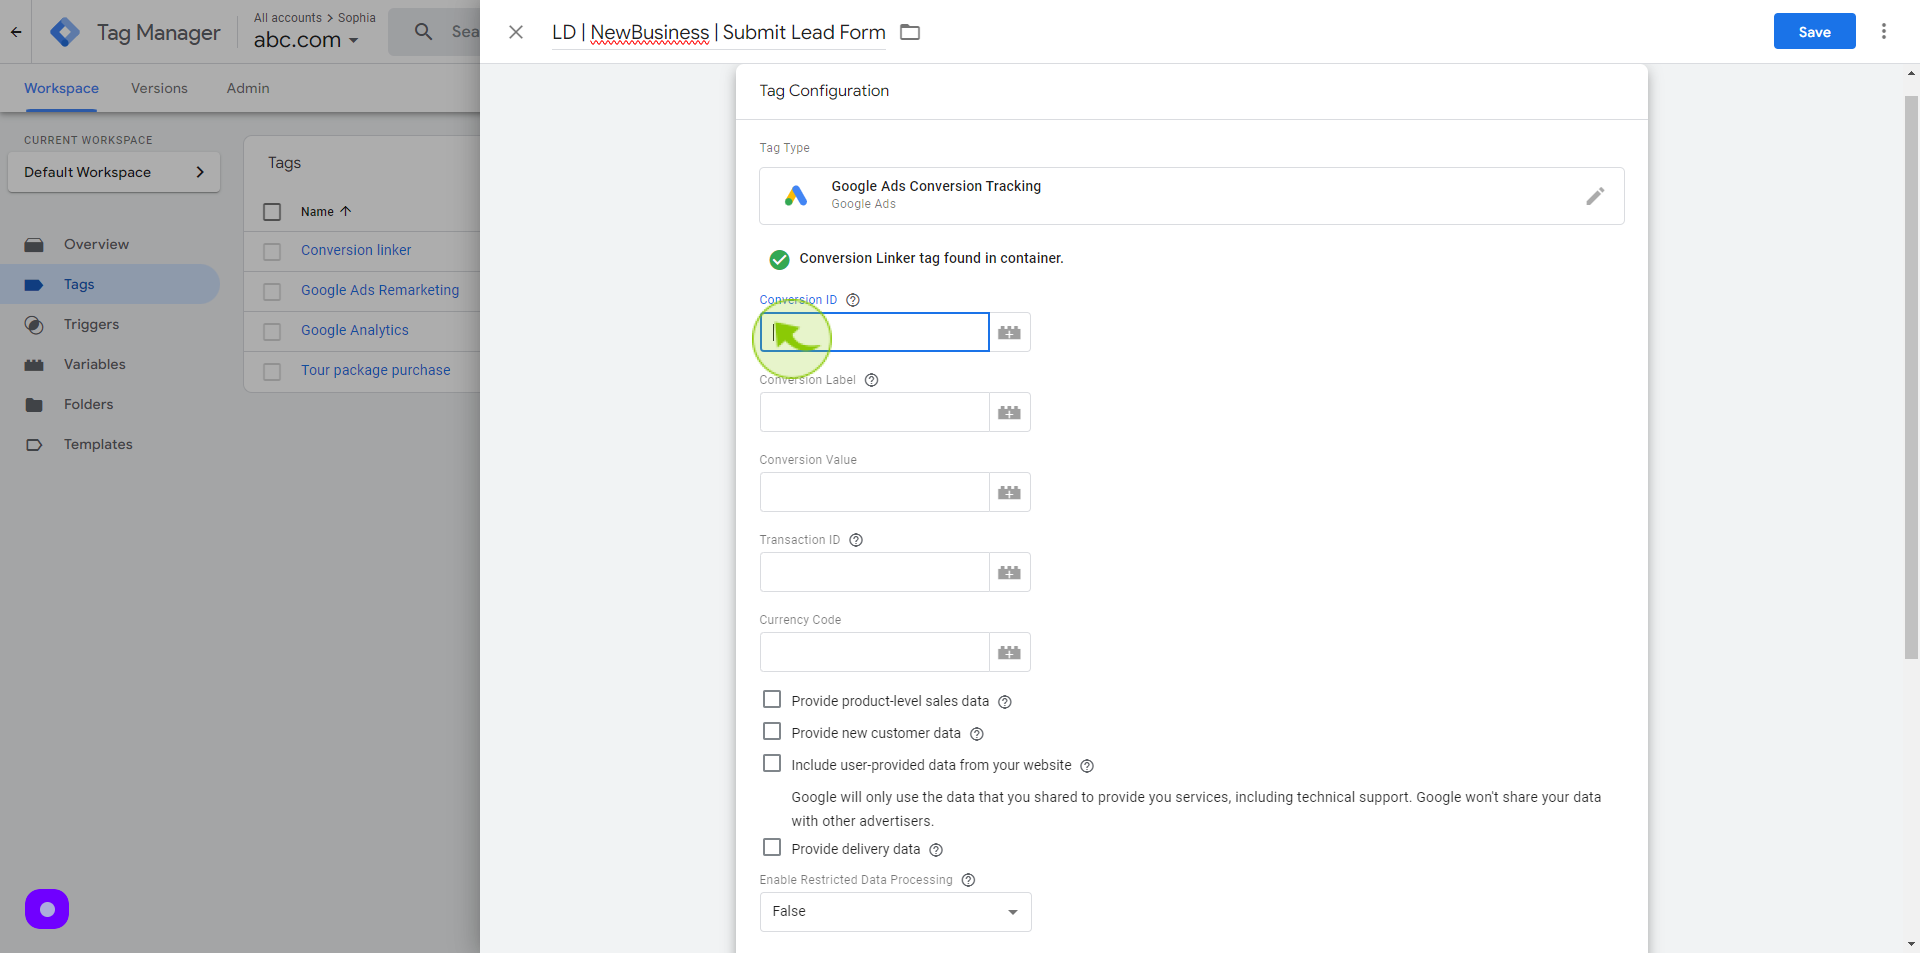
30
Copy the "Conversion ID"
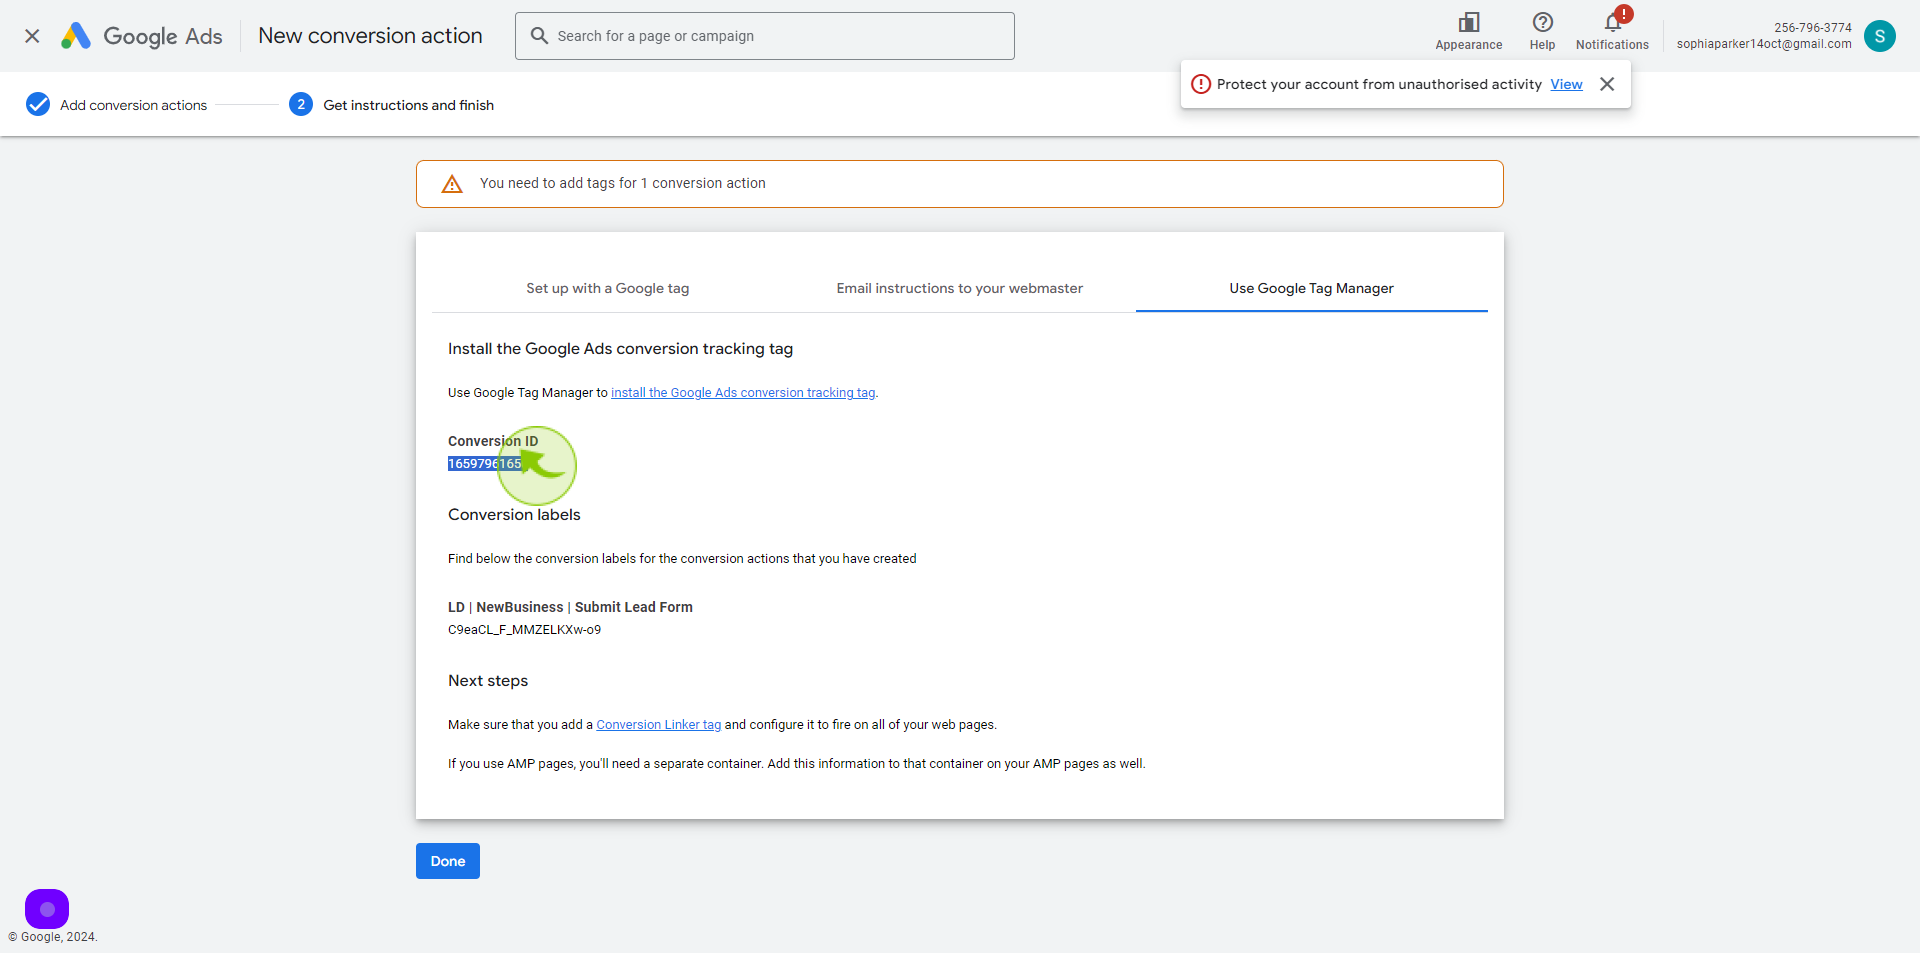
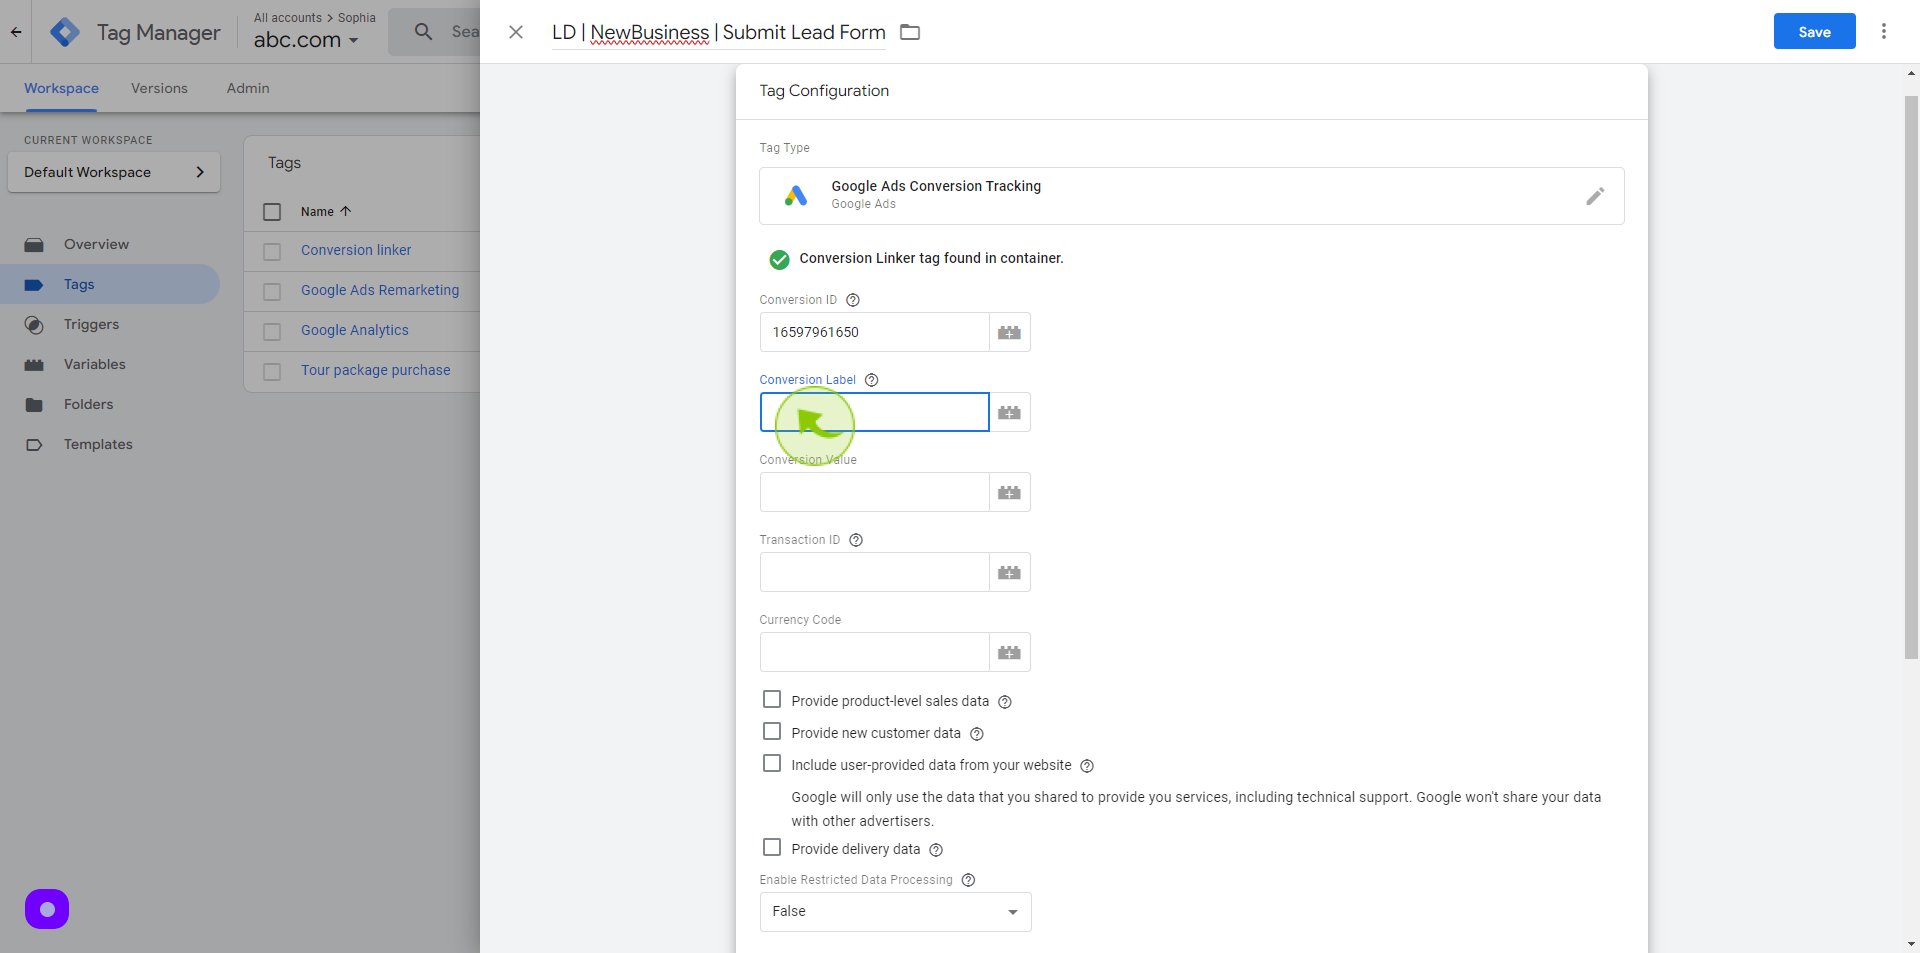
31
Paste it "Conversion ID" on this section
32
Copy the String of Letters and Number Below under "Conversion Labels" Section.
33
Click the "Conversion Labels" field
Paste the conversion labels
34
Click on "Triggering" section
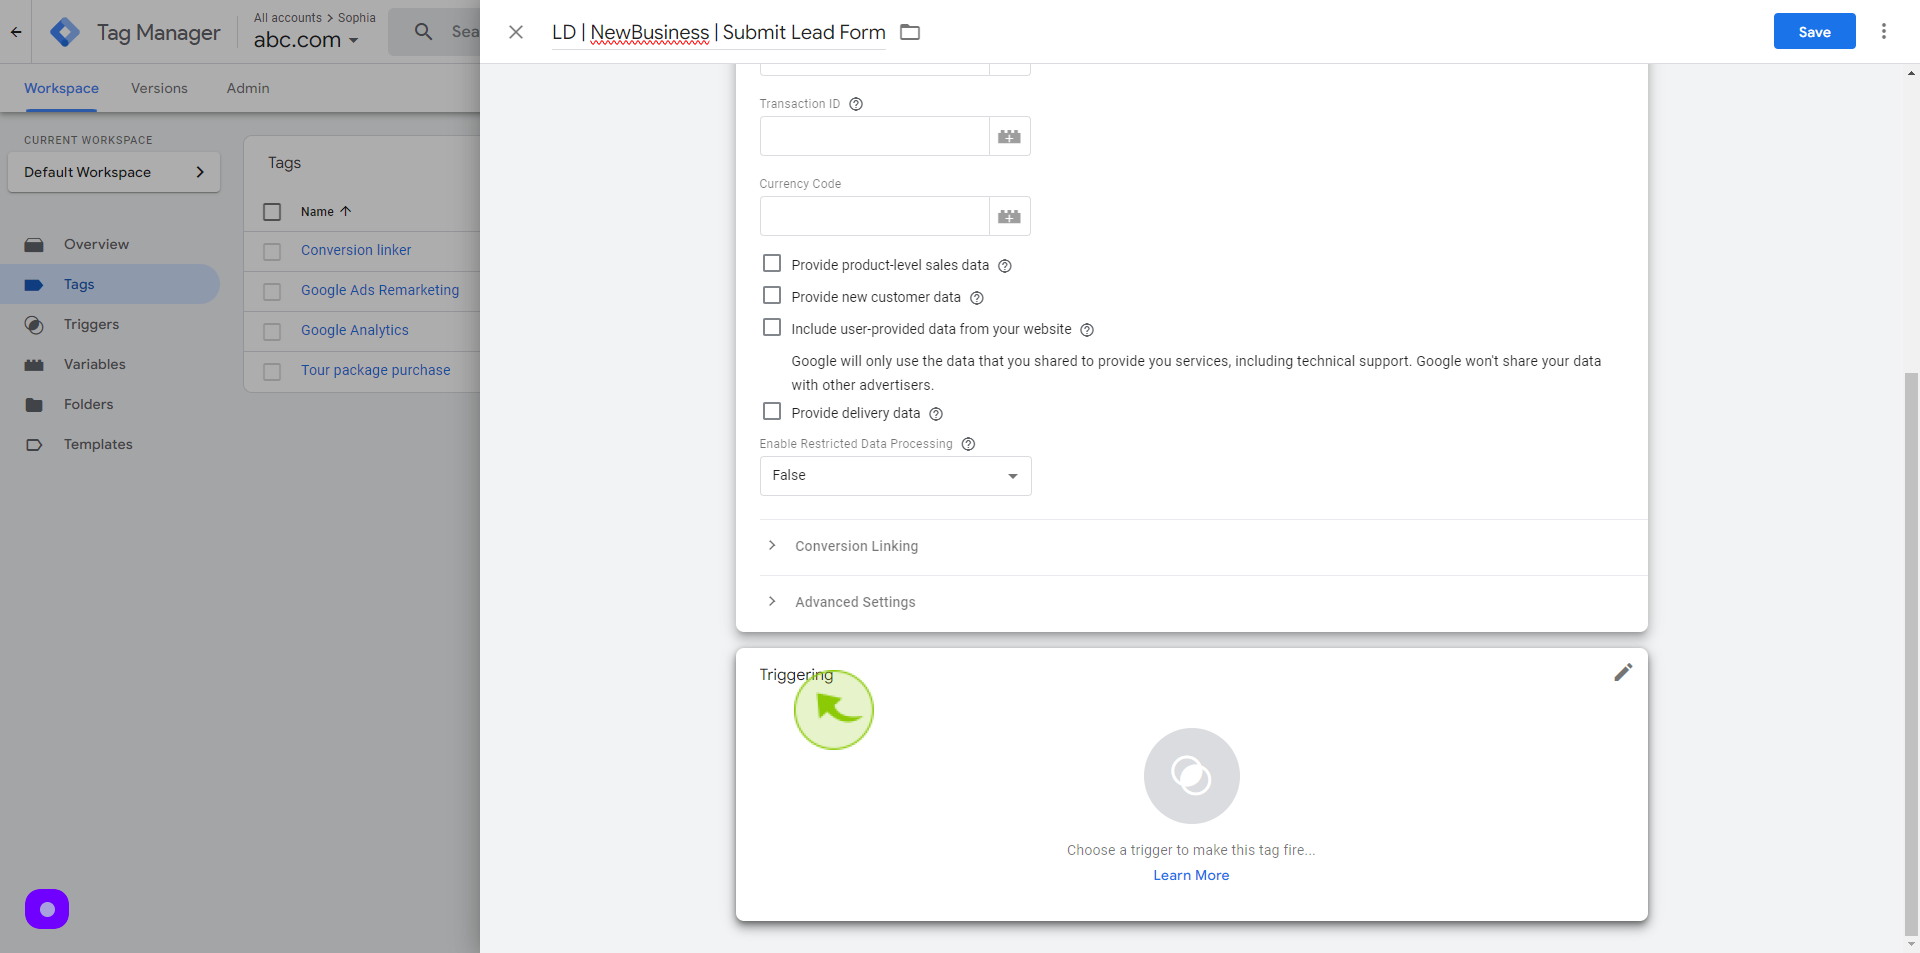
35
Click on the "(+) Plus" button.
To add a new trigger
36
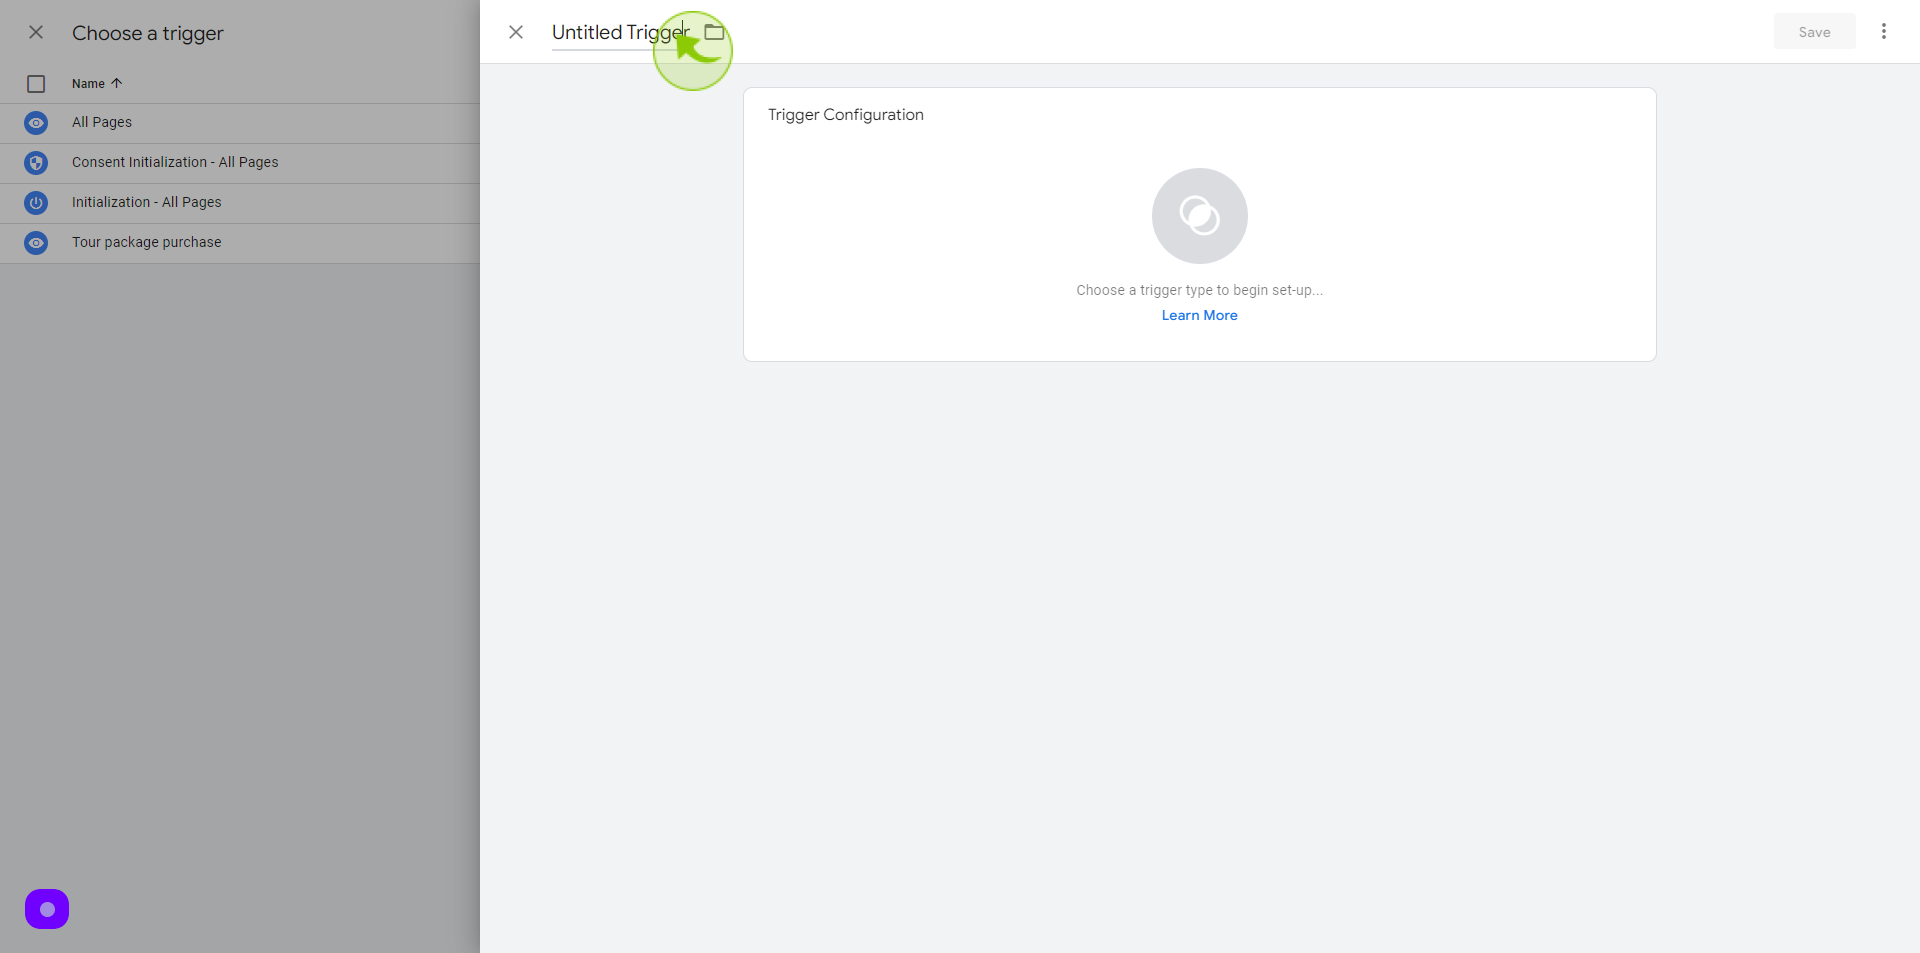
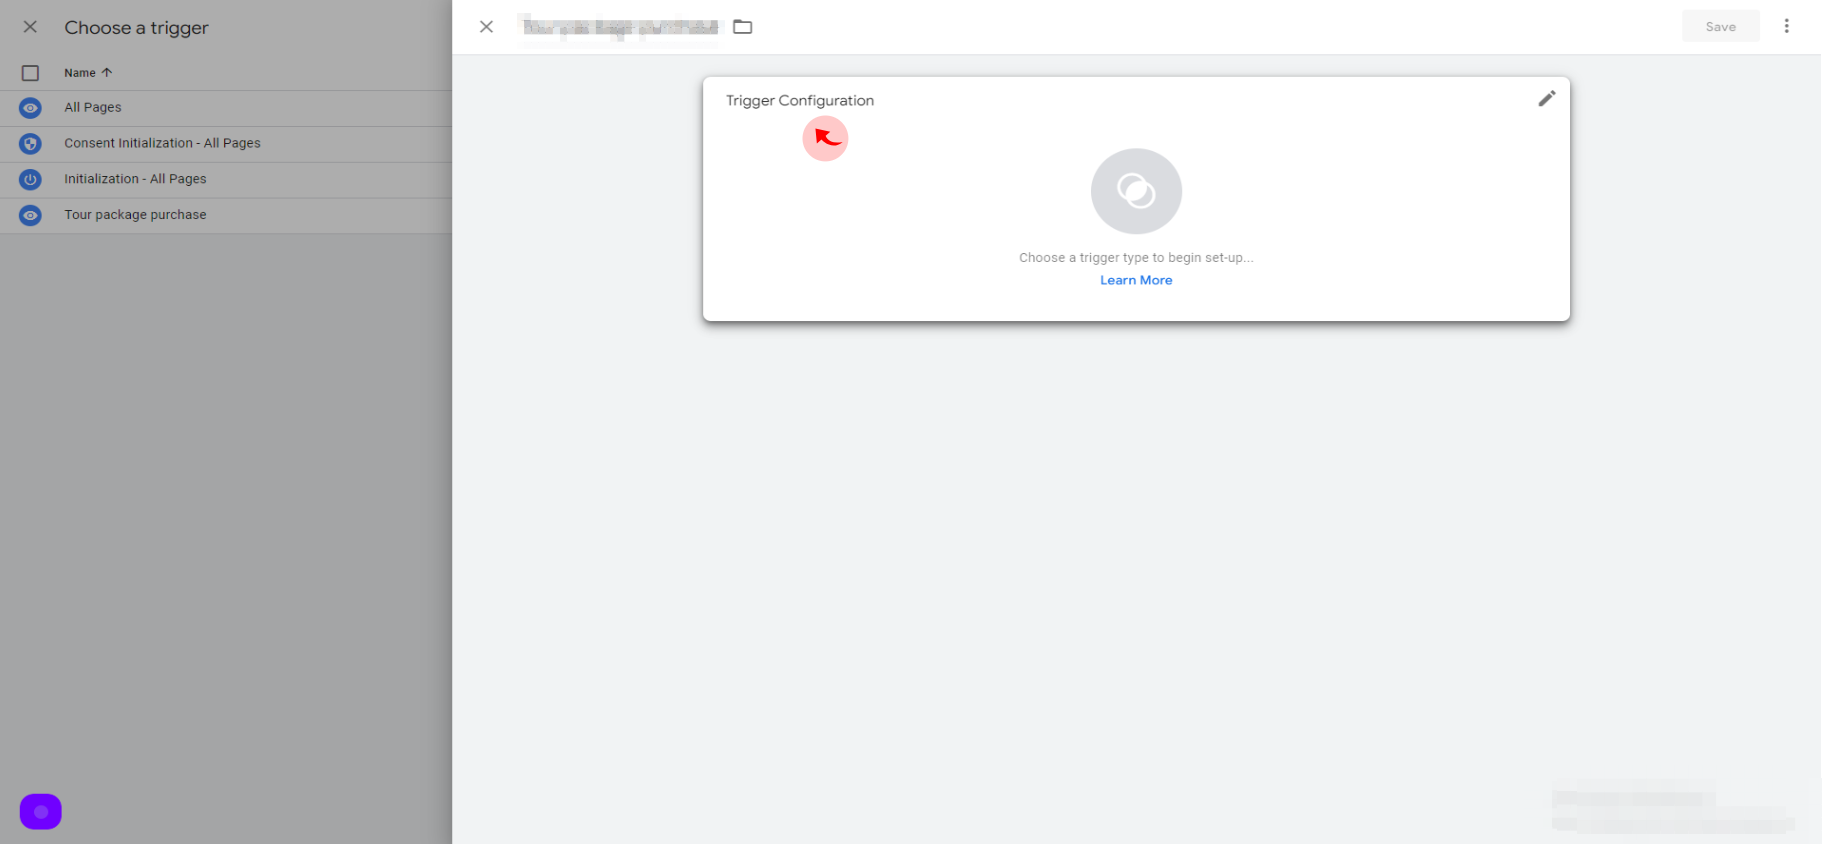
Click "Untitled Trigger"
Set a name of the trigger
37
Copy the Name of the "Google Ads Conversion Action"
38
Paste it as the Name of the "Trigger".

39
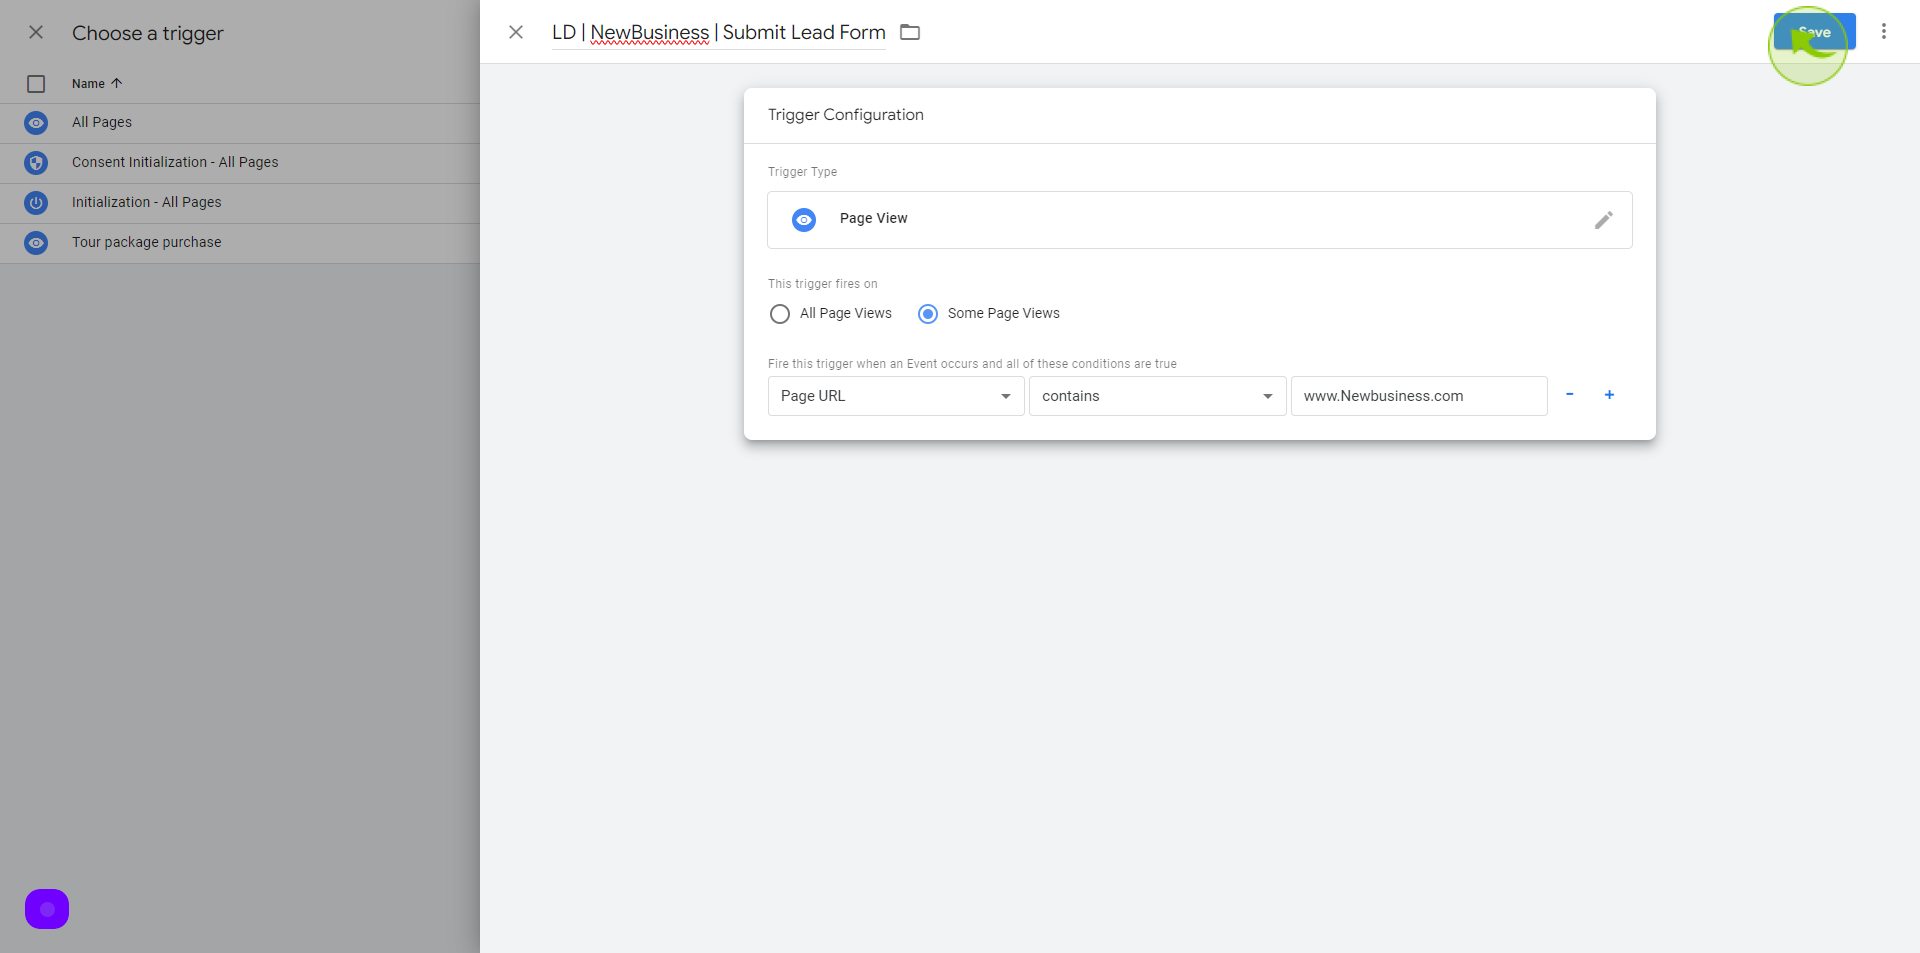
Click on "Trigger Configuration"
40
Click on "Page View"

41
Click "Some Page Views"
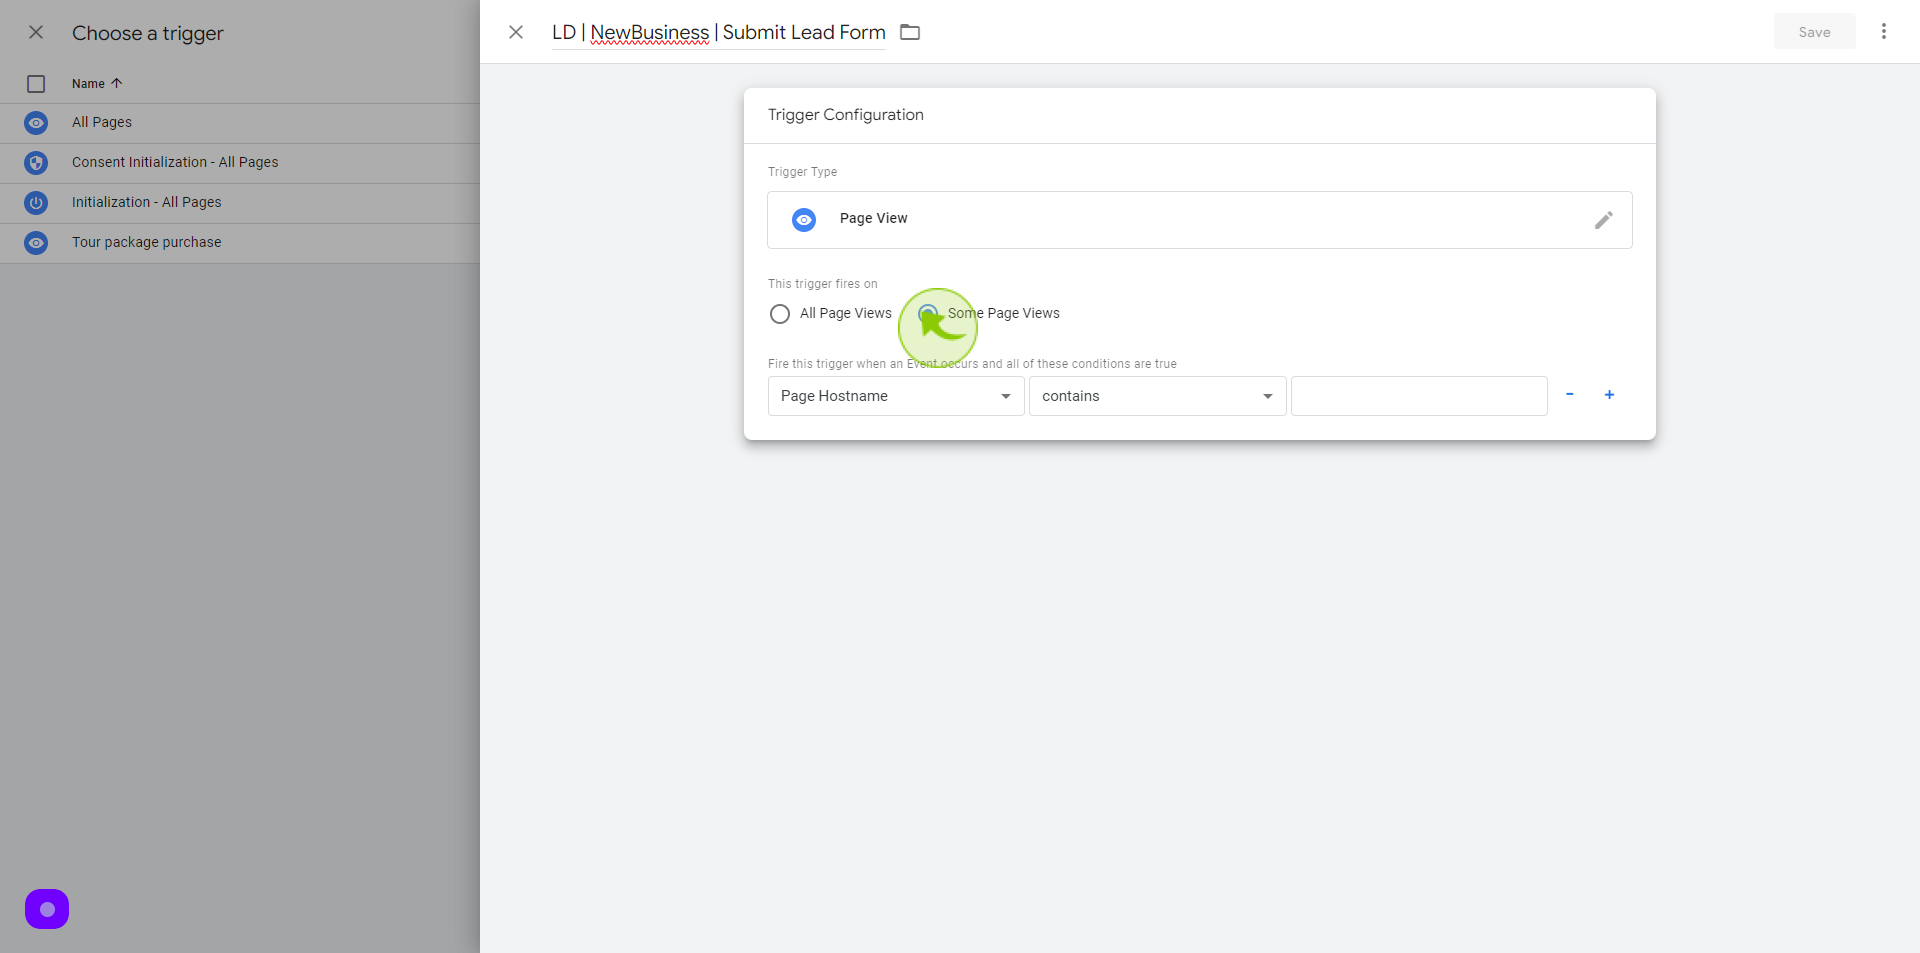
42
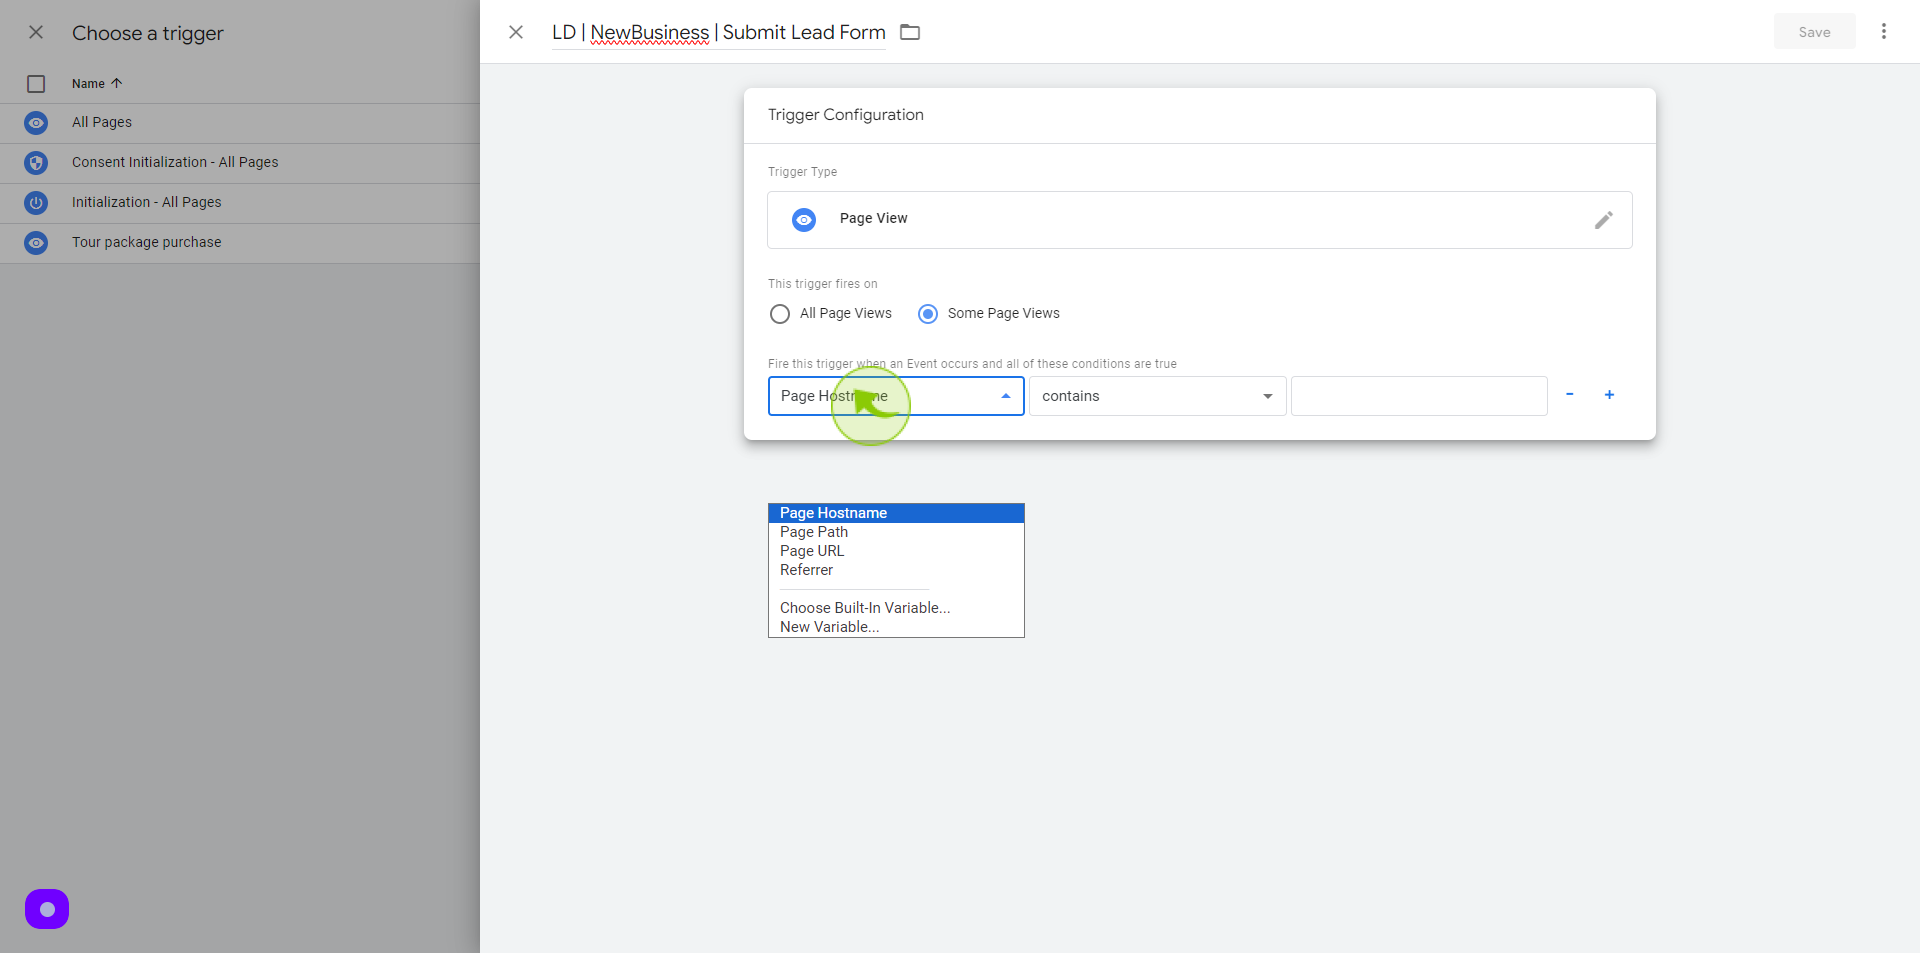
Click this "Dropdown".
Select a page URL
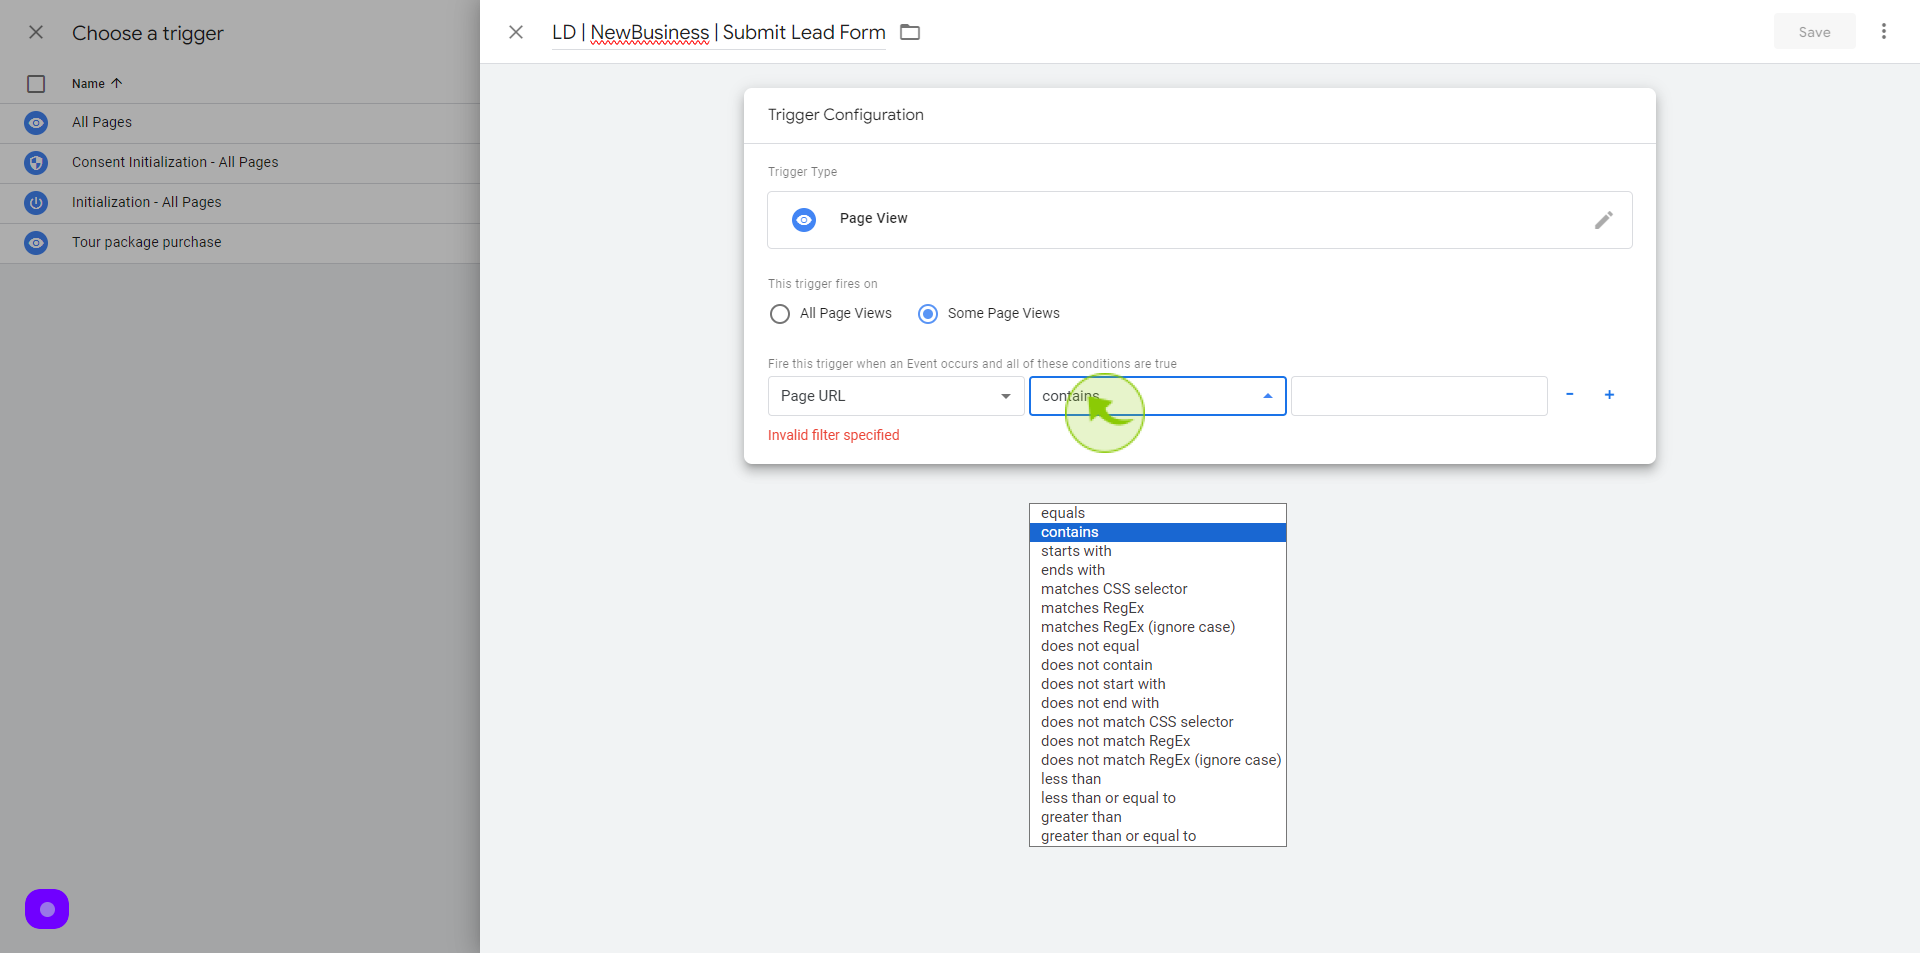
43
Click this "Dropdown" and Set "Contains".
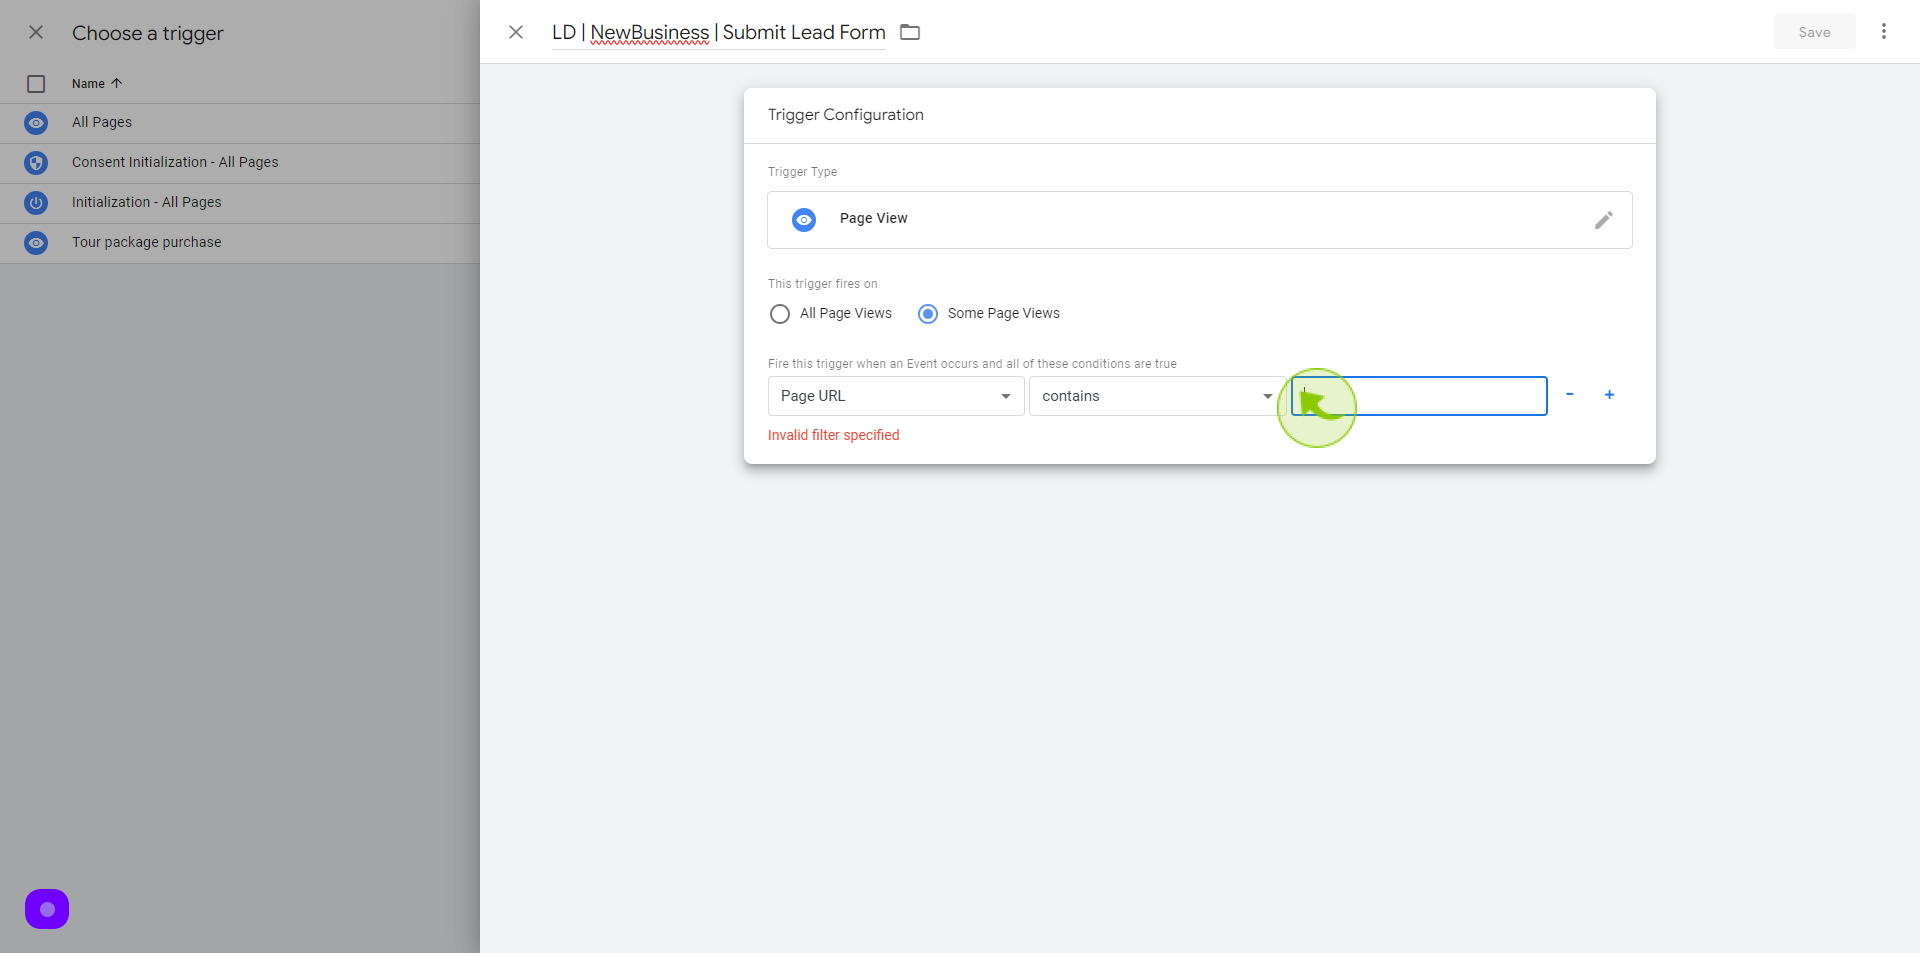
44
Click the "Text" field.
Add the page URL on this section
45
Click on "Save"
46
Click on "Save"
47
Click on "Submit"
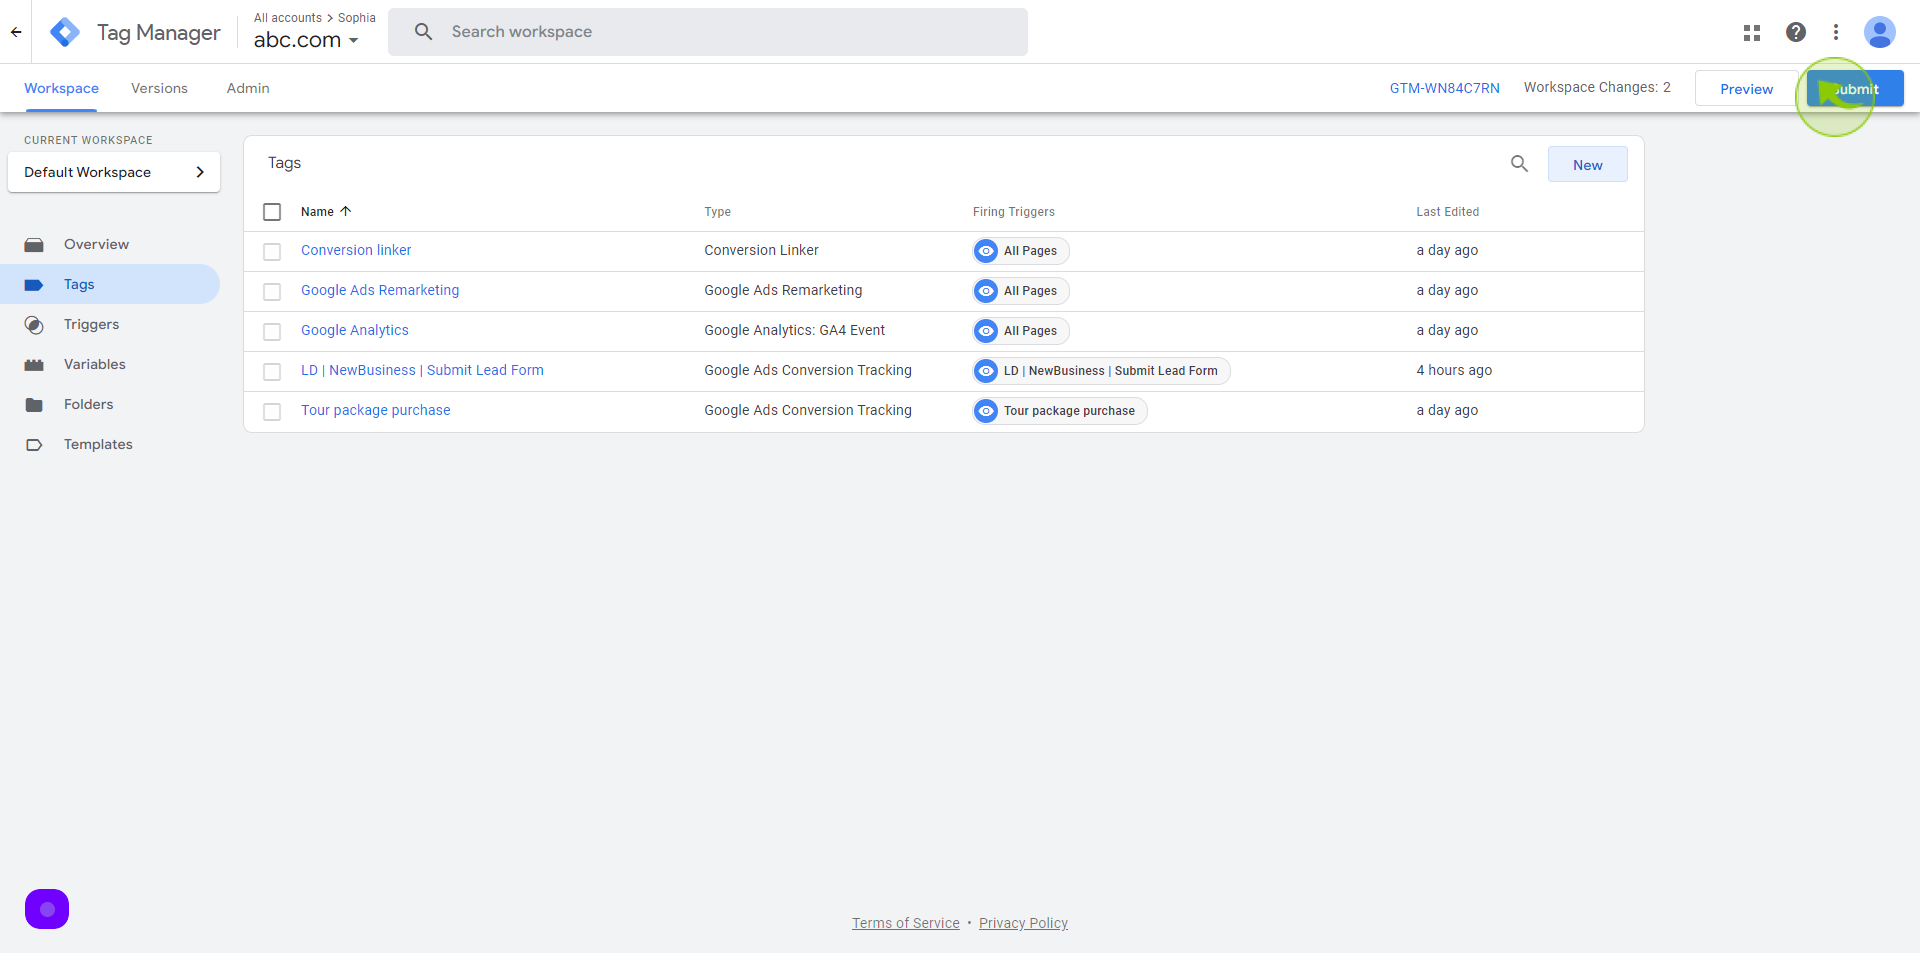
48
Click on "Publish"
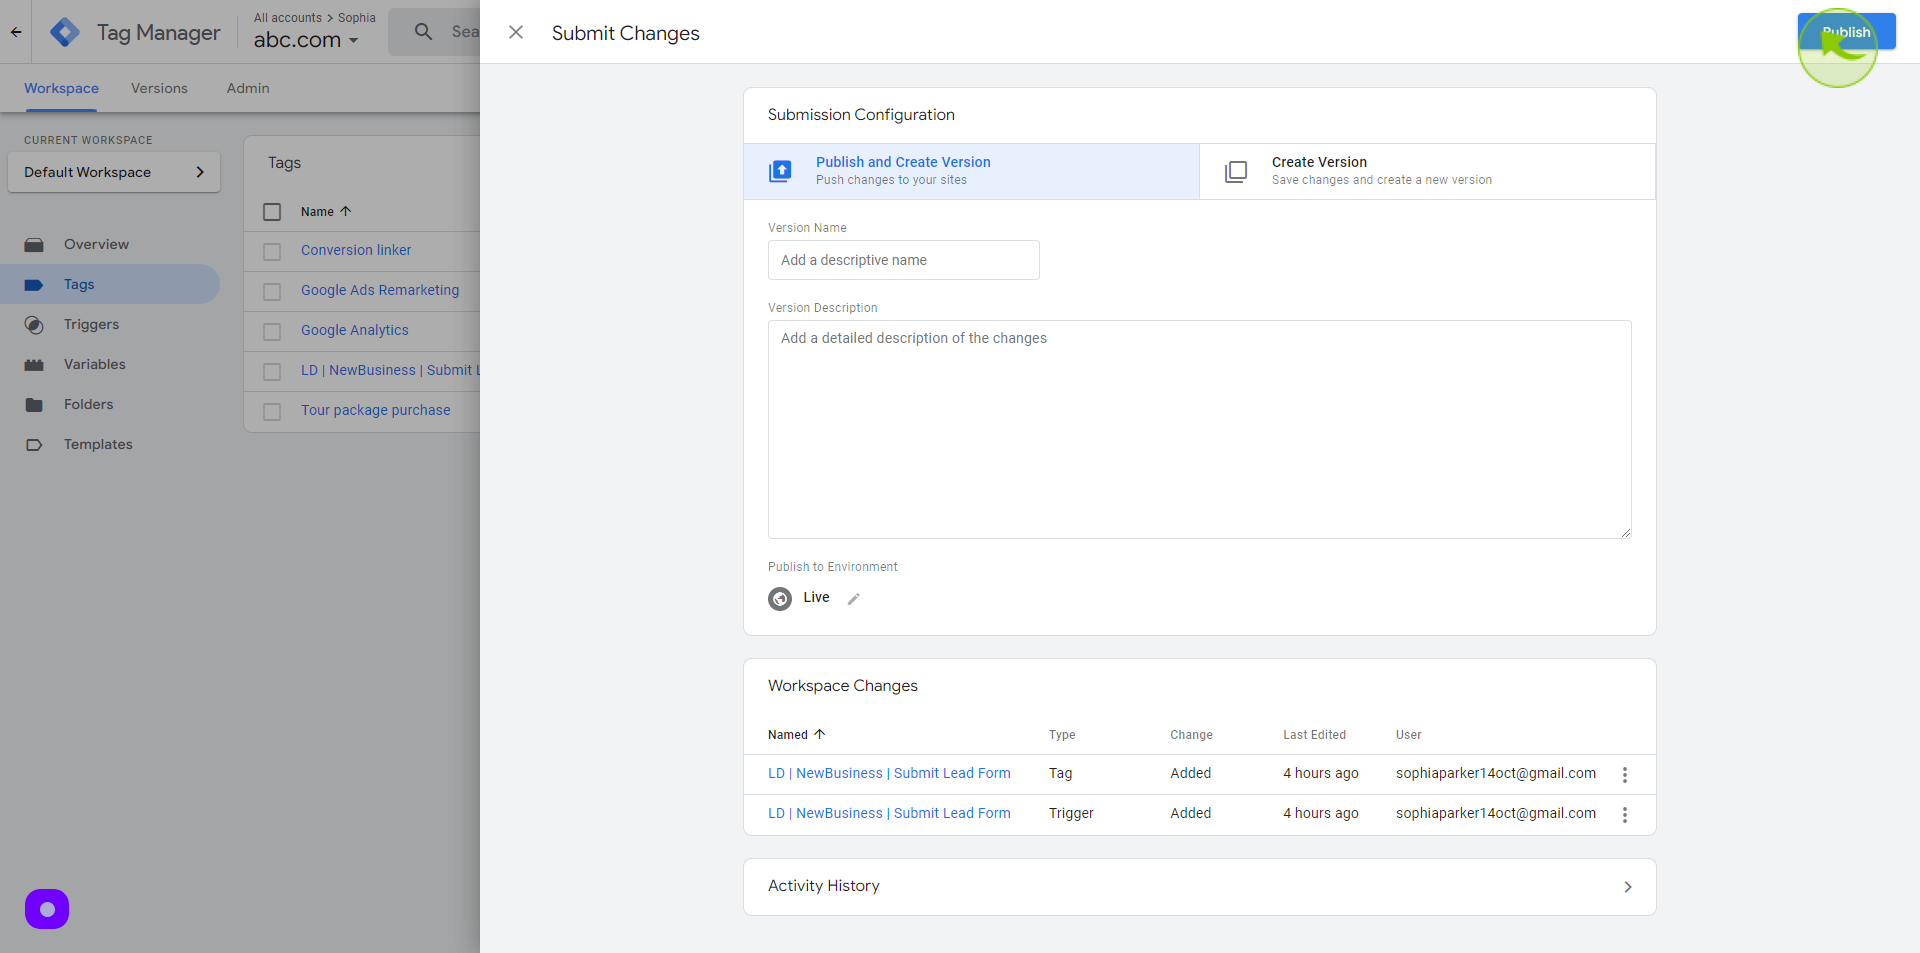
49
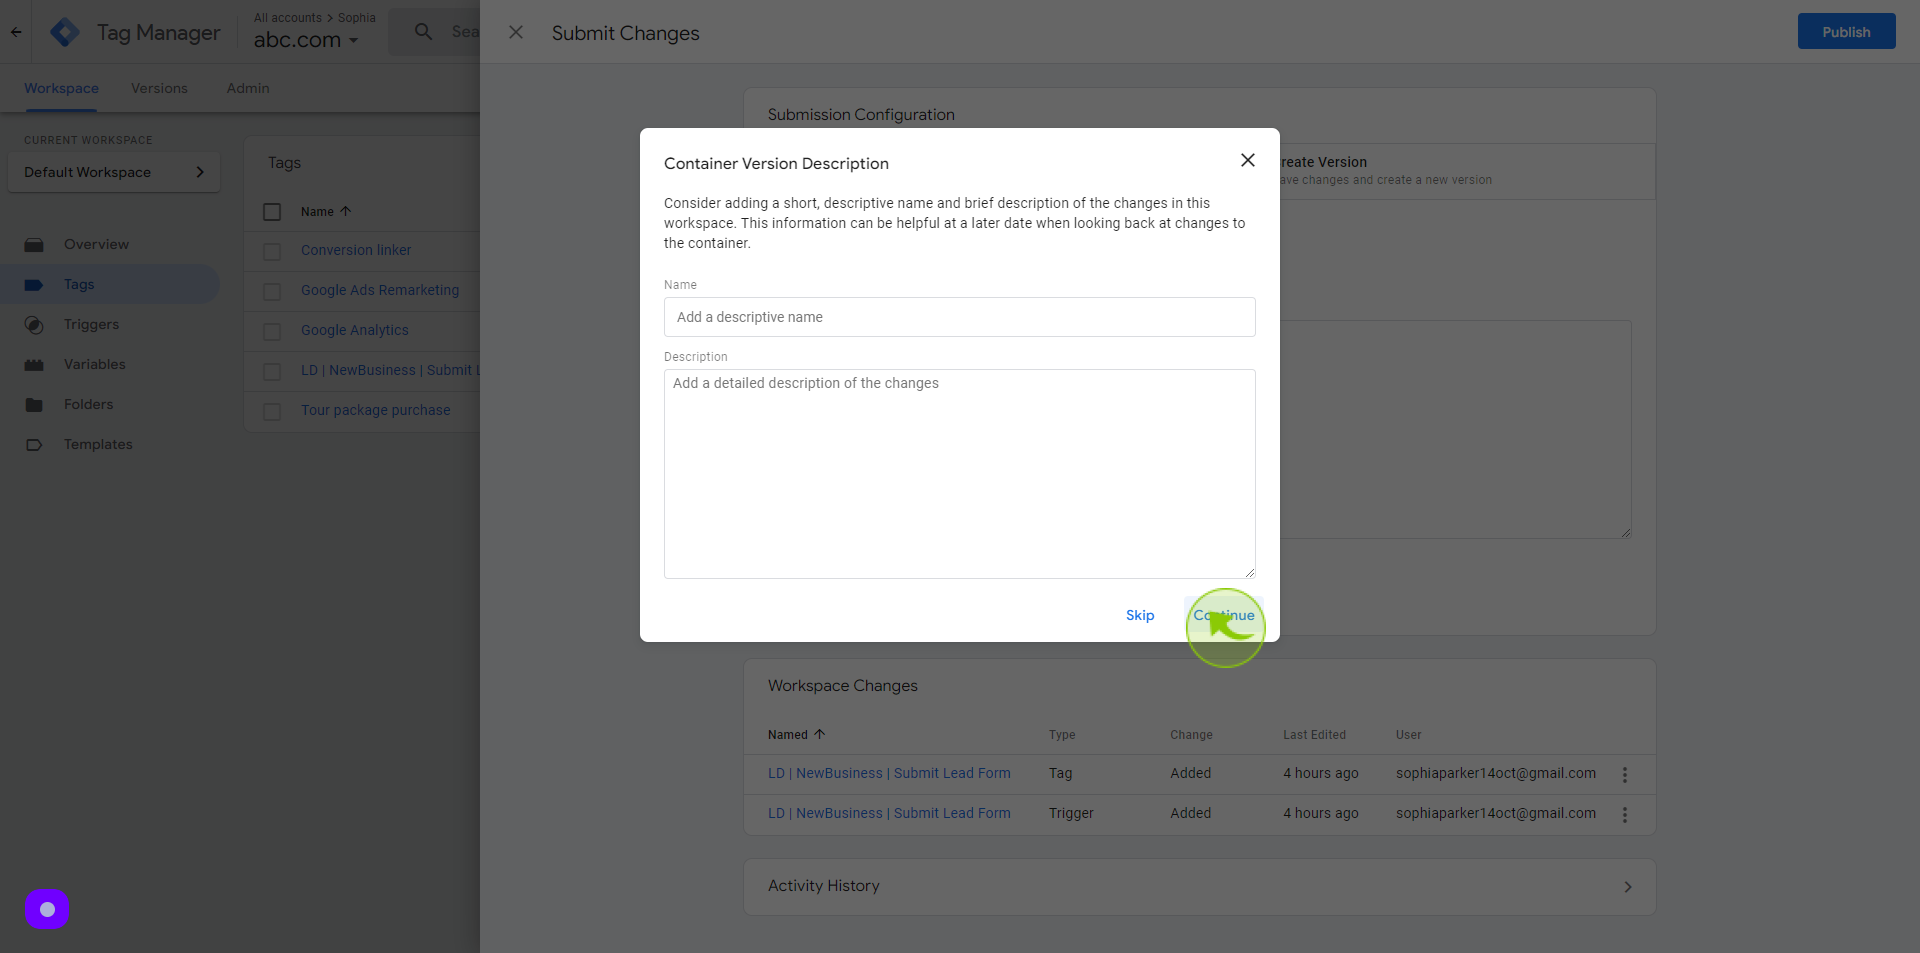
Click "Continue"
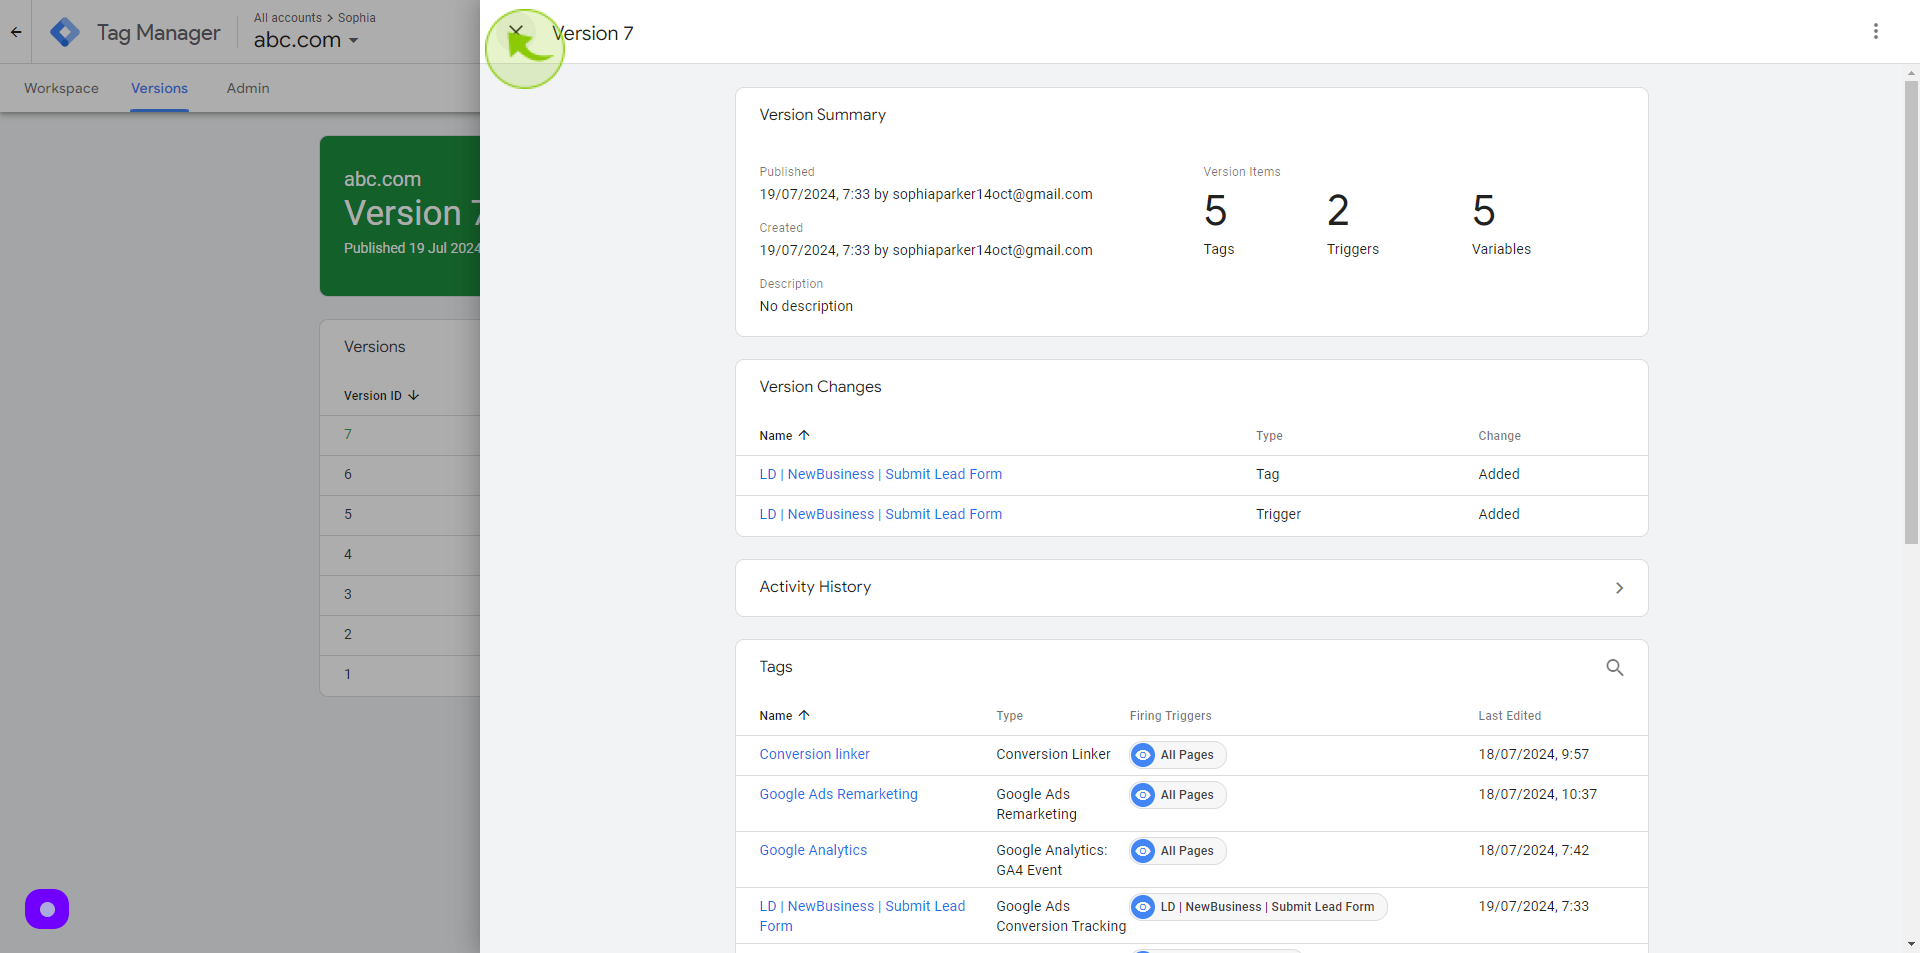
After clicking “Continue” the process is complete and this is how we create the “Submit Lead Form” Google Ads conversion action in Google Ads and set it up in Google Tag Management
50
Click "Close Screen"
Process is completed and then you should see the published tag with the latest version summary as seen below