How to Curve Text in Canva ?
|
 Canva
|
Canva
|
3 months ago
|
6 Steps
Learn how to add a touch of creativity to your Canva designs with curved text! This document will walk you through the steps of bending your text into any shape you desire, from subtle curves to full circles. Whether you're creating eye-catching social media posts, stylish invitations, or unique presentations, curved text is a versatile tool to elevate your designs. Let's get started!
How to Curve Text in Canva ?
|
Canva
|
6 Steps

1
Go to Canva.com and log in your account.
2
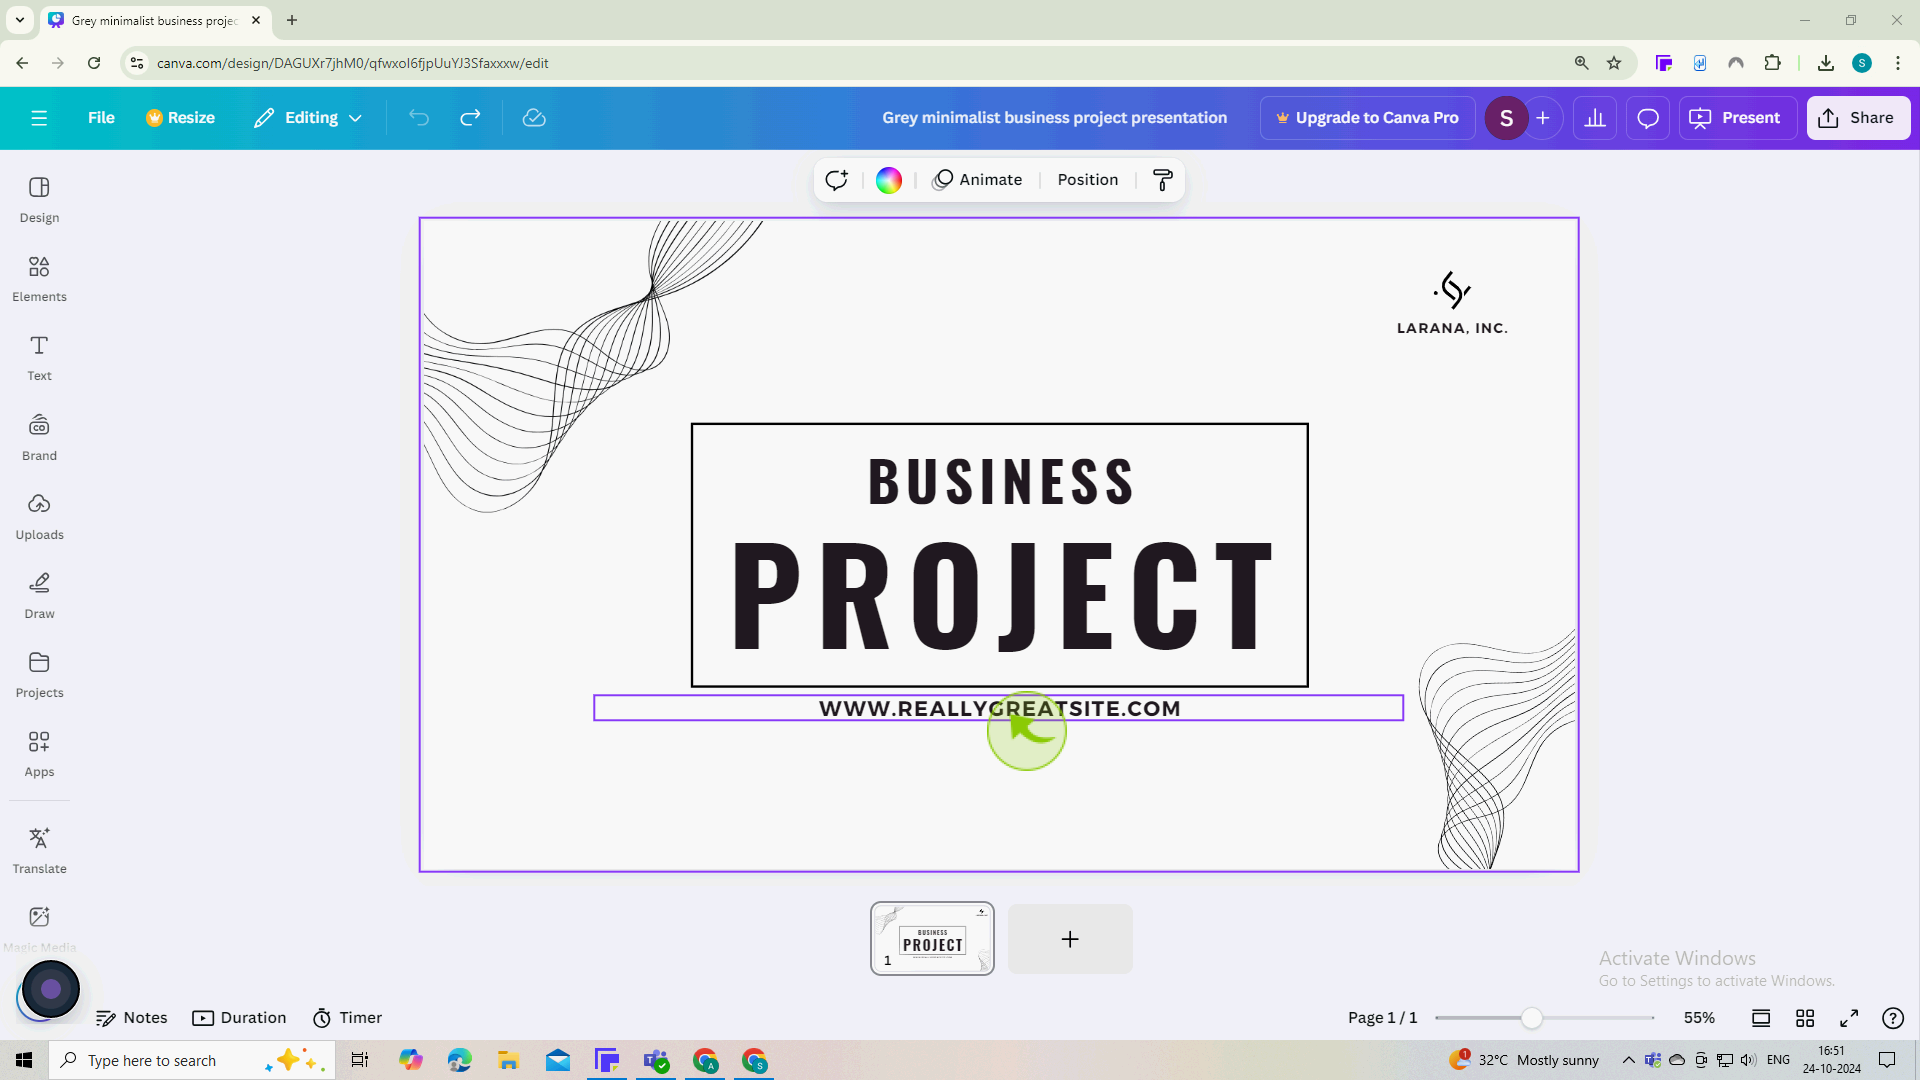
Click on the "Text" box to select it.
Once selected, you’ll see a bounding box around the text, indicating it’s ready for editing.
3
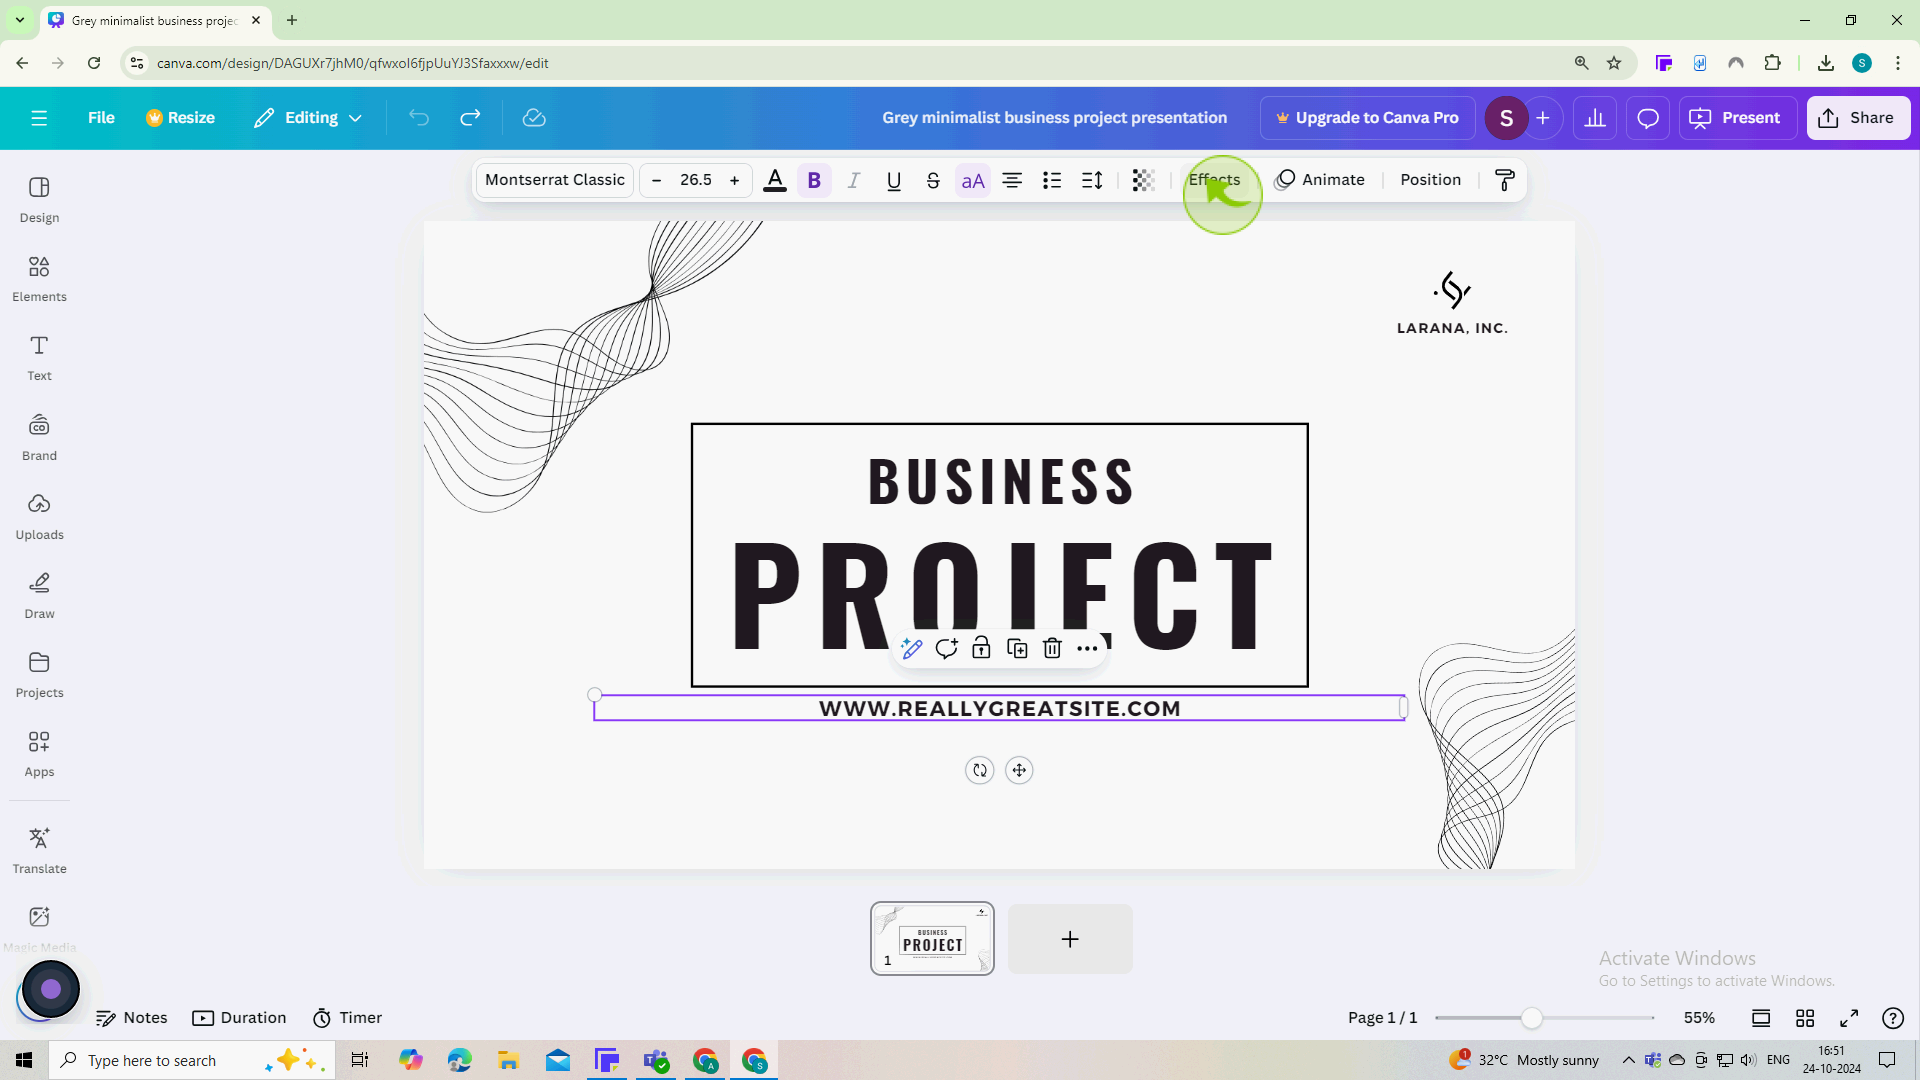
With the text selected, click on the "Effects" button in the top toolbar.
This button allows you to apply different effects to your text, including the curve effect.
4
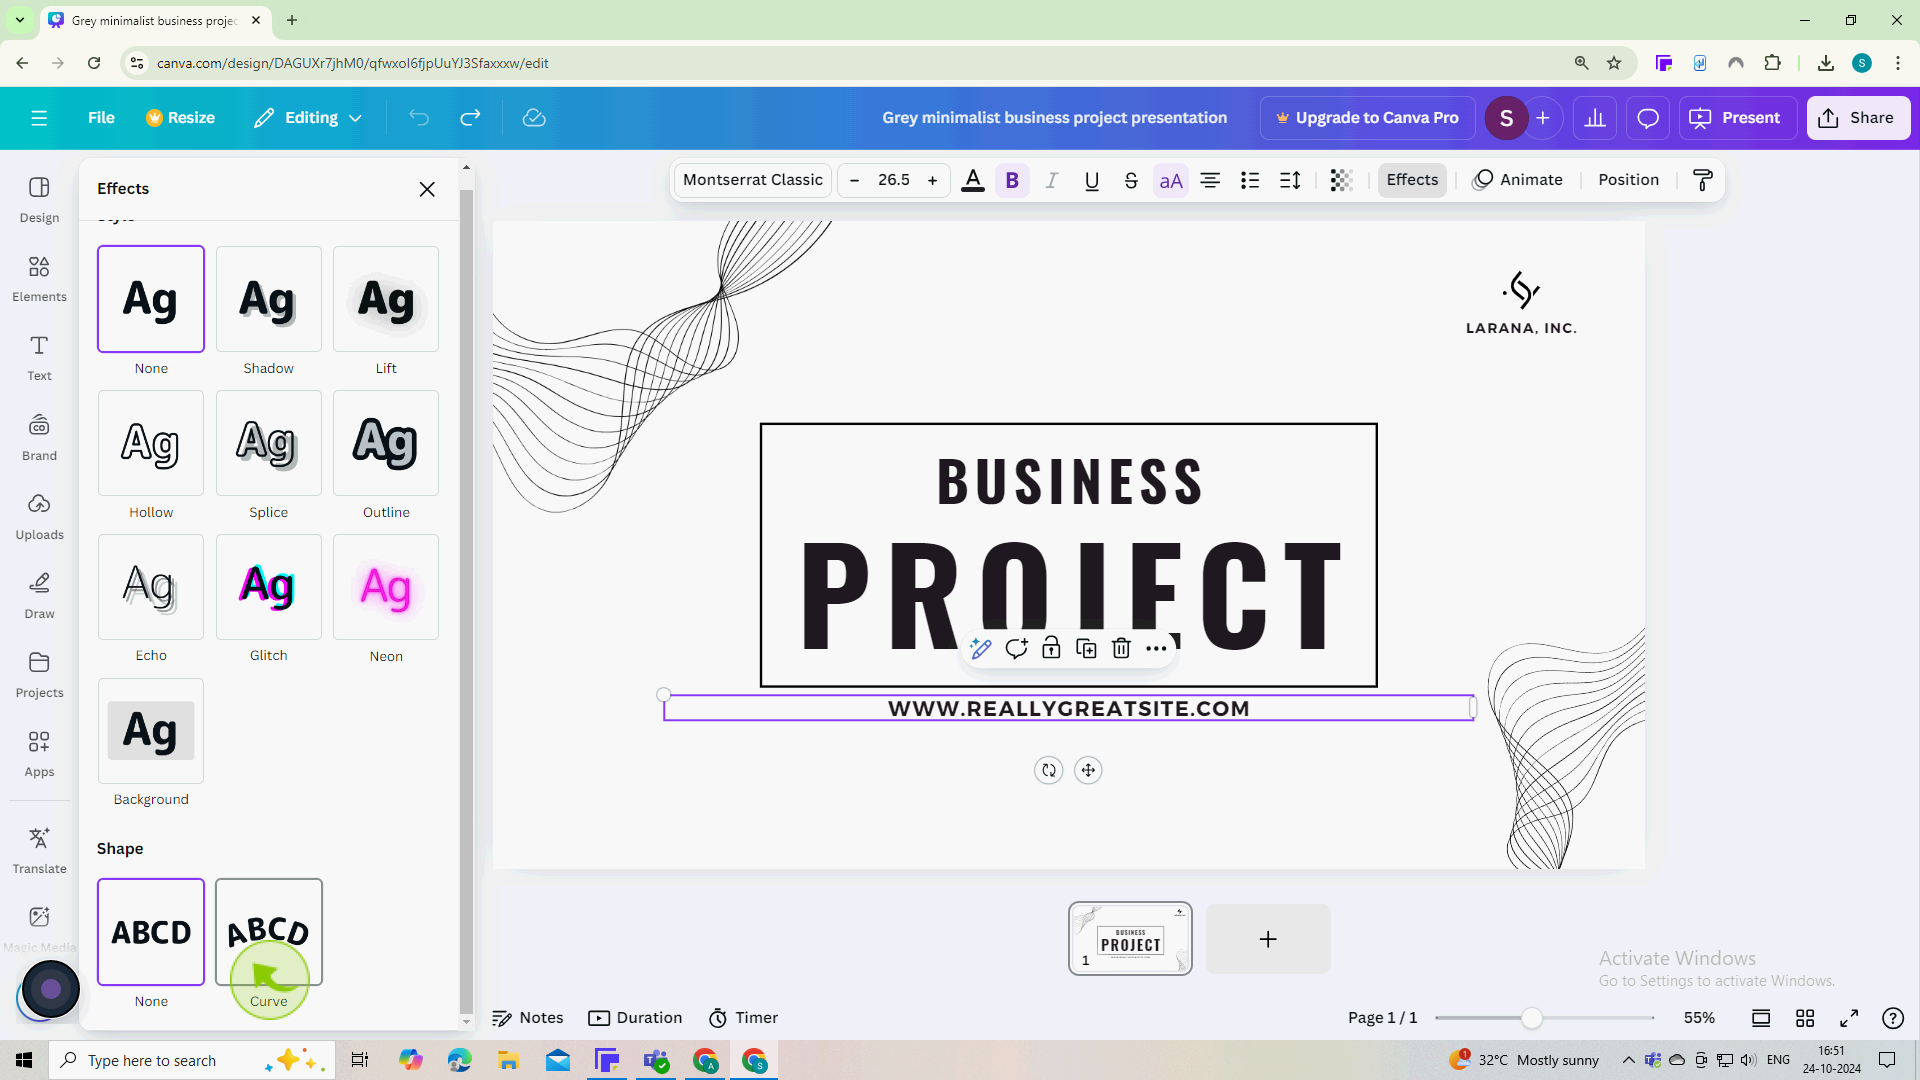
In the Effects panel, find and click on the "Curve" option.
This will automatically curve your text. You’ll see a slider that lets you adjust the curvature.
5
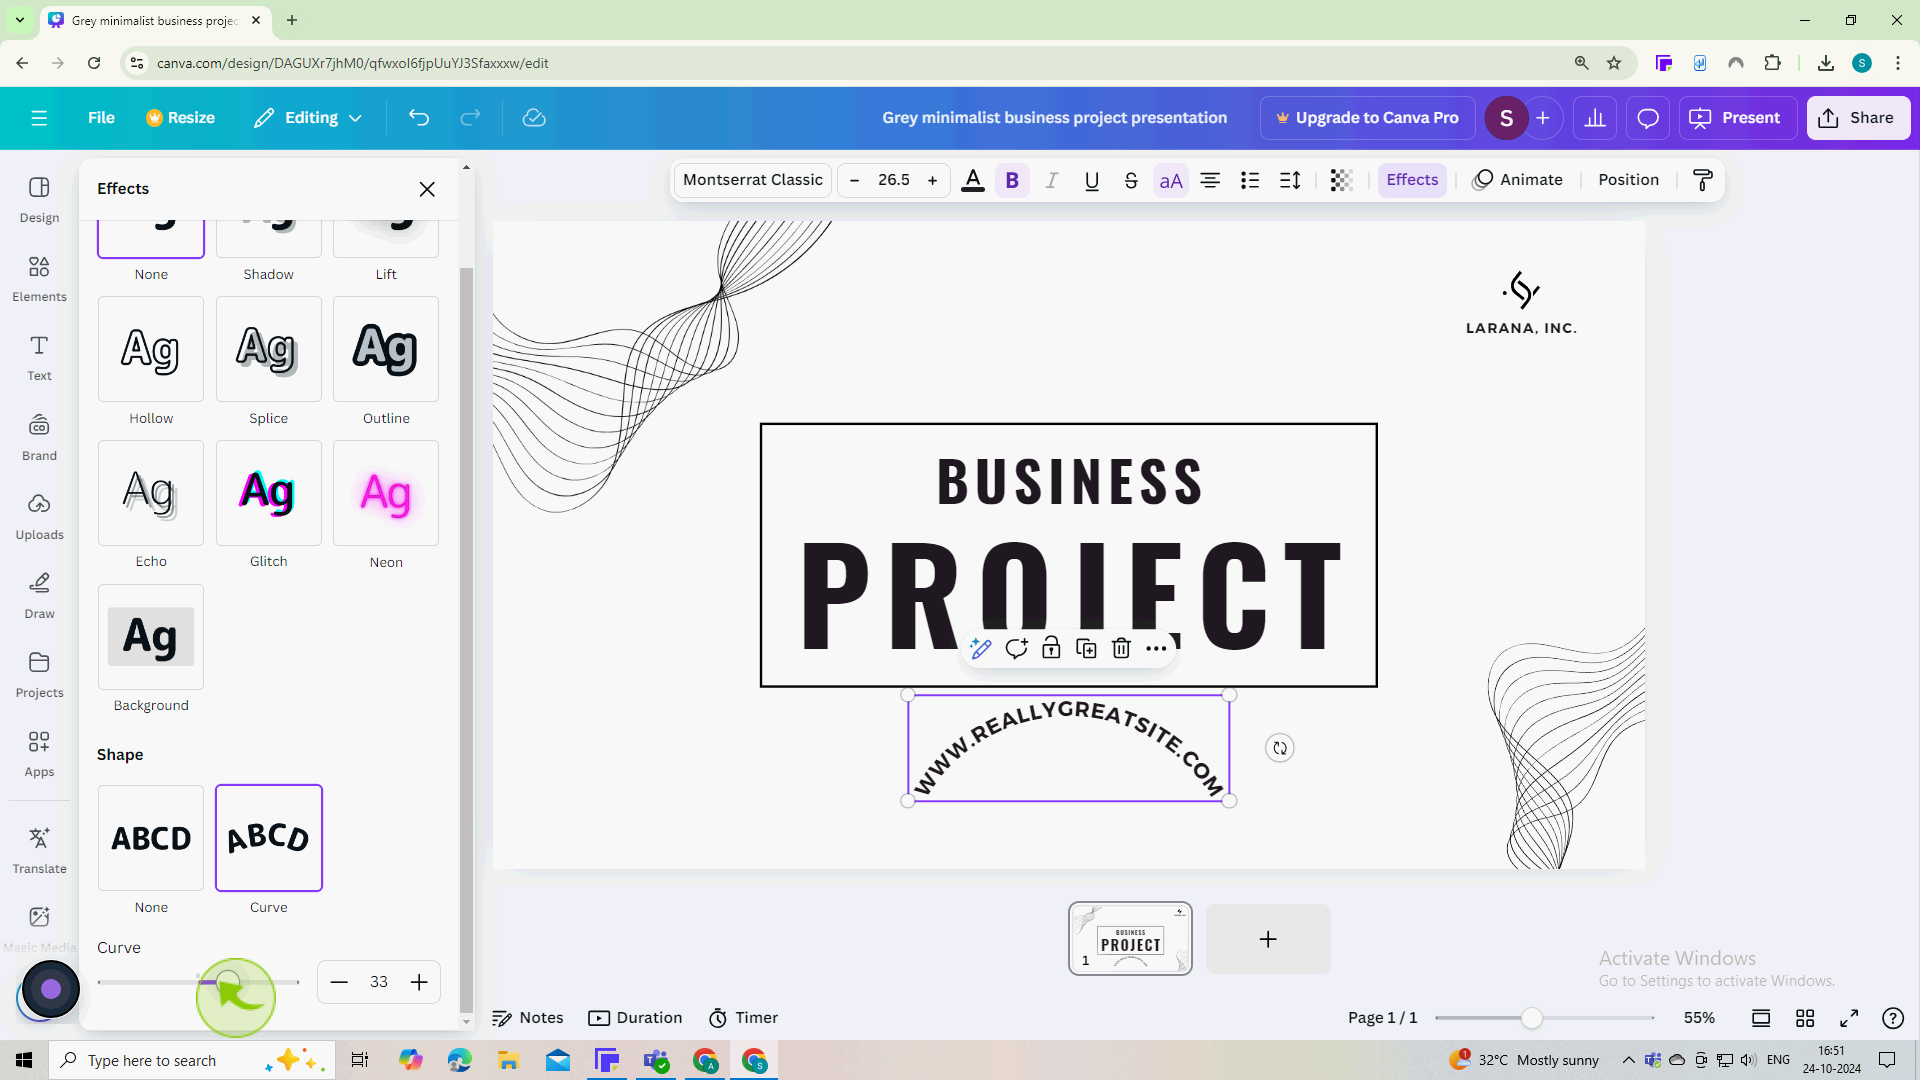
Move the "Slider" left or right to increase or decrease the curve
6
Review your design for any final adjustments or edits.
Ensure everything looks just right before you share or print your design and You’ve successfully curved text in Canva.

