How to make stickers using Photoroom ?
|
 Photoroom
|
Photoroom
|
3 months ago
|
11 Steps
Learn how to create your own custom stickers using Photoroom! This easy-to-follow document will walk you through the steps of selecting an image, removing the background, adding fun effects, and exporting your sticker for use on various platforms. No design experience required!
How to make stickers using Photoroom ?
|
Photoroom
|
11 Steps

1
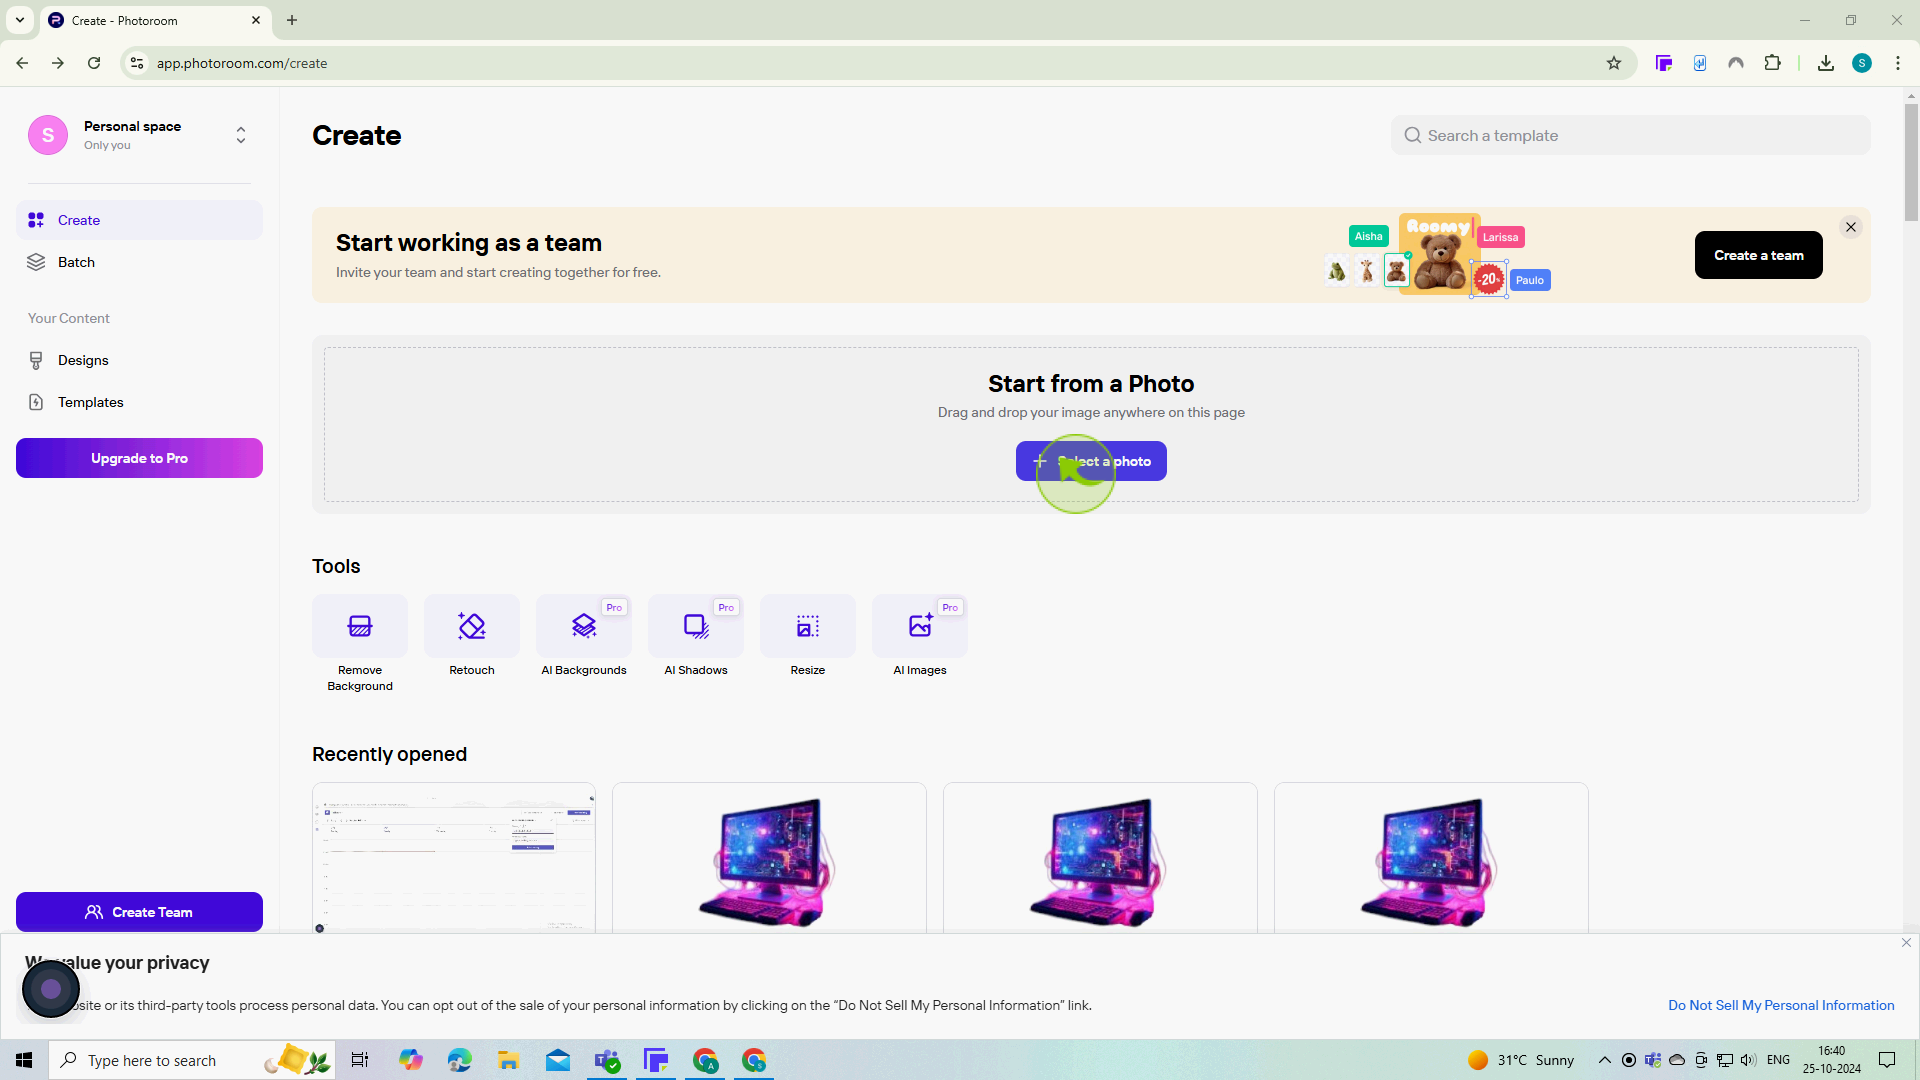
Go to the https://app.photoroom.com/create website
You can use PhotoRoom on your browser without needing to download an app.
2
Click on "Select a photo"
This option allows you to upload an image that you want to convert into a sticker
3
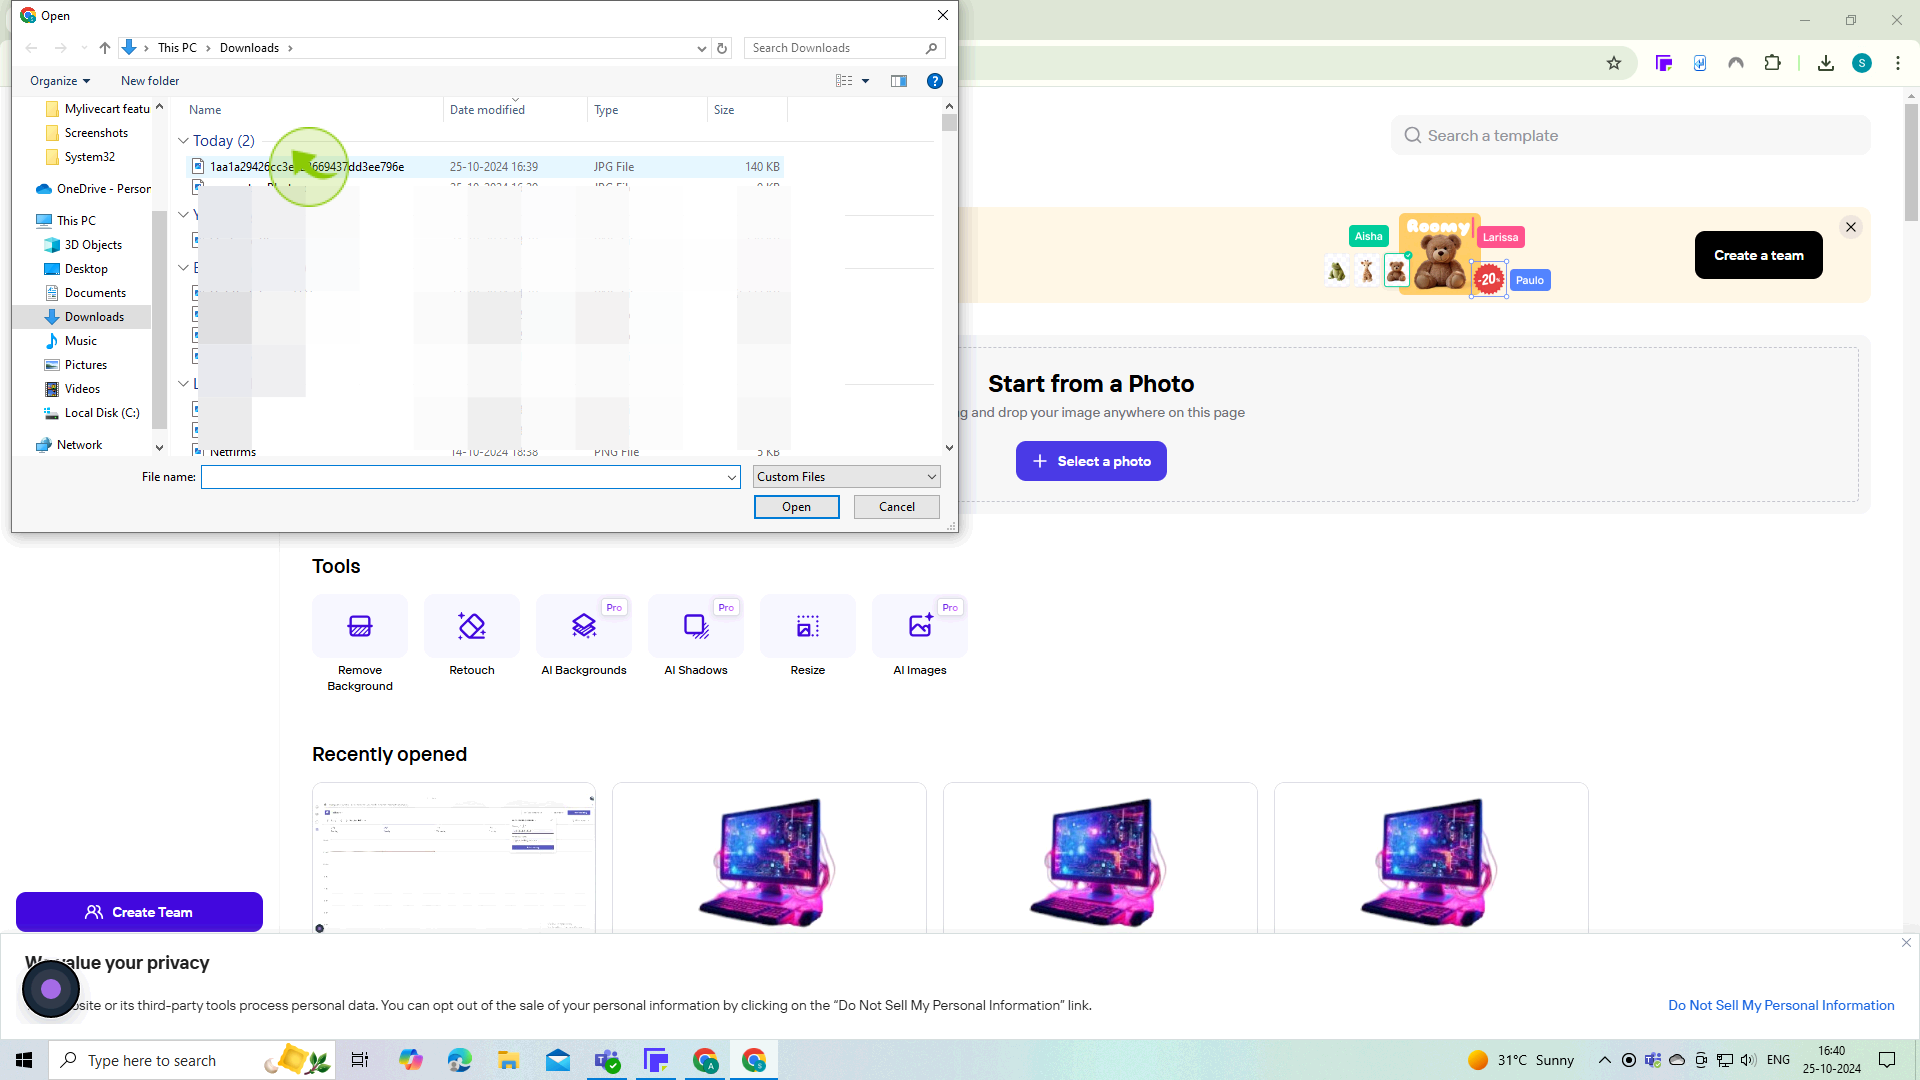
Choose an "Image" that you want to turn into a sticker.
4
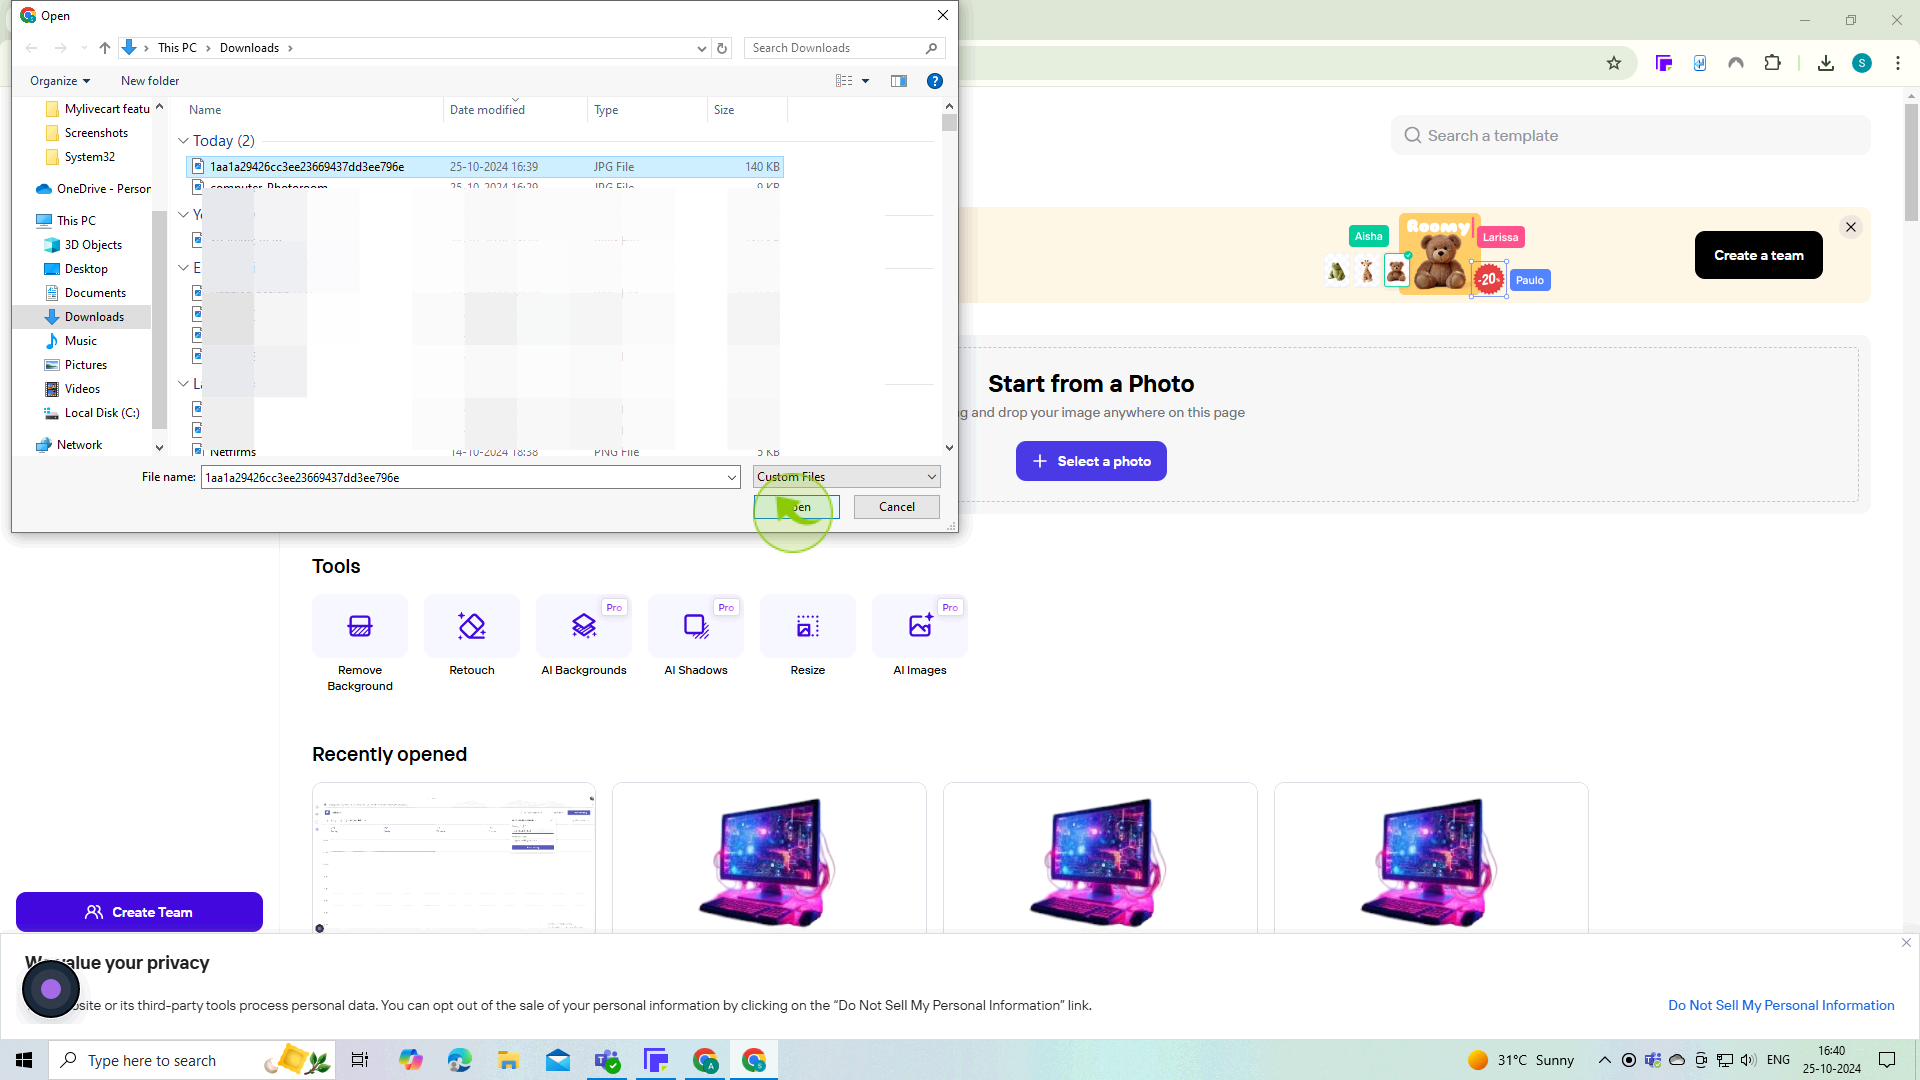
Drag and drop your image or click to "Open"
5
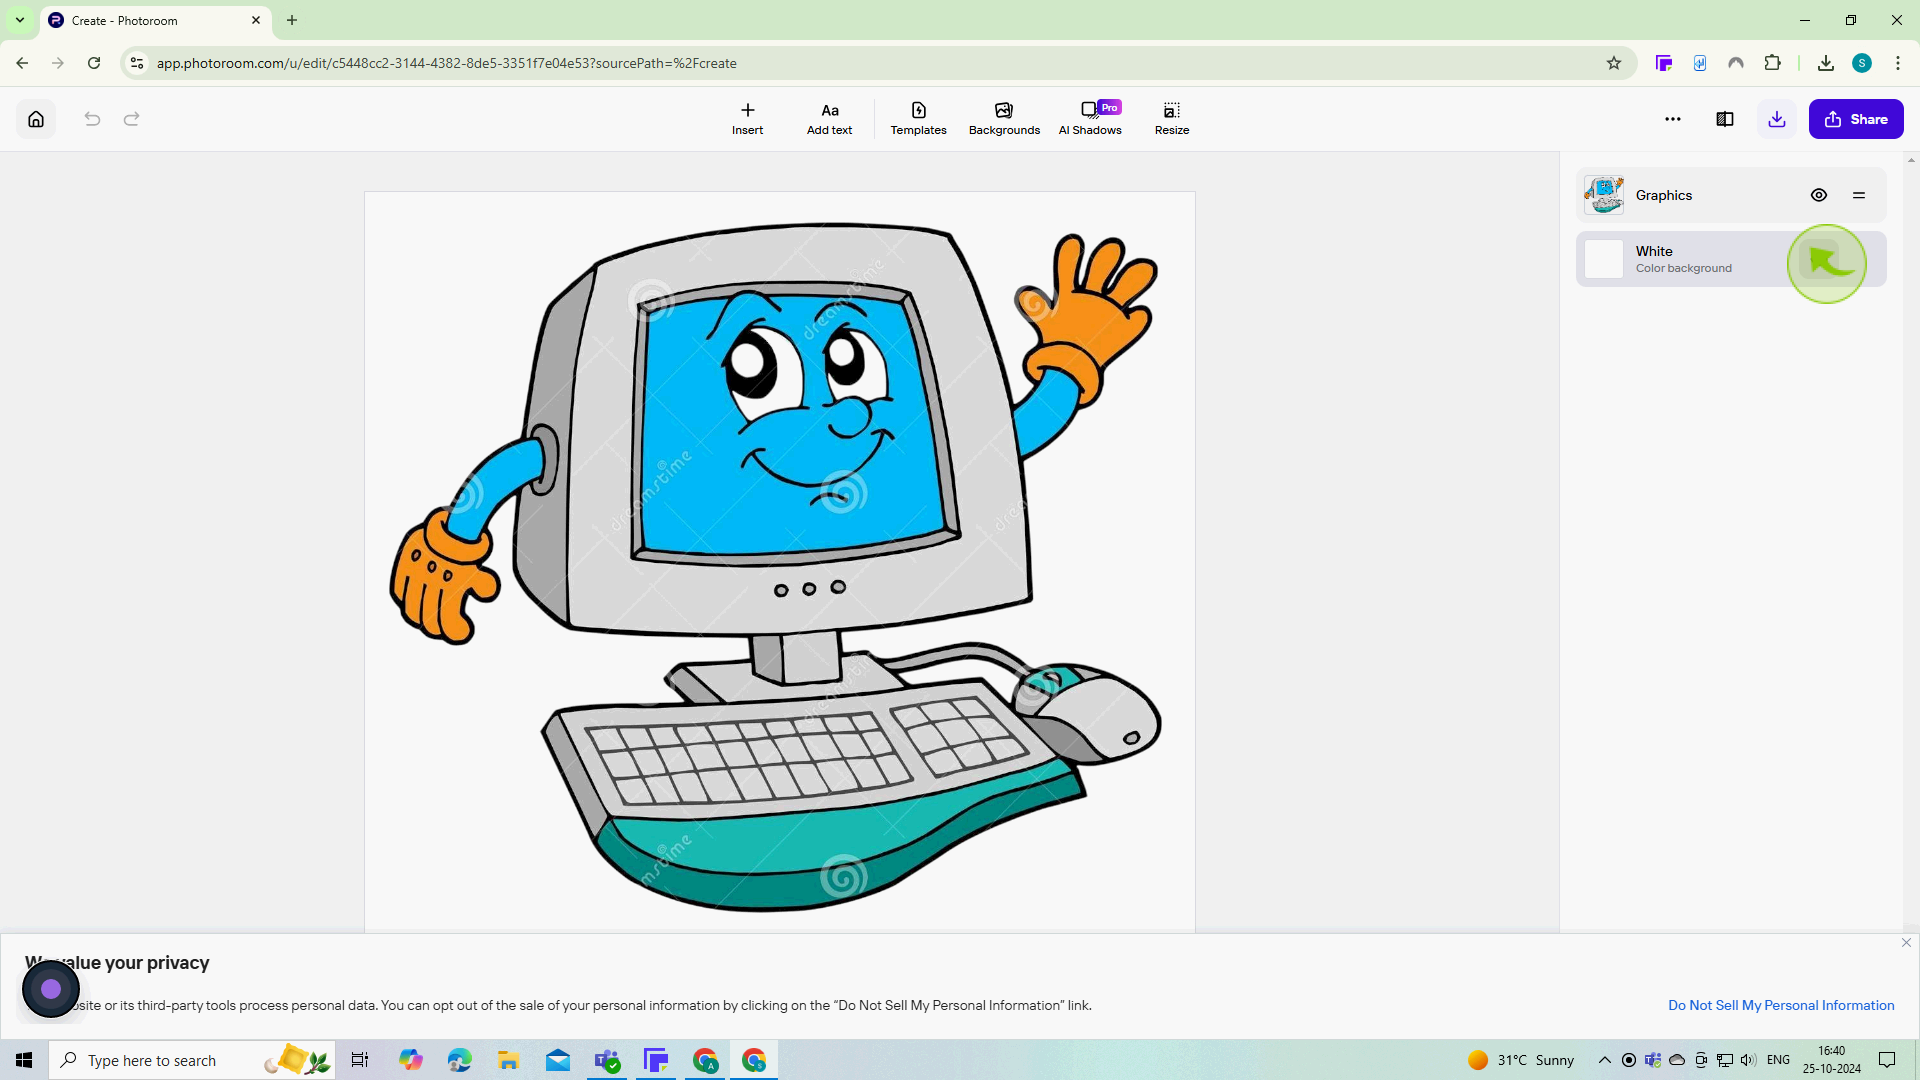
Use the automatic background removal tool.
PhotoRoom will automatically detect and remove the background of your image, isolating the subject. You can manually adjust if needed.
6
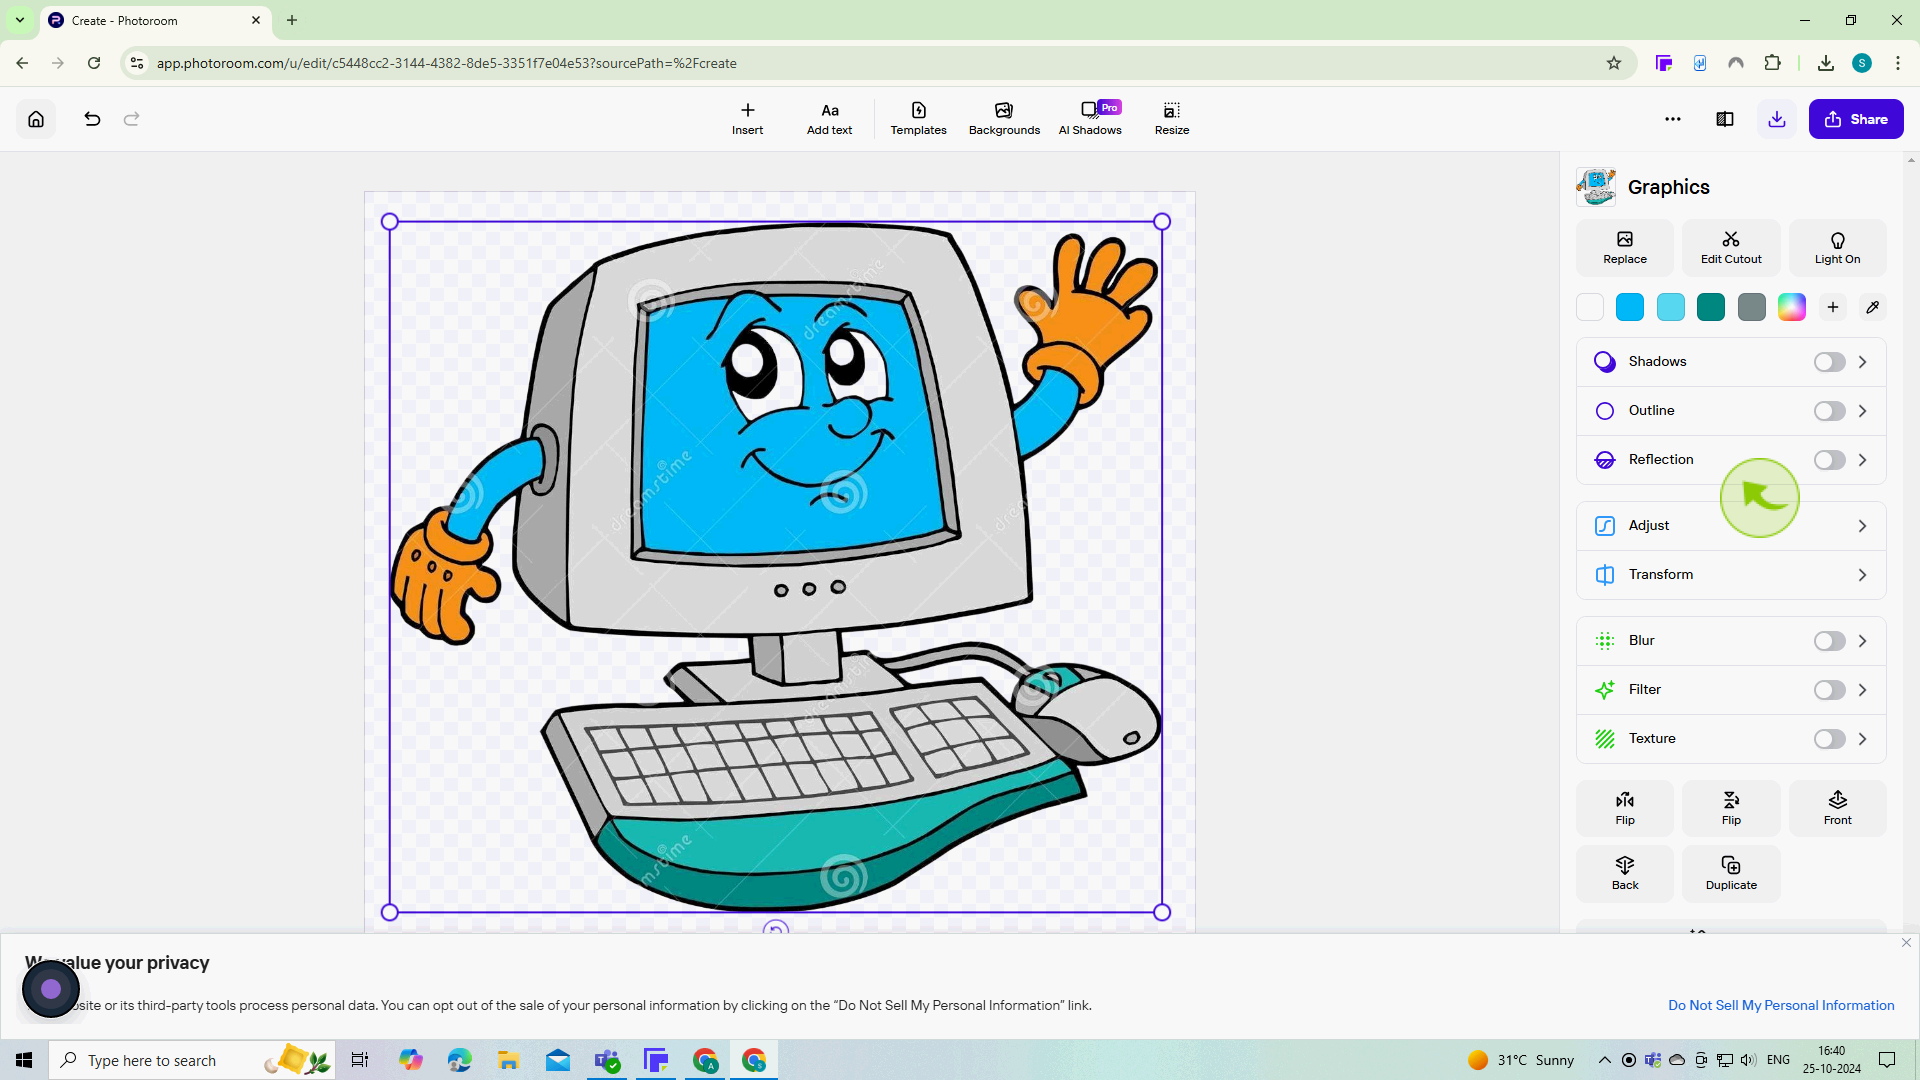
Use the editing tools to adjust your "Image".
You can resize, add filters, or make other adjustments to enhance the appearance of your sticker. Explore options like shadows or outlines for more effect.
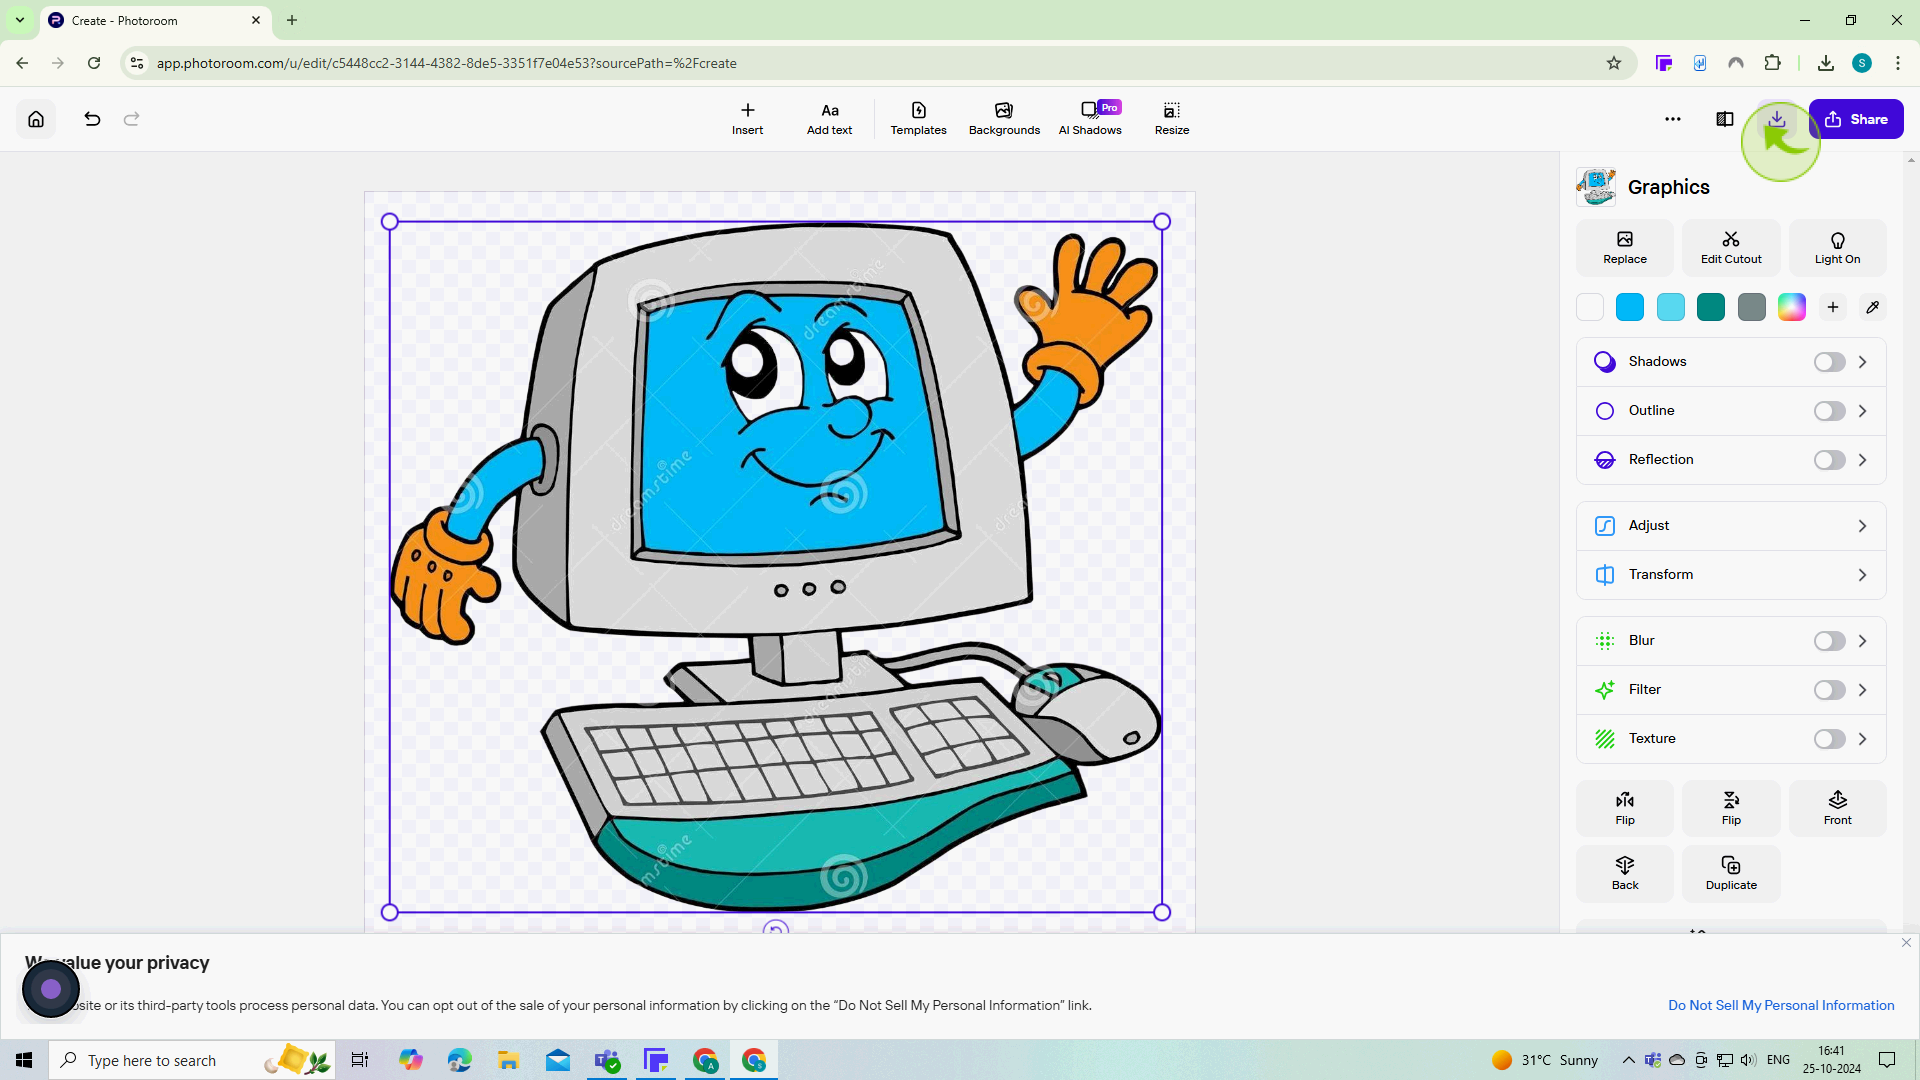
7
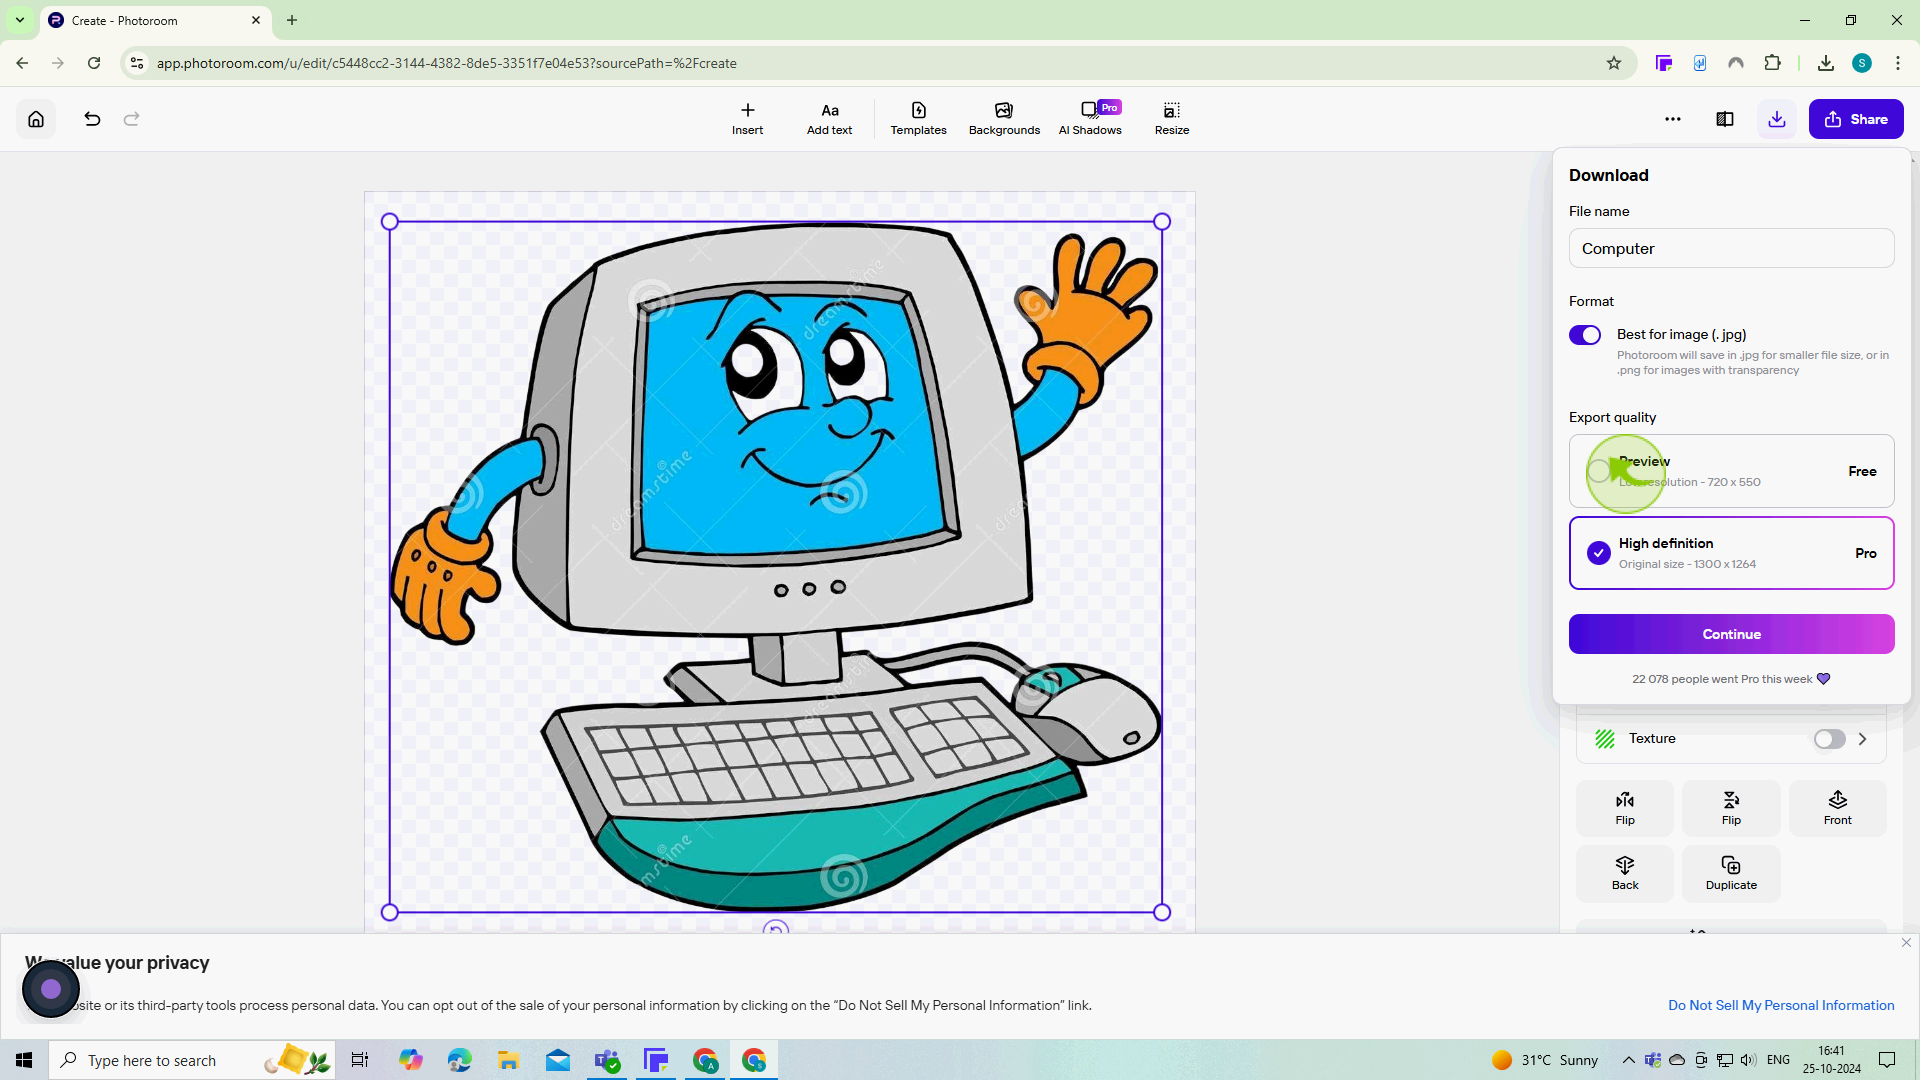
Click on the "Download" icon.
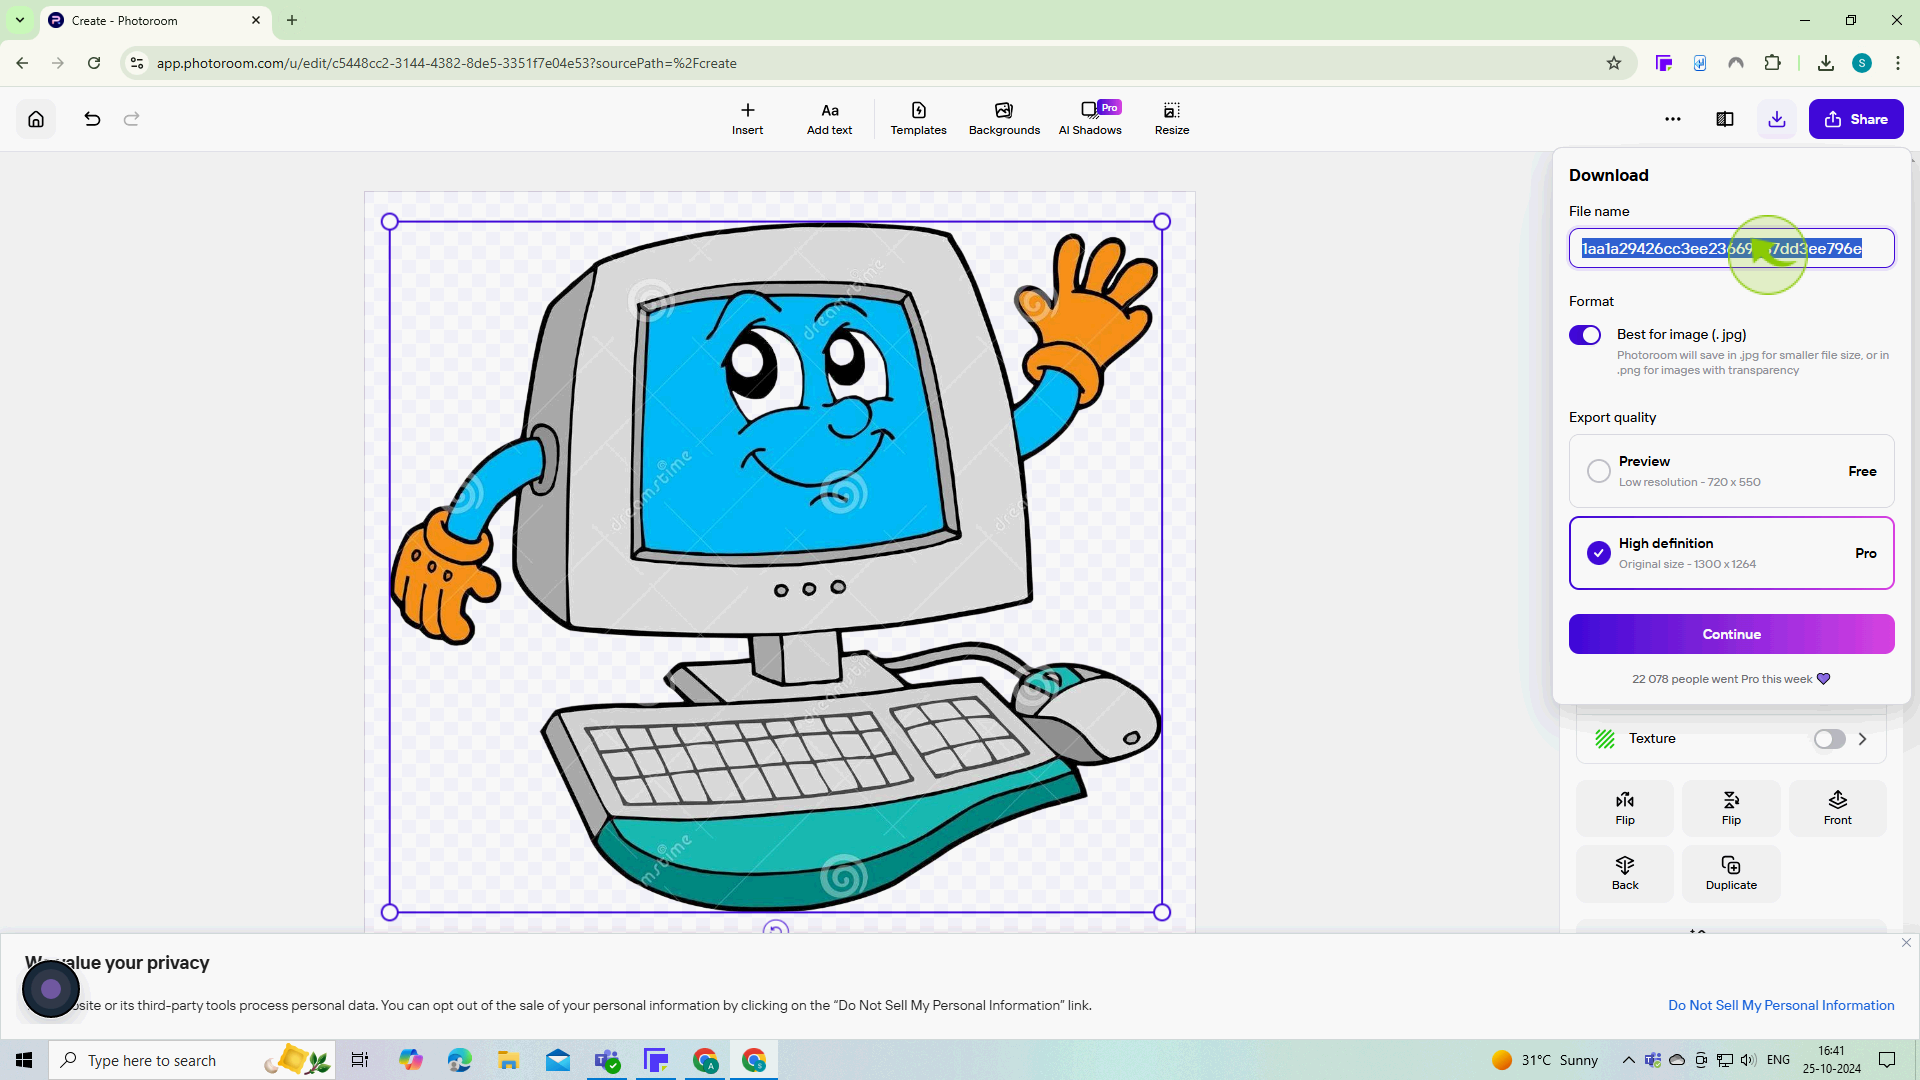
8
Click on the "File Name" field.
Enter the file name
9
Choose your preferred format (PNG is best for stickers with transparent backgrounds) and save the image to your device.
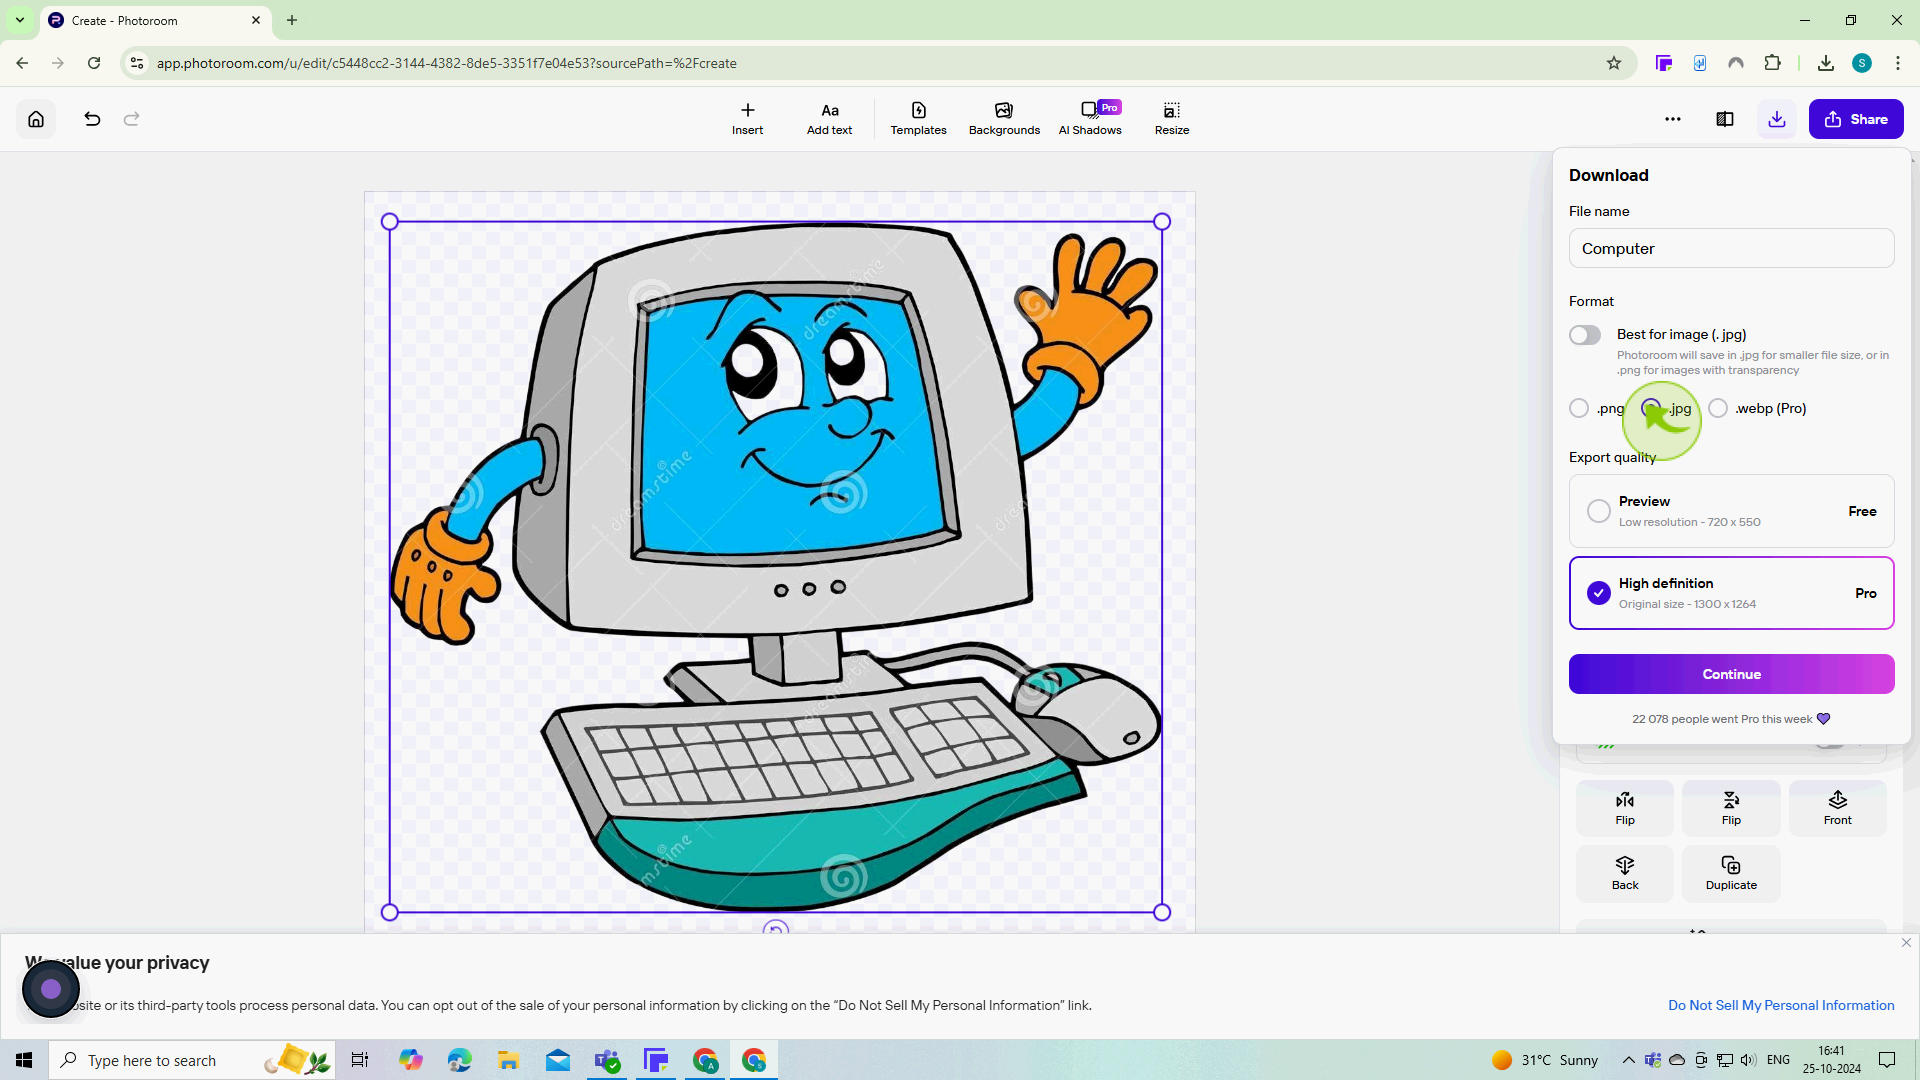
10
Now, you’ll see options for different quality levels (like preview, High, etc.).
Select the desired quality based on your needs
11
Click on the "Download" button.
By following these steps, you can easily create custom stickers using PhotoRoom

