How to print labels from Excel ?
|
 Excel
|
Excel
|
6 months ago
|
7 Steps
This document will show you how to effortlessly print professional labels directly from your Excel spreadsheets. Learn how to format your data, choose the right label template, and configure your printer settings for optimal results. Whether you're labeling products, files, or anything in between, this step-by-step tutorial will help you save time and effort.
How to print labels from Excel ?
|
Excel
|
7 Steps

1
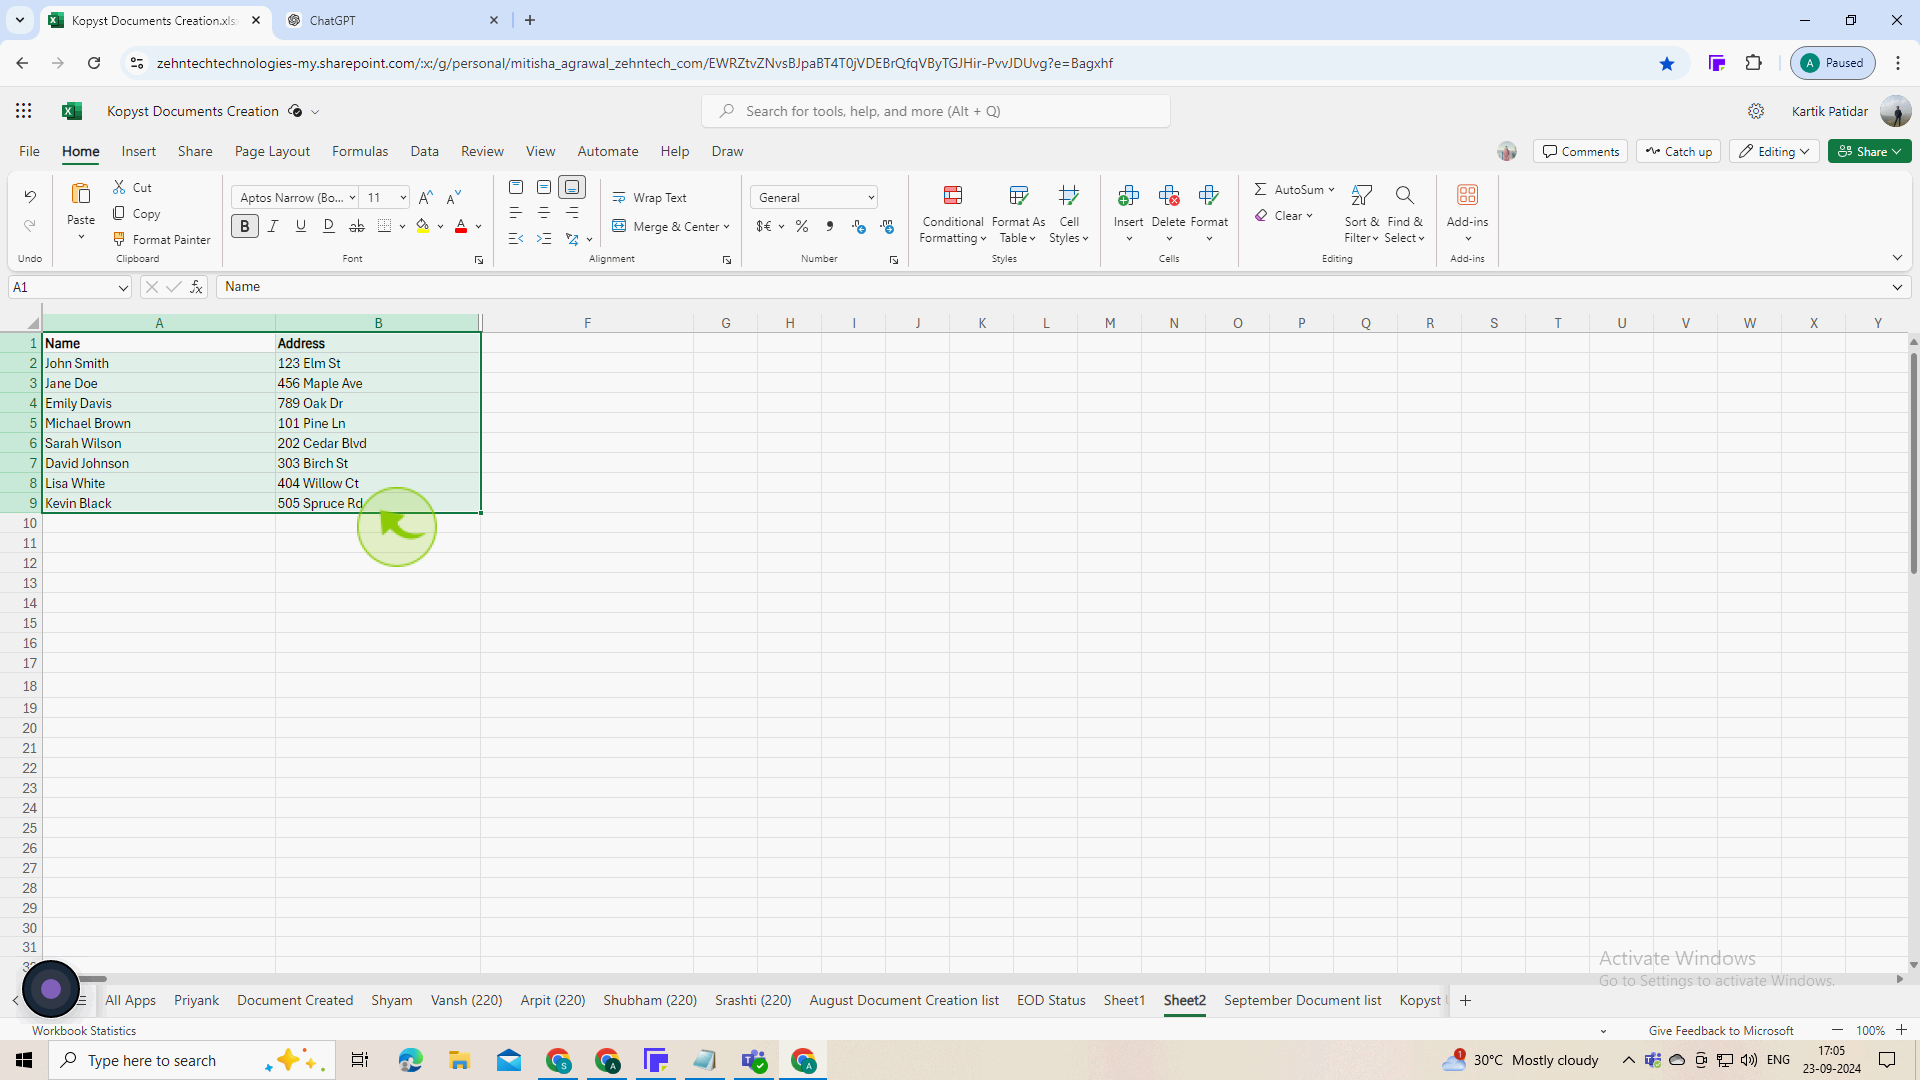
Open Excel and enter your data.
Create a new spreadsheet or open an existing one. Ensure you have your label data organized in columns (e.g., Name, Address).
2
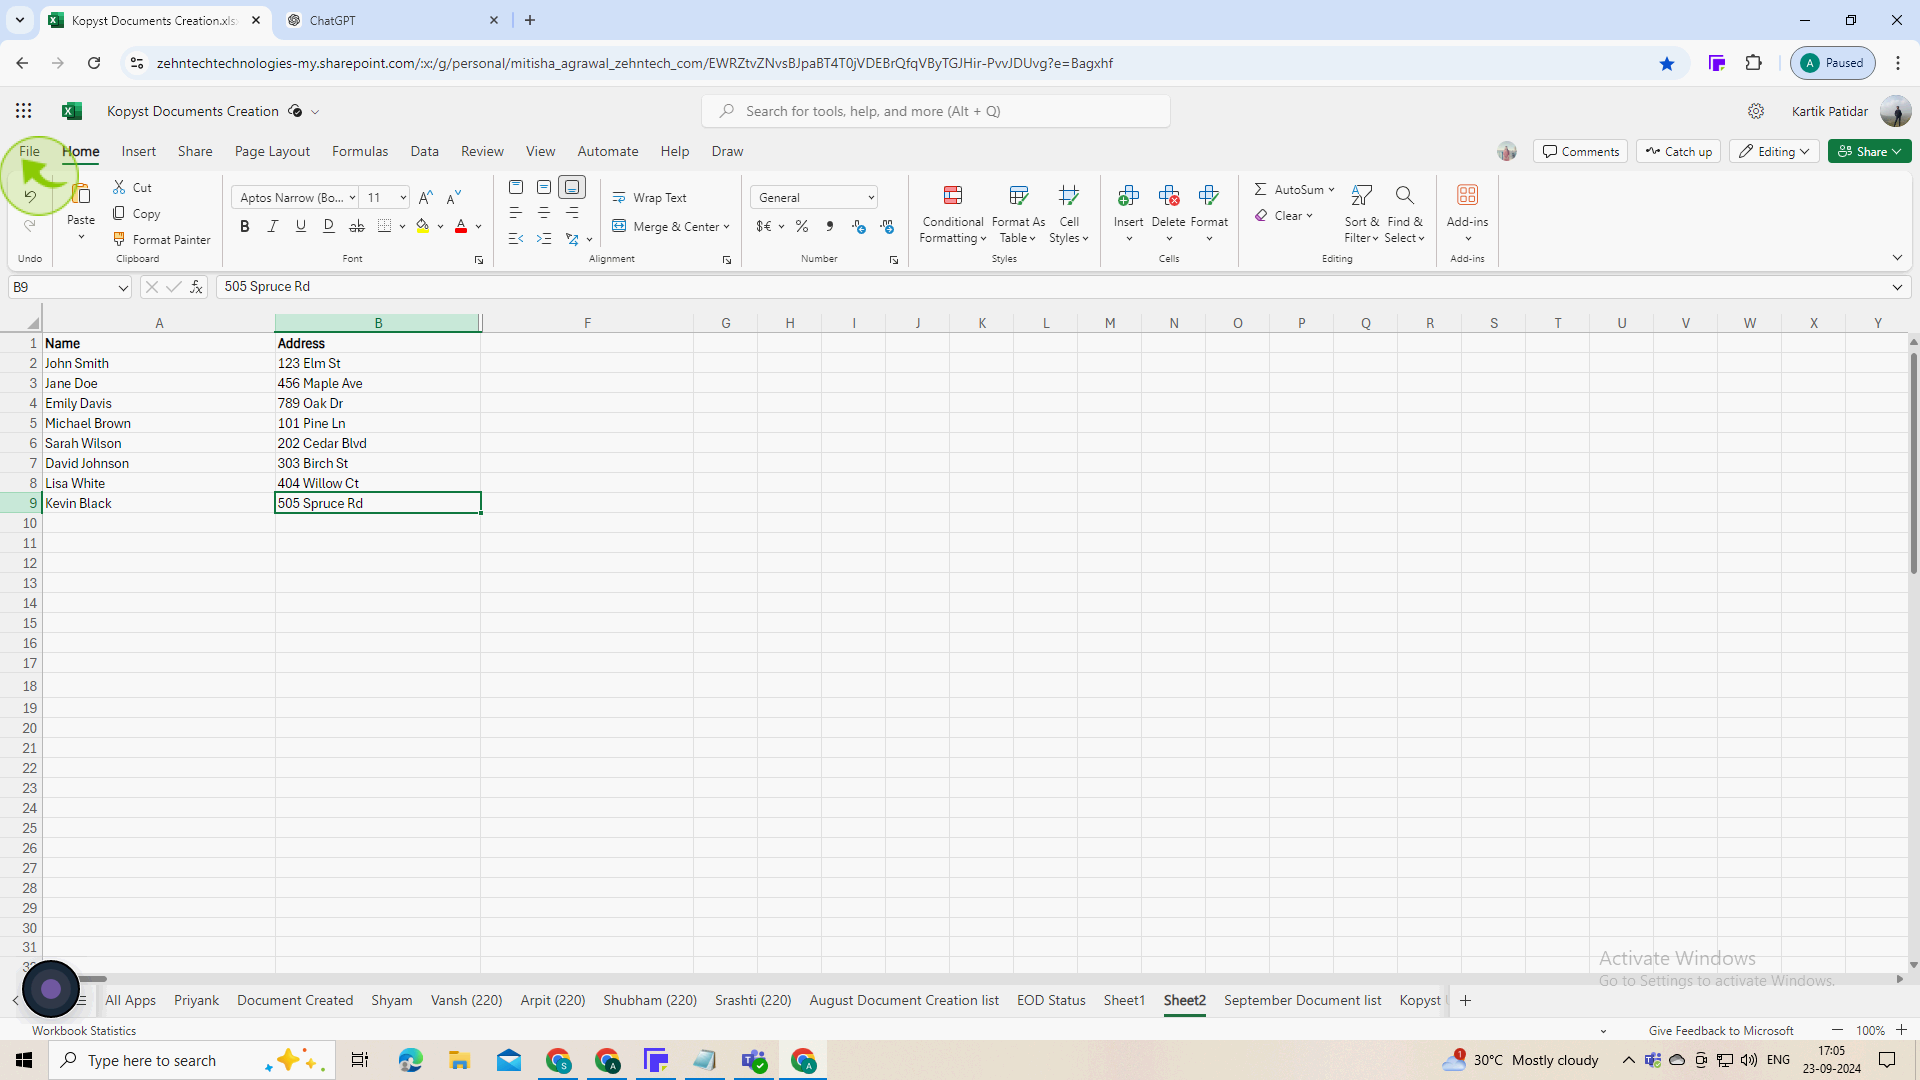
Select the "Cells" containing the data you want to use for labels.
Click and drag to select the relevant rows and columns.
3
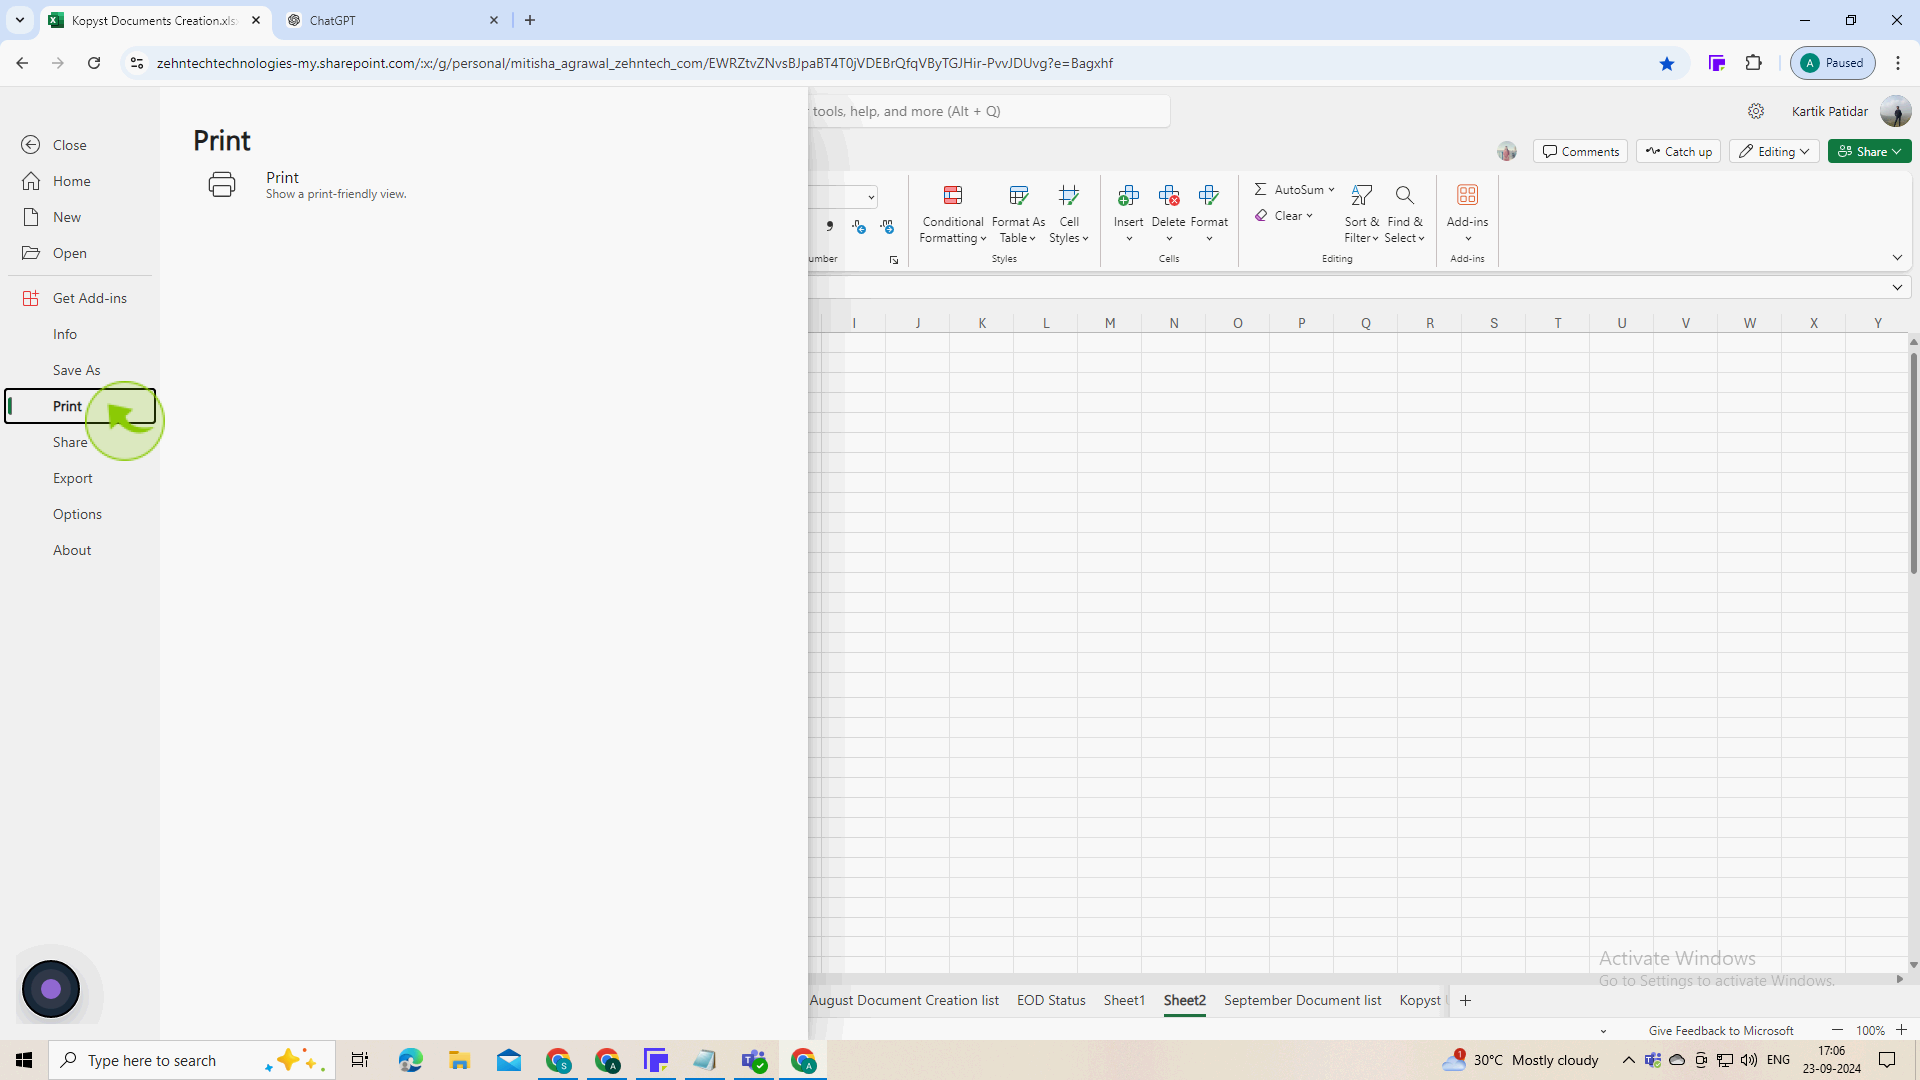
Click on the "File" tab.
4
Choose to "Print" or edit individual labels.
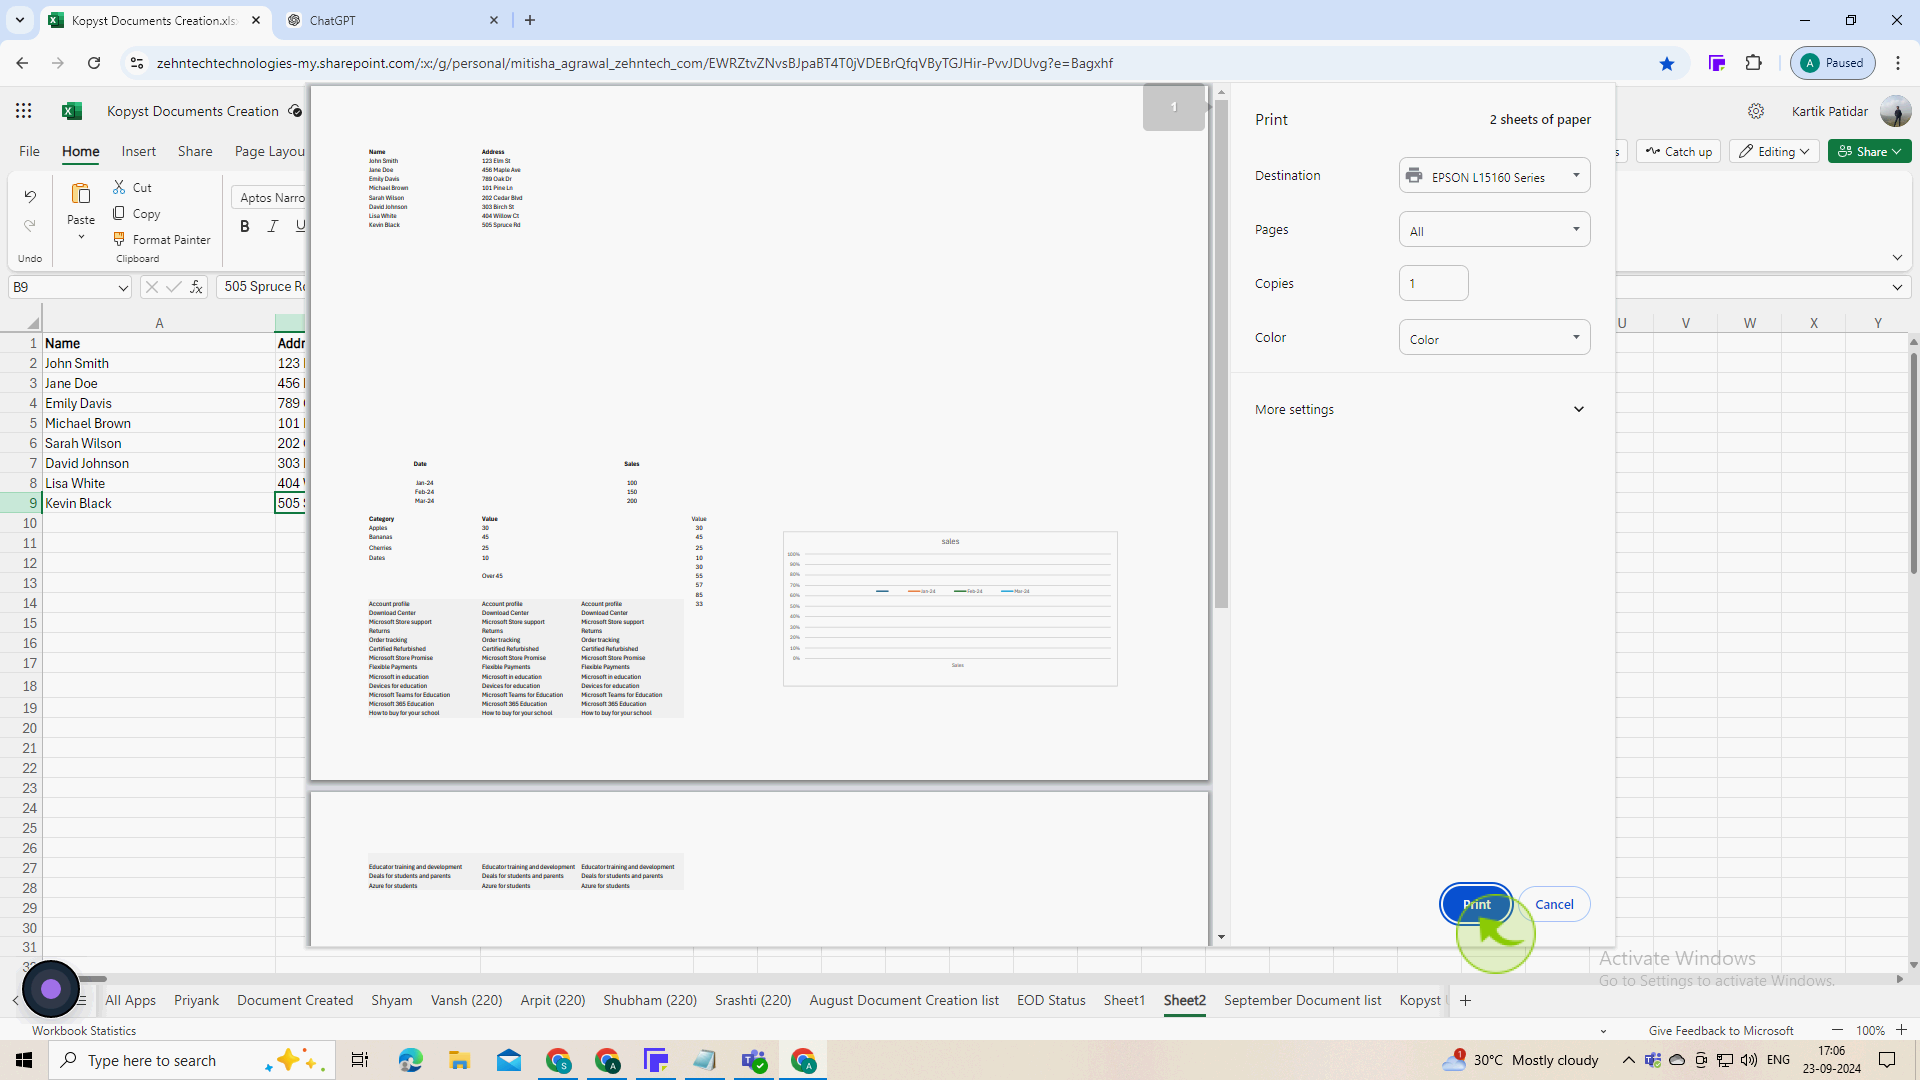
5
Click on the "Print"
You can print directly or create a new document for editing labels. If printing directly, ensure your printer has the correct label sheets.
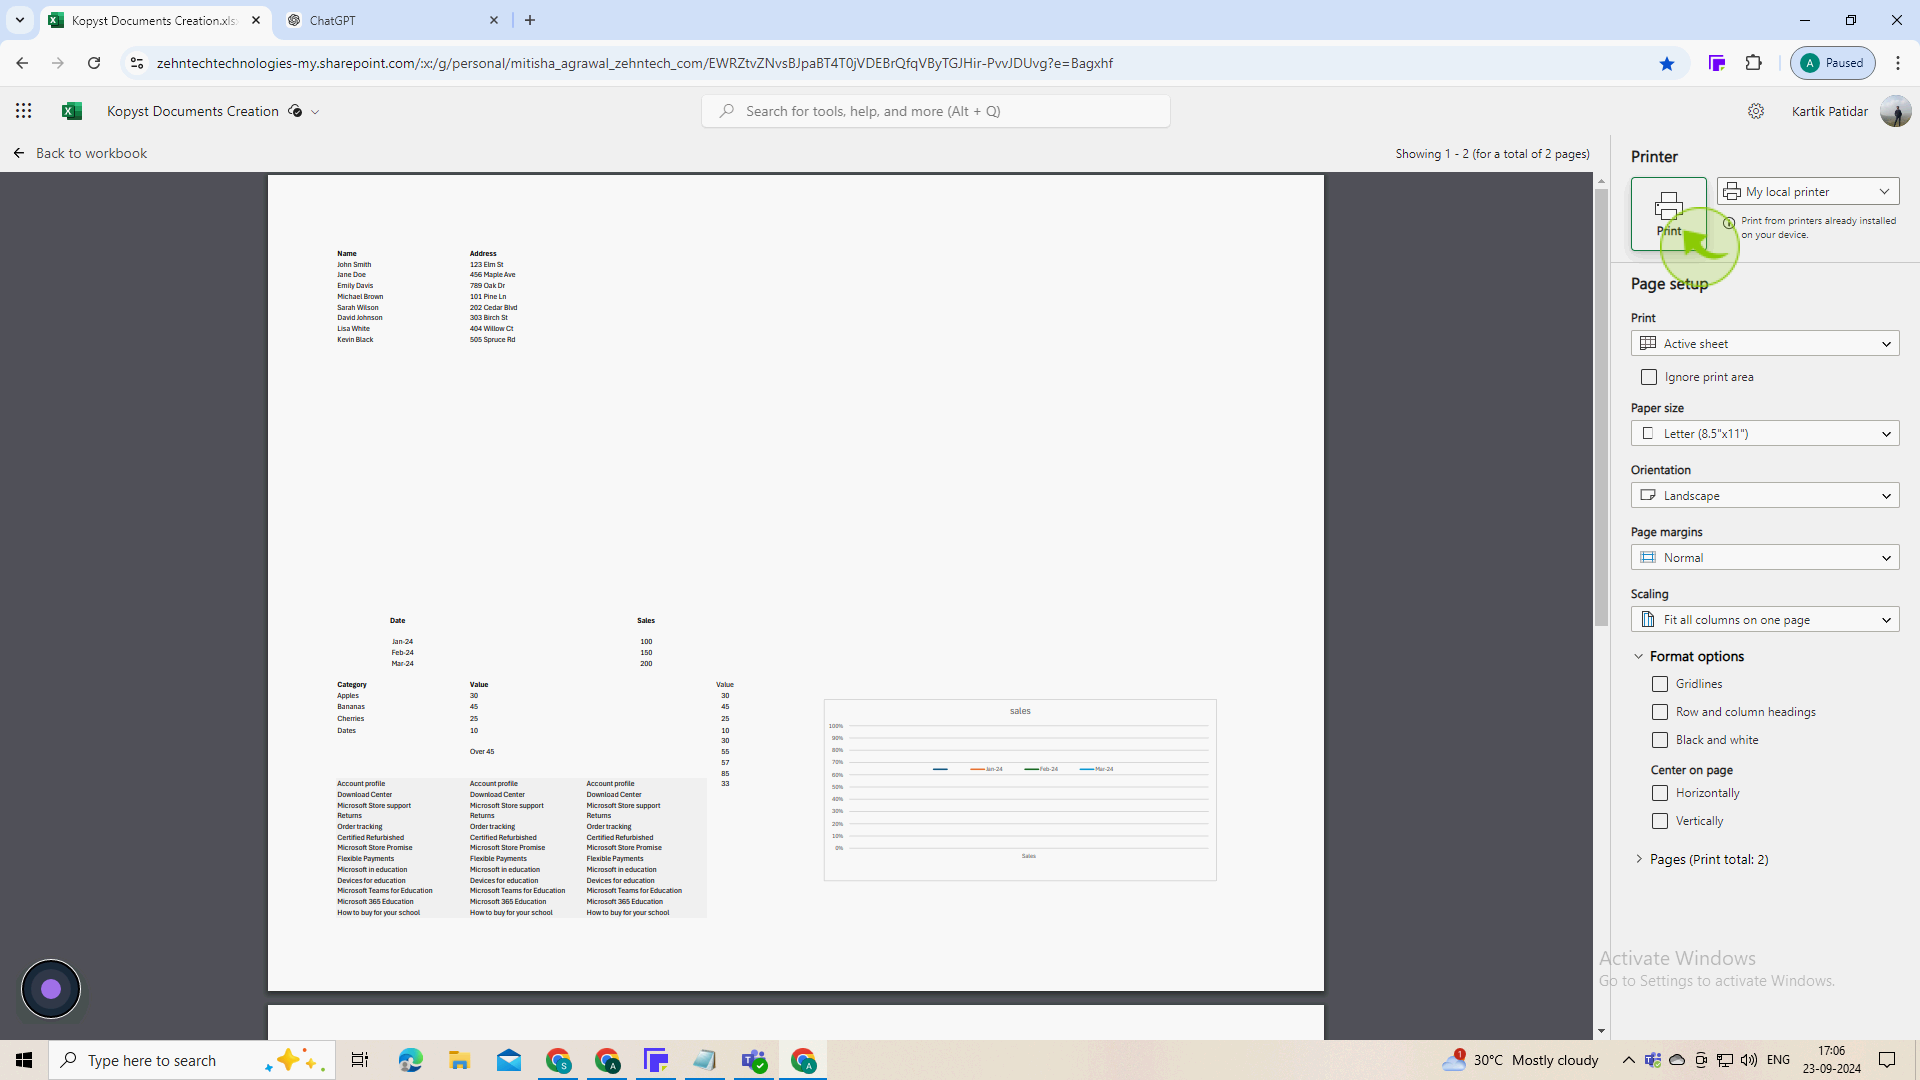
6
Check "Printer" settings before printing and click on the "Print".
Make sure to select the right paper size and type in your printer settings to ensure the labels align correctly.
7
Click "Print"
Confirm your print settings and proceed to print your labels.