How to resize an image in Pixlr ?
|
 Pixlr
|
Pixlr
|
3 months ago
|
13 Steps
This document will teach you how to resize an image using the Pixlr Editor. You will learn how to use the Image Size tool to adjust the width and height of your image, as well as how to use the Free Transform tool to resize layers. We will also discuss how to use the Smart Resize tool to resize images while maintaining their quality.
How to resize an image in Pixlr ?
|
Pixlr
|
13 Steps

1
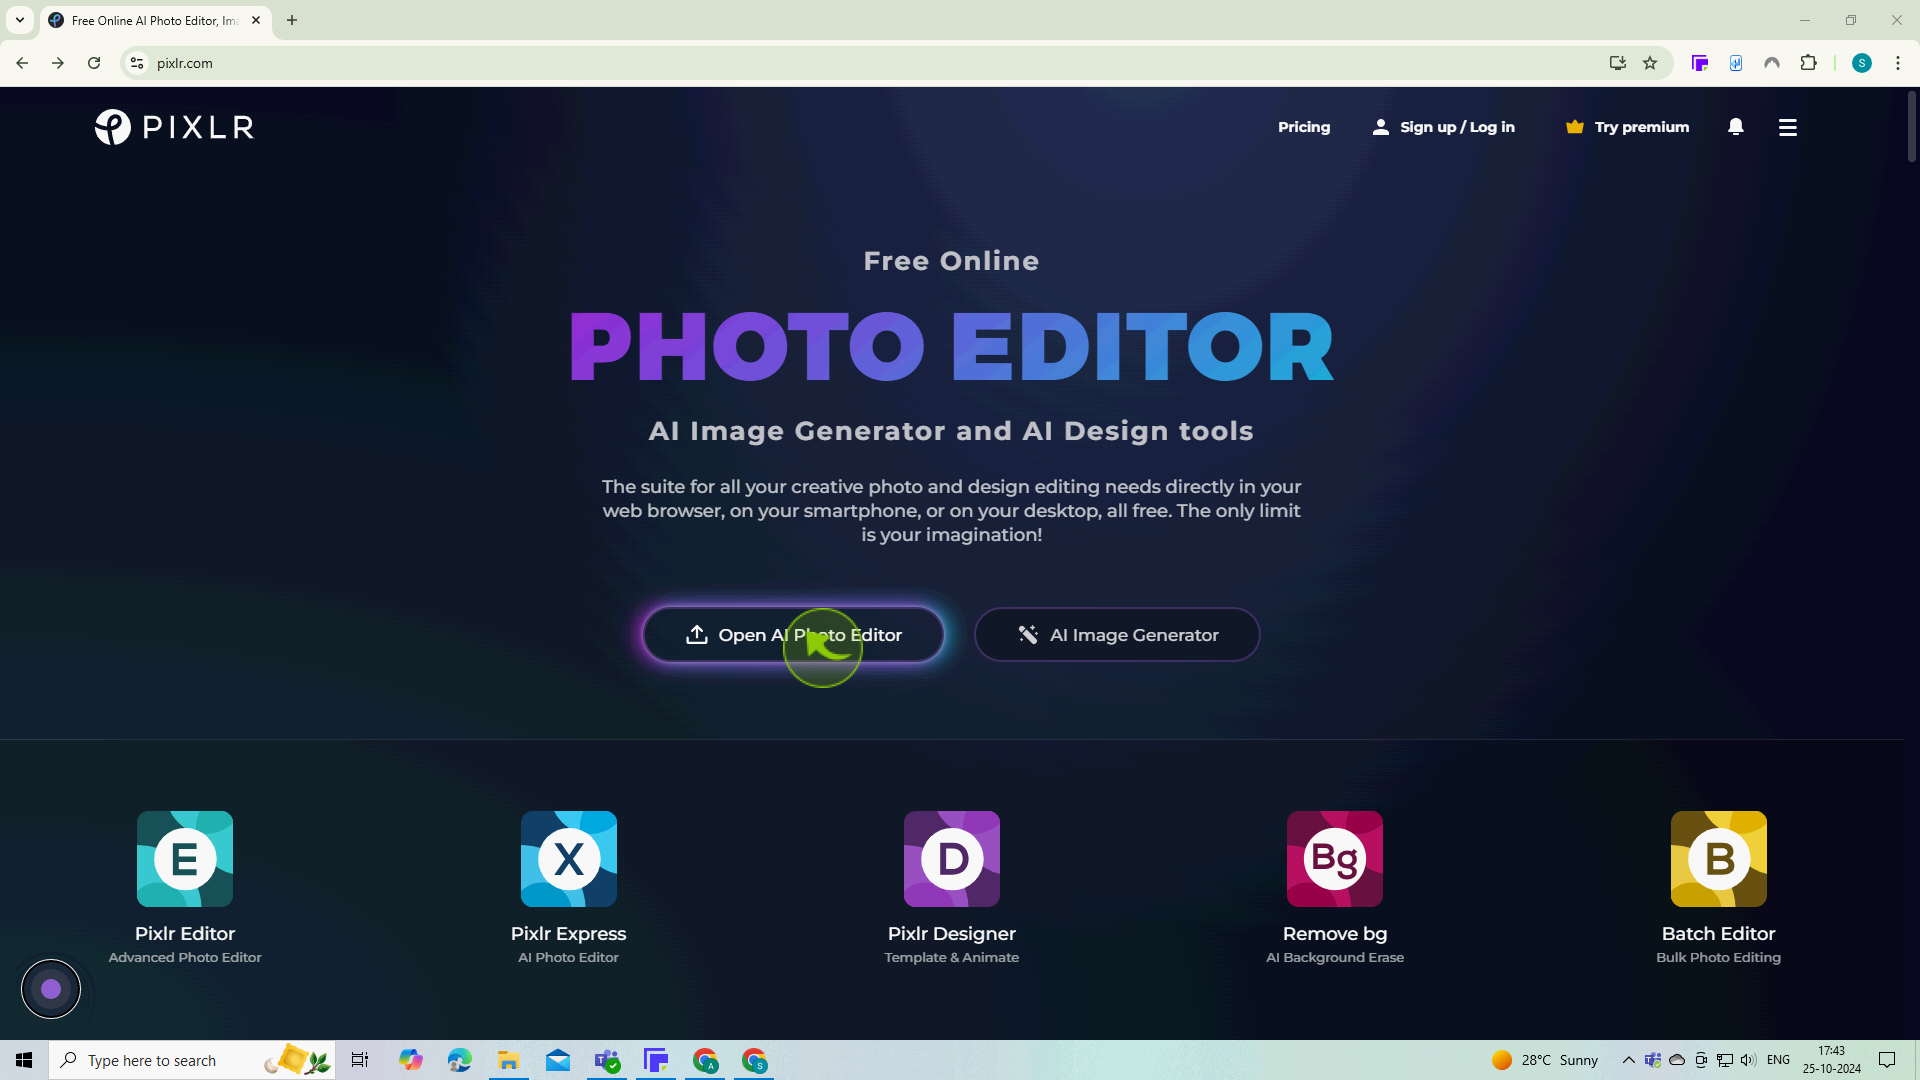
Go to your web browser and type in the URL for Pixlr (https://pixlr.com ).
2
Click on "Open Al photo Editor" button
This will upload your chosen image into the Pixlr workspace
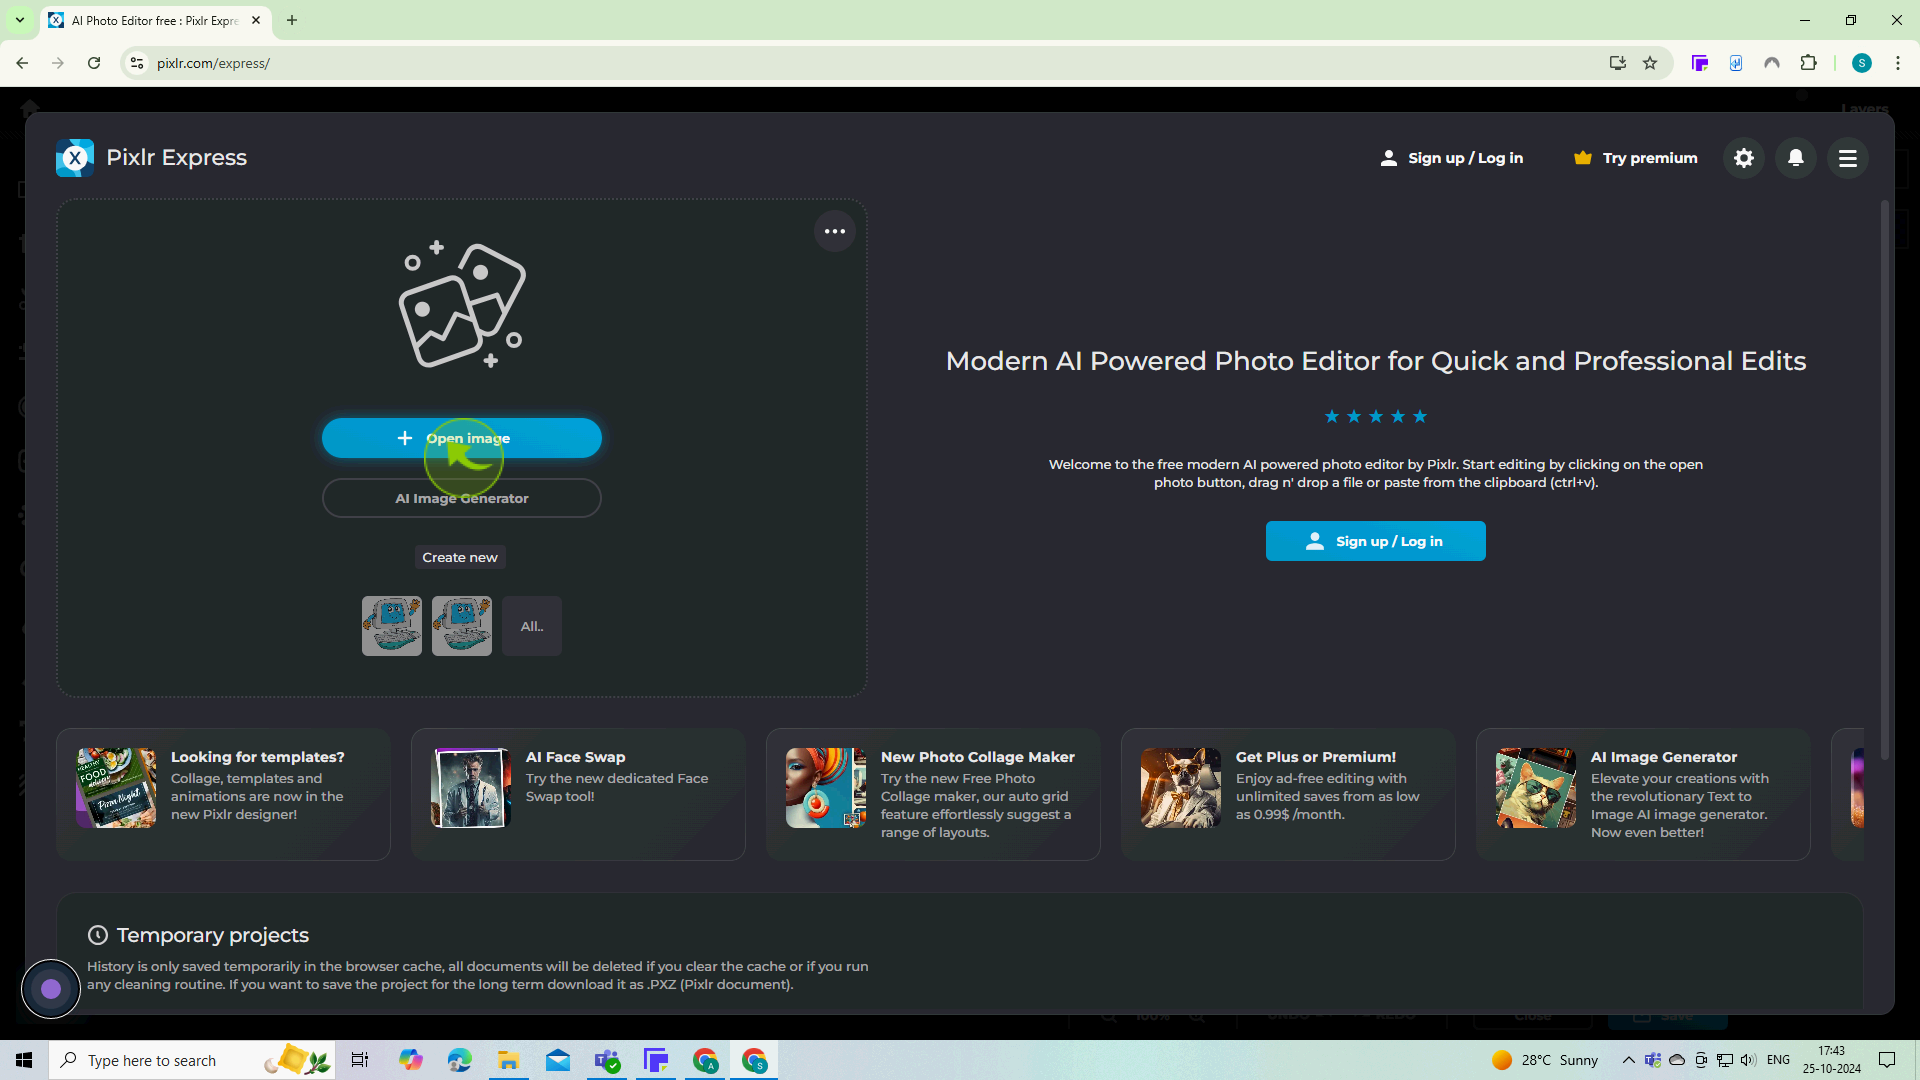
3
Click on "Open Image"
This will upload your chosen image into the Pixlr workspace
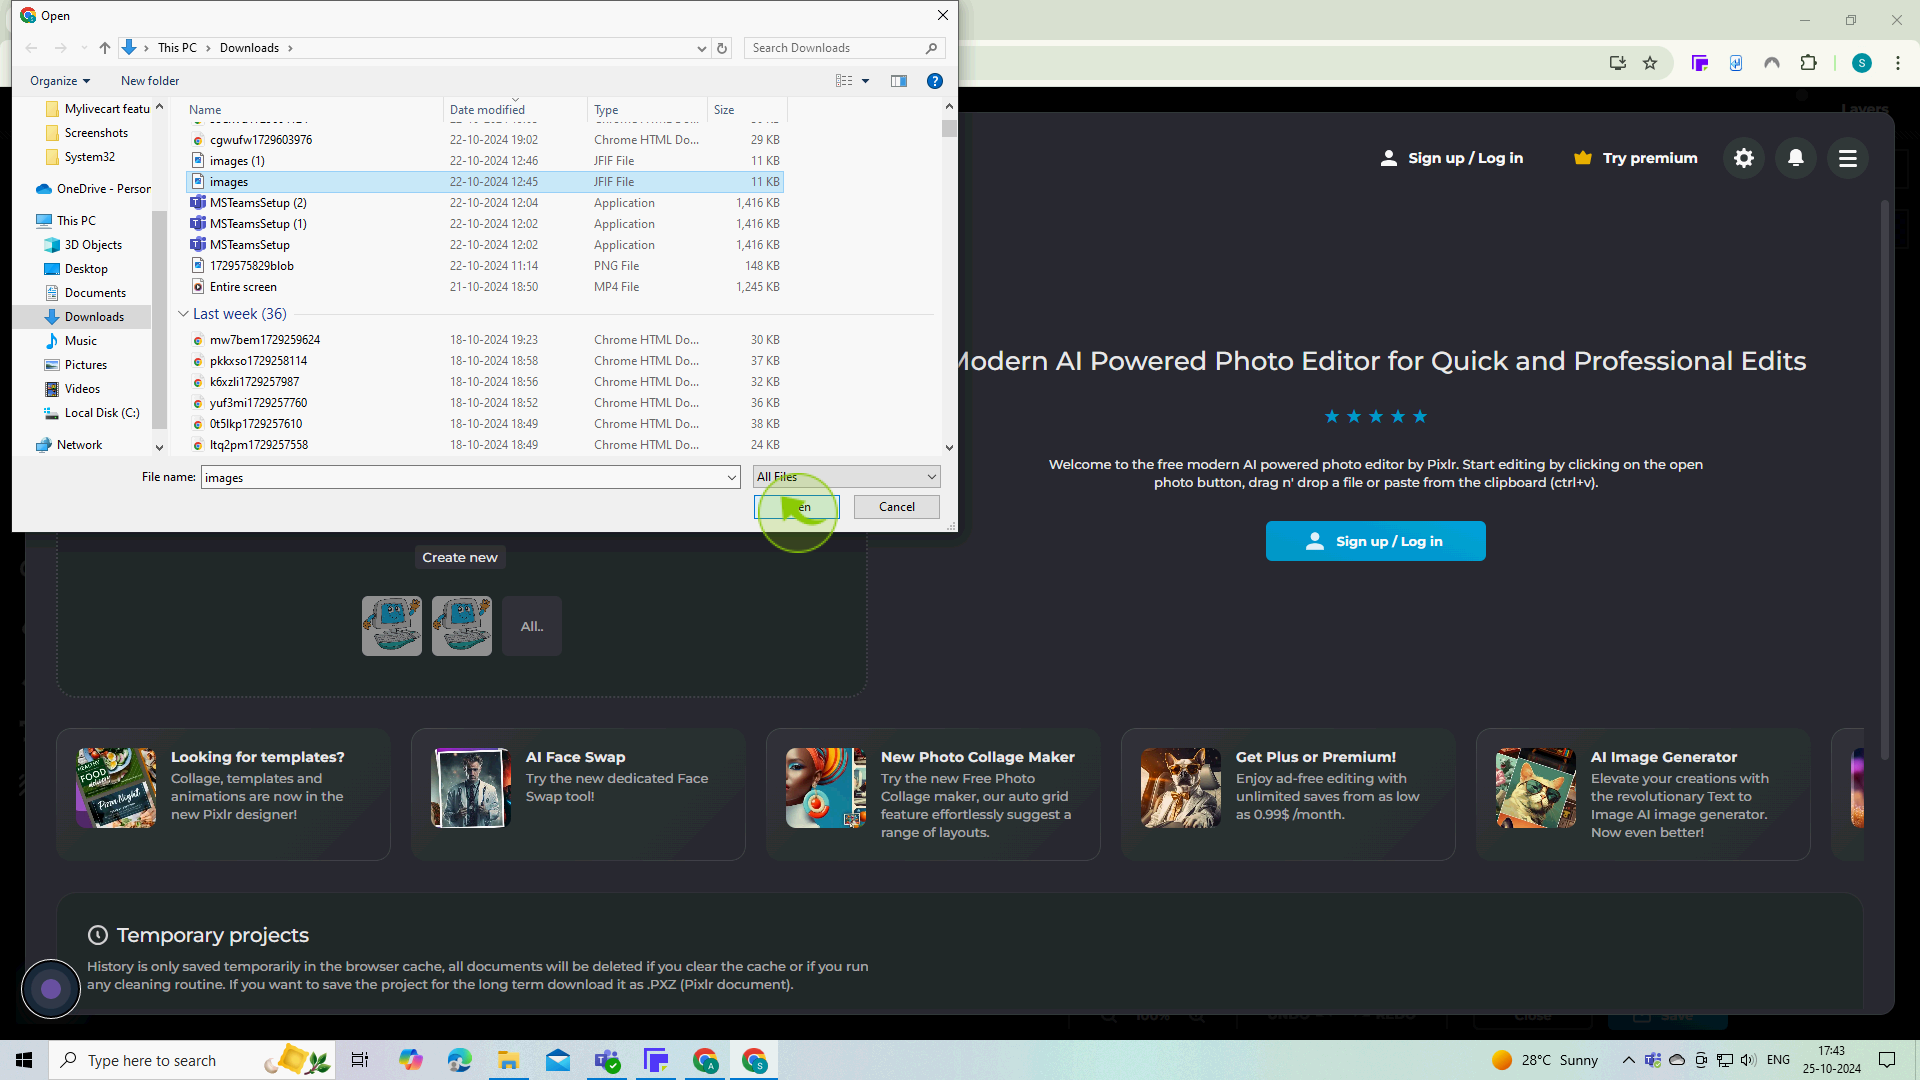
4
Select the "Image" file from your device.
This will upload your chosen image into the Pixlr workspace

5
Click on the "Open"
6
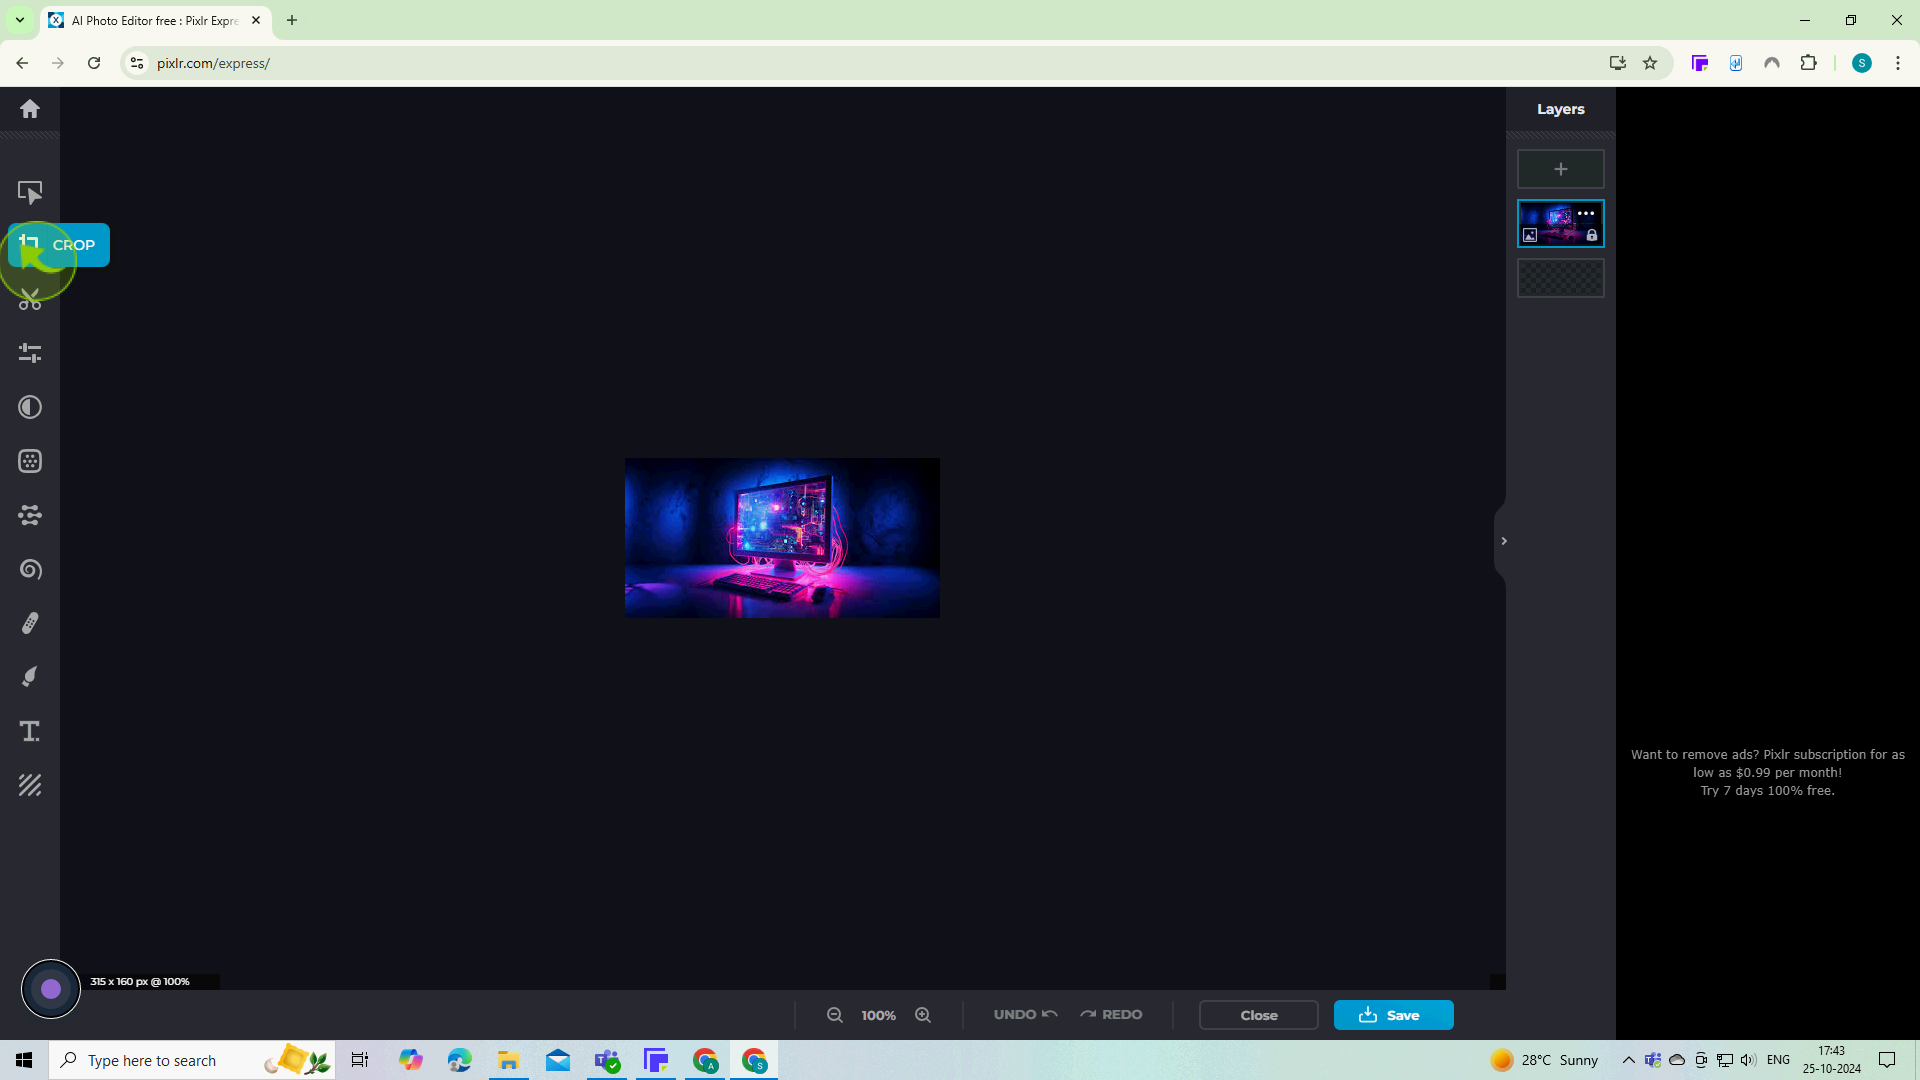
In the side menu, go to "Crop" tab
This opens a dialog box where you can adjust the dimensions of your image.
7
In the resize group, and select "Image Size".
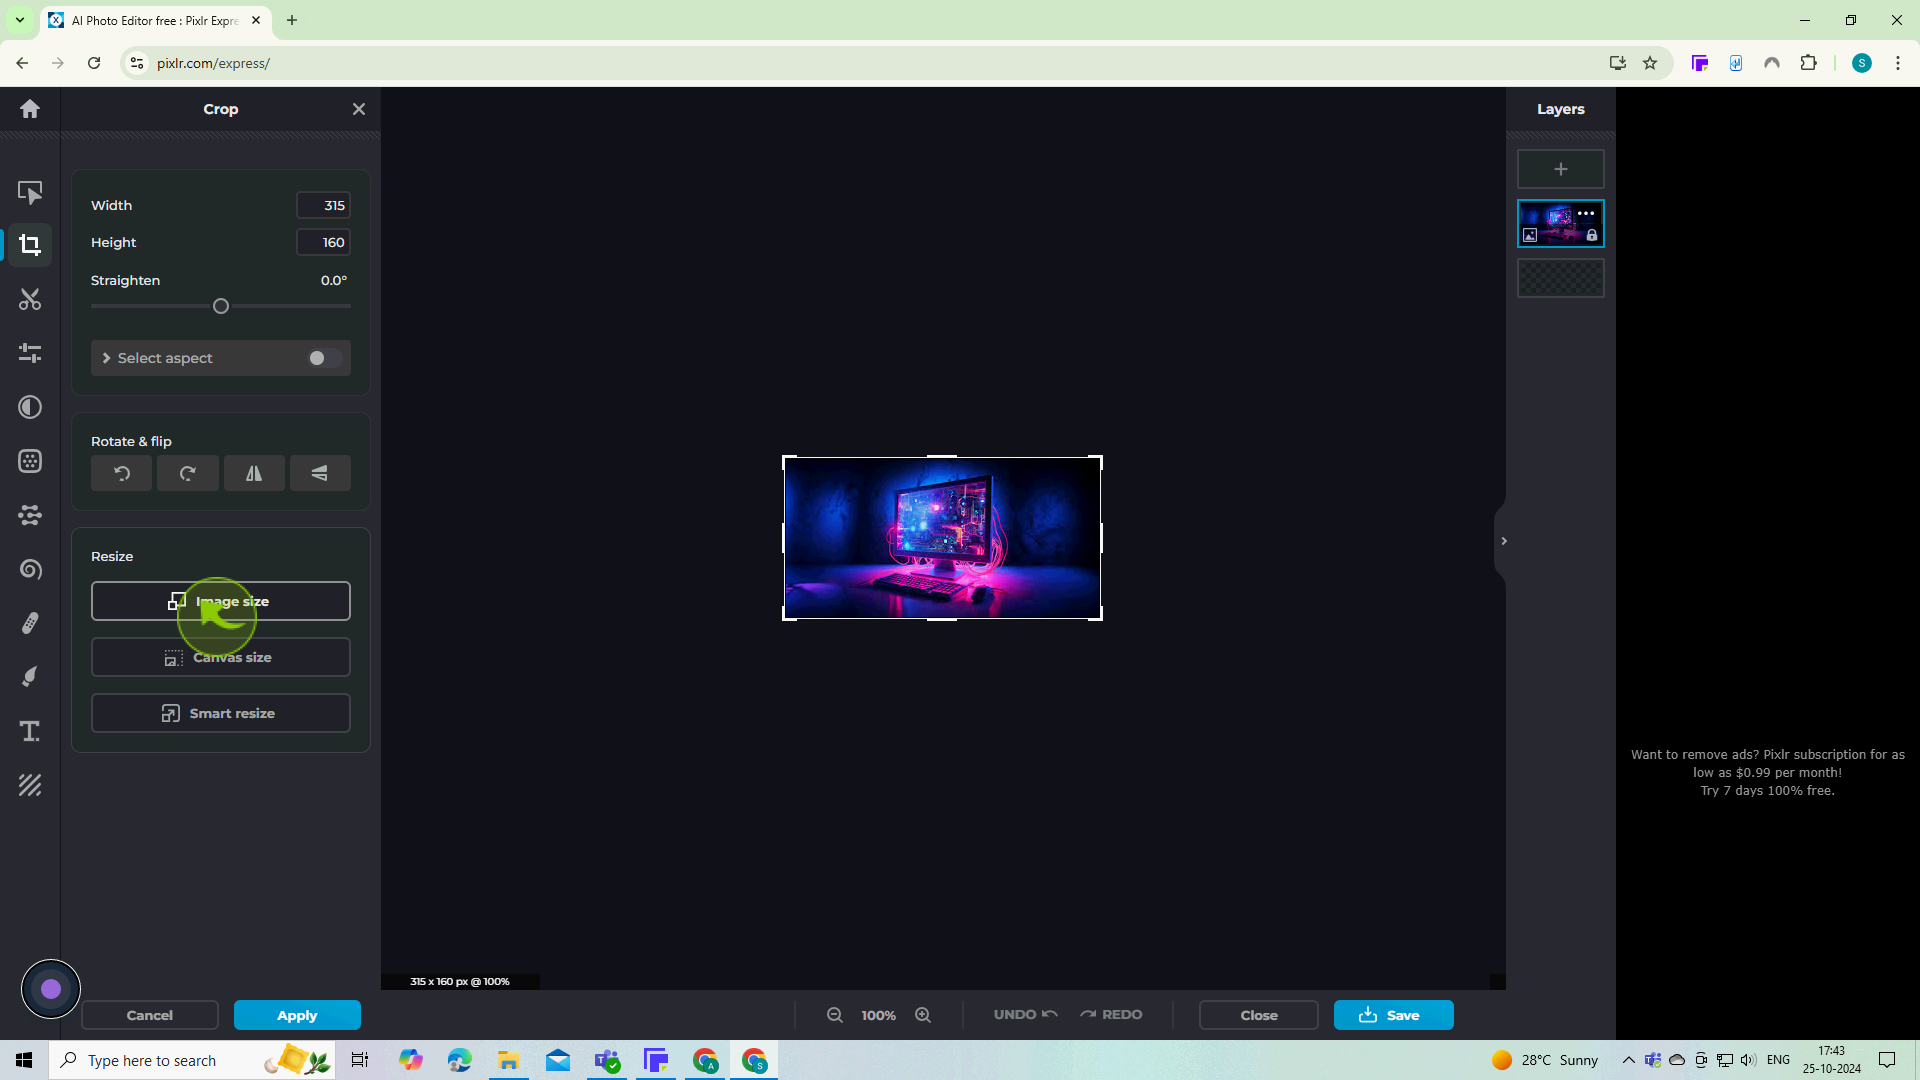
8
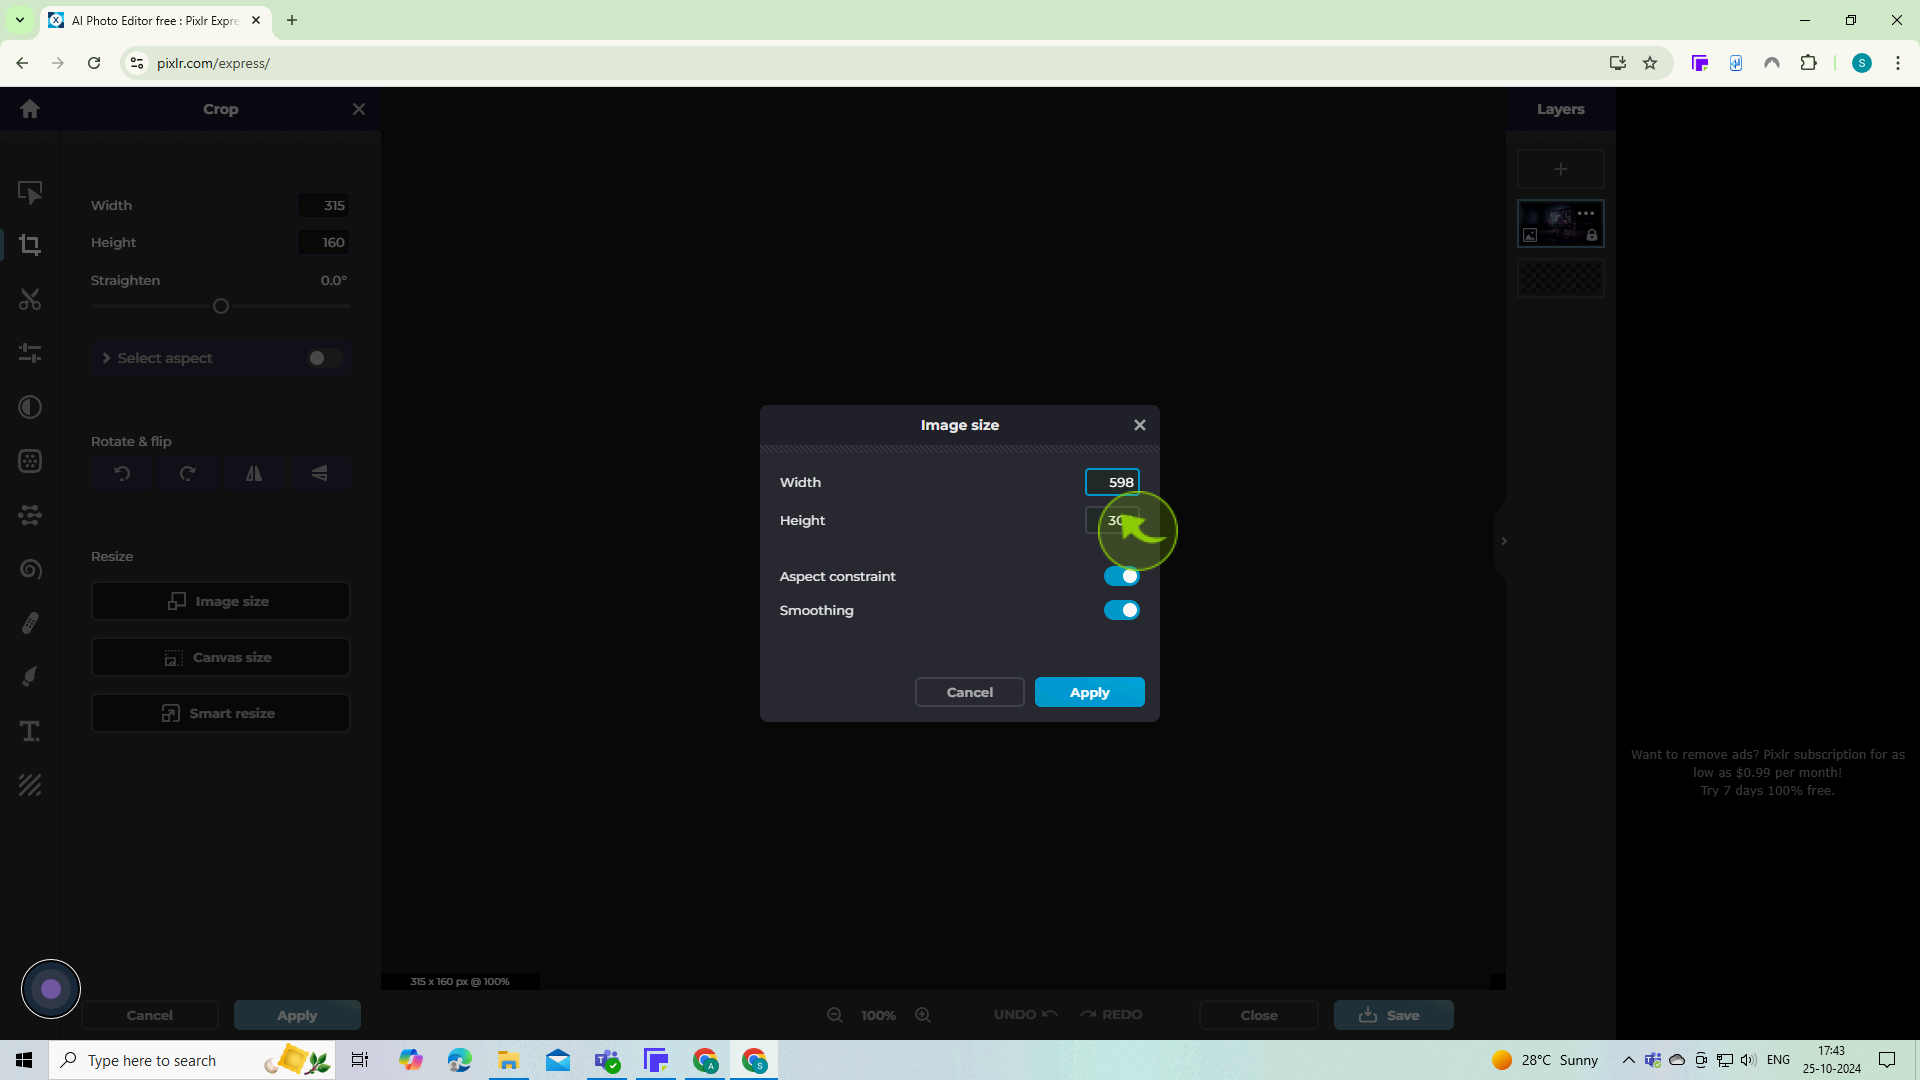
Enter new values for "Width and Height" in the dialog box.
This ensures your image doesn’t get distorted while resizing.
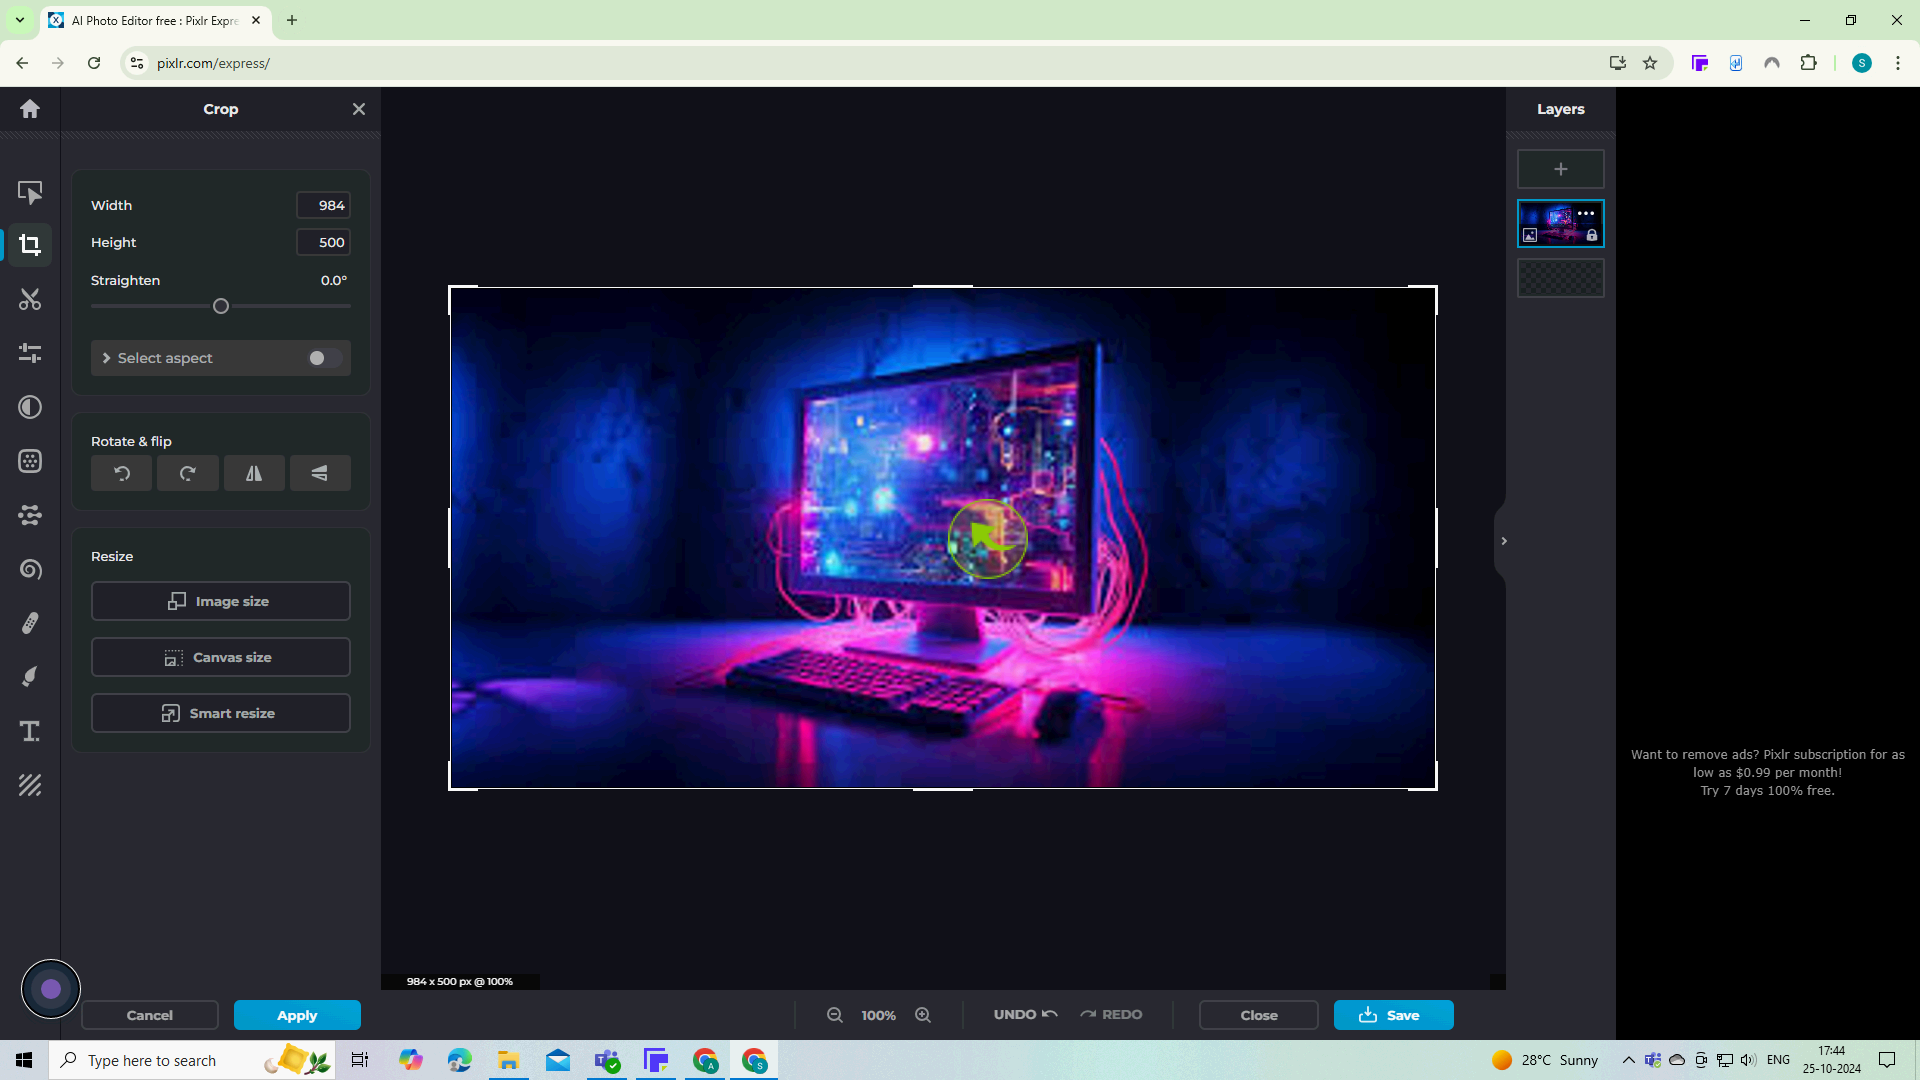
9
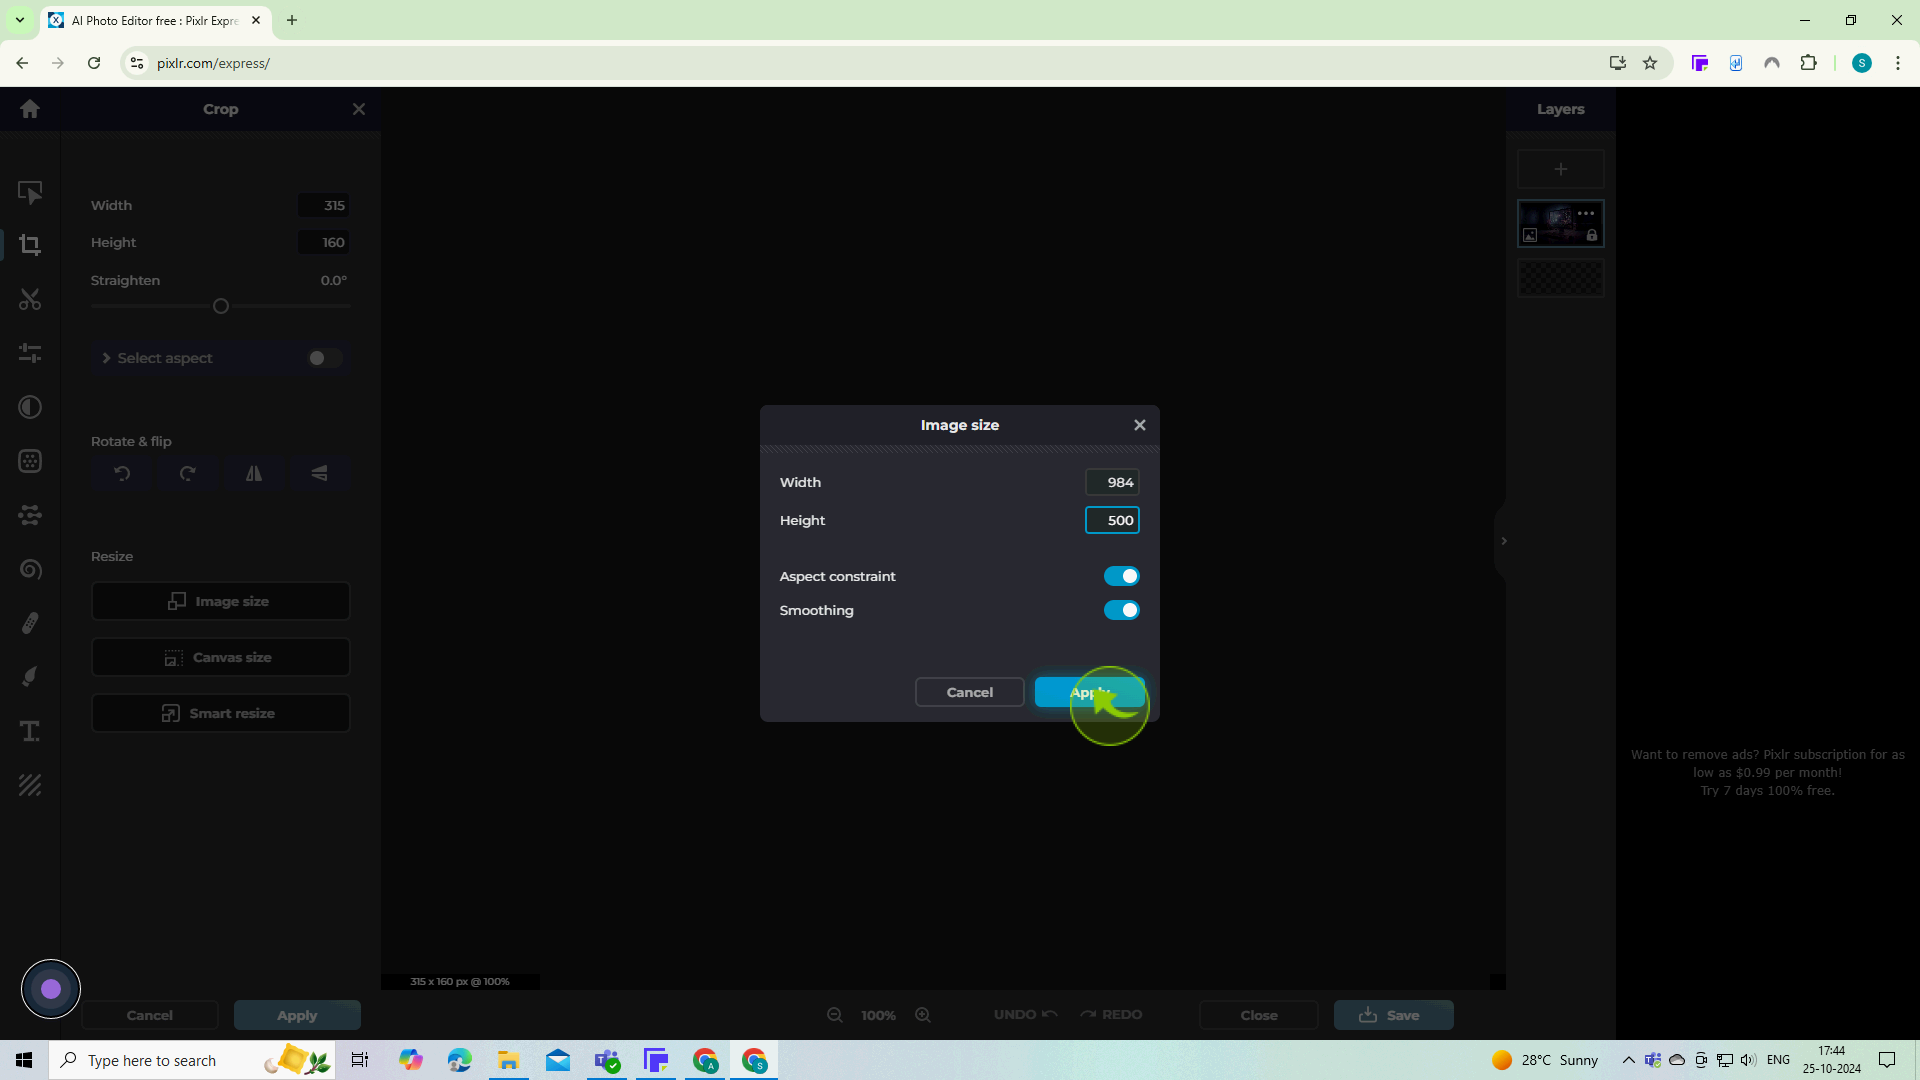
Click on "Apply" to confirm the new size.
10
Your image will now "Resize" according to the dimensions you specified.
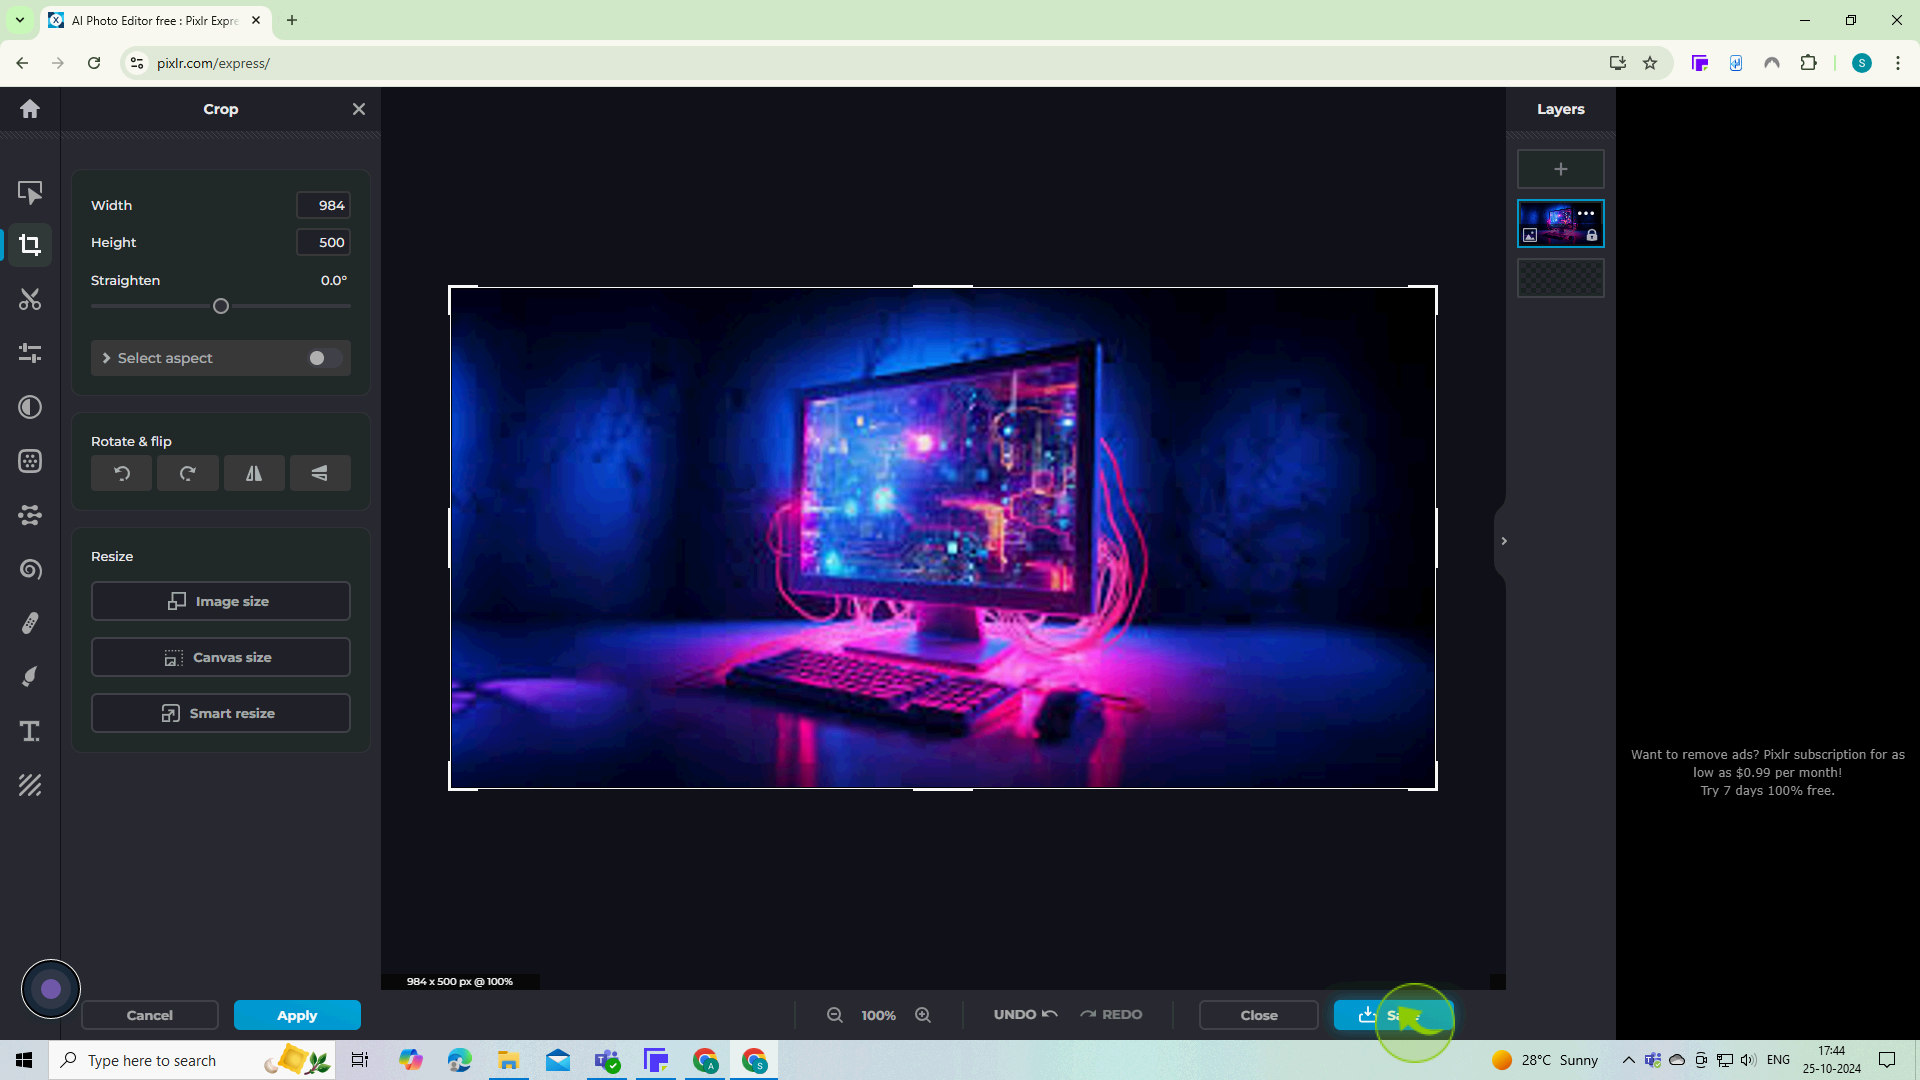
11
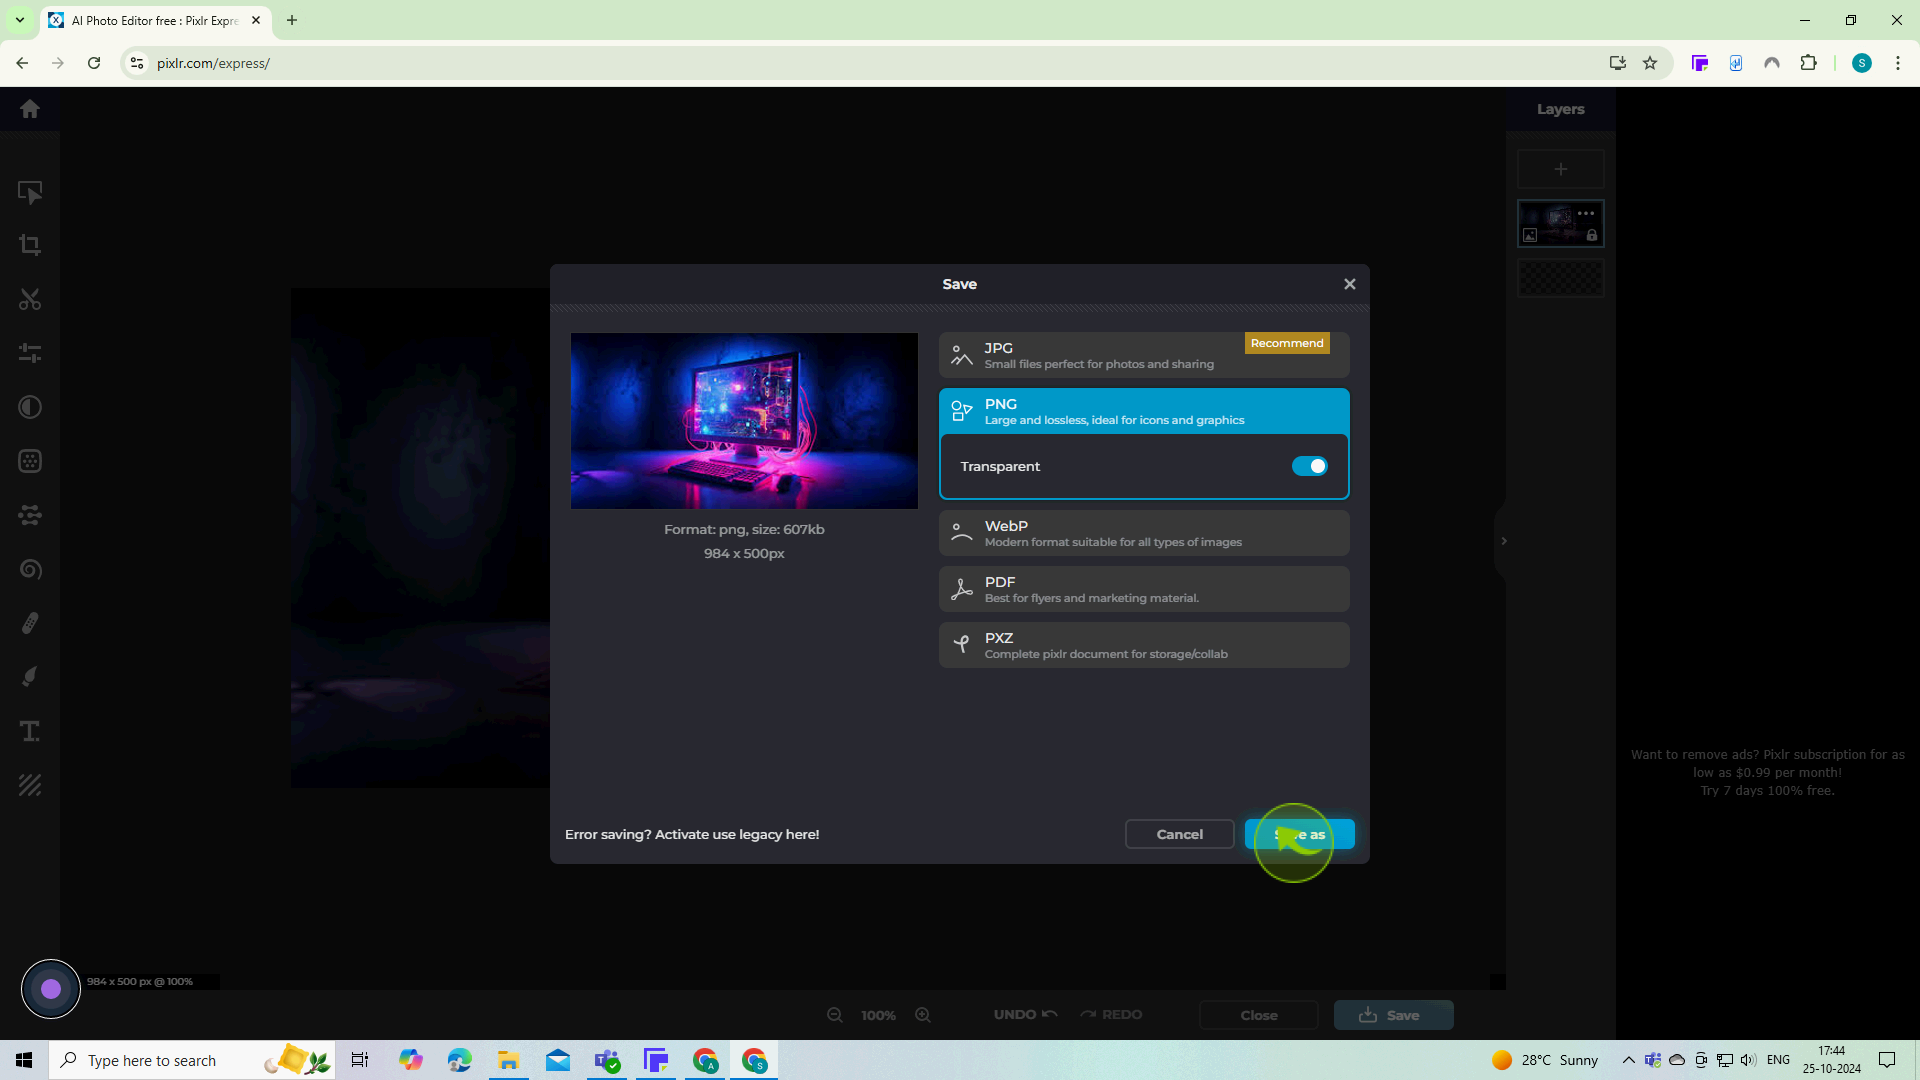
Click on "Save"
12
Choose your desired file "Format and Quality"
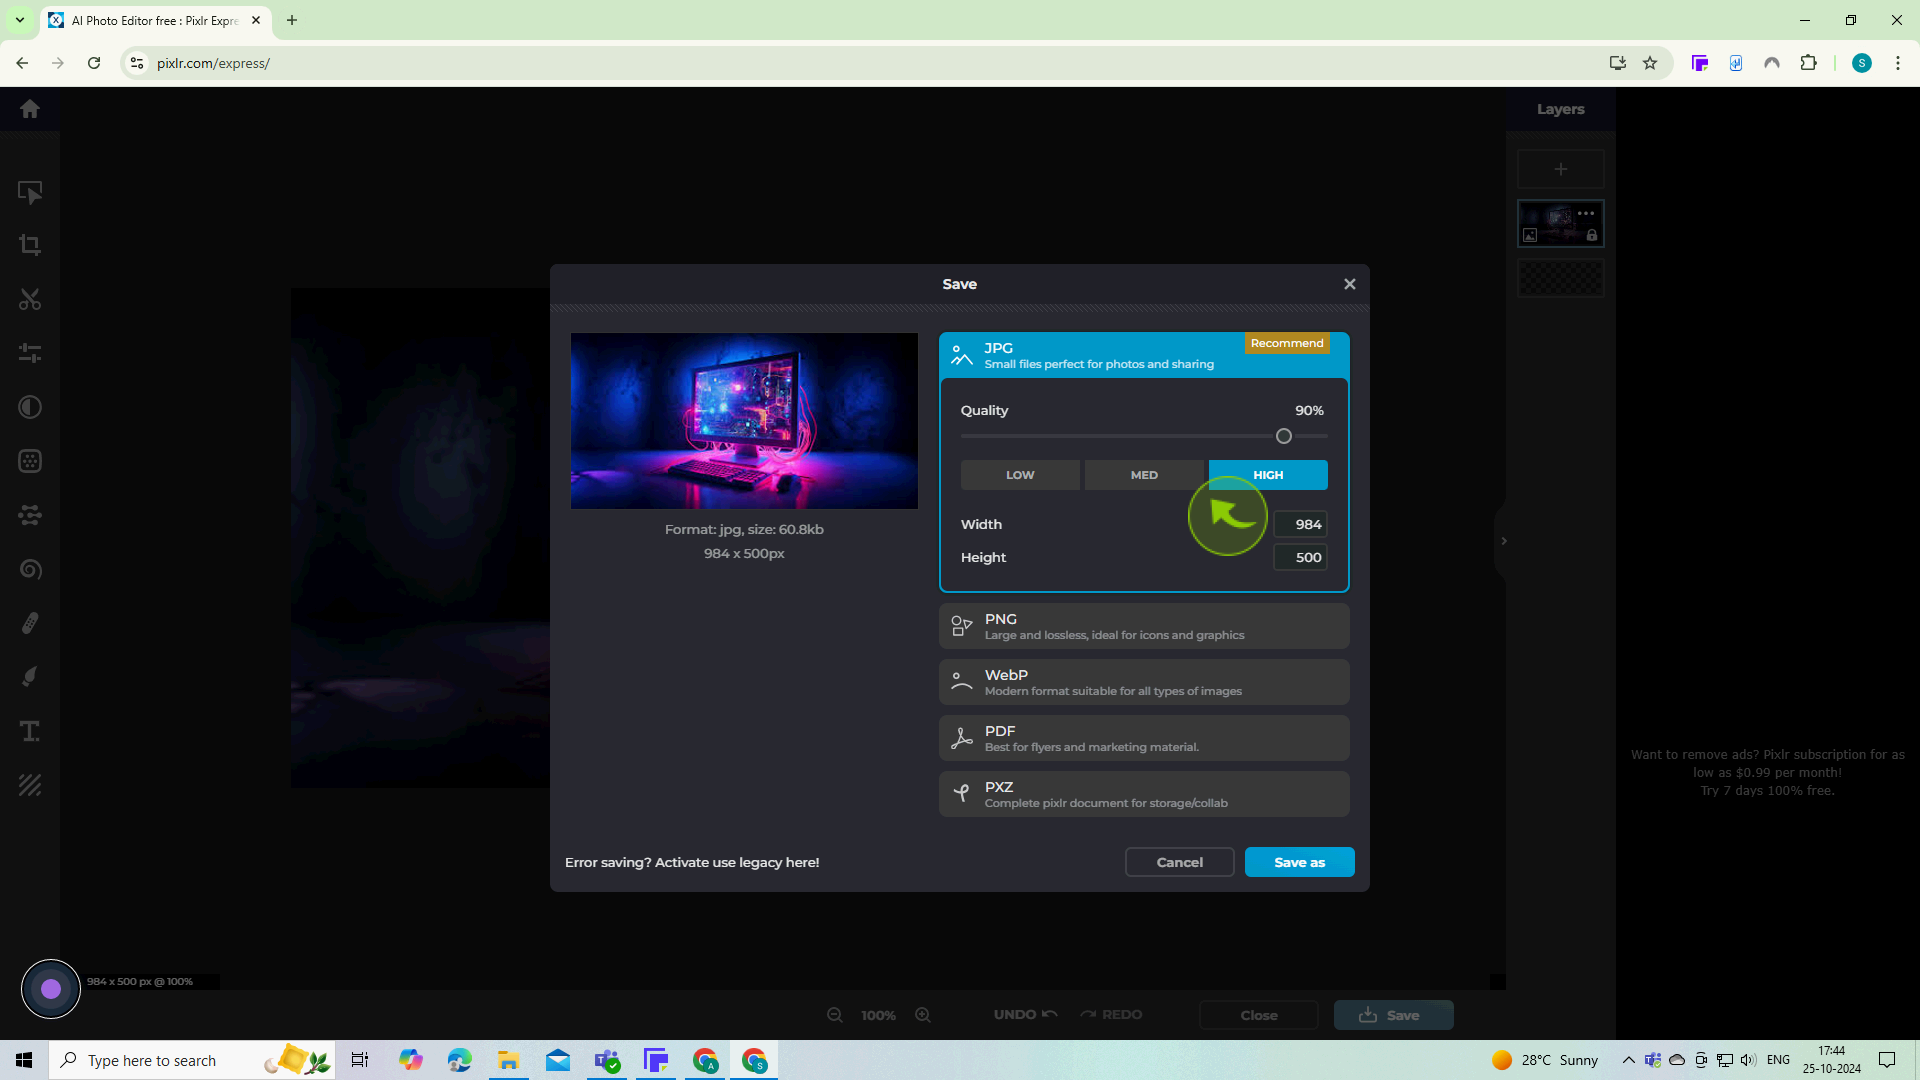
13
Click "Save as" to save the resized image to your device.
You’ve successfully resized your image!