How to Sending meeting invite and allowing guest to modify events in Google Calendar ?
|
 google calendar
|
google calendar
|
7 months ago
|
10 Steps
This document will guide you through the process of sending meeting invitations in Google Calendar and granting guest permissions to modify events. You'll learn how to set up guest access, share your calendar effectively, and ensure seamless collaboration with attendees. Whether you're organizing team meetings, scheduling appointments, or collaborating with clients, this tutorial will provide you with the necessary steps to optimize your Google Calendar experience.
How to Sending meeting invite and allowing guest to modify events in Google Calendar ?
|
google calendar
|
10 Steps

1
Go to "https://calendar.google.com/" and log in with your google account.
2
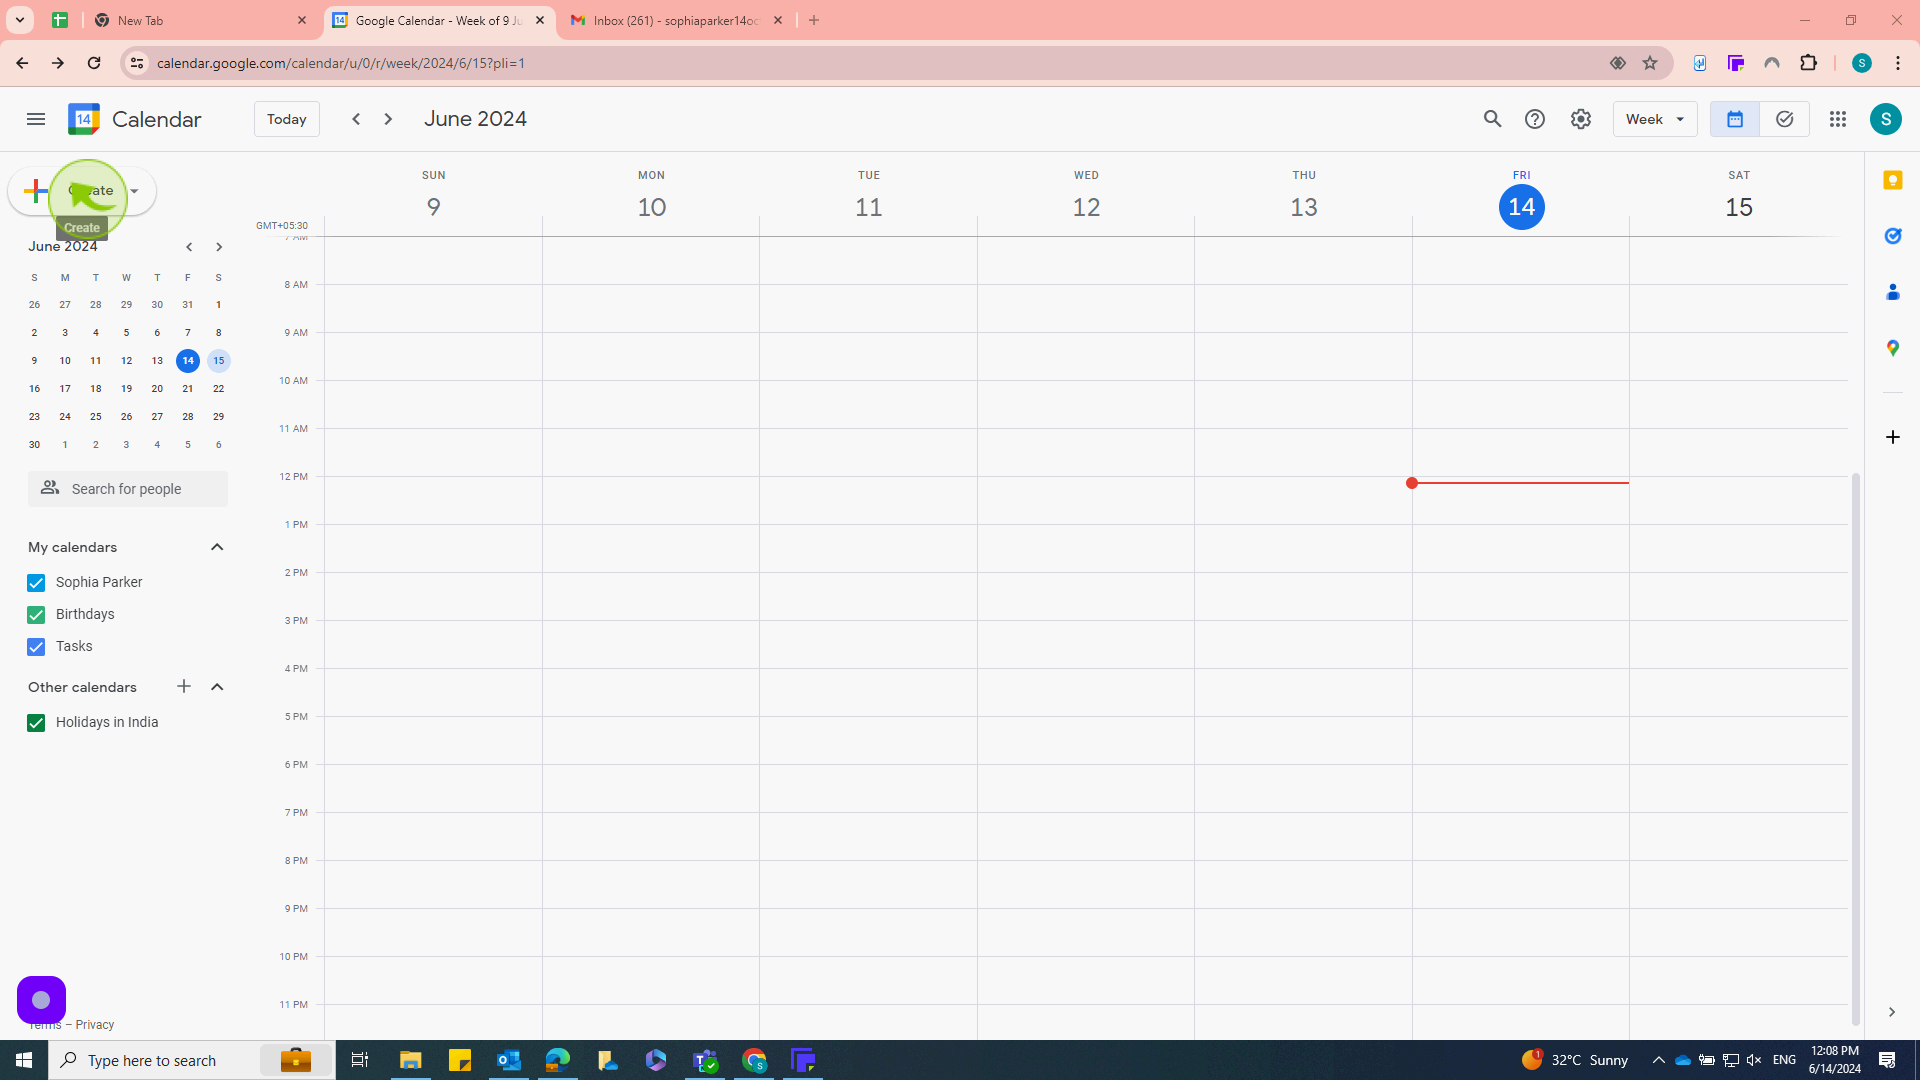
Click on the "+ Create" button on the left side of the screen
This will open the event creation window.
3
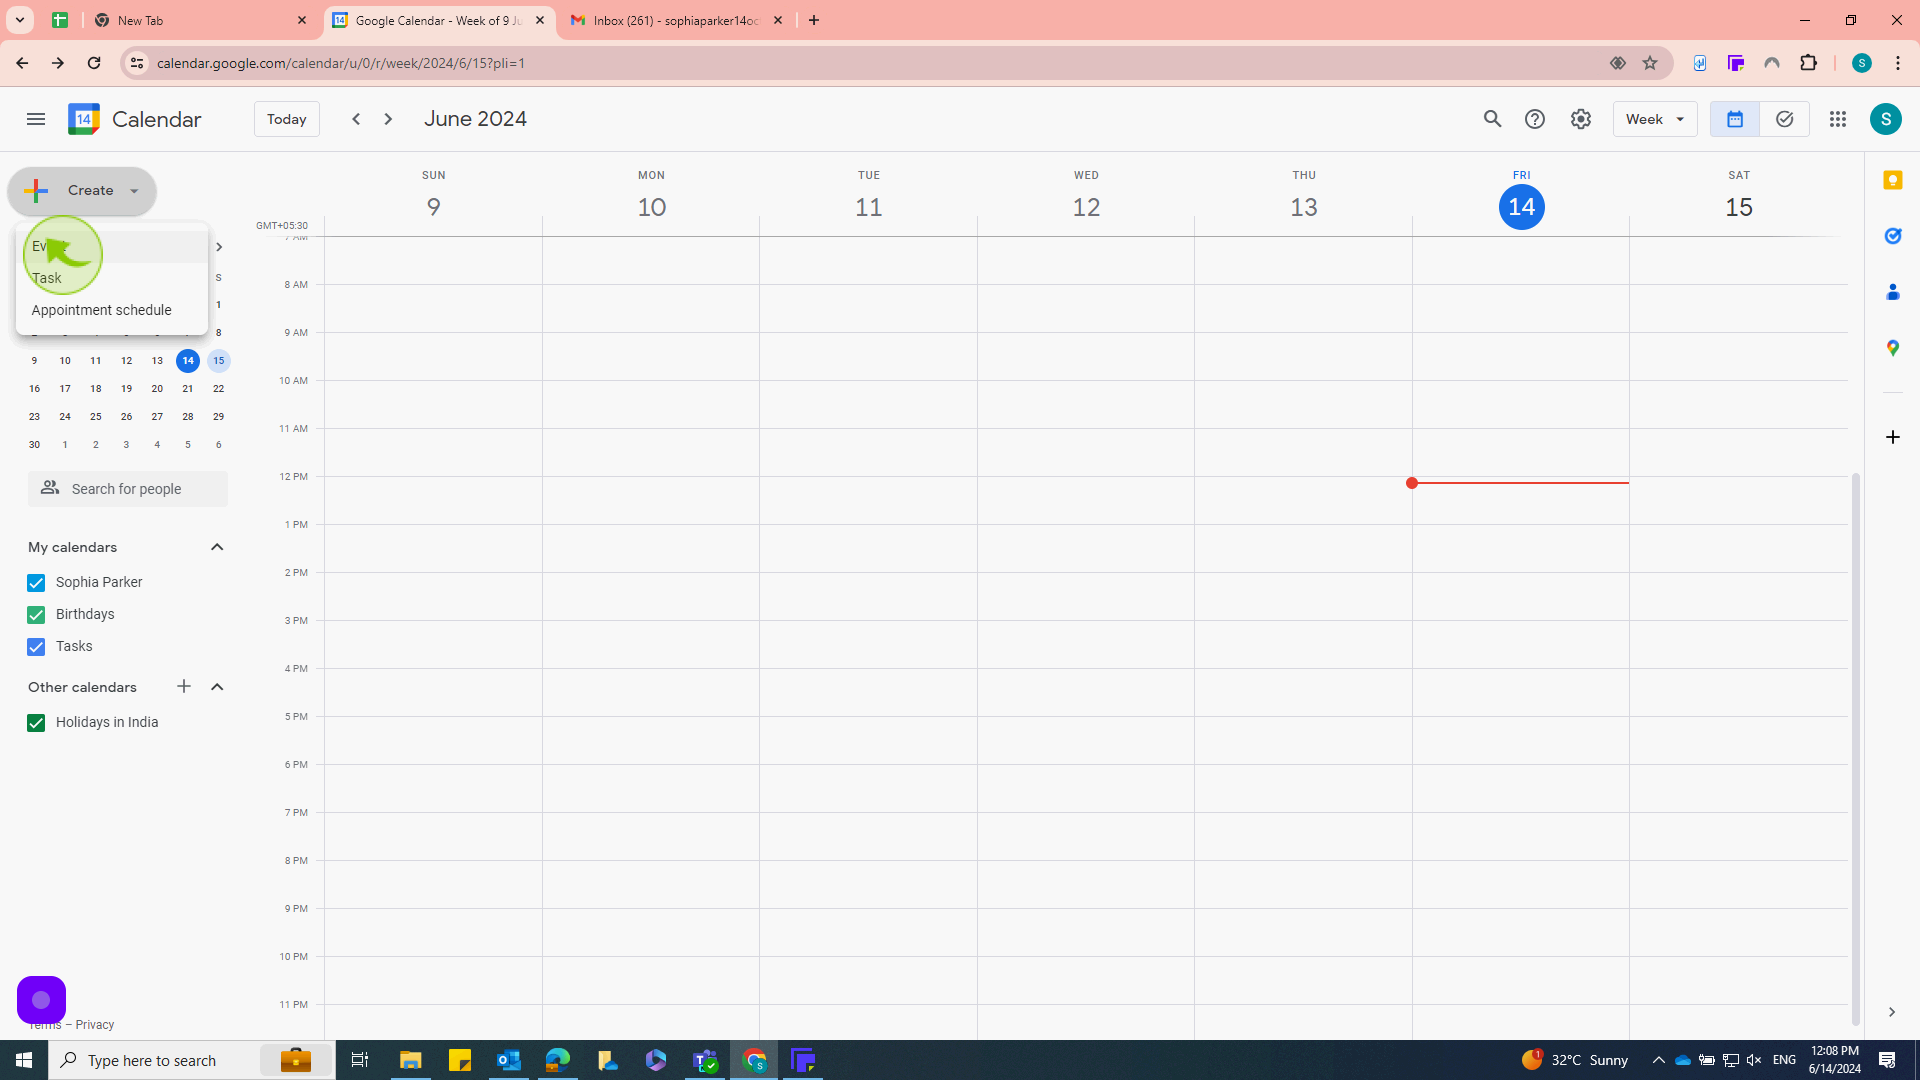
Click on "Event"
Fill in the event title, date, time, and any other details you want to include, such as location and description.
4
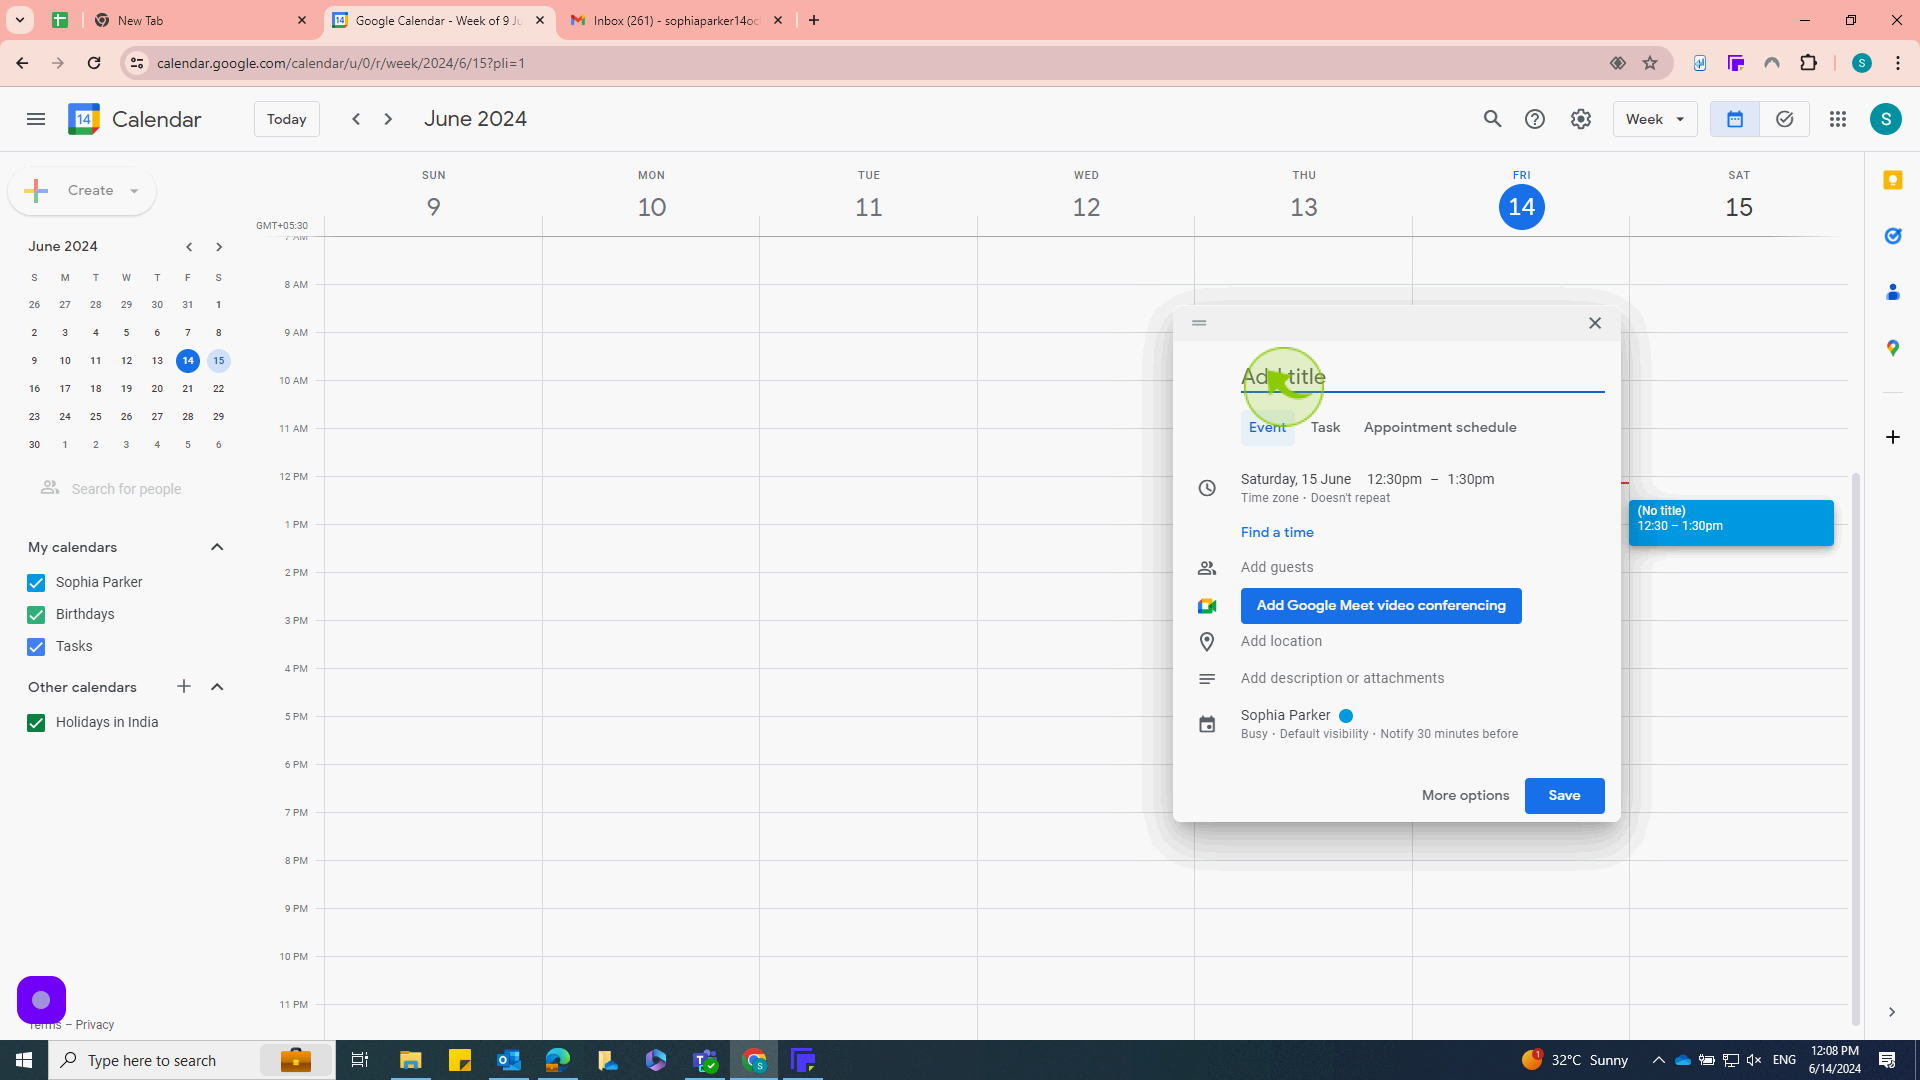
Fill in the event title, date, time, and any other details you want to include, such as location and description.
Make sure to provide clear information so guests know what to expect.
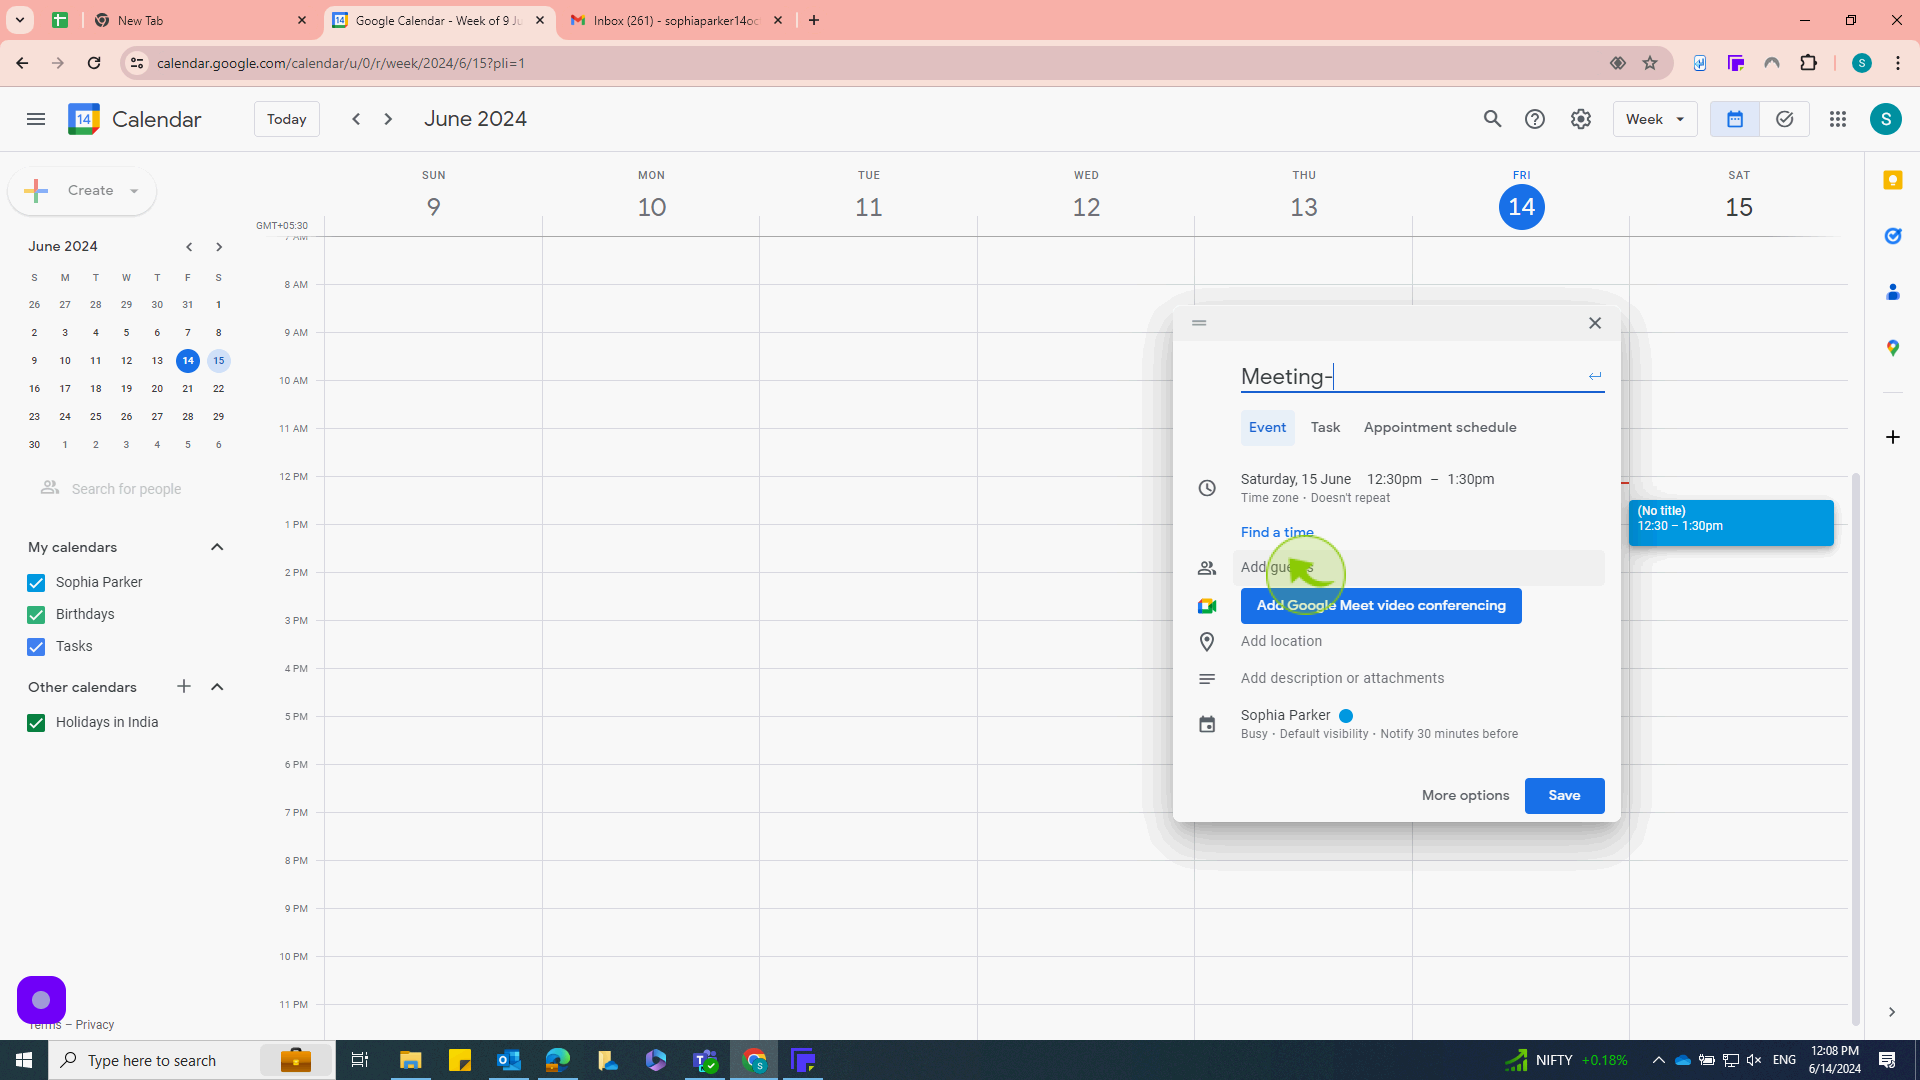
5
In the "Add guests" section on the right side, enter the email addresses of the people you want to invite.
You can add multiple guests by separating email addresses with commas.
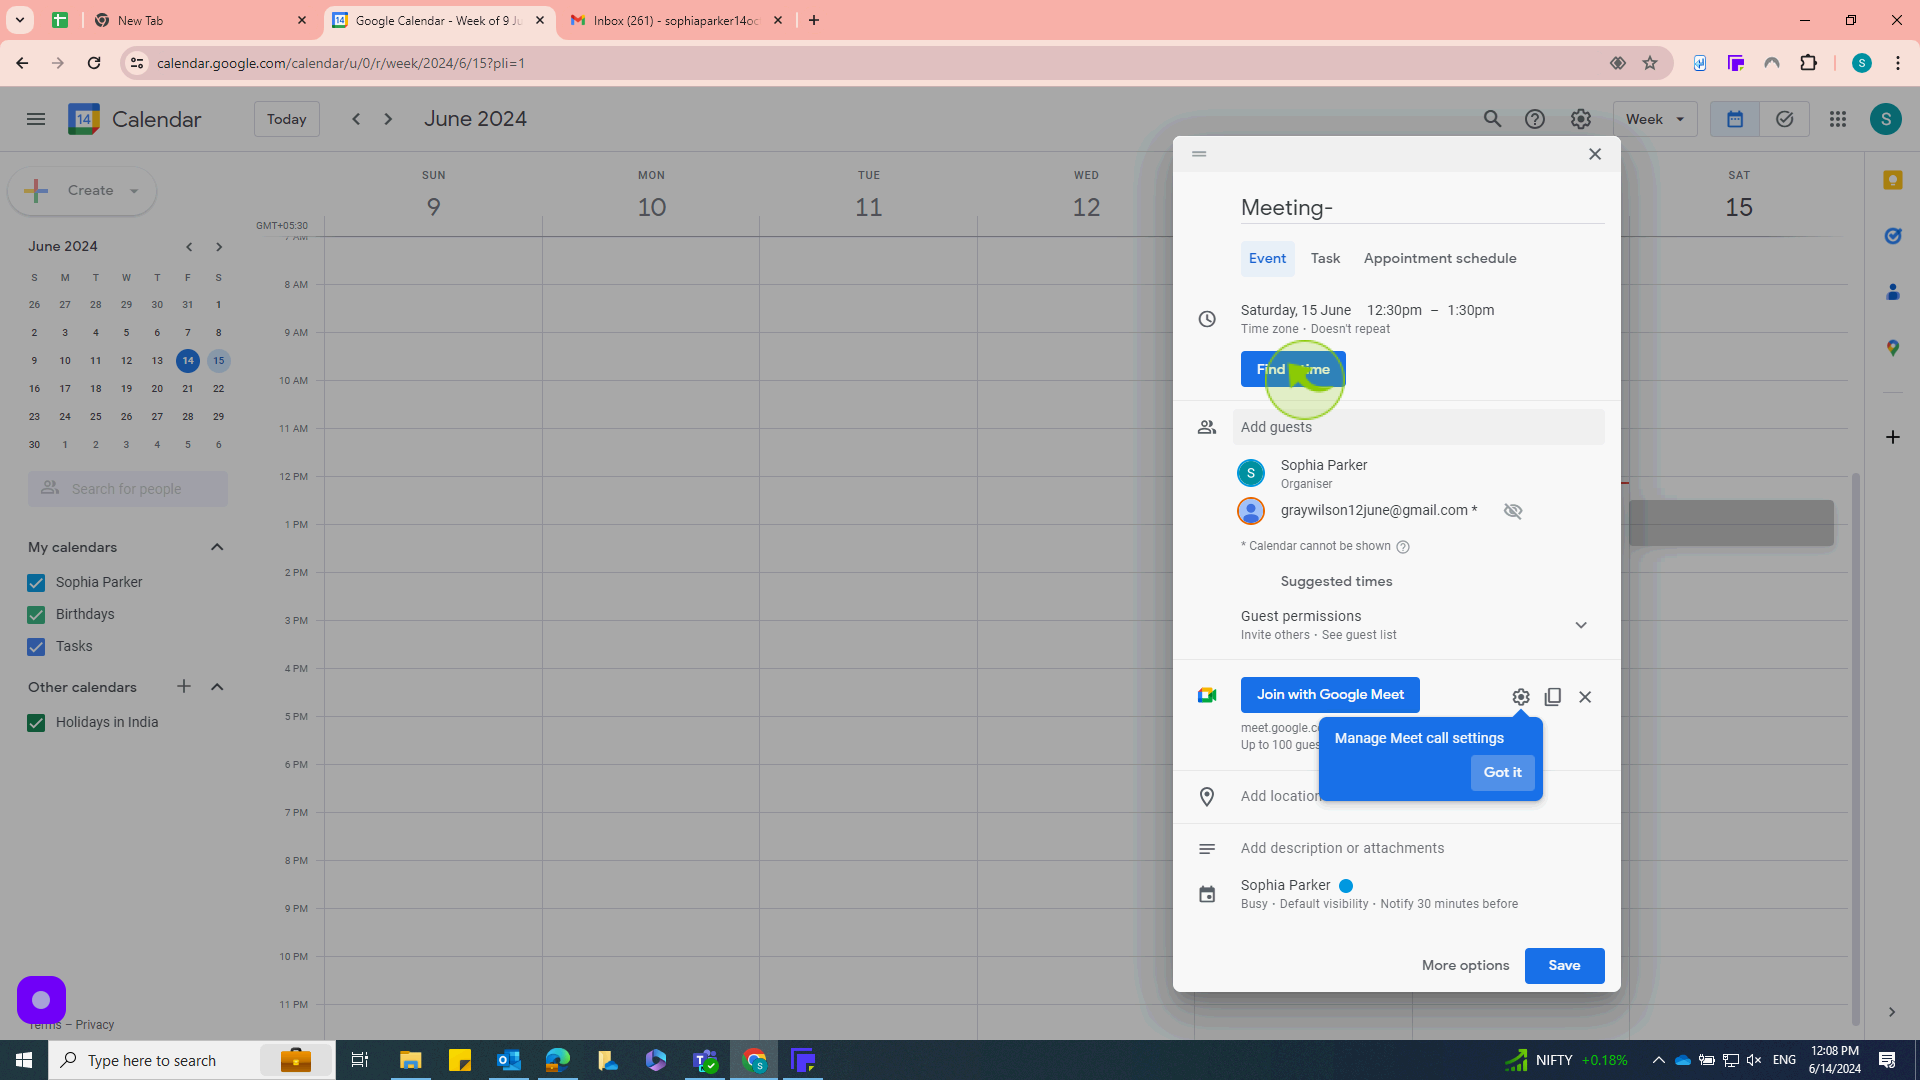
6
Update meeting "Date and Time"
Enter meeting date and time
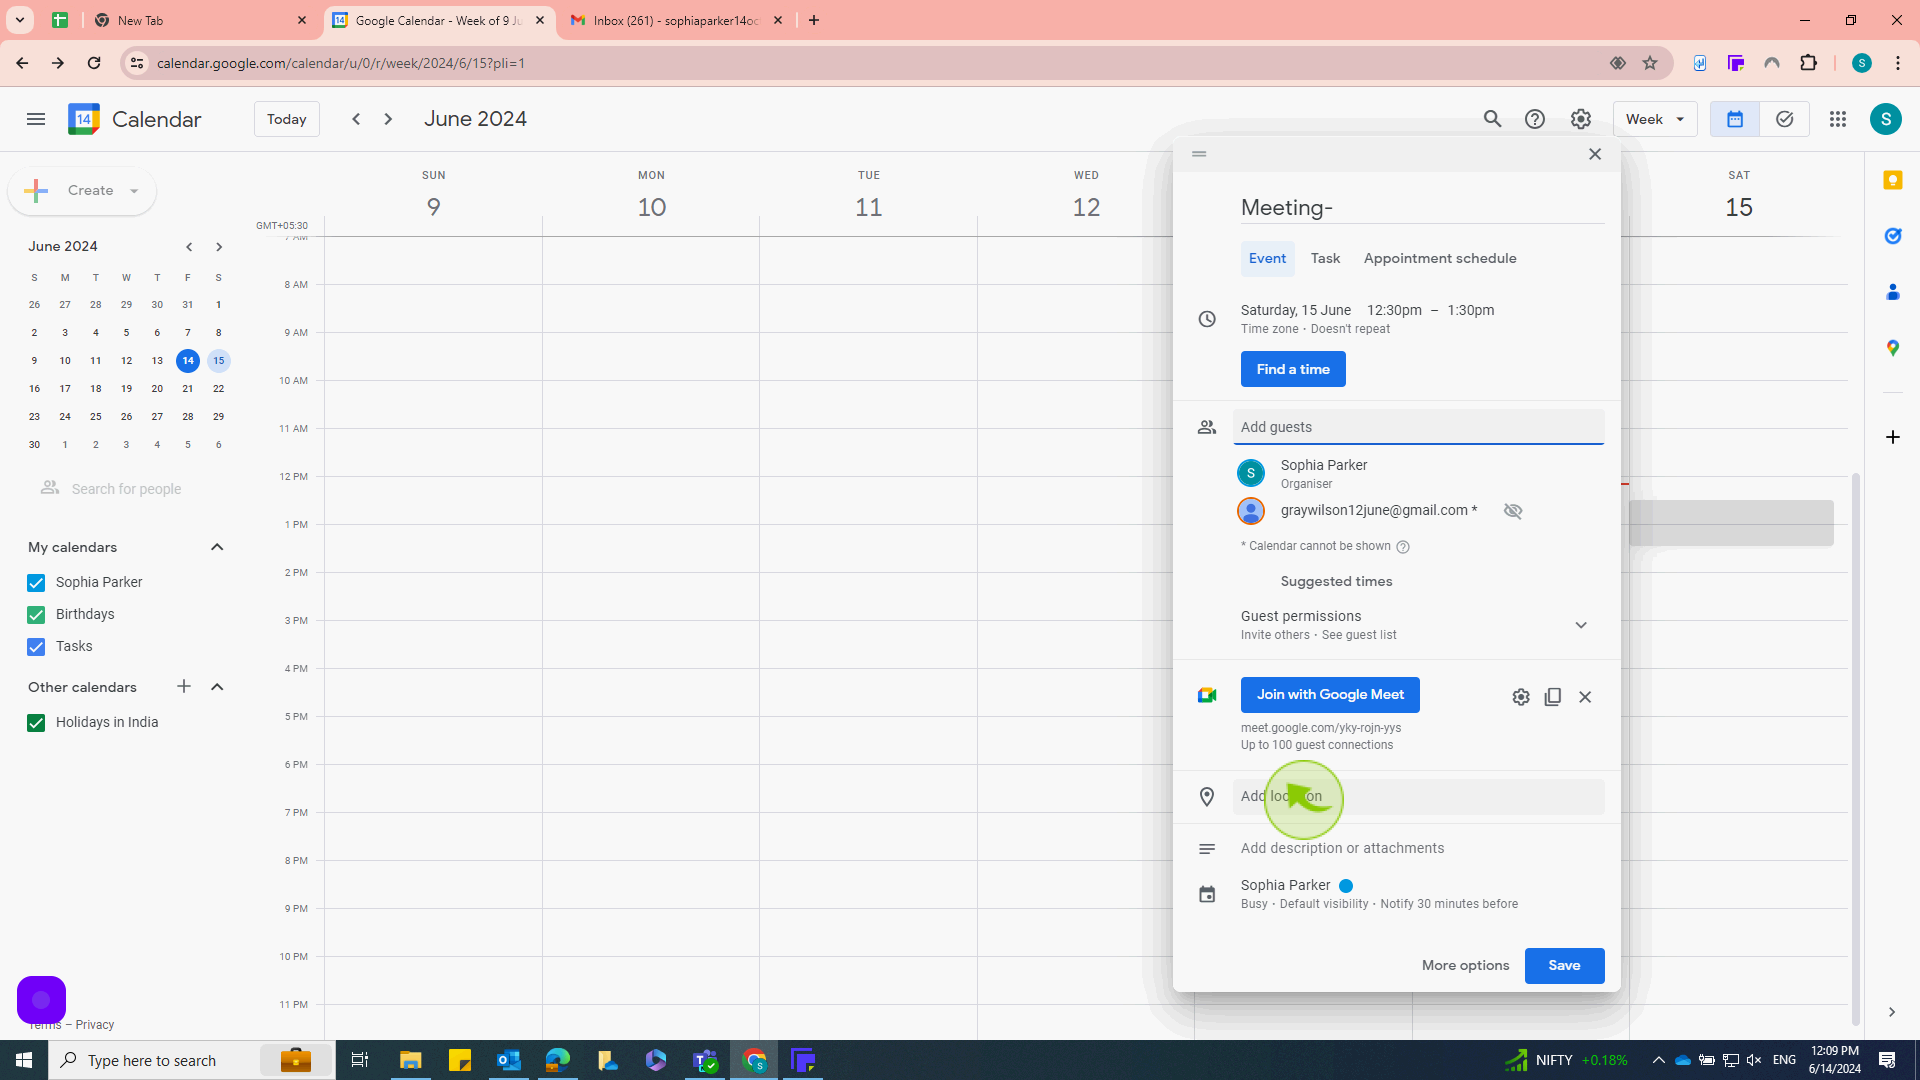
7
Click the "Add Location" field and click on "More Options"
Add the location
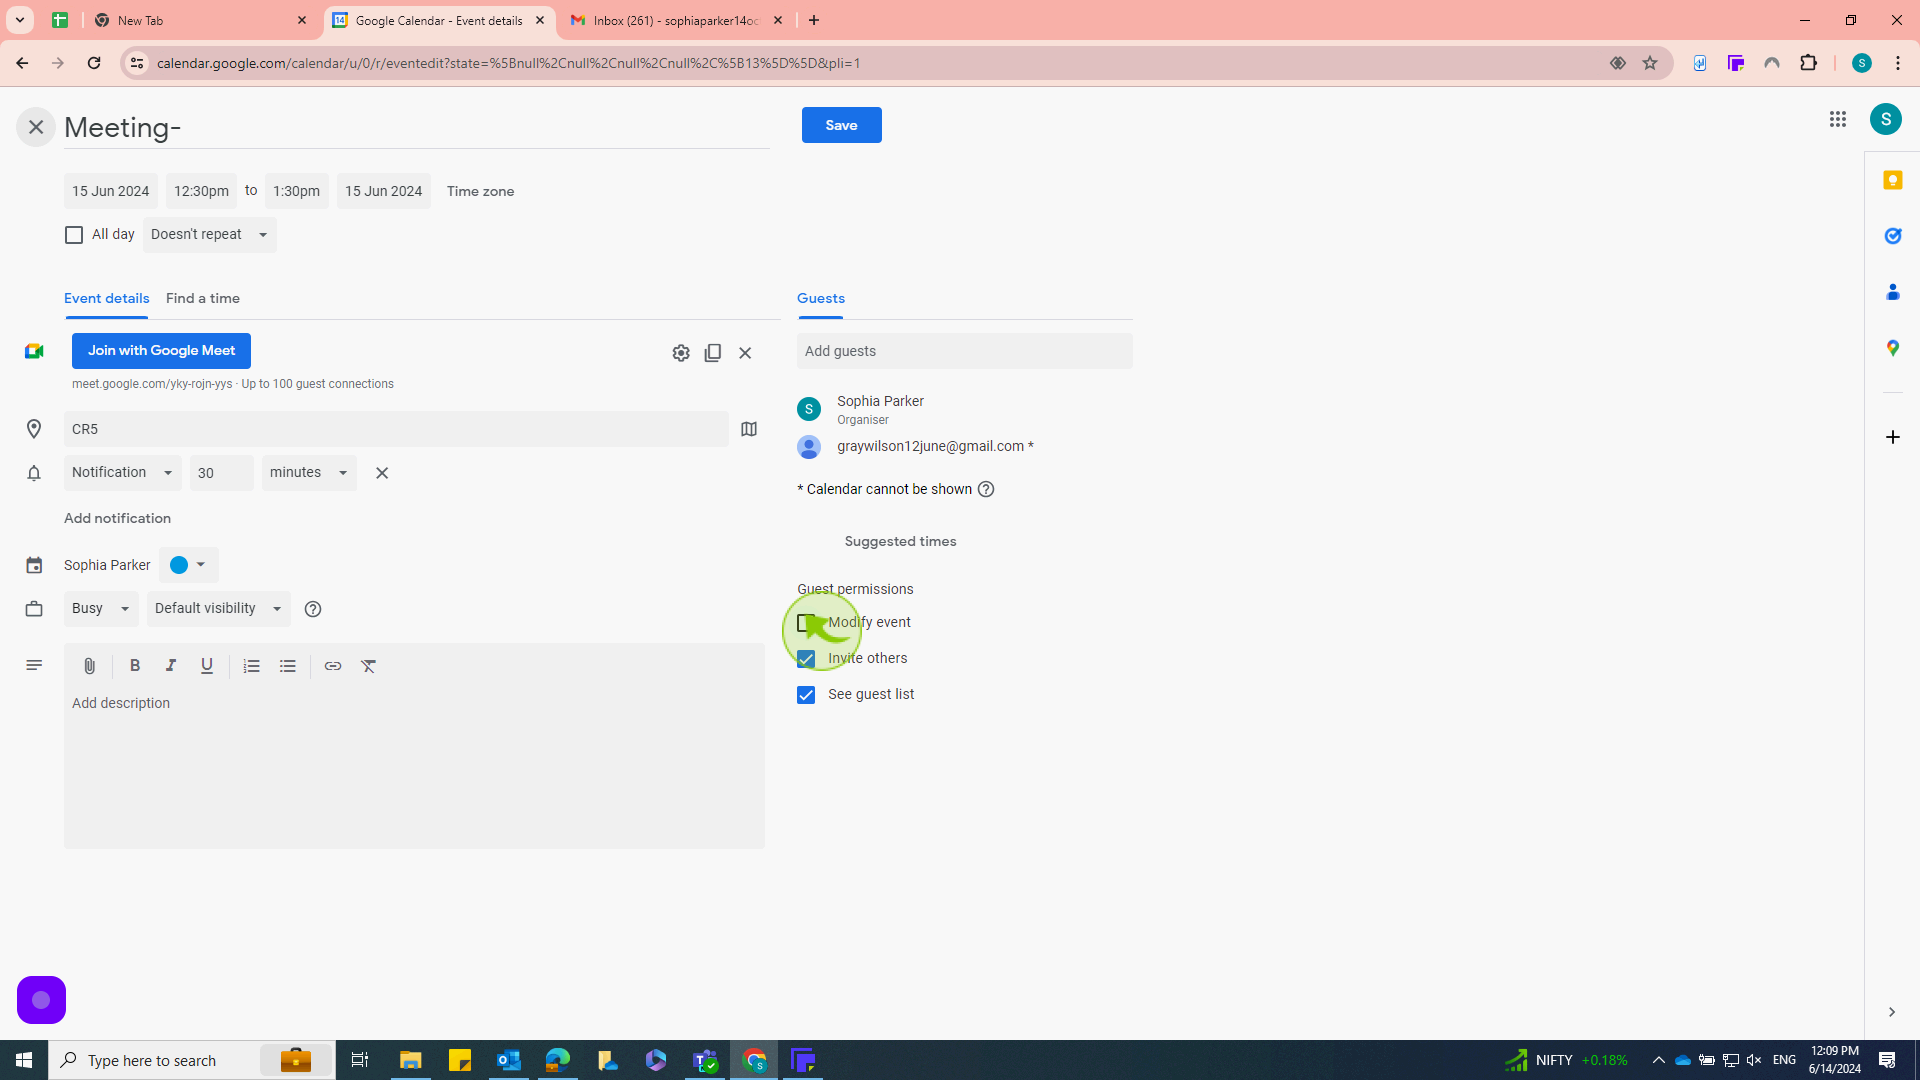
8
Below the guest list, you'll see several options. check the box that says "Modify Event"
This option allows guests to edit the event details, such as changing the time or adding notes.
9
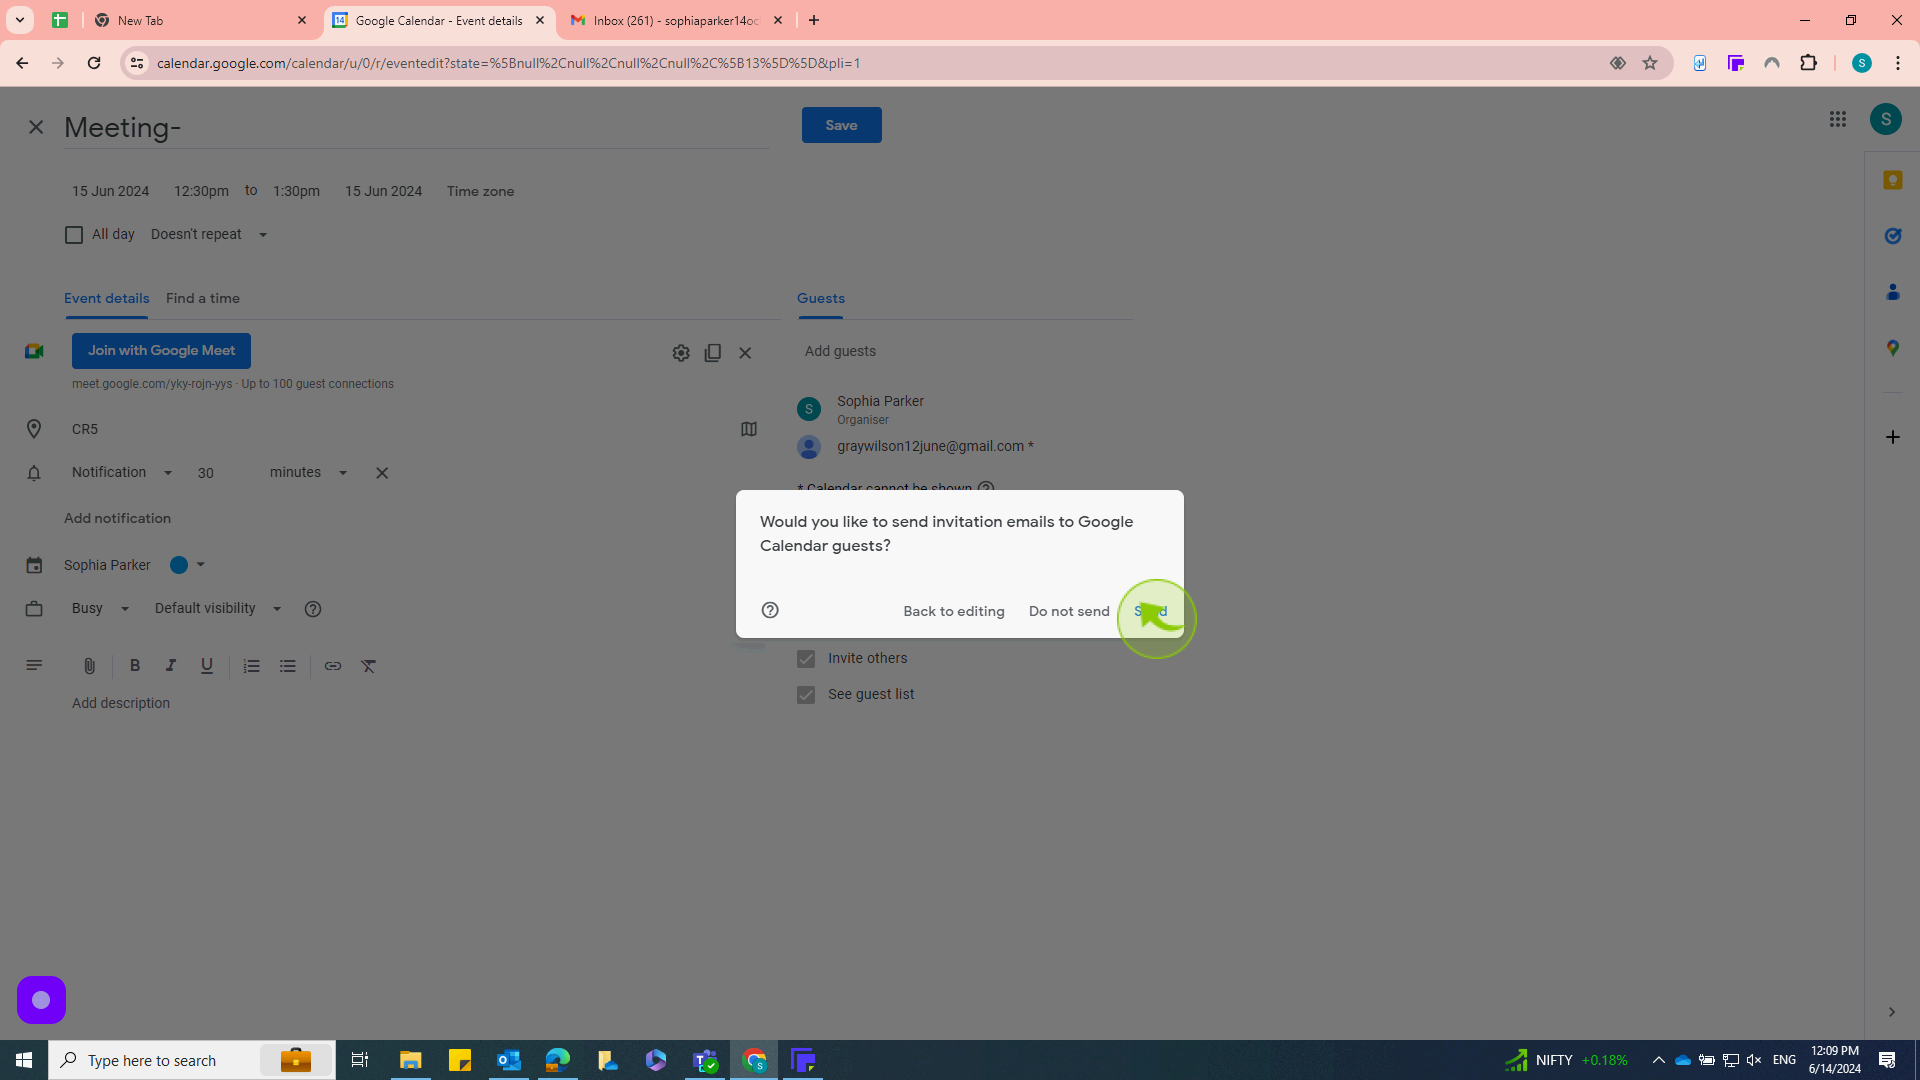
Click the "Save" button at the top of the event window. A prompt will appear asking if you want to send invitations to guests.
Choose send to notify all guests of the meeting.
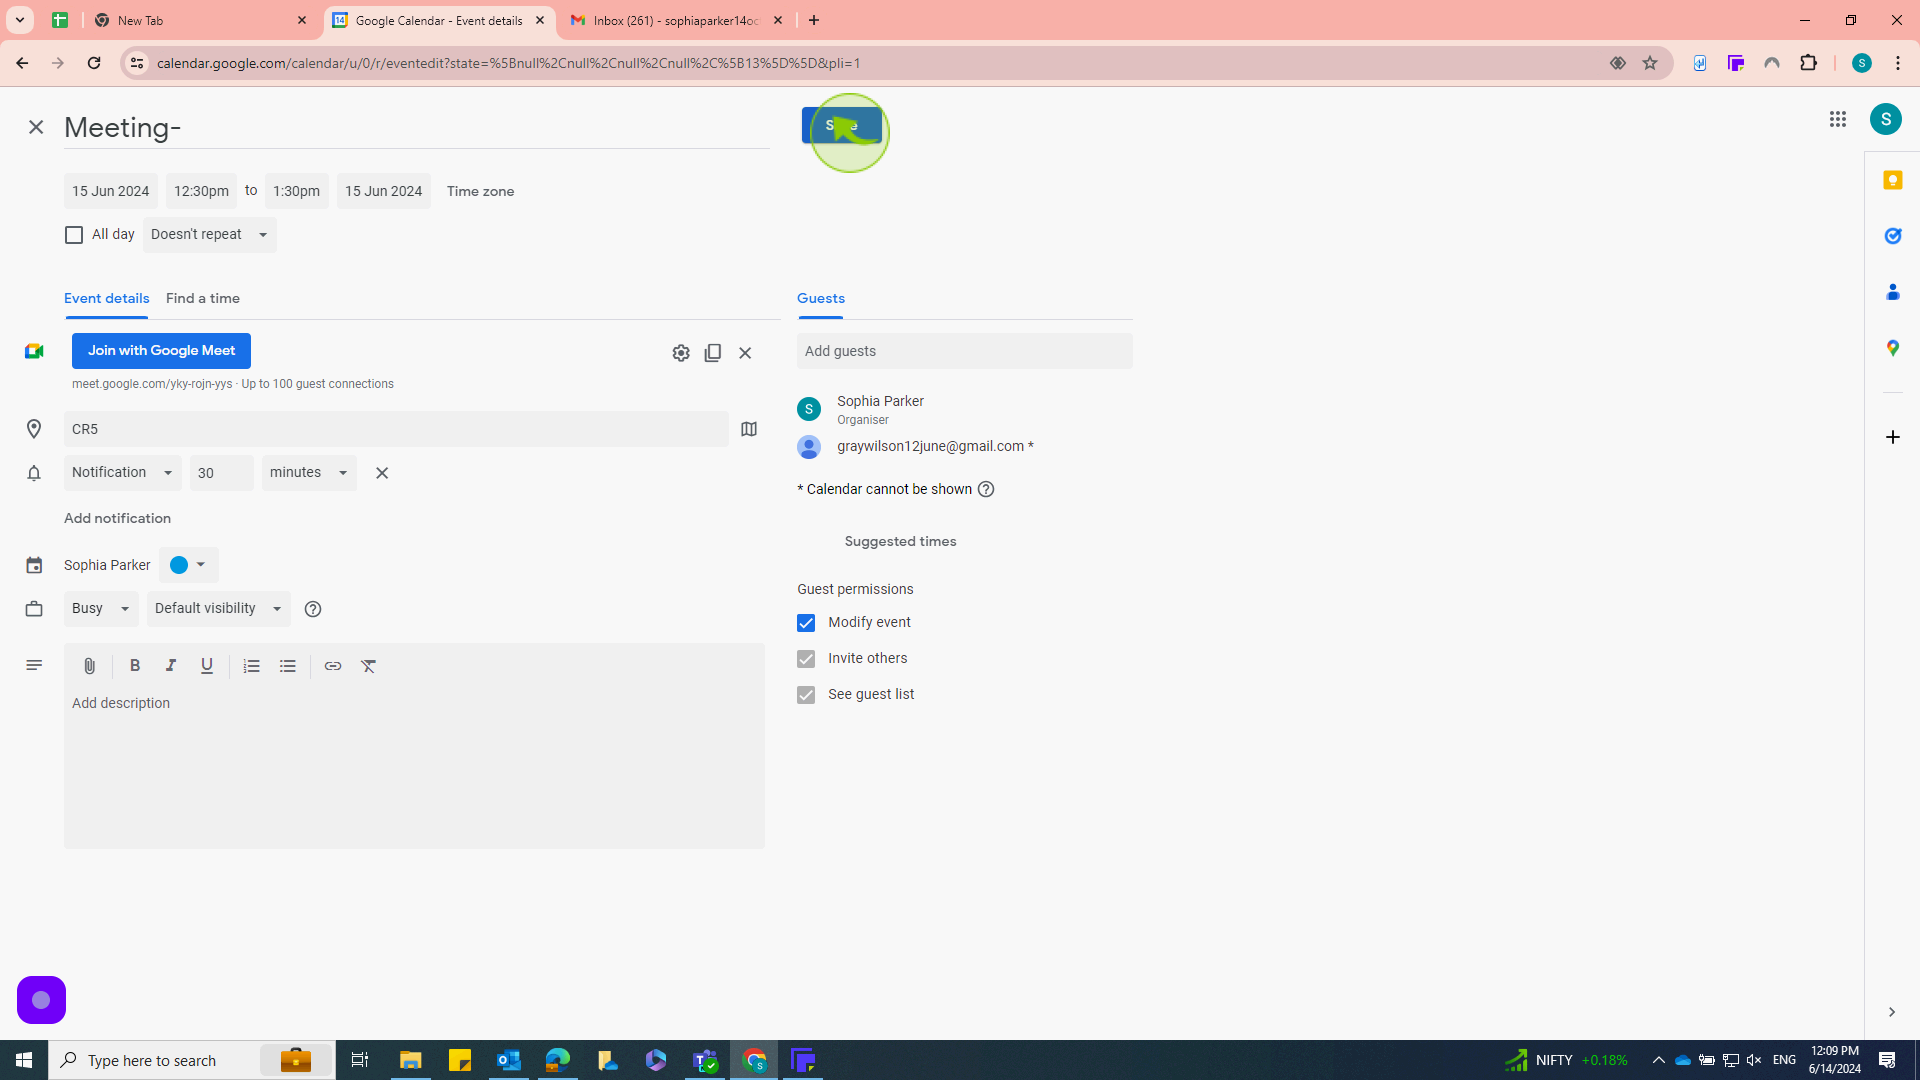
10
Click on the "Send" option to send an invitation email
Guests will receive an email invitation and can add the event to their own calendars.