How to Setup Conversion Linker in Google Tag Manager ?
|
 tagmanager.google
|
tagmanager.google
|
Jul 18, 2024
|
15 Steps
Unlock the power of Conversion Linker in Google Tag Manager! This document will walk you through the process of setting up this essential tool step-by-step. Learn how to seamlessly track conversions across multiple domains and devices, ensuring accurate attribution and maximizing your marketing efforts. Whether you're a beginner or an experienced tag manager user, this tutorial will provide you with the knowledge and confidence to implement Conversion Linker effectively.
How to Setup Conversion Linker in Google Tag Manager ?
|
tagmanager.google
|
15 Steps

1
Navigate to https://tagmanager.google.com
2
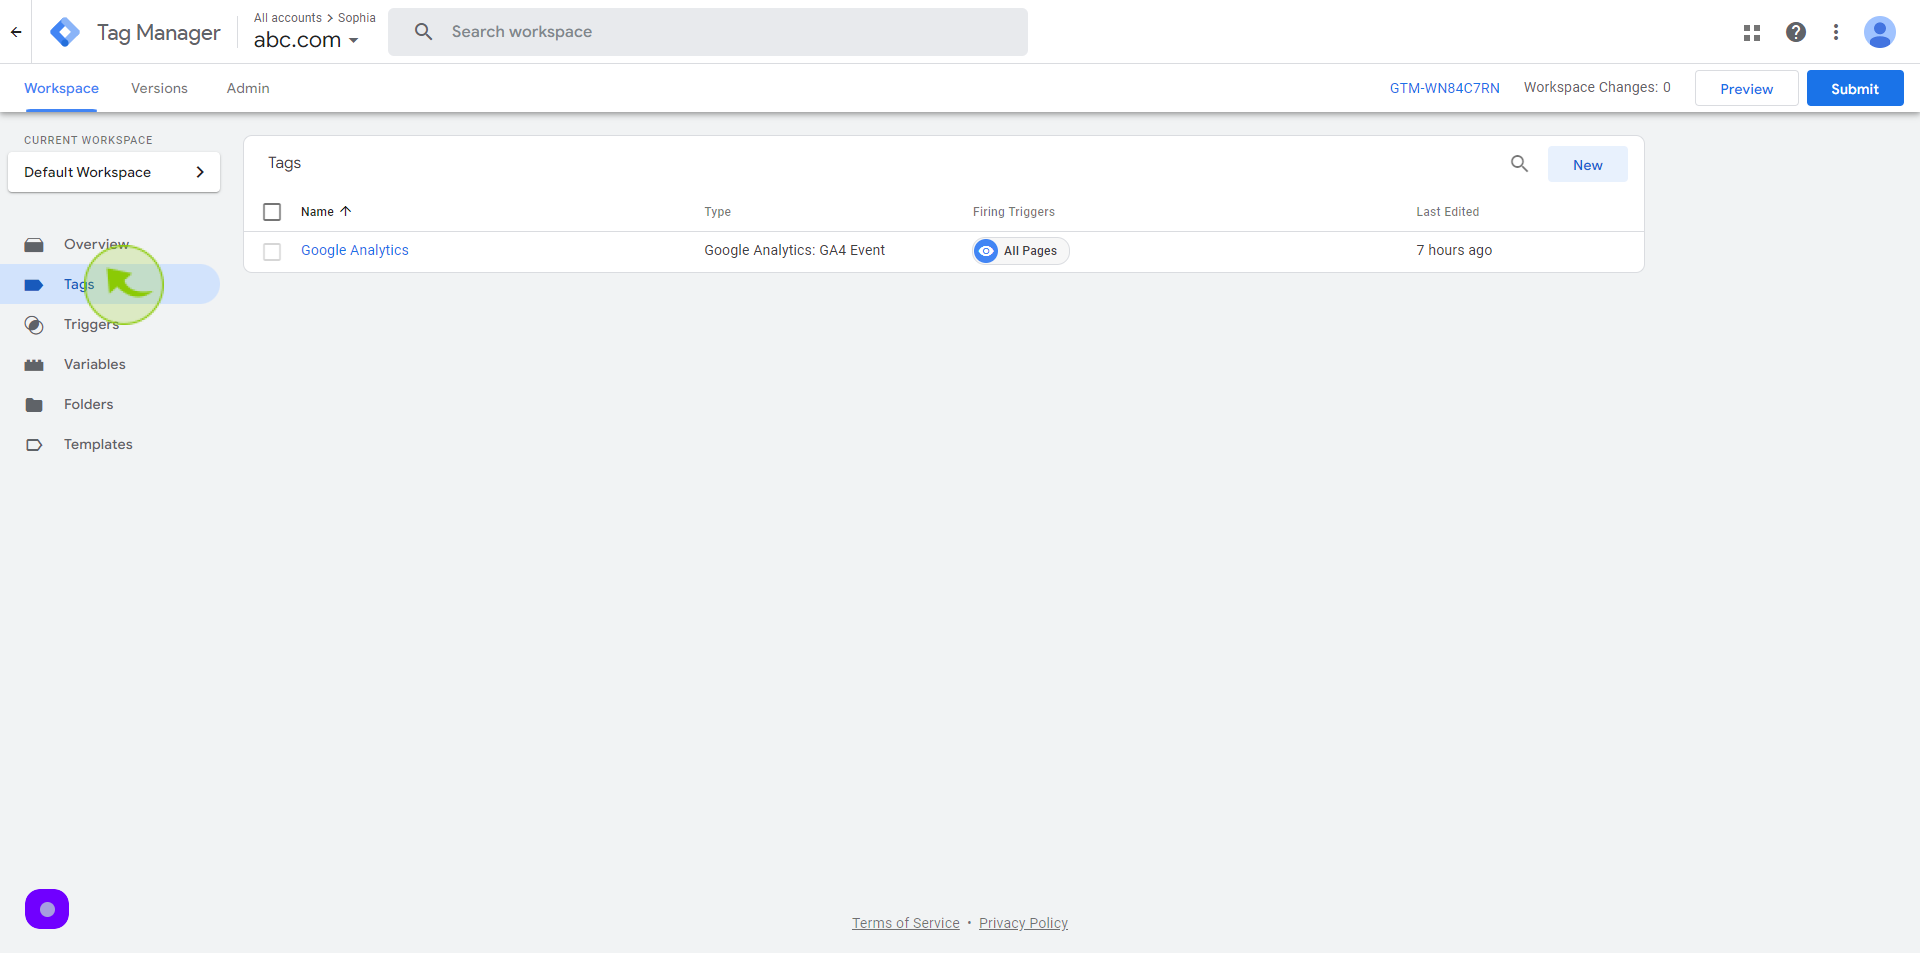
Click "Tags"
3
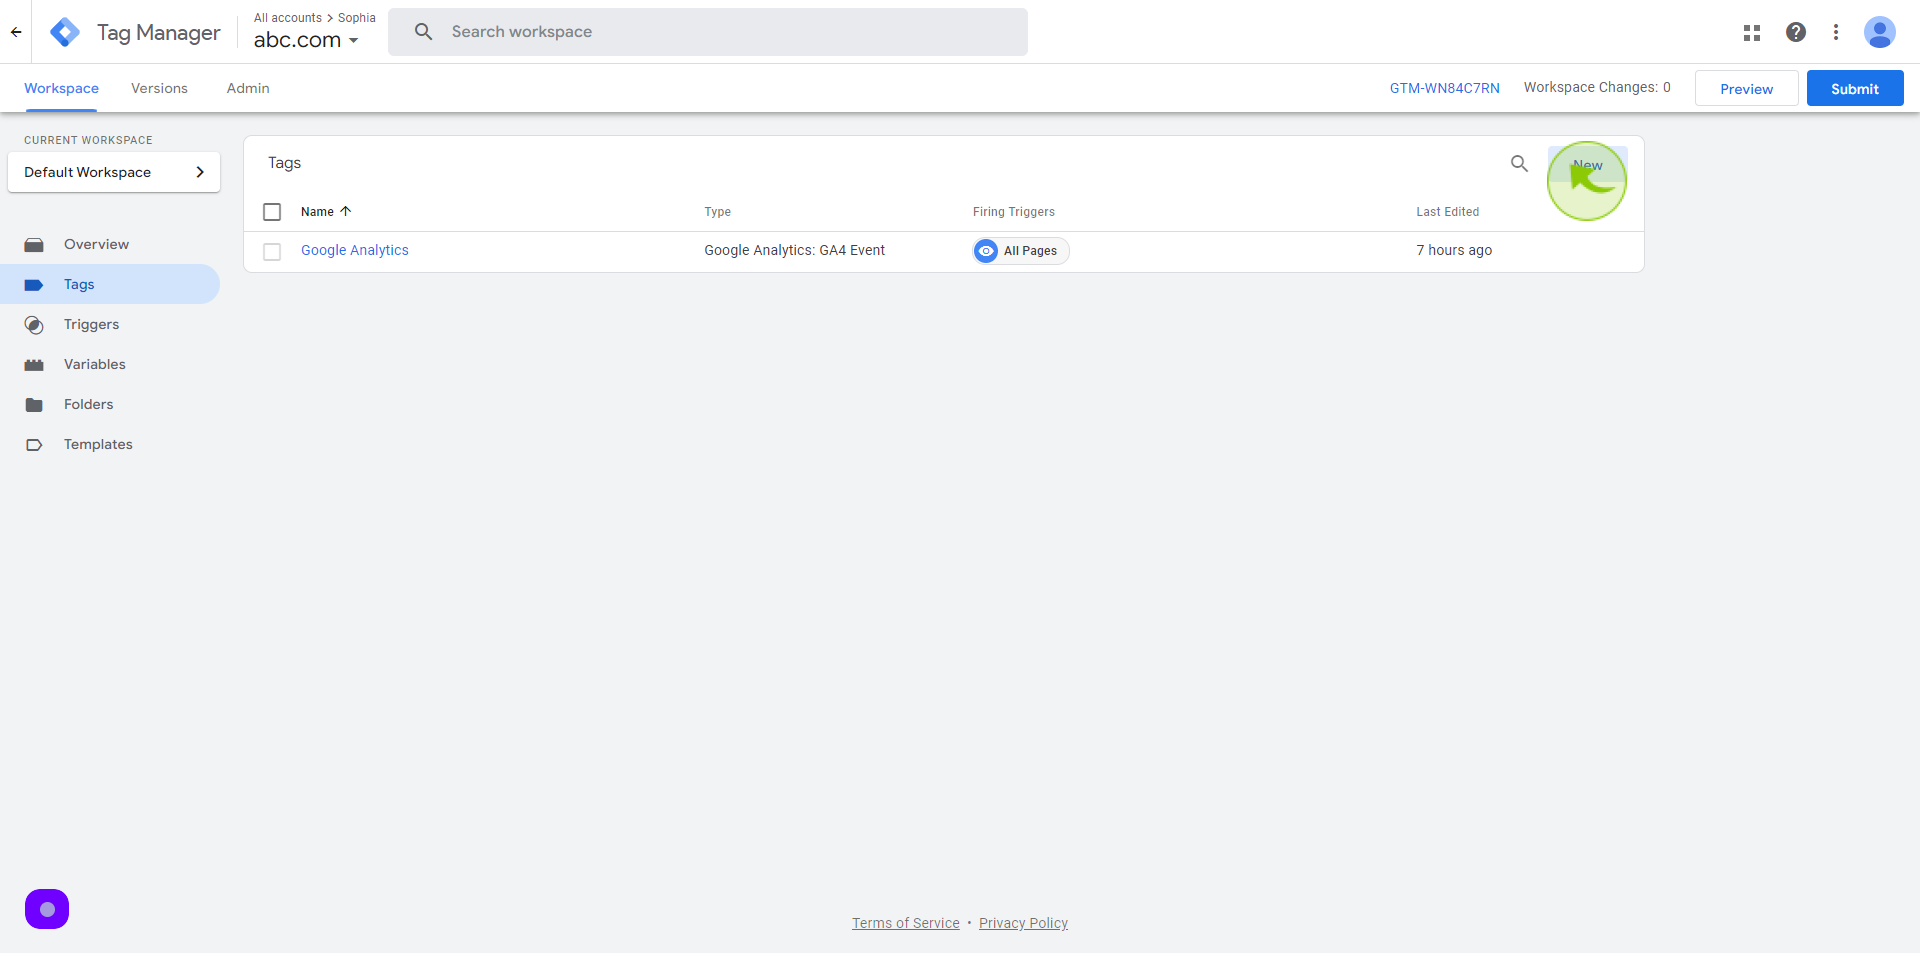
Click "New"
To create a new tag
4
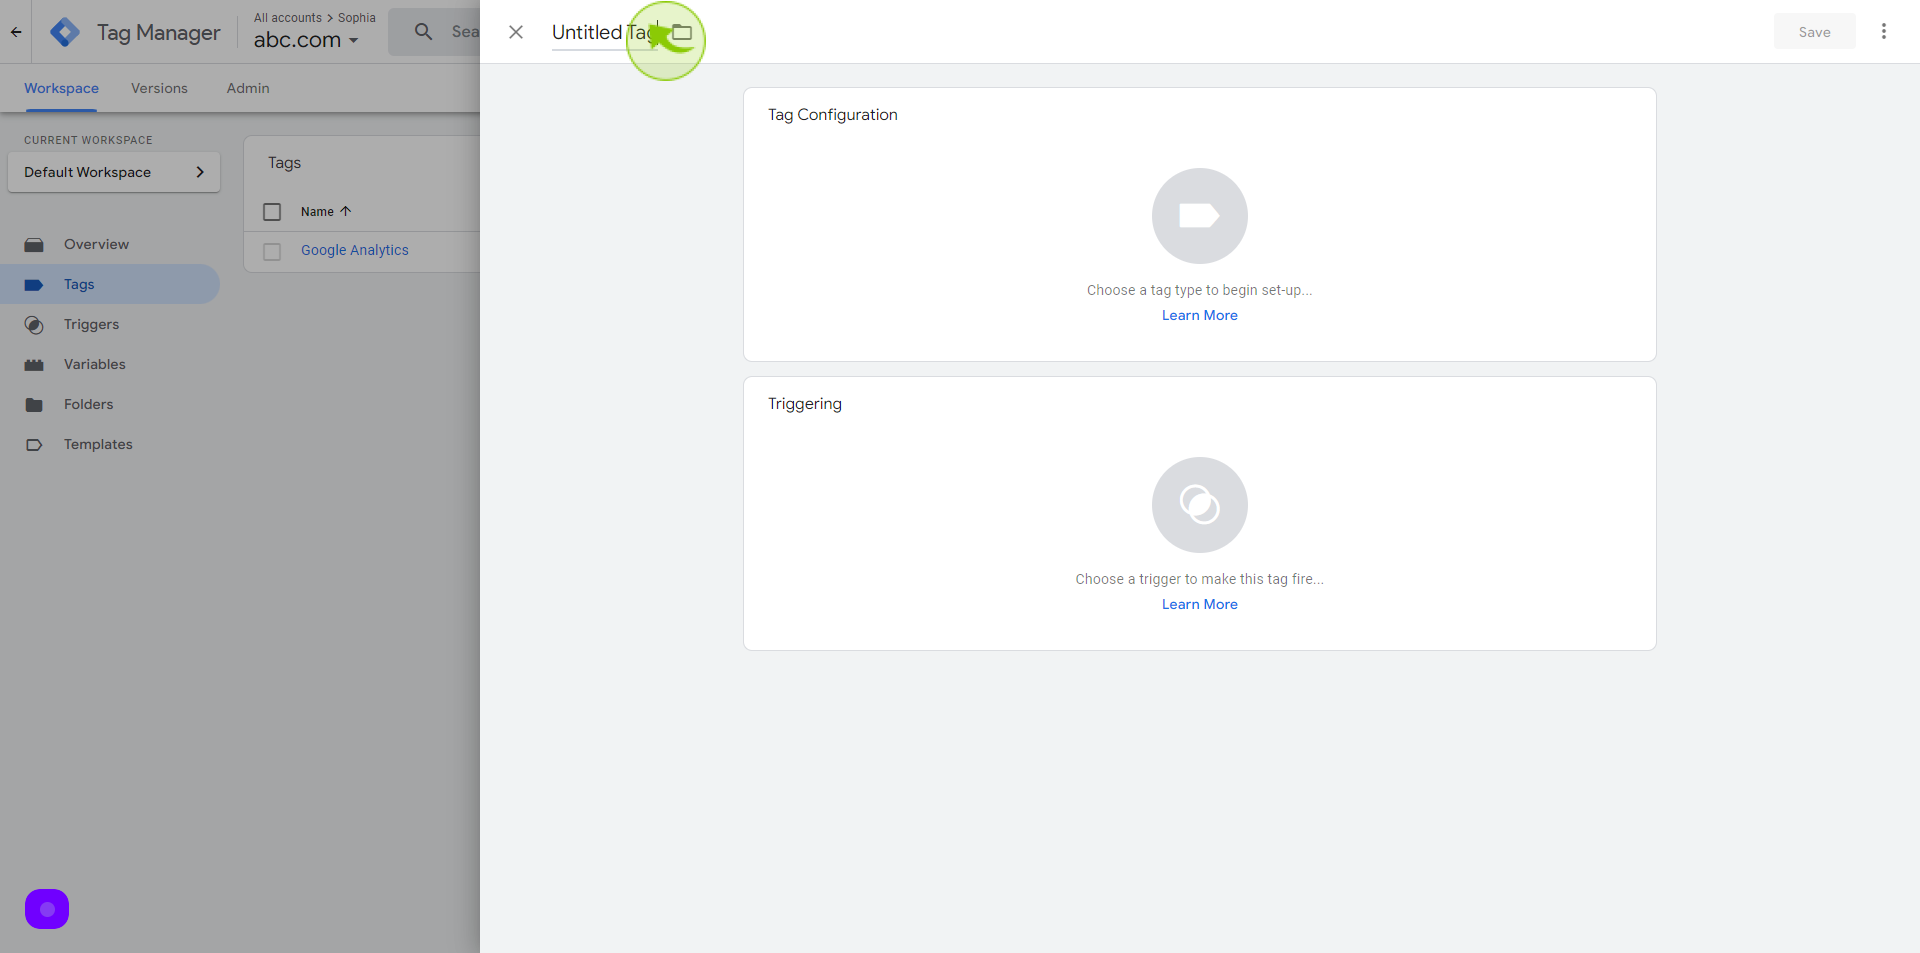
Click the "Untitled Tag" field
Set tag name as conversion linker
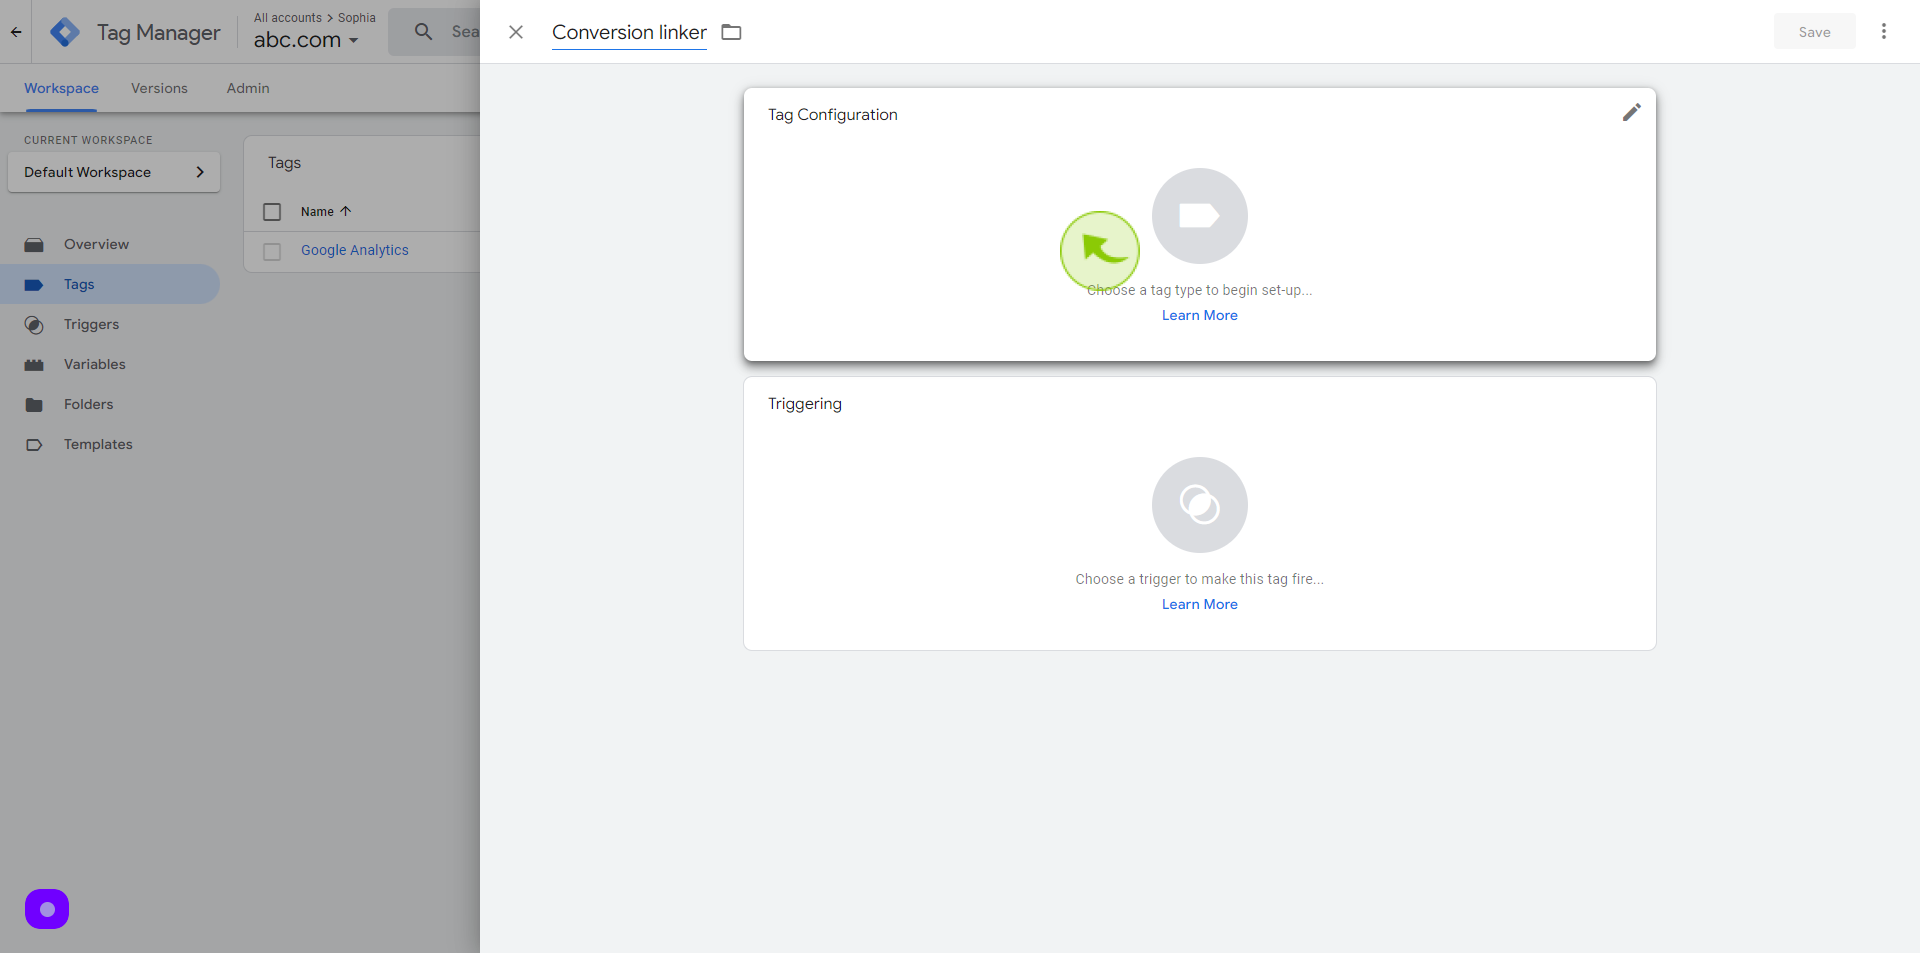
5
Click on the "Tag Configuration" tab
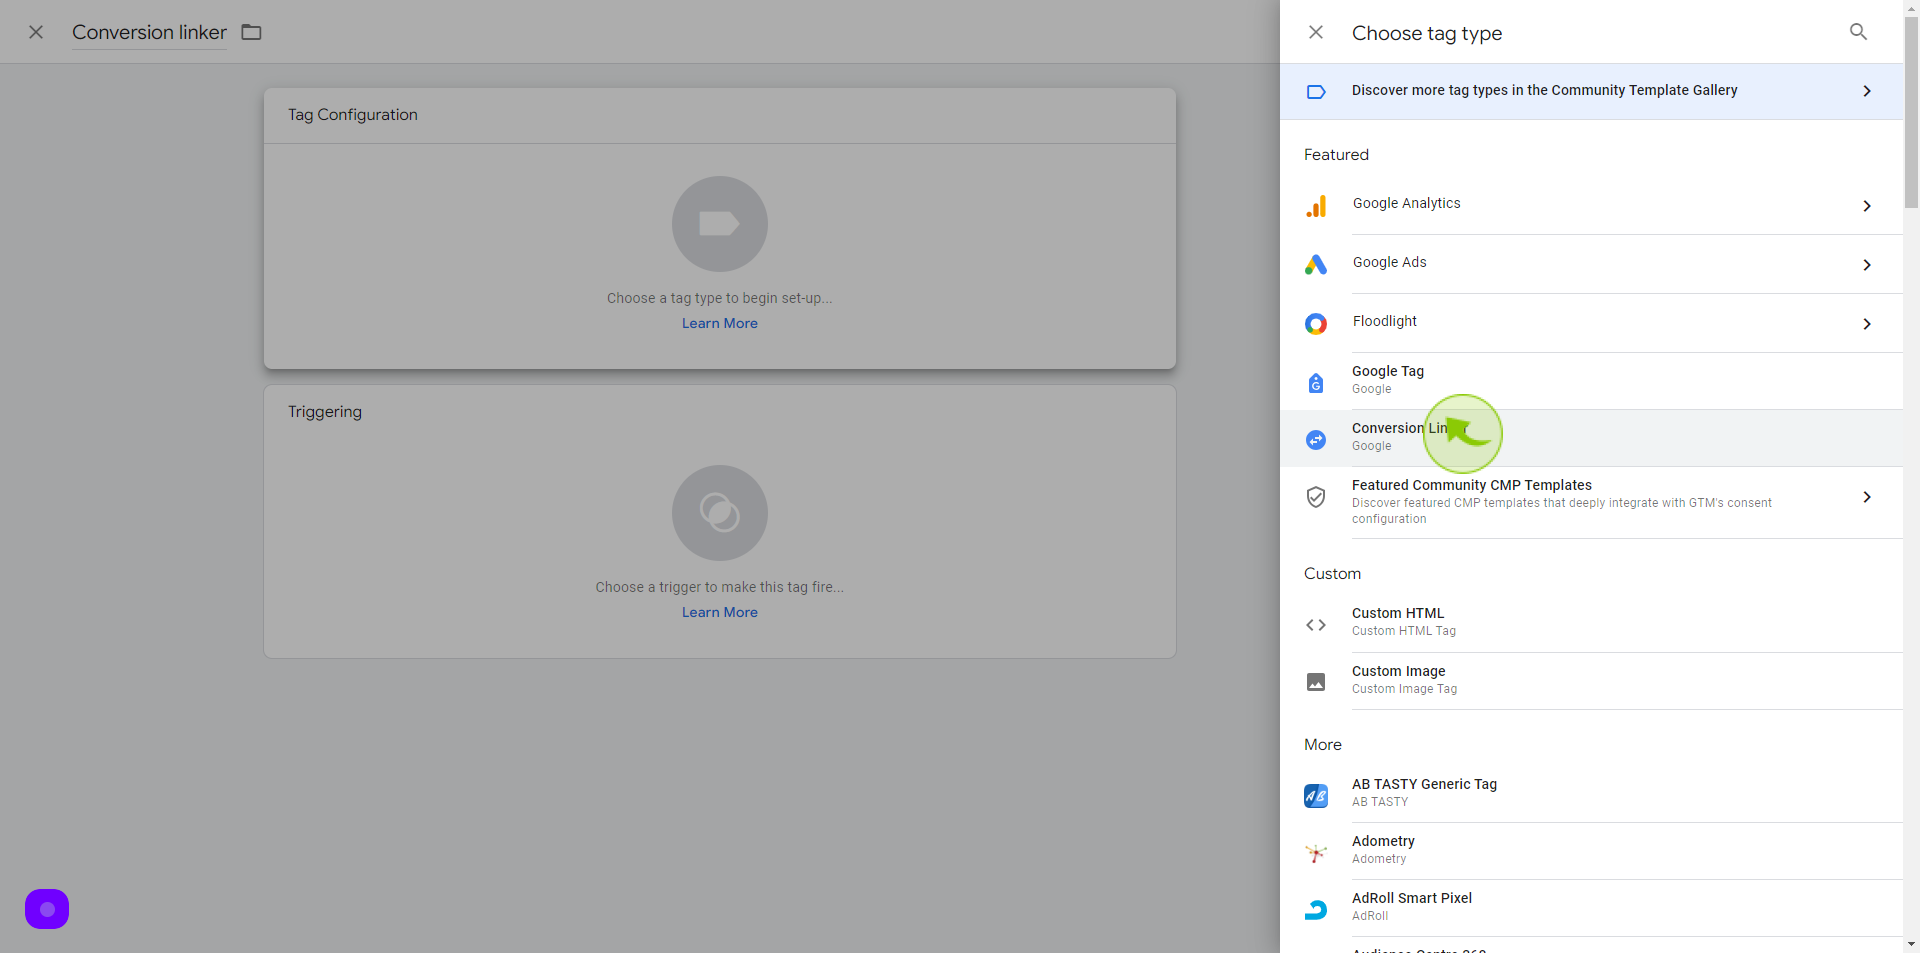
6
Select the "Conversion Linker" as Tag Type
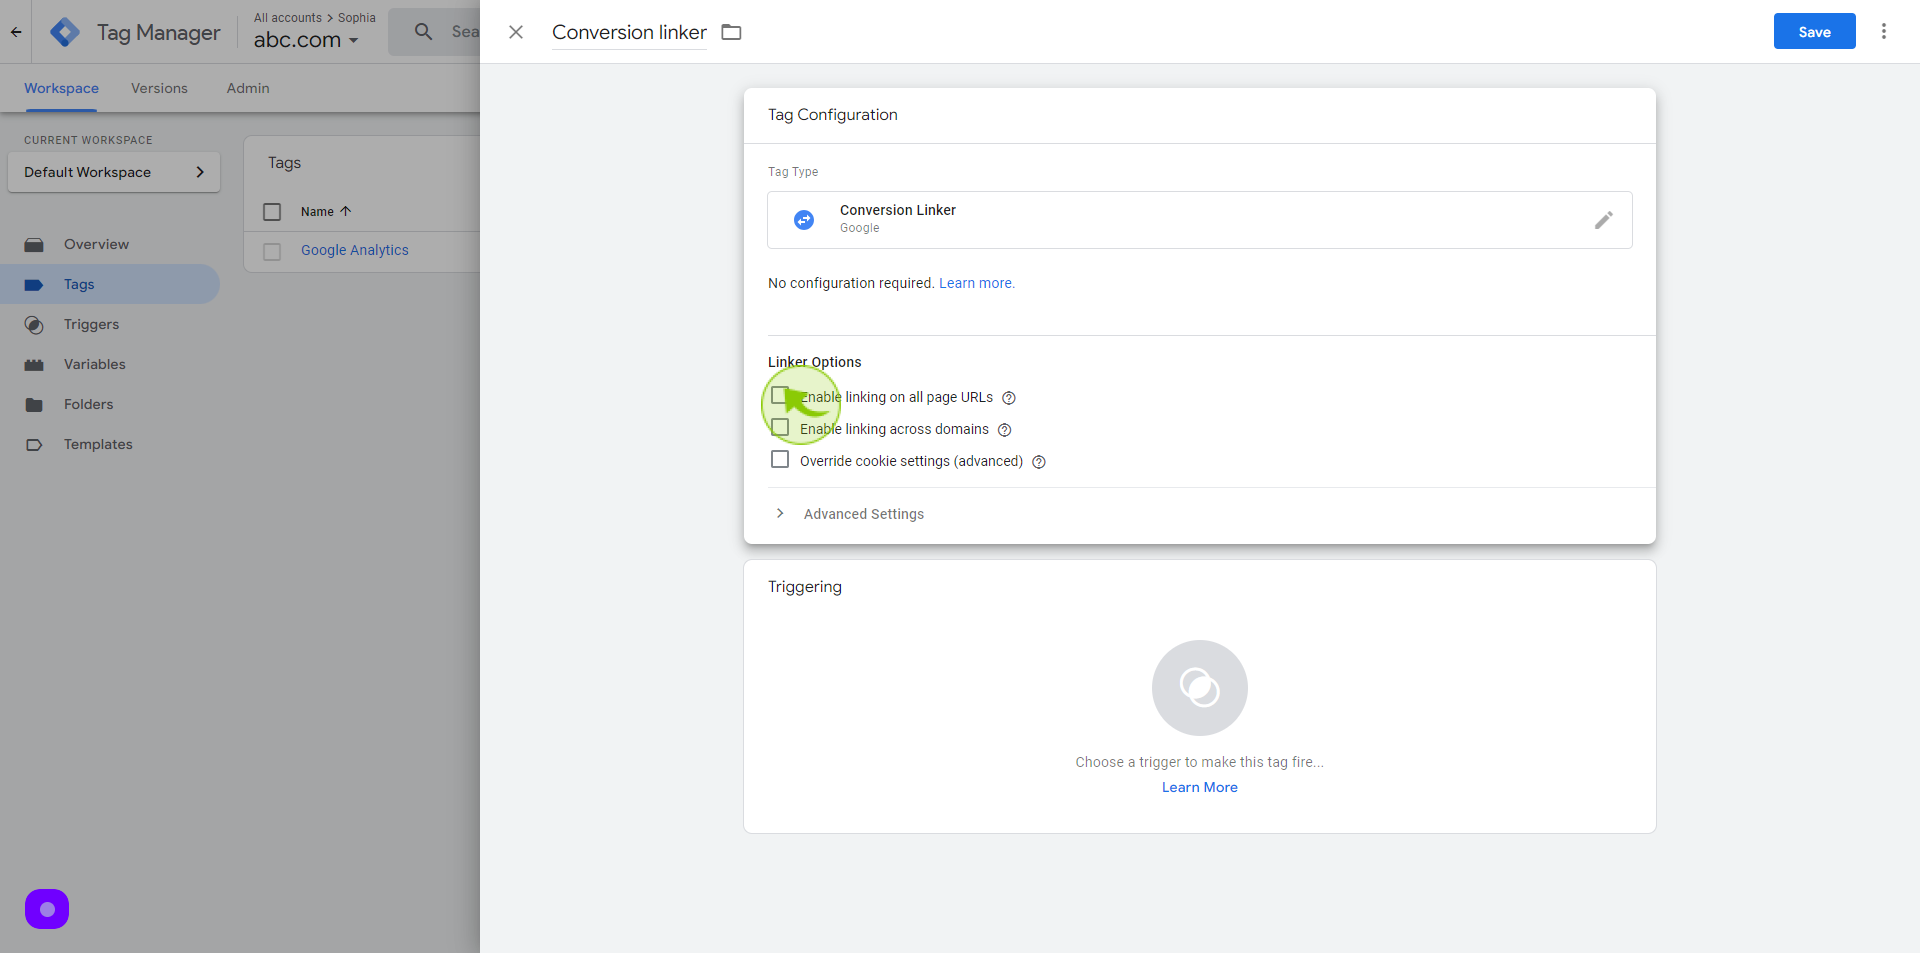
7
Click the "Checkbox".
Select the enable linking on all page URLs as a linker option
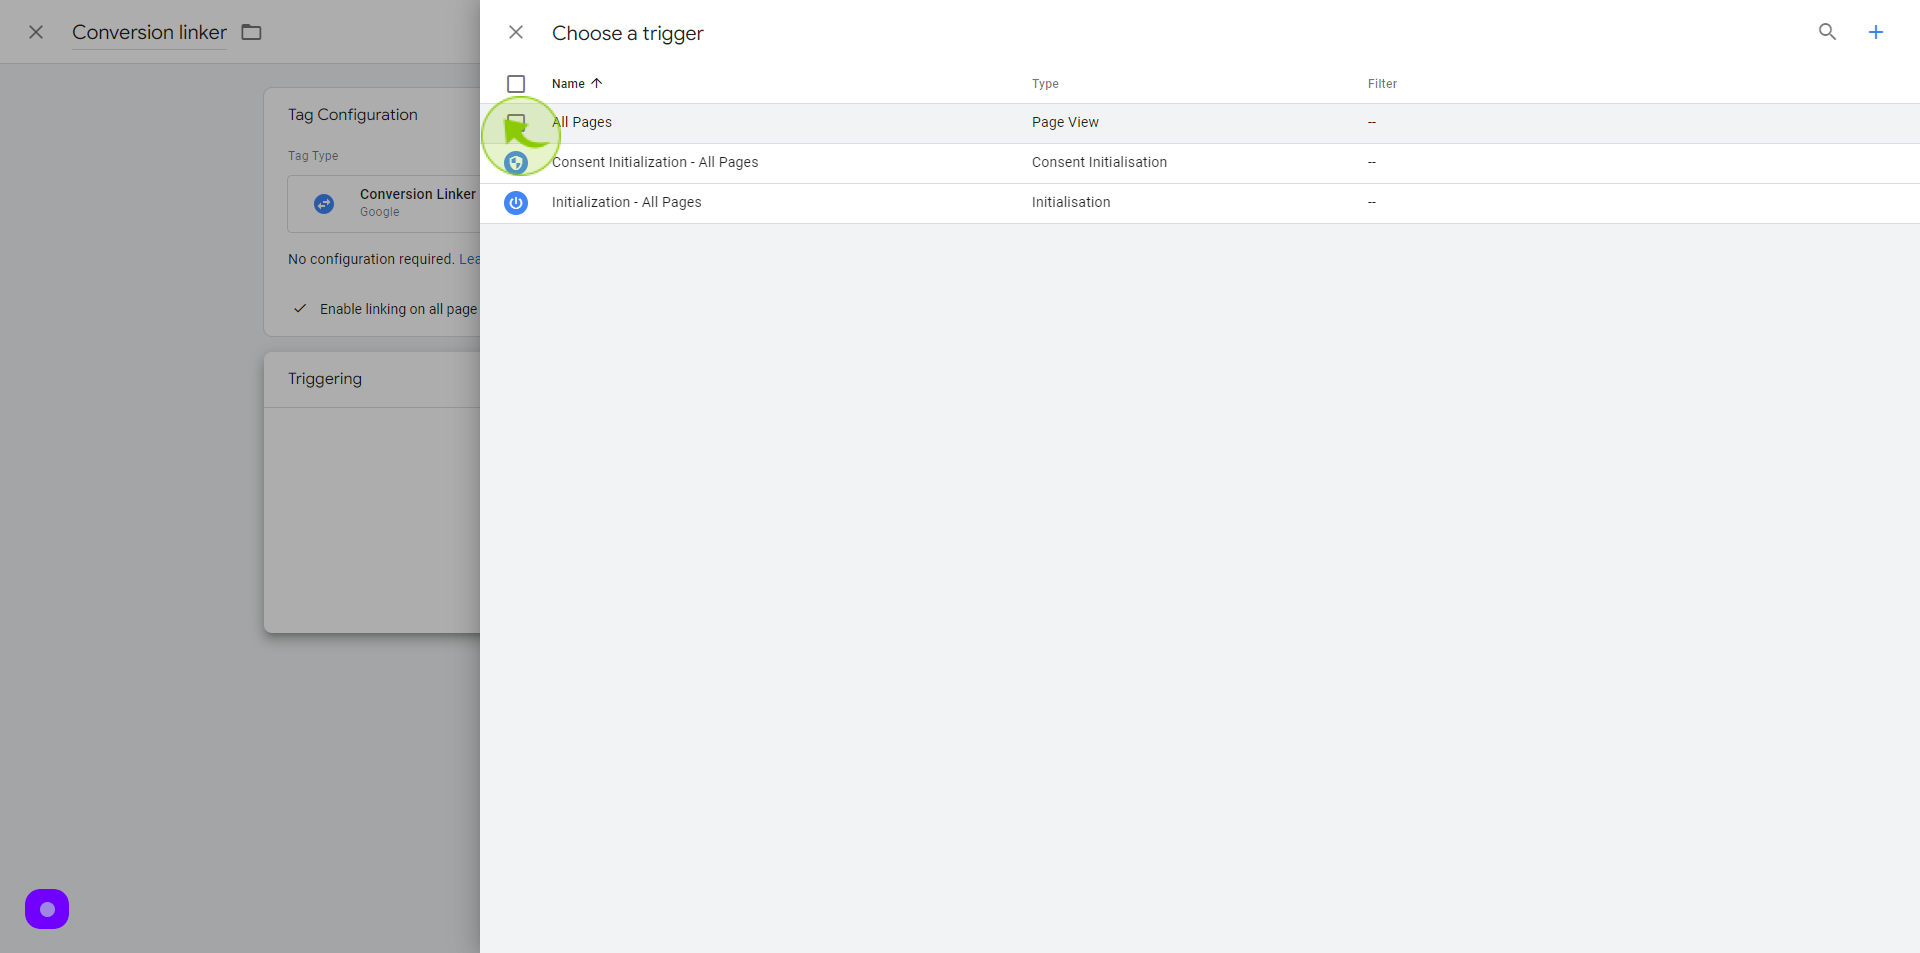
8
Click on the "Triggering" tab

9
Select "All Pages" as trigger type
10
Click "Add"

11
Click "Save"

12
Click "Submit"
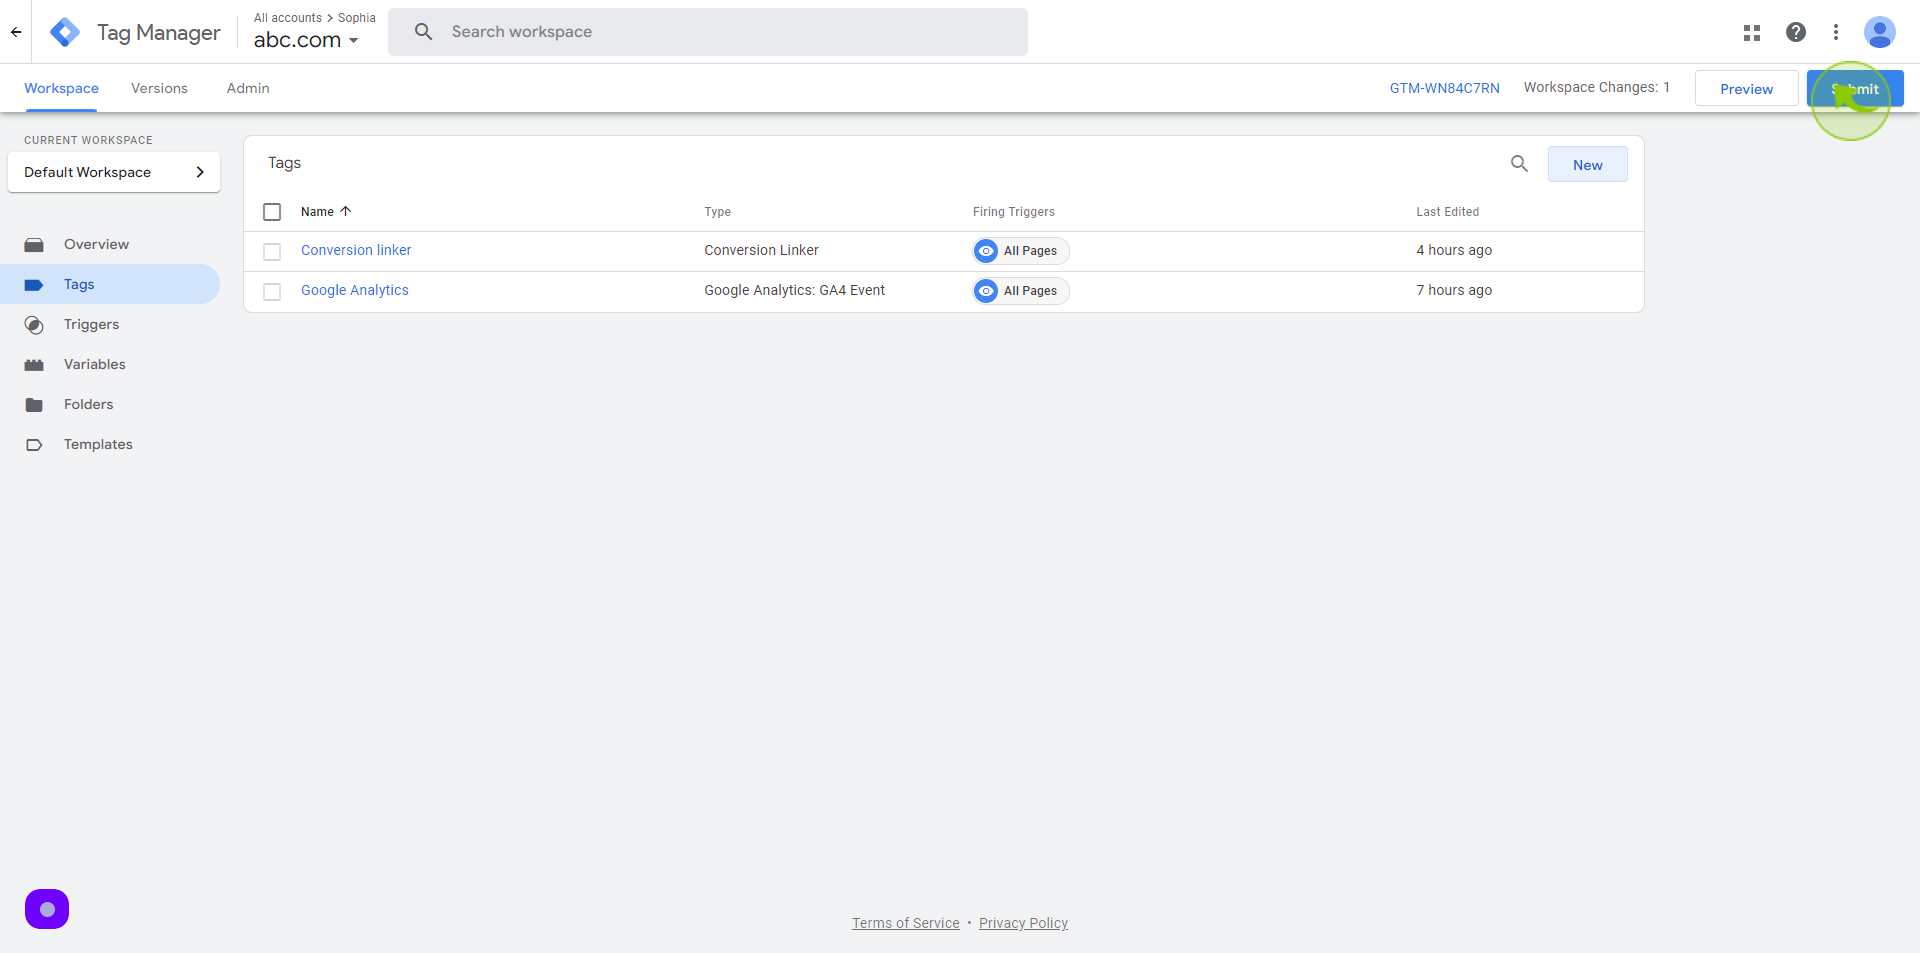
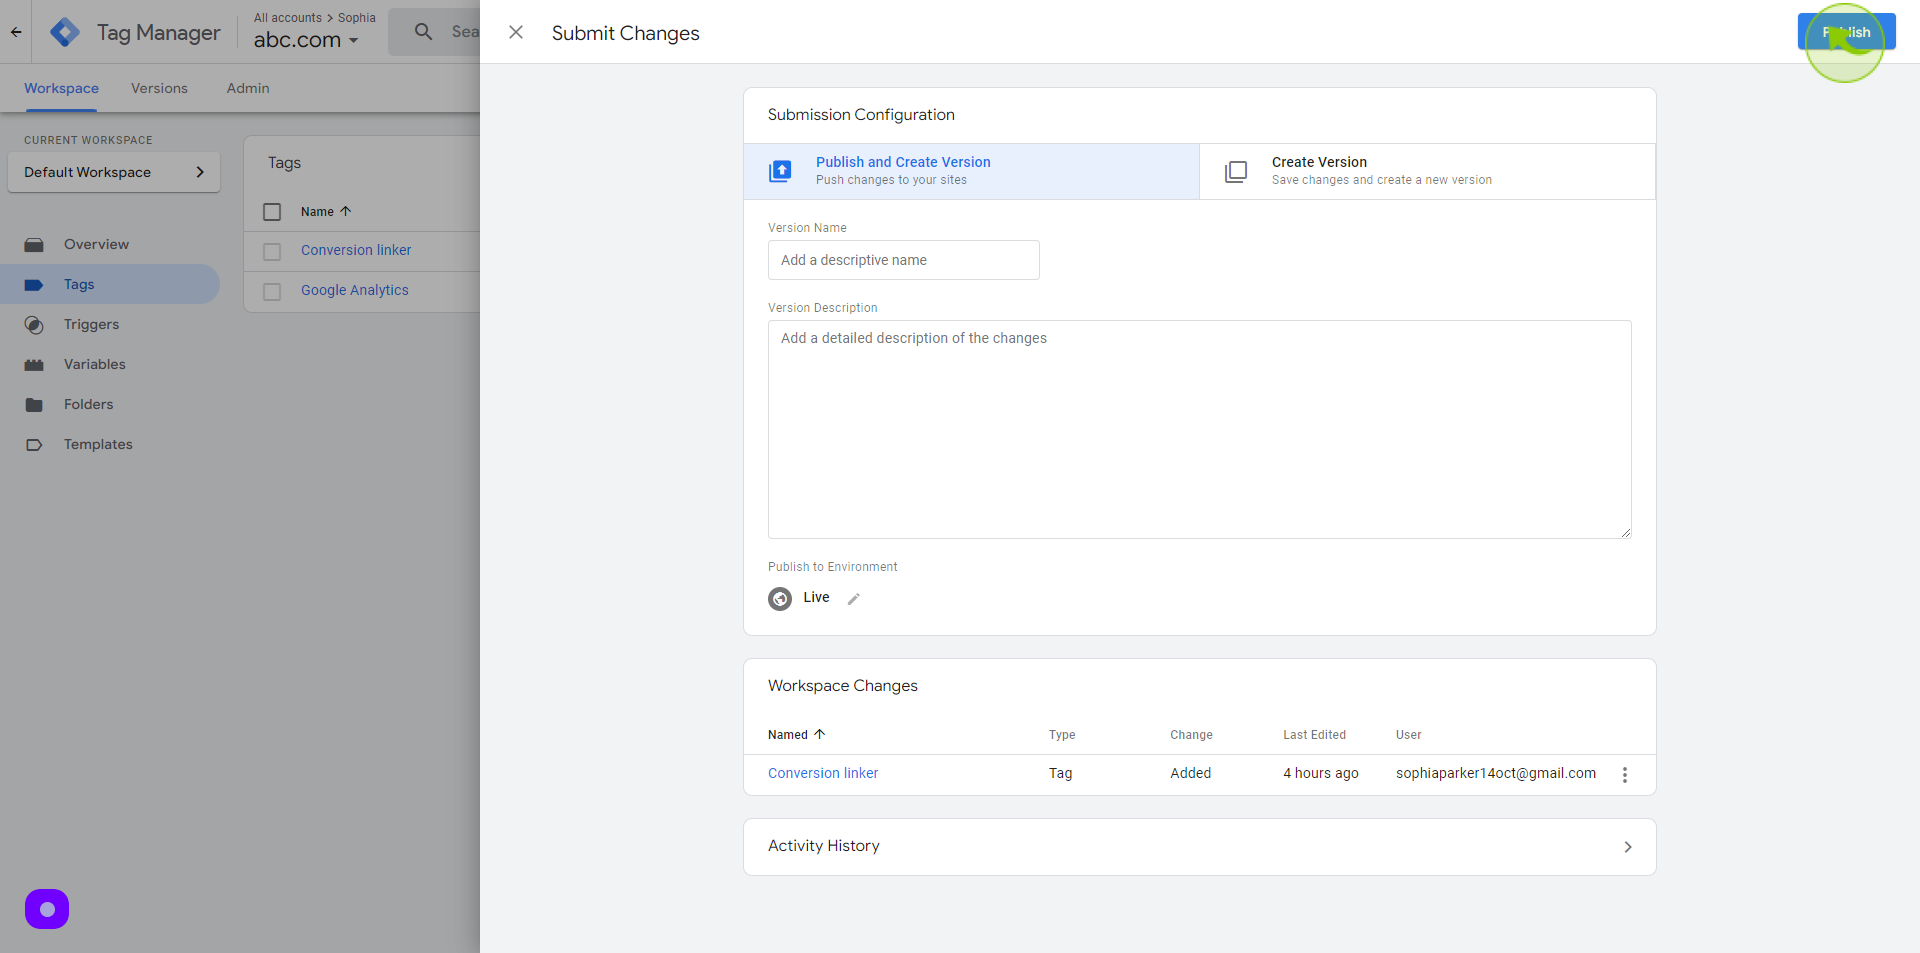
13
Click "Publish"
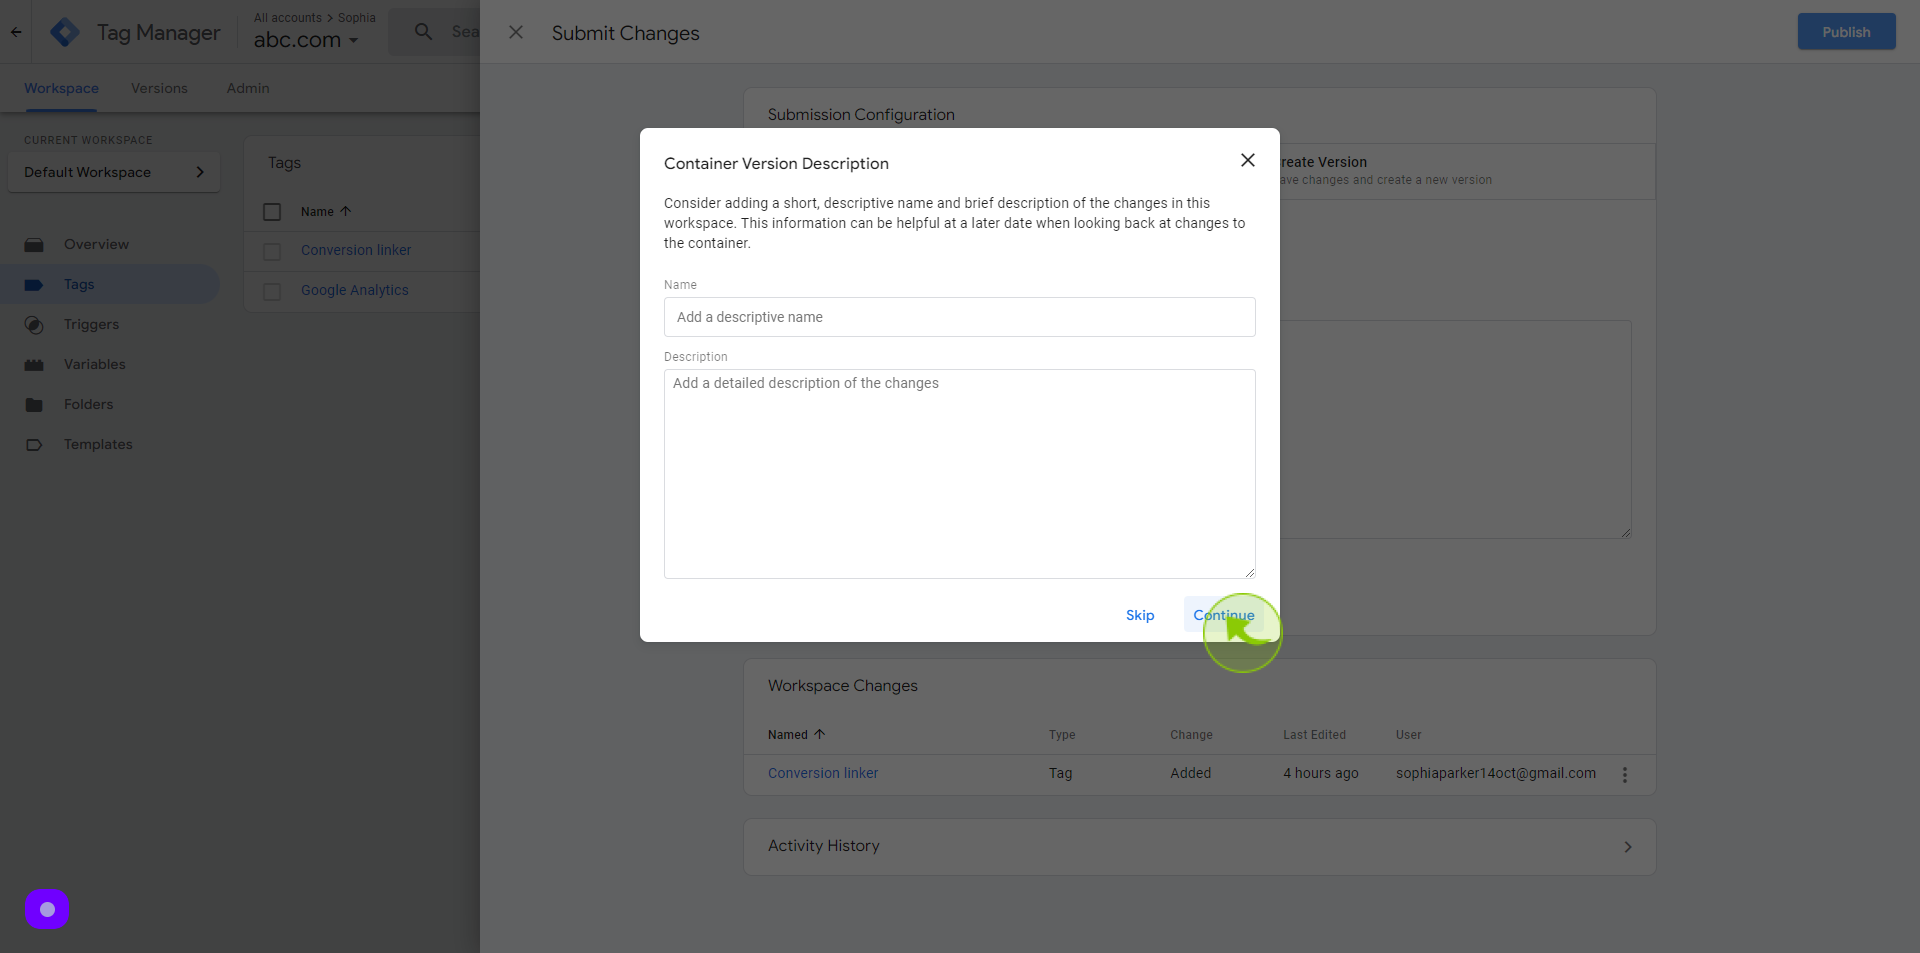
14
Click "Continue"
15
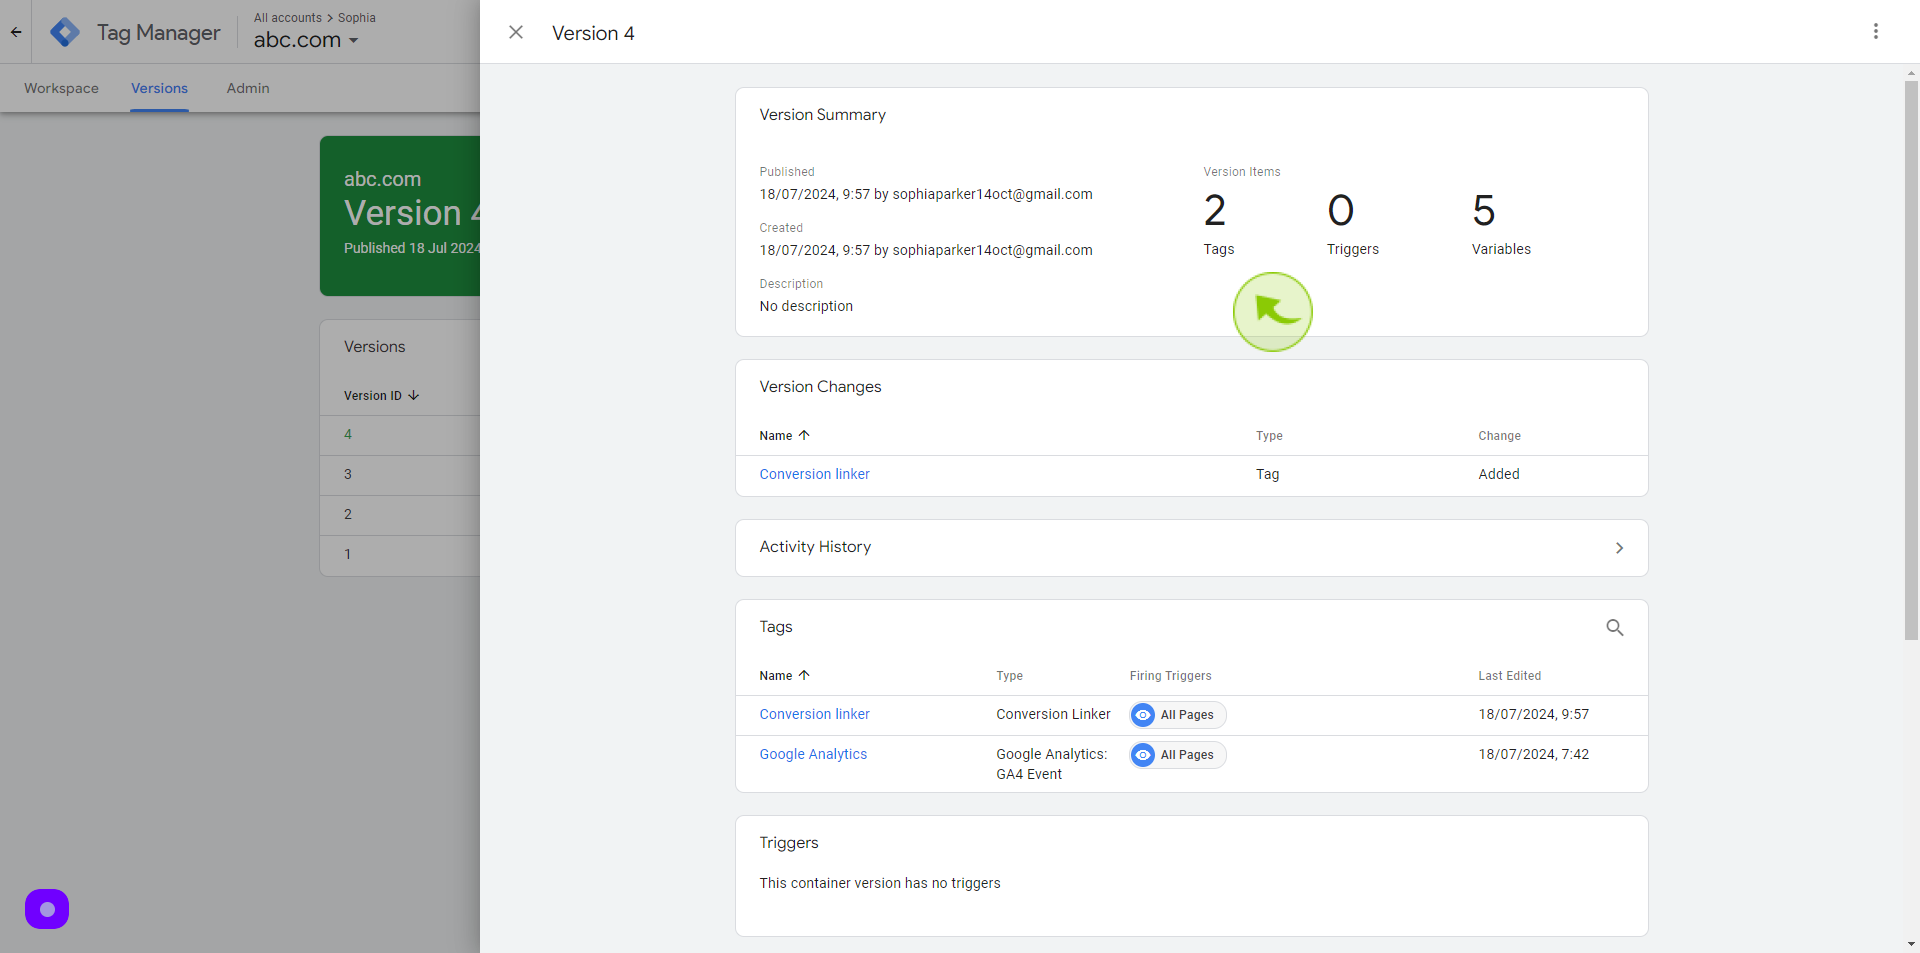
See the "Version Summary" and Click on "Close Screen"
Recent changes published applied will pop-up on the version summary and this is how we Setup Conversion Linker in Google Tag Manager