How to Sign up to Avaya?
|
 cxpservices.avaya
|
cxpservices.avaya
|
Jul 01, 2024
|
14 Steps
This document provides a step-by-step guide on how to sign up for Avaya, a leading provider of communication solutions. Whether you’re new to Avaya or looking for a refresher, this guide ensures a smooth and hassle-free sign-up process for both individuals and businesses.
How to Sign up to Avaya?
|
cxpservices.avaya
|
14 Steps

1
2
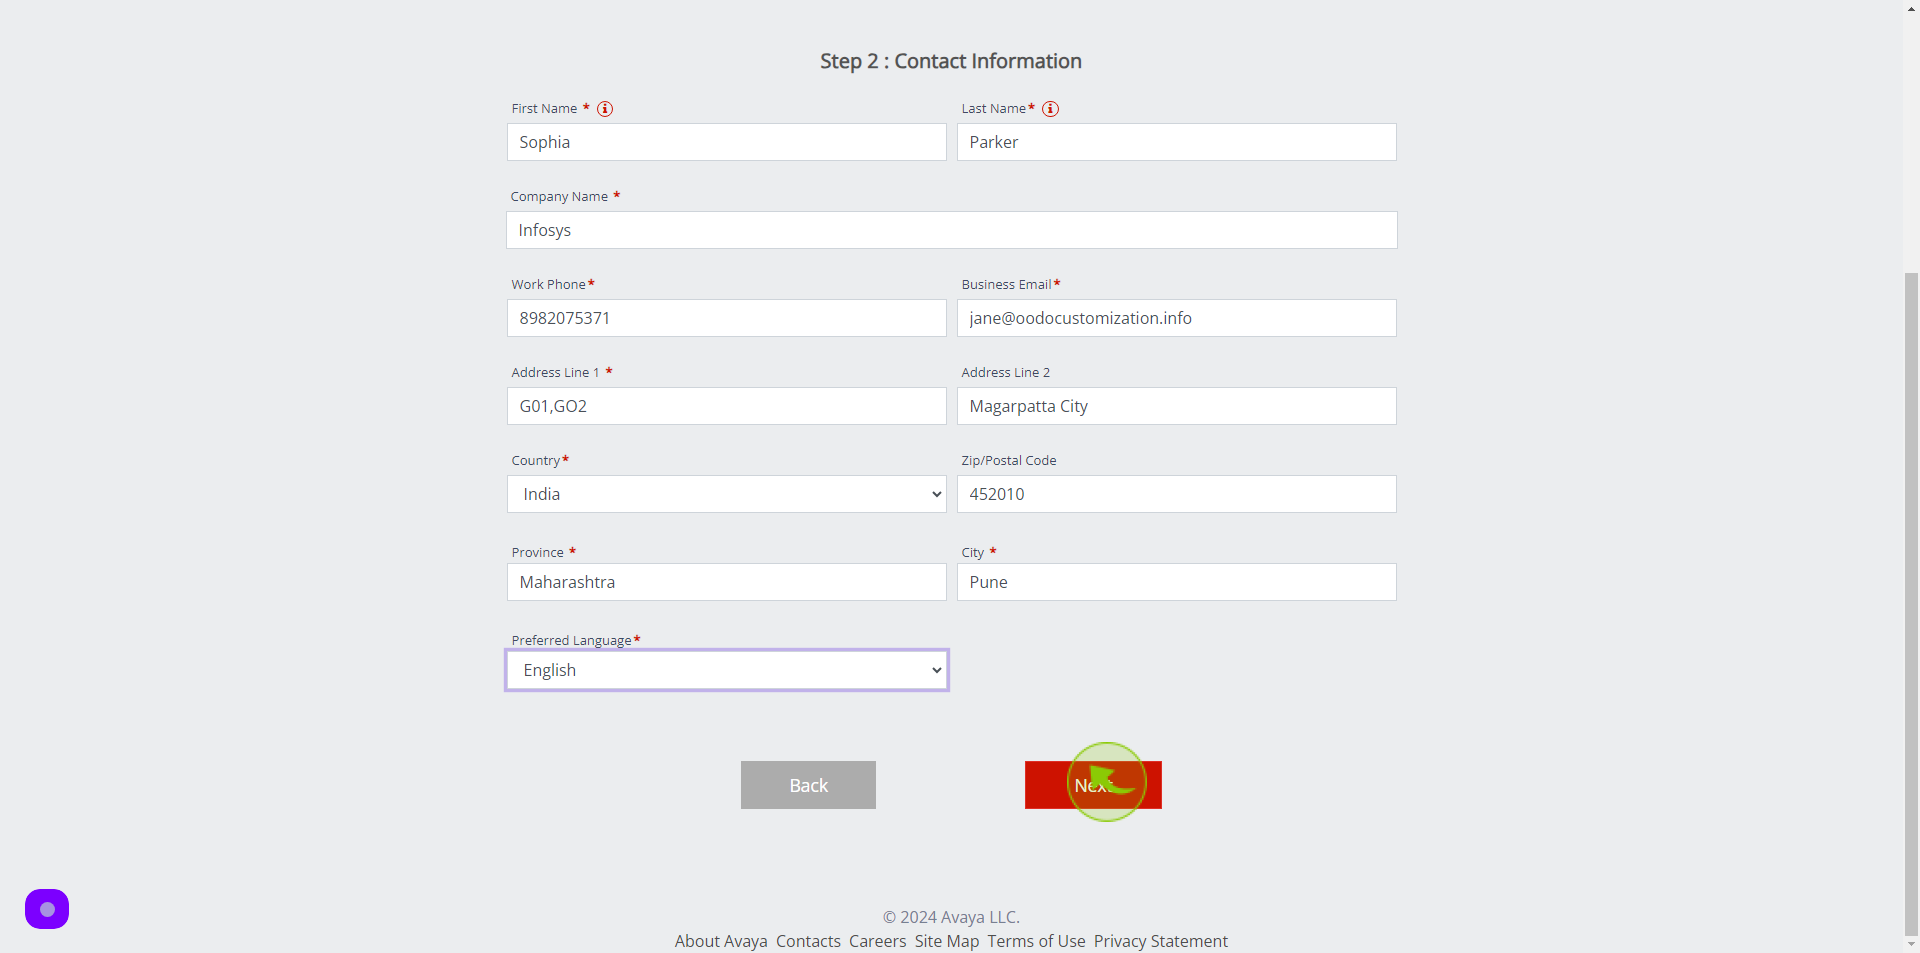
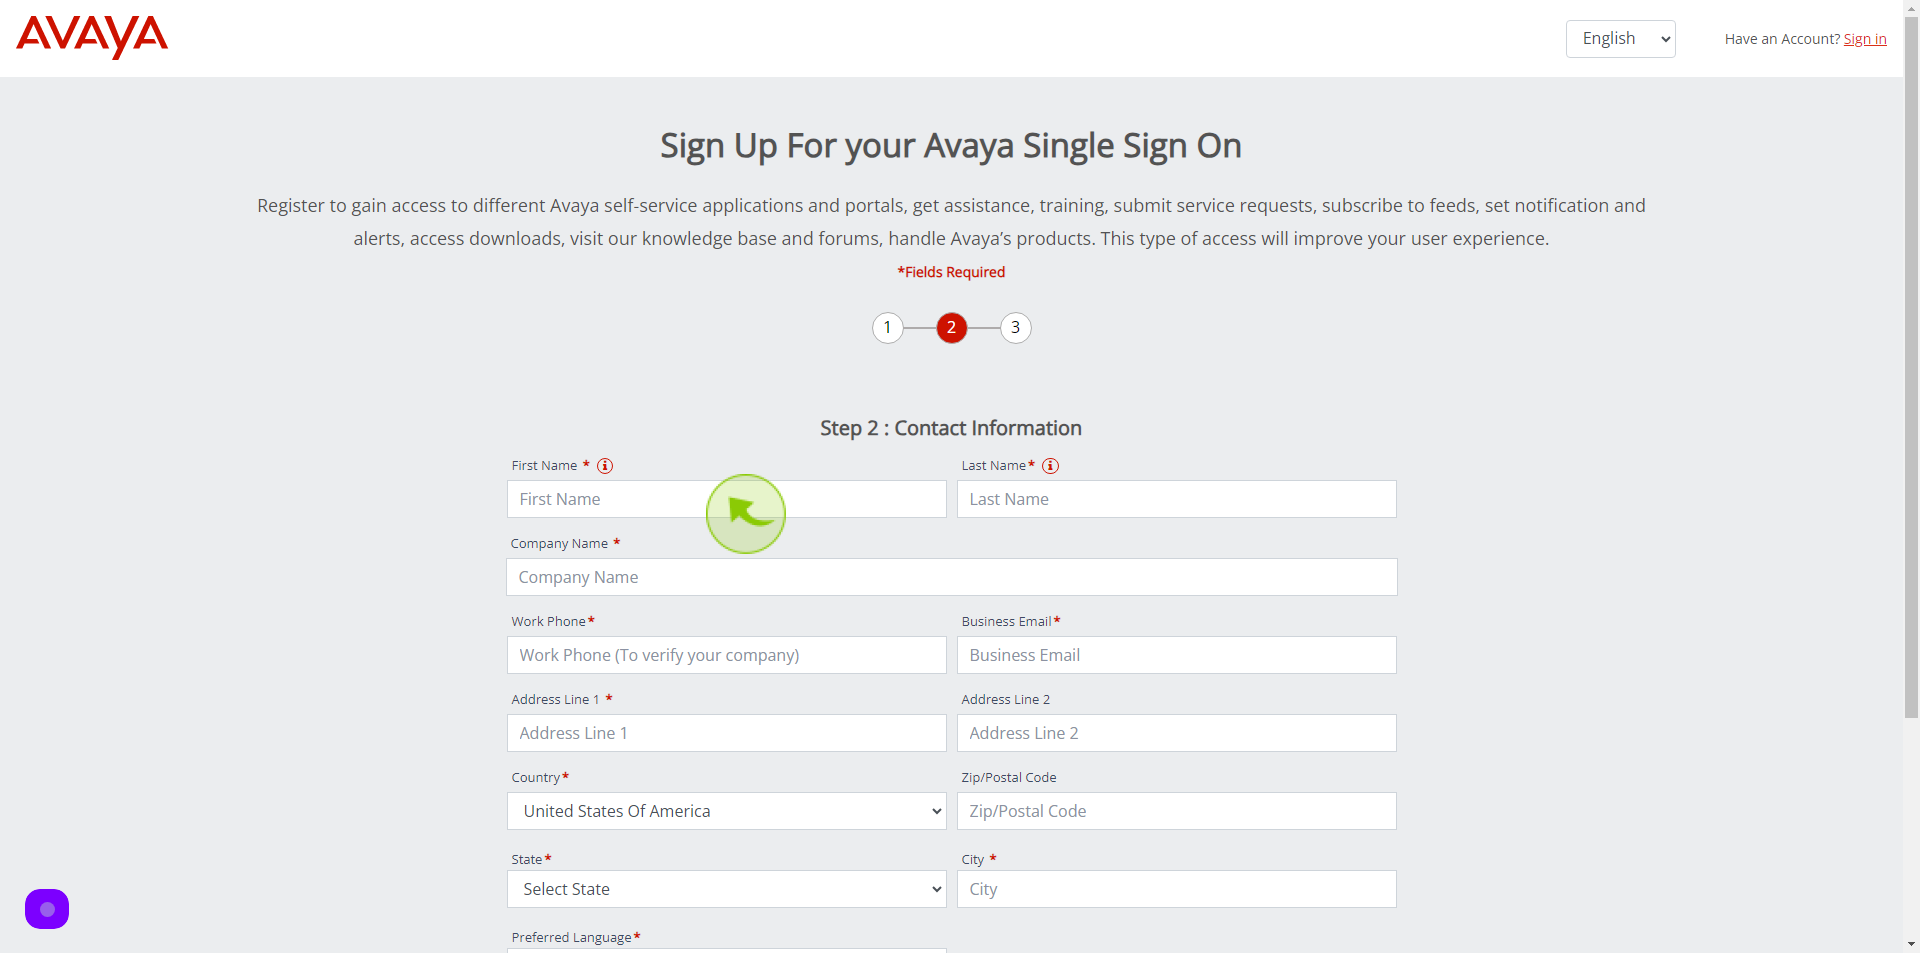
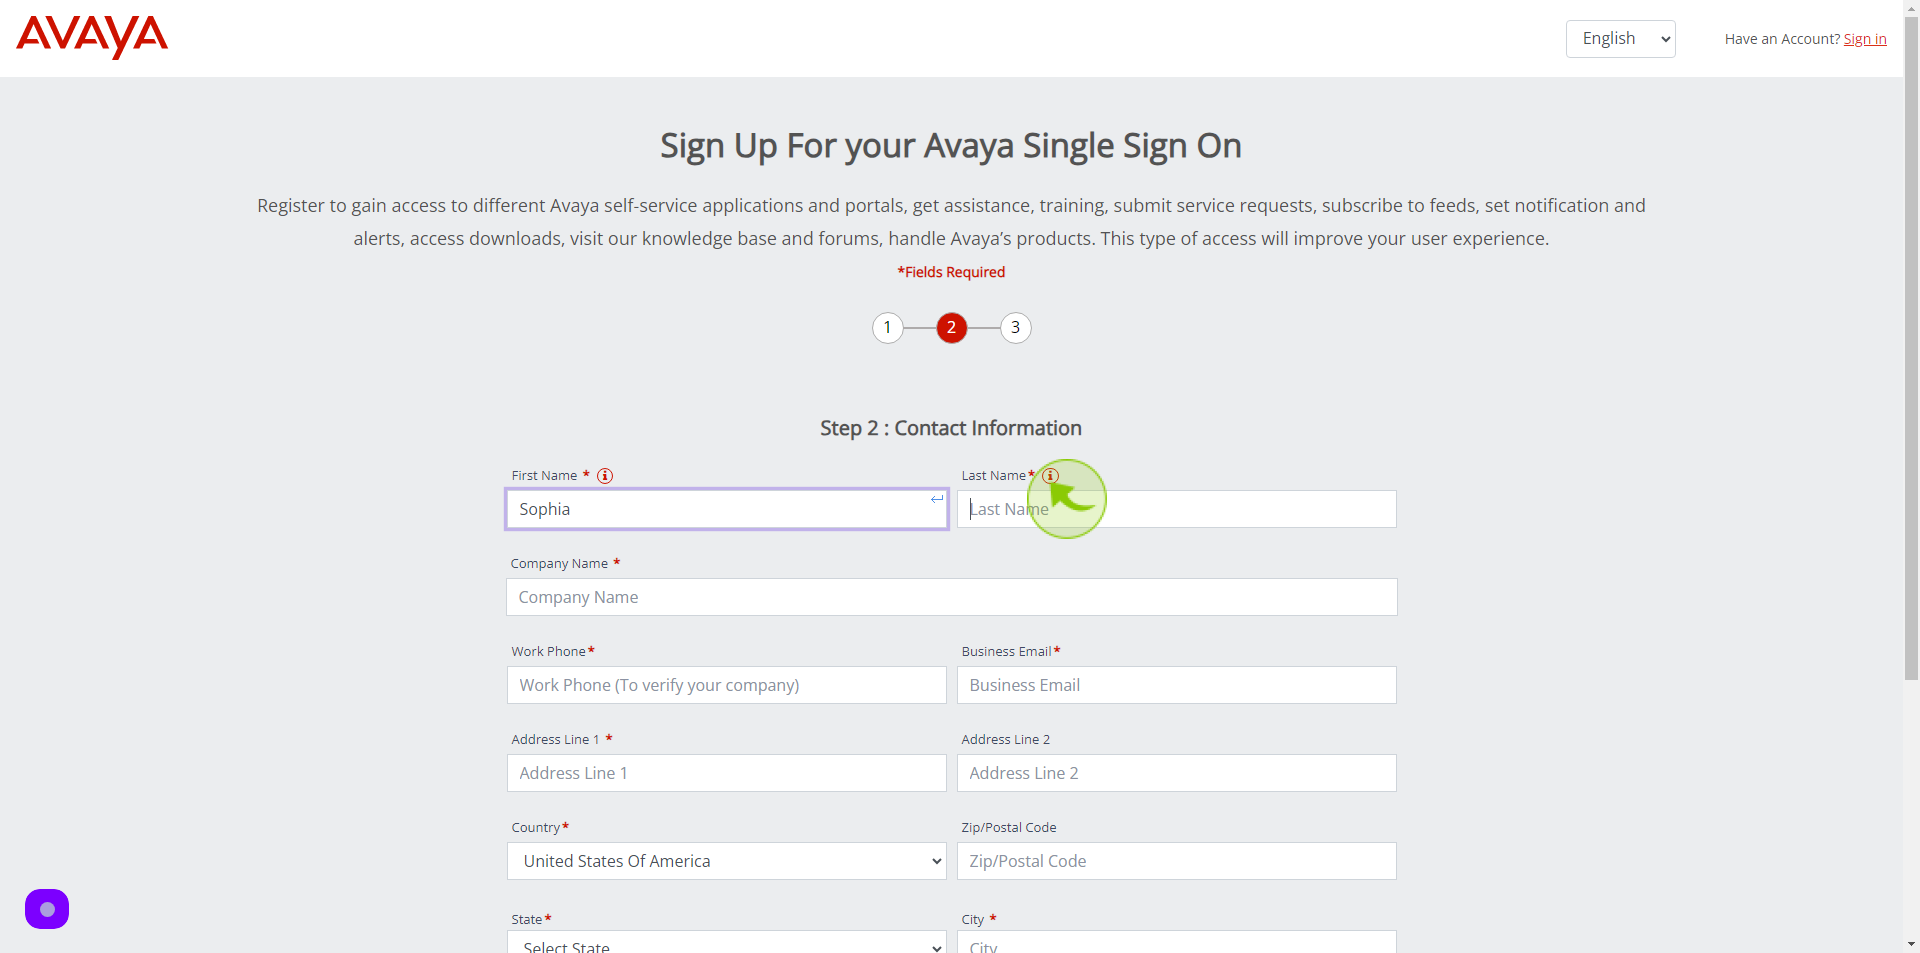
Click the "First Name" field.
Enter your First Name
3
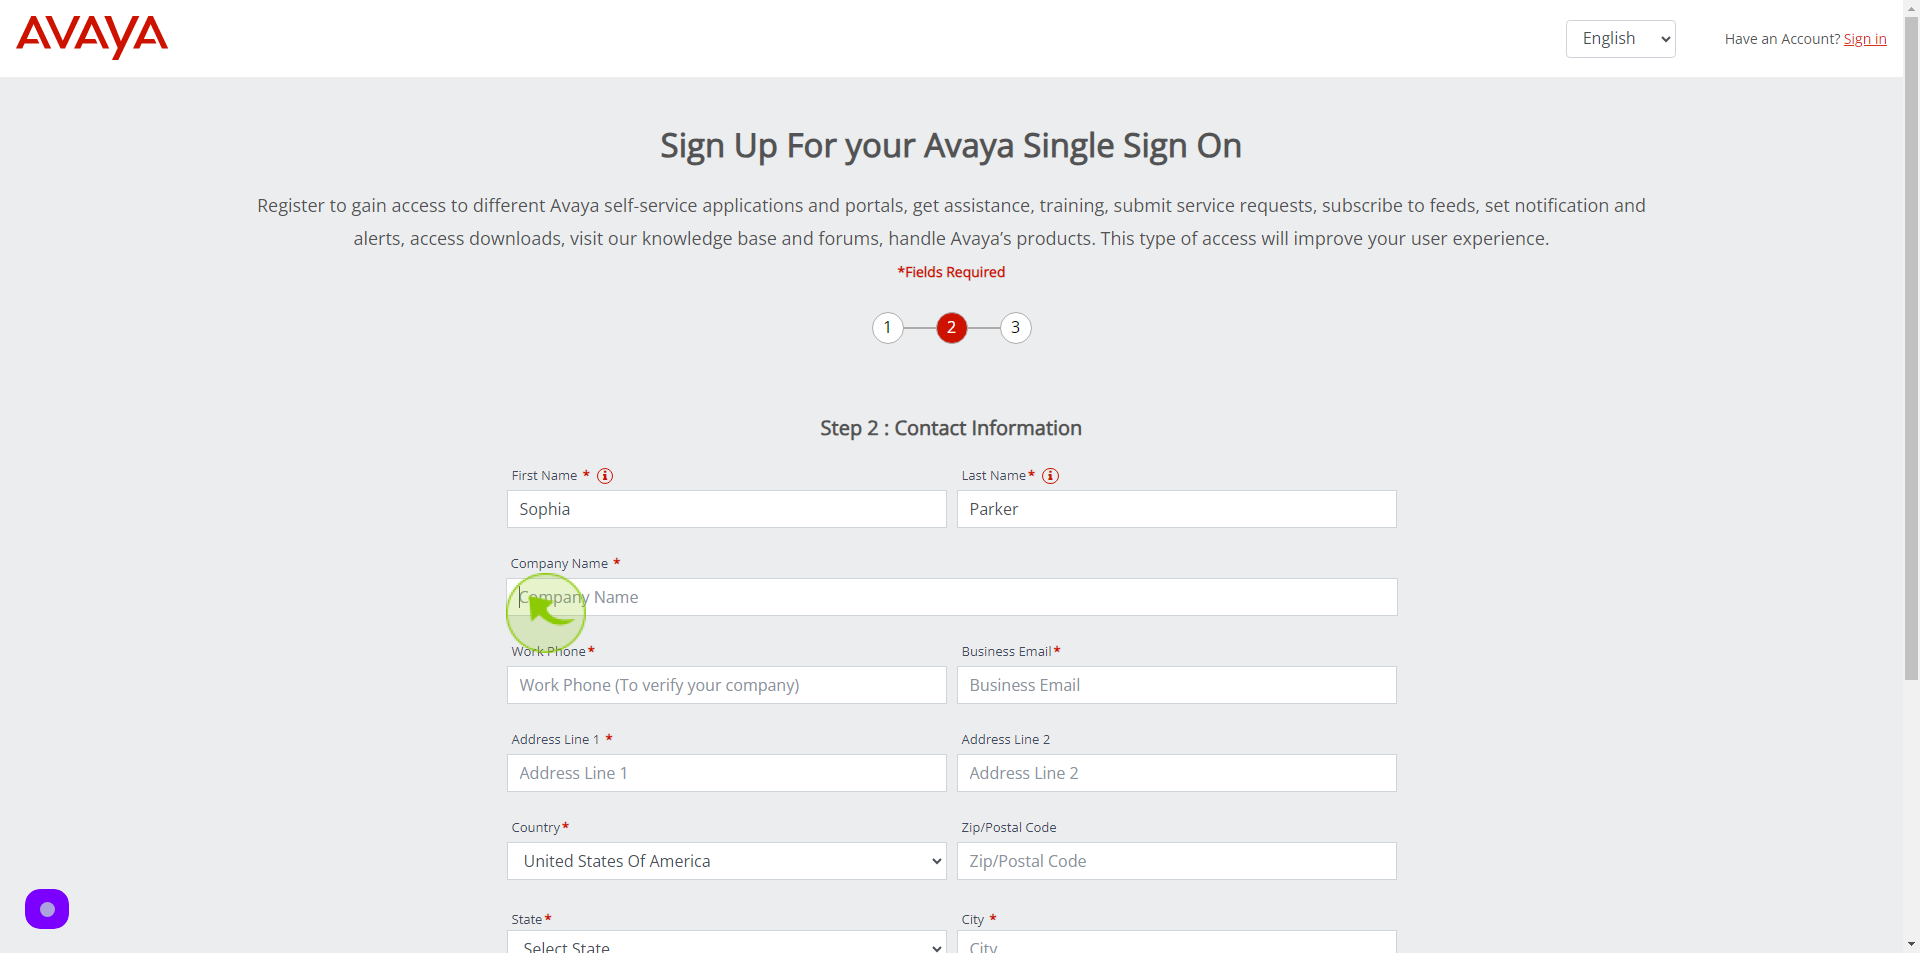
Click the "Last Name" field.
Enter your Last Name
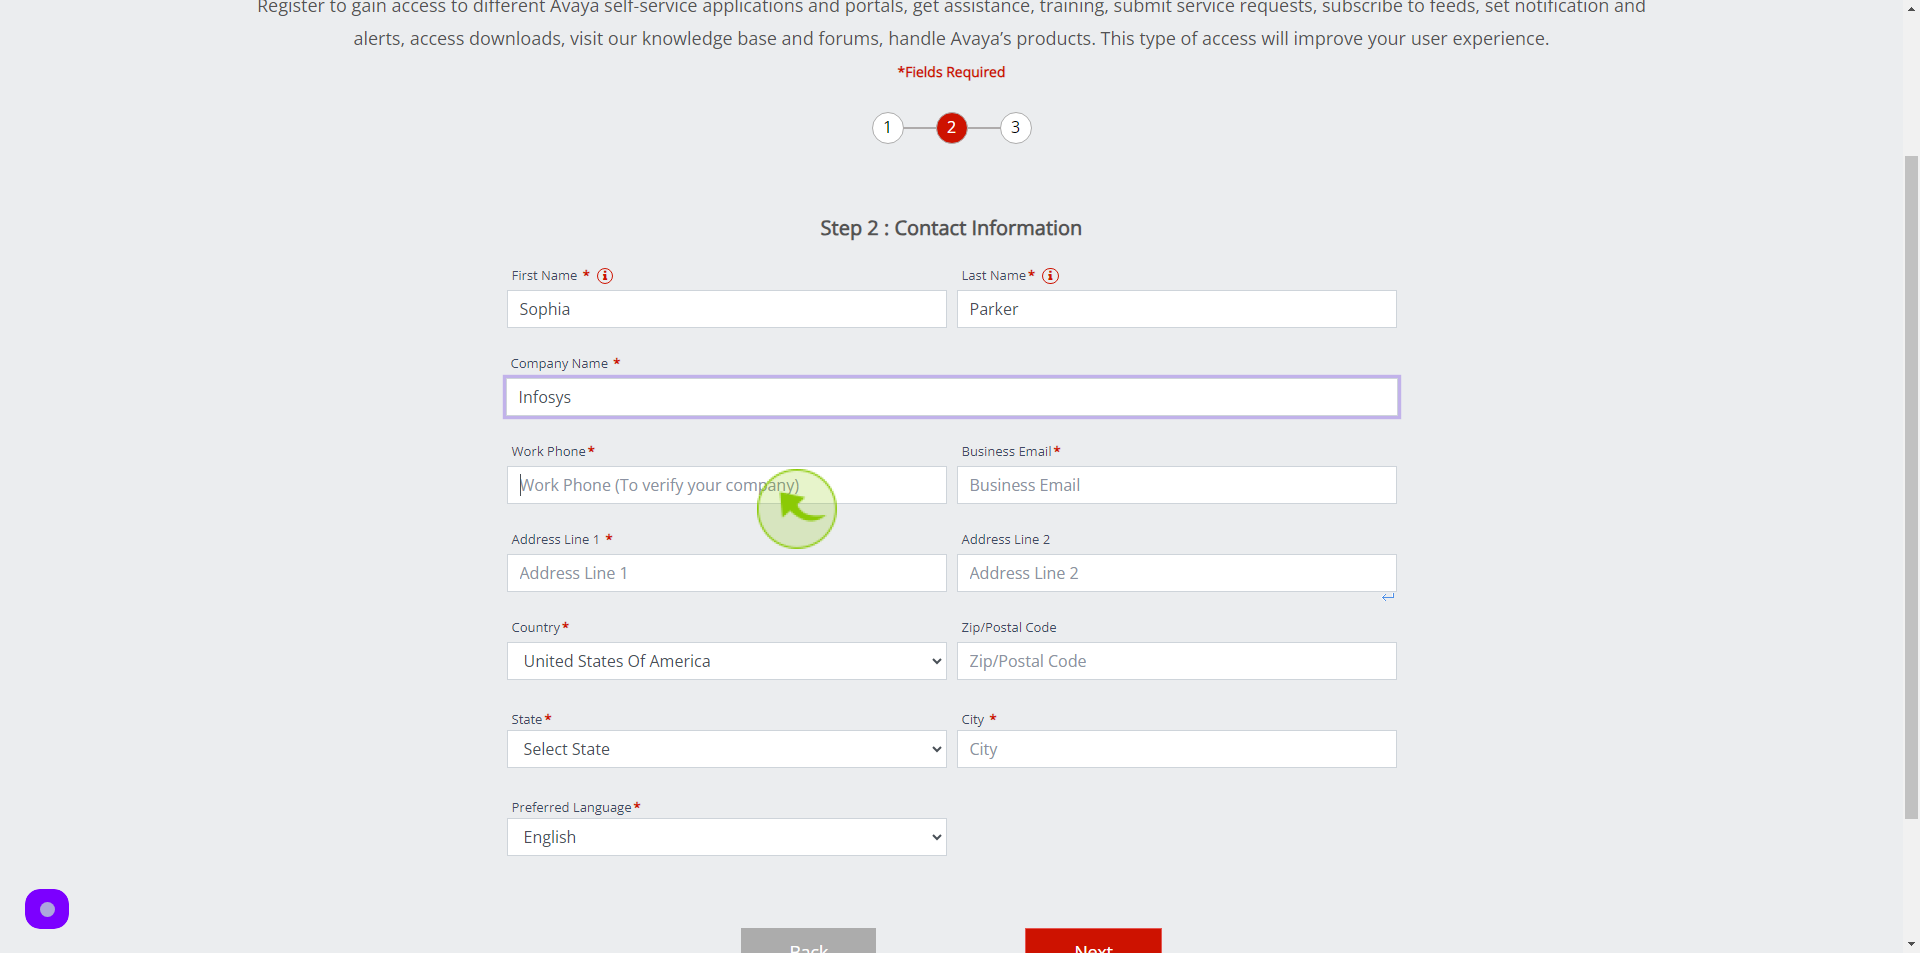
4
Click the "Company Name" field.
Enter your Company Name
5
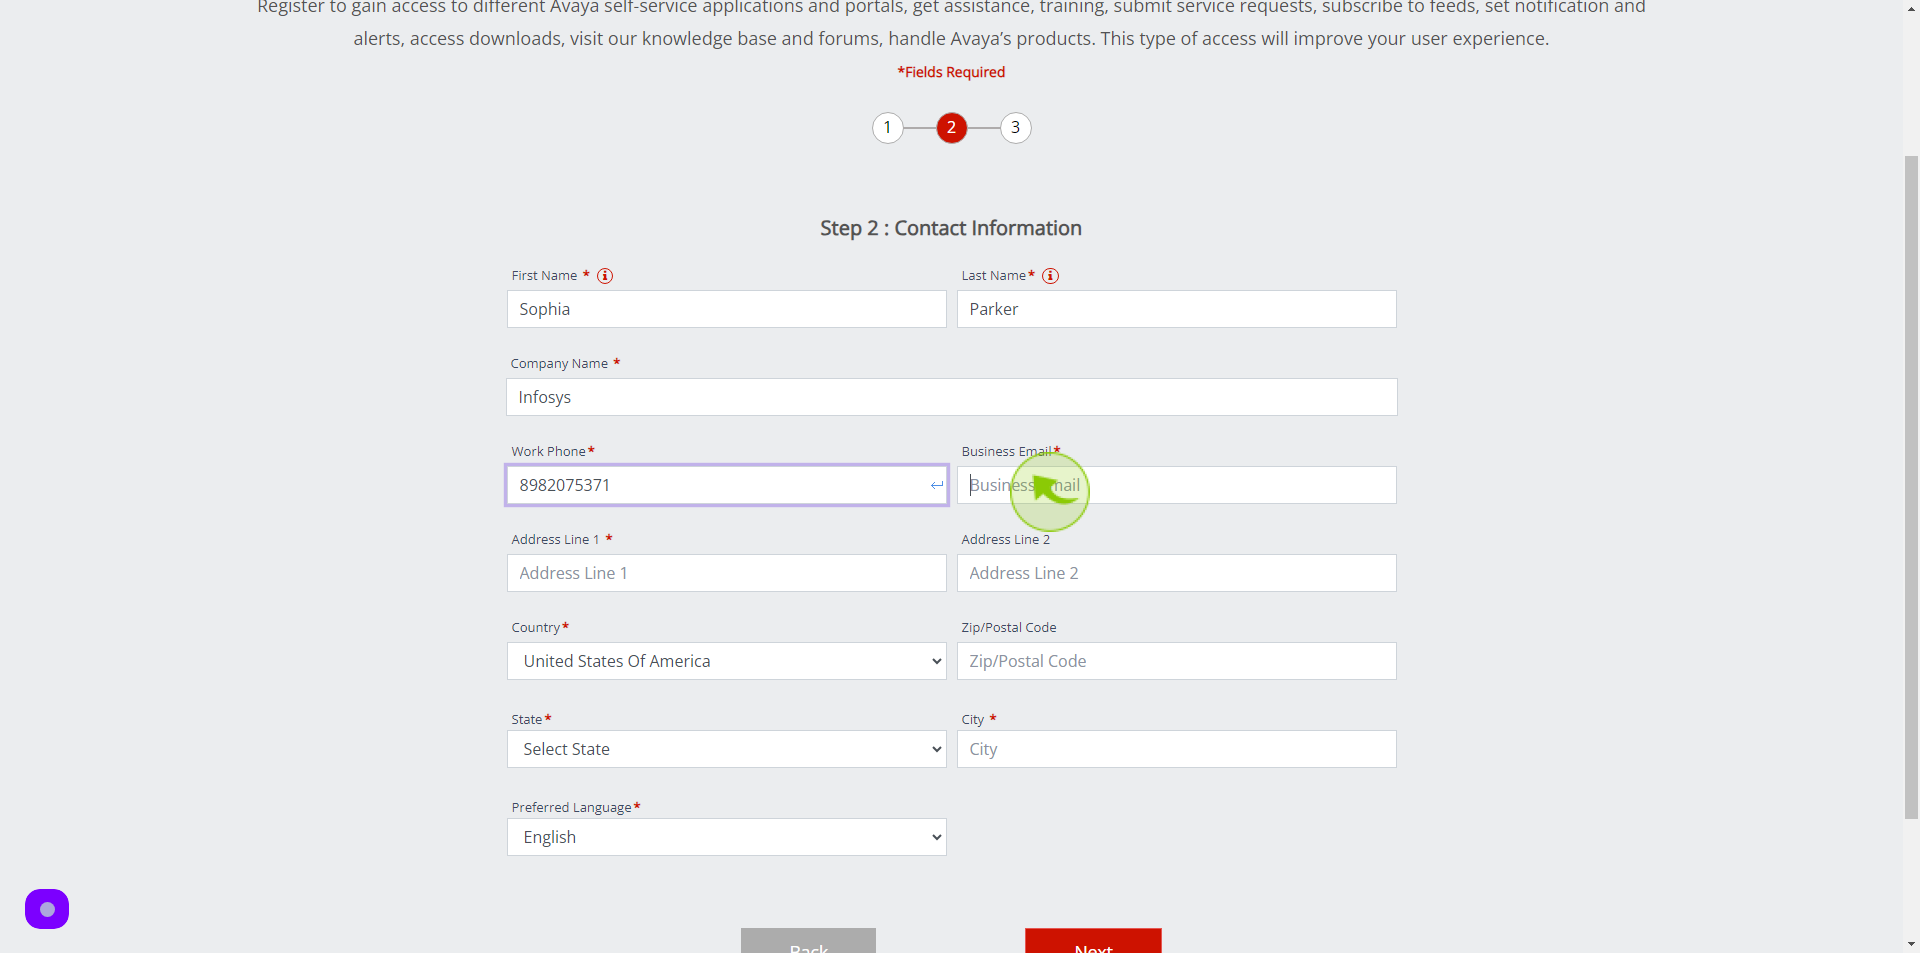
Click the "Work Phone" field.
Enter Work Phone Number
6
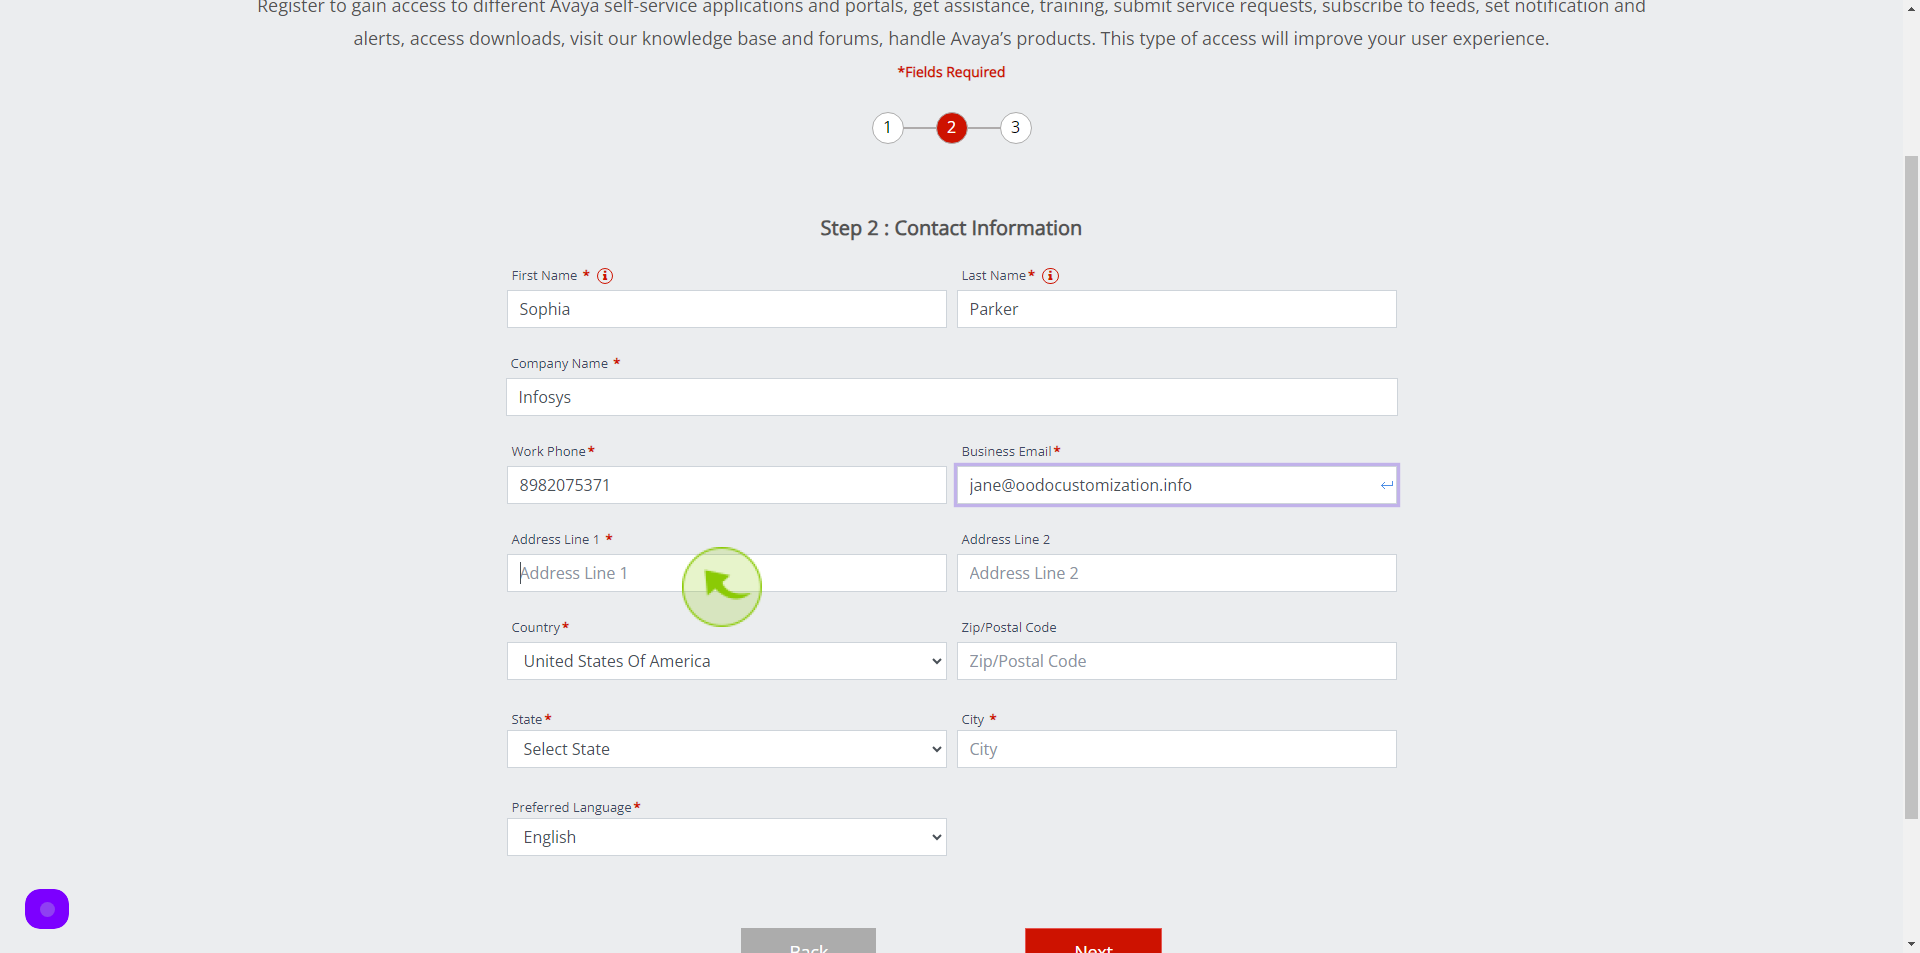
Click the "Business Email" field.
Enter Business Email
7
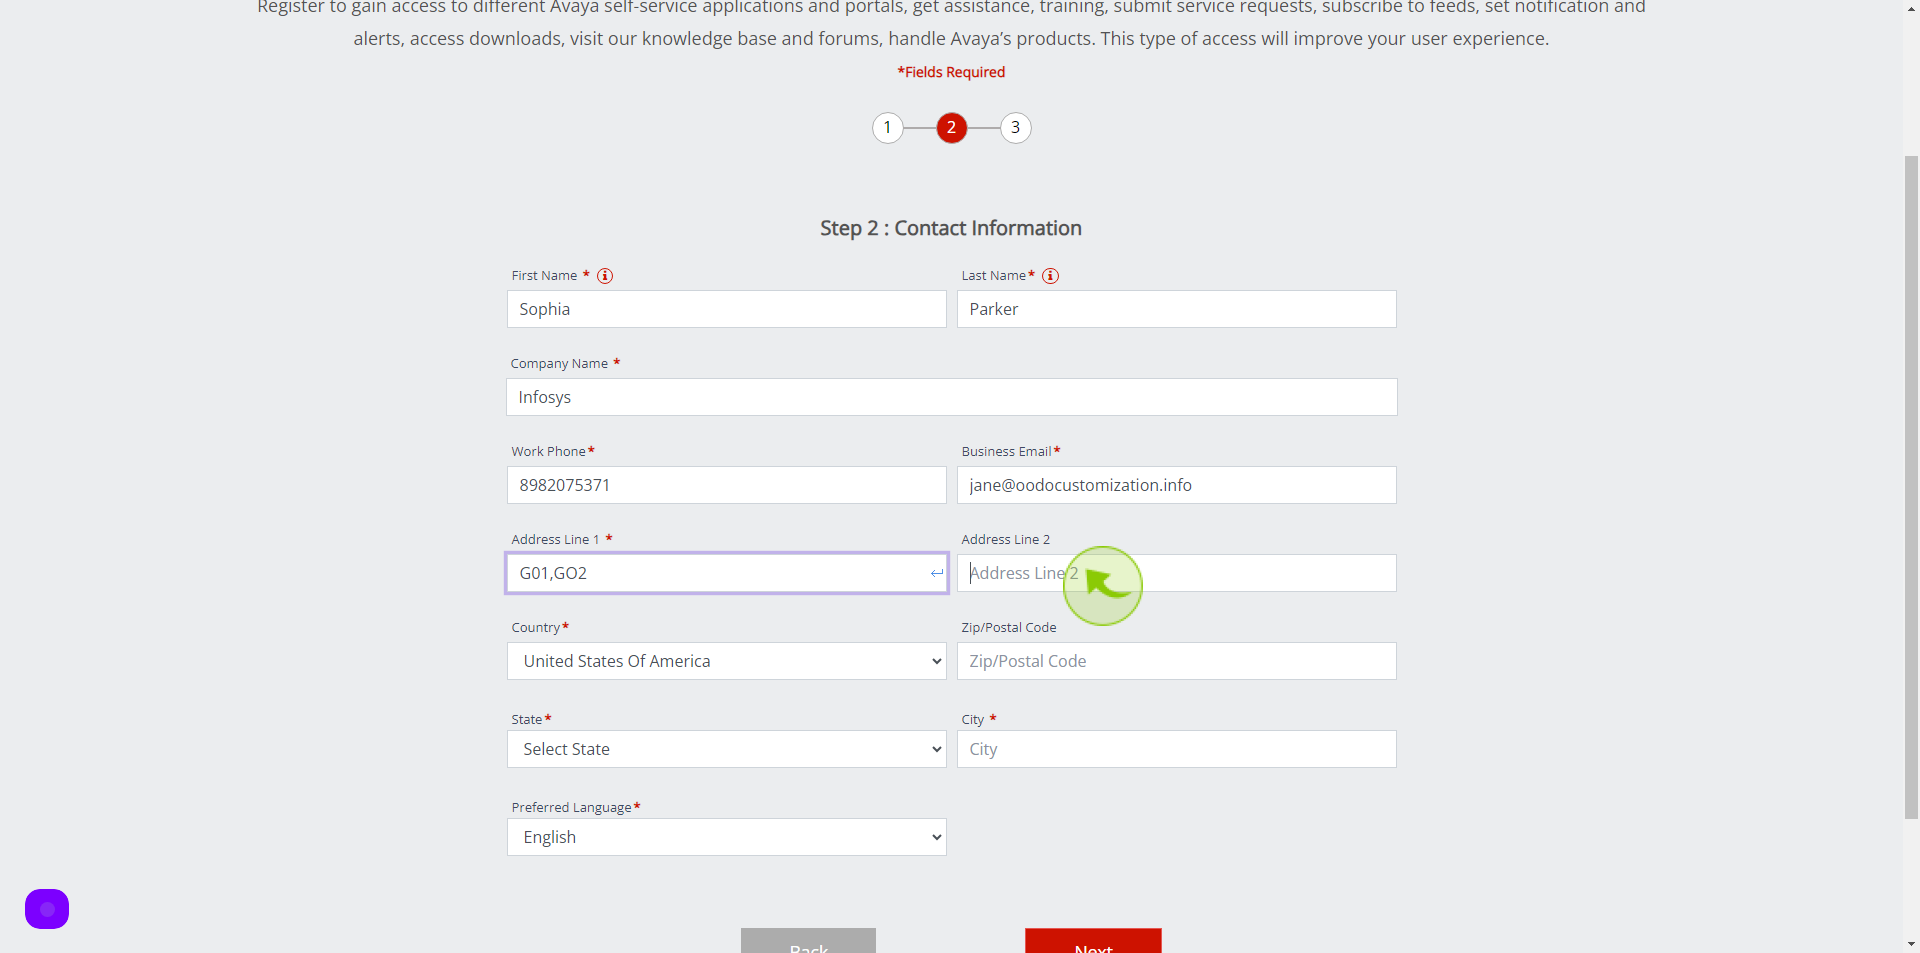
Click the "Address Line 1" field.
Enter the Address
8
Click the "Address Line 2" field.
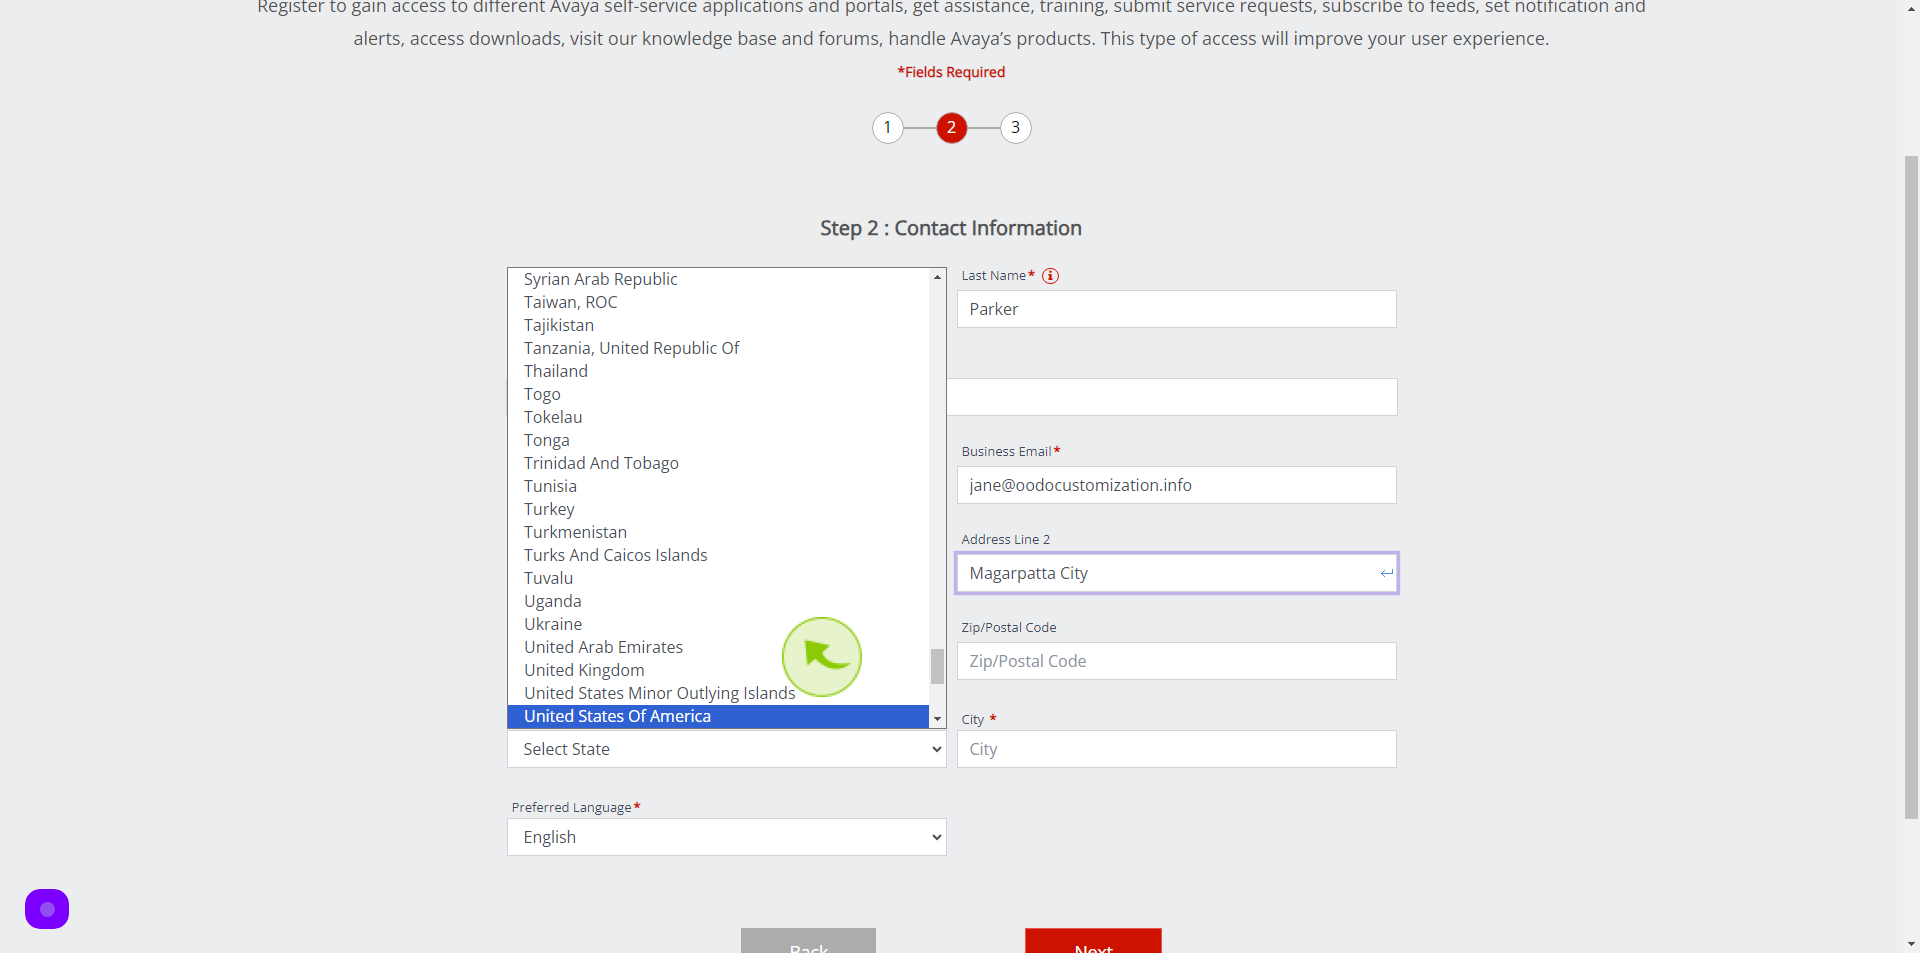
Enter the Address
9
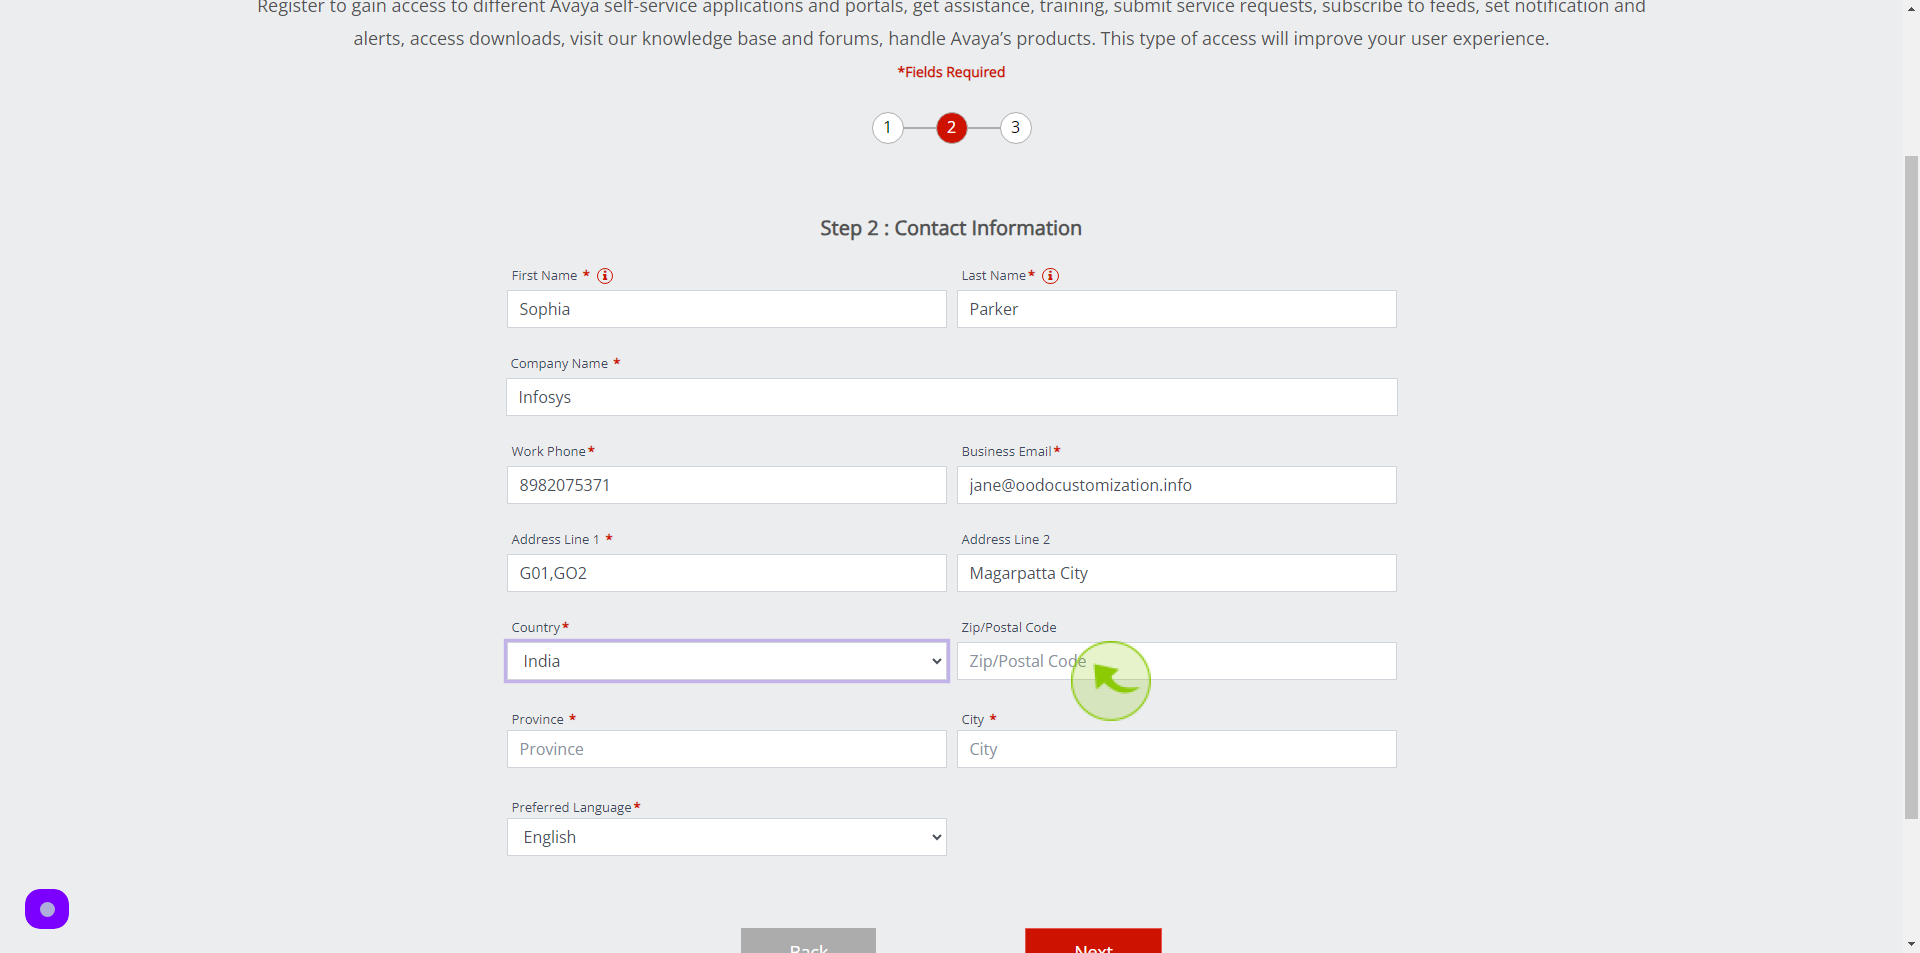
Select the "Country" from Dropdown Menu.
Select your Country
10
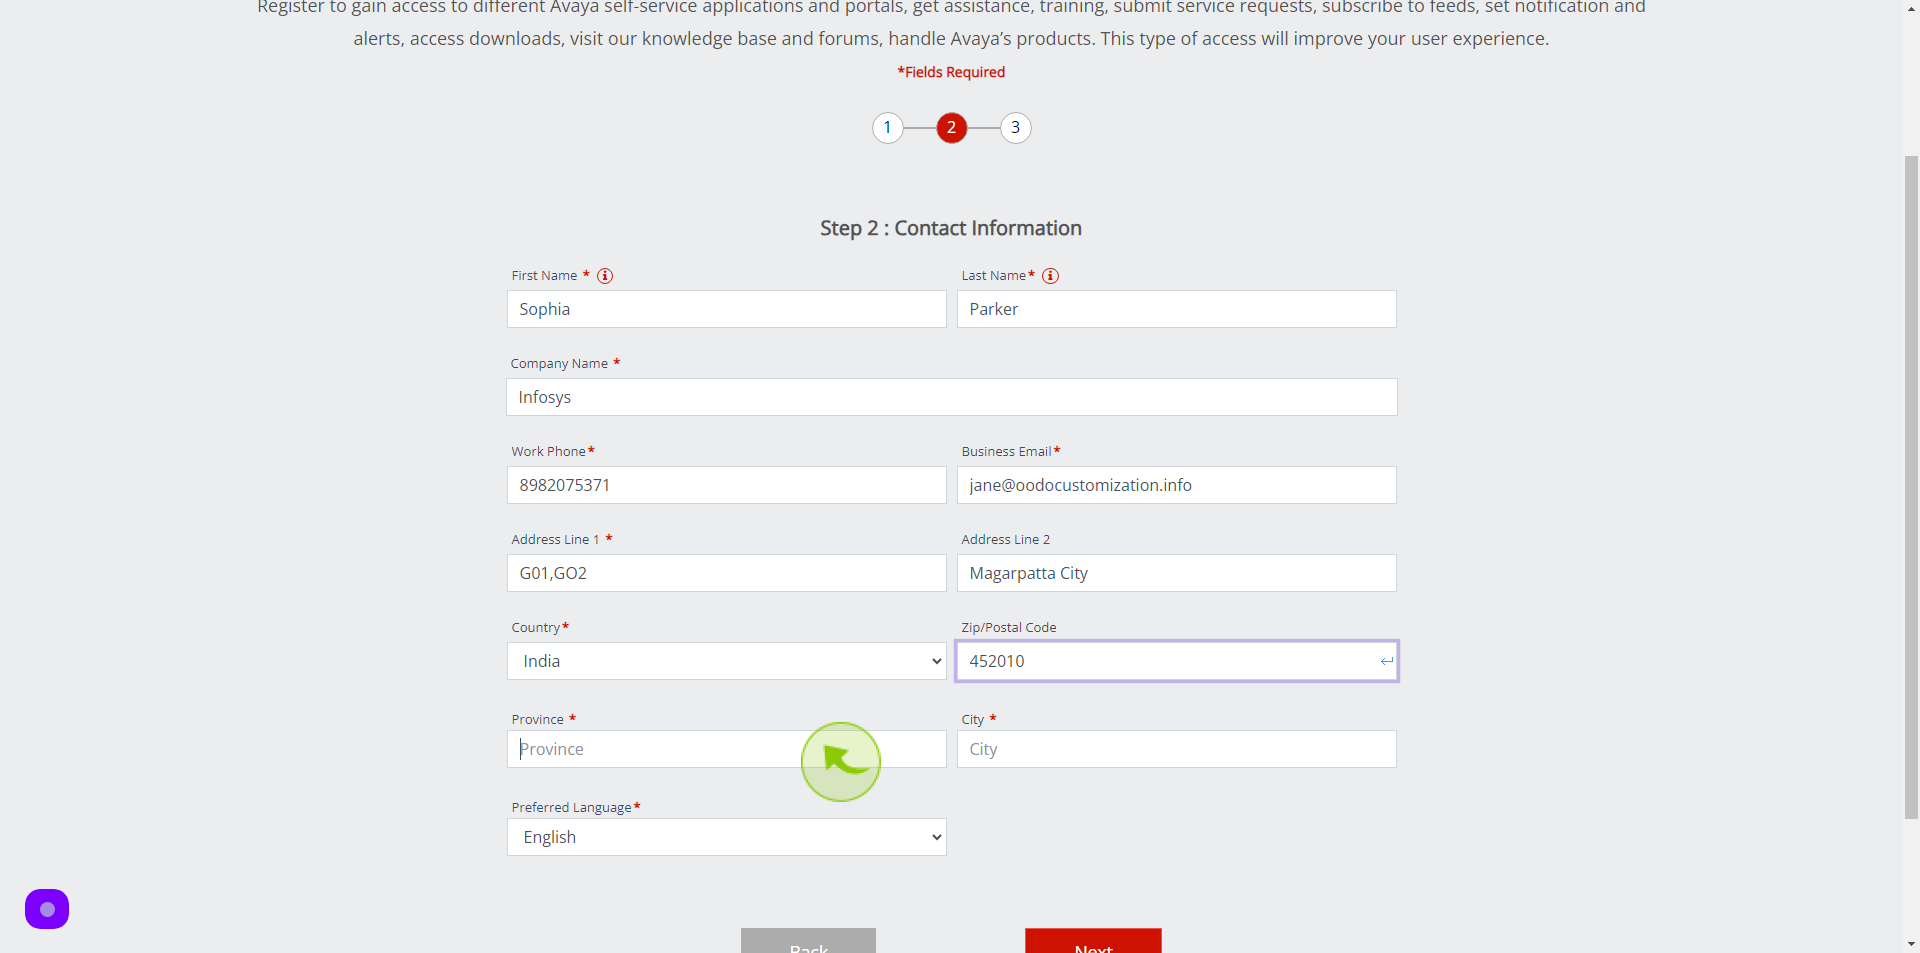
Click the "Zip/Postal Code" field.
Enter Zip/Postal Code
11
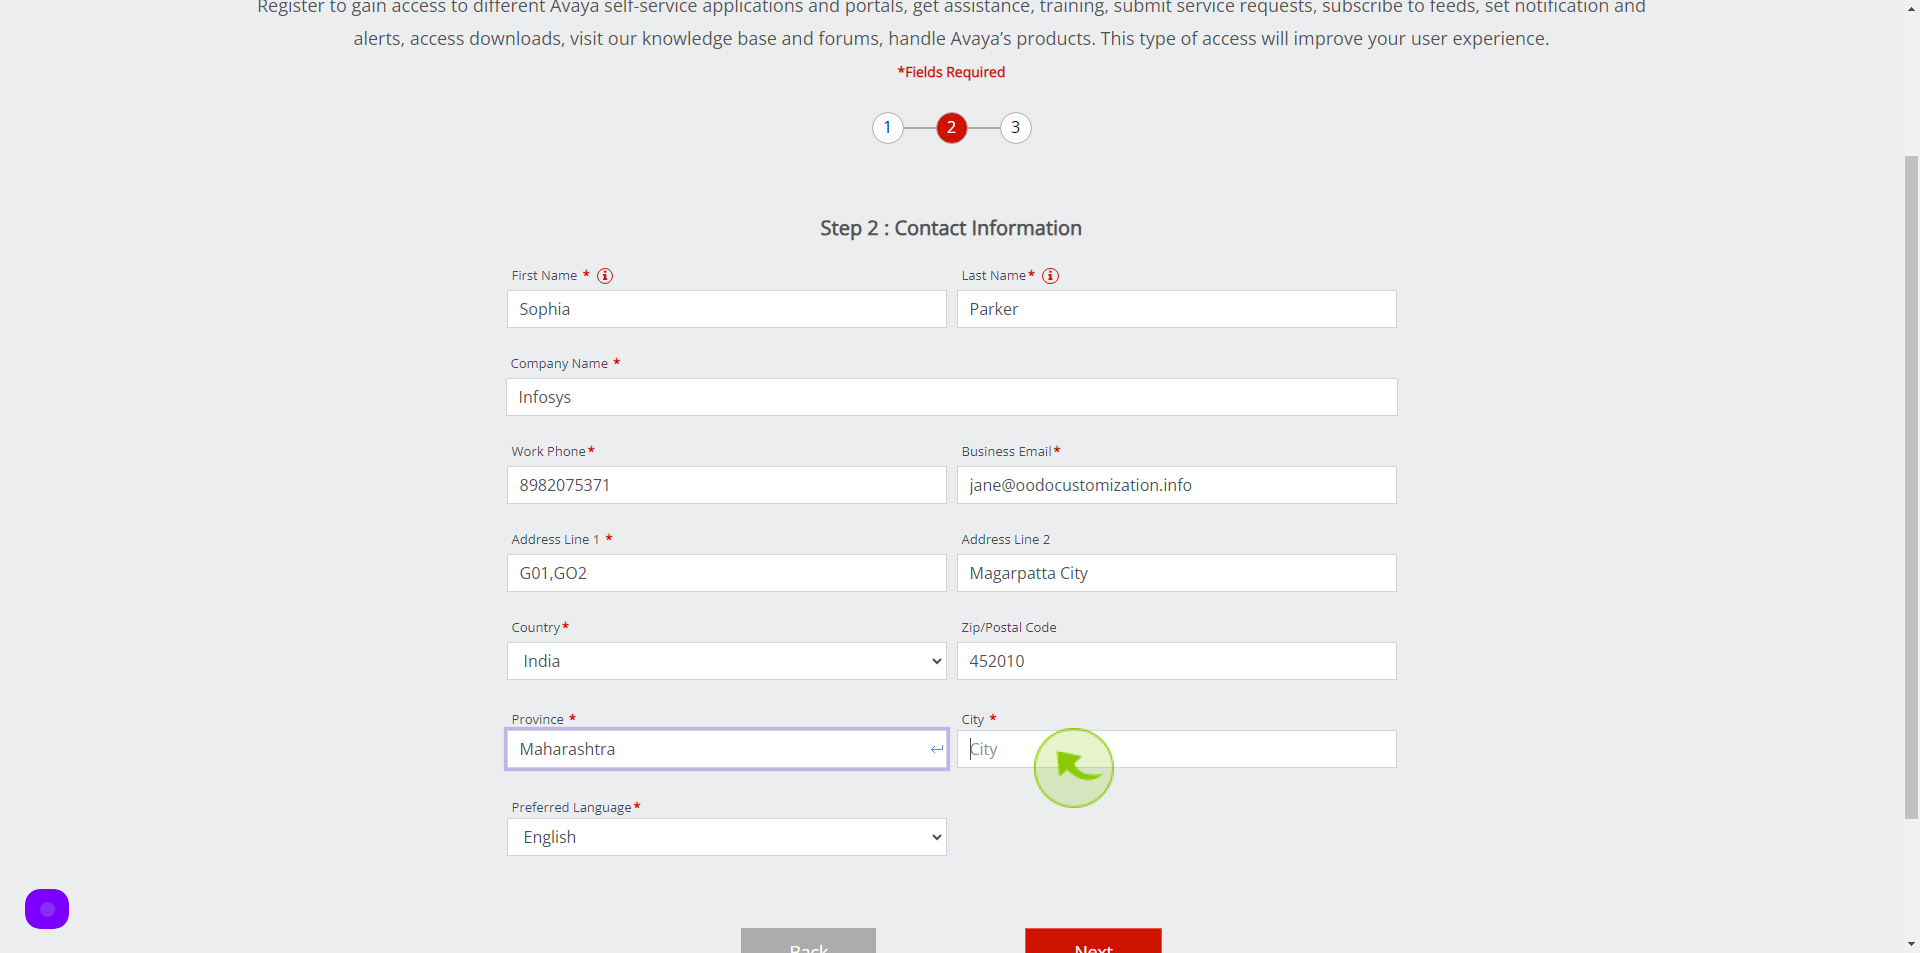
Click the "Province" field.
Enter the Region Name
12
Click the "City" field.
Enter the City Name
13
Select the "Language" from Dropdown Menu.
Select your Language
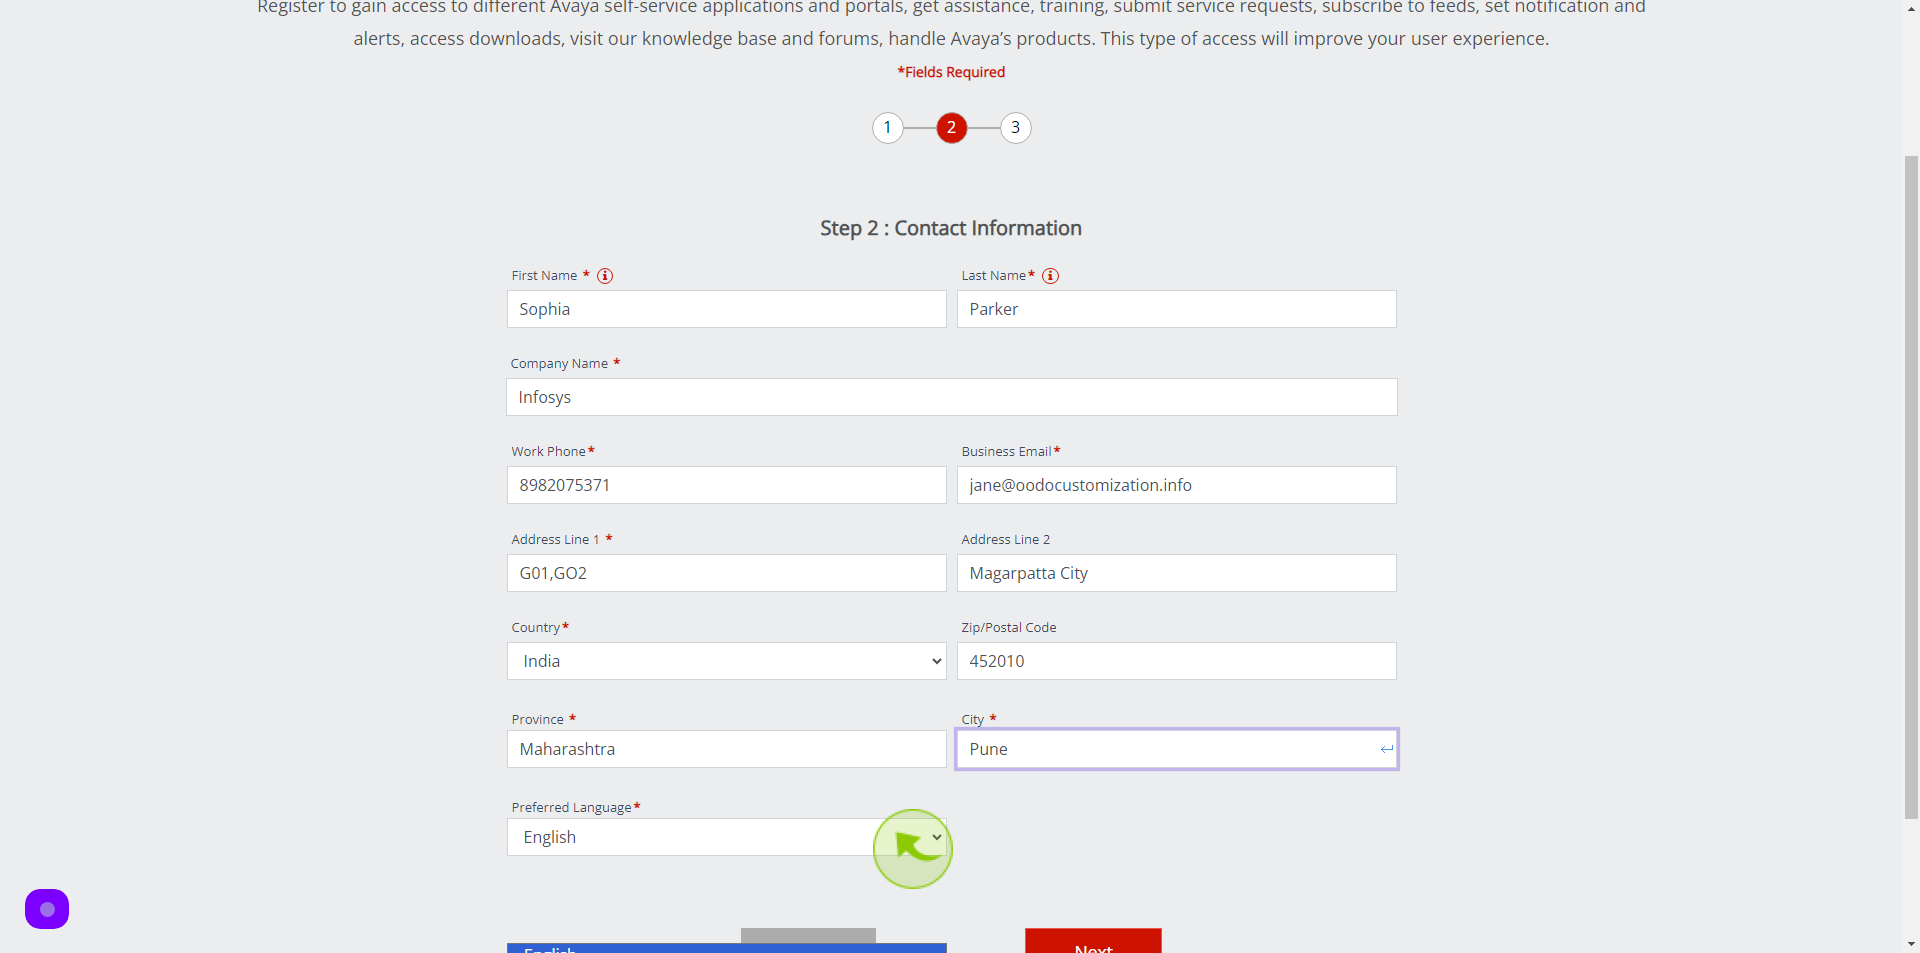
14
Click "Next"
After clicking on the Next button, your account will be created.