How to Sign up to Chartnote?
|
 chartnote
|
chartnote
|
Jun 18, 2024
|
17 Steps
This document provides a step-by-step guide on how to sign up for Chartnote, a user-friendly medical documentation platform. It walks you through the entire registration process, from accessing the website to creating your account. Learn how to enter essential details, verify your email, and set up your profile to start using Chartnote's powerful features. Whether you’re a healthcare professional or a first-time user, this guide ensures a smooth and hassle-free onboarding experience with clear, easy-to-follow instructions.
How to Sign up to Chartnote?
|
chartnote
|
17 Steps

1
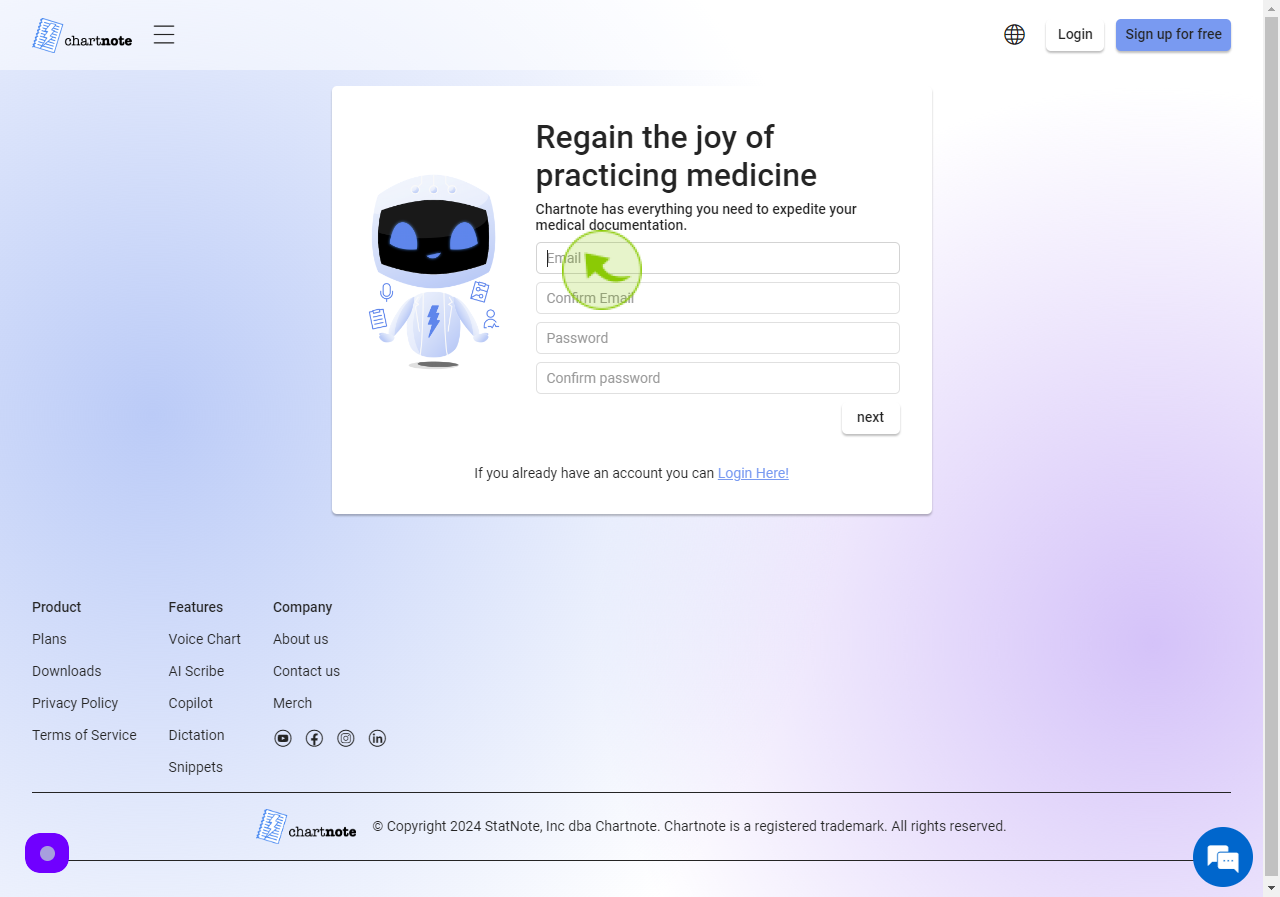
Navigate to https://chartnote.com/signup
2
Click the "Email" field.
Enter your Email Address
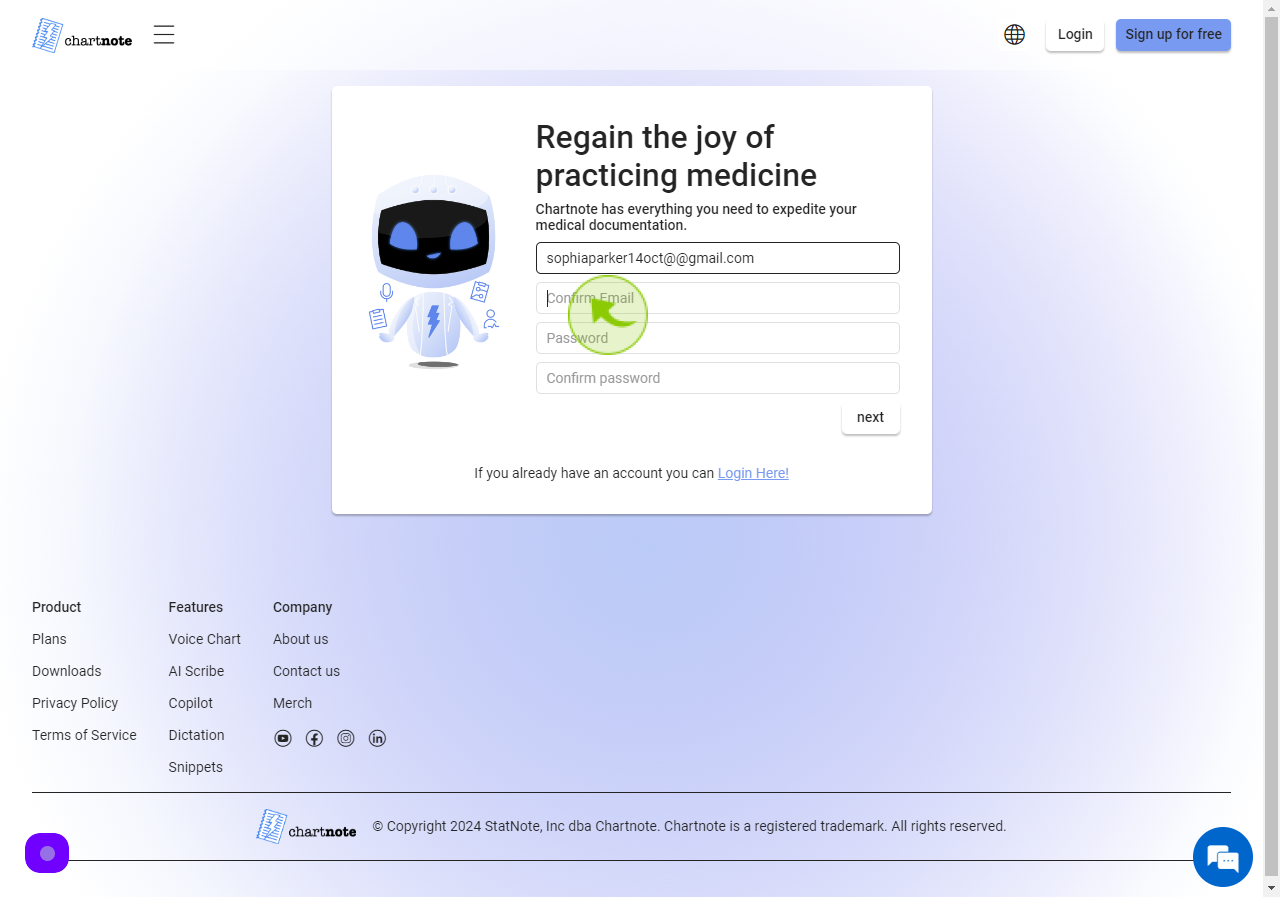
3
Click the "Confirm Email" field.
Re-enter your Email Address
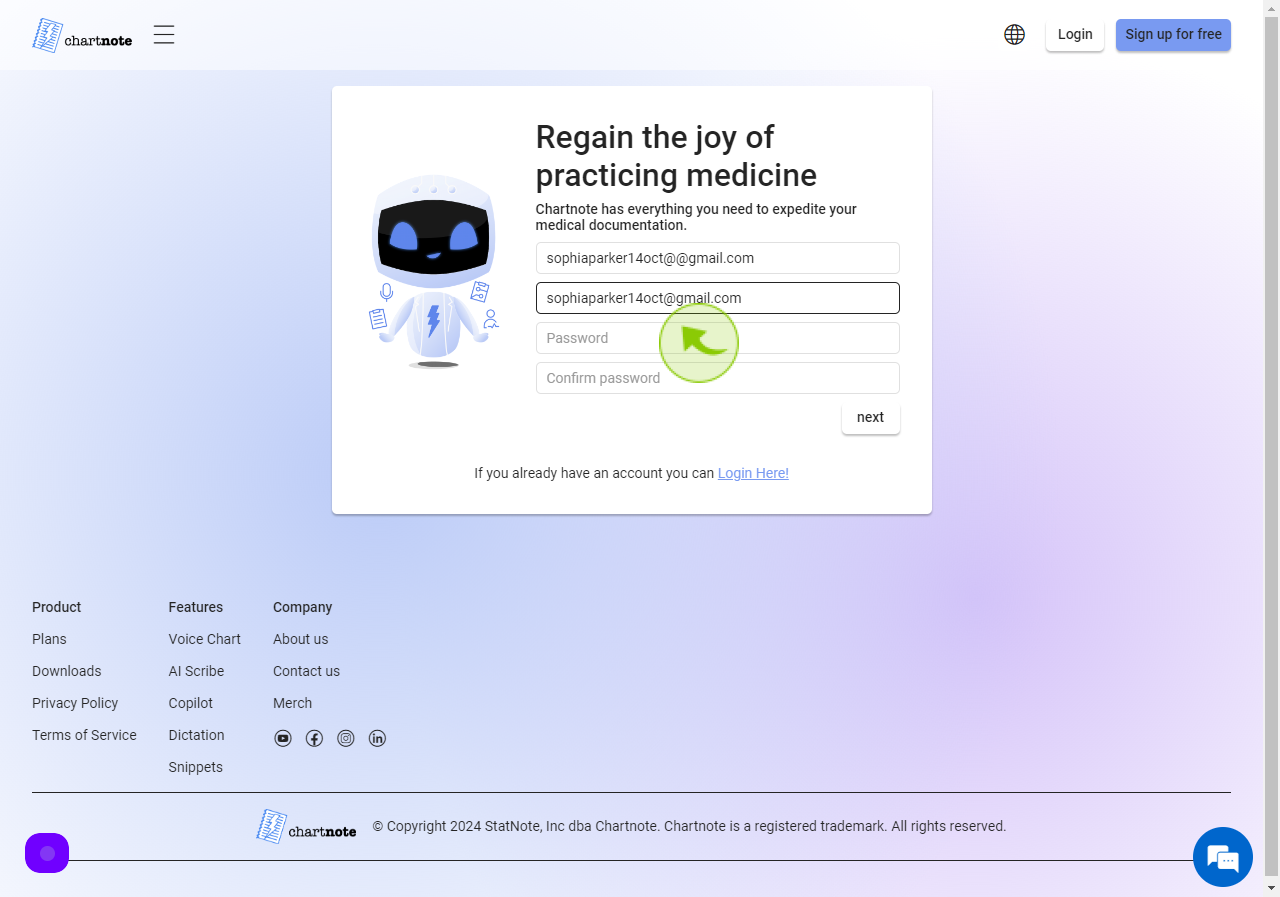
4
Click the "Password" field.
Enter your Password
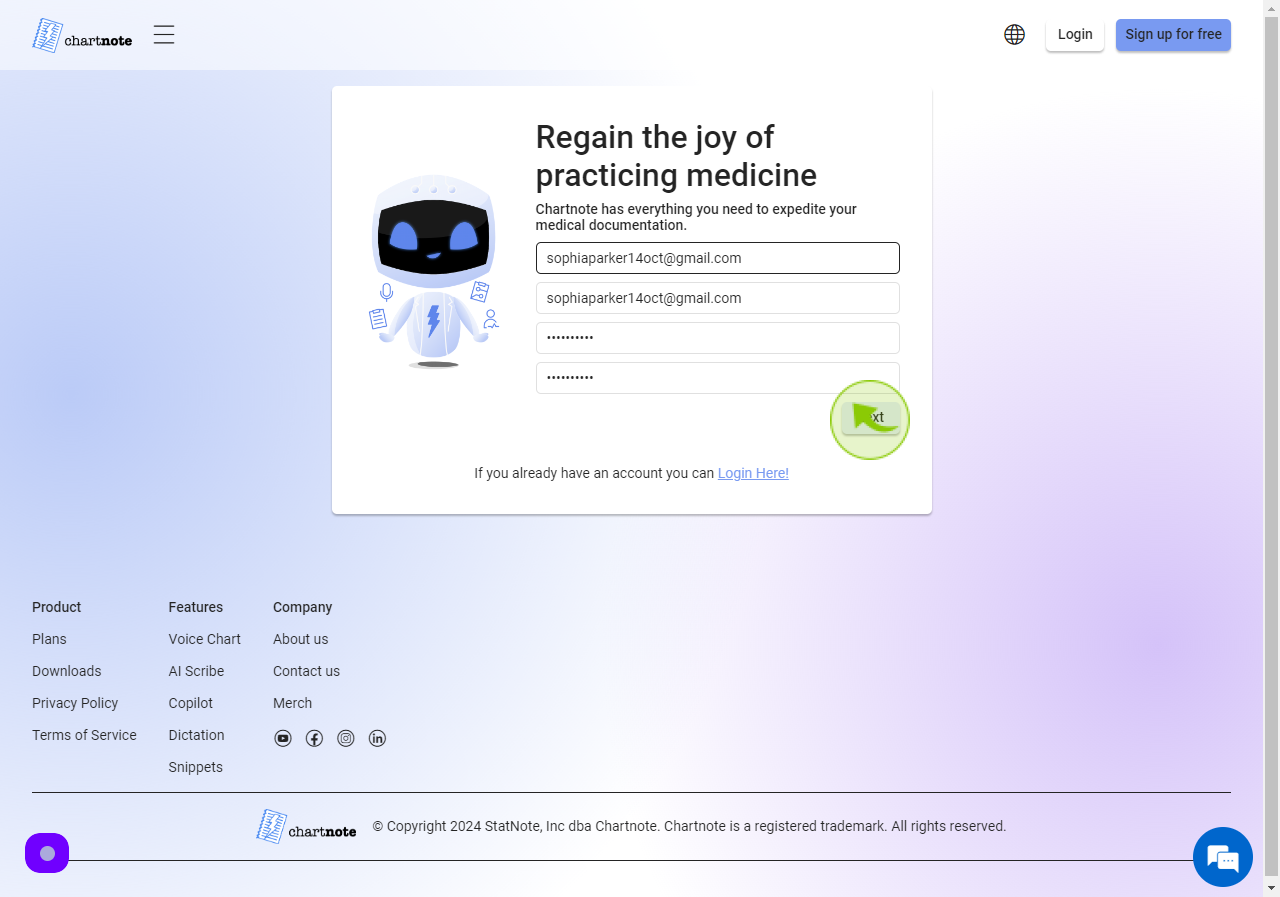
5
Click the "Confirm password" field.
Re-enter your Password

6
Click "Next"
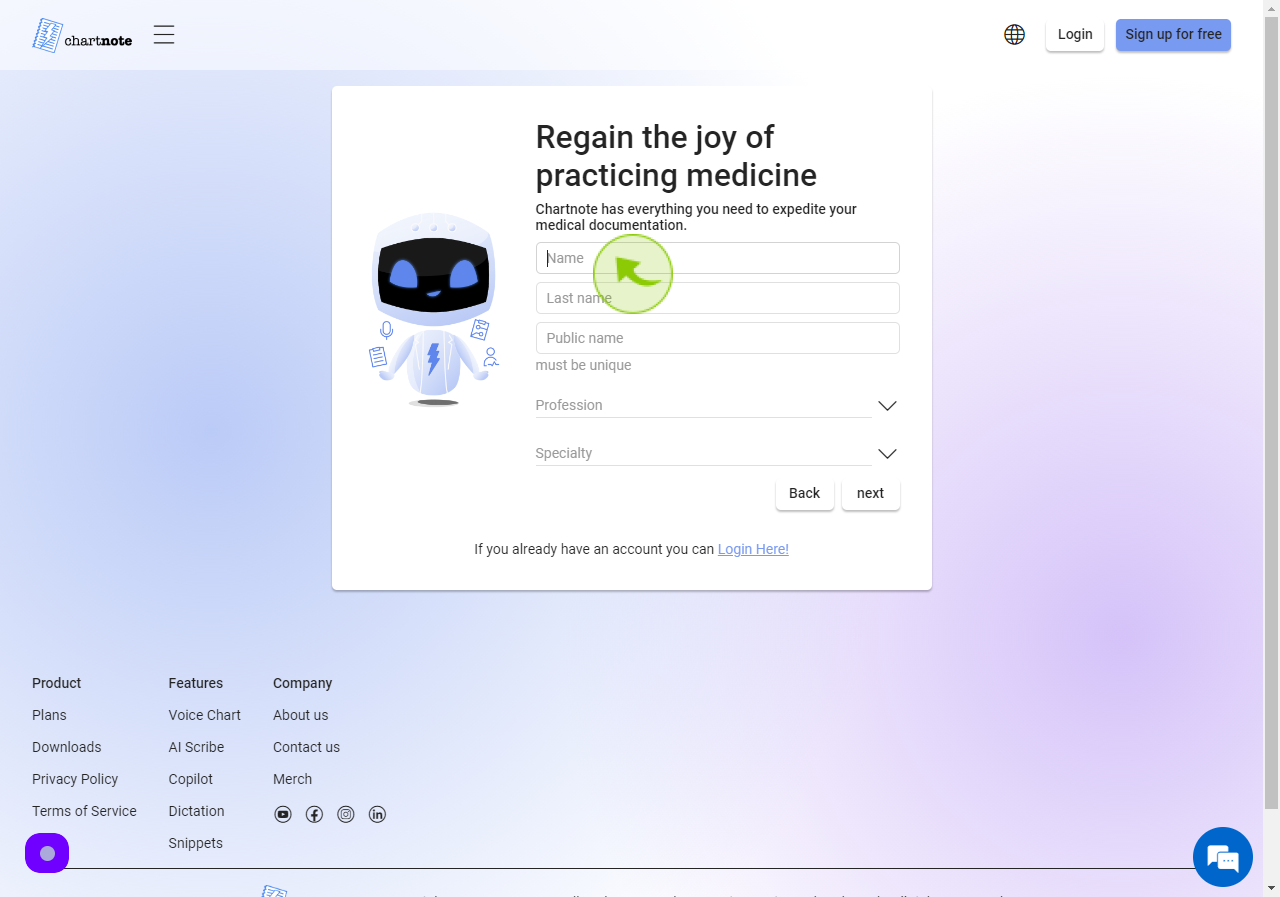
7
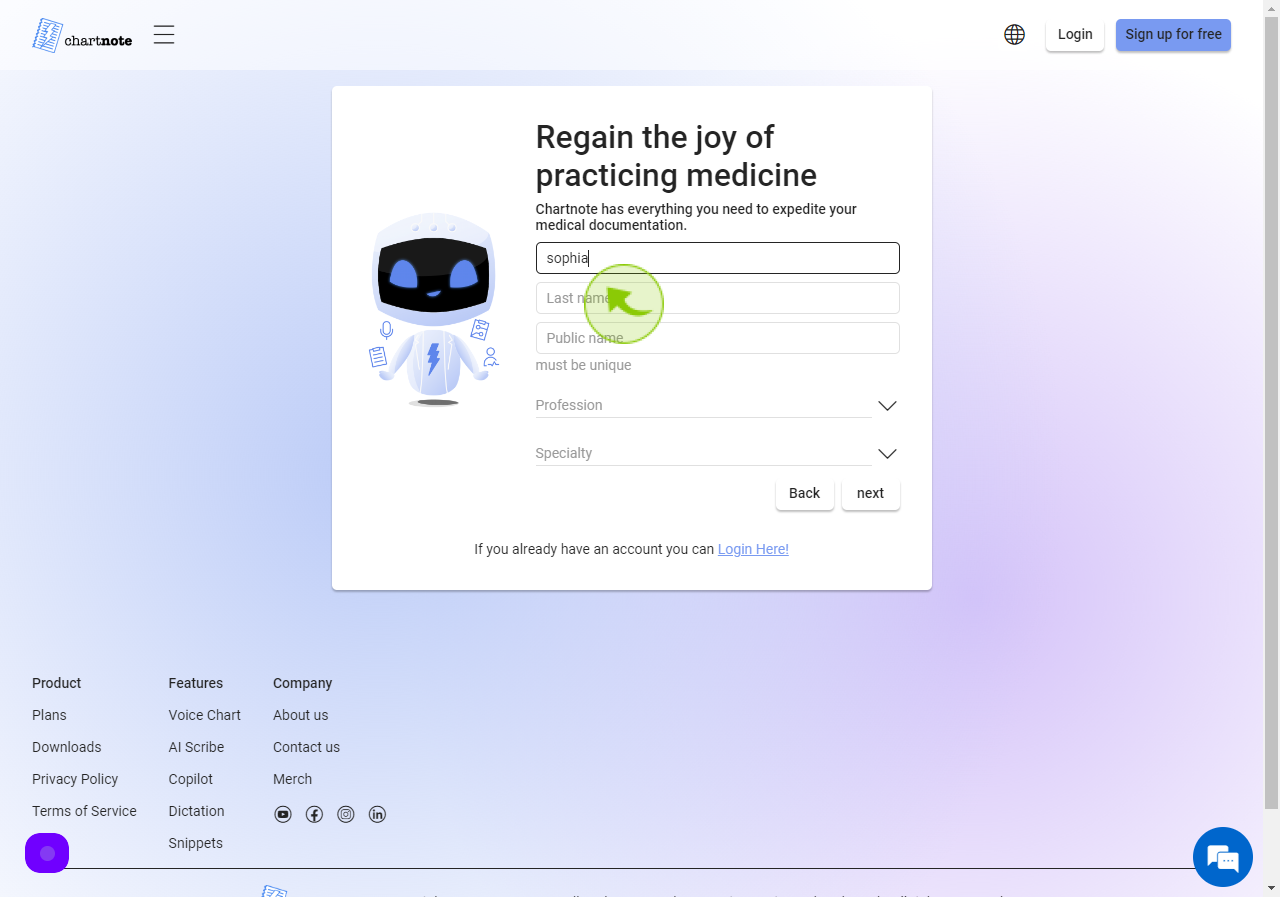
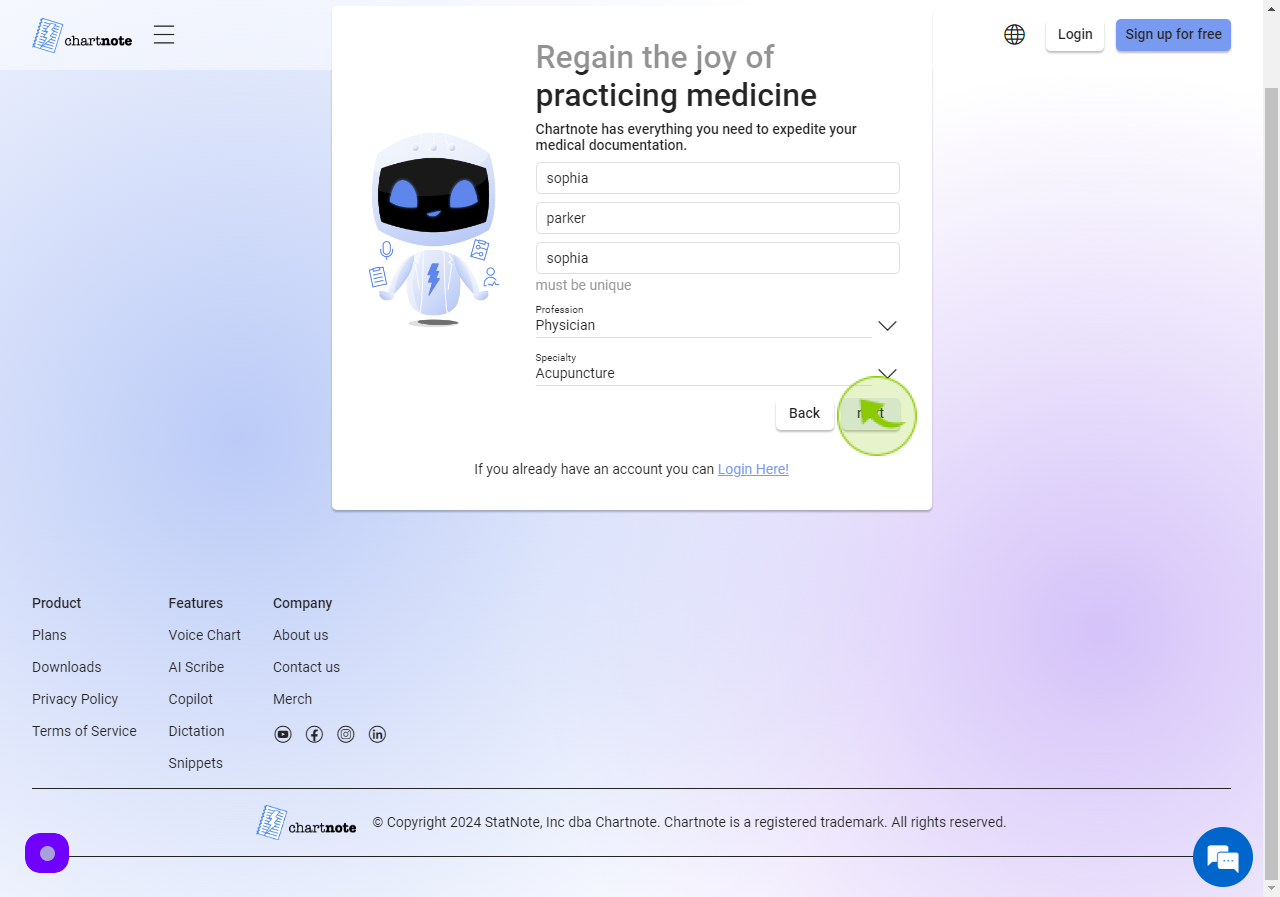
Click the "Name" field.
Enter your Name
8
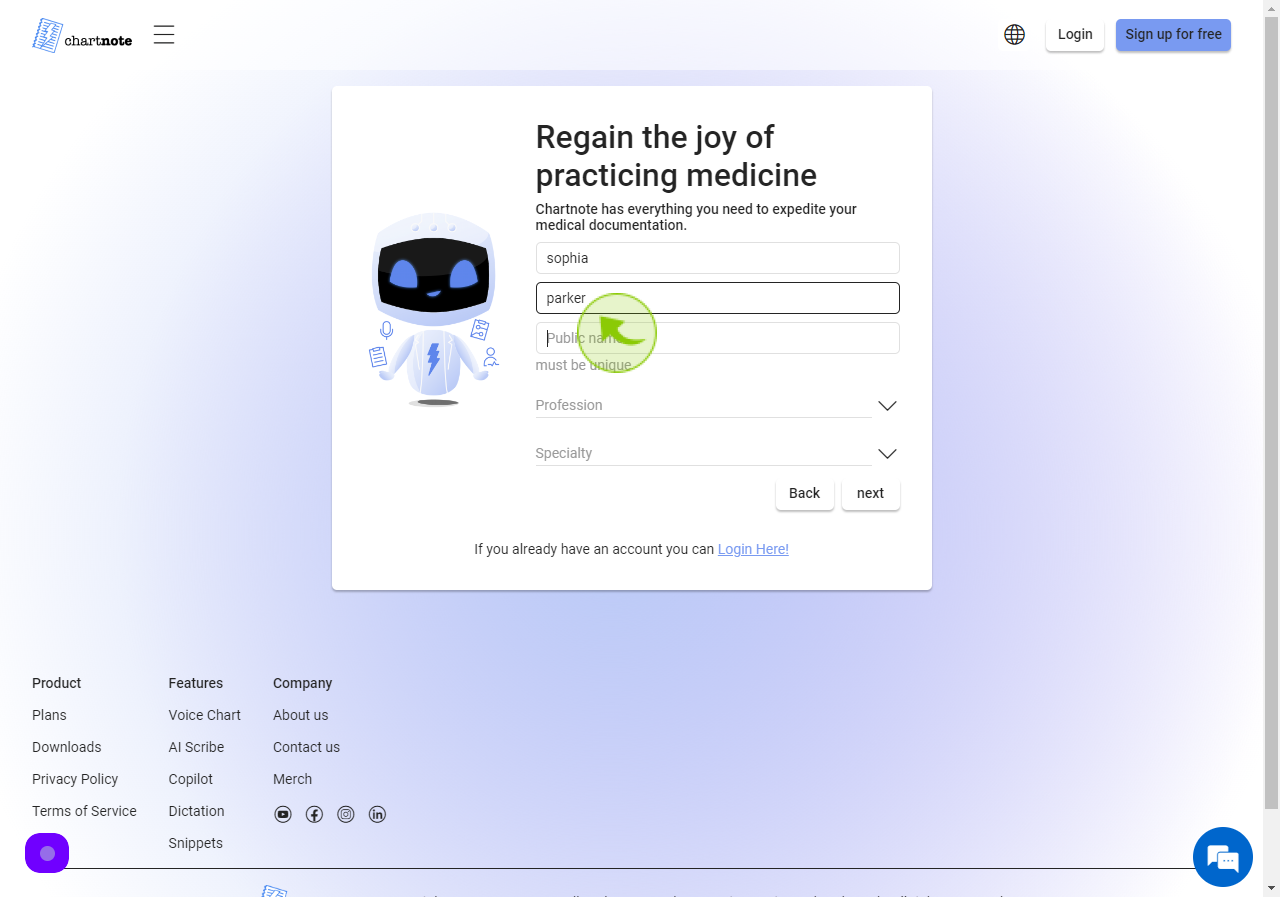
Click the "Last Name" field.
Enter your Last Name
9
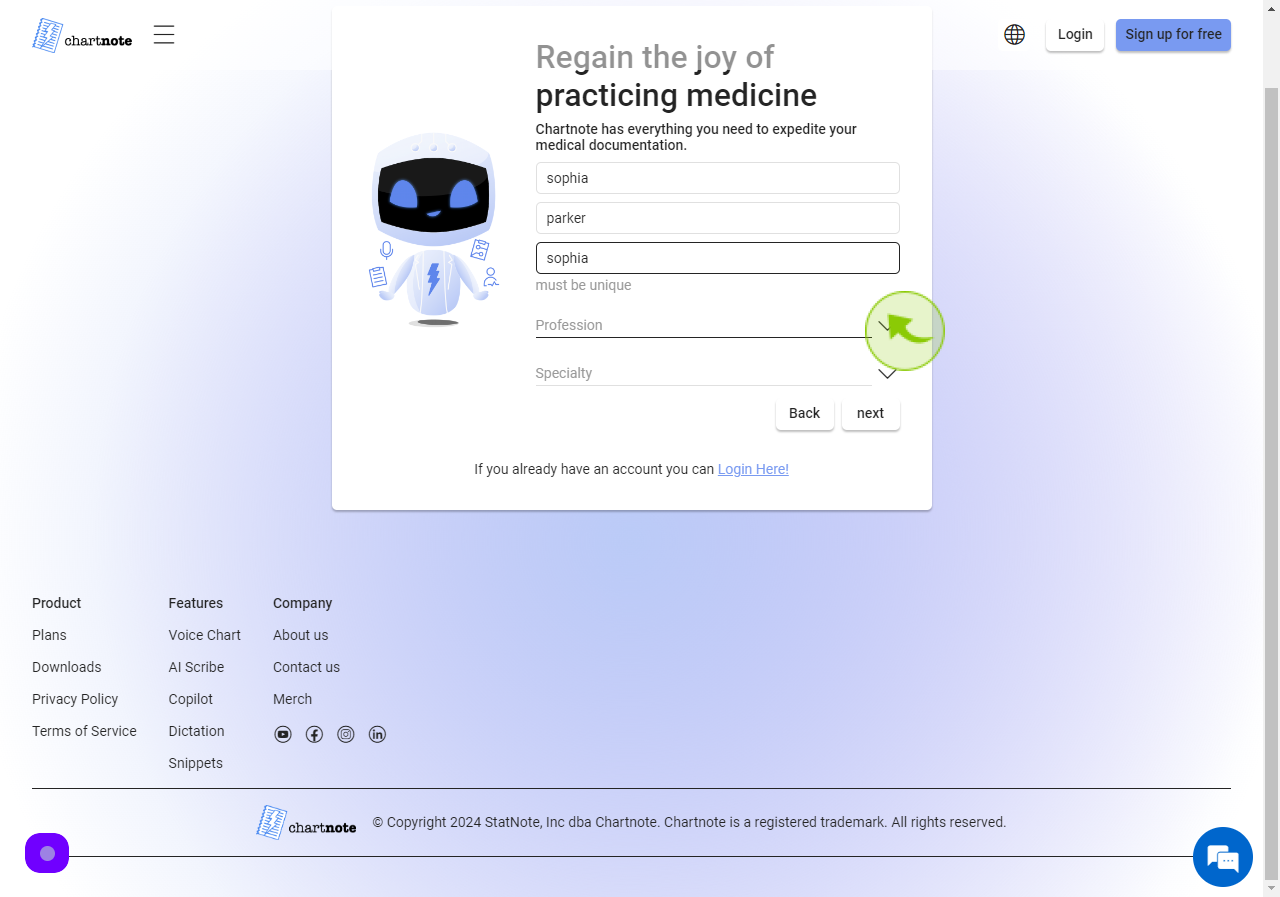
Click the "Public Name" field.
Enter your Public Name
10
Select the "Profession" from the Dropdown Menu
.
Enter your Profession
11
Select the "Specialty" from the dropdown menu.
Enter
Specialty

12
Click "Next"
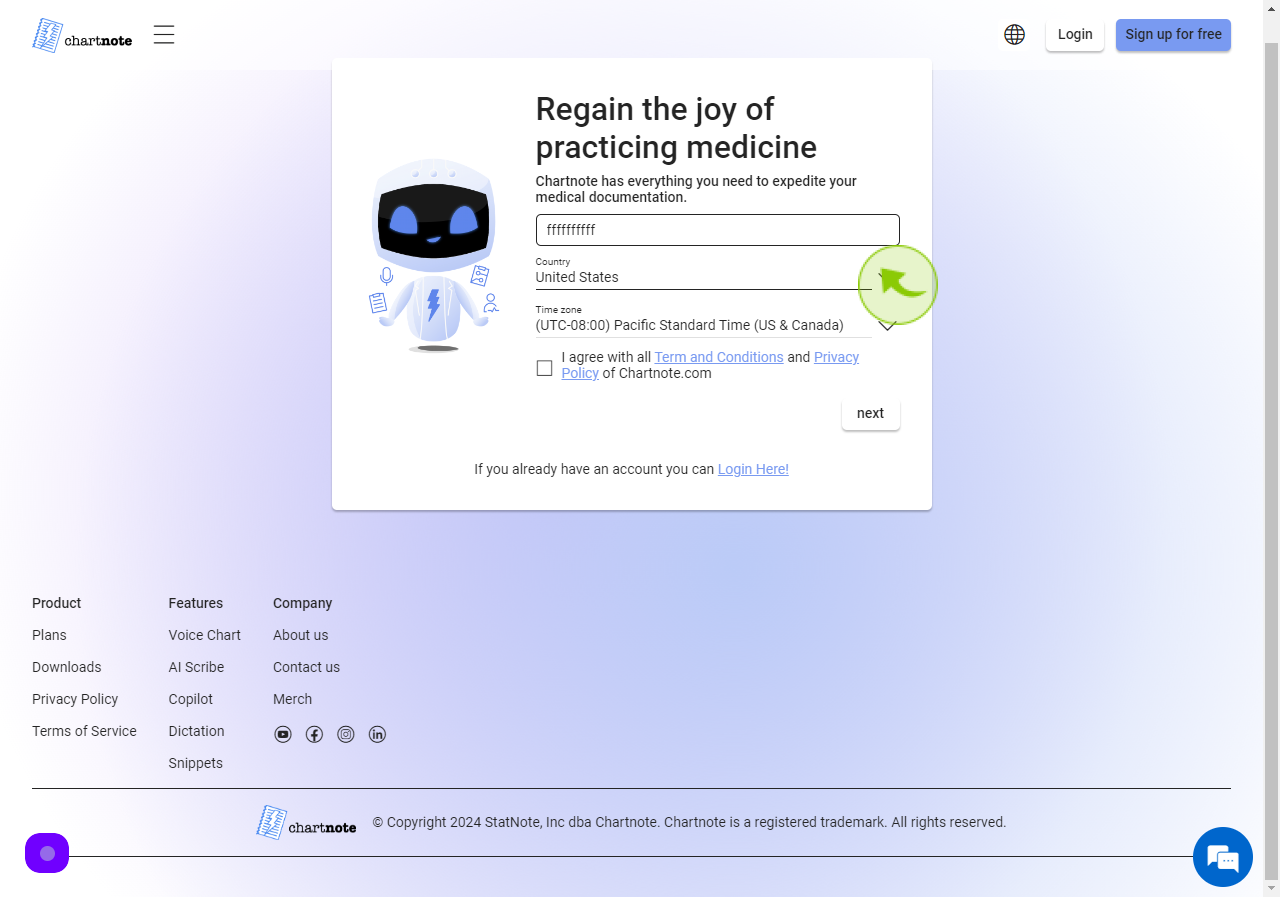
13
Click the "EMR" field.
Enter your EMR Number
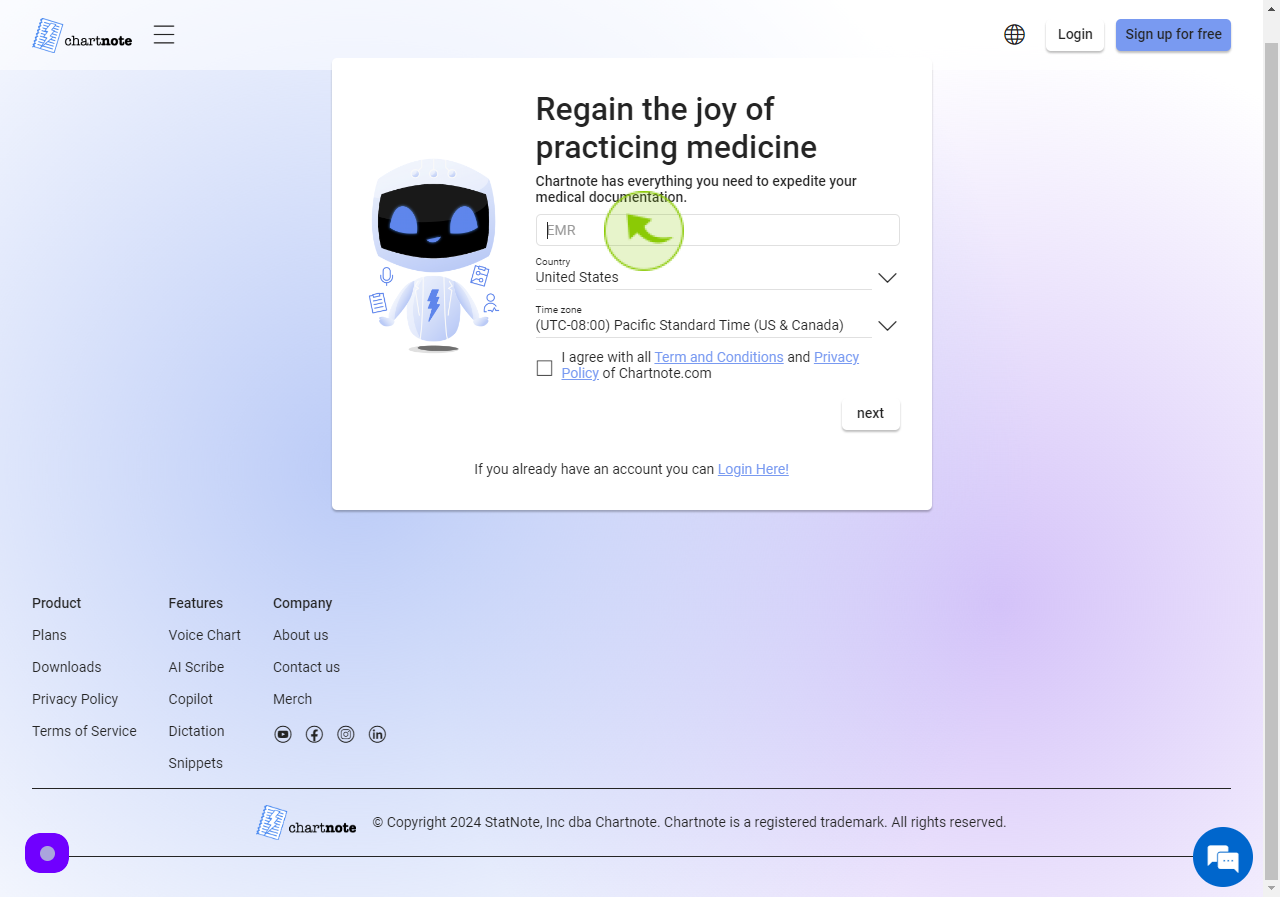
14
Select the "Country" from Dropdown manu.
15
Select the "Time Zone" from the Dropdown manu.
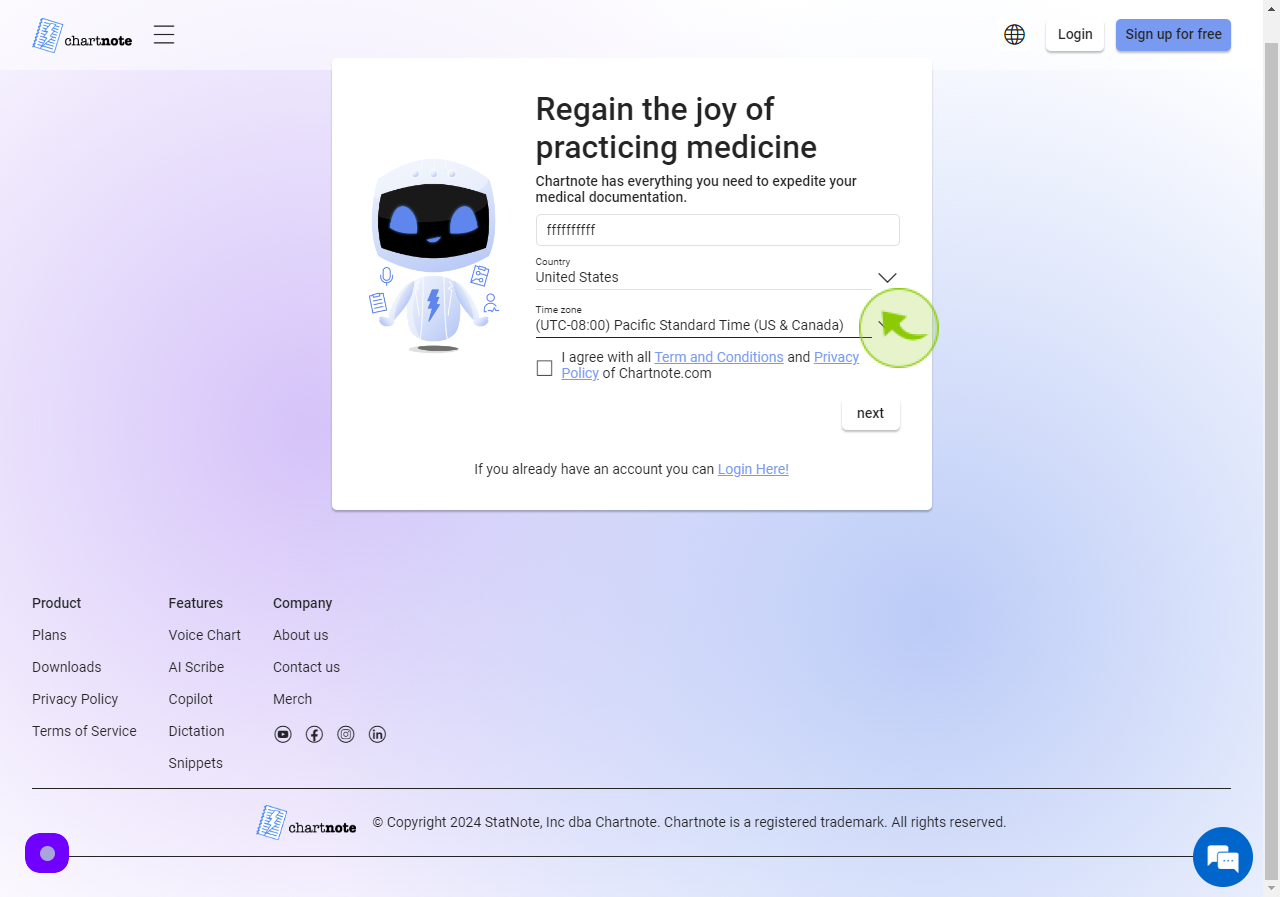
16
Click "Check Box"
Accept the Terms and Conditions
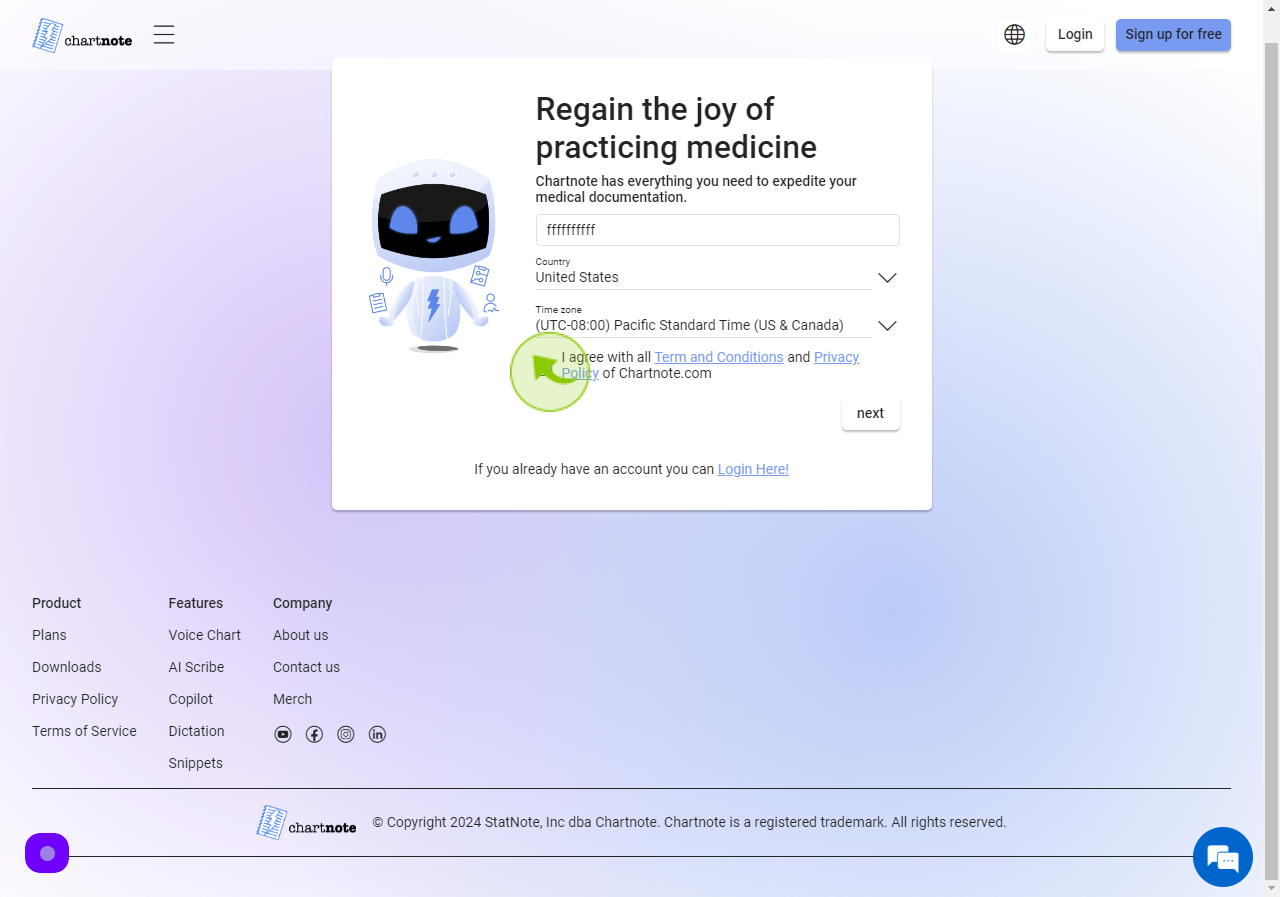
17
Click "Next"

