How to Sign up to Palo Alto Networks?
|
 Palo Alto Networks
|
Palo Alto Networks
|
Jun 26, 2024
|
17 Steps
This document provides a step-by-step guide on how to sign up for Palo Alto Networks. It covers the entire registration process, including creating an account, verifying your email, and setting up login credentials. Whether you're a new user or need guidance on account setup, this document ensures a smooth and hassle-free registration experience.
How to Sign up to Palo Alto Networks?
|
Palo Alto Networks
|
17 Steps

1
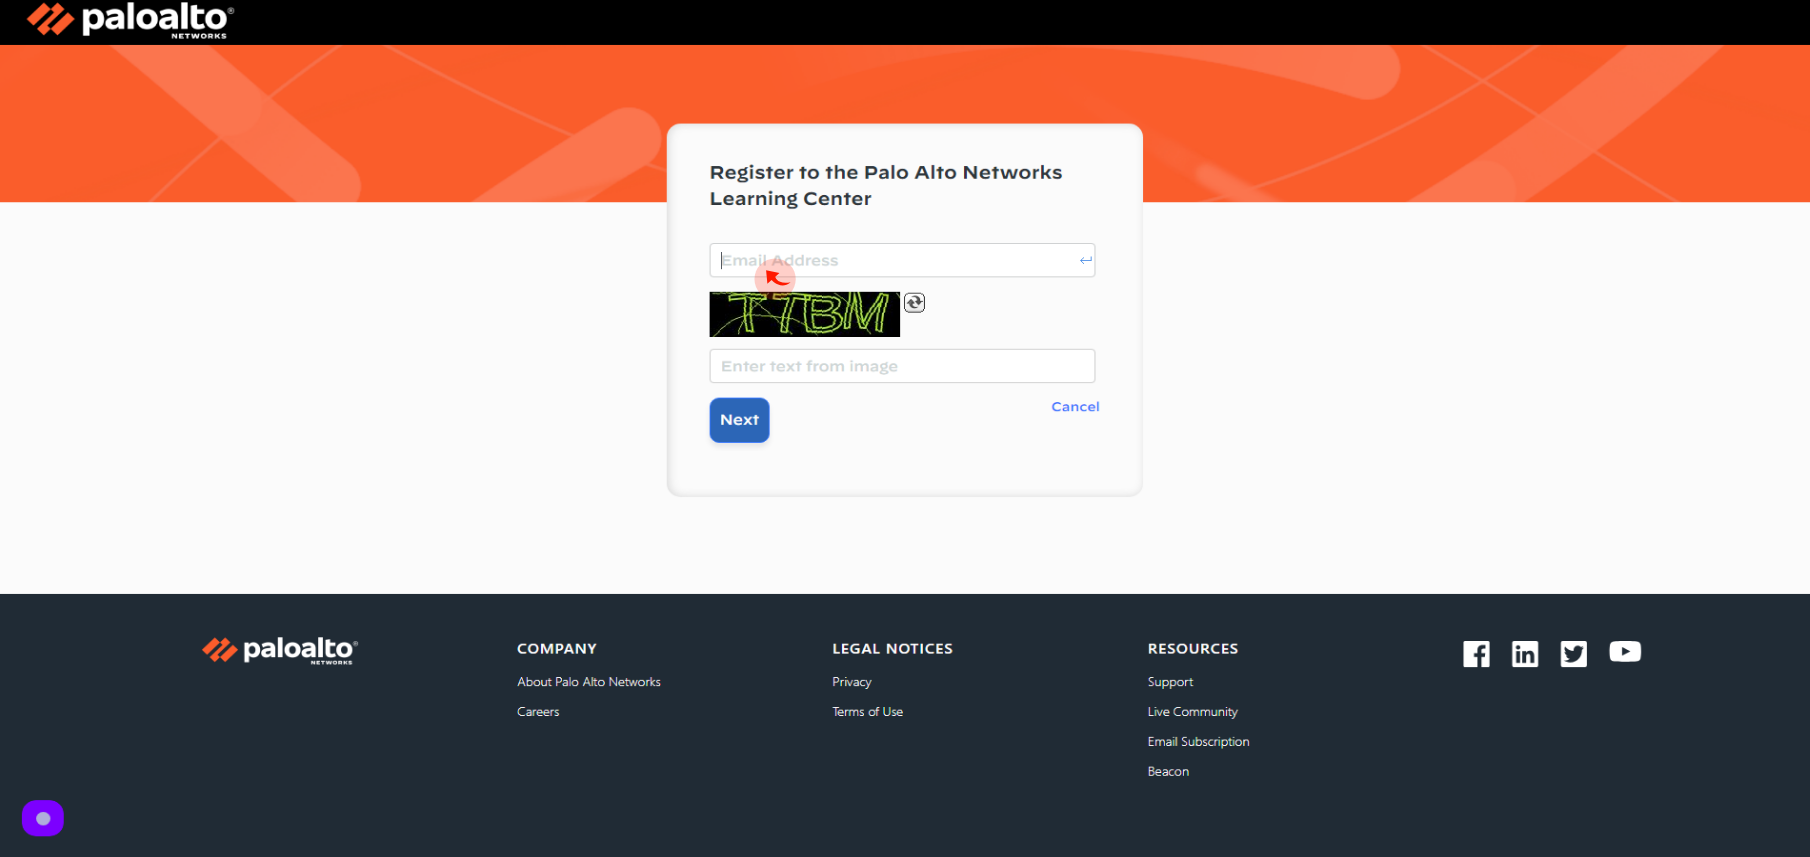
Navigate to https://login.paloaltonetworks.com/lms/Register
2
Click "Email Address" field
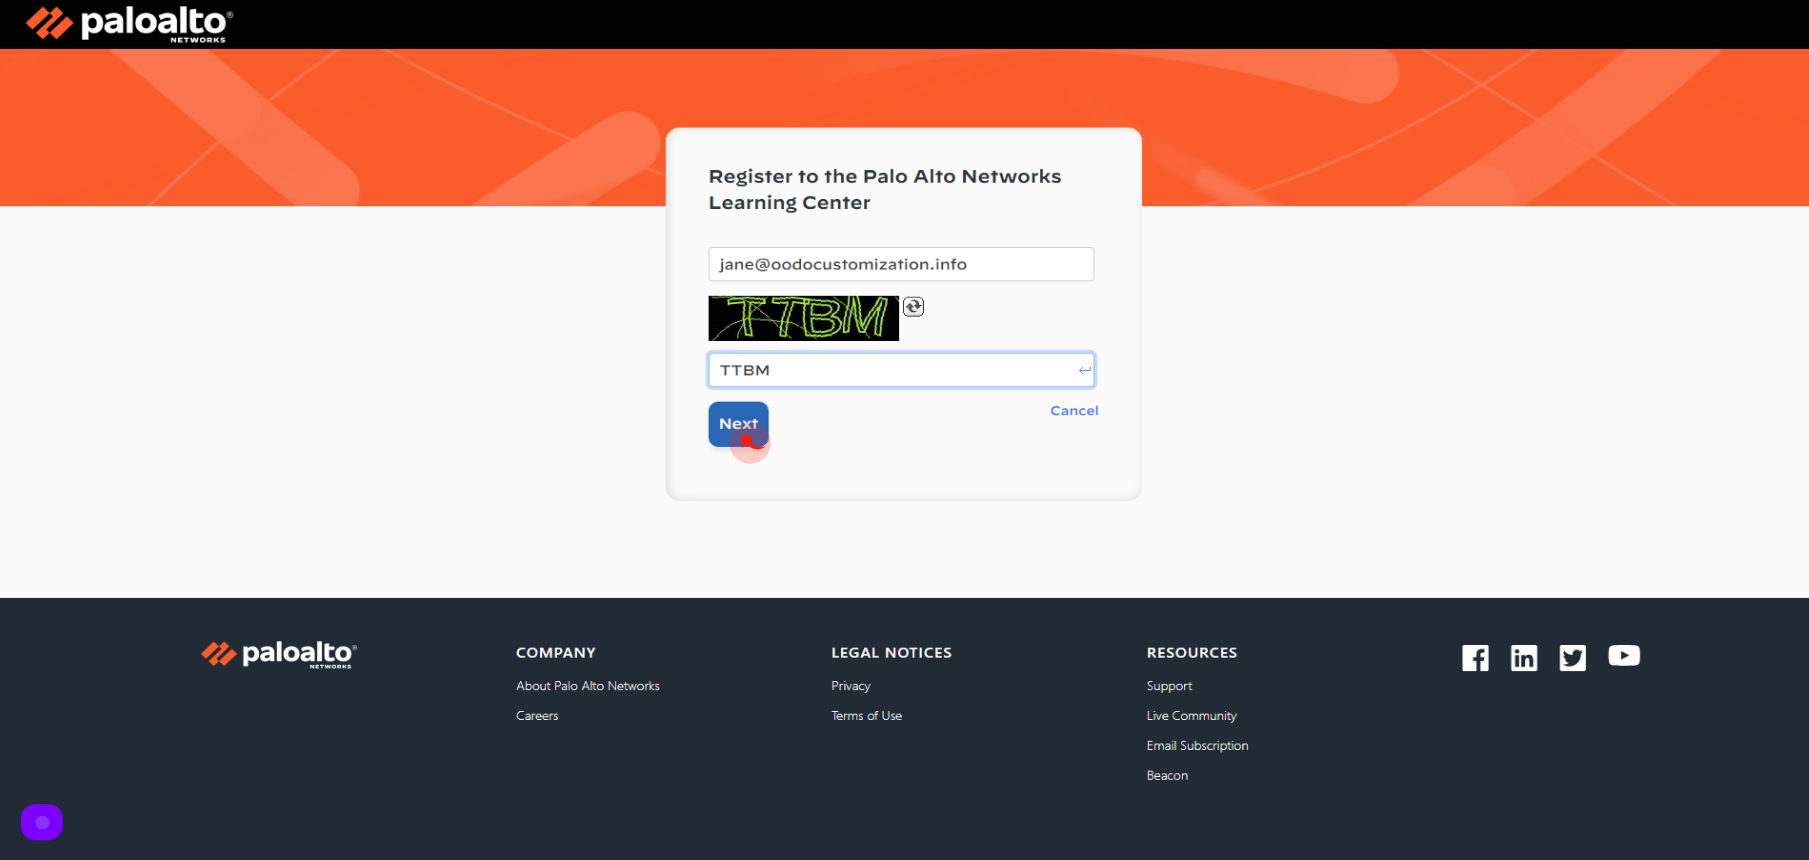
Enter your Email Address
3
Click "Enter Text" field.
Enter the above text

4
Click "Next"
5
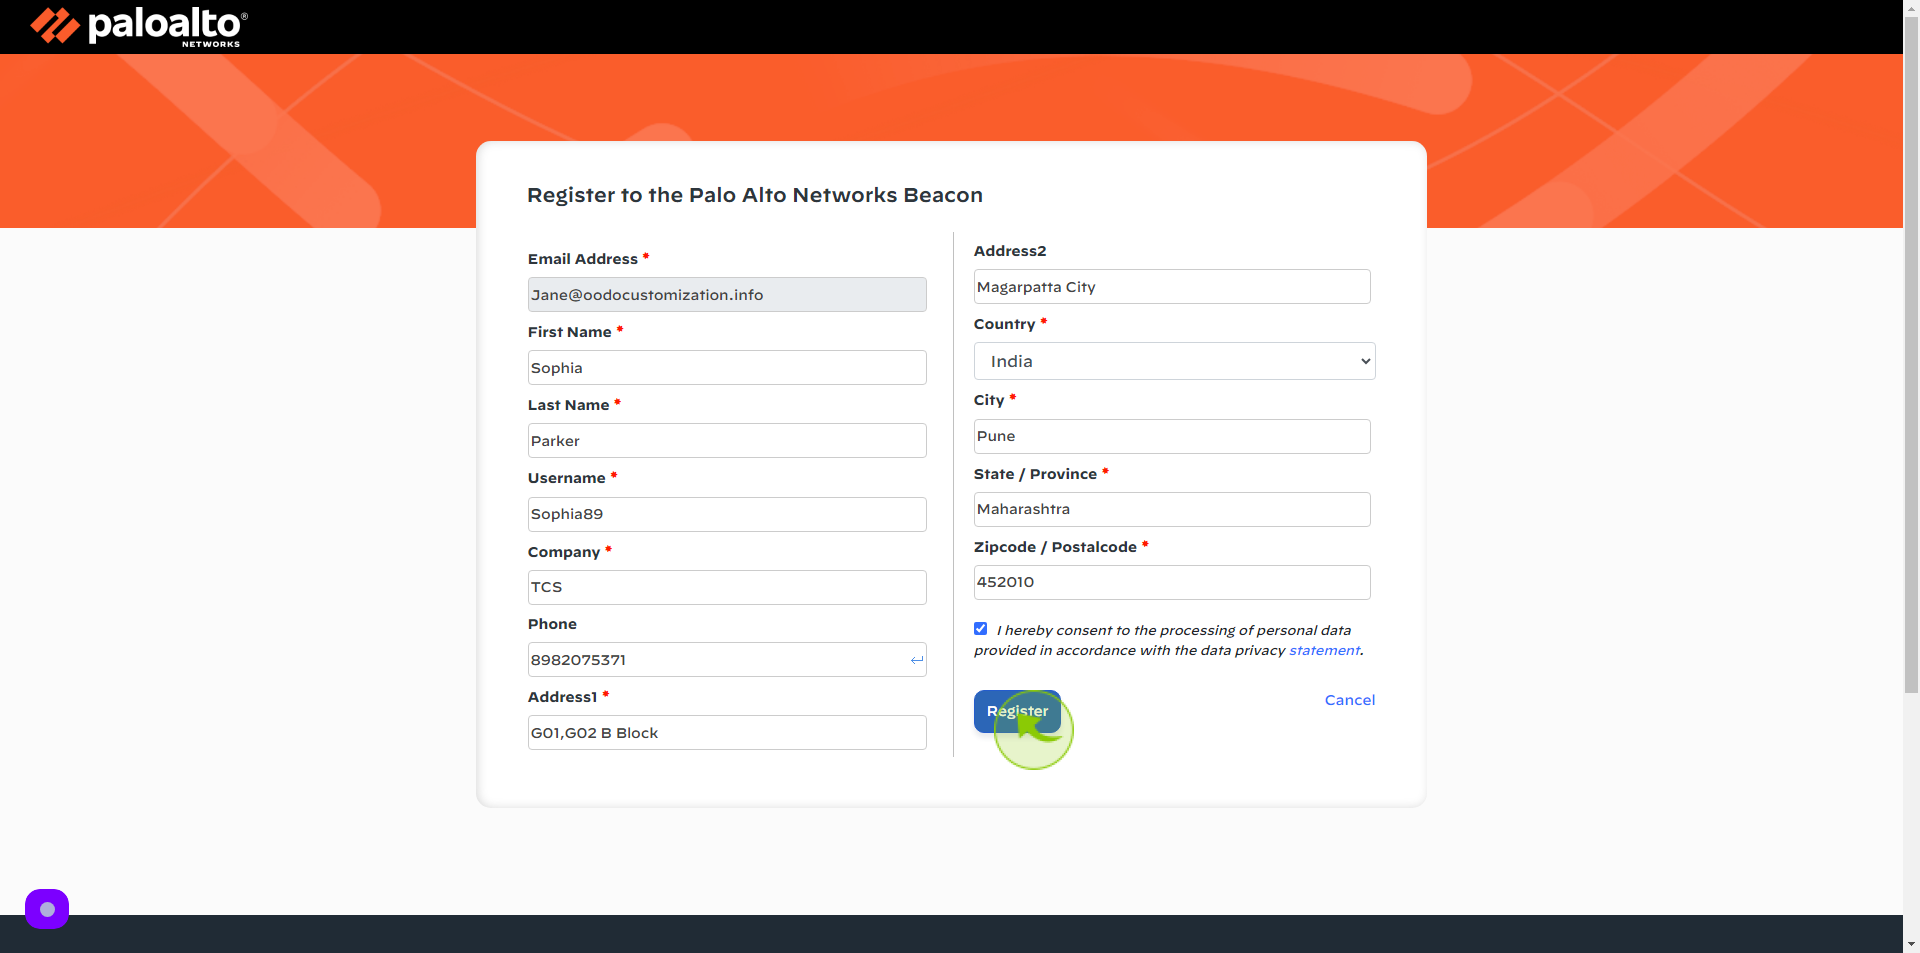
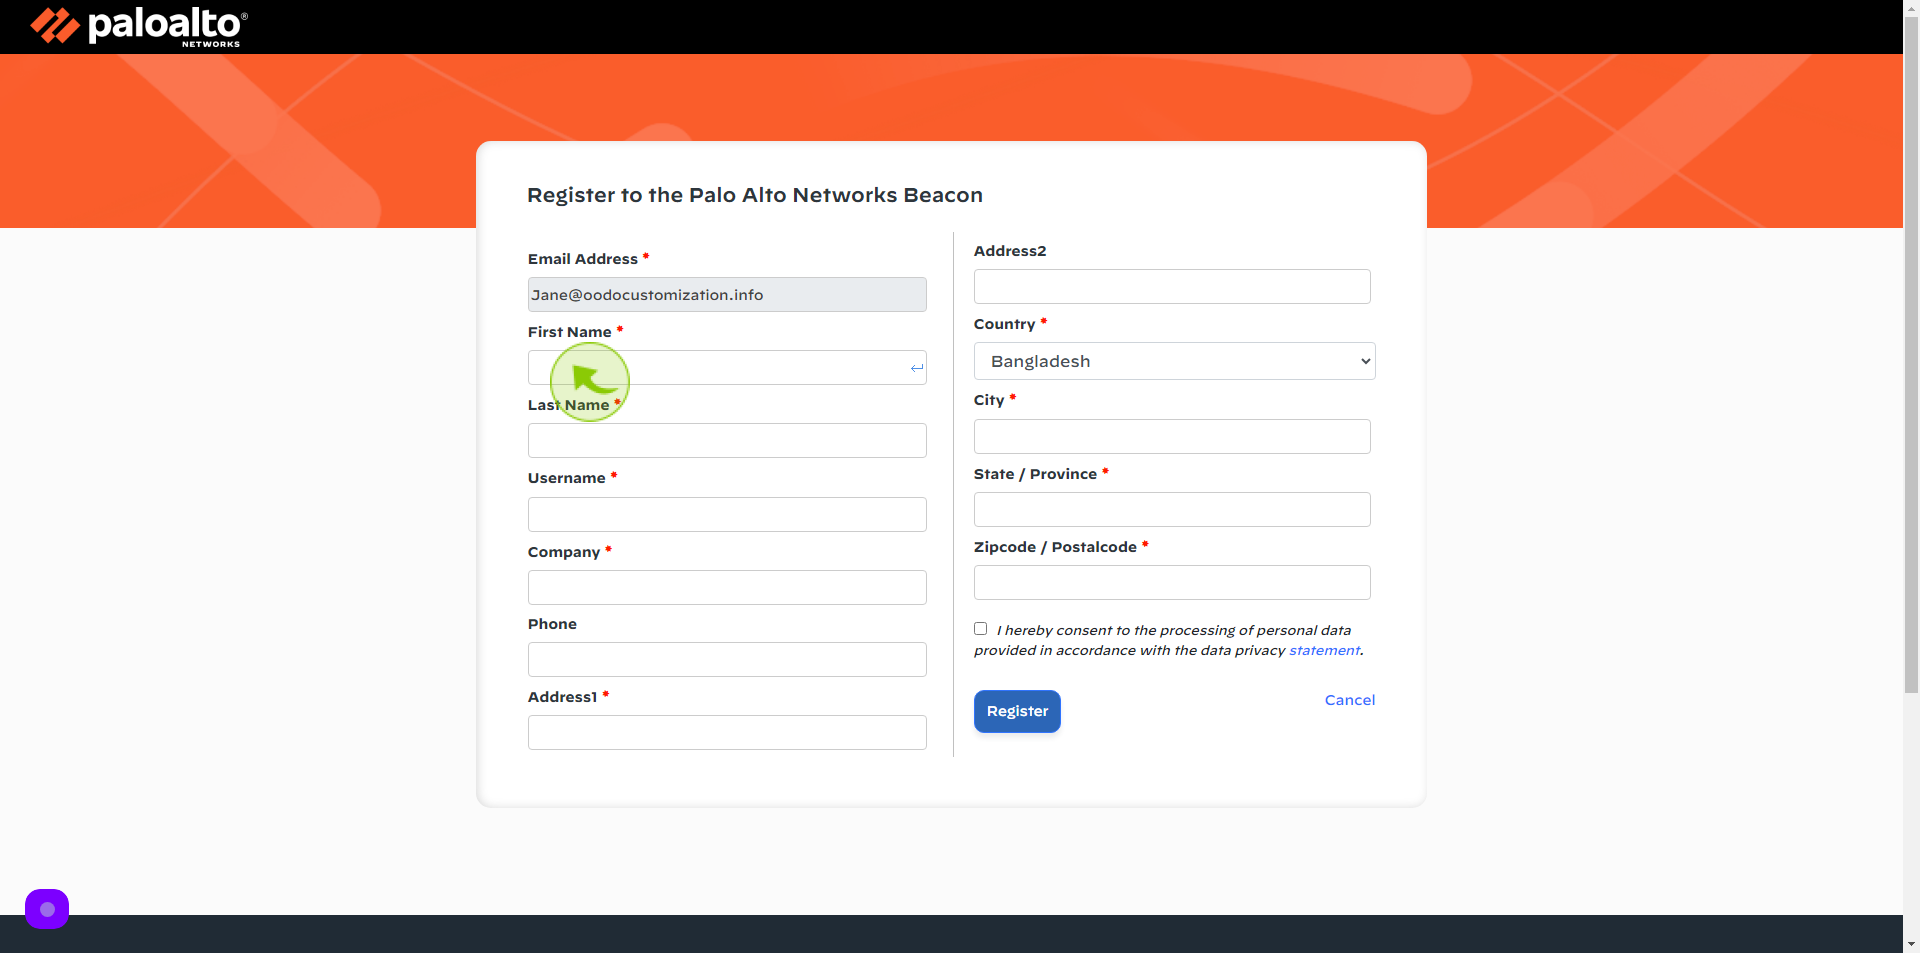
Click the "First Name" field.
Enter your First Name
6
Click the "Last Name" field.
Enter your Last Name
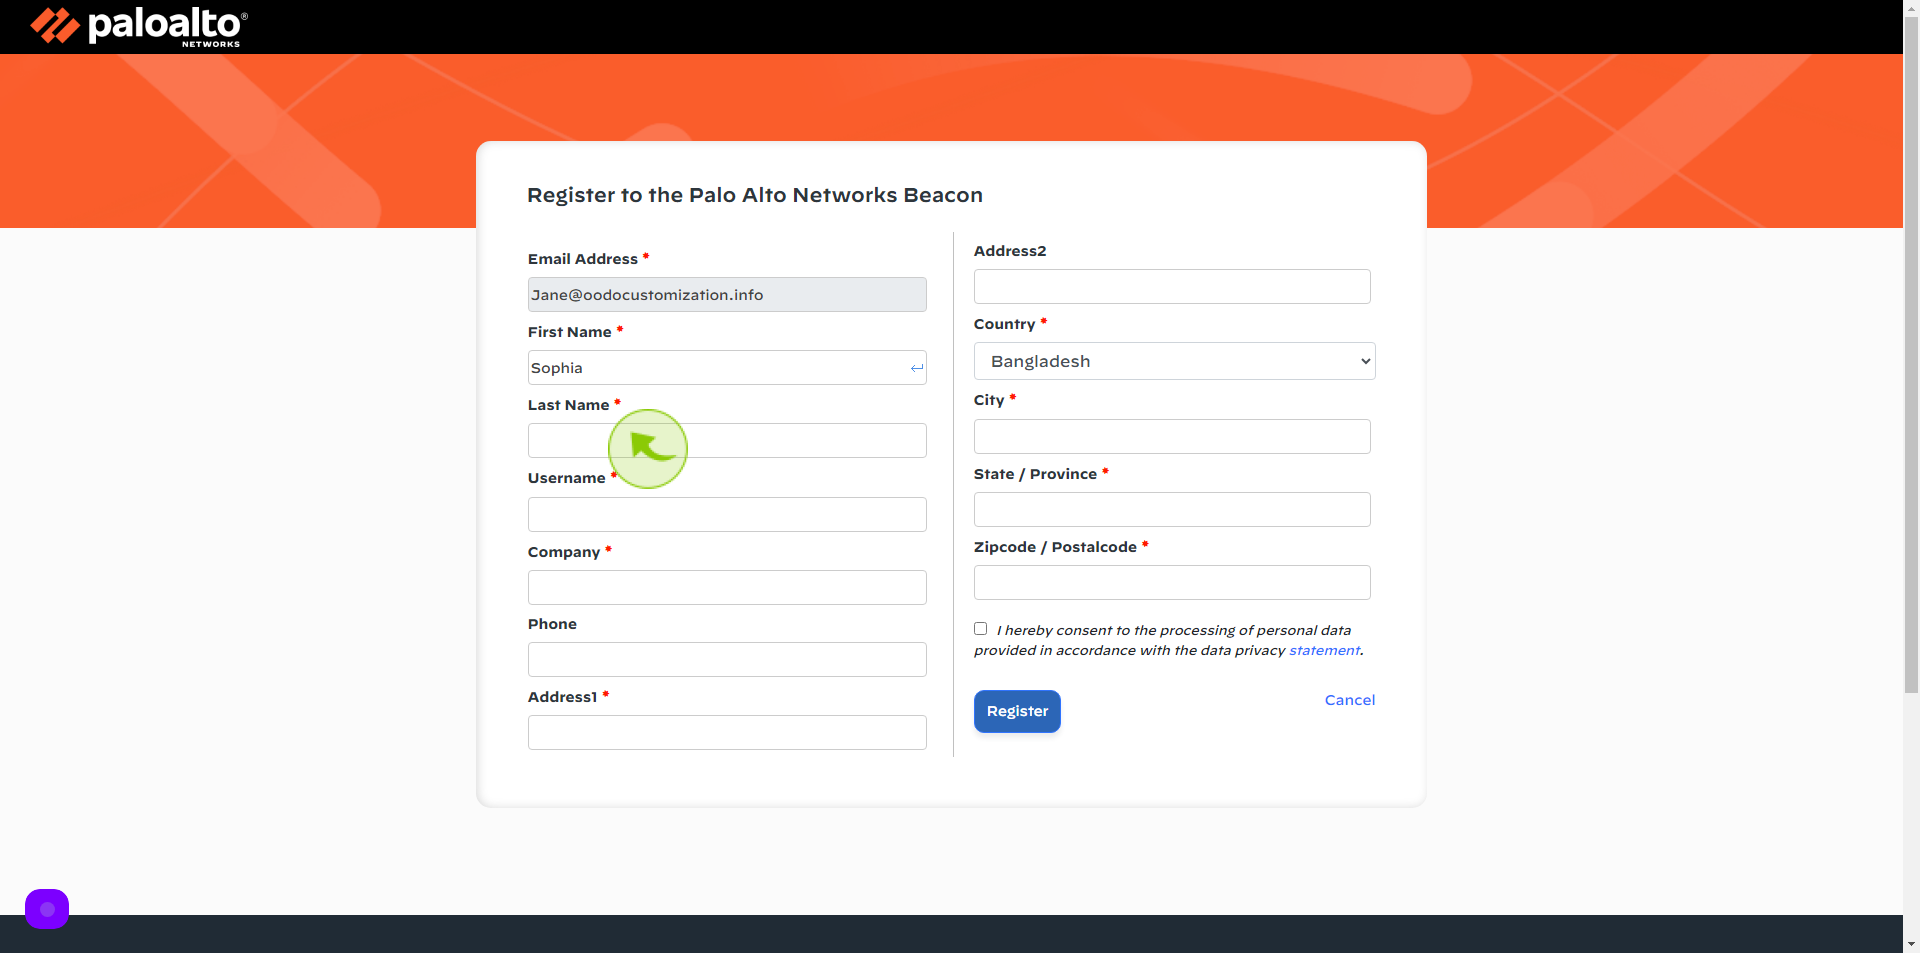
7
Click the "Username" field.
Enter your Username
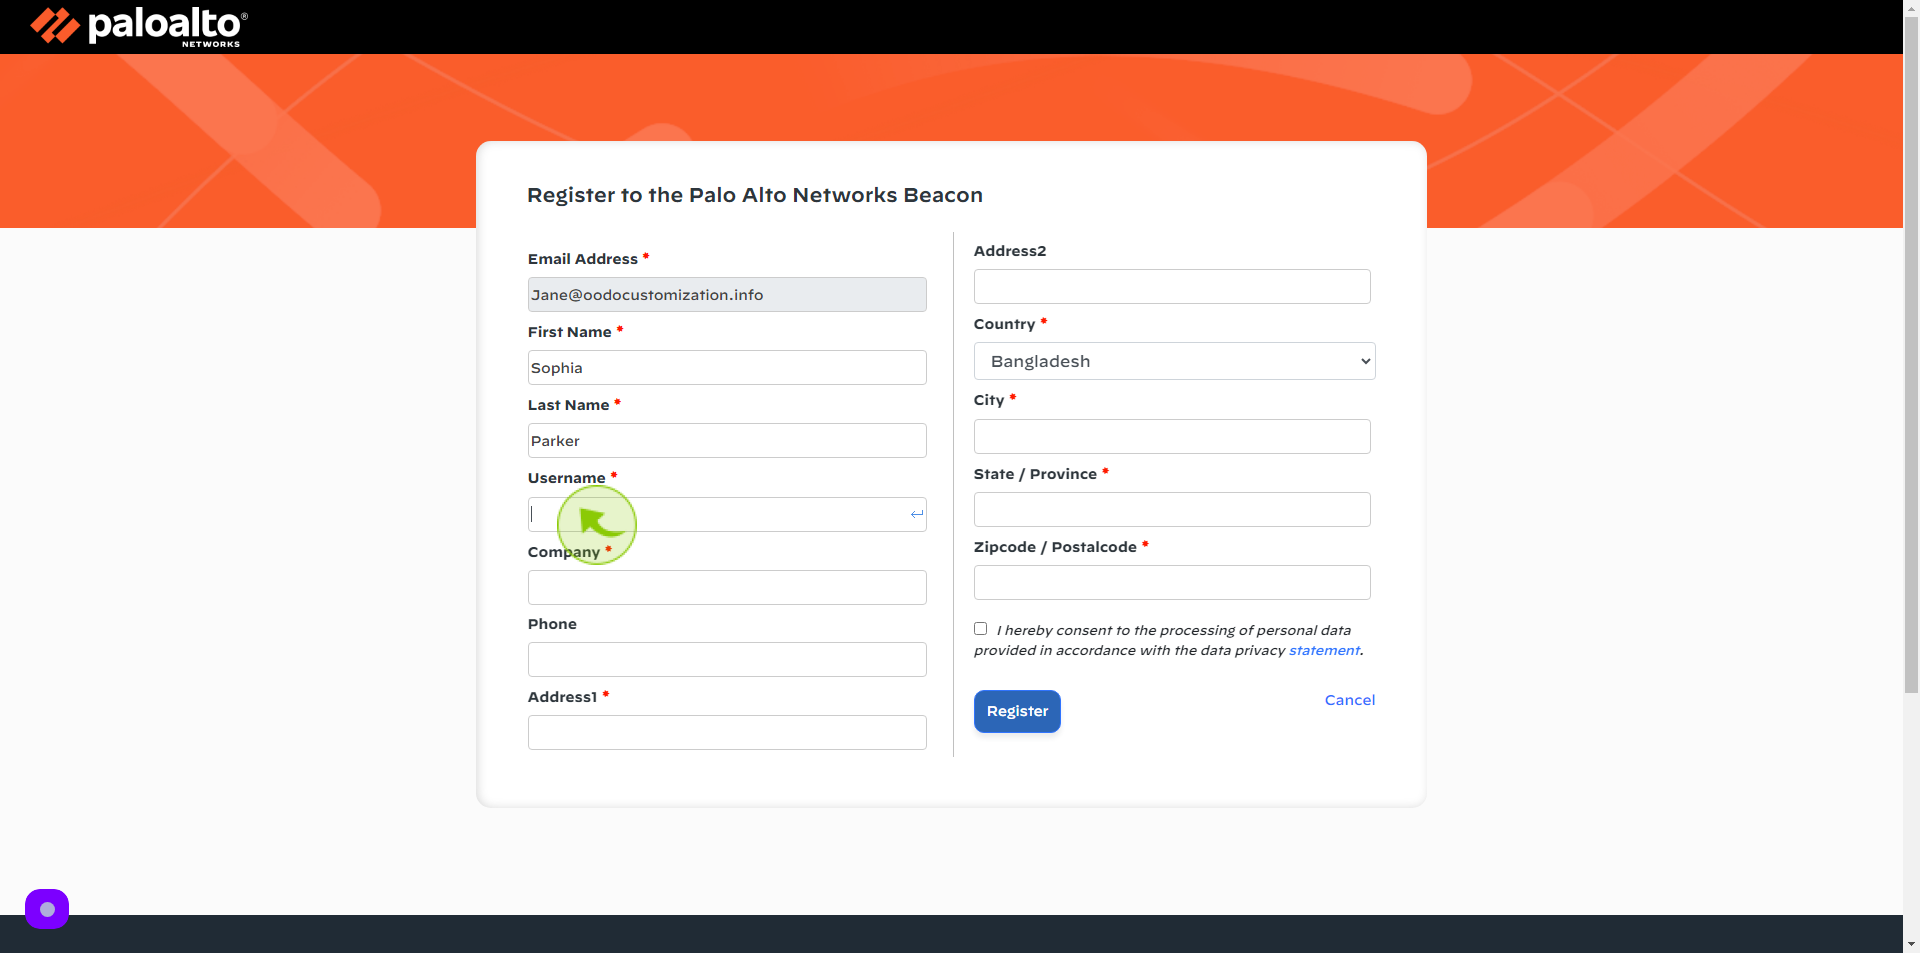
8
Click the "Company" field.
Enter your Company Name
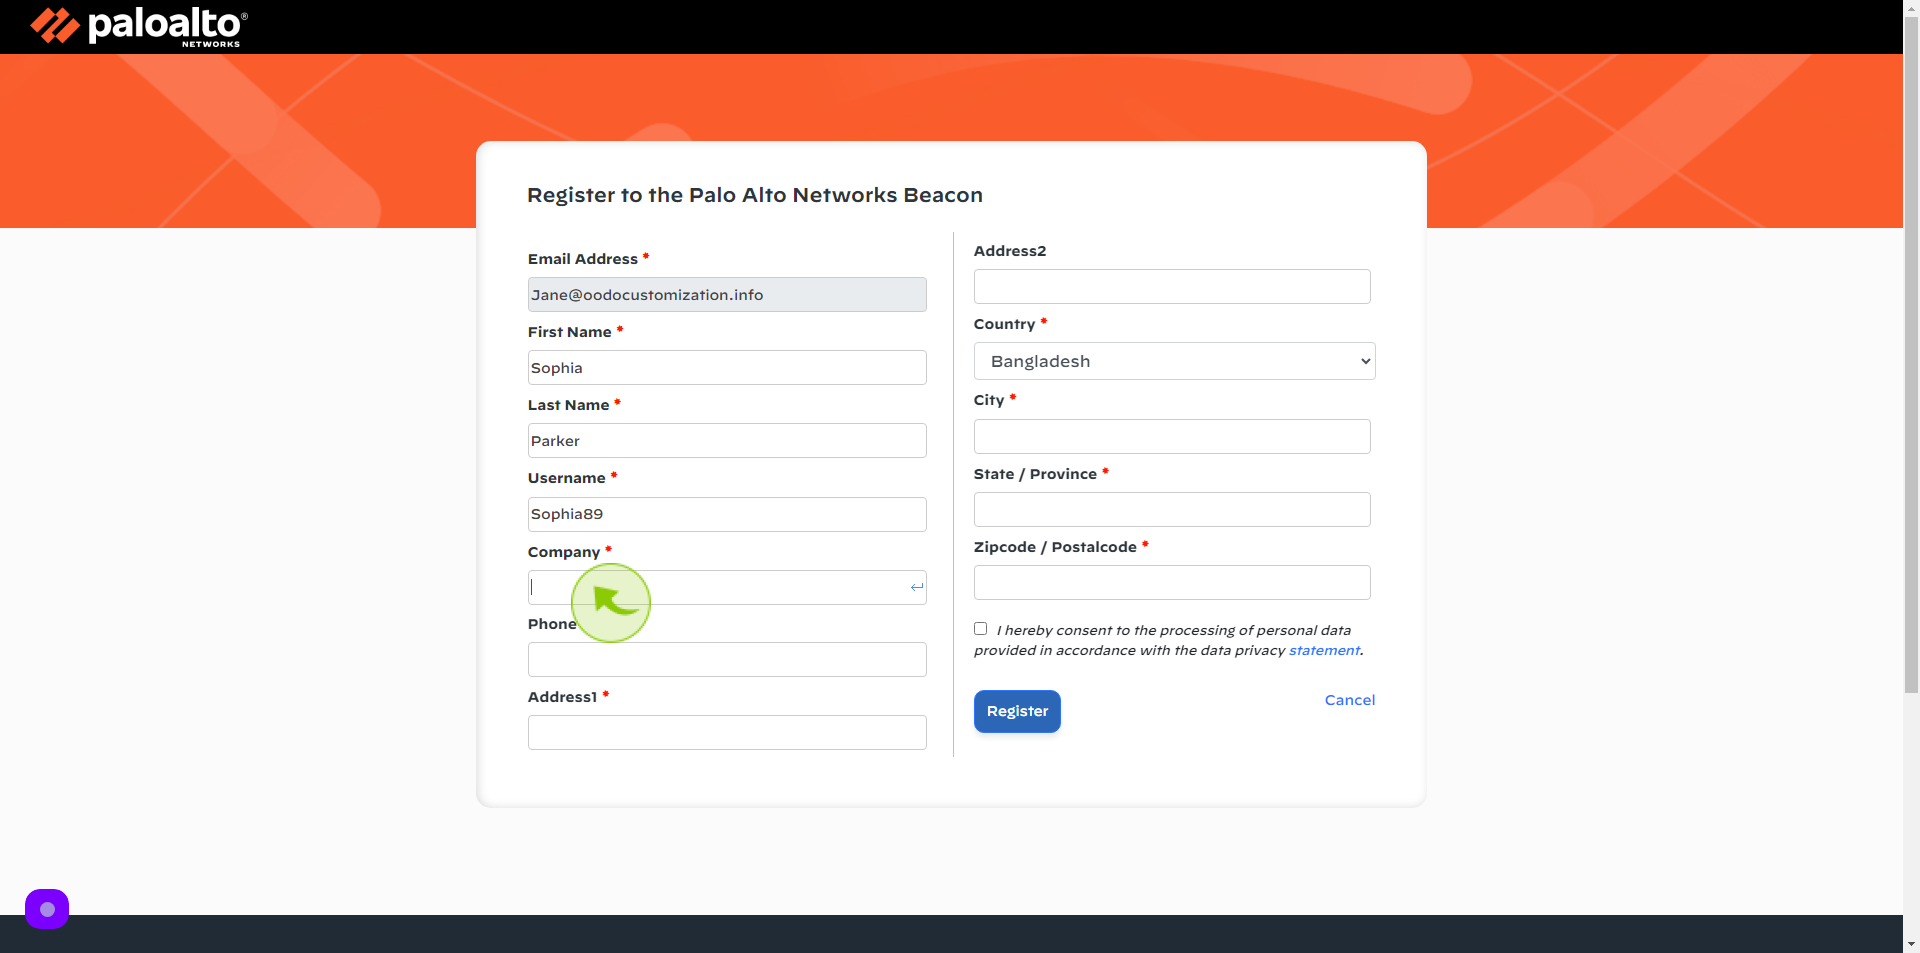
9
Click the "Phone" field.
Enter your Phone Number

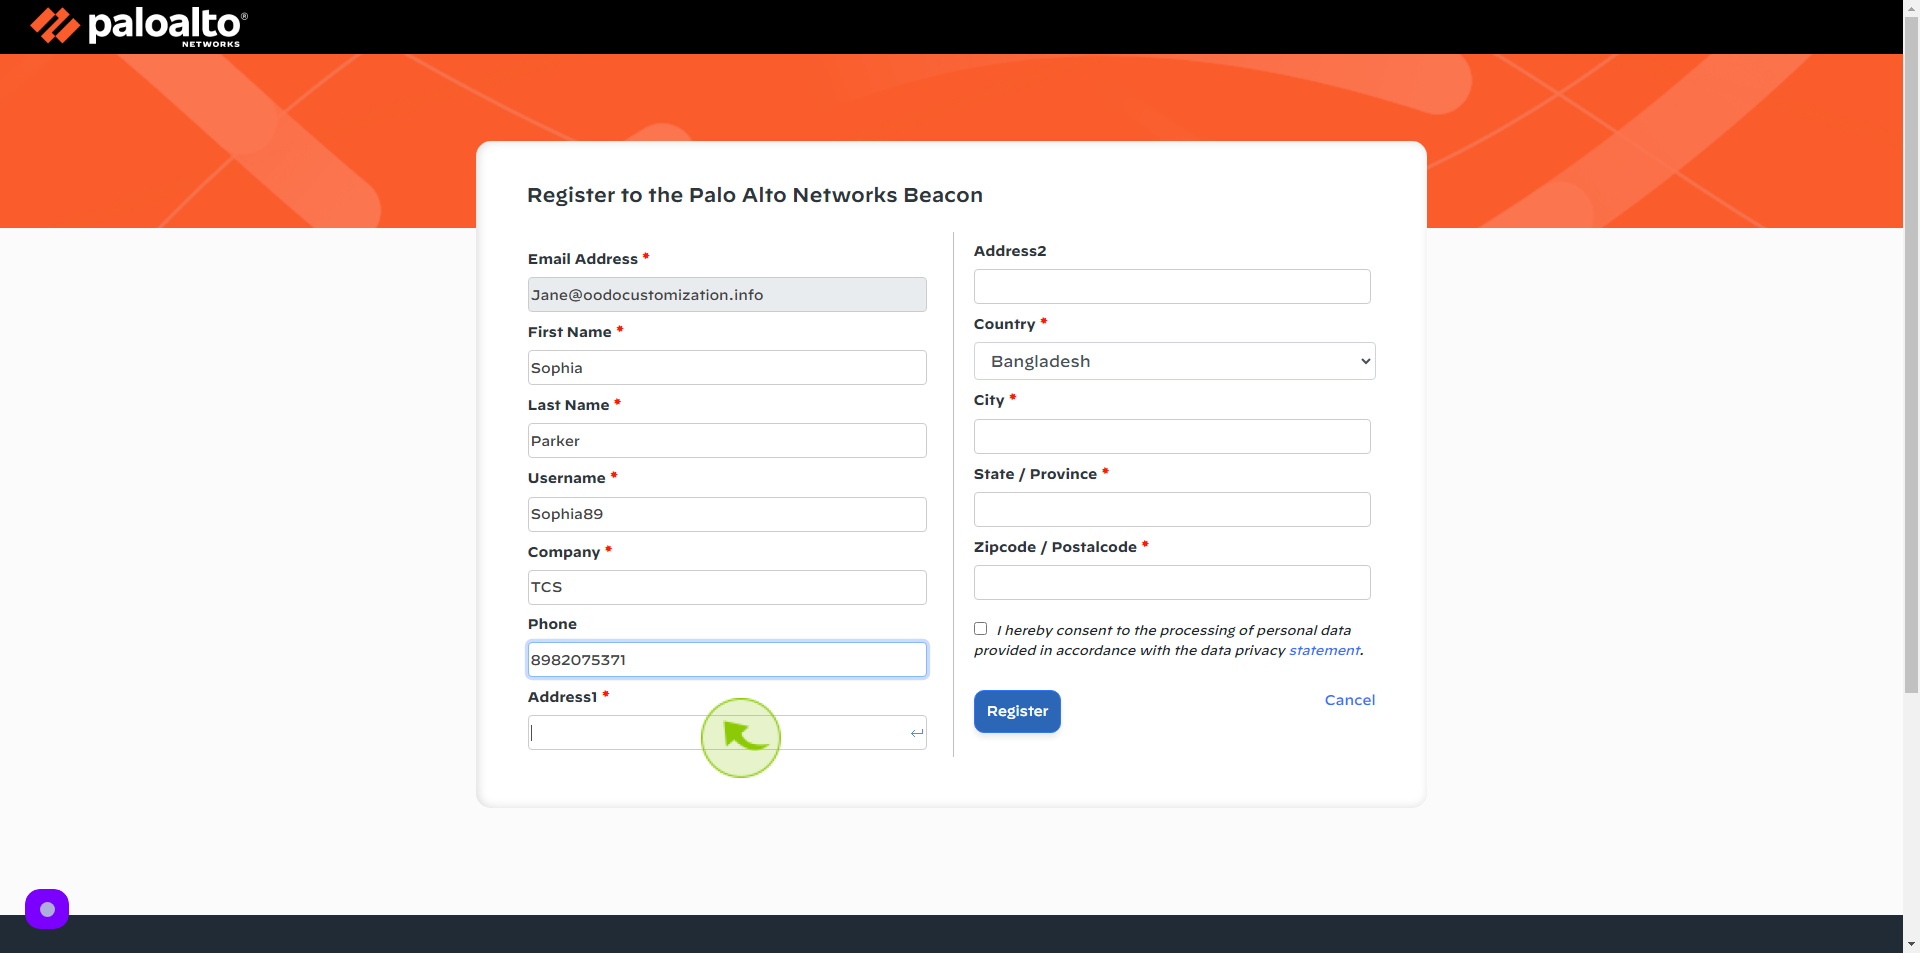
10
Click the "Address1" field.
Enter your Address
11
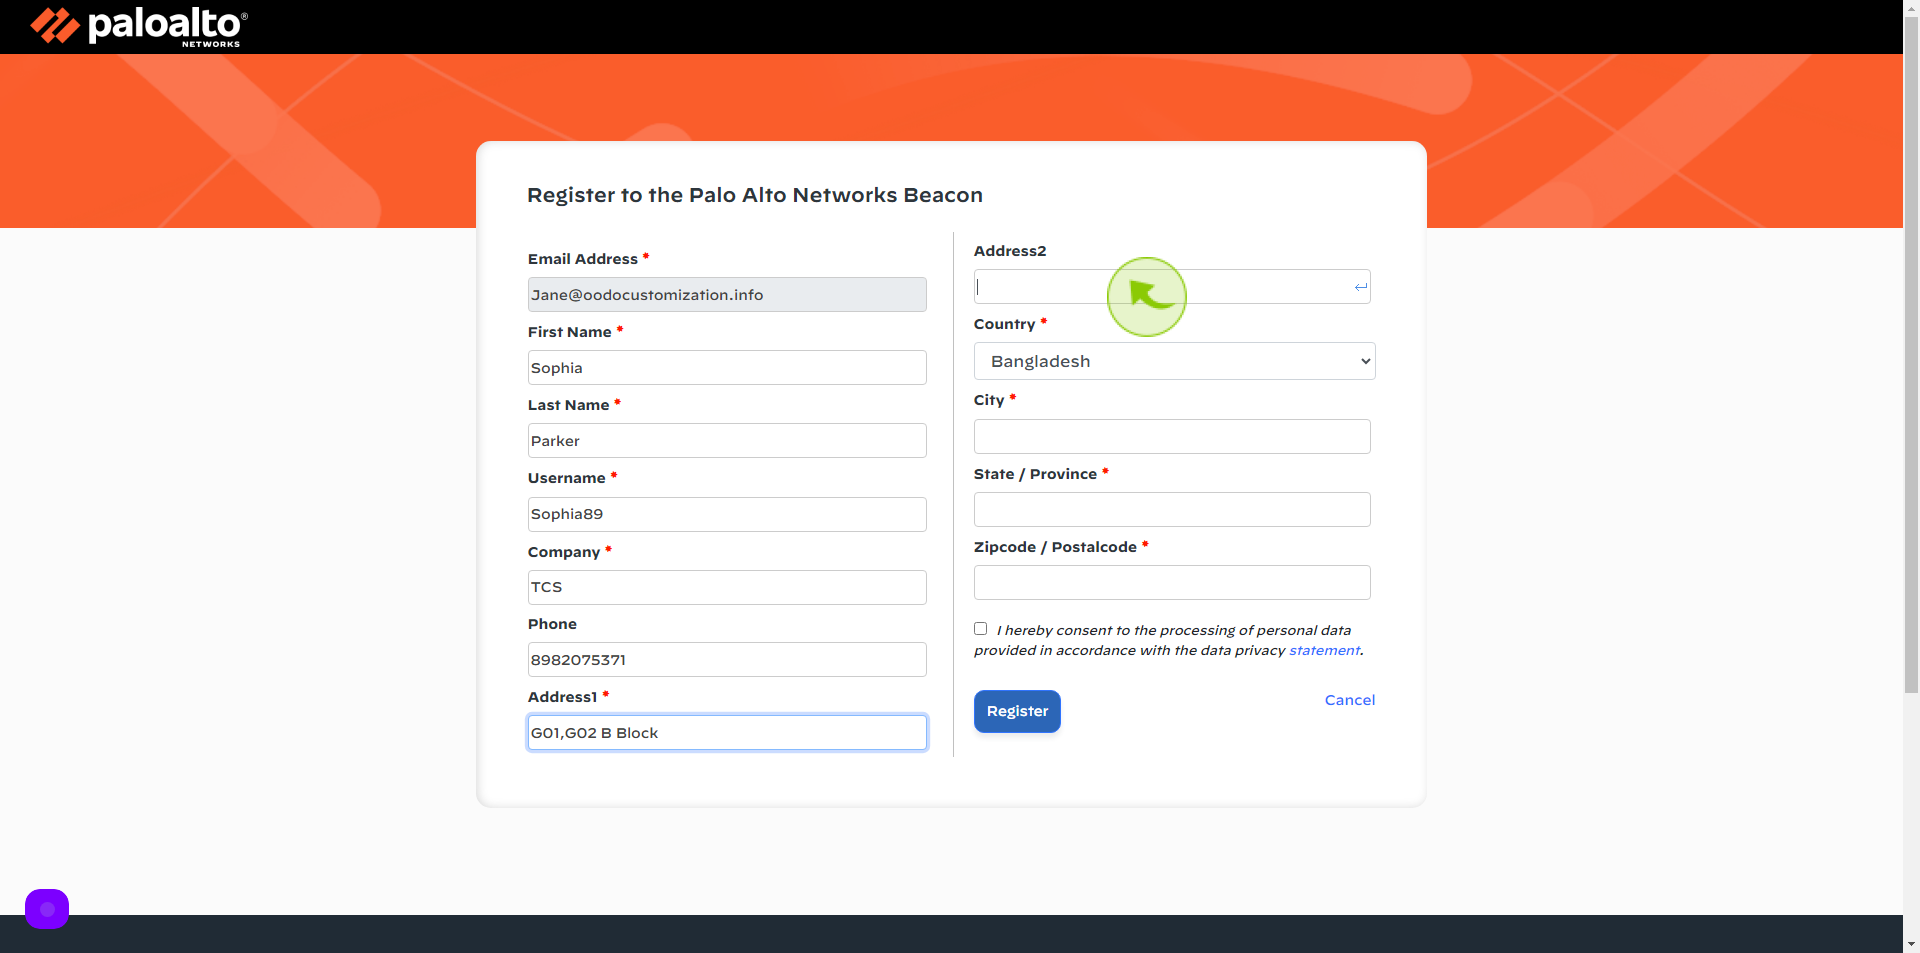
Click the "Address2" field.
Enter your Address
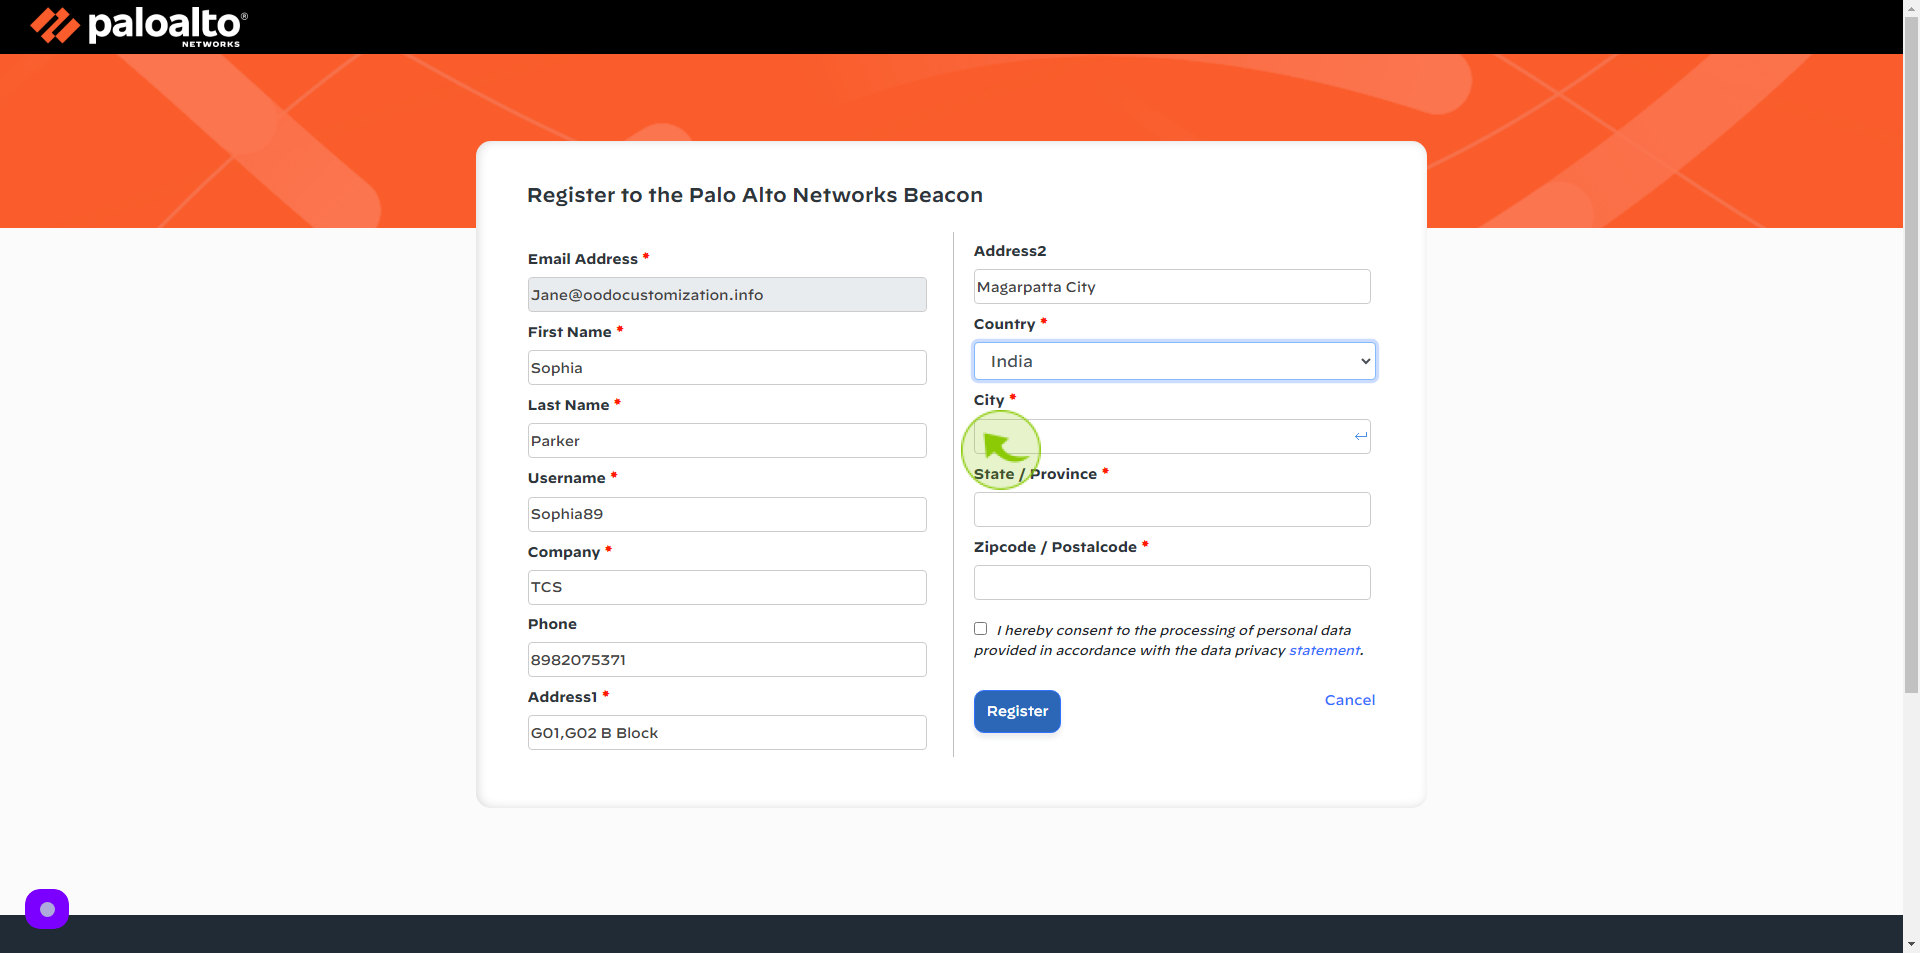
12
Select the "Country" from the dropdown.
Select your Country

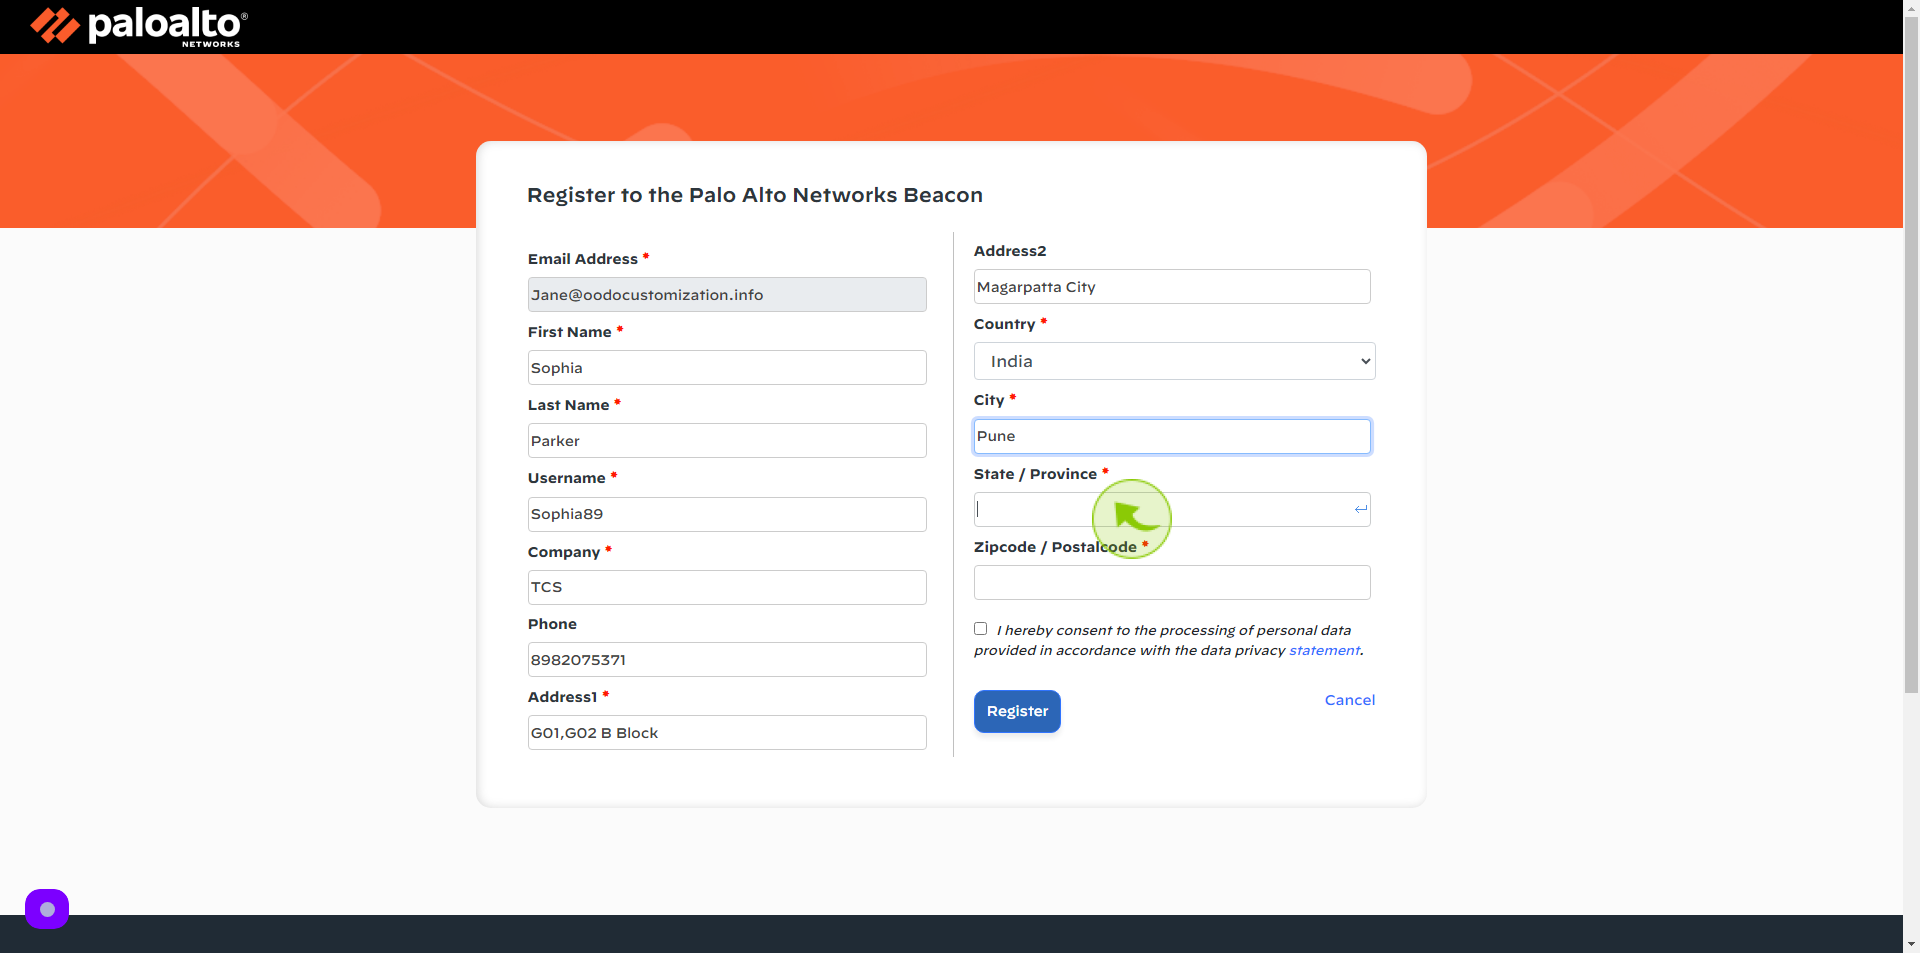
13
Click the "City" field.
Enter your City
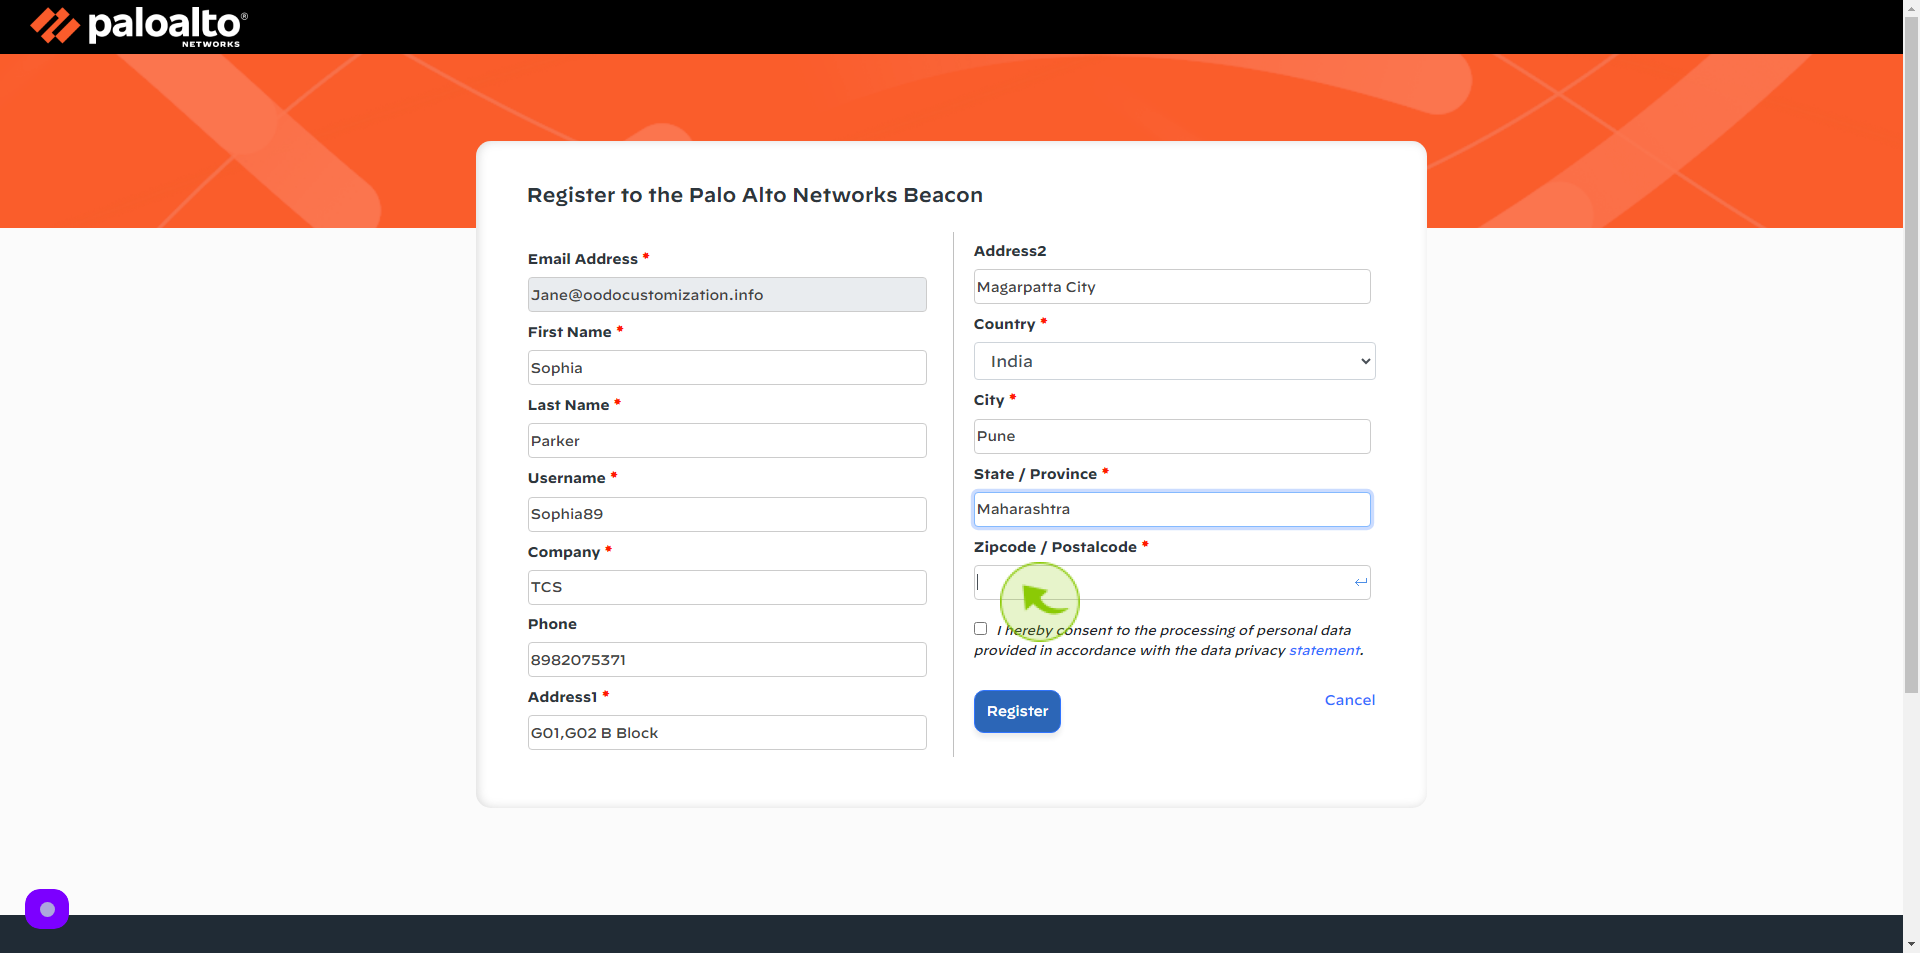
14
Click the "State" field
Enter your State Name
15
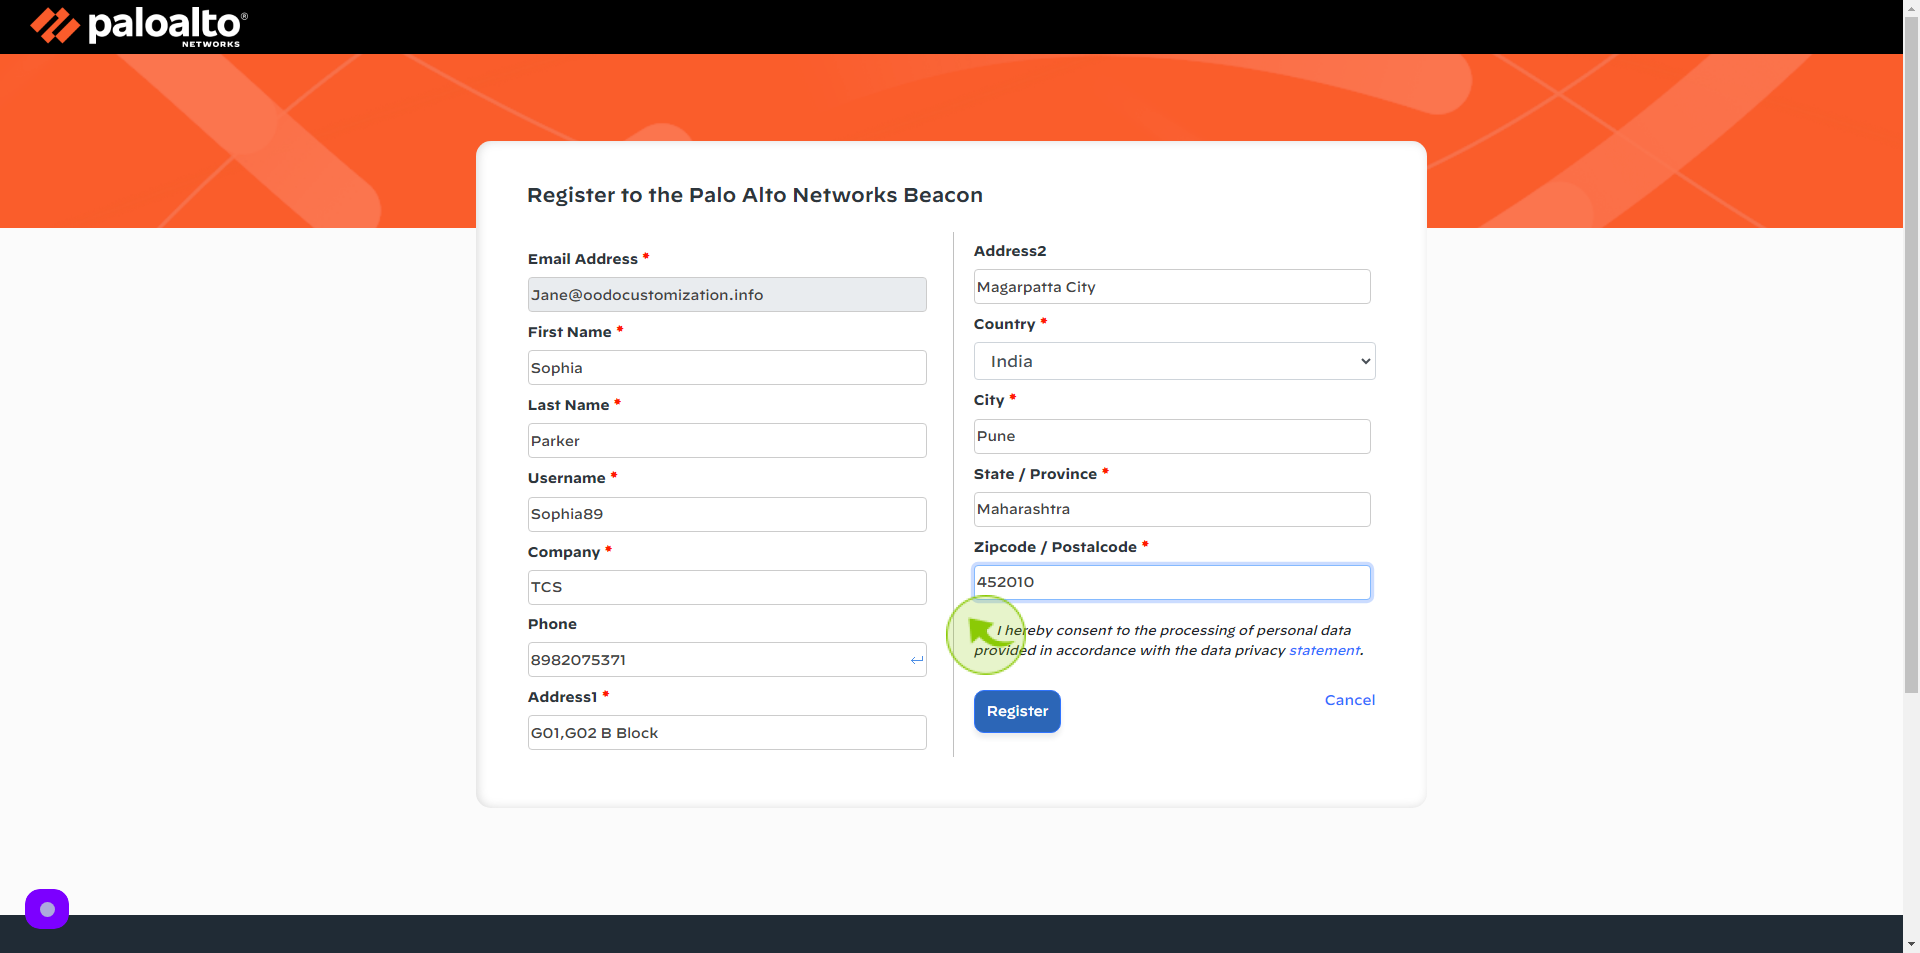
Click the "Zipcode/Postalcode" field.
Enter your Zipcode/Postalcode
16
Click the "Check Box"
Accept the Terms and Conditions
17
Click "Register"
After clicking on the register button, your account will be created.