How to Sign up to Sedo?
|
 sedo
|
sedo
|
Jun 17, 2024
|
19 Steps
This document provides a step-by-step guide on how to sign up for Sedo, a popular online marketplace for buying and selling domain names. Whether you're a domain investor, a business owner, or someone looking to explore domain trading, this guide ensures you understand each stage of signing up, making it easy to start using Sedo's platform to buy, sell, and manage domain names.
How to Sign up to Sedo?
|
sedo
|
19 Steps

1
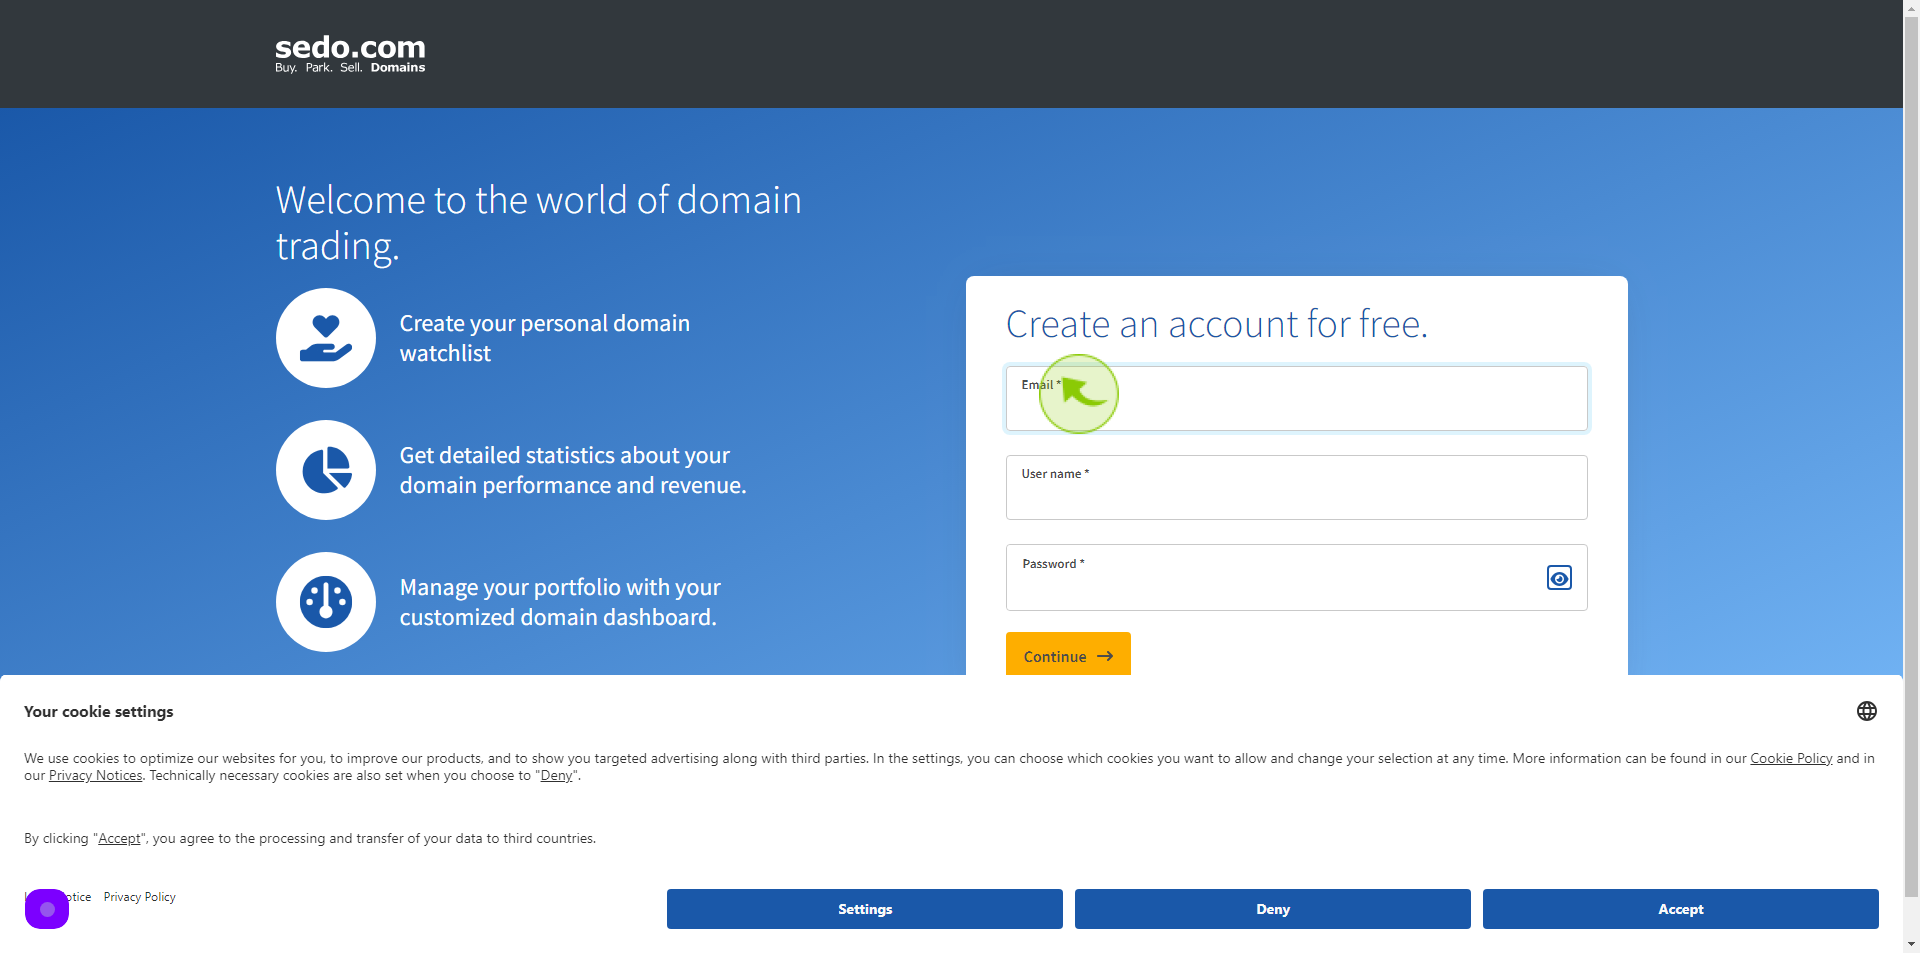
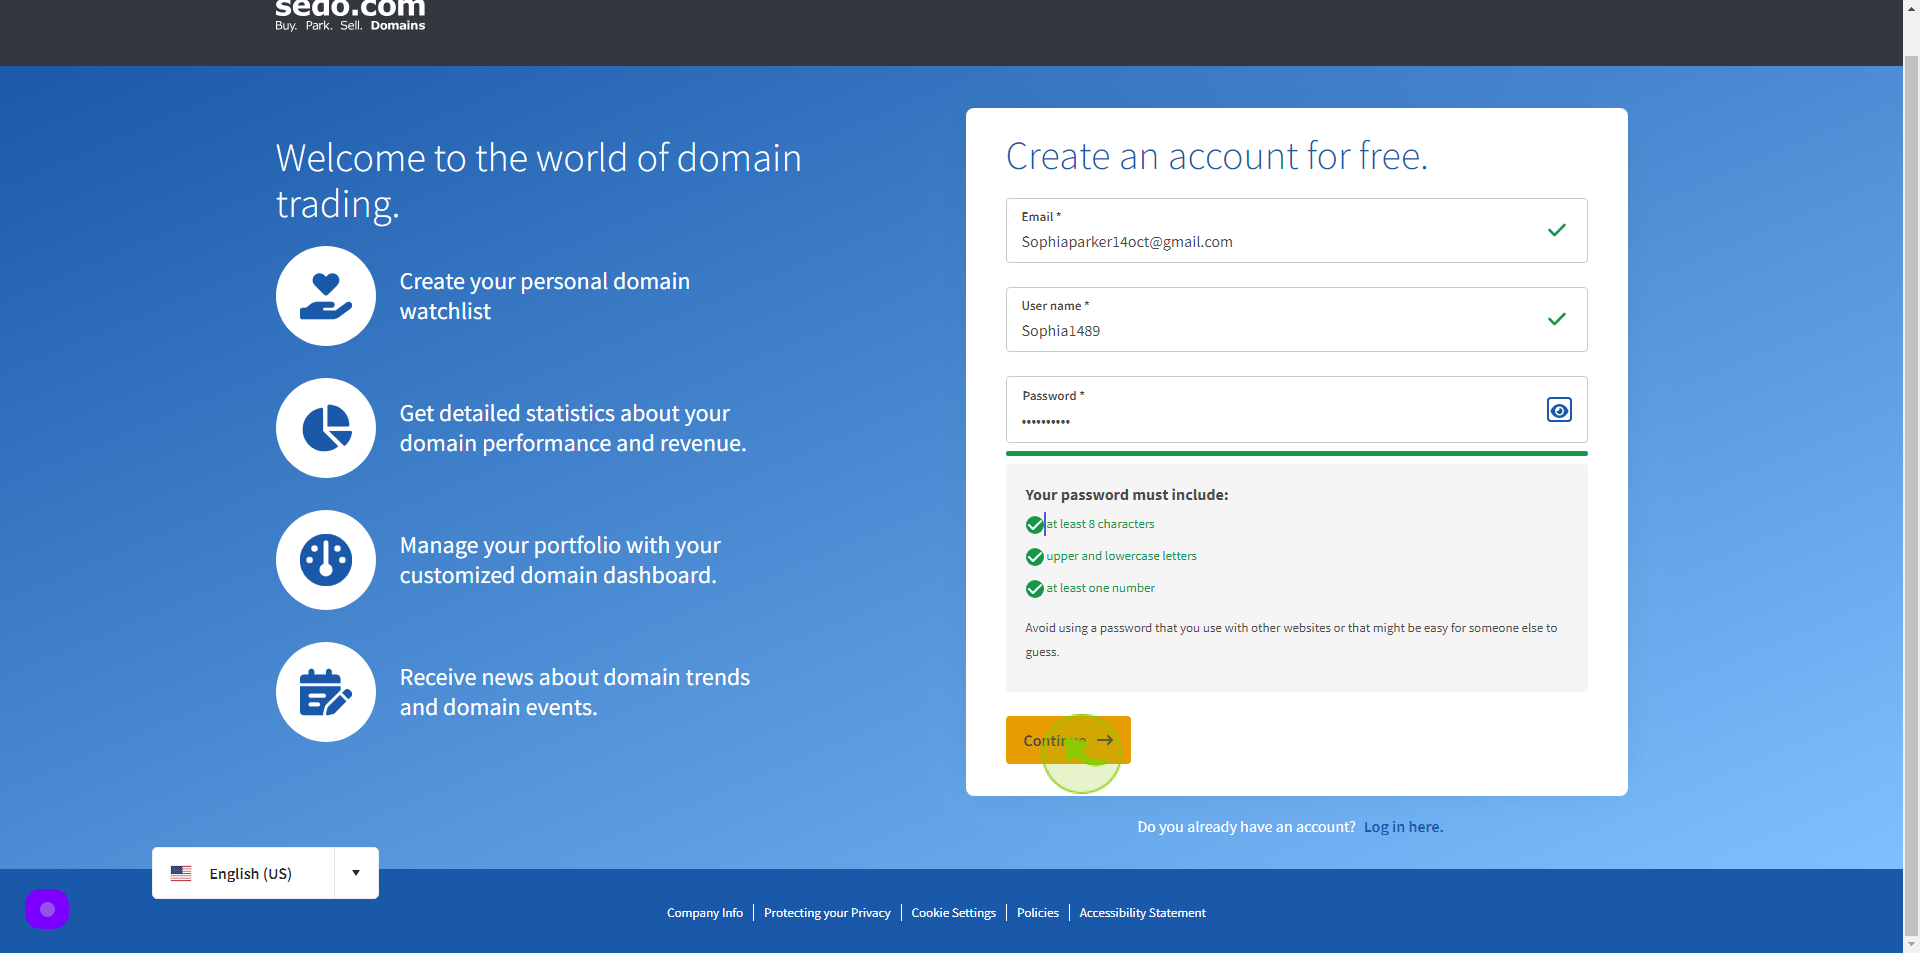
Navigate to https://sedo.com/register
2
Click "Email"
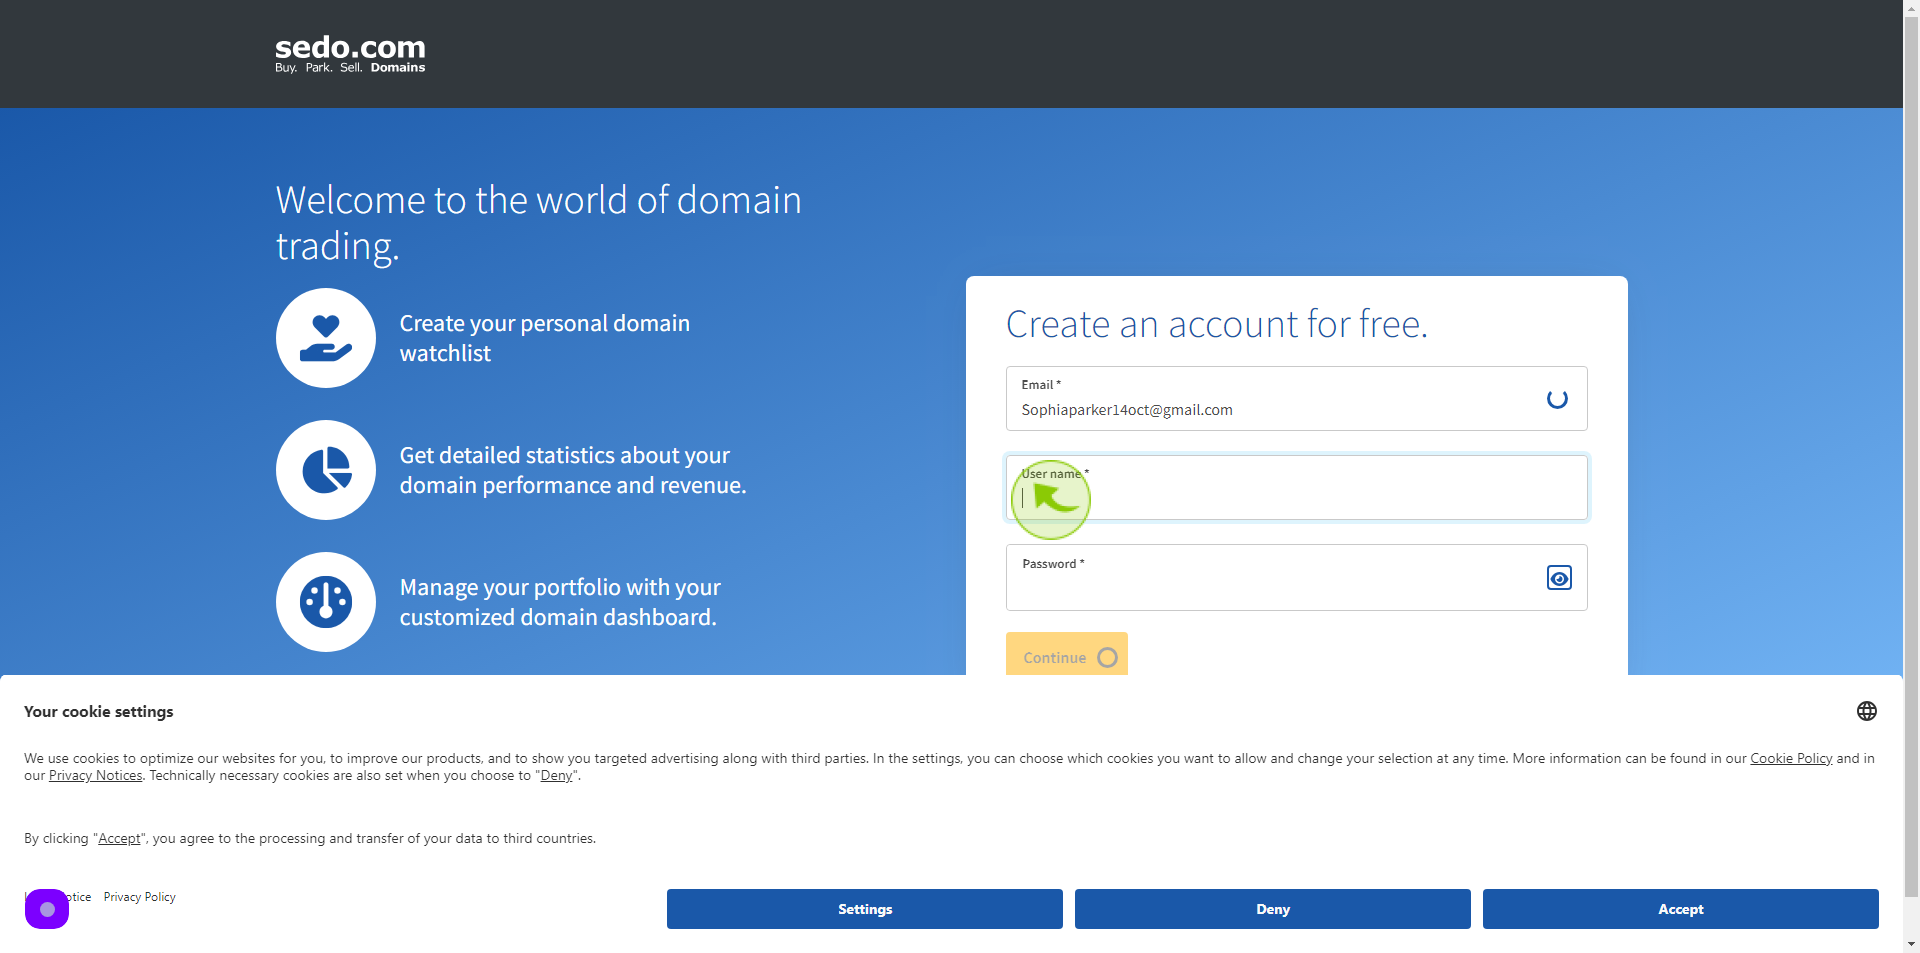
Enter your Email Address
3
Click the "Username" field.
Enter your User name
4
Click the "Password" field.
Enter your Password
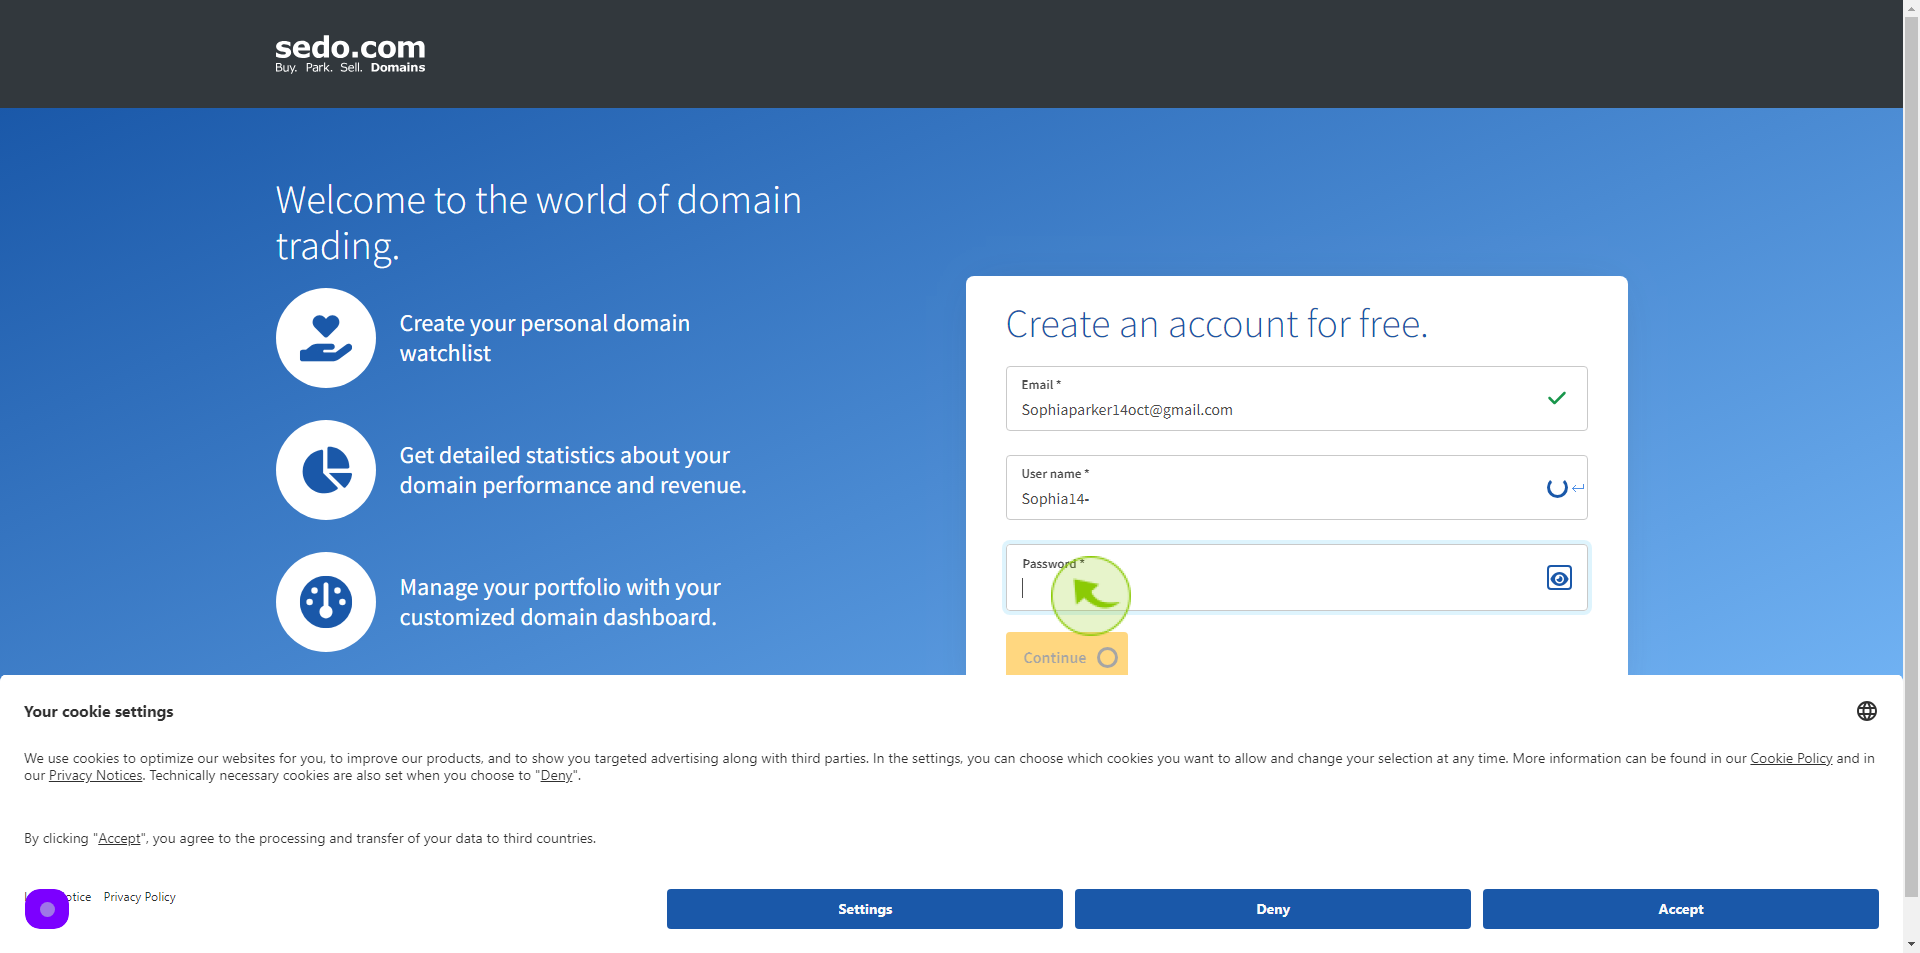
5
Click "Continue"
6
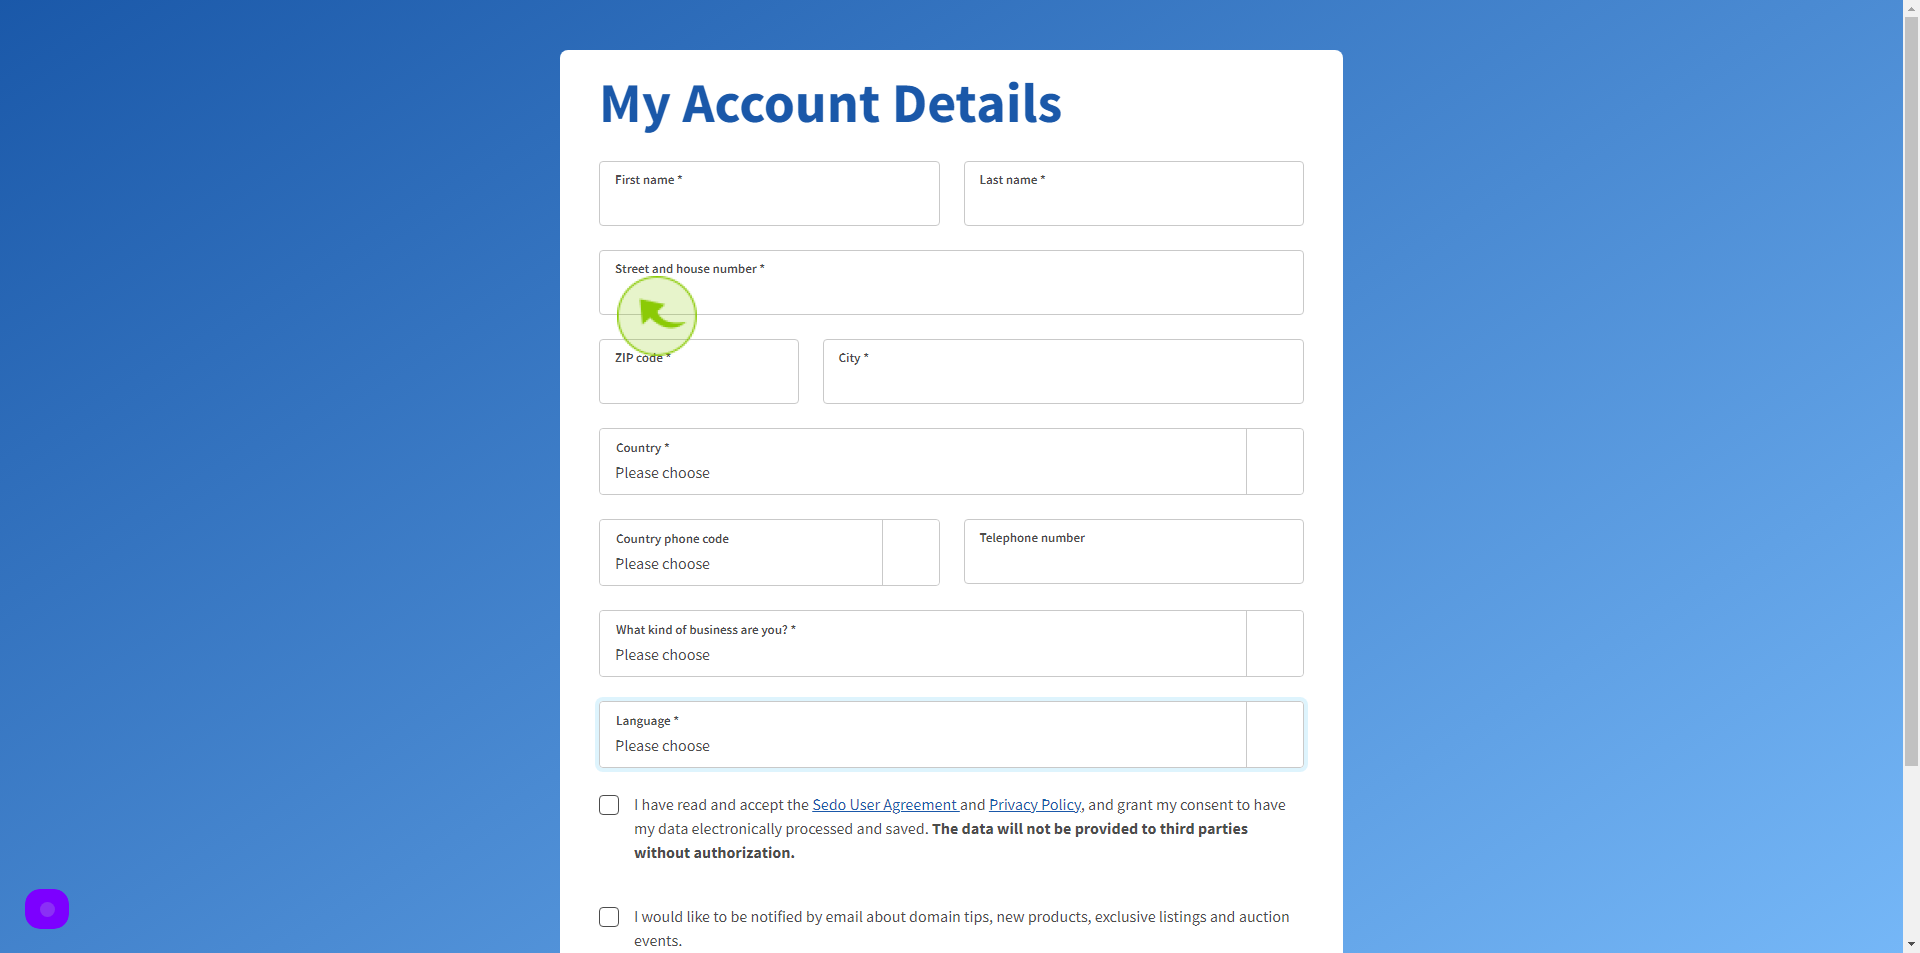
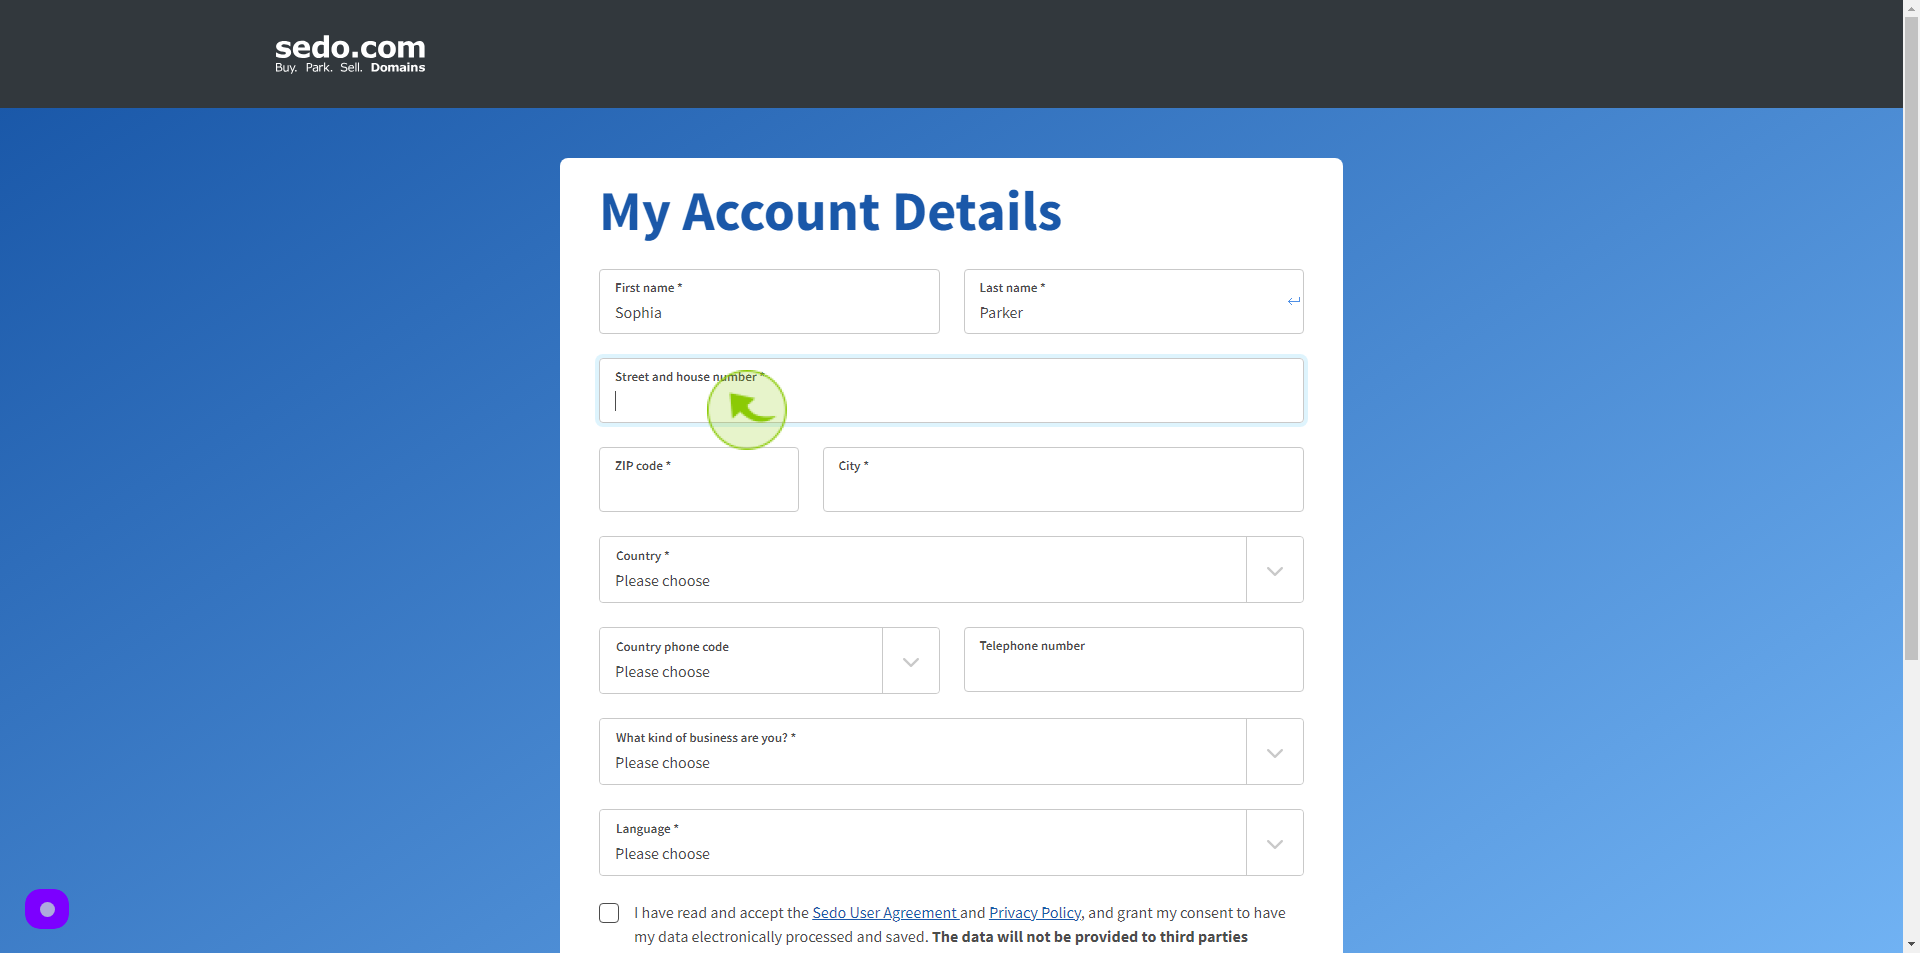
Click the "First name" field.
Enter your First Name
7
Click the "Last name" field.
Enter your Last Name

8
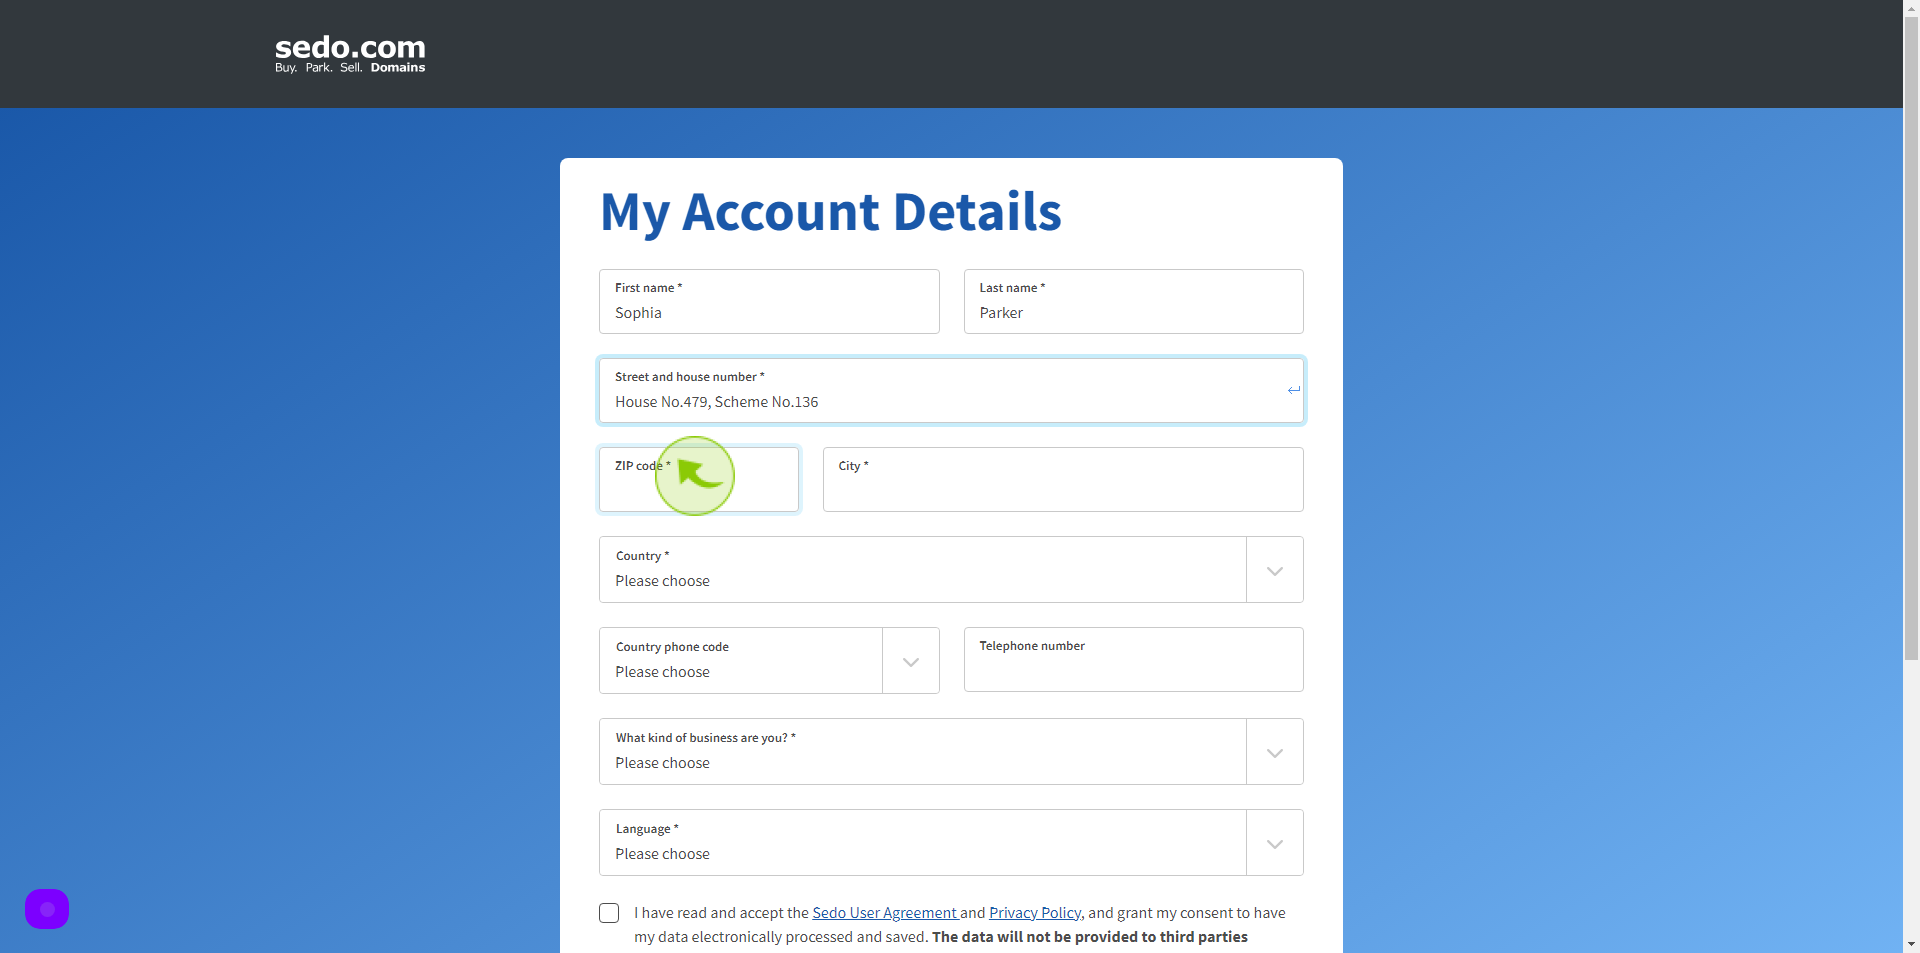
Click the "Street and house number" field.
Enter your Street and House Number
9
Click "ZIP code"
Enter your ZIP Code
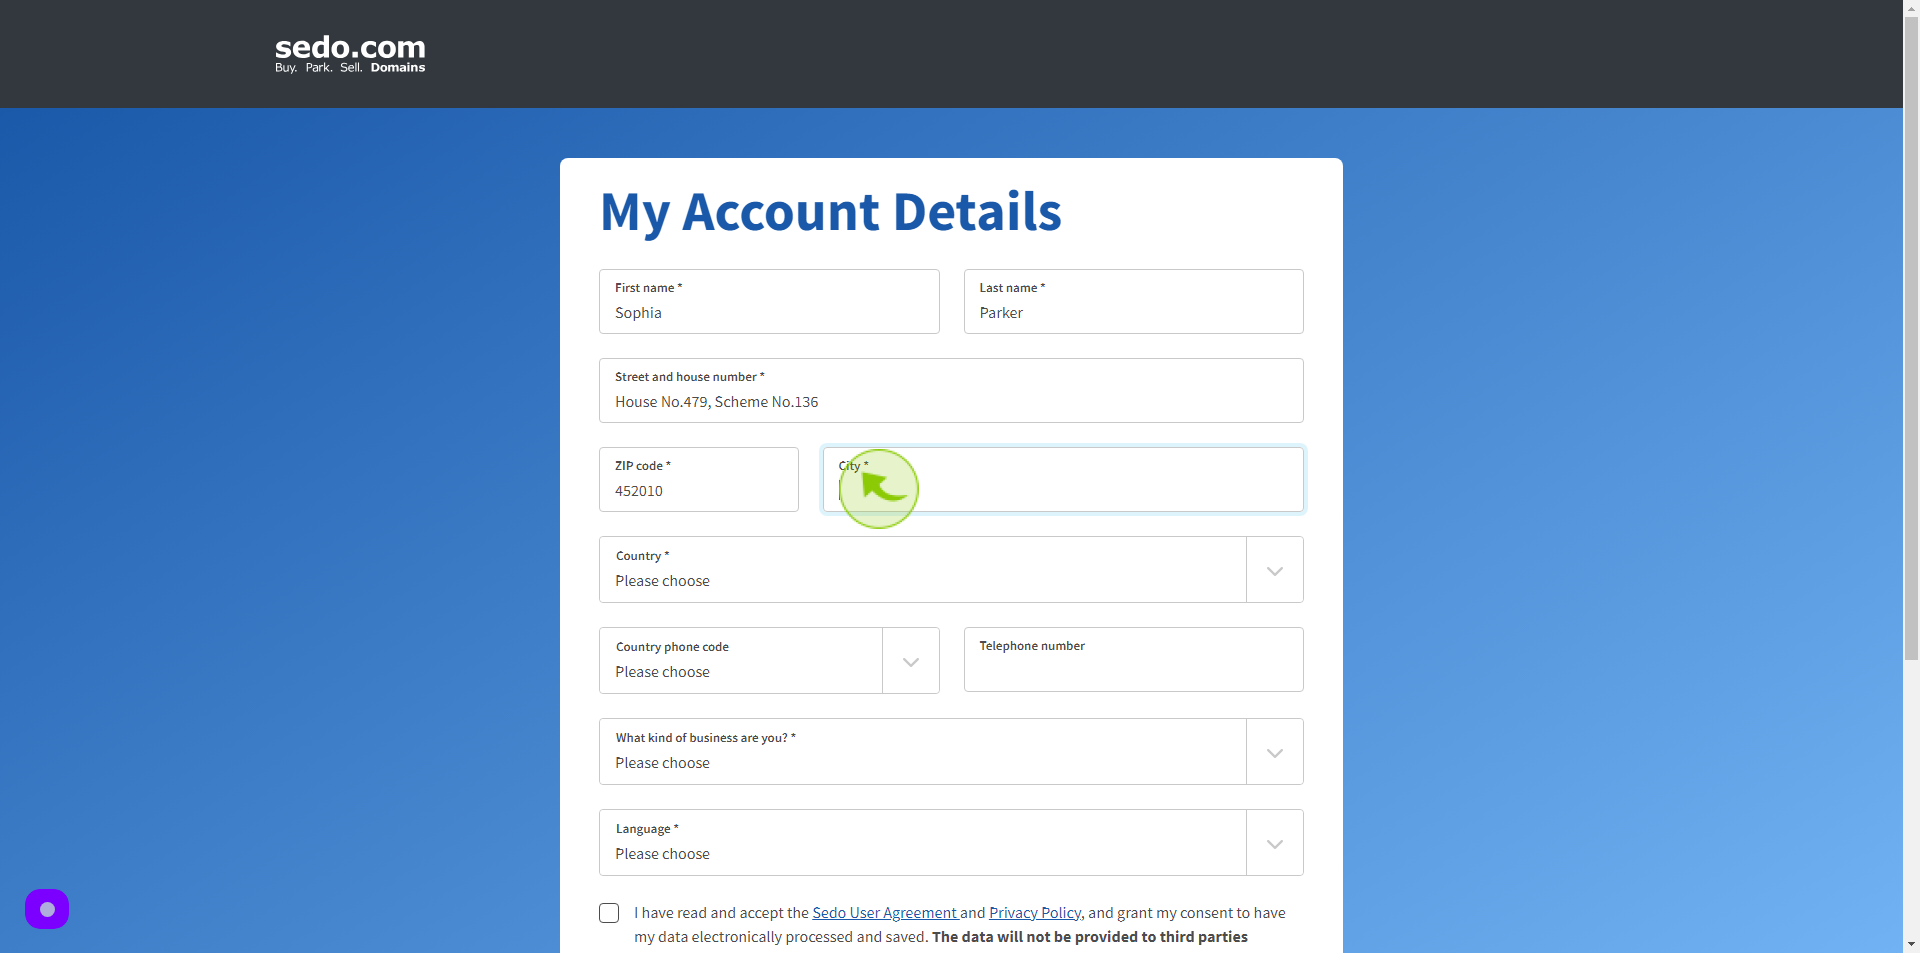
10
Click the "City" field.
Enter your City
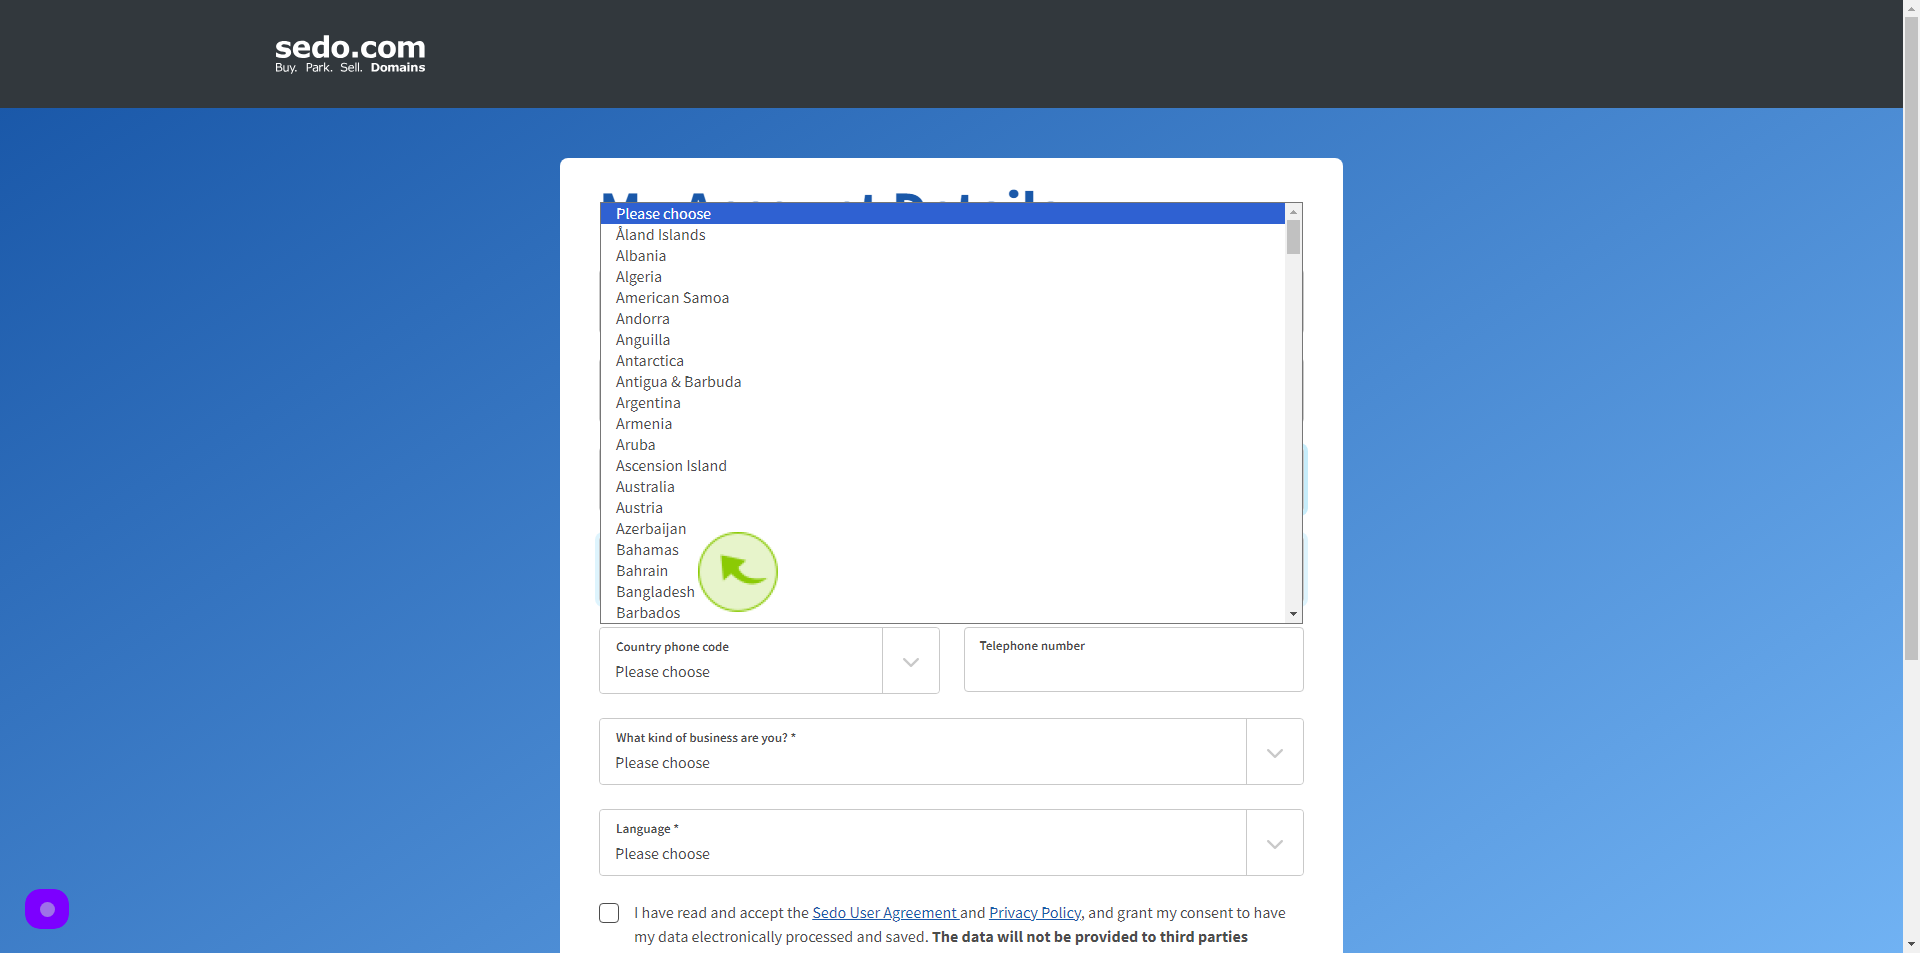
11
Select your "Country" from Dropdown Menu.
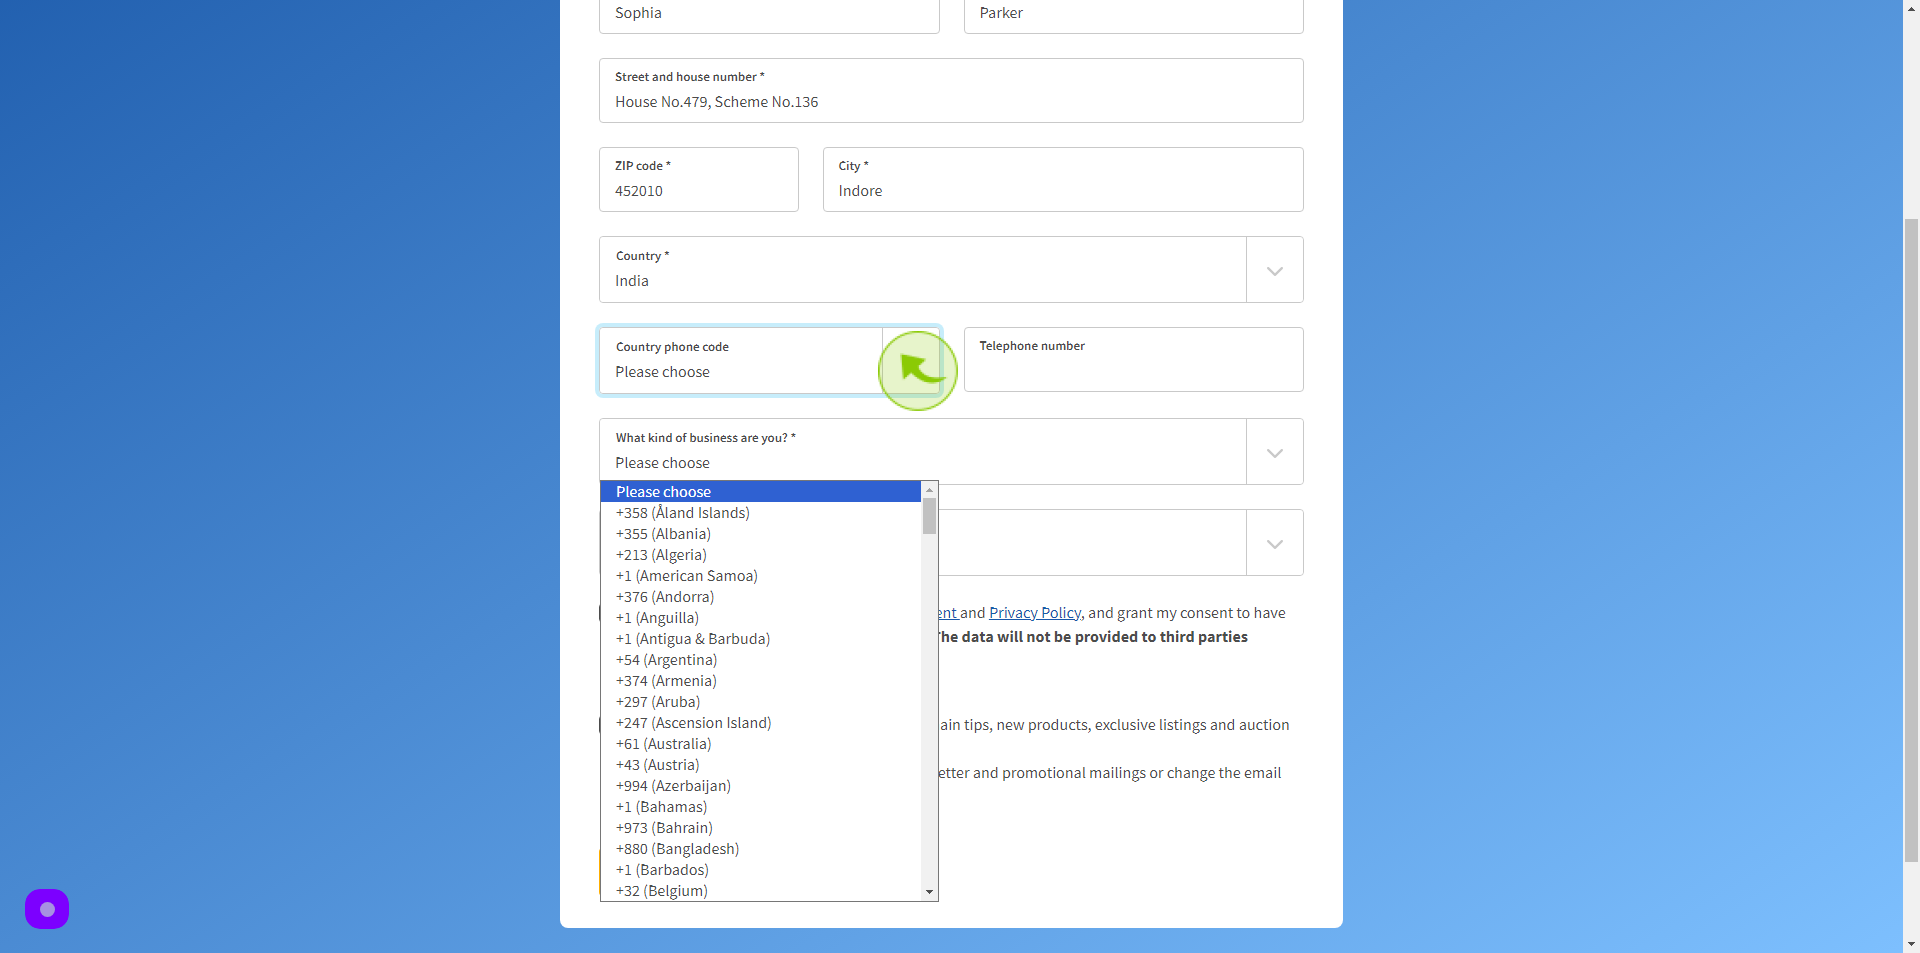
12
Select your Country "Phone Code" from Dropdown Menu.
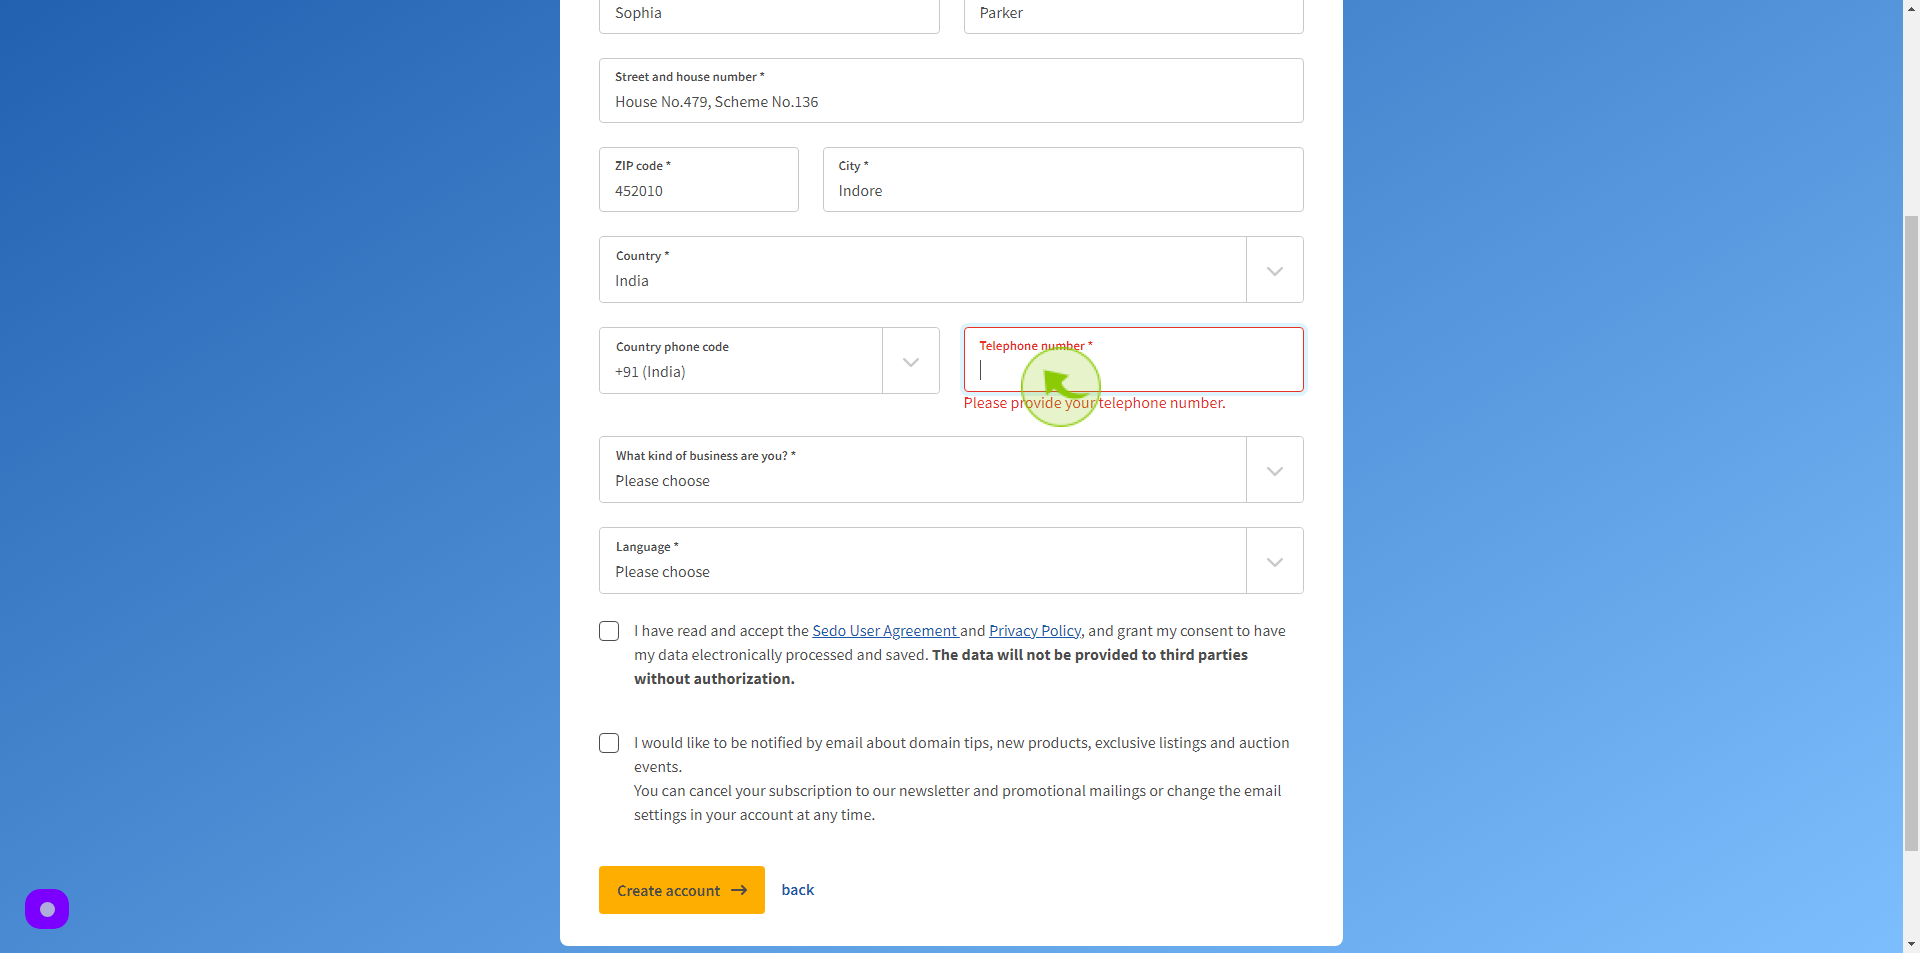
13
Click the "Telephone number" field.
Enter your Telephone Number
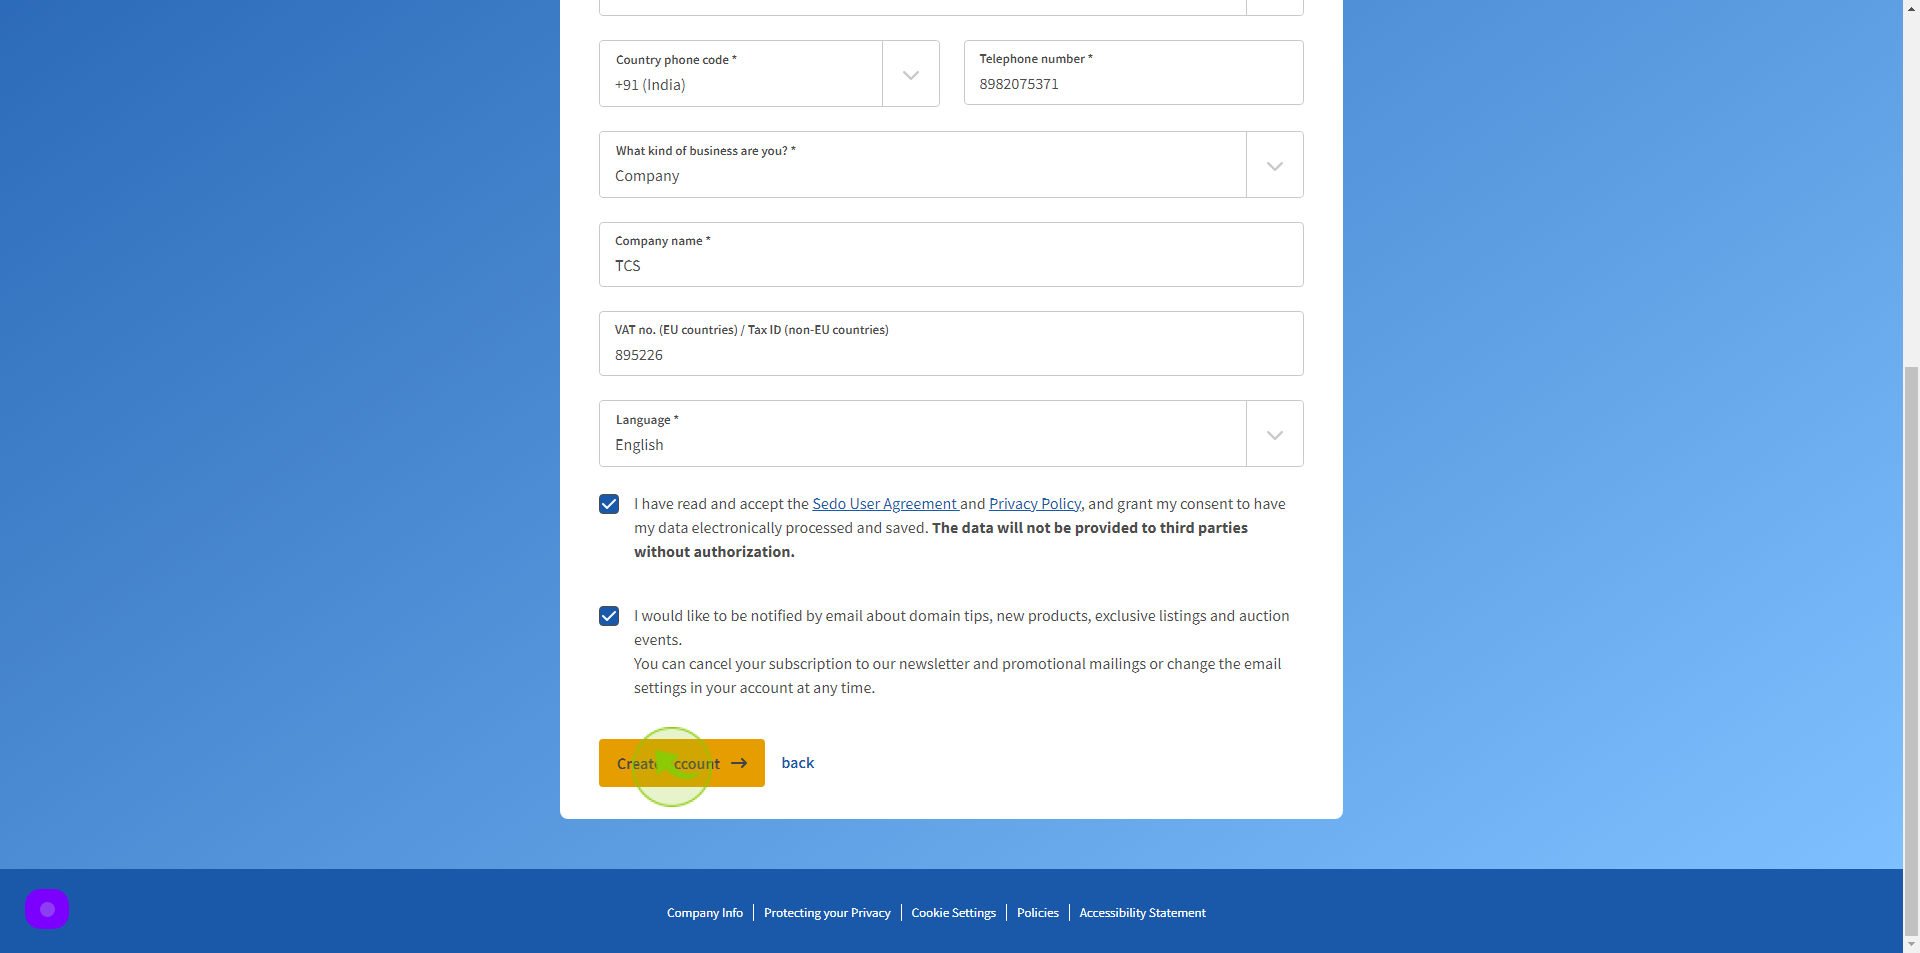
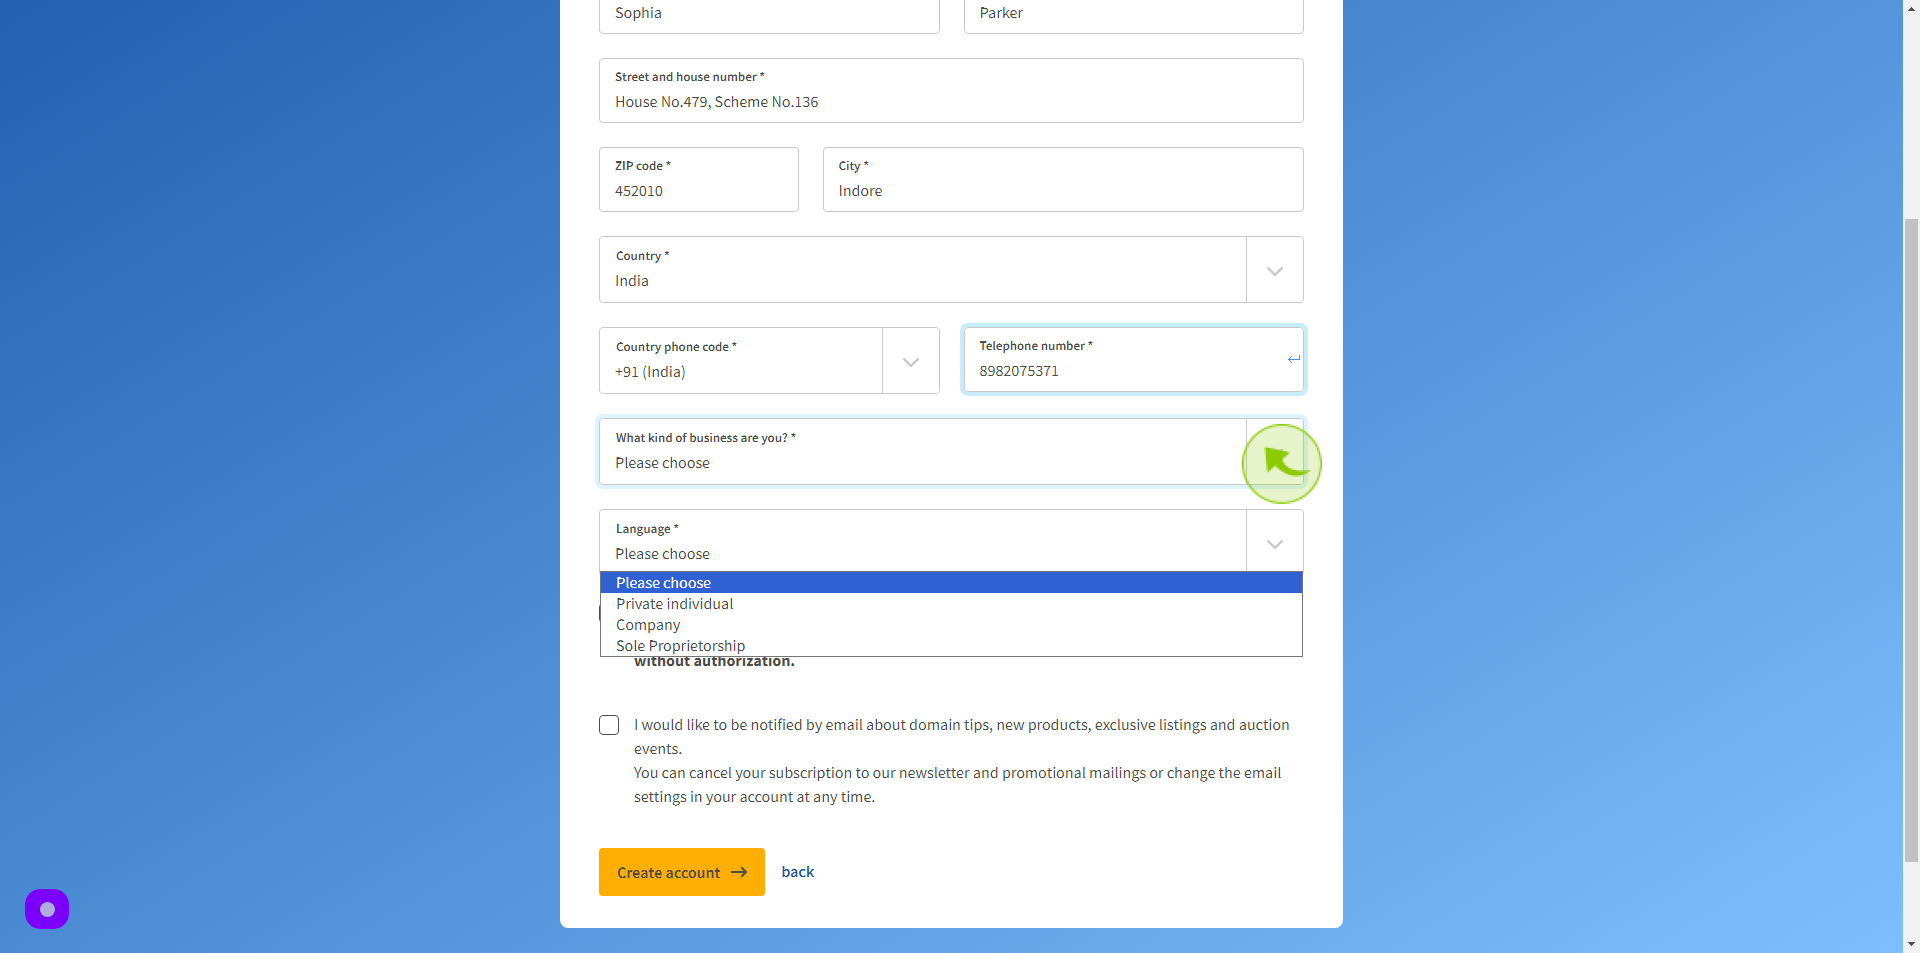
14
Select your "Business Type" from Dropdown Menu.
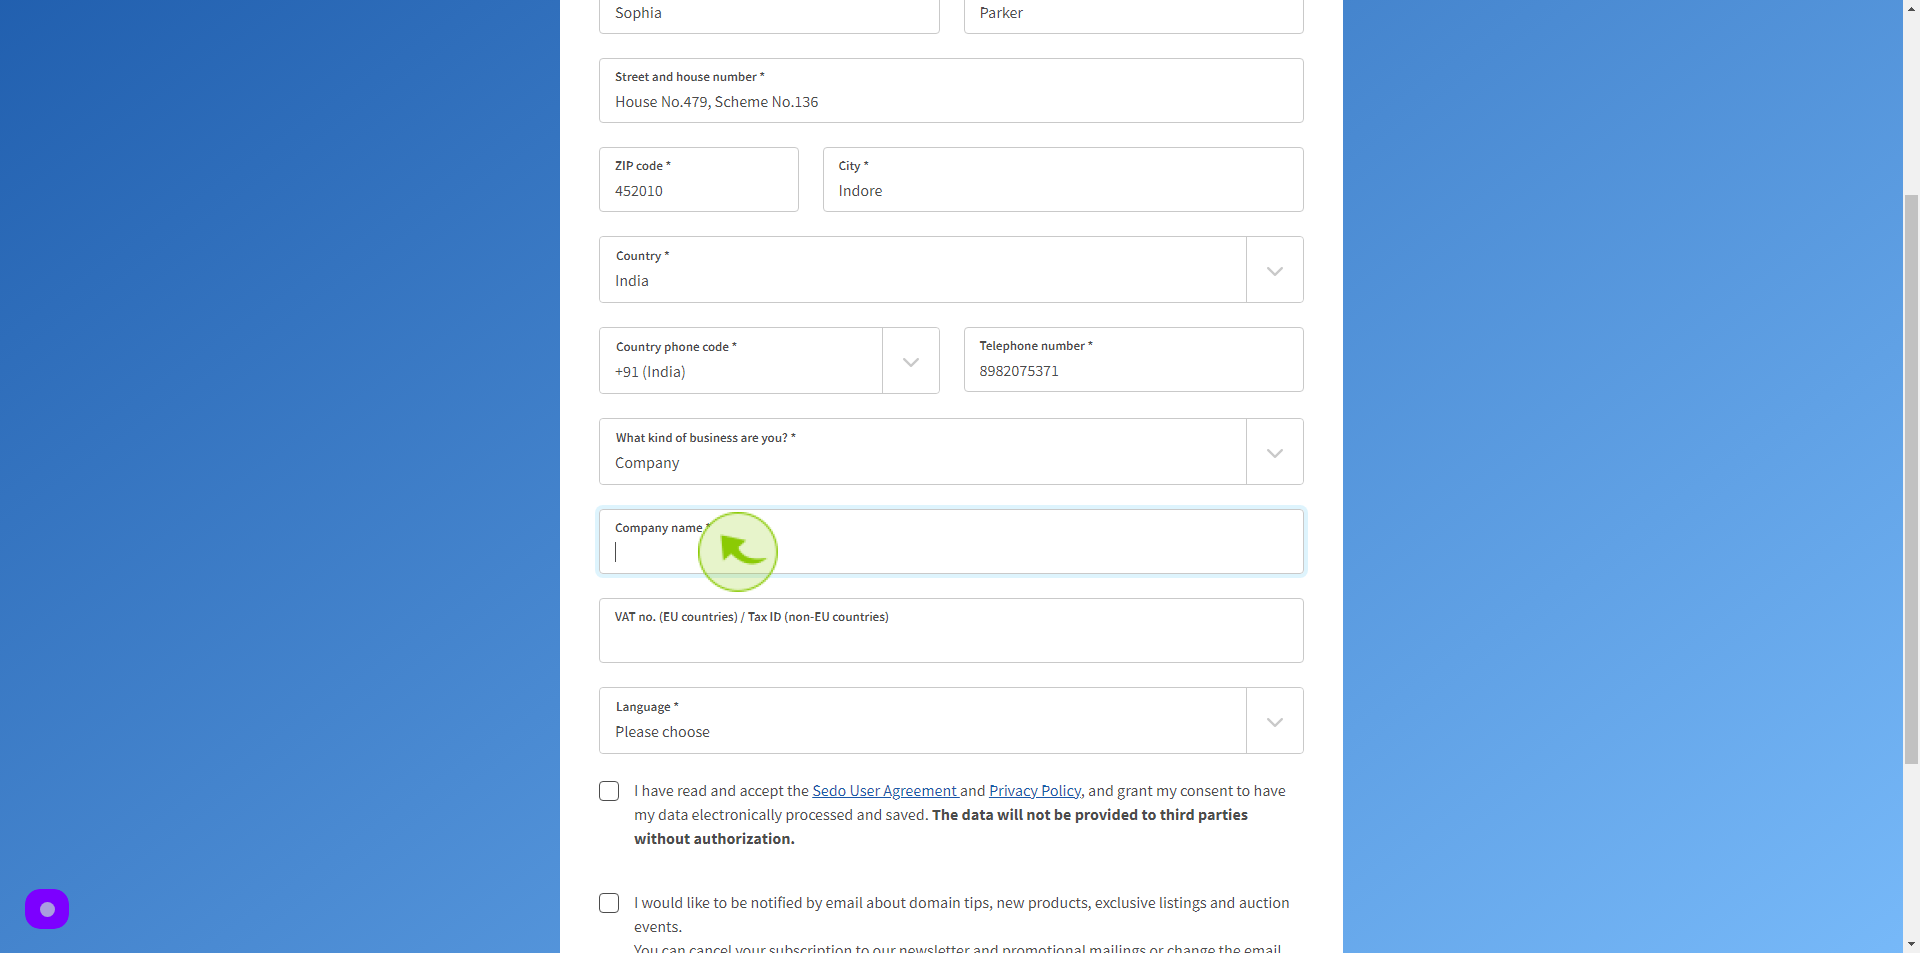
15
Click the "Company name" field.
Enter your Company Name
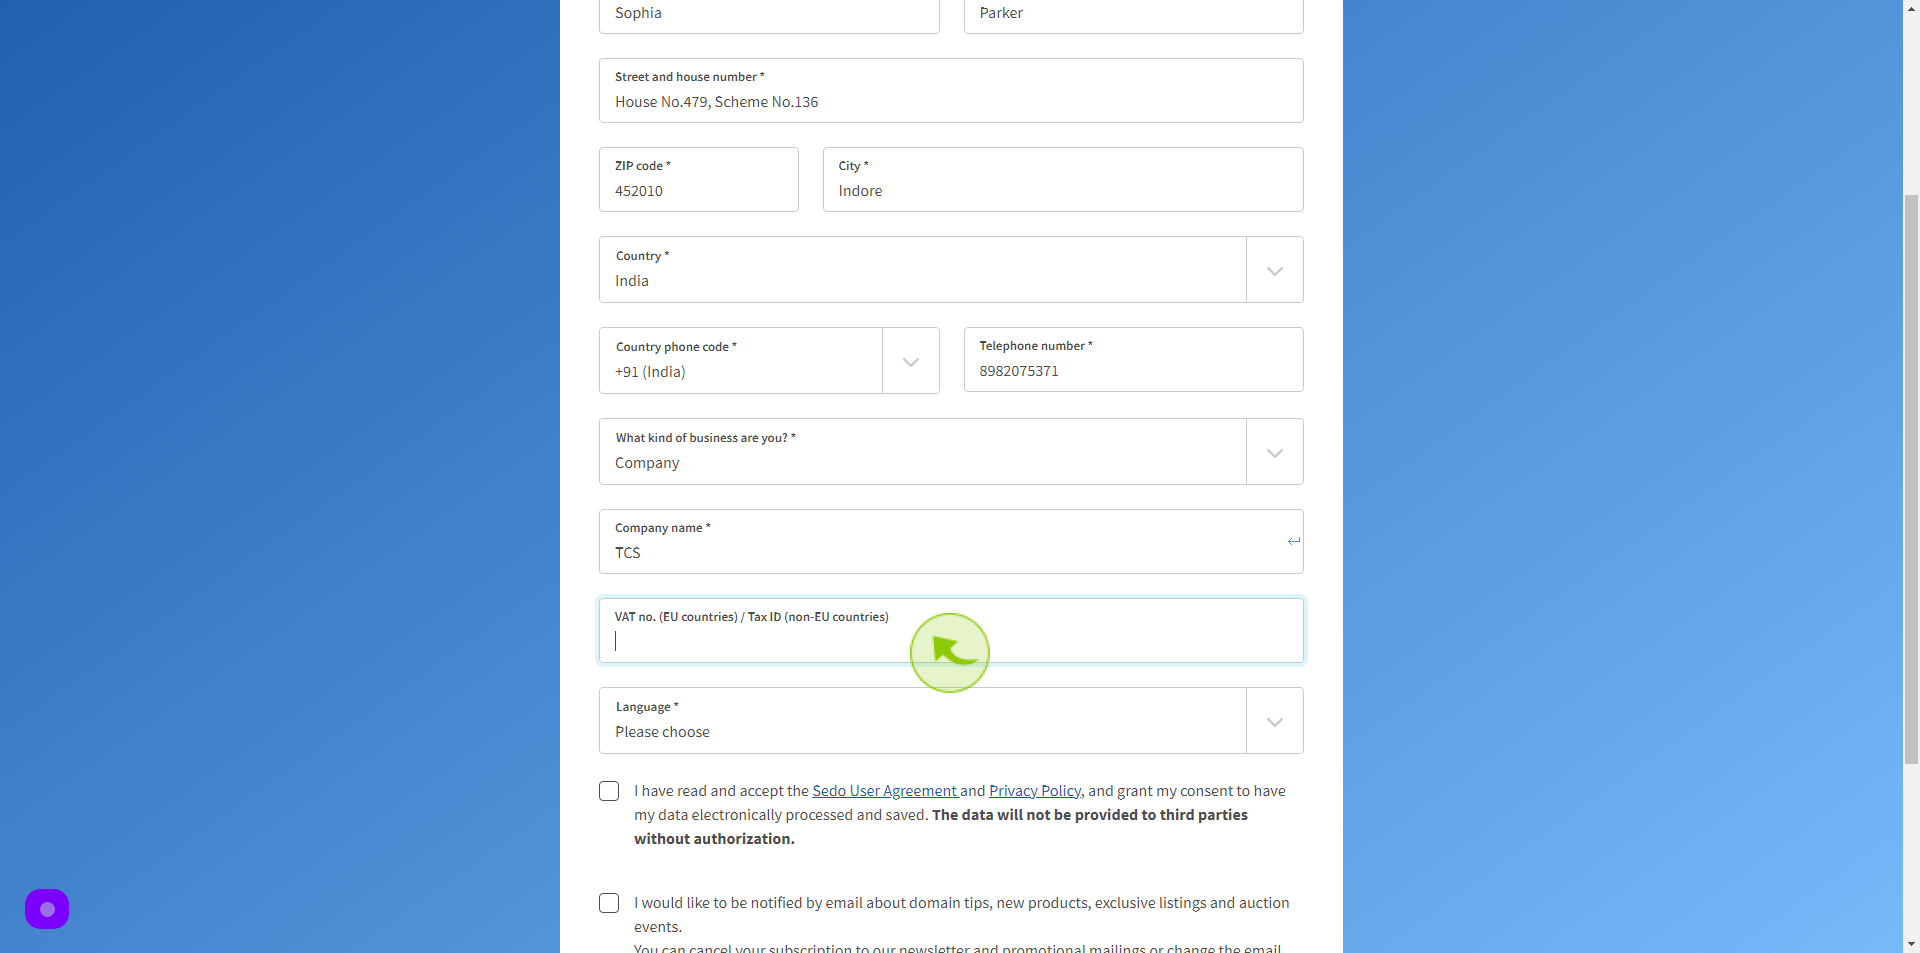
16
Click the "VAT no. (EU countries) / Tax ID (non-EU countries)" field.
Enter your VAT Number and Tax ID
17
Choose your "Language" from Dropdown Menu.

18
Click on the "Check box"
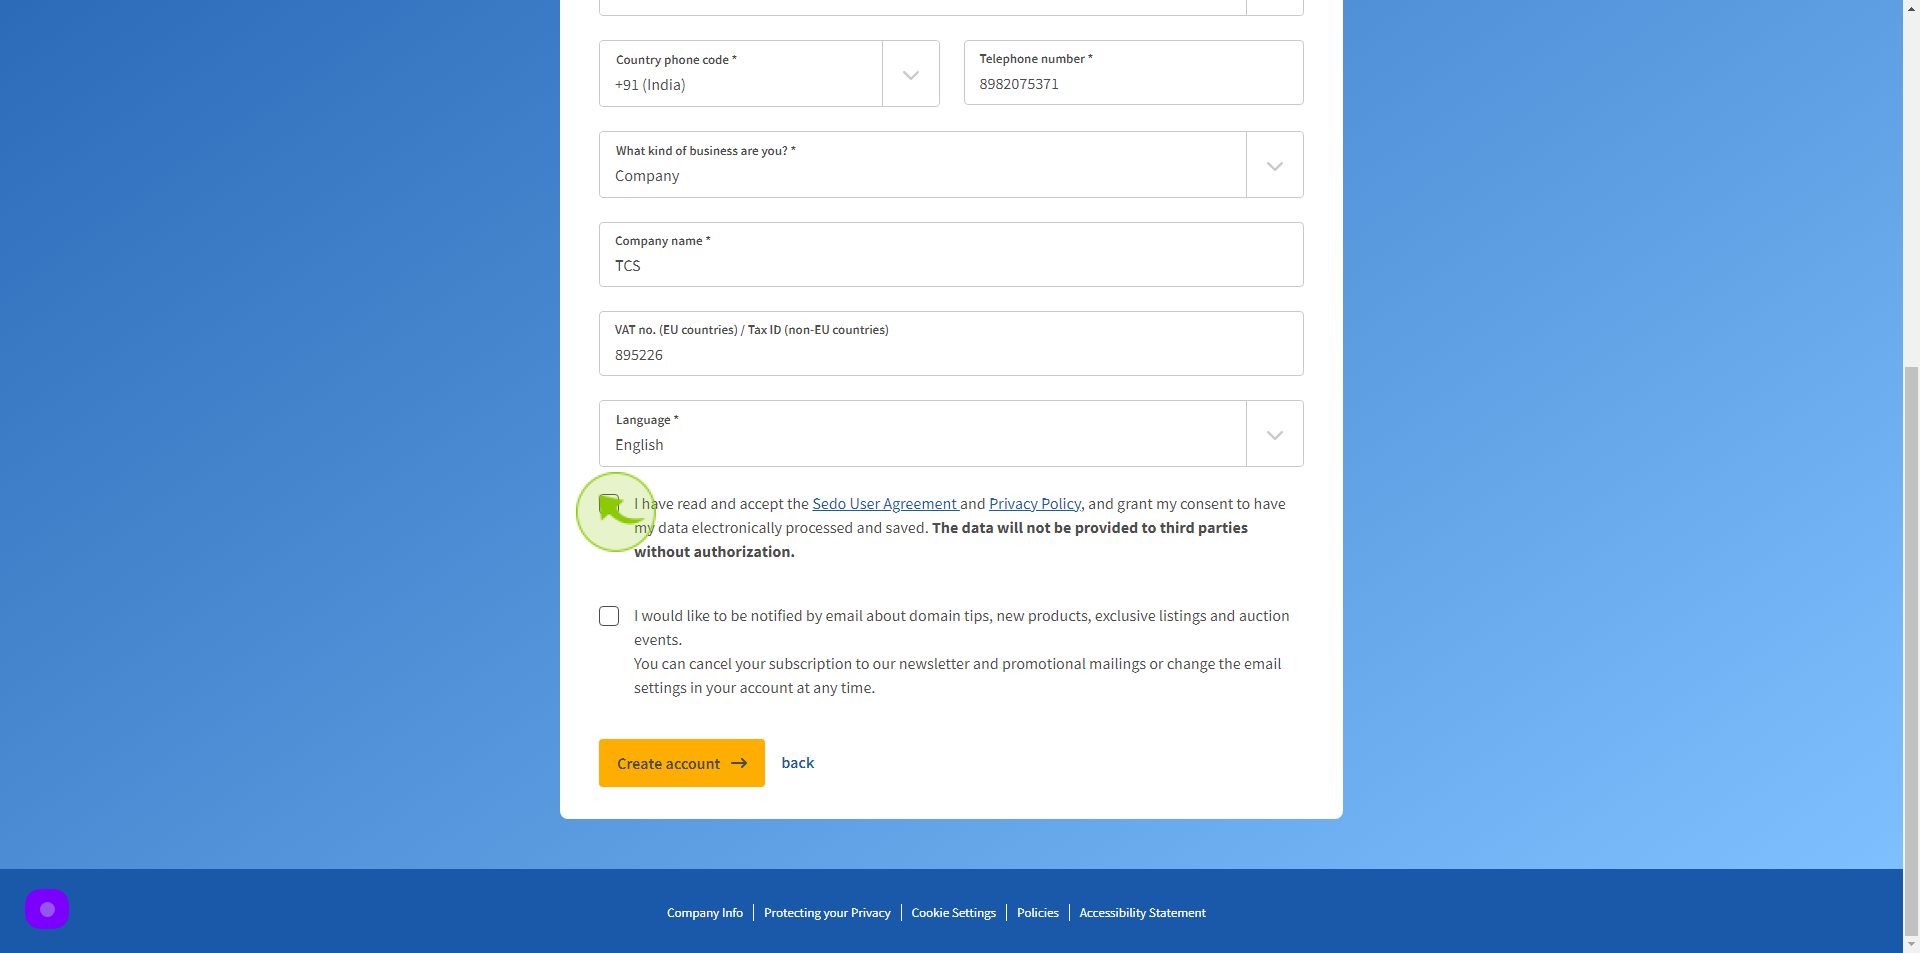
19
Click "Create account"
After clicking on the Create Account button, your account will be created.